Dark Souls Remastered full walkthrough guide: every area, boss, secret and more
Survival tips for Dark Souls Remastered - how to beat the game from start to finish
Dark Souls Remastered: BLIGHTTOWN
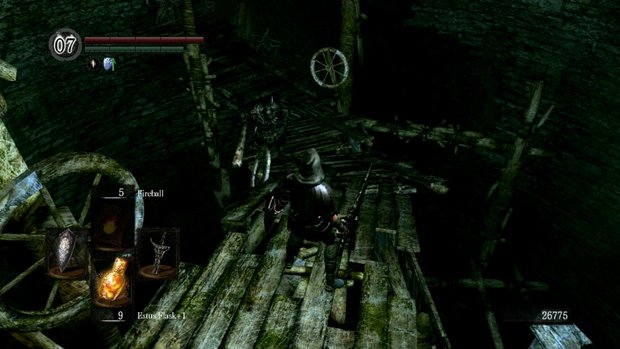
As you descend into the area, you’ll run into an Infested Barbarian on the wooden walkways. Because the walkways are narrow and have no railing, be extra careful not to fall during combat. If you want to be super careful, engage the Barbarian, then climb back up the ladder and use arrows or spells to kill him. Repeat for the other two Barbarians found further along the path. Note that Barbarians are strong but very slow and easy to backstab.
After the barbarians you’ll encounter several Infested Ghouls. These enemies have far fewer hit points than the barbarians, but are much quicker and have a nasty hug/grab attack (which is slow and clearly telegraphed). Continue on. If you want to reach the soul of a proud knight on the platform below and to your right, turn right at your first opportunity, take out the Blowdart Sniper, and climb down the ladder. Alternatively, you can just jump from where you fought the second and third barbarians.
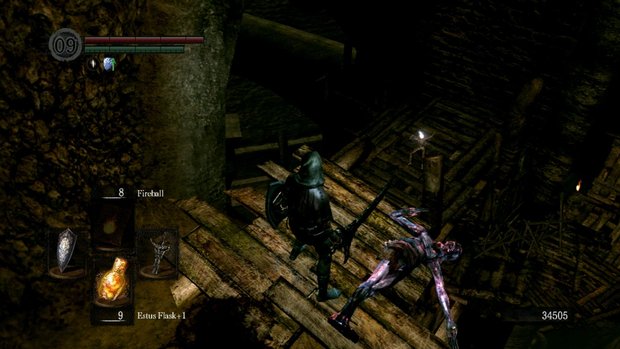
Stay to the left as you proceed and you’ll reach a dead end. You’ll notice an item on a platform below. You can reach this by taking a running jump (tap B while sprinting), though you must jump at the very last second. The item is a katana called Iato.
Article continues belowFrom the Iato, look down and to your right. Hey, there’s a bonfire! You definitely want to rest there, so make the jump and then set up camp. From the bonfire, we do not suggest turning around and climbing the nearby ladder into an area below. The items that you may see in the distance are only 1 Humanity and 3 Blooming Purple Moss Clumps, none of which are worth the number of times you’ll likely die trying to reach them. But feel free to try! You’ll eventually hit a dead end, and end up back and the bonfire anyway.
If you make your way back up to where you leapt for the Iato and head right instead, and stay along the wall, you can find a dirt path that leads to the Shadow Armor Set.
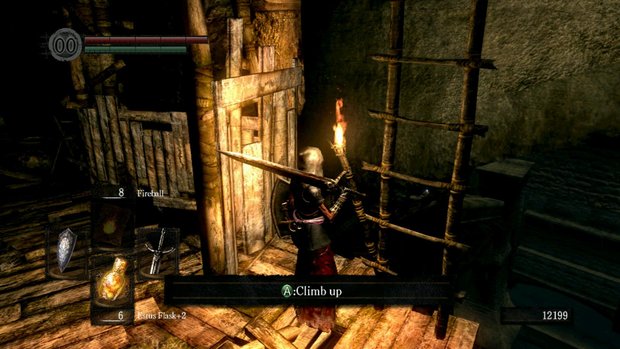
Proceed past the bonfire to the next stone bridge section and beyond to the wooden planks, looking for a ladder on your left that leads down. At the bottom of the ladder, stand to the left of it and jump down to the platform below (see above screen). From here, you can reach the Eagle Shield, which is on a corpse resting on one of the massive stone buttresses. Head back to the bonfire or continue your descent.
If you went back to the bonfire, once again proceed past the next stone bridge section, only this time when you hit the wooden walkways, jump down to the lower platform on your right. You’ll eventually see a Parasitic Wall Hugger below you. You can either drop down near it and fight it from a distance, or look for a ladder leading up to the Blowdart Sniper who was antagonizing you earlier. Take him out, then turn around.
Weekly digests, tales from the communities you love, and more
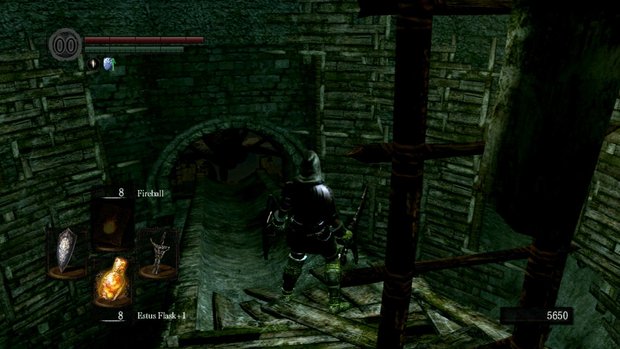
You can enter a tower through a hole in the wall, climb down the ladder inside, and end up right behind the Parasitic Wall Hugger. From here, it cannot hurt you – but you can hurt it. Kill it then drop down to grab Pyromancy: Power Within.
From here, proceed down the nearby wooden ramp and into a tunnel on your right. This leads back into the tower. Climb down the ladder to find a fog door. However, instead of passing through it, look down. On a lower level, there’s a Whip. This is an interesting weapon, and we recommend risking the fall to obtain it. (Falling also serves as a shortcut.)
Continue down until you run into your first Cragspider. These are enemies that stun easily and have low health, so you should always opt for a rushdown strategy whenever you can. As you continue down, you’ll start being attacked by another Blowdart Sniper. If you track him down and kill him, you can claim the Wanderer Armor set from a corpse near where he was standing.
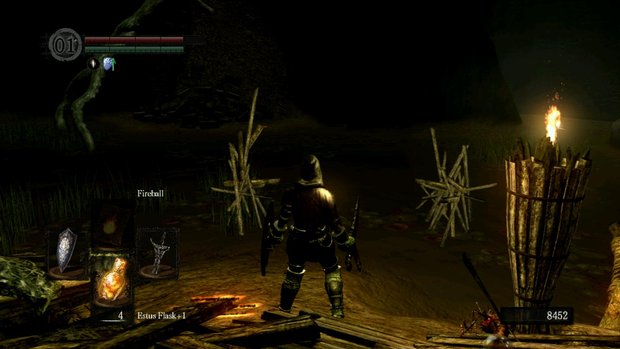
Eventually, you’ll reach ground level. Now is a good time to equip the Rusted Iron Ring if you picked it up from the Undead Asylum earlier. It will allow you to walk/run at full speed through the poison swamp. From the wooden walkways, run off to your right and follow the wall until you reach a tunnel, inside which is a bonfire. Proceed further into the tunnel to find a rare Dragon Scale, then head back to the exit. If you are in human form, the Black Phantom Maneater Mildred will invade once you reach ground level. She’s quick, but not much of a threat. If you defeat her, she becomes available for summoning in a later boss fight.
Jump to Section
- Firelink Shrine
- Undead Burg part 1
- Undead Burg part 2
- Undead Parish part 1
- Undead Parish part 2 (First Bell)
- (OP) Grinding for Souls & Finding Goodies in Darkroot Garden
- Lower Undead Burg
- (OP) Returning to the Undead Asylum
- The Depths
- (OP) Exploring Blighttown's Swamp
- (OP) Undead Dragon & Valley of the Drakes
- Quelaag's Domain (Second Bell)
- (OP) Moonlight Butterfly & the Divine Ember
- (OP) Darkroot Basin, the Hydra, and Dusk
- Sen's Fortress part 1
- Sen's Fortress part 2
- Anor Londo part 1
- (OP) Painted World of Ariamis part 1
- (OP) Painted World of Ariamis part 2
- Anor Londo part 2
- Return to Firelink Shrine & Placing the Lordvessel
- Sif and the Darkroot Garden
- New Londo Ruins
- The Catacombs
- Tomb of the Giants part 1
- Tomb of the Giants part 2
- (OP) Dark Sun Gwyndolin & the Blade of the Darkmoon Covenant
- Duke's Archives
- Crystal Cave
- Demon Ruins part 1
- Demon Ruins part 2
- (OP) Great Hollow & Ash Lake
- Lost Izalith
- (OP) Sanctuary Garden (New Content)
- (OP) Oolacile Sanctuary & Royal Wood (New Content)
- (OP) Oolacile Township (New Content)
- (OP) Chasm of the Abyss (New Content)
- (OP) Black Dragon Kalameet (New Content)
- Kiln of the First Flame & Gwyn, Lord of Cinder
Current page: Dark Souls: Blighttown
Prev Page Dark Souls: The Depths Next Page Dark Souls: Blighttown's Swamp (Optional)

 Join The Community


