Sekiro bosses: how to beat the toughest bosses and mini bosses in the game
Tactic, tips and cheeses to beat the worst Sekiro bosses
There are a lot of Sekiro bosses and none of them are easy to beat. If you want to know how to take them down it's going to take time, practice and help. Coming up we've every Sekiro boss explained, as well as links to full details if you need more than the basics - there's a lot of variation between enemies and monsters and little between the boss fights in Sekiro that can help.
Posture is always important in Sekiro boss fights but other than that they're all unique. Opponents like Genichiro, Chained Ogre, Gyoubu Oniwa horseman, Way of Tomoe, the True Corrupted Monk - the list goes on and everyone is a completely different challenge in Sekiro. Coming up this Sekiro boss primer covers all the main bosses and mini bosses, giving you a strategies and help to help deal with them.
Sekiro walkthrough | Sekiro tips | Sekiro Dragon rot | Sekiro Prayer Beads | Sekiro Gourd seeds | Sekiro Shinobi Prosthetic tools | Sekiro Endings| Sekiro Snap Seeds | Sekiro Treasure Carp Scales
General Sekiro boss tips: always look for a stealth kill
Realistically Sekiro bosses are so varied and different that there's no one overall tip that will work apart from this: always scope the area, if at all possible, to see how you can get in a stealth attack. Realistically this is for mini bosses but, if you can do it, it'll give you a free deathblow and potentially half your work. The first two General mini bosses, and the Chained Ogre, basically give you a free hit if you can sneak up on them. Considering most boss fights can take hours to learn and beat, take every advantage you can get.
Chained Ogre mini boss
Chained Ogre mini boss
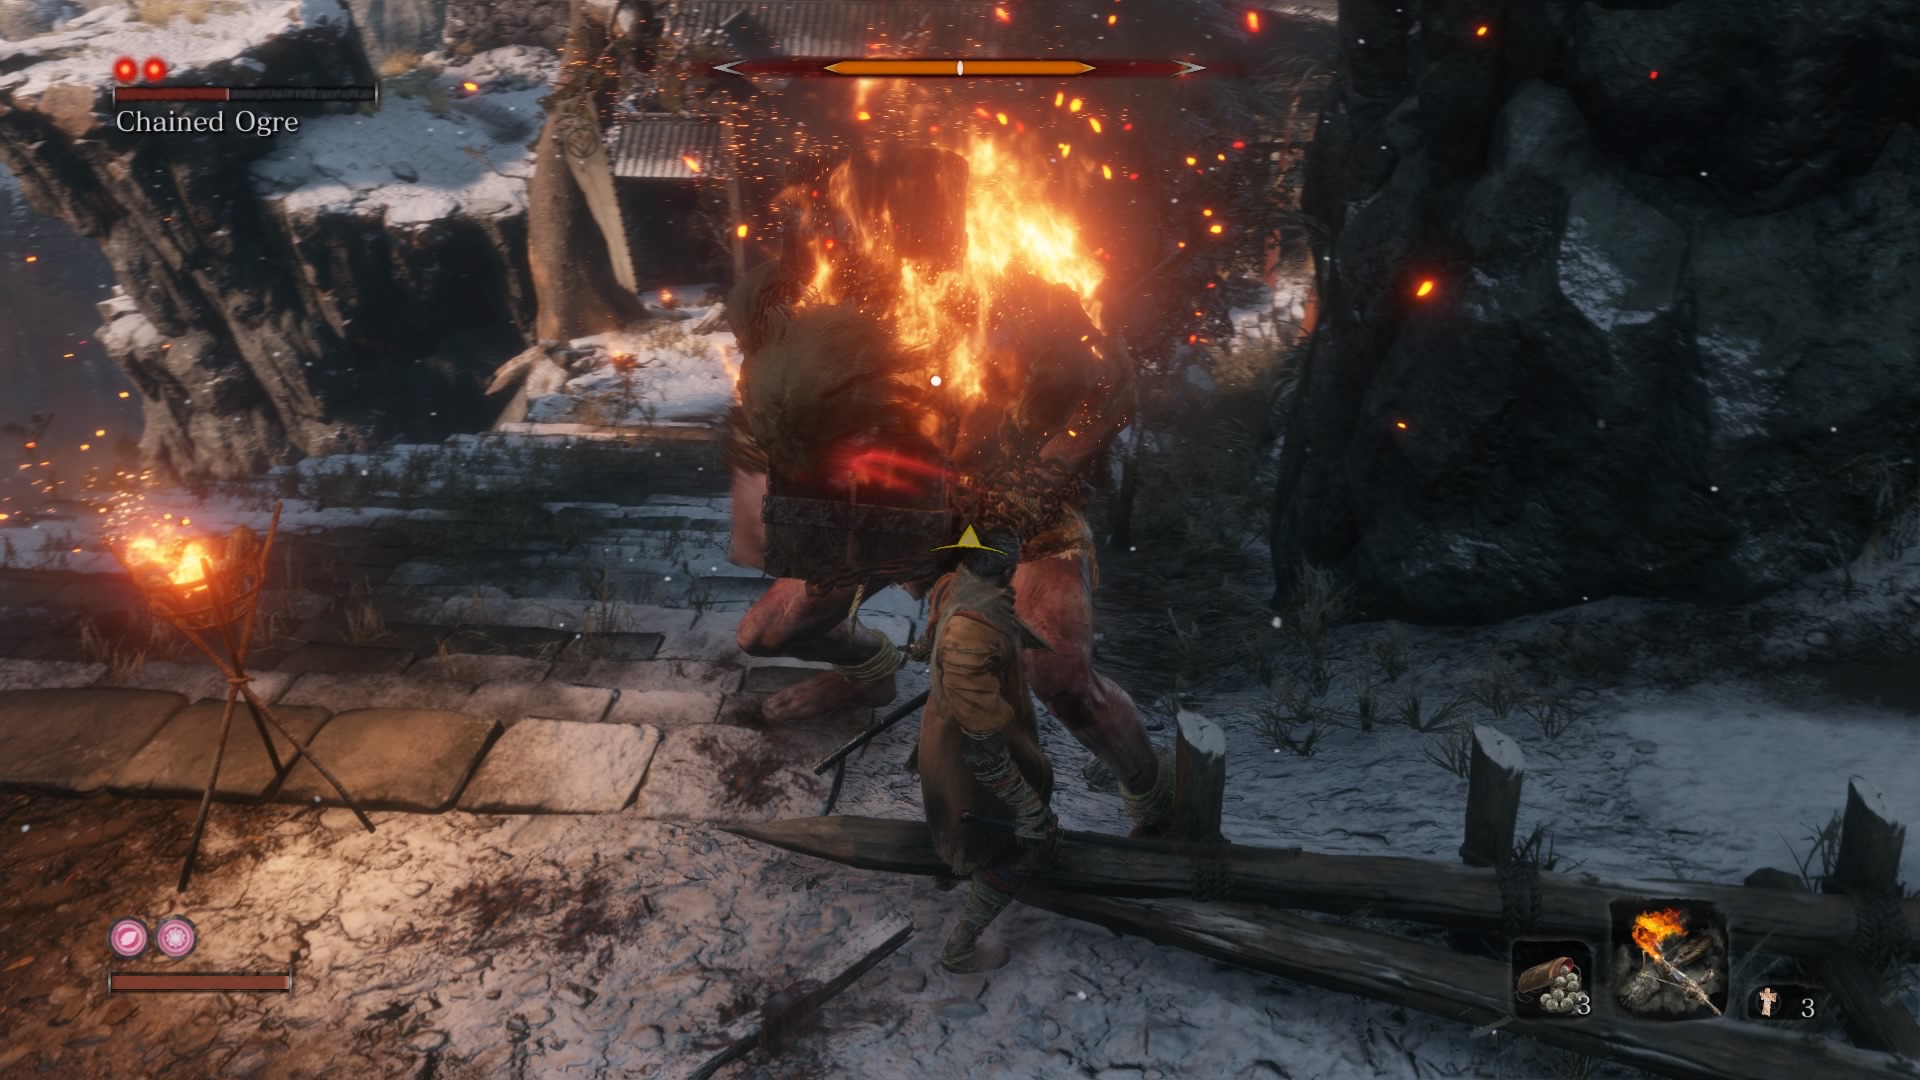
Finding the Flame Vent Sekiro Shinobi Prosthetic Tool will make the Sekiro Chained Ogre fight a lot easier. The ogre hates fire, so throw some oil at him and then blast your flames. It’ll stagger him, and you can then slash with your sword for extra damage. The Robert's Firecracker Shinobi tool will also stun him and open him up for an attack.
However, you can also cheese him for a free deathblow by running away the second his awareness indicator turns red and he starts to break free. Run back, hide behind the big door and he'll lose interest and stand on the steps, letting you sneak around to the left for stealth attack.
Whatever you do when fighting the Sekiro Chained Ogre, first make sure you’ve taken out both enemies at the bottom of the stairs, and the spearman hidden away on the left at the top. If you stealth the Ogre you can sneak past while he's on the stairs to take out the spearman, otherwise kill the spearman as the Ogre's struggling free of his chains
Once you’ve isolated the ogre, the key is avoiding his grab attacks which deal massive damage. He has both short and long-range grabs. The long-range one, in which he dives forward, is harder to avoid, so we recommend staying close to him, strafing around his legs.
As soon as you see the red Kanji symbol flash on screen to tell you a grab is incoming, dodge to the side and then forward, past and behind the ogre. If he tries the long, lunging grab, the trick is to dodge to the side later than feels natural. If you dodge early, he’ll just carry on tracking you. If dodging isn't working try jumping which will avoid grabs more easily but can reduce your chances for attack.
Generally, you want to bait out his attacks before striking yourself, and don’t worry about parrying too much. Keep strafing around his legs until he attacks, hold block, and then slash away as he’s recovering. You can avoid most of the attacks just by strafing around him without using the dodge button, but the one you want to look out for is the double-handed ground smash. Dodge away when he raises his fists.
Gyoubu Oniwa horseman boss fight
Sekiro Gyoubu Oniwa boss fight
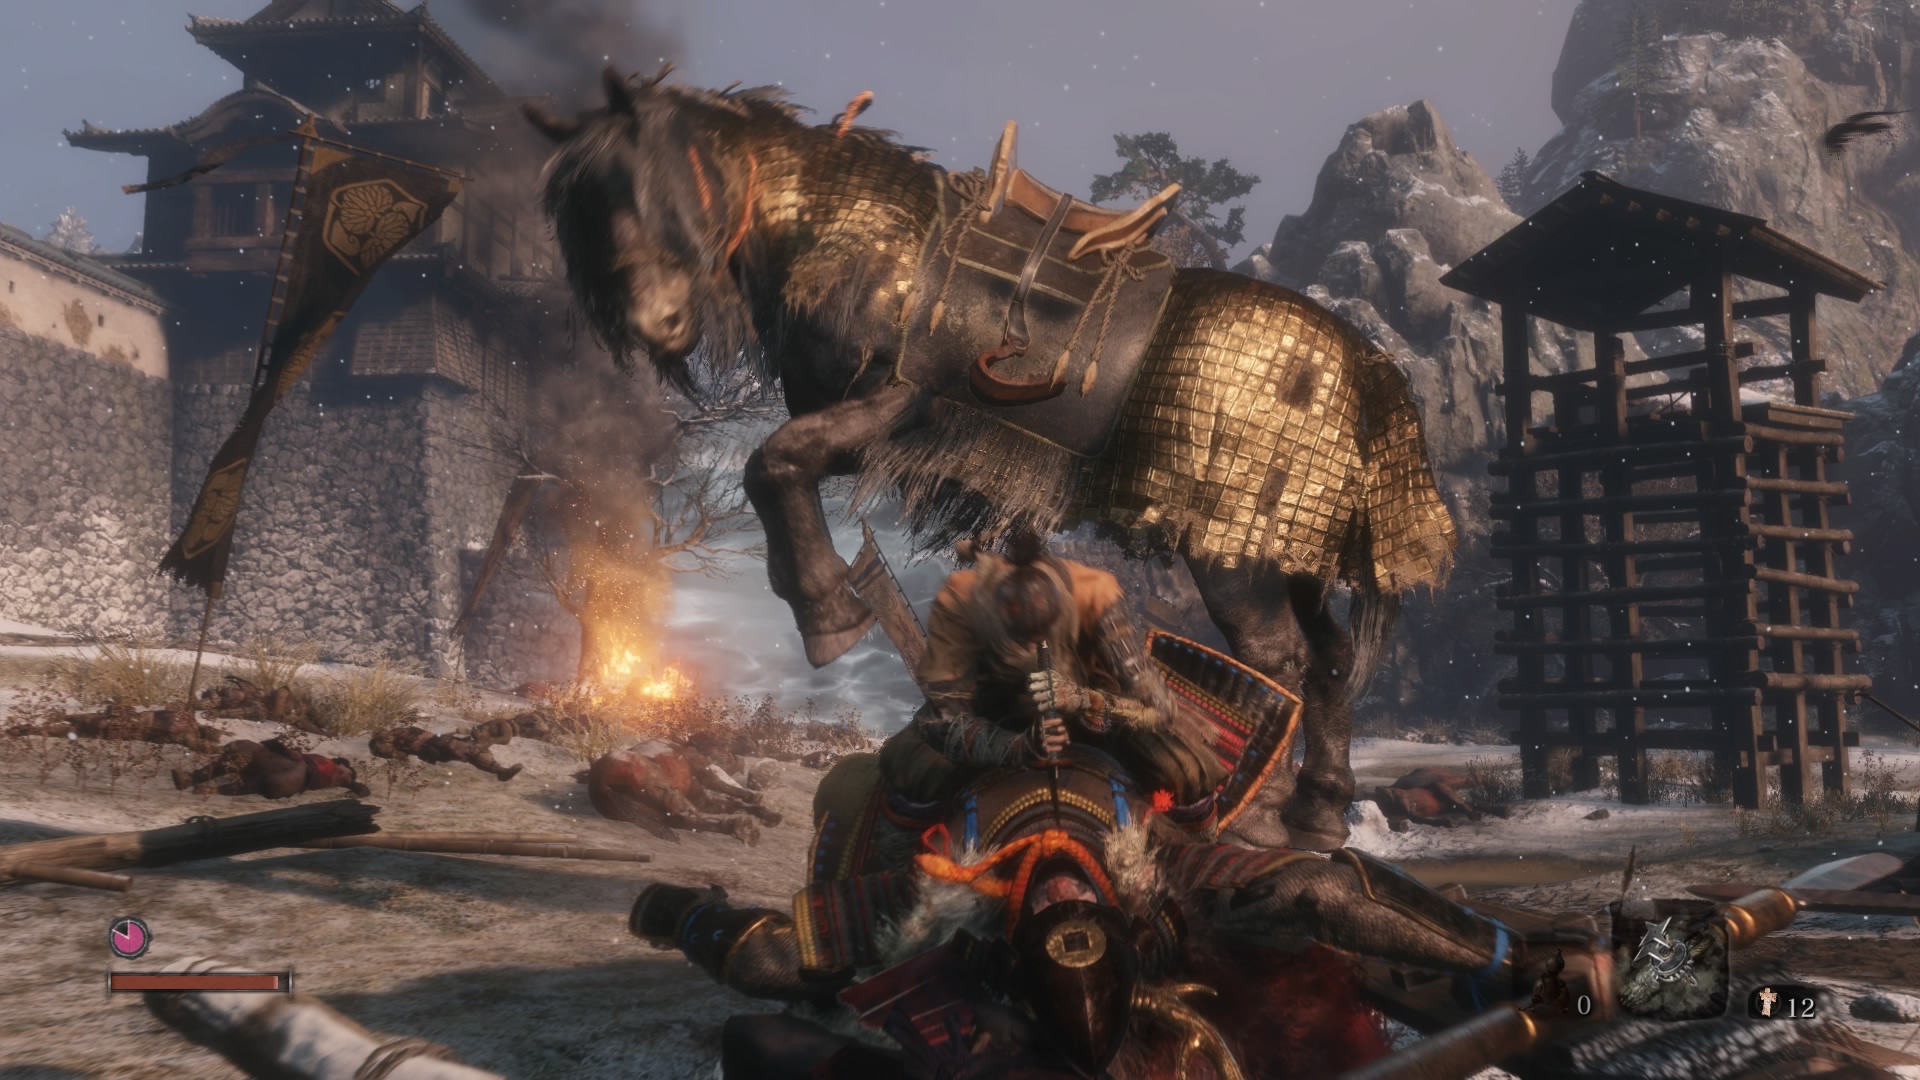
The best way to kill Gyoubu Oniwa is to stay close to him, parrying his attacks to exhaust his posture. When you first face him, don’t be afraid to just hold down block while you learn his attack patterns. Most of them are slow, three-attack combos, and you’ll work out the parry timing fairly quickly.
The one to look out for is a triple attack which starts with a right-handed slash followed by a quick stab from his left, finishing with a slow overhead strike. If you can parry the first two quickly and then time the third, you’ll stagger him, dealing massive posture damage and giving you time to get in three or four sword swings. Also, be careful of quick slashes from his right side as he rides past: just be ready to mash the block button.
When he rides away from you, sprint towards him and grapple when the cue pops up above his head to keep him close. This will help you avoid his powerful long-range strikes. If you can’t get to him and he charges at you, don’t be afraid to just hold down block to avoid taking damage while you wait for him to get back into his familiar close-range rhythm.
He has two phases, so you’ll need two deathblows—but the strategy is the same in both halves, and his behaviour barely changes. Stay close, parry his attacks, and strike him when he’s staggered. If you want to make the fight easier, grab the Firecracker Shinobi tool using our walkthrough here, and use it to stun his horse when he’s between combos. You can get five attacks in before he recovers.
Blazing Bull mini boss
Sekiro Blazing Bull mini boss
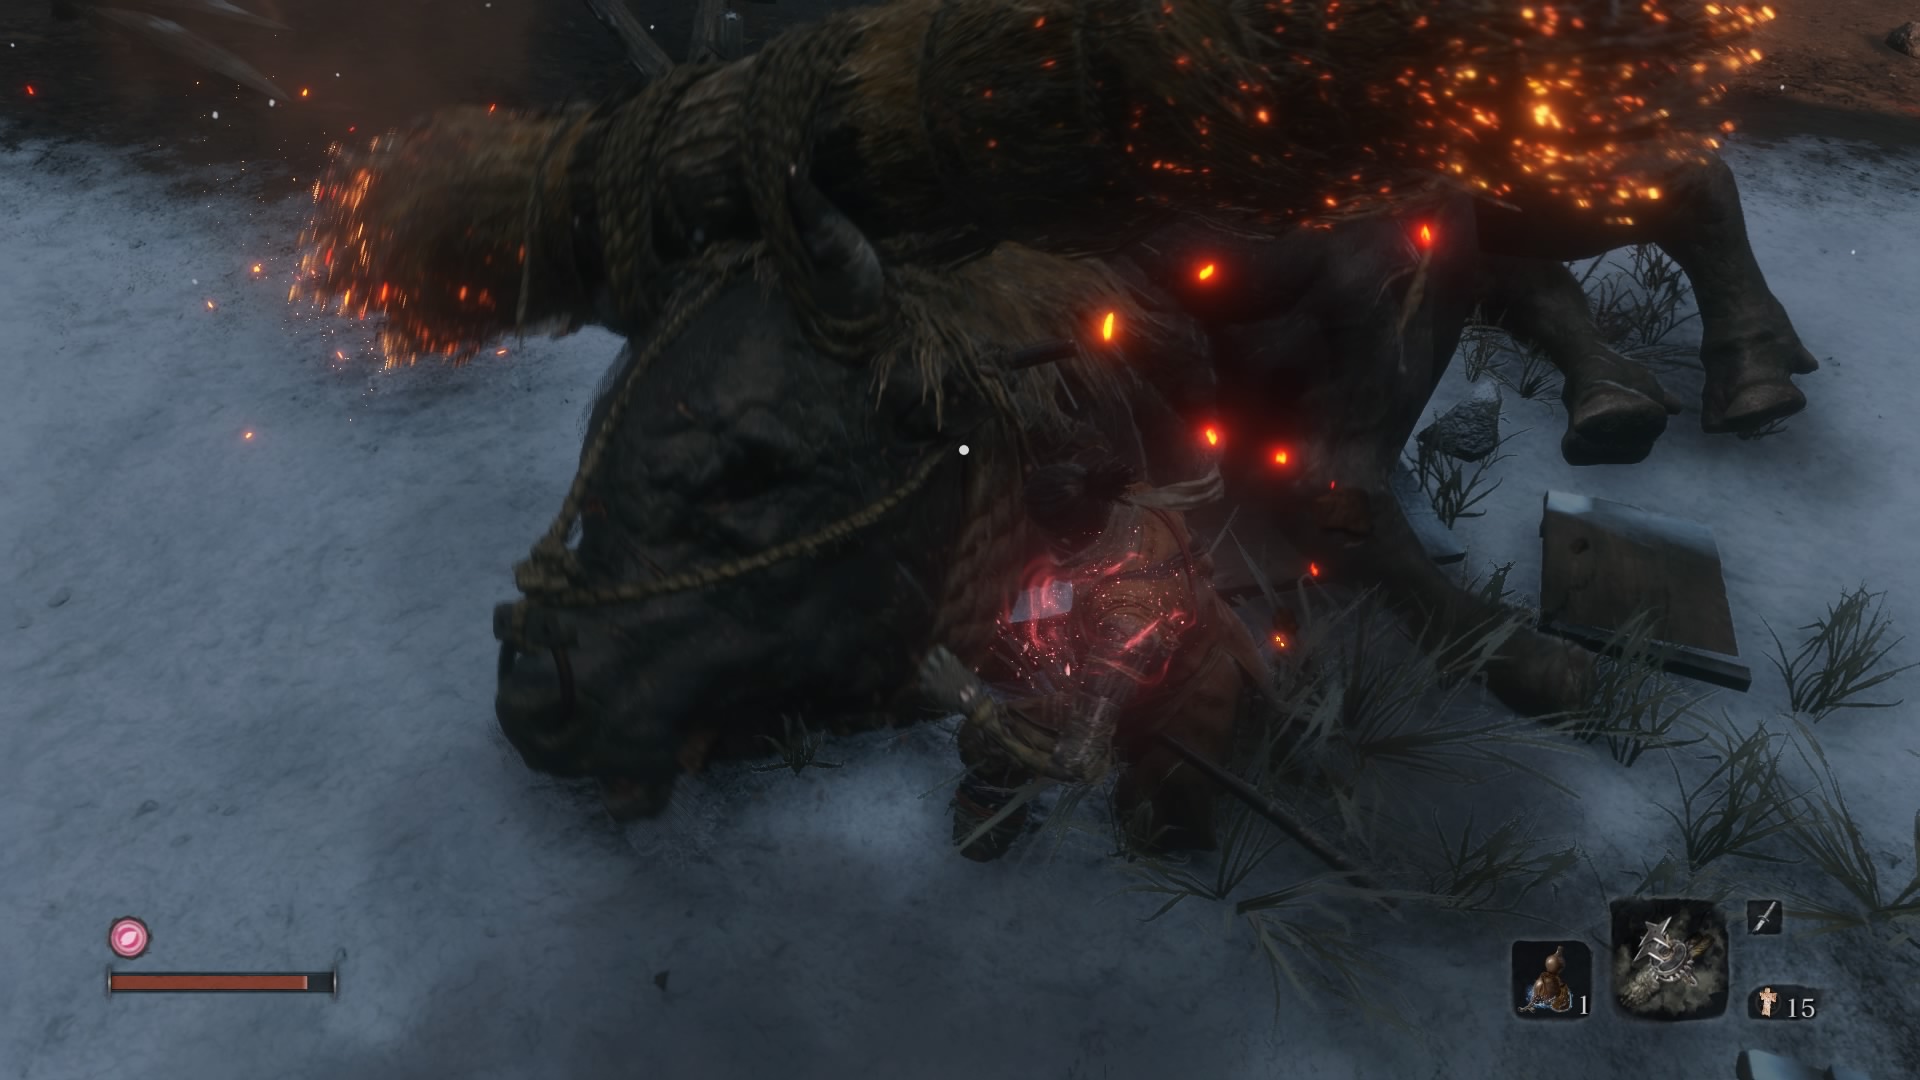
On approach, stand between the bull and the enemies ahead so that he tramples them when he escapes. After that, the quickest way to kill him is to keep your distance, staying in front of him so that he charges directly at you. Just before he gets to you, he’ll dip his head and then strike. Parry just as he uncoils his neck for a perfect deflection. He’ll then turn around, stunned, and you can get in a flurry of attacks.
You can then back off while he thrashes about, forcing him to charge, and repeat the same pattern. Each charge deals slight fire damage to you, so have some dousing powder handy for treating burns.
If you can’t get the rhythm of his charge, then your other option is to try to get behind him whenever you can. When he charges, sprint to the side so he runs past you. Keep circling round until you can get a hit on his flank, and eventually he’ll stop, letting you deal more damage. If you stay behind him on either side, he’ll swing his horns around to shake you off, so be ready to deflect.
If that fails, your other option is again to keep him in front of you, but to not to back off between charges. He’ll square up and try a three-attack combo, with two shakes of his head from side to side, followed by a third, slower strike. Work out the rhythm, deflect, and get in slashes while he resets.
Lastly, having the Firecracker Shinobi tool can make the fight a lot easier, as it will stun him for a good five seconds, and you can use it every 20 seconds or so.
Juzou the Drunkard mini boss
Sekiro Juzou the Drunkard mini boss
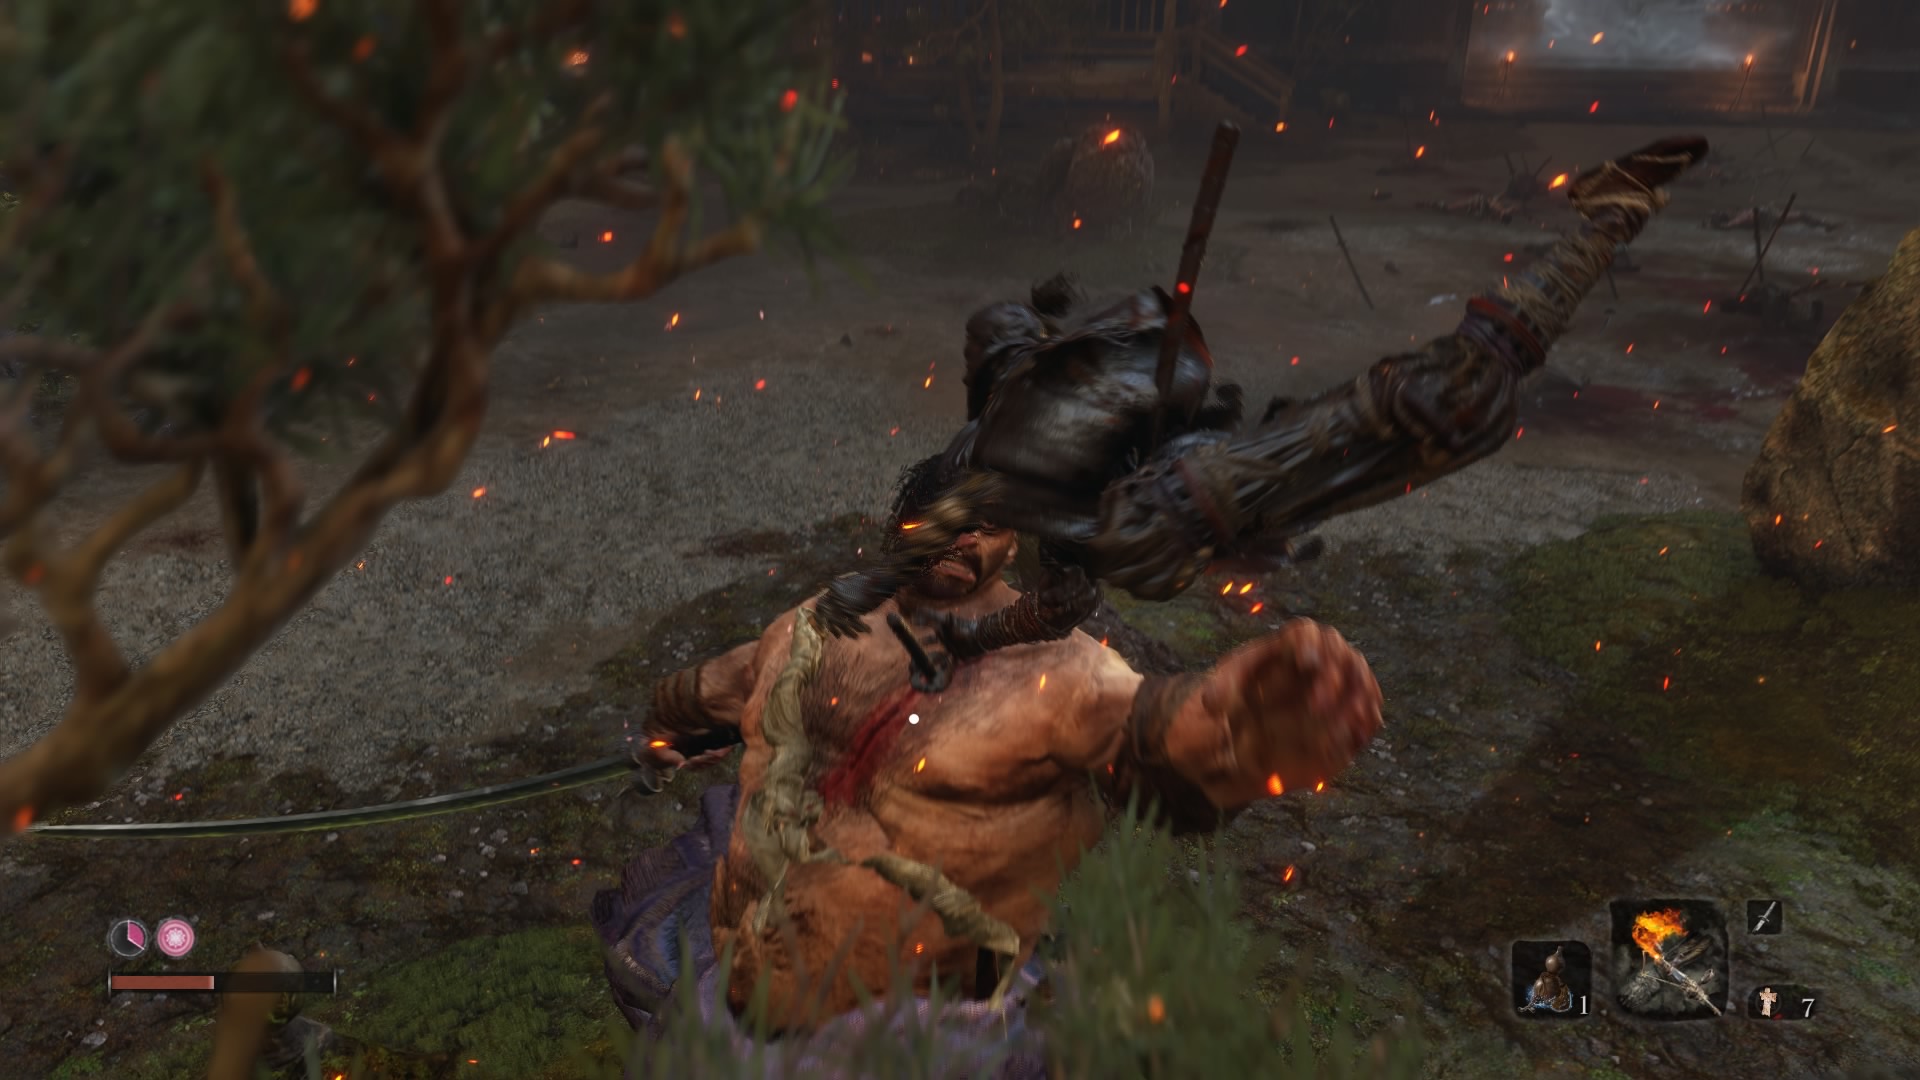
This is a tough fight with a hard-hitting enemy who also spits clouds of poison, which you’ll want to avoid at all costs. He has a guard of enemies around him, and you should deal with them first. Before you enter the boss area, sneak all the way around to a building on the left where you’ll find two enemies - backstab the first, then murder the second while he raises his hand for help. Follow the path forward and you’ll eventually come up behind one of Juzou’s entourage. Stab him for the fight to begin.
To clear out the smaller enemies, keep sprinting and circling so you can isolate them all one-on-one. They’re easy to deal with individually, and Juzou is too slow to keep up. Just make sure you’ve got the axe prosthetic attachment to deal with the shielded enemies.
When you’re down to just Juzou, sprint away from the area back to the water, and you’ll find an NPC near the rock. Talk to him and he’ll join you in battle, making it a two-on-one. At this stage, wait for Juzou to attack the NPC, and then chop away at his back. When he turns to you, back off, and allow the NPC to attack. Repeat this pattern, juggling him between the two of you.
Eventually the NPC will fall, and you’ll have to go it alone. When fighting him solo, the keys are to parry his sword attacks, avoid his grabs and punches, and stay away from his poison cloud. Anytime he swigs from his bottle or spits on his sword, rush in and attack, then back away. When he rears his head back, it means he’s about to spit poison: dodge continually to the left or right to stay out of the cloud.
His sword attacks are slow and easy to predict, so parry them as best you can. Watch out for his sweep attack, though, which you can’t parry: when the red Kanji symbol appears on screen and he pulls his sword to the left, jump away. If you’re feeling brave, jump towards him, then press jump again to stomp on his head for extra posture damage. Don’t confuse this with his grab move, which gives you the same red symbol but a different cue, where he crouches down and brings his hands together. If he does that, dodge backwards.
The last thing to deal with are his punches. You know they’re coming when he crouches down and raises his left hand—if you see it, just back away hard, and keep retreating because he sometimes follows up with two more punches.
If you’re struggling, you can make the fight easier by running away when it’s just you and Juzou, hiding underneath the walkways to the left of the arena. He’ll lose sight of you, and plod back to his starting position. You can then sneak behind him and stab him in the back, dealing one of your two required death blows. It’s cheesy, but effective.
Lady Butterfly boss fight
Sekiro Lady Butterfly boss fight
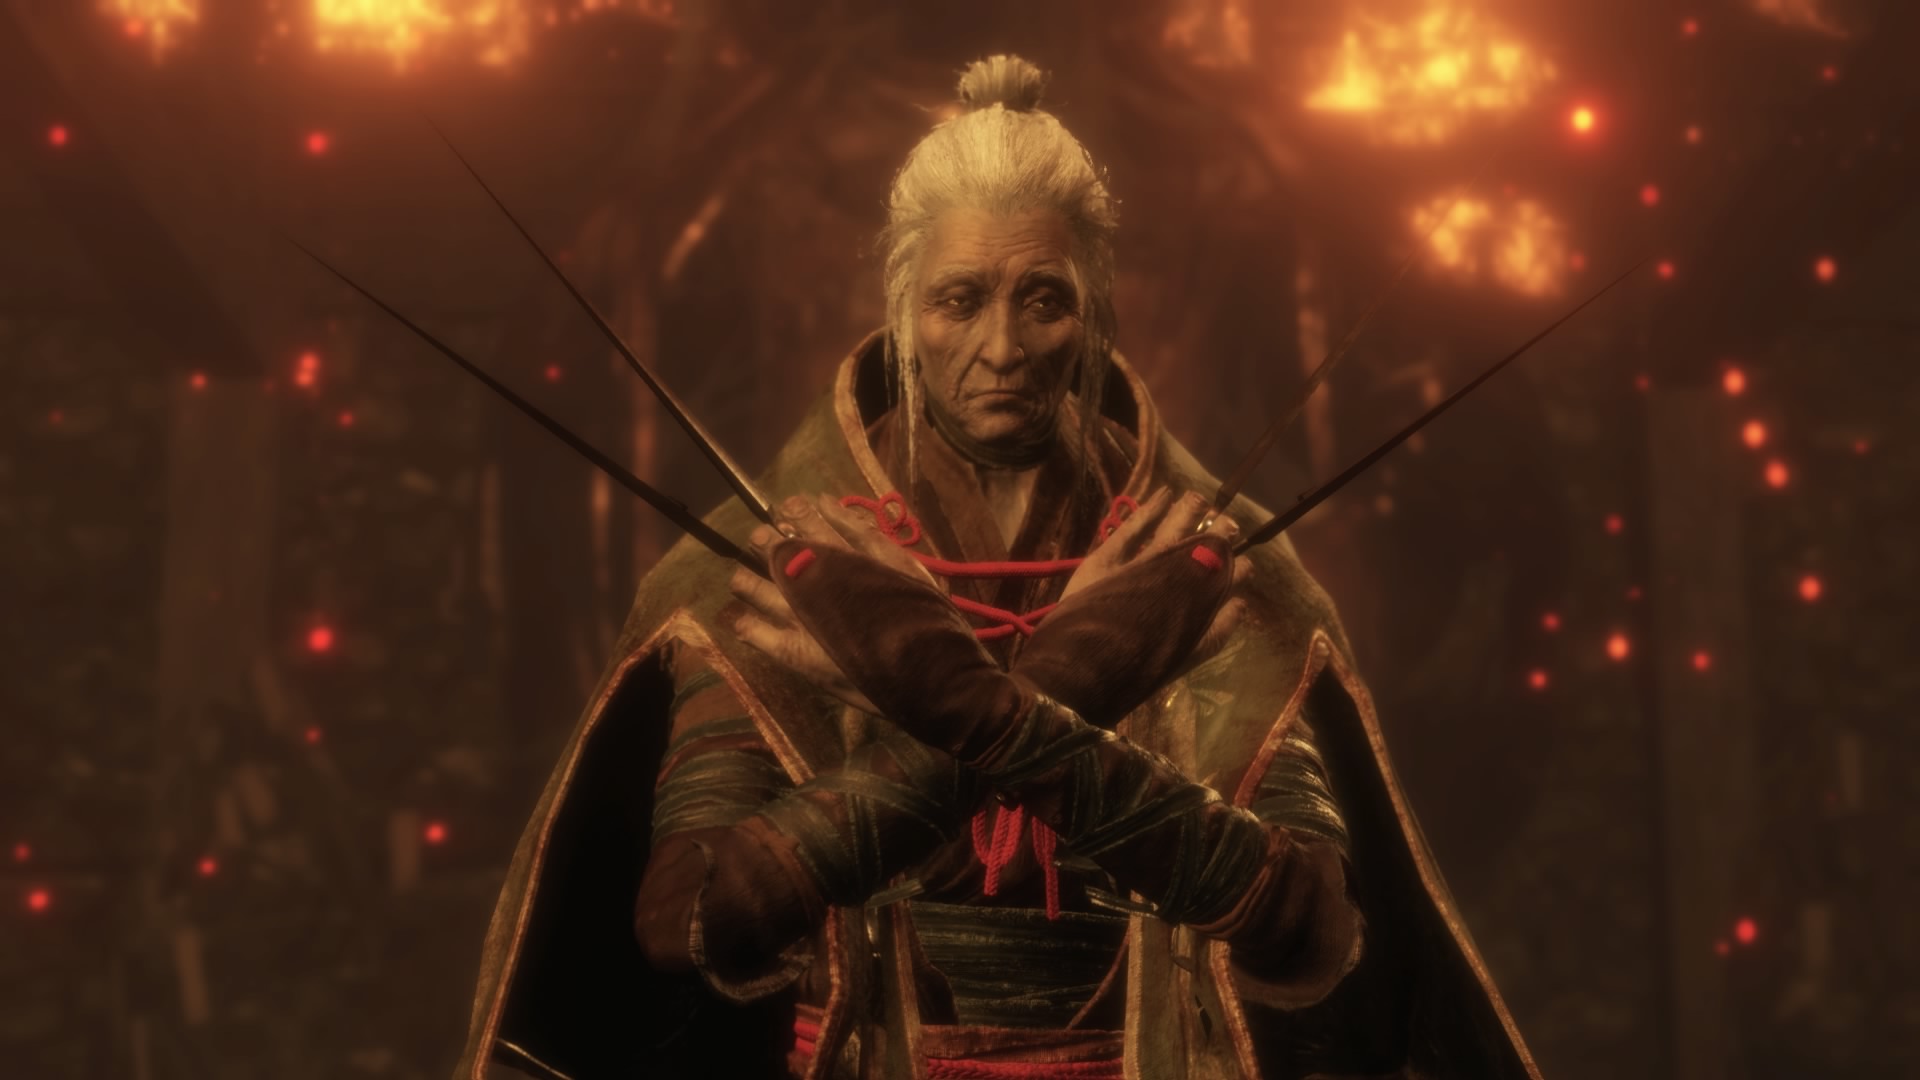
A two-phase boss (yes, her health bar is a lie) who summons ghostly illusions in her second phase, which can be a pain to deal with. Her first phase, however, is simple: focus on staying in her face and blocking her combos. She has a couple of three-hit combos, one slower, one faster. You can learn their cadence by just blocking the first time you meet her. When you’ve worked your way up to parrying the three blows, follow up with your own flurry, and then go back to parrying.
When the red Kanji symbol flashes on screen, she’s about to do a sweep attack, so jump straight up and then press jump again to kick her in the head.
She’ll also sometimes fly up into the air. If she throws her shuriken, you can block them by holding LB/L1. From the air, she’ll sometimes perform an unblockable attack - again, the red Kanji symbol is your cue - but it’s easy to avoid. Just wait in one spot, dodging out of the way when she swoops down. Follow up with your own thrust and a few extra swings. Eventually, you’ll break her posture.
After one death blow she’ll enter her second, illusion phase, periodically pausing to summon enemies from the ground. They’re slow, and to avoid them just run around the edges of the arena. More dangerous are the butterflies of light that appear when she dispels the illusion: they’ll fly at you in a pack for huge damage. Either hide behind a pillar or sprint as fast as you can, and they’ll zip behind you.
Other than her illusions, your strategy should be the same. Stay close and parry. This time, she’ll mix in shorter combos with a seven-attack combo. If she does this attack, just mash parry and you’ll do solid posture damage. She’ll end the combo with an unblockable attack, so be ready to jump away. Some of her sword attacks in the second phase summon butterflies, too, so dodge when this happens.
She’ll recover posture when she stops for her illusion, so breaking her posture can be difficult. Stay patient and whittle down her health with close-range stabs. Punish her slow attack from the air and, eventually, she’ll fall.
Seven Ashina Spears – Shikibu Toshikatsu Yamauchi mini boss
Sekiro Seven Ashina Spears boss – Shikibu Toshikatsu Yamauchi mini boss
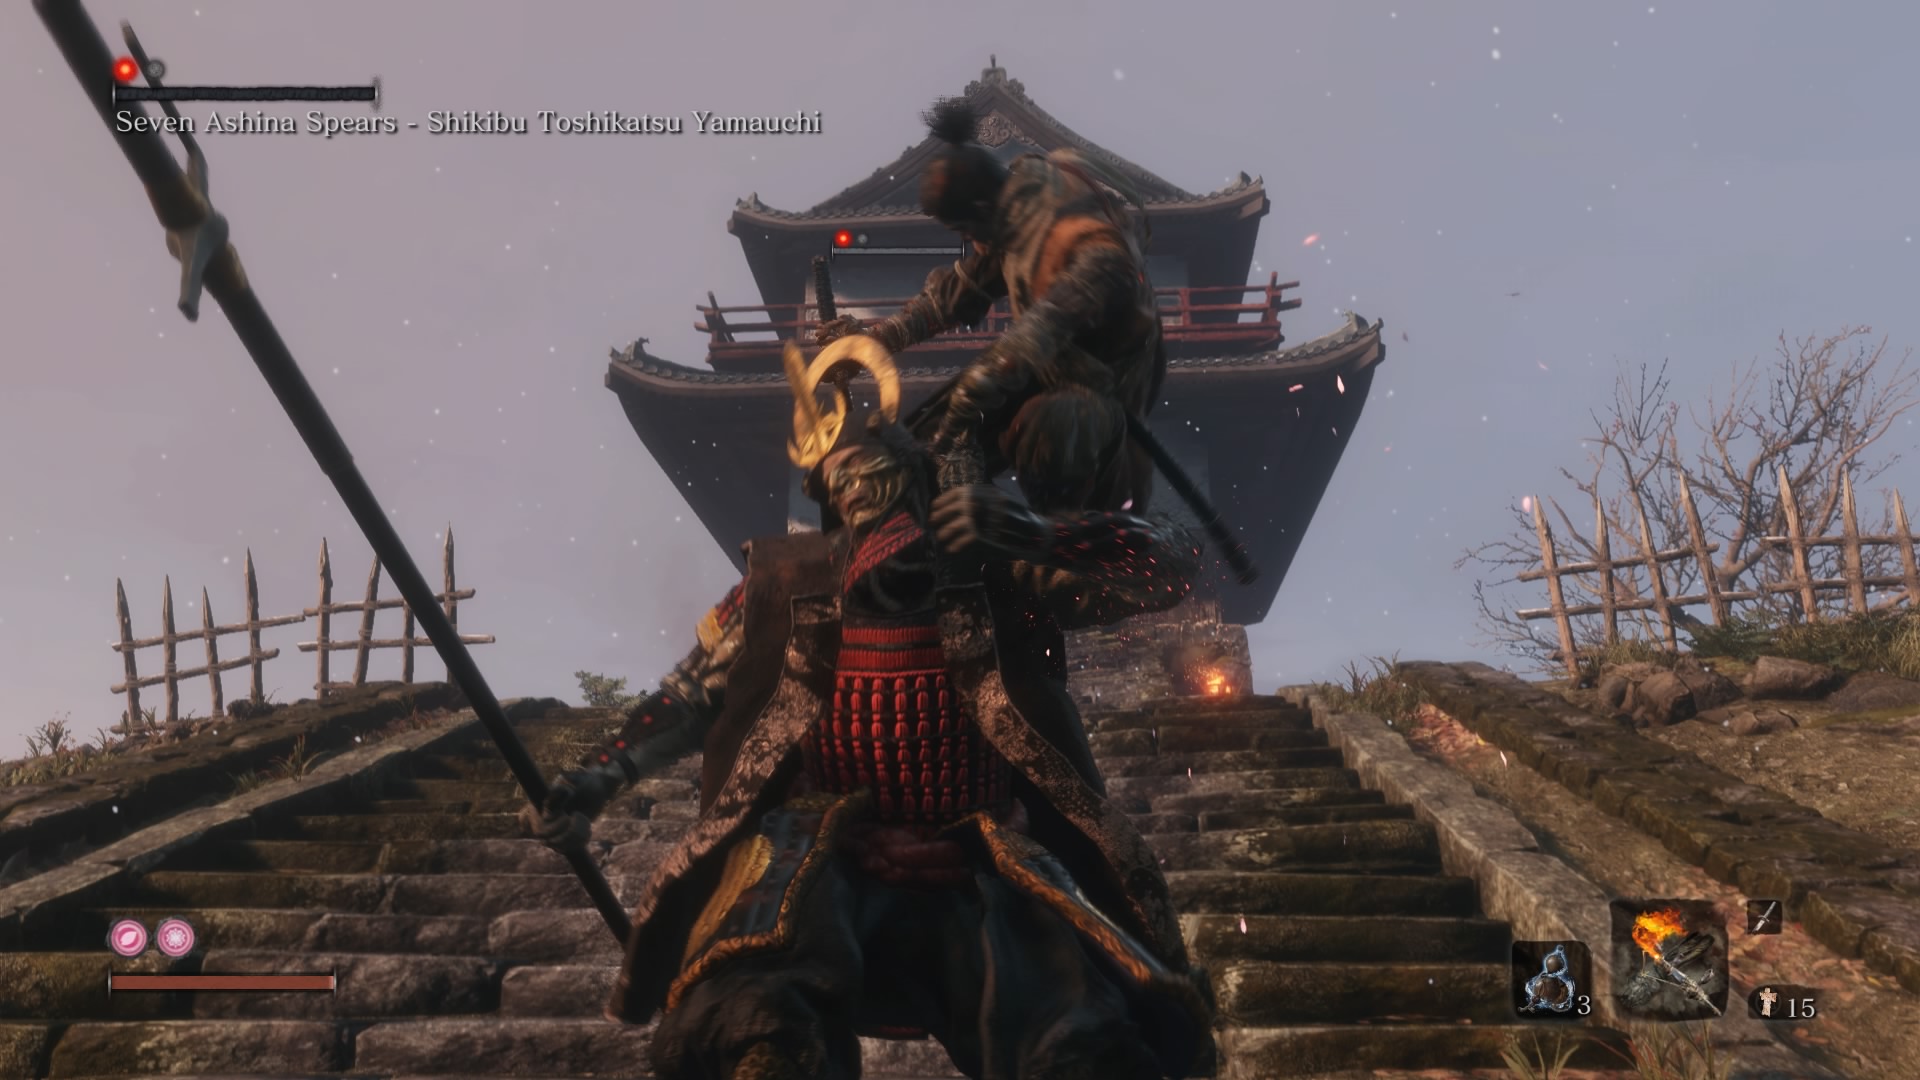
Before you face this mini boss you should mastered the Mikiri Counter, because Seven Ashina Spears has an arsenal of thrust attacks. Practise at the temple or on lower-level enemies to get the timing down. Focus on standing still and pressing dodge just before the thrust attack hits.
Make sure you take out the enemies in the surrounding area using stealth first, and then sneak up the cliffs on the left-hand side and into the house that you initially met the Heir in during the prologue. From there, you can sneak back outside and stab the mini boss once to make the battle half as hard.
During the fight, you want to focus on parrying and using the Mikiri Counter when the red Kanji sign appears on screen, which will stomp his spear. Beware of his follow-ups: he has a sweeping attack that he’ll perform even if you land your counter. Attack him when you’ve parried a heavy blow, or if you’ve dodged out of the way of one of his overhead strikes.
To confuse things, he also has an unblockable sweep attack that will bring up a red Kanju sign. The difference is that he’ll coil up and spin around for the sweep, crouching down and then springing forward. Jump, and then jump again on his head.
This can be a tricky enemy, and if you’re struggling we recommend returning when you’ve beaten a few more bosses and collected enough prayer beads to boost your health and posture.
Weekly digests, tales from the communities you love, and more
