
 Join The Community


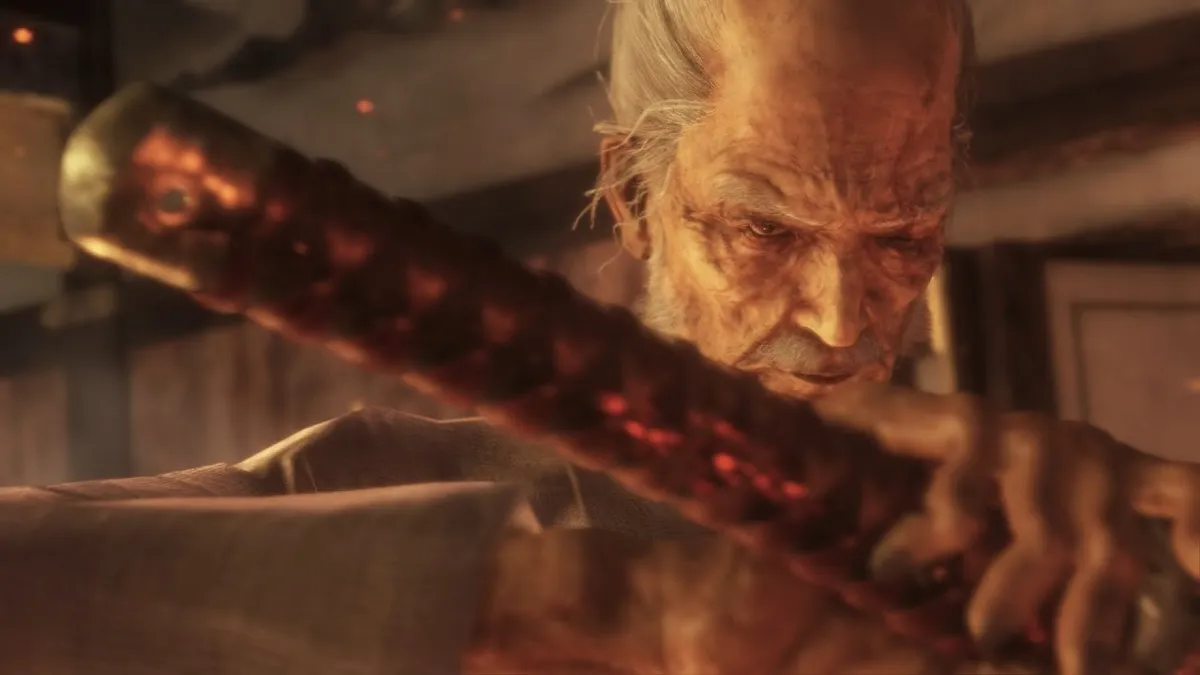
Lone Shadow Longswordman mini boss
Sekiro Lone Shadow Longswordsman boss

We died a dozen times to the Lone Shadow Longswordsman the first time we faced him - but once you work out how to beat him, you’ll be well set to face enemies with similar moves later on, of which there are many. First, you can get in a stealth death blow by moving past the well’s first dropdown entrance to a second hole in the ground, which he’s standing underneath. Drop down to halve his overall health.
His posture breaks quickly, so you want to deal damage whenever possible. When he tries his spinning kick, either deflect it or dodge forward and to his side so you end up behind him—he takes a long time to reset after this kick, so you can deal a ton of damage. If you’re struggling to deflect his sword, try this same sort of dodging, getting to his side or behind him when possible.
Watch out for his red Kanji kick, which comes either at the end of a series of kicks or after he’s deflected your attack (he’ll usually block your first two attacks, and then counter). You can’t block it, but you can deflect it or, even better, perform a Mikiri counter to damage his posture.

The last thing to look out for is his sweep attack, which is a follow-up to an elaborate, jumping, spinning attack where he slams his sword down. When you see that sweep, jump and kick his head for extra posture damage.
Ashina Elite mini boss
Sekiro Ashina Elite boss

Easy peasy, once you know how. He performs a deadly double strike that will slice you to bits, but if you quickly hit parry twice, you’ll deal huge posture damage. Before he attacks, you’ll see his sword glint at his hip—that’s your cue to parry. Be ready to do it again straight after, because he’ll often try two or three of these attacks in a row. Three sets of parries should be enough to beat him.
Armored Warrior mini boss
Sekiro Armored Warrior boss

Another easy battle once you’ve learnt its gimmick. Unlike other enemies, the Armored Warrior can’t be killed by a regular deathblow. Instead, you need to perform a deathblow while he’s near the edge of the bridge, which will push him off.
First, you need to make him smash down the walls. The easiest place to do this is in the outcrop on the right-hand side of the bridge. Dodge into there, face him, and then parry or block his slow attacks. Even if you’re not hurt, his strikes still damage the walls behind you, opening them up to the sheer drop below.
Then, it’s just a case of parrying his attacks and using your Axe to deal huge posture damage whenever he’s staggered. While you’re learning his attack rhythms, just stay near to his legs and run around him when he attacks so that you’ll end up behind him, where you can usually squeeze in an axe attack. When he starts slamming the ground in rage, run away, and watch out for the long reach of his final attack in the sequence (you can parry it once you know the timing). Watch out for his unblockable thrust attack, and respond with a Mikiri counter.
Remember to keep him near the outcrop where he’s smashed the walls down, and face outwards when you perform your deathblow.
Genichiro Ashina boss fight
Sekiro Genichiro Ashina boss

Our favourite boss fight in the game, but also one of the toughest. His posture breaks quickly, so you want to aggro him, attacking whenever possible. Attacks will also cancel some of his animations, which is handy.
The key to beating his first phase is simply to learn his attack patterns. Play more cautiously when you first face him and block through his swipes. The combo to look out for is the string of eight or nine hits in a row, which starts with two spinning slashes, then a pause, then a flurry of strikes. These attacks happen in quick succession, and usually pressing parry as fast as you can will deflect them, damaging his posture.
When he backs off, watch out for his arrow attack, which usually leads into a forward roll and a sword swipe. If he jumps high and backwards, he’s about to spam you with arrows, so tap that parry button. Also bear in mind that he’ll fire an arrow whenever you heal, so hold block immediately after you heal to prevent damage.
Keep an eye out for his thrusts, which you can counter for huge posture damage, and after one death blow he’ll add in an unblockable sweep, too. They’re easy to distinguish, and the timing on both makes them easy to counter once you recognise their cues. Once again, stay aggressive and in his face, and you should break his posture within a couple of minutes.
When he reaches his lightning-powered second phase, you have two options. He’s essentially the same as his first phase, but with some extra lightning attacks, which you can’t block. If you press up on him, you can use the same tactics as the first phase - just make sure you dodge out of the way of his lightning strikes. You’ll see the sparks when he’s charging them, which means it’s time to sprint to the side.
However, we found it’s instead more reliable to keep your distance and bait out those lightning strikes. The counter is fiddly, but will reliably eat a quarter of his health bar. Basically, when he’s about to attack you want to jump in the air, take the lightning hit, and then press R1 before you hit the ground. This will reverse all the lightning damage back onto Genichiro. The key is not jumping too early: let some of his lightning animation play before you jump, stay calm, and only hit R1 after his attack connects. Four of those should finish him off.
Guardian Ape boss fight
Sekiro Guardian Ape boss

The key to the Guardian Ape fight is to be aggressive. You might naturally want to back off from his big ground slams, but you need to be close to him to take advantage when he gets tired. Plus, sticking close means he won’t fling his poison poo, which is perhaps his hardest attack to counter.
Generally, you want to stay around his feet countering his attacks, and jumping when the red symbol flashes on screen and he tries to grab you. If you don’t feel comfortable parrying, simply hold block and let him stomp around: you can absorb pretty much everything. When he’s done with a combo, get in a couple of shots and go back to blocking.
Look out for the attack where he rolls around on the ground - he shimmies from left to right, and can damage you as long as he’s moving. When he does this, move to behind his head, wait for him to stop rolling, and get in a few swipes. If he does throw poo, just make sure you’re close to him: you can sprint underneath him to avoid the attack.
If you’re having issues, use your firecracker, which will stun him. Wait for him to lose his balance first before you start attacking, otherwise he’ll fall on top of you.

When you’ve beheaded him, he moves into his second, haunted stage, carrying his head in one hand and a weapon in the other. The main thing you’ll want to avoid is his terror scream, which deals damage and fills your terror bar. If it’s full, you die. Normally, he’ll do it when you stay close for an extended time, and you’ll know it’s coming when he lifts his severed head to its neck. Back the hell away. Grabbing the purple gourd, which increases your terror resistance, from the merchant in Mibu Village before the fight is a good idea.
Otherwise, you’ll want to follow the same tactics as the first phase, parrying once you get use to his attack cadence. It’s a little funky at first, and his movements appear unnatural, but his attacks are fairly rhythmic once you get used to them. Again, simply blocking will do fine—that is until he rears up, sword above his head. He’s about to do a power attack, and it’s crucial that you parry it instead of blocking. If you’re successful, he’ll slump on the ground, exhausted, and you can get in five strikes.
As well as those power attacks, you need to pay attention for his diving move. When he dives forward, dodge towards him and to the right so that you’re by his side for a free few hits. He also has a spin move where he turns around and swipes behind him—after he does this, he’s about to spin back around into a fast attack, so stay firm with your block.
The key is baiting those overhead power strikes and deflecting them, allowing you to deal consistent chunks of damage.
Sekiro Folding Screen Monkeys boss
Sekiro Folding Screen Monkeys boss

Sekiro’s most bizarre boss fight: you have to kill four monkeys, one of which is invisible. They can’t hurt you, but they sometimes summon ghost monkeys that can swarm you in a pack, and those attacks increase your terror. If that happens, forget about the four main monkeys and take out these ghosts - they’re easy to kill.
The invisible monkey is the simplest to find. When you spawn, walk forward so you’re level with the screens, turn around, walk back to where you spawned and swing your sword. You’ll want to swing where the gold pots are on the floor, which will kill the invisible monkey.
To kill the green monkey, jump onto the tree in the middle of the level and then forward again to the branch directly in front of you, behind which is a bell. Wait for the green monkey to reach the platform you can see overhead, and ring the bell to stun it. Grapple to the platform and take the monkey out. Two down, two to go.
For the purple monkey, you’ll want to grapple onto the roof of the building in the far left corner of the map. Peek down and the monkey will spot you, and run away. Drop down and open the door on the far side of the room. Now, you need to chase the monkey back into the same room: just follow the purple footsteps, keep chasing him and he’ll head back there eventually. When he does, grapple up the roof again. This time, he won’t spot you and you can perform a death blow from above.
The red monkey is easy to sneak up on, so all you need to do is locate him by scanning the rooftops, get behind him and stab him in the back.
If you need to reset the monkeys, just ring the Illusive Hall bell at any time. The red monkey will be on top of the first roof, and will probably run to the right if you jump up. Remember to look for footsteps: the colour of the trail matches the colour of the monkey that left them.
Corrupted Monk boss fight
Sekiro Corrupted Monk boss

The Corrupted Monk fight is a war of attrition. Its posture recovers very fast until it’s down to a third or less health, so trying to parry early on is futile. Instead, back off and bait its attacks. When it finishes combos, rush in for a few hits, and then back out.
At the start of every fight, rush in immediately for a few free attacks. We recommend using the Mortal Draw skill if you’ve unlocked it - if not, the whirlwind slash will do. You can use divine confetti to deal more damage, but only use this once you know the monk’s attack patterns. The confetti is rare, so using it on a losing run is a waste.
Follow the same pattern of baiting attacks, rushing in and backing off until the monk is at a third health. Watch out for its two unblockable attacks - one a sweep, and one a thrust. Early in the fight, just jump well away as you can as soon as you see the red symbol. The monk will perform a jumping attack to close space, but it’s easy to parry and then get in a few hits.
You can carry on doing this until the monk it dead, but it’s quicker to parry when its health bar reaches a third. It’s time to use that Mikiri counter to stomp on its thrusts and bounce on its head when it sweeps. It has a couple of predictable combos that you’ll get used to once you’ve fought it a few times. The best one to build up posture damage on is its whirlwind attack, which is four spins followed by a fifth attack. Parry in a rhythm, and remember that the final attack comes faster than the other four.
Sekiro Emma, the Gentle Blade boss - Shura ending
Note: these are the Sekiro boss fights you'll get if you choose to betray your master, Kuro, The Divine Heir. It's the shortest (and worst) ending. If you choose not to betray Kuro then skip on to the next page where you'll find a whole other world of hurt.

The first of two consecutive boss fights you’ll meet if you forsake Kuro for the Shura ending. You won’t have a chance to recover between fights, so you’ll want to finish Emma without using many healing gourds.
Thankfully, you can take her down quickly. There are two methods: the first is cheesy, but works nearly every time. All you need to do is back away from her and sprint around her in circles to the left. She’ll try various sword attacks to close the gap, but each time they’ll be too slow to catch up to you. When the attack is over, she’ll stand still, which is your chance to dart in and get a few swipes on her. Repeat this until she’s dead.
If that’s feels underhanded, then you can win just as quickly, if not quicker, by being the aggressor, maxing out her posture bar in no time. Push forward and attack her. She’ll start deflecting and countering, which is your cue to deflect yourself. Staying close will avoid her deadliest moves, keeping her to three or four hit combos that are easier to get to grips with (just tap deflect in a regular, fast rhythm).
However, she has a few attacks that can be frustrating to deal with. Her sweep attack has a big wind-up, so jump when you see her stretching her sword back, and kick her in the head for huge posture damage. She also has a lunge attack, but if you press forward you won’t see it very often, and you can simply parry it off. The dangerous one is her grab: she’ll wave her hands in front of her face while she charges it up. When she does that, bail out.
She’ll sometimes pirouette backwards and hold her sword above her head, which leads into a forward slashing attack. Be ready to parry—or even better, attack her after she steps back to interrupt the move. It’s another reason to be as aggressive as possible.
If you end up further from her, watch out for her flying, unblockable thrust - use your Mikiri counter - and a charged attack where she puts her sword away first. When it glints in its sheath, she’s about to strike, so make sure you’re sprinting to the side.
Isshin Ashina boss fight
Sekiro Isshin Ashina boss - Shura ending
Isshin Ashina is the final boss fight for the Shura ending, and he’s a tough nut to crack. You’ll face him in two phases, and in the second he deals fire damage, occasionally setting the whole area ablaze. Make sure you have some dousing powder handy before you take him on.
This can be a long, drawn-out fight: his posture will recover quickly until his health is less than half, and there are very few chances to deal damage. He’ll also dodge your first attack whenever you try and hit him from a neutral stance. Swing once to draw out a spinning counter, which you should deflect.
It’s hard to predict what he’ll do next, and your main hope is just to watch closely and figure out what move he’s pulling. Sometimes it’s a simple combo, which you can deflect. Sometimes, it’s a grab - look for a similar cue to Emma’s. Other times, he’ll perform a thrusting attack: respond with a dodge to the side and a follow-up attack of your own. Your only hope is to attack right at the end of these moves, usually with just a single attack, and then reset.
The easiest attack to punish is his overhead slash, where he’ll raise his sword above his head in two hands. He’ll attack forward once, and then once again. Stay close to him and dodge to the side, and then rush in to hit him twice. When his health his low, keep parrying and dealing chip damage until either his health or posture is spent. Then, prepare for the heat.
His second phase adds a whole new set of attacks that deal burn damage. As soon as the phase starts, he’ll hunch over and start growling. He’s about to set the room on fire: quick, use your firecracker to stun him and get a few hits in. You’ll want to do this whenever he begins the move. If you don’t get there in time, just try your best to avoid the fire spots on the floor, which will flare once, and then a second time with more vigour for huge damage.
You might consider buying the Withered Red Gourd from the pot merchant in the water in front of the Hirata Estate before the fight, which will reduce burn damage.
Again, the easiest attack to punish in this phase is the two-handed overhead. This time, he’ll push forward once and then perform a fire slash. Dodge the first attack to the side, and then hold up your block, because the second attack deals damage all around him. Get in a quick hit and reset.
His other two fire attacks are easier to read. He’ll stomp the ground before each one - sometimes he’ll then fling a narrow cone of flames across the whole arena, the rest of the time it’ll stay close to him, but the cone will be wider. In both cases, jump back and to the side when he stomps.
Again, you want to try and bait out his counterattacks when you’re both squaring off. He’ll perform some of the same moves as in his first phase, so just try to learn these and counter when he pulls them off. It’s not easy - but what do you expect from the final boss of a FromSoftware game?

