Join The Community


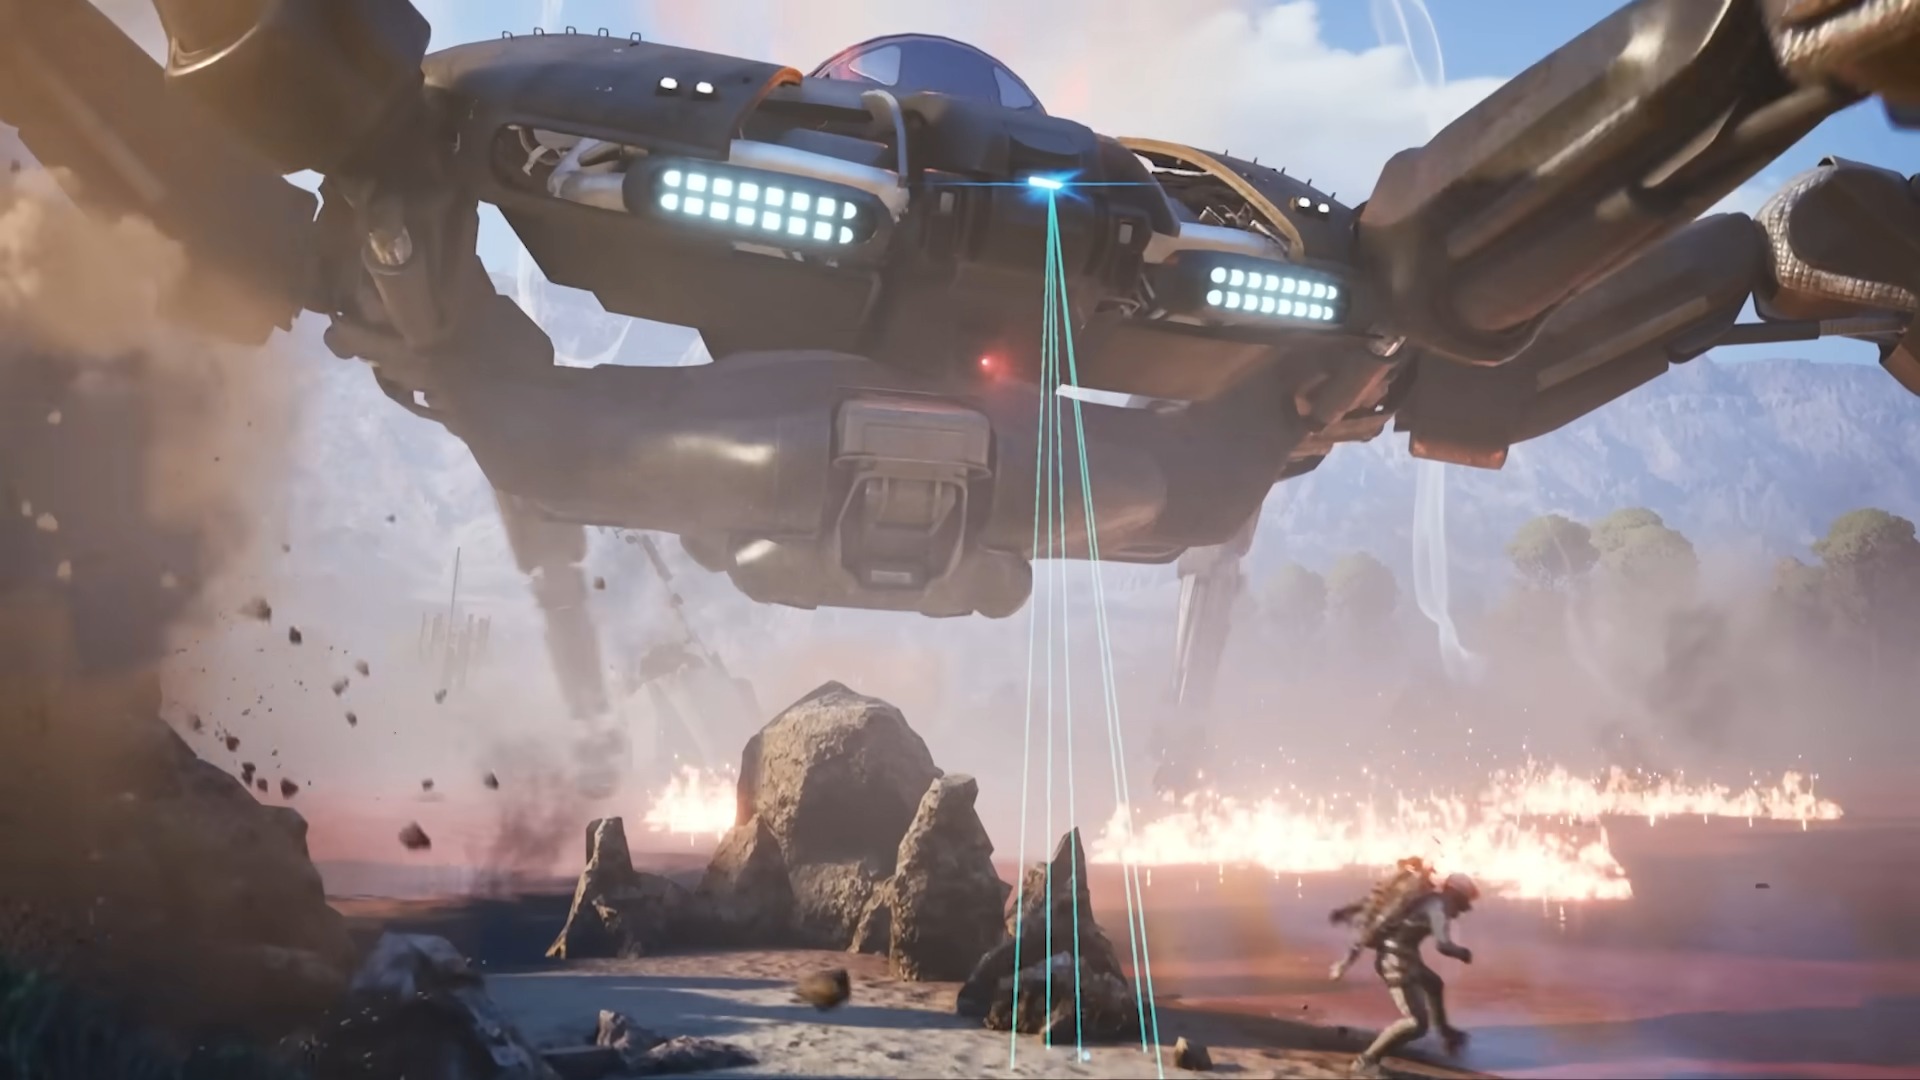
Starfield ship building and customization lets you draw from an extensive parts list and alter detailed stats to create the starship of your dreams. By visiting ship technicians found in the various spaceports or landing zones of populated Settled Systems areas in Starfield, you can pay to upgrade modules, or attach completely new ones, from weapons and shields to engines, cargo holds, and more. Whatever your ideal ship looks like, I've covered everything you need to know about how to build a ship in Starfield and what all the ship stats and modules affect.
How to build a ship in Starfield or customize it

To customize or build a ship in Starfield you need to find a ship technician, an NPC you can always find near a landing pad in populated areas. Technicians let you buy and sell parts (note that parts are never stored in your inventory or cargo hold and can only be bought from technicians), pay for repairs and buy and sell whole ships.
Importantly, you can't really build a ship entirely from scratch in Starfield - there's no option to build a completely new ship when playing or talking to a technician. Instead you need to select a ship you already own and can change it as little or as much as you want.
Article continues belowYou can add and/or remove modules to change the looks and features of the ship. Modules fit together at certain attachment points, and by sticking together various sections of spaceships, players can build up a ship that fits to their needs and interests, with all sorts of variety on offer. There are a few things you'll need to be aware of as you start putting things together:
- You can only use parts that match your current reactor rating. So that limits anything that requires power to the reactors you can buy.
- You'll need to level up up your Starship Design in Starfield skills to access higher level components.
- Adding anything to your ship will affect its weight, making you slower or less manoeuvrable, or your hull, making your more vulnerable.
- You always need at least one of several component types attached to your ship to ensure it functions, but you can have only one of things like a shield, reactor and so on.
One of the biggest problems you might encounter while ship building a message about Starfield unmatched modules. You can check that guides for more details on a fix but essentially, something isn't attached but because everything floats in ship building mode it's impossible to tell by looking.
Starfield ship stats explained

Starfield ship stats are broken up into the following categories, all of which you should keep an eye on when customizing your craft.
- LAS: Damage done by the ship's laser weapons.
- BAL: Damage done by the ship's ballistic weapons.
- MSL: Damage done by the ship's missile weapons.
- Hull: The ship's durability (AKA, its health bar).
- Shield: How much protection the shield provides from attacks before the hull takes damage.
- Reactor: How much energy your ship provides for you to allocate between the different systems.
- Cargo: How much cargo the ship can carry.
- Shielded Cargo: How much smuggled cargo the ship can carry and potentially conceal from scanners.
- Crew Capacity: How many crew members can be on your ship at any one time.
- Fuel: How much fuel your ship can hold. The greater your fuel reserves, the more Grav Jumps you can string together in on go.
- Jump Range (Light Years): The maximum distance the ship can travel in a single use of the Grav Drive.
- Mobility: The control and maneuverability of the ship in combat.
- Top Speed: How fast the ship can go.
- Mass: The total weight of the ship. Greater mass makes you slower and less agile, and limits your Jump Range. Heavier ships also require more Lander Thrust to be able to take off.
As you select modules you'll be able to see what they affect - some habitat modules will add passenger space, for example. Mass is the main issue as every module has some weight to it, and the more you stick on your ship, the heavier it becomes - the upshot is that all modules also add Hull, making your ship more durable too.
So, you need to find a balance that works for you. Maybe you want a bare-bones speedster with nothing but the essentials, capable of blasting across space, or a giant flying fortress covered in gun turrets and moving like a snail.
Starfield Ship modules and components
There are a lot of Starfield ship modules and components for you to pick from, some of which are essential - you can't fly without a reactor, for example - others of which are far more optional. We'll walk you through all of them and what they do below, so you know exactly what you're spending your hard-earned credits on.
Starfield cockpit stats

Cockpits are essential modules that are simply where your ship is flown from, as well as where you access the Cargo hold. Some offer more Crew Stations and a bit of extra cargo space. As such, they affect the following stats:
- Cargo
- Crew Slots
Starfield engine stats

Engines are an essential module. The more engines you can use, the faster and more agile your ship becomes. That being said, if you're going to put a dozen engines on your ship, make sure you have the reactor to power them all, otherwise they won't help much. Your fitted engines affect these ship stats:
- Class
- Max Power
- Engine Thrust
- Maneuvering Thrust
- Engine Health
- Crew Capacity
Starfield Grav Drive stats

Grav Drives allow your ship to jump from star system to star system. Better Grav Drives allow you to go further in a single jump, and if you want to make sure an enemy ship can't escape, target and obliterate their Grav Drive as a priority. Your chosen Grav Drive also affects the following:
- Class
- Max Power
- Grav Jump Thrust
- Grav Drive Health
Starfield Dockers stats

Dockers are the hatches that connect your ship with others, or with space stations like the Eye in orbit around Jemison. The only real difference with Dockers is whether you want to leave your ship via the ceiling or through the wall. These have to be proud of the lowest or highest part of the ship as they can't be obscured. Aside from Hull and Mass, they have no other effect on your ship's stats.
Starfield Bays

A landing bay is the ramp and door in the bottom of the ship that you can use to get in an out while a planet or moon. These have some rules when placing, apart from reaching the ground, as they have to let the player character reach them.
Starfield Cargo and Shielded Cargo

A cargo hold is simply added storage for your spaceship to carry anything from your inventory, from resources to weapons. Unsurprisingly, the main stat your hold of choice affects is Cargo. Holds are accessed via a terminal in the cockpit, and while they're heavy, the more holds you stick on your ship, the more space you'll have to keep things such as weighty Starfield ship parts for repairs. Players who go to less scrupulous corners of the galaxy, like the Crimson Pirates' base, can also buy Shielded Cargo holds, which are an integral part of Starfield contraband smuggling.
Starfield fuel tank stats

Fuel Tanks specifically store the Helium-3 needed for the ship's Grav Drive, therefore increasing your ship's Grav Jump Fuel. Larger tanks allow for further, or more frequent jumps to different systems before refueling. Don't worry - Fuel Tanks refuel automatically after every jump.
Starfield Habitat Modules

"Hab" or Habitat modules are the rooms of your ship. You can use the d-pad to select variations that will add things like workstations, control rooms, armories and so so. So you can use smaller rooms to connect larger areas. They're also one of the main ways to expand you crew placements, affecting the following stats:
- Crew Slots
- Passenger Slots
Starfield Gear

Also referred to as "Landers", this is your landing gear - the legs that your ship stands on when it drops onto a planet and the engines used to take off and land. They affect the hidden Lander Thrust stat, which essentially acts as a weight penalty - heavier ships require greater Lander Thrust which means they need more gear to take off.
Starfield structural

"Structural" refers to a large, catch-all bracket of miscellaneous starship modules, from protective and aesthetic cowling, to portholes to weapon mounts and more besides. Most of this either changes how your ship looks or extends building possibilities with connecting pieces.
Starfield shields

Shields are modules that protect the player's ship with a bubble of regenerating energy. Shields get damaged heavily by energy weapons, and the more power you put into maintaining them, the tougher they'll be and the quicker they come back. There's no downside to a shield taking damage in the long run - it's the hull underneath that you need to protect. Your shield of choice also affects these ships stats:
- Class
- Max Power
- Shield Max Health
- Regen Rate
- Crew Capacity
Starfield ballistic weapons

Ballistic weapons are those that fire solid bullets, like cannons and autocannons, and do more damage to a ship's hull than they do to its shields. Depending on the type you buy, some may be fast-firing machine guns, while others let off slow, individual slugs. They contribute to the following stats:
- Class
- Range
- Fire Rate
- Hull Damage
- Shield Damage
- Max Power
- Crew Capacity
Starfield energy weapons

Energy weapons are designed to destroy the shields of enemy ships, with various lasers and suppressors burning through that defensive bubble so your ballistic weapons can shred the physical elements beneath. Here are the stats they affect too:
- Class
- Range
- Fire Rate
- Hull Damage
- Shield Damage
- Max Power
- Crew Capacity
Starfield missile weapons

Missiles serve their own function - though slower to fire and use, their primary purpose is to target and destroy specific systems, such as enemy shields, engines, or more, depending on what you target, annihilating a specific part of the ship. This makes them helpful if you want to know how to steal ships in Starfield, which is often about blowing up the engines as a priority. They also contribute to these ship stats in Starfield:
- Class
- Range
- Fire Rate
- Hull damage
- Shield damage
- Max Power
- Crew Capacity
Starfield Reactors

Reactors are an expensive and essential part of the ship, the source of power from which your systems draw their energy. Better reactors generate more power and repair faster when damaged. Your ship's reactor also affects these stats:
- Class
- Power Generated
- Repair Rate
- Reactor Health
- Crew Capacity
Starfield ship power allocation

Starfield power allocation lets you vary the amount of power across your ship's systems to improve the effectiveness of certain aspects on the fly. Using the D-pad on a controller, you can switch between the six vertical power indicators for the essential systems on your ship and allocate power between them.
- LAS: Laser weapon damage.
- BAL: Ballistic weapon damage.
- MSL: Missile weapon damage.
- ENG: Flight speed.
- SHD: Shield strength and protection.
- GRV: Grav Jump charge speed.
Your reactor will dictate how much power you have to play with, and the modules in the categories above will use it. So better reactors, or lower power modules, will change how you distribute power.
You can change how the ship controls by varying these bars as you play and that will affect your ship moment to moment. If you're fighting and not planning to run away, for example, you can take all the power out of your grav drive and redirect to weapons or engines to make better use of it.
Changing Starfield ship colors

Players can customise ship colours and appearance by module, selecting the module in the ship builder and pressing LS to change its colouration. You can also select the entire shipt to save time. Most modules have three different sections that can be recolored, and you'd be amazed how much a lick of paint can really make a spaceship feel like your own.
Starfield ship builds

Ships in starfield are built for a purpose - you can make an all-rounder, but also min-max certain elements for specific builds. Not only that, but because you can have multiple ships in storage, this means that you can have multiple builds ready depending on what you want to achieve. Here are ideas for what players should focus on, depending on what they want to do.
- Piracy/Bounty Hunter ship build: Emphasize high shields, engines, laser weapons and missiles, so you can blow out the engines and dock with the craft. De-emphasize jump distance and diverse hab modules to keep yourself swift and small.
- Exploration and surveying ship build: Emphasize fuel tanks, better jump drives, cargo space and diverse hab modules to become a flying base. De-emphasize agility and weapons, though keep a certain amount of firepower ready for emergencies.
- Cargo/smuggling ship build: Emphasize many, many cargo holds (including some shielded cargo), high shields, reactor power. De-emphasize attack power - in an emergency, you should run rather than fight.
© GamesRadar+. Not to be reproduced without permission

You must confirm your public display name before commenting
Please logout and then login again, you will then be prompted to enter your display name.