
 Join The Community


The Outriders Yagak boss fight occurs twice during the story – well, you fight him twice, anyway – and both encounters can be incredibly tough to beat. That's where we come in. Defeating Yagak twice are two of the hardest boss fights throughout all of Outriders, but it goes without saying that this guide will have very, very minor spoilers for the fights themselves. Here is everything you need to know to win the Outriders Yagak boss fights.
Outriders best class | Outriders legendary weapons | Outriders legendary armor | Best Outriders weapon mods | Best Outriders armor mods | Outriders length | Outriders crossplay | Outriders level cap | Outriders expeditions | Outriders Legacy | Outriders Big Iron | Outriders Yagak | Outriders Forgotten Chapel | Outriders cheats | Outriders hide helmet | Outriders Game Pass
Outriders Yagak guide: First encounter
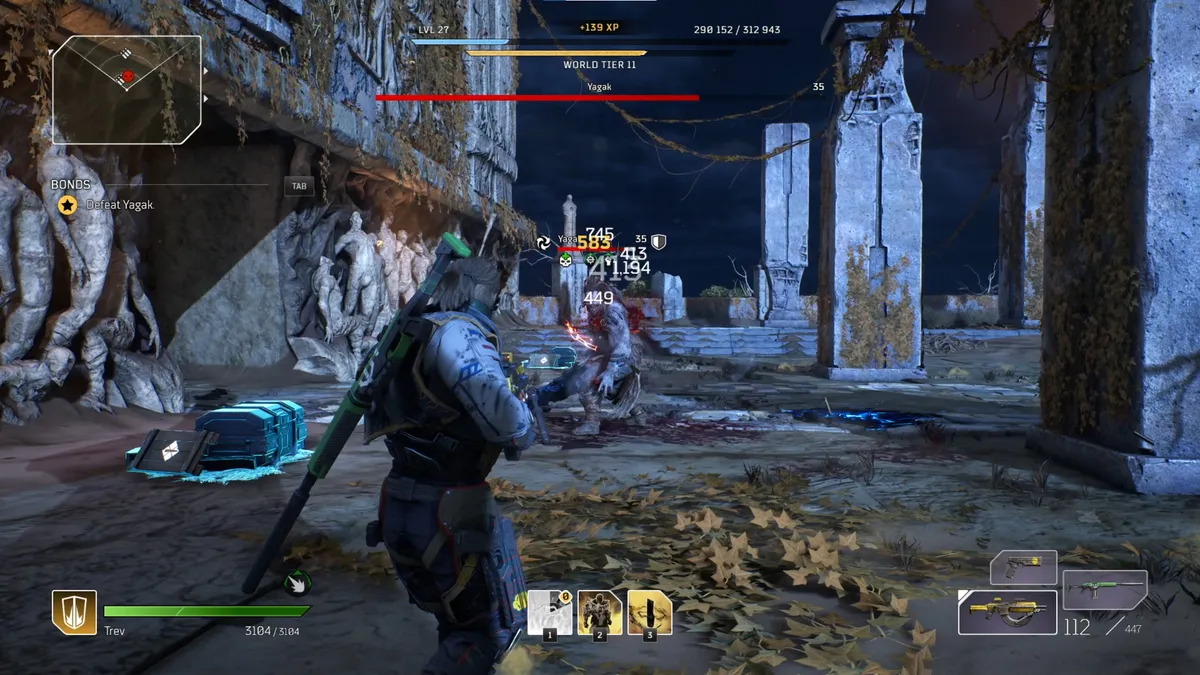
The first time you'll come across Yagak is right after you survive your first encounter with the demon enemies in the desert. You fight through the Utargak desert in search of your kidnapped crew, then eventually when you get there, a cutscene ensues but you're slightly too late to save the day.
Commence the first Outriders Yagak fight. From the get-go, Yagak will lunge at you from a distance – side-step to the right from your starting point to put the pillar between the two of you and he'll collide with it, interrupting his attack.
After this opening, your best bet is to be constantly moving. Yagak loves getting up close and personal so rifles and sniper aren't too viable here; stick to automatic weapons and don't bother trying to take cover.
When he slams his sword into the ground and a shield bubble comes up, divert your attention from him to deal with the myriad Berserkers who will enter the fray and charge at you. Watch out though, because Yagak will re-enter combat before you've seen off the weaker enemies, usually with a Displacement which essentially teleports him to your position if you're not always on the move.
At the end of the day, this first encounter with Yagak is all about patience. Don't get greedy and try to deal too much damage in one go. Keep your finger on the roll button. Don't get too close to him because of his ridiculous reach with that sword. If you're still struggling, you can always revert to a previous story point and upgrade your gear via Zahedi or replay some content to get some better loot drops.
Outriders Yagak guide: Second encounter

The second time you come across Yagak's ugly mug is for literally the final boss fight of the main story. Once you beat him, that's game, aside for one post-credits side quest and the expeditions. The problem is, it's also arguably the hardest fight in the game, especially since it has two separate stages.
First Stage:
This time, Yagak has some all new powers. In the first stage, he's got similar attacks to the Shaman Warlords you've fought previously. He doesn't have a weapon so he'll never hit you directly, which means staying as close to him as possible is usually the way forward. His only short-range attack is Ground Blast, which is a small area-of-effect move that you can dodge out of the way without many problems. Grasping Shock is similar, except it's targeted to your position. One roll should get you out of reach. Sand Wyrm is also easy to dodge with a long charge up time so don't worry about it as long as you're paying attention.
The two biggest culprits for ending fights at this stage are Anomaly Rifts and Lightning Charge. The former will spawn two orbs on the battlefield that intermittently fire at you. They don't have much health, so deal with these as quickly as possible because it's one of his more frequent attacks and having loads of them on the battlefield at once can get overwhelming. Lightning Charge is impossible to dodge – all you can do is keep an interrupt skill on standby to use whenever he starts charging it up.

Second Stage:
Now you're back amongst the sand dunes outside the Caravel. Deal with the few standard enemies between Yagak and yourself, then enter the arena to see that Yagak has ditched the sword from the first fight in favor of a massive chain.
For the most part, you want to play this in the opposite manner from the first stage. He can attack incredibly quickly with this chain, so staying too close to him is a recipe for disaster. He'll use Hook Chains to close the gap so stay on the move. The key to dodging Hook Chains is that while he swings them around his head swiftly, he lunges on the fourth swing, so always roll on the third. That's when the blue outline on the floor will stop moving, showing his attack pattern.
Again, Sand Wyrm is easily dodged, although the angles it can hit from are more varied this time so keep an eye out for that floor outline. Anomaly Rifts are just as important to deal with, and make sure you're interrupting Chain Lightning every time he tries to cast it. When he fires up the shield bubble, you've got less time to deal with more Berserkers, so kiting them round the arena while keeping an eye on Yagak is a good way to ensure you don't get trapped or taken by surprise.
Again, like the first time you fought Yagak, patience is key. This isn't an entirely unfair fight like the Shaman Warlord encounters earlier in the story (seriously, how much health?!), you just need to constantly dodge and have patience. Unfortunately if you die, you will need to repeat the first stage of the fight, so don't fret if you do need to take the World Tier down to complete the battle.

