How to beat the Destiny 2 Defenses Down Exhibition challenge in Vow of the Disciple
Get the Destiny 2 Defenses Down challenge done for more loot
Complete the Destiny 2 Defenses Down challenge during the Exhibition encounter of the Vow of the Disciple Raid to get yourself an extra Raid loot chest for your efforts. While this encounter is mechanically quite simple, it’s got a lot of moving parts, making it quite chaotic, but it’s nothing your team won’t be able to handle. It’s just important that everyone knows exactly what to do, when to do it, and where to go. We’ve got everything you need to know to beat the Destiny 2 Defenses Down challenge in the Exhibition encounter of Vow of the Disciple.
Raid challenges rotate each week, and there’s one for all four of the main Vow of the Disciple encounters. Check out our guides for the others if you need them help:
- Destiny 2 Swift Destruction challenge - Acquisition
- Destiny 2 Defenses Down challenge - Exhibition
- Destiny 2 Looping Catalyst challenge - Rhulk final boss
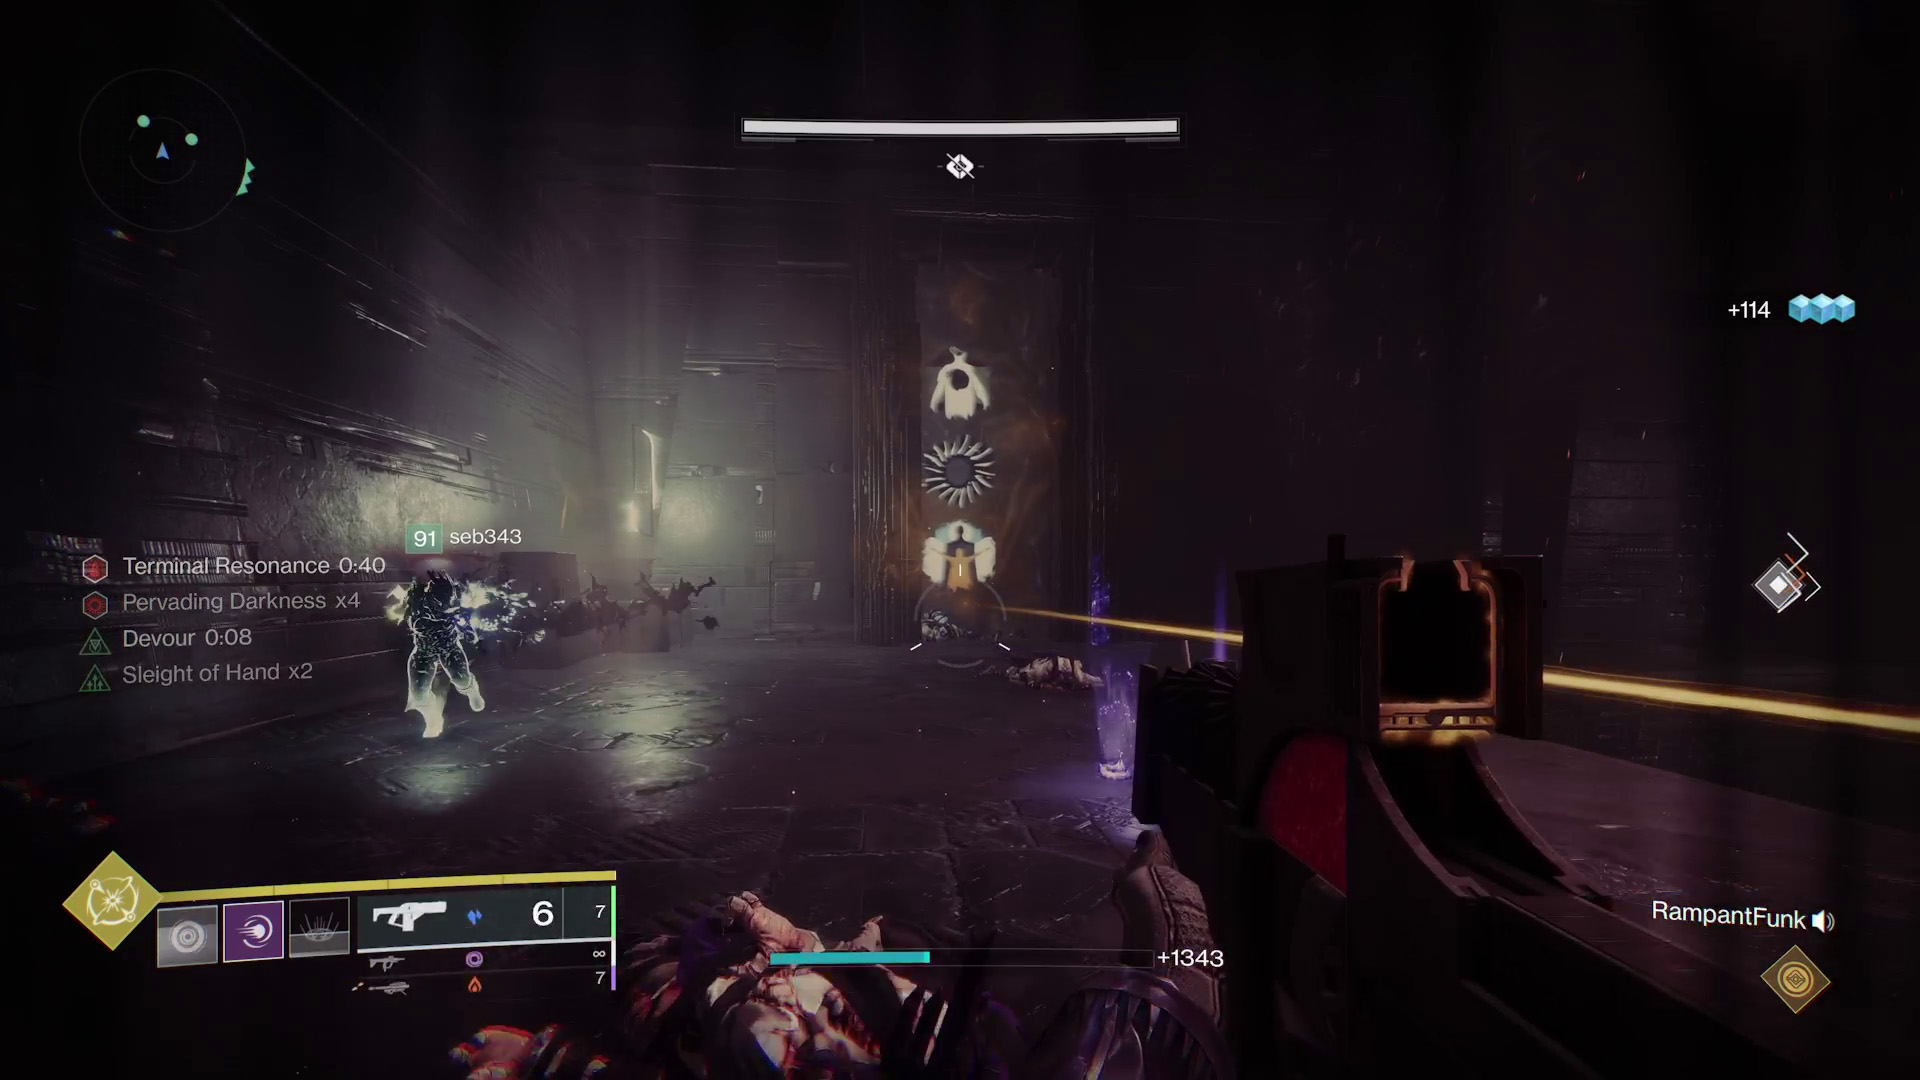
For this challenge, no player in the Raid team can kill more than one Taken Knight using the laser relic. While the Exhibition encounter normally involves swapping three relics a lot, this challenge requires you to swap the laser relic a lot more than usual to ensure everyone gets a chance to use it.
You’ll find a total of seven Taken Knights, in this encounter – one in the first room and two in the other three – but only six players. Therefore, your team must miss one of these Knights and ensure that each player kills only one Knight. We recommend that you skip the second Knight in the second room. Alternatively, you can also kill only one Knight per room, meaning only four players need to use the laser, but this strategy will add far more time pressure to the encounter since the Knights extend the Terminal Resonance timer when killed.
If a player kills more than one Knight, your team will fail the challenge and you’ll have to wipe to start the Exhibition encounter all over to try again. Sometimes the Knights can also be a bit buggy and wander off a cliff, particularly in the final room. While this doesn’t appear to cause the challenge to immediately fail, it will mean you won’t be able to get the timer extension.
How to complete the Destiny 2 Vow of the Disciple Exhibition challenge
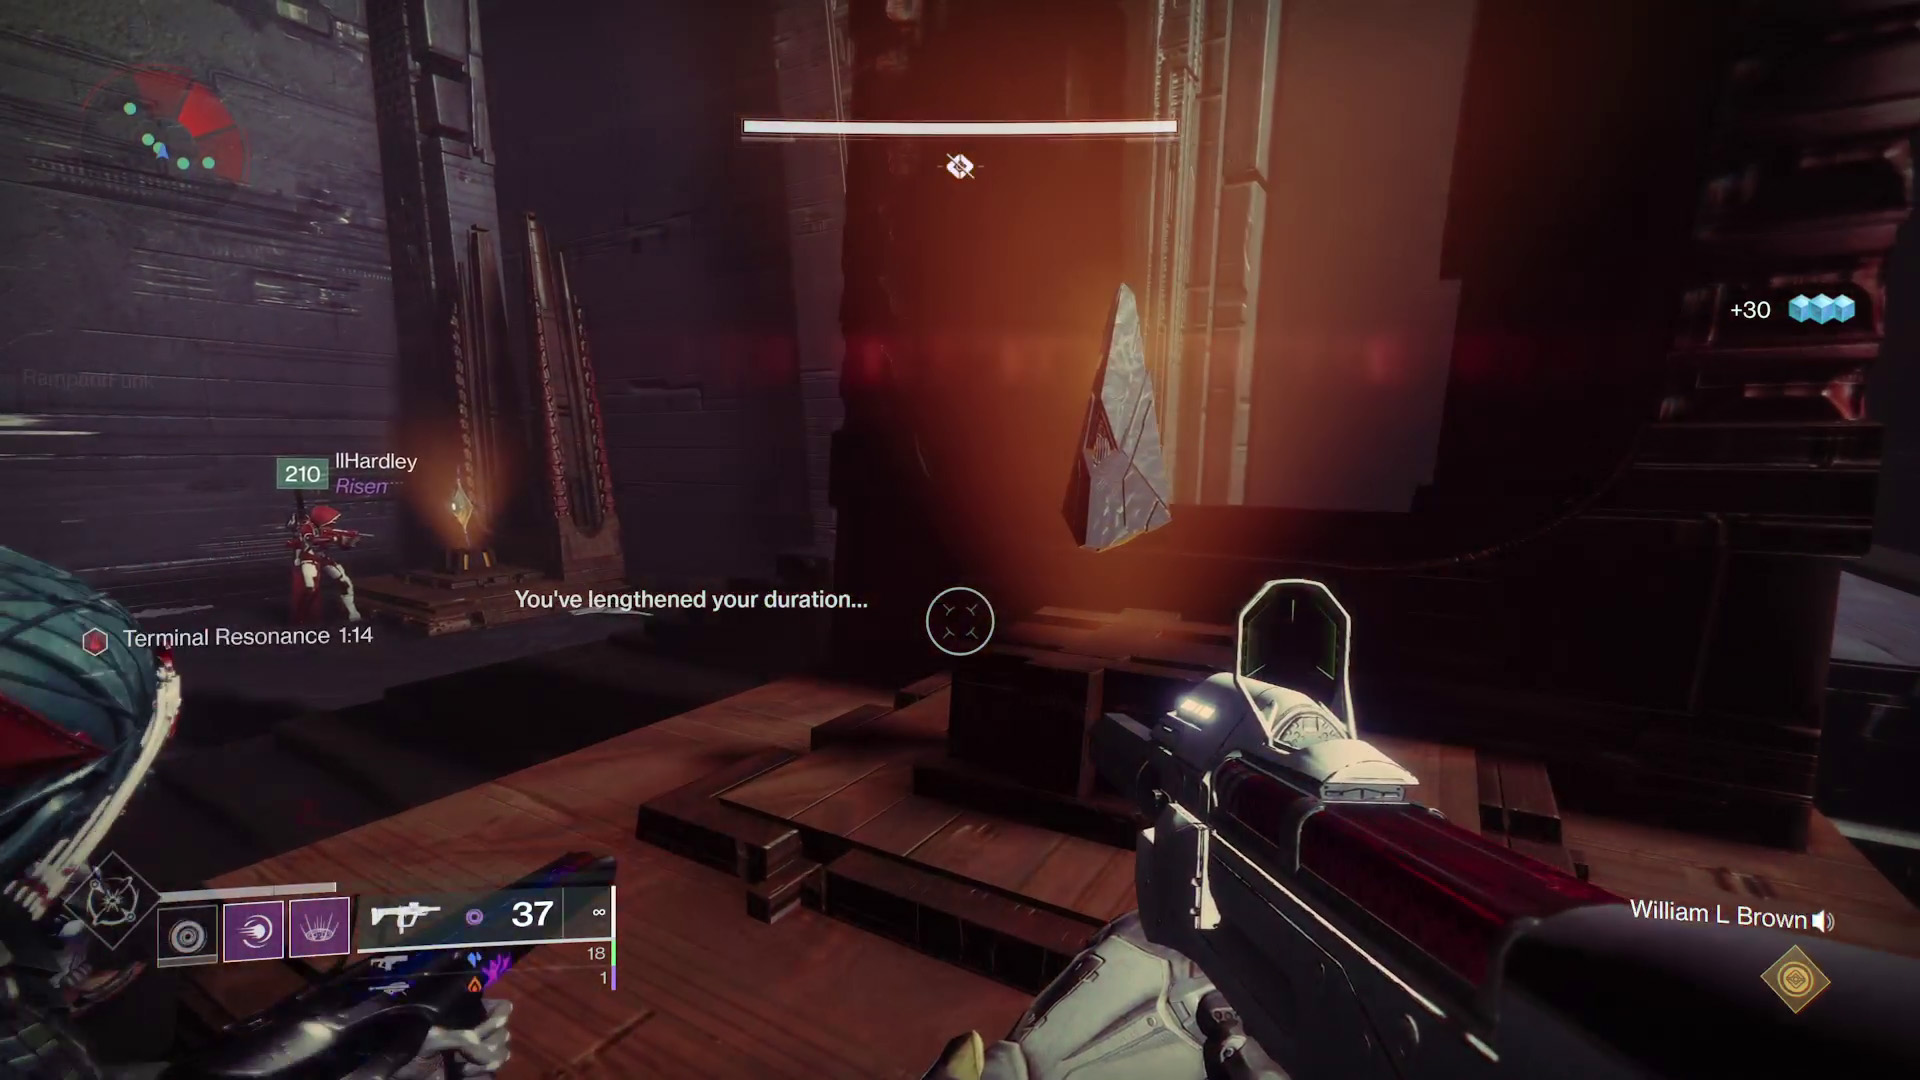
The Defenses Down challenge can be quite complicated, forcing you to swap relics more often than usual and skipping one of the Taken Knights, however, you’re not actually doing anything differently to complete the encounter. The most important thing is that everyone in the Raid team must be totally clear on what relics they are carrying and in which rooms to avoid unnecessary deaths and wasting time. Here’s a basic rundown of player roles you can use to complete the Defenses Down challenge if you already know how to complete Exhibition normally:
Player 1:
- Laser in Room 1
- Shield in Room 3
Player 2:
- Laser in Room 2
- Shield in Room 4
Player 3:
- Laser in Room 3 – kill first Knight then drop laser for Player 4
- Blight in Room 4
Player 4:
- Laser in Room 3 – pick up laser after Player 3 drops it and kill second Knight
Player 5:
- Shield in Room 2
- Laser in Room 4 – kill first Knight then drop laser for Player 6
Player 6:
- Blight in Room 3
- Laser in Room 4 – pick up laser after Player 5 drops it and kill second Knight
If you need a more detailed breakdown of how to tackle each room, we’ve got that below.
Destiny 2 Defenses Down Raid challenge guide
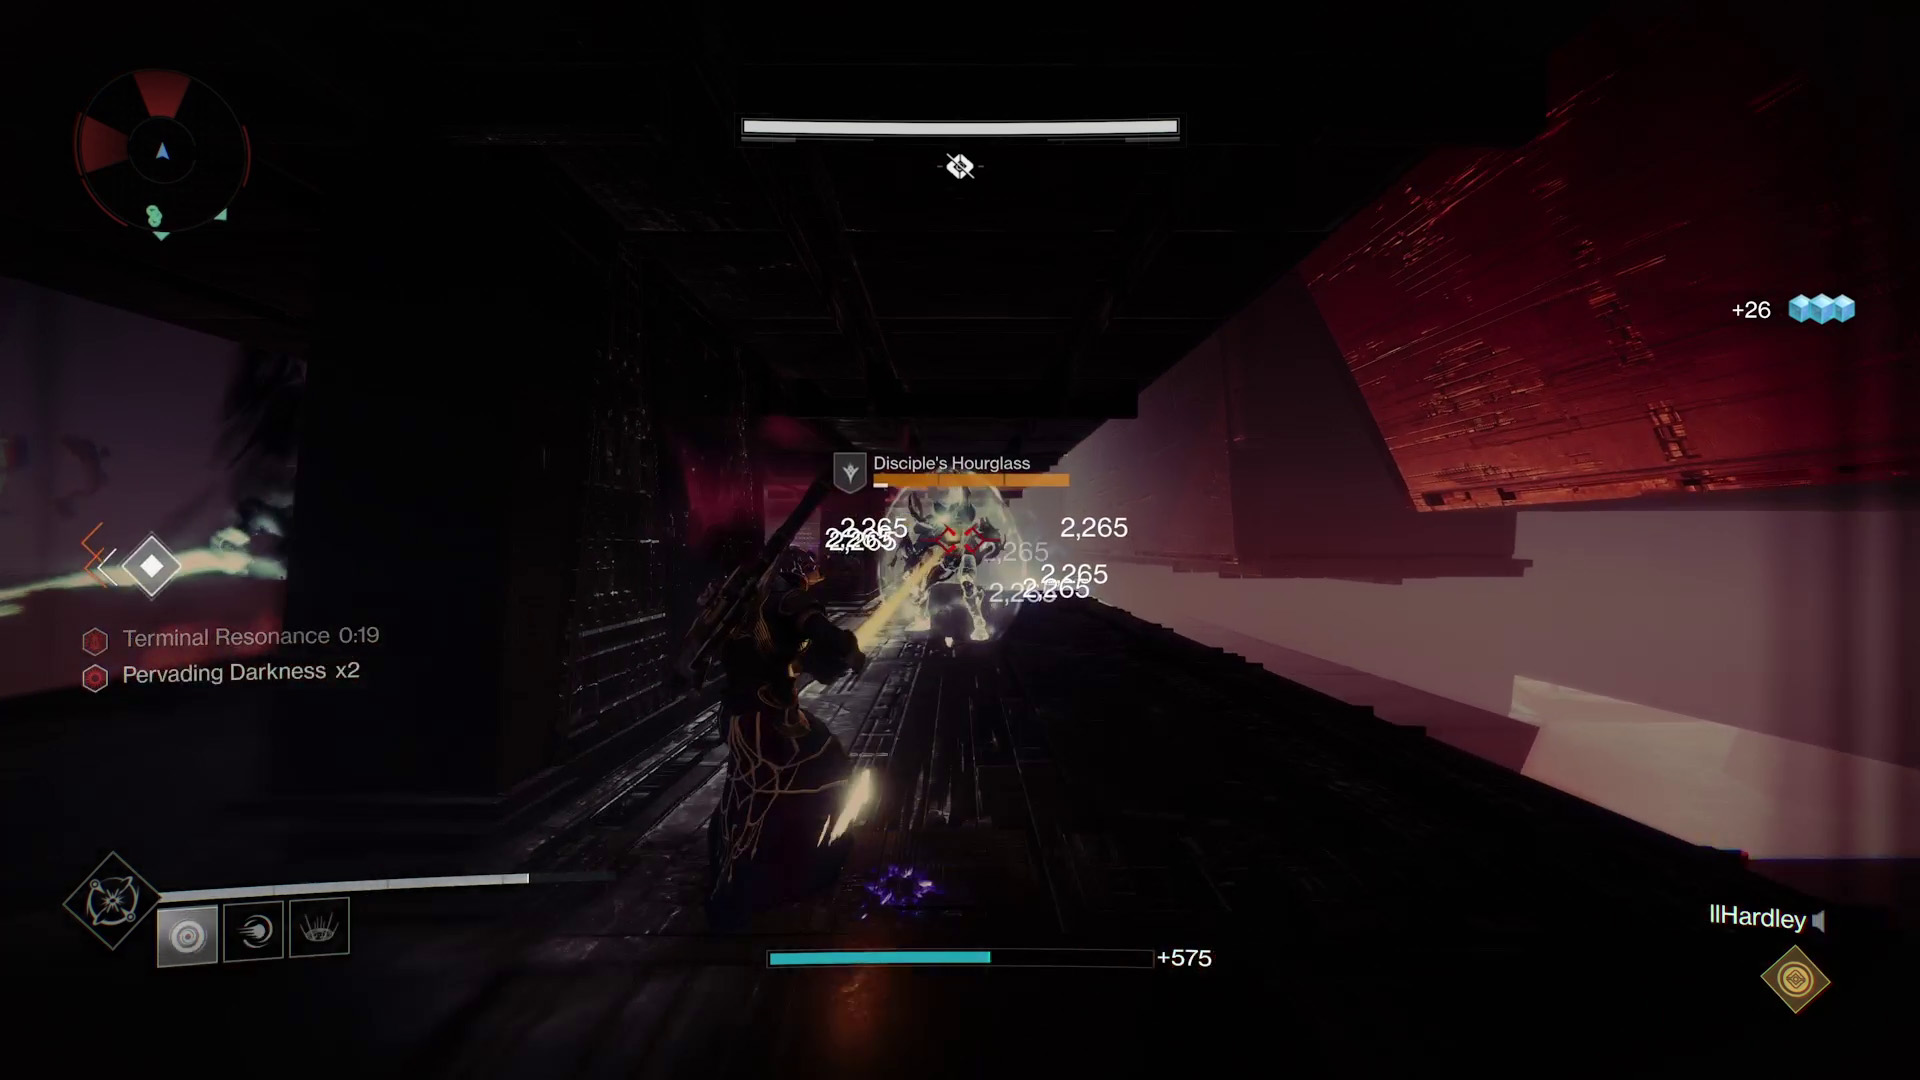
Before getting started, let’s clarify a few names for the relics and their functions. The laser (acorn, nut, Leviathan crystal) is used to kill the Taken Knights, the shield (Vault of Glass/Templar relic) removes the Pervading Darkness debuff from players with its LT/L2 ability, and the blight (Eye of Riven, Taken relic) destroys shielding blights with its LB/L1 ability. After dropping a relic, you will be unable to pick up another one for 30 seconds.
Here’s a complete walkthrough of what you need to do in each room of the Exhibition encounter to complete the challenge:
Room 1:
- Player 1 starts the Exhibition encounter by collecting the laser from the central holder. They will then use the laser to kill the Taken Knight that spawns in the middle.
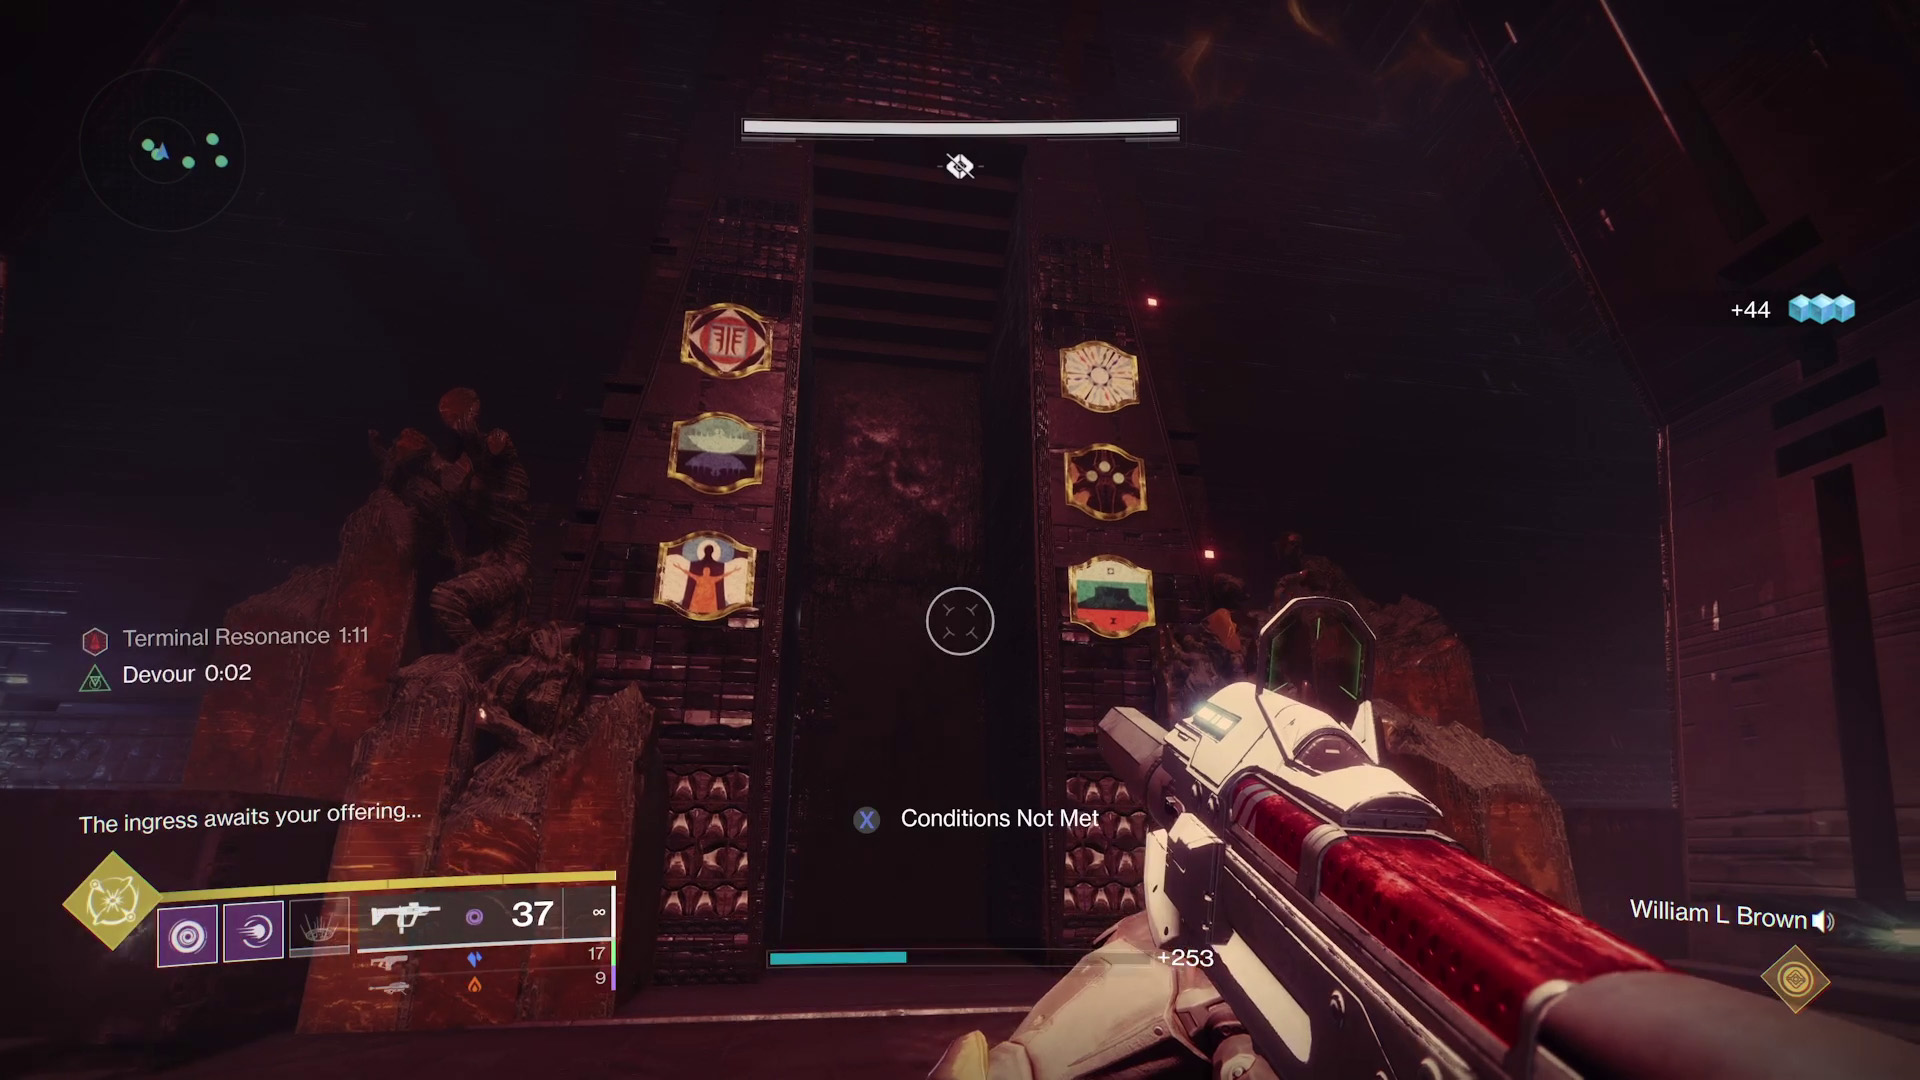
- The rest of the players split up and go to the left and right sections to eliminate the two Glyphkeepers. Read the two sets of Glyphkeeper symbols – only a player with a relic can read the Taken Glyphkeeper symbols – and determine which symbol is the common one.
- Shoot the correct symbol near the exit door to open it. This process of killing the Glyphkeepers, finding the common symbol and shooting it on the wall near the exit door is the same in every room except there are two pairs of Glyphkeepers, and therefore two common symbols that need to be shot, for each room after the first.
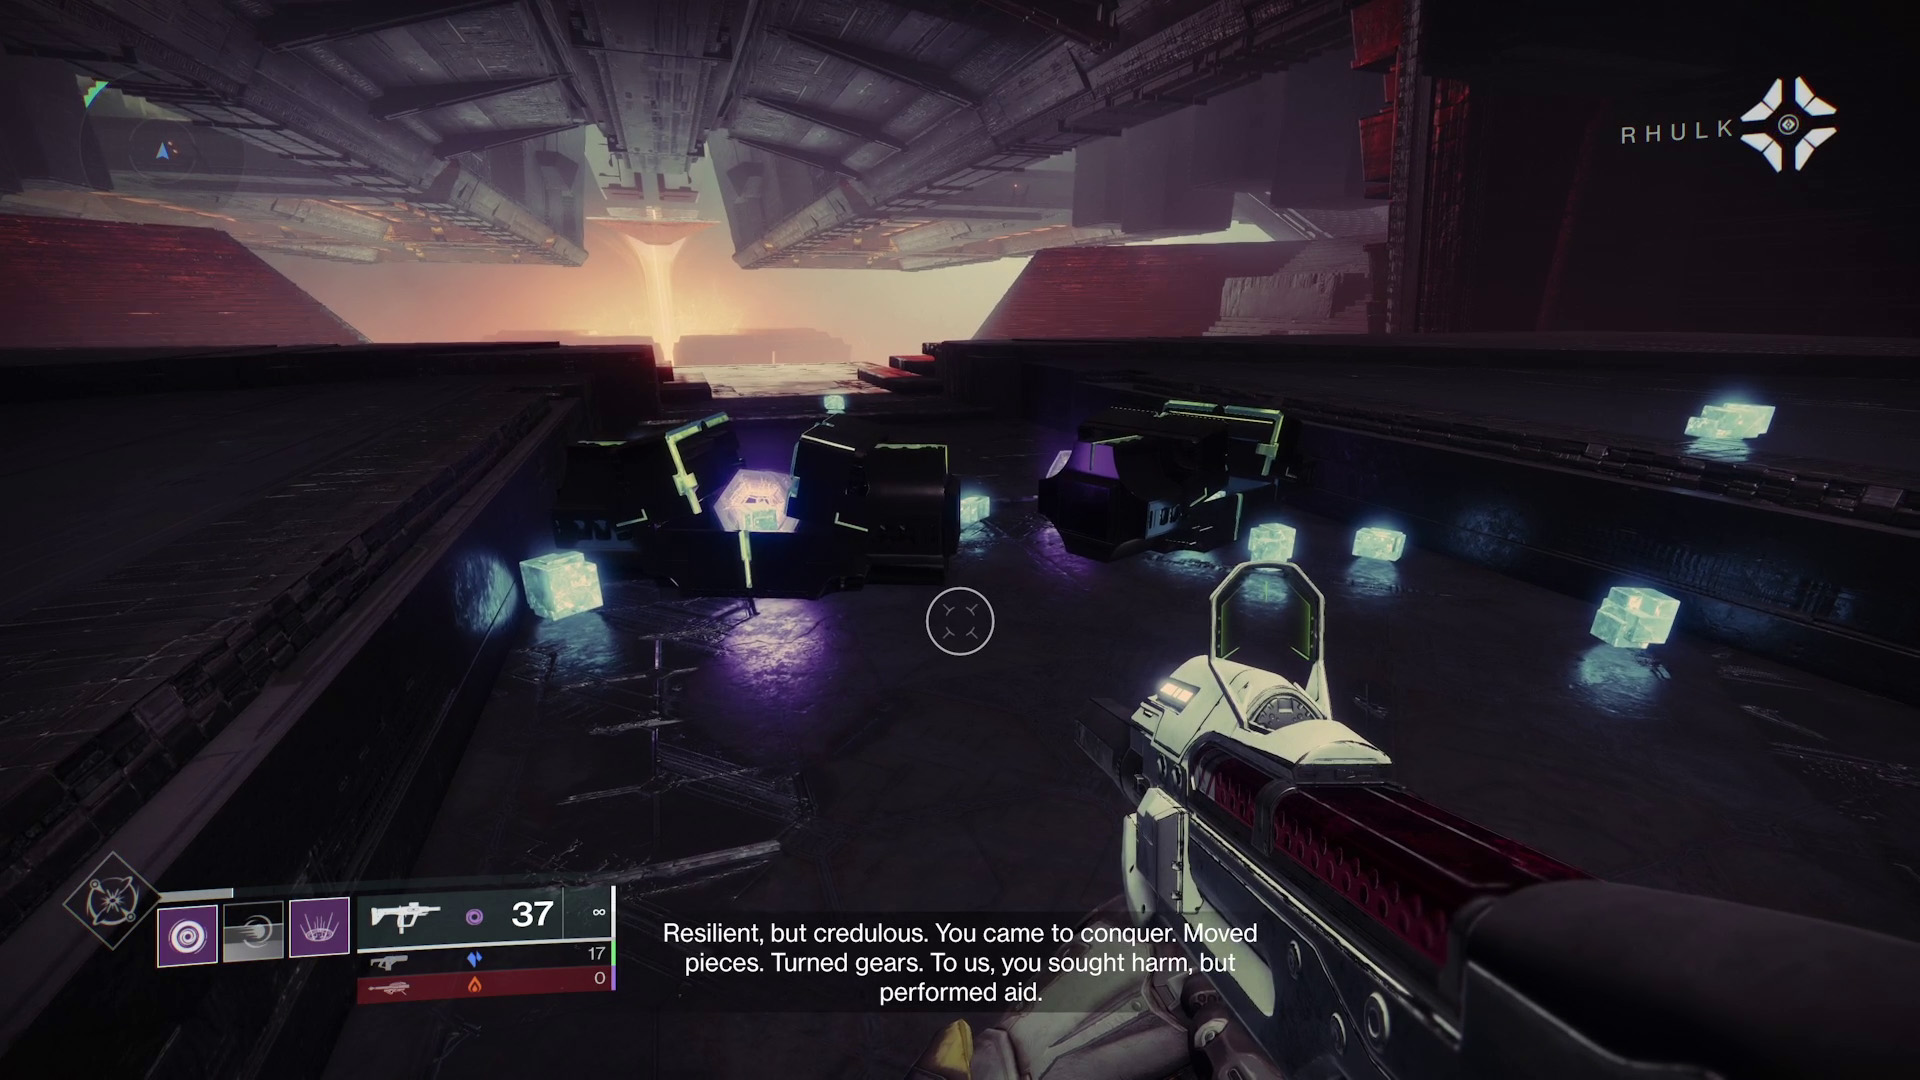
- All players need to run into the relic room and Player 1 must deposit the laser into the holder. Player 2 can now grab the laser and Player 5 can pick up the shield. The whole team can now run through the next door to reach Room 2.
Room 2:
- Once in Room 2, defeat both Glyphkeepers to spawn the first Knight in this room, who will be at the far end towards the exit door. Player 2 needs to find and kill it.
- Read the Glyphkeeper symbols and remember the common one for later too.
- At the same time, Player 5 must continuously run around cleansing everyone with the shield to remove the stacking Pervading Darkness debuff.
- Kill the next pair of Glyphkeepers, find the common symbol, and shoot the pair of symbols to exit Room 2. Player 2 must not kill the Taken Knight spawns when the second pair of Glyphkeepers is dead.
- Deposit the laser and shield in the next relic room so that this time Player 1 can grab the shield, Player 3 can grab the laser, and Player 6 can grab the new blight relic. Now run into Room 3.
Room 3:
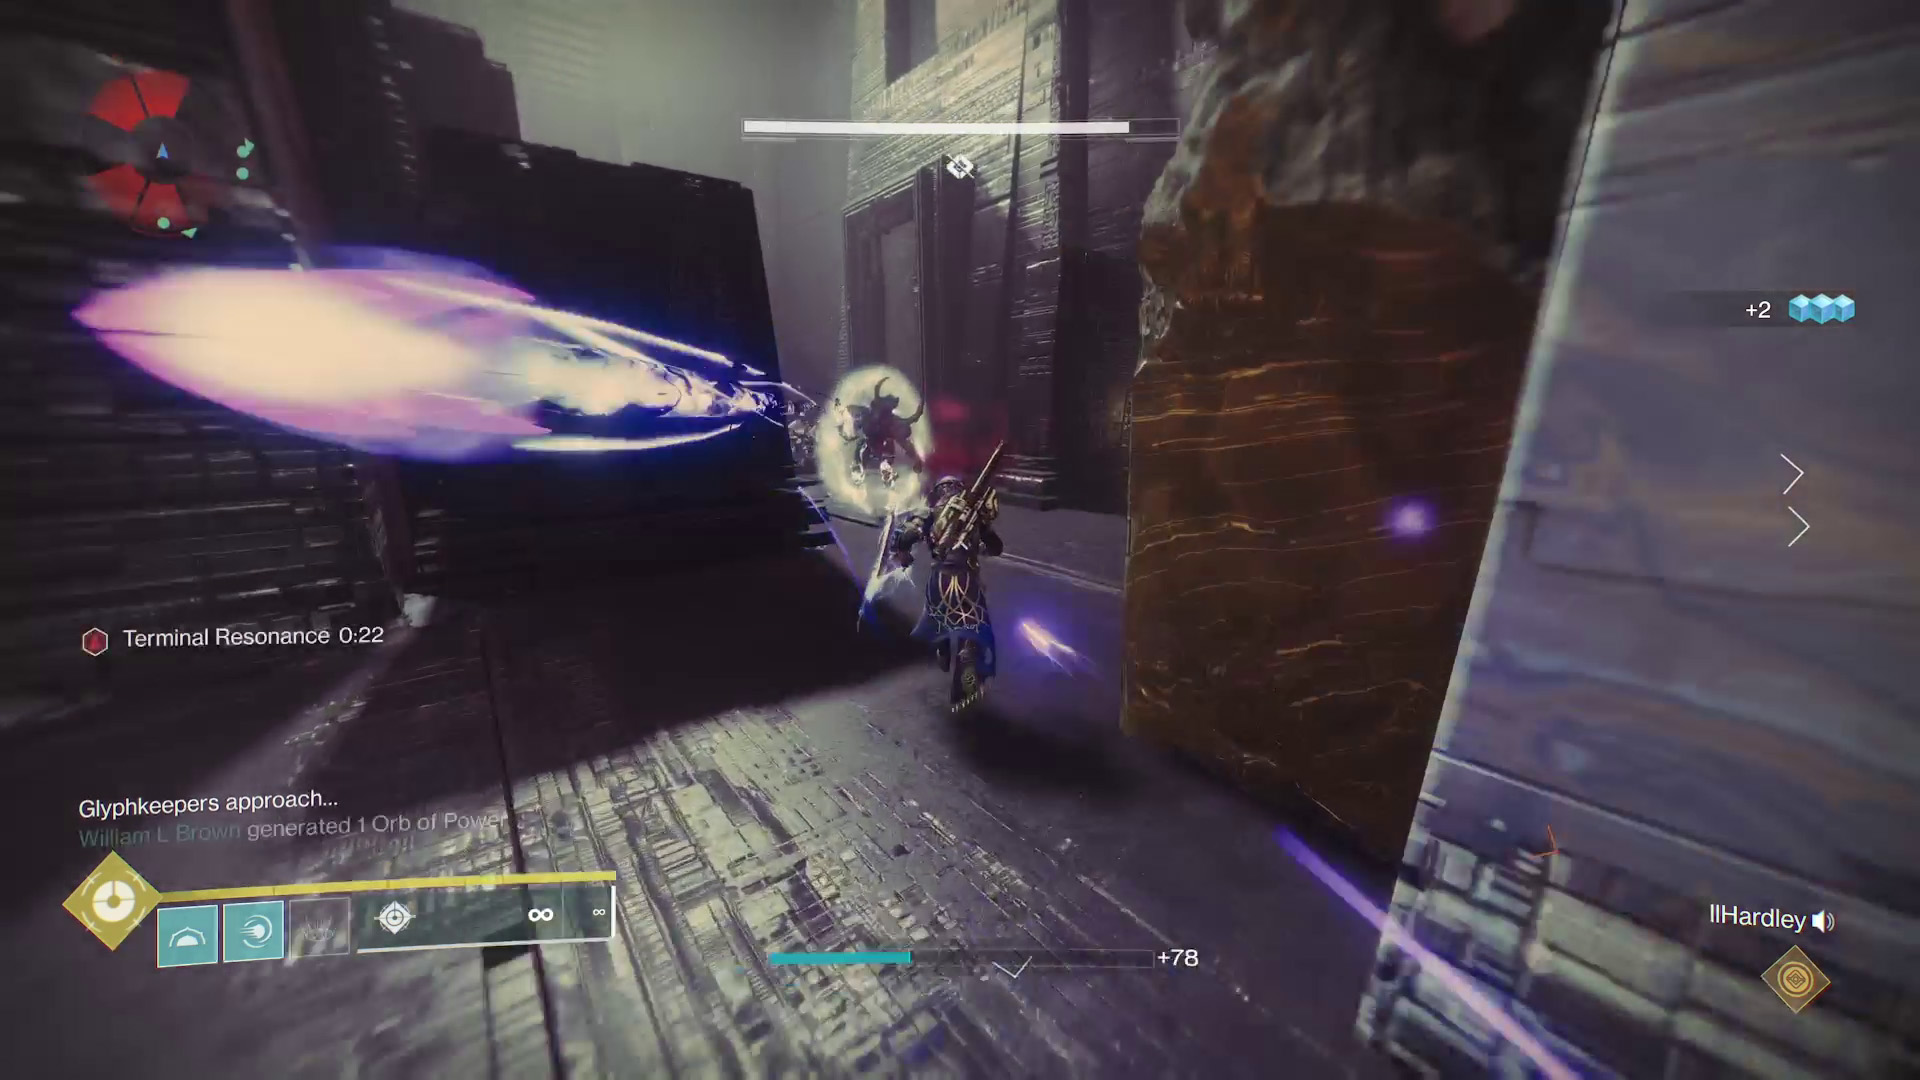
- As you enter Room 3, split up into two teams with Player 1 running between both to cleanse them with the shield as before.
- Player 6’s job for this room is to destroy all blights, especially if they are protecting a Glyphkeeper. Kill the two Glyphkeepers and remember the common symbol. This will spawn the first Taken Knight on a pillar in the central pit of the room that Player 3 needs to kill.
- Player 3 must drop the laser in a safe area so that Player 4 can pick it.
- Kill the next pair of Glyphkeepers to spawn the second Knight on a pillar, which Player 4 needs to kill.
- Shoot the two correct Glyphkeeper symbols to open the exit door (watch out for the Screebs) and begin depositing the relics.
- For the final room, Player 5 will grab the laser, Player 2 will grab the shield, and Player 3 will grab the blight.
Room 4:
- Split into two teams of two to kill the pair of Glyphkeepers in the small rooms on the left and right – obviously, remember the common symbol.
- Player 3 should destroy blights and help with Glyphkeepers when needed, but Player 2 should remain on the central floating platform. Players that need their Pervading Darkness removed should head to Player 2 on the platform.
- Once the Glyphkeepers are dead, all players need to move up to the slightly raised central platform. This is where the first Taken Knight will spawn, so Player 5 must kill it and immediately drop the laser for Player 6.
- Kill the next pair of Glyphkeepers, remember the second common symbol.
- Player 6 can then kill the final Taken Knight, who will also spawn on the same platform as the first one.
- Shoot the two correct symbols, run into the final area, and deposit all the relics to escape and complete the Exhibition encounter.
Assuming everyone sticks to their roles, communicates clearly, and nothing else goes wrong, the Defenses Down challenge should be quite an easy one. The chaos of the Exhibition encounter means a lot can go wrong, but if you do successfully complete it and the challenge, you’ll get an extra chest of Vow of the Disciple loot for your efforts.
Destiny 2 Tips | Destiny 2 Crucible tips | Destiny 2 Class guide | Destiny 2 Heroic Public Events | Destiny 2 Aspect of Destruction | Born in Darkness Destiny 2 Beyond Light guide | Destiny 2: Beyond Light Entropic Shard guide | Destiny 2 anti cheat | Destiny 2 Witch Queen | Destiny 2 30th Anniversary
Weekly digests, tales from the communities you love, and more
Will Sawyer is a guides writer at GamesRadar+ who works with the rest of the guides team to give readers great information and advice on the best items, how to complete a particular challenge, or where to go in some of the biggest video games. Will joined the GameRadar+ team in August 2021 and has written about service titles, including Fortnite, Destiny 2, and Warzone, as well as some of the biggest releases like Halo Infinite, Elden Ring, and God of War Ragnarok.
