Darksiders II: Book of the Dead Pages, Stones, Gnomes and collectibles guide
Maps and more to help you locate every Boatman Coin, Book of the Dead Page, Stone, Relic, Scroll, and Gnome
Weekly digests, tales from the communities you love, and more
You are now subscribed
Your newsletter sign-up was successful
Want to add more newsletters?
Join the club
Get full access to premium articles, exclusive features and a growing list of member rewards.
The Maw
Why you can trust GamesRadar+
Boatman Coin #56
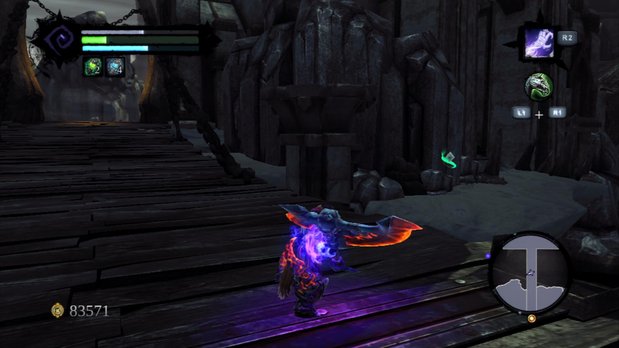
(The Maw) As you head south along the bridge that leads into the central Maw area, you’ll see a coin to your right before the bridge ends. Continue along the bridge and circle around to the right once you get the opportunity.
Soul Arbiter’s Sacred Scroll #5
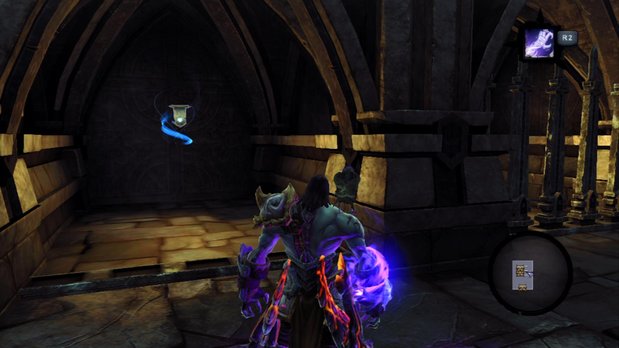
(The Maw) From coin #56, head south and look for handholds leading up a wall. Use them to reach a high place with four cells. The one that isn’t initially barred holds a scroll. While you’re up here, continue climbing the structure and rotate the lantern at the top so that it points north. This will come in handy later.
Boatman Coin #57
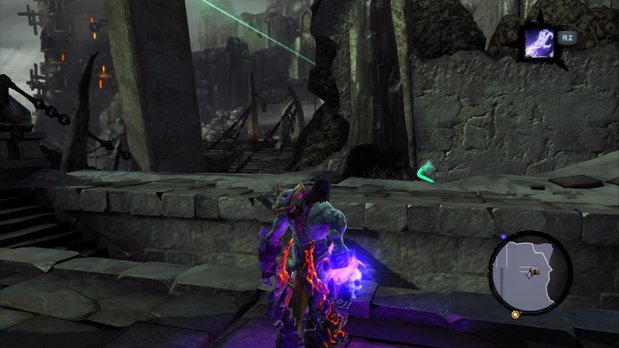
(The Maw) Just north of the stairs leading down into Sentinel’s Gaze, you’ll find this coin behind a spire (or rib, or branch, or whatever...).
Sentinel's Gaze
Boatman Coin #58
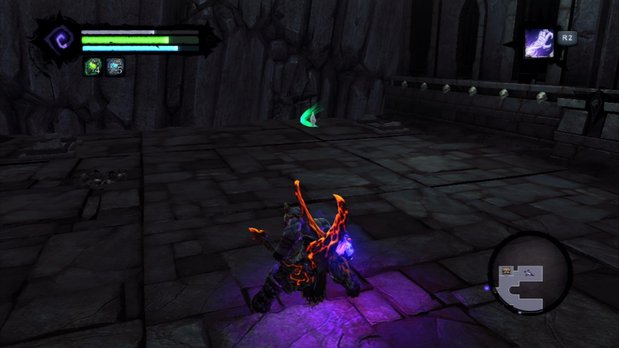
(Sentinel’s Gaze, B1) Descend the spiral stairs and enter the dungeon. Check the northeastern corner for a coin.
Relic of Etu-Goth #5
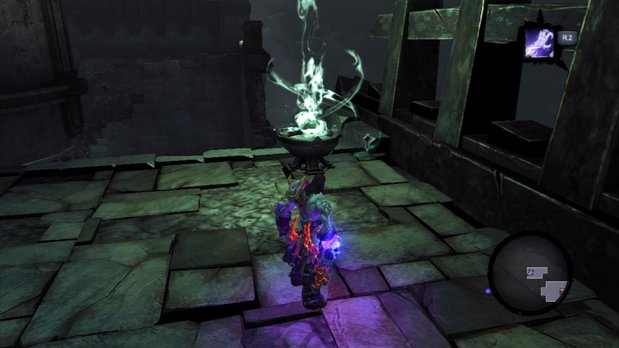
(Sentinel’s Gaze, 1st fl) From coin #58, look for a way up in the room’s northwest corner. Once at a higher level, check behind one of the green torches.
Stone of Mystics #20
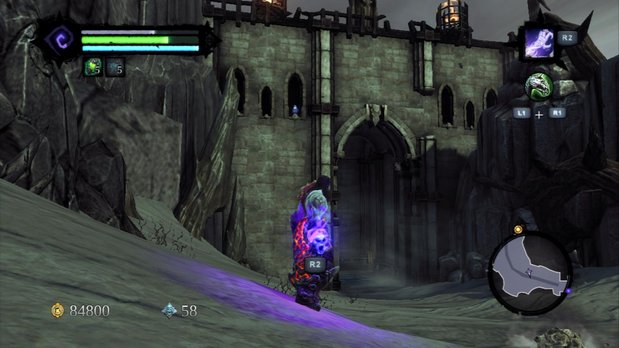
(The Maw) Ride to The Maw’s southern gate. High up in one of the windows, you’ll spot a stone.
Phriseer's Tomb
Boatman Coin #59
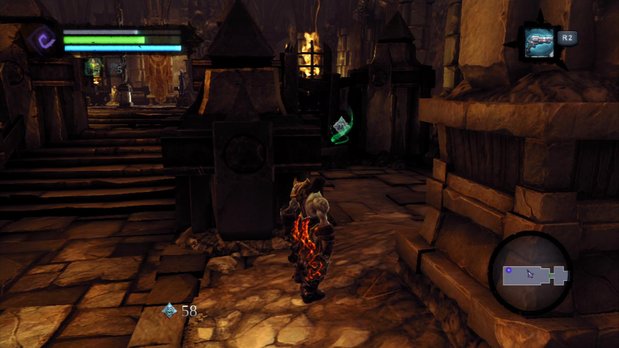
(Phariseer’s Tomb, 4th fl) As soon as you step off the elevator and down the stairs, turn around to your left to find a coin.
Stone of Mystics #21
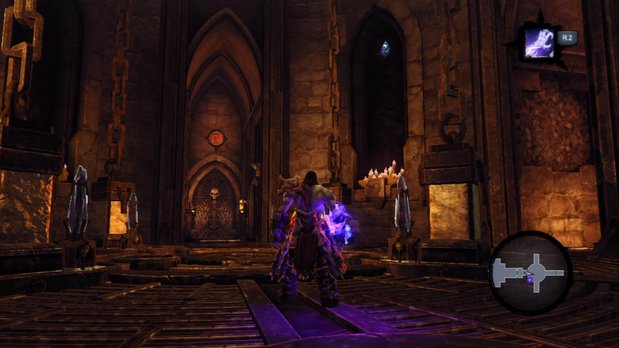
(Phariseer’s Tomb, 4th fl) As you make your way across the fourth floor, you’ll eventually end up in a circular elevator room with four crystal switches. Check the high southeast wall for a stone.
Book of the Dead Page #16
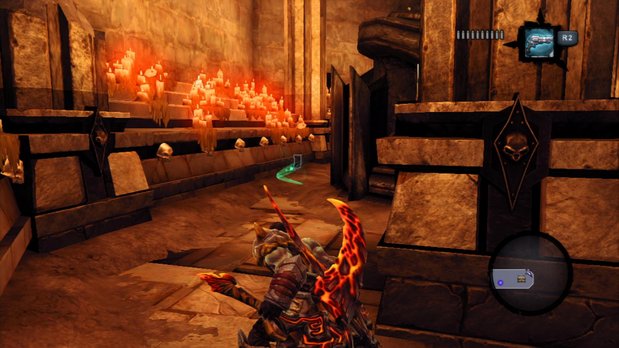
(Phariseer’s Tomb, 4th fl) Check behind the statue in the easternmost room of floor 4.
Boatman Coin #60
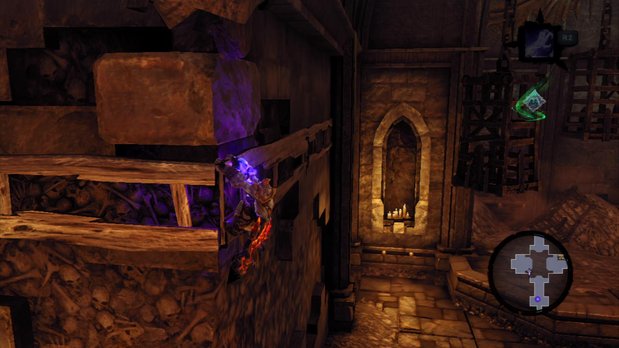
(Phariseer’s Tomb, 1st fl) This coin is floating above the switch in the east side of the northernmost room of floor 1 (the one with the pit). Climb the handholds and leap from the highest one to claim your prize.
Boatman Coin #61
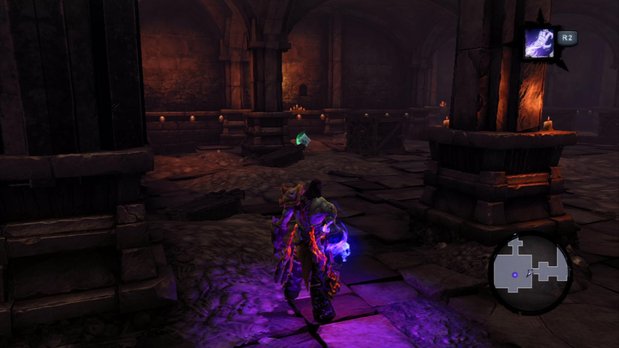
(Phariseer’s Tomb, 3rd fl) After (or before) defeating the Undead General in the southwest room of floor 3, check the southeast corner of the room for a coin.
Relic of Etu-Goth #6
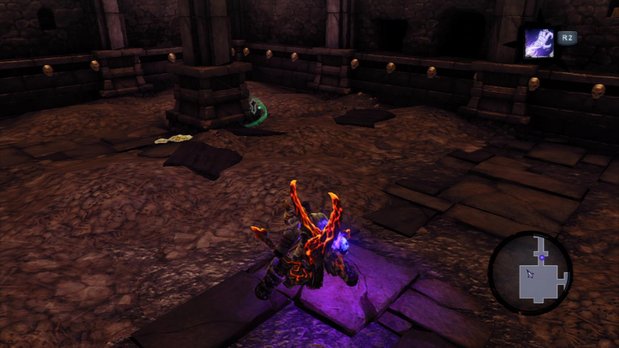
(Phariseer’s Tomb, 3rd fl) In the same room as coin #61. Smash the crates in the northwest corner to reveal this relic.
Soul Arbiter’s Sacred Scroll #6
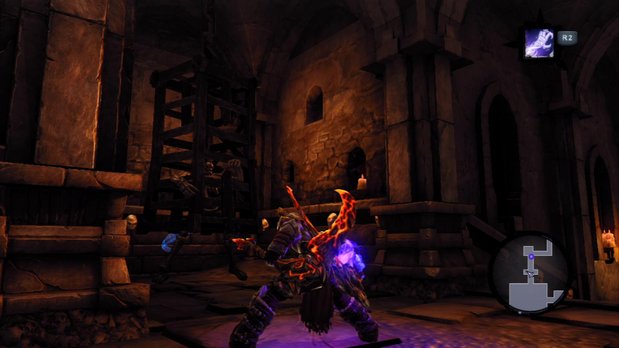
(Phariseer’s Tomb, 3rd fl) In the hallway leading north from the large room in which you fought the Undead General, check behind the hanging cage in the nook on your left.
Stone of Power #9
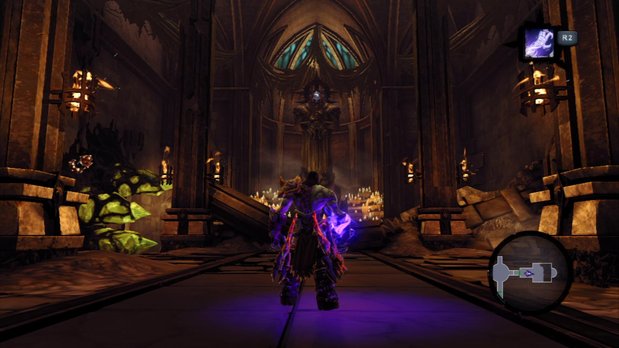
(Phariseer’s Tomb, 3rd fl) In the easternmost room of floor 3, you’ll find a tall statue. There’s a stone stuck to its face.
Book of the Dead Page #17
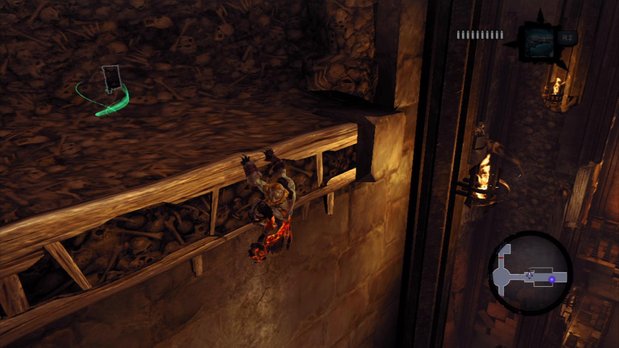
(Phariseer’s Tomb, 1st fl) After using the lever to raise the bridge in the east room of floor 1, drop down, cross it, and climb the wall at the other end (the one with the Deathgrip hook).
Soul Arbiters Scroll #7
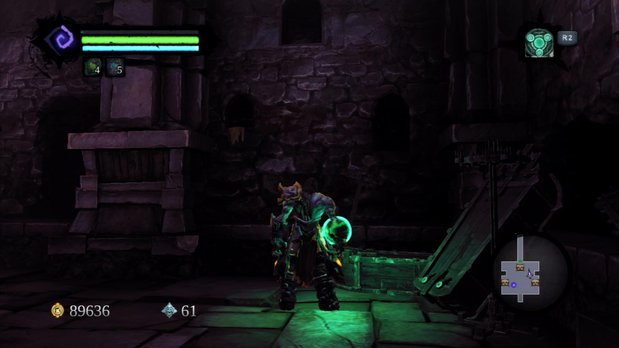
(Phariseer’s Tomb, 1st fl) After defeating Phariseer, drop off the elevator and use Interdiction to access the southern part of floor 1. Use a nearby bomb to destroy the corruption crystals, then drop to the room below. The scroll is in the northeastern corner of this room, etched in red on the wall.
Boatman Coin #62
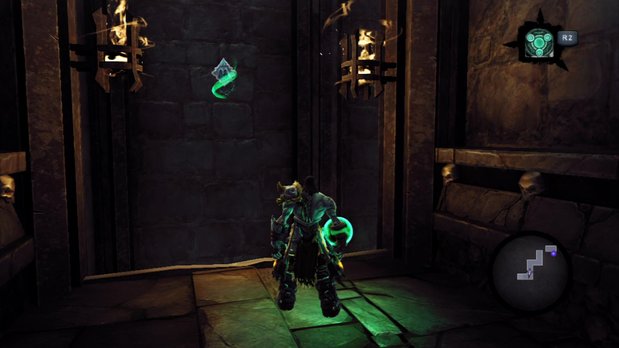
(The Maw, southern gate) With Interdiction, you can lower the bars and proceed here. Take the southern route and climb the first wall you can. Turn around and leap off the ledge to claim this coin.
Weekly digests, tales from the communities you love, and more

 Join The Community


