Pokemon Sword and Shield complete guide and walkthrough to become the Champion of Galar
All the Pokemon Sword and Shield guides you'll need for your playthrough
Spikemuth
Items: Spikemuth
| Item | Visible | Hidden |
|---|---|---|
| Choice Specs | Y | Row 0 - Cell 2 |
| Max Revive | Y | Row 1 - Cell 2 |
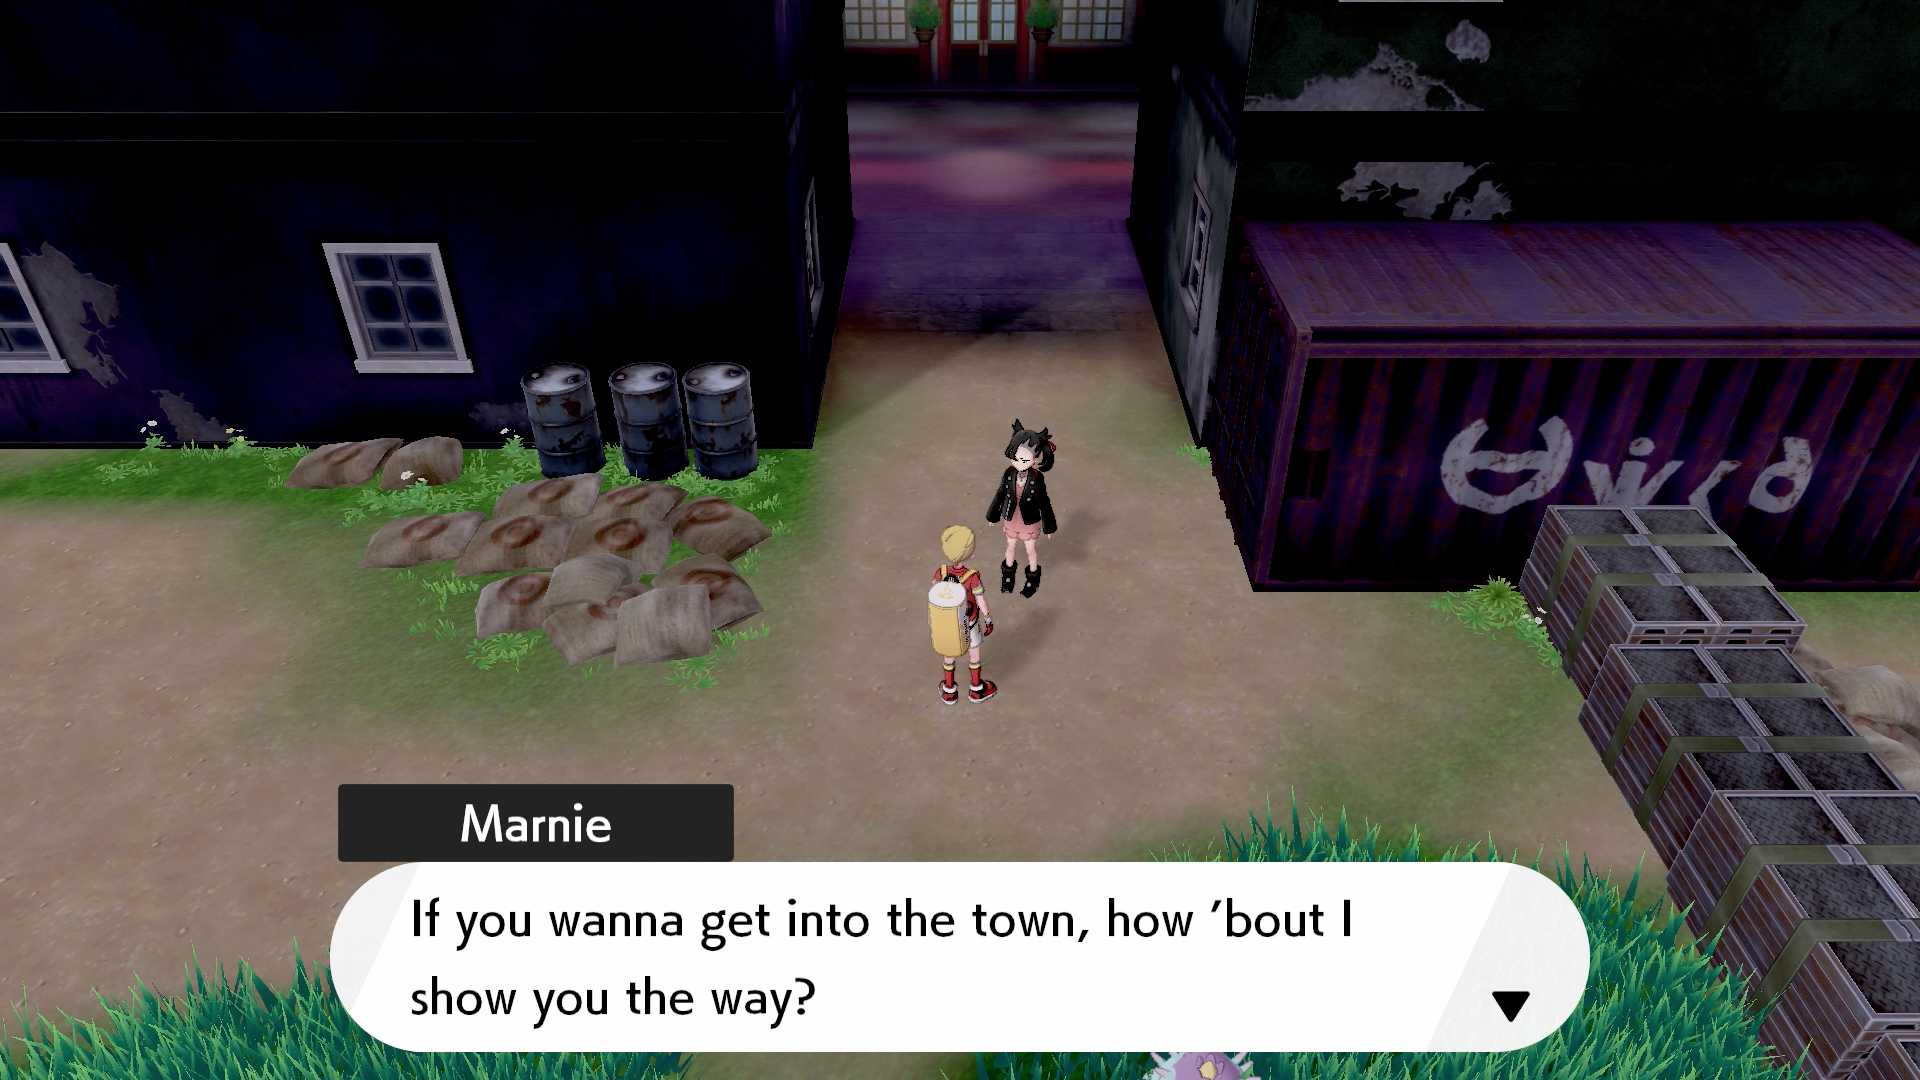
Upon arrival to Spikemuth, you'll discover that the town is on lockdown, but Marnie whispers to you from the bushes and directs you through a secret path. First though, you need to beat her in battle.

Marnie
| Pokemon | Level | Type |
|---|---|---|
| Liepard | 42 | Dark |
| Morpeko | 44 | Electric/Dark |
| Toxicroak | 43 | Fighting/Poison |
| Scrafty | 43 | Dark/Fighting |
When you've beaten Marnie, you can access Spikemuth. There's really not a lot to see or do here; you've got a Pokemon Center, and then the rest of the town is the gym. Heal up then head east along the road, where Marnie will give you Piers' league card. Piers is the gym leader and he's a big fan of Dark-type Pokemon, which are weak to Fighting, Bug, and Fairy-types. Stock up on the right counters then keep walking east, where you'll have some trainers to face. The first one will emerge from an alley as you walk past.
Team Yell Grunt 1
| Pokemon | Level | Type |
|---|---|---|
| Linoone | 42 | Dark/Normal |
Beat him, then keep walking east until you find Mr. Mime, blocking your path. Turn around and the two grunts leant against the wall will challenge you to a fight.
Team Yell Grunt 2
| Pokemon | Level | Type |
|---|---|---|
| Thievul | 42 | Dark |
Take her down and Mr. Mime will let you past, so once again, keep moving east. The next grunt in the window will jump out and battle you.
Team Yell Grunt 3
| Pokemon | Level | Type |
|---|---|---|
| Scrafty | 42 | Dark/Fighting |
Keep running to the right and another Mr. Mime will show up. Turn around and two grunts will come backflipping into shot.
Team Yell Grunt 4
| Pokemon | Level | Type |
|---|---|---|
| Weavile | 43 | Dark/Ice |
Move inside the warehouse as you progress next and you'll be challenged by two grunts inside.
Team Yell Grunt 4 & 5 (Duo)
| Pokemon | Level | Type |
|---|---|---|
| Liepard | 43 | Dark |
| Drapion | 43 | Poison/Dark |
As you move on, you'll find Marnie again, who discovers that her adoring fans are responsible for shutting down the town. Push past them and enter the gym arena, but first, speak to the bloke in the top-left corner who wants an Obstagoon in exchange for his Kantonian Mr. Mime. Trade if you so wish, then approach the crowd to begin the cutscene and fight against Piers.
Gym Leader Piers

Thanks to Piers' gym being completely old school, there's no Dynamax or Gigantamax shenanigans at play here. Instead, he's just got two tough Pokemon in the form of Obstagoon and Malamar to get through. Make sure you've got multiple counters because otherwise you'll find yourself wiped out quite quickly, especially with Obstagoon's love of using Obstruct.
| Pokemon | Level | Type |
|---|---|---|
| Scrafty | 44 | Fighting/Dark |
| Obstagoon | 46 | Dark/Normal |
| Malamar | 45 | Dark/Psychic |
| Skuntank | 45 | Poison/Dark |
When you've taken him down, you'll get TM85 Snarl and the ability to catch Pokemon up to level 55. Leave Spikemuth through the now-open huge door and Leon will be there. A huge crash will occur and Leon will go sprinting through the Route 9 Tunnel, so follow suit and you'll emerge in the previously inaccessible part of Route 7 (items listed on page 14).
Hop will be there and you'll need to cross the bridge back to Hammerlocke, but not before taking on another trainer.
Gentleman Caden
| Pokemon | Level | Type |
|---|---|---|
| Doublade | 44 | Steel/Ghost |
| Passimian | 44 | Fighting |
| Polteageist | 44 | Ghost |
After you beat him, you'll have access to Renee's camp at the top, and TM58 Assurance is to the left by the fence. Keep going west and you'll make it to Hammerlocke where another cutscene will happen.
When it's over, get ready because you need to take on Hammerlocke Gym.
Pokemon Sword and Shield walkthrough: Postwick and Route 1
Pokemon Sword and Shield walkthrough: Wedgehurst and Route 2
Pokemon Sword and Shield walkthrough: Wild Area and Motostoke
Pokemon Sword and Shield walkthrough: Route 3, Galar Mine, and Route 4
Pokemon Sword and Shield walkthrough: Turffield, Turffield Gym, and Route 5
Pokemon Sword and Shield walkthrough: Hulbury and Hulbury Gym
Pokemon Sword and Shield walkthrough: Galar Mine No.2 and Motostoke Gym
Pokemon Sword and Shield walkthrough: Hammerlocke and Route 6
Pokemon Sword and Shield walkthrough: Stow-on-Side and Stow-on-Side Gym
Pokemon Sword and Shield walkthrough: Glimwood Tangle
Pokemon Sword and Shield walkthrough: Ballonlea and Ballonlea Gym
Pokemon Sword and Shield walkthrough: Route 7 and Route 8
Pokemon Sword and Shield walkthrough: Circhester and Circhester Gym
Pokemon Sword and Shield walkthrough: Route 9
Pokemon Sword and Shield walkthrough: Spikemuth Gym
Pokemon Sword and Shield walkthrough: Hammerlocke Gym
Pokemon Sword and Shield walkthrough: Route 10 and Wyndon
Pokemon Sword and Shield walkthrough: Wyndon Gym and Rose Tower
Pokemon Sword and Shield walkthrough: Wyndon Gym Finals and Slumbering Weald
Pokemon Sword and Shield walkthrough: Energy Plant and Champion Battle
Pokemon Sword and Shield walkthrough: Zacian and Zamazenta
Pokemon Sword and Shield walkthrough: Post-game activities
Current page: Pokemon Sword and Shield walkthrough: Spikemuth and Spikemuth Gym
Prev Page Pokemon Sword and Shield walkthrough: Route 9 Next Page Pokemon Sword and Shield walkthrough: Hammerlocke GymWeekly digests, tales from the communities you love, and more
Give me a game and I will write every "how to" I possibly can or die trying. When I'm not knee-deep in a game to write guides on, you'll find me hurtling round the track in F1, flinging balls on my phone in Pokemon Go, pretending to know what I'm doing in Football Manager, or clicking on heads in Valorant.
- Leon HurleyManaging editor for guides
- Sam LoveridgeBrand Director, GamesRadar+


