Viewfinder walkthrough and puzzle solutions
How to use your camera and solve this mind bending puzzler
Chapter 3 Chi Leung Level 1-1
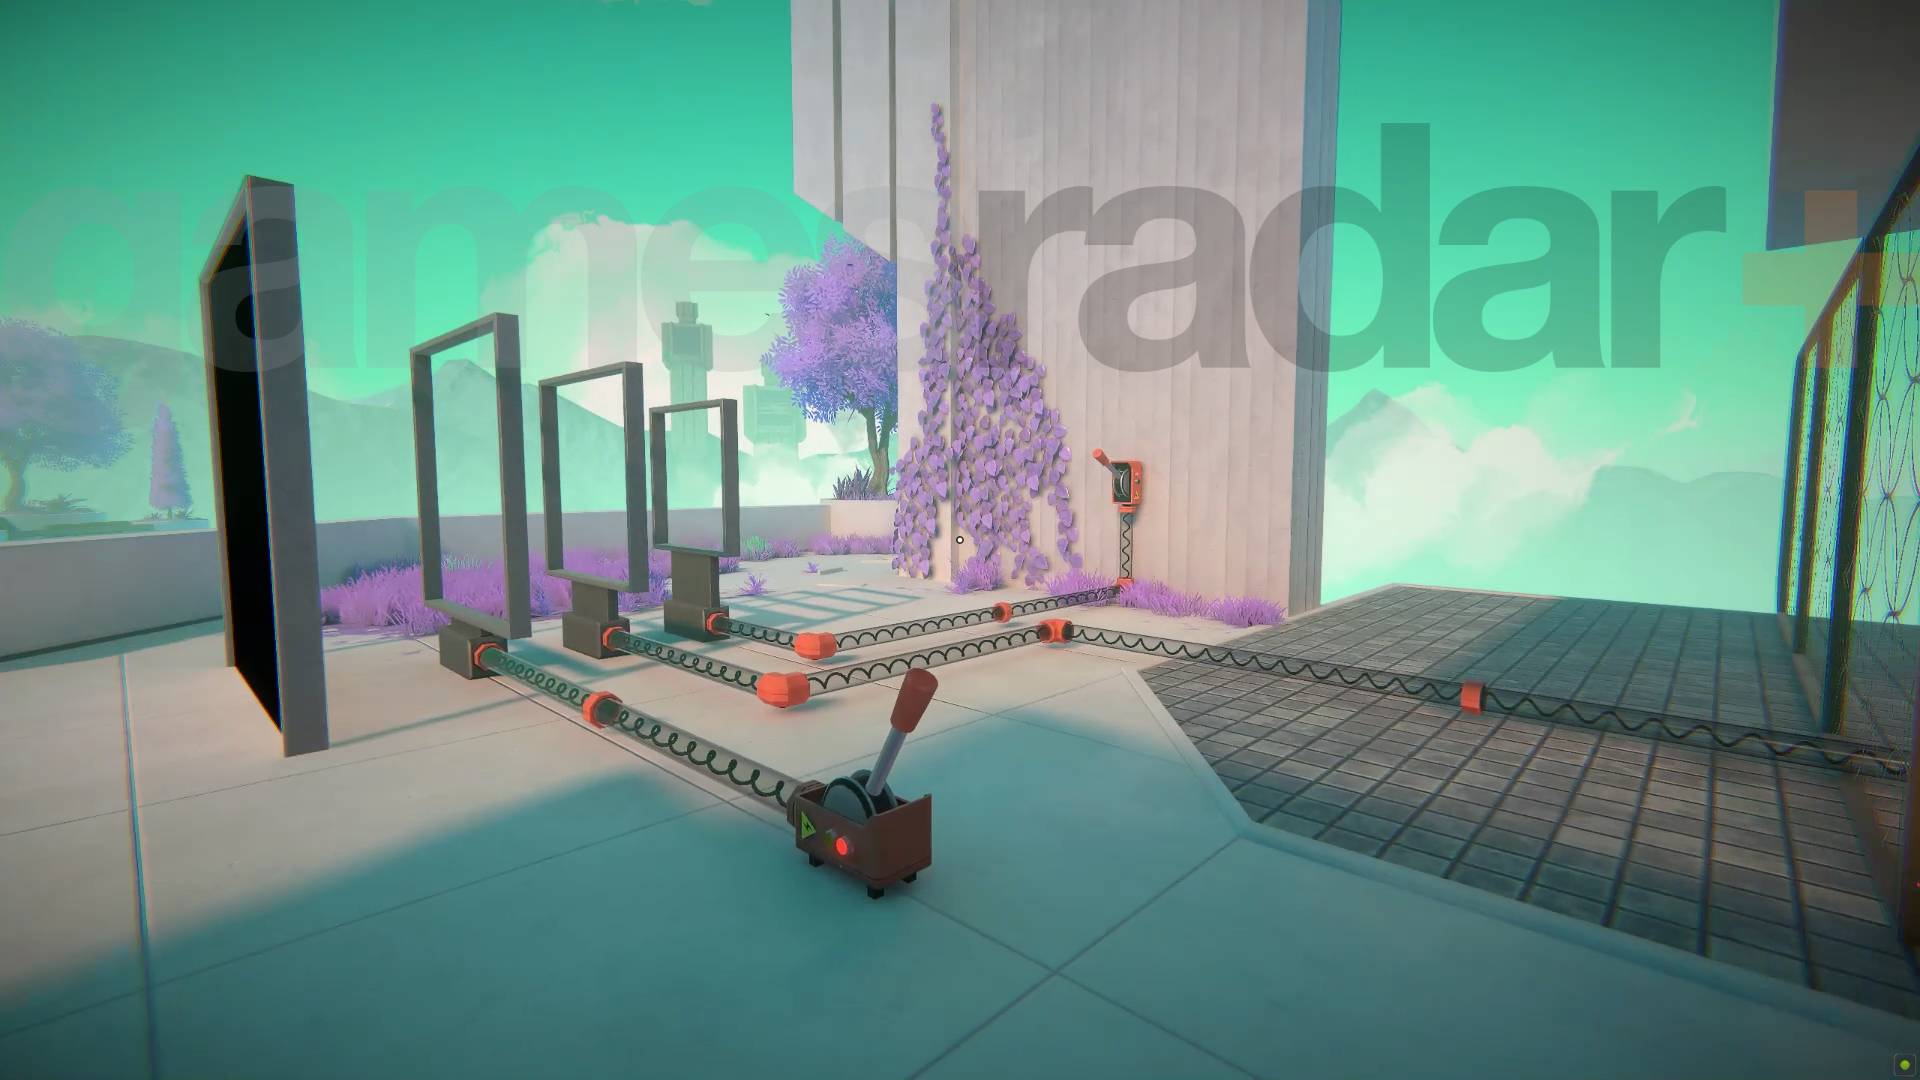
This levels starts with three levers you need to pull, two can be reached easily but one is behind a fence. Go to the far corner away from the fence, and look back towards it where you'll see a picture you can line up to make a hole. That will let you flip the third picture switch, activate all the images in the frames you need to line up and create a bridge to the next area.
Continue over the bridge and you'll find an area with a teleporter and a picture on a nearby table. Place that picture to create a new room where you'll find a photo of a camera - place that to get a camera and using it you can photograph the battery twice to duplicate it and get the three you need to power the teleporter.
Chapter 3 Chi Leung Level 1-2
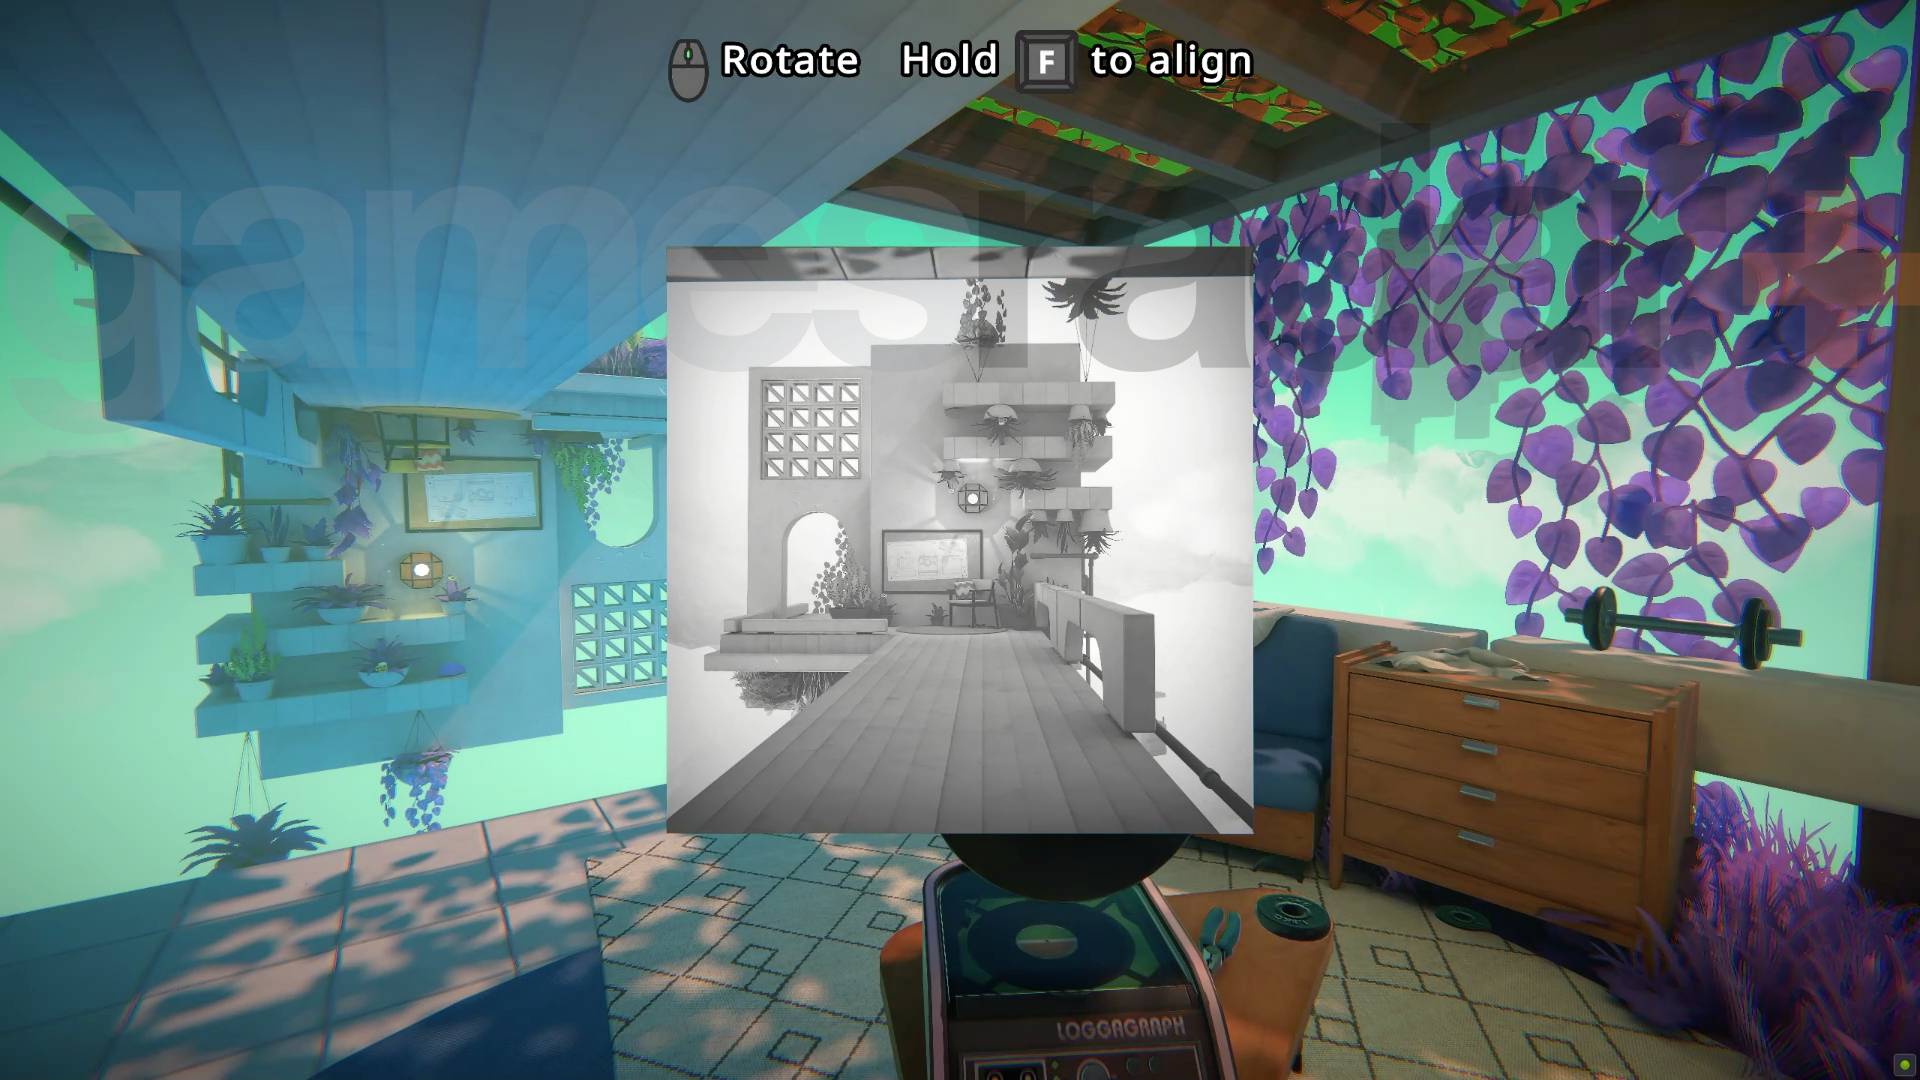
To complete this level you'll need to take a photo of the long overhead structure that reaches ahead. Use the picture to flip it so you can walk on what was the ceiling and through the door at the end. You'll find a teleporter at 90 degrees on the other side Just take a picture and rotate it so you can hop on.
Article continues belowChapter 3 Chi Leung Level 1-3
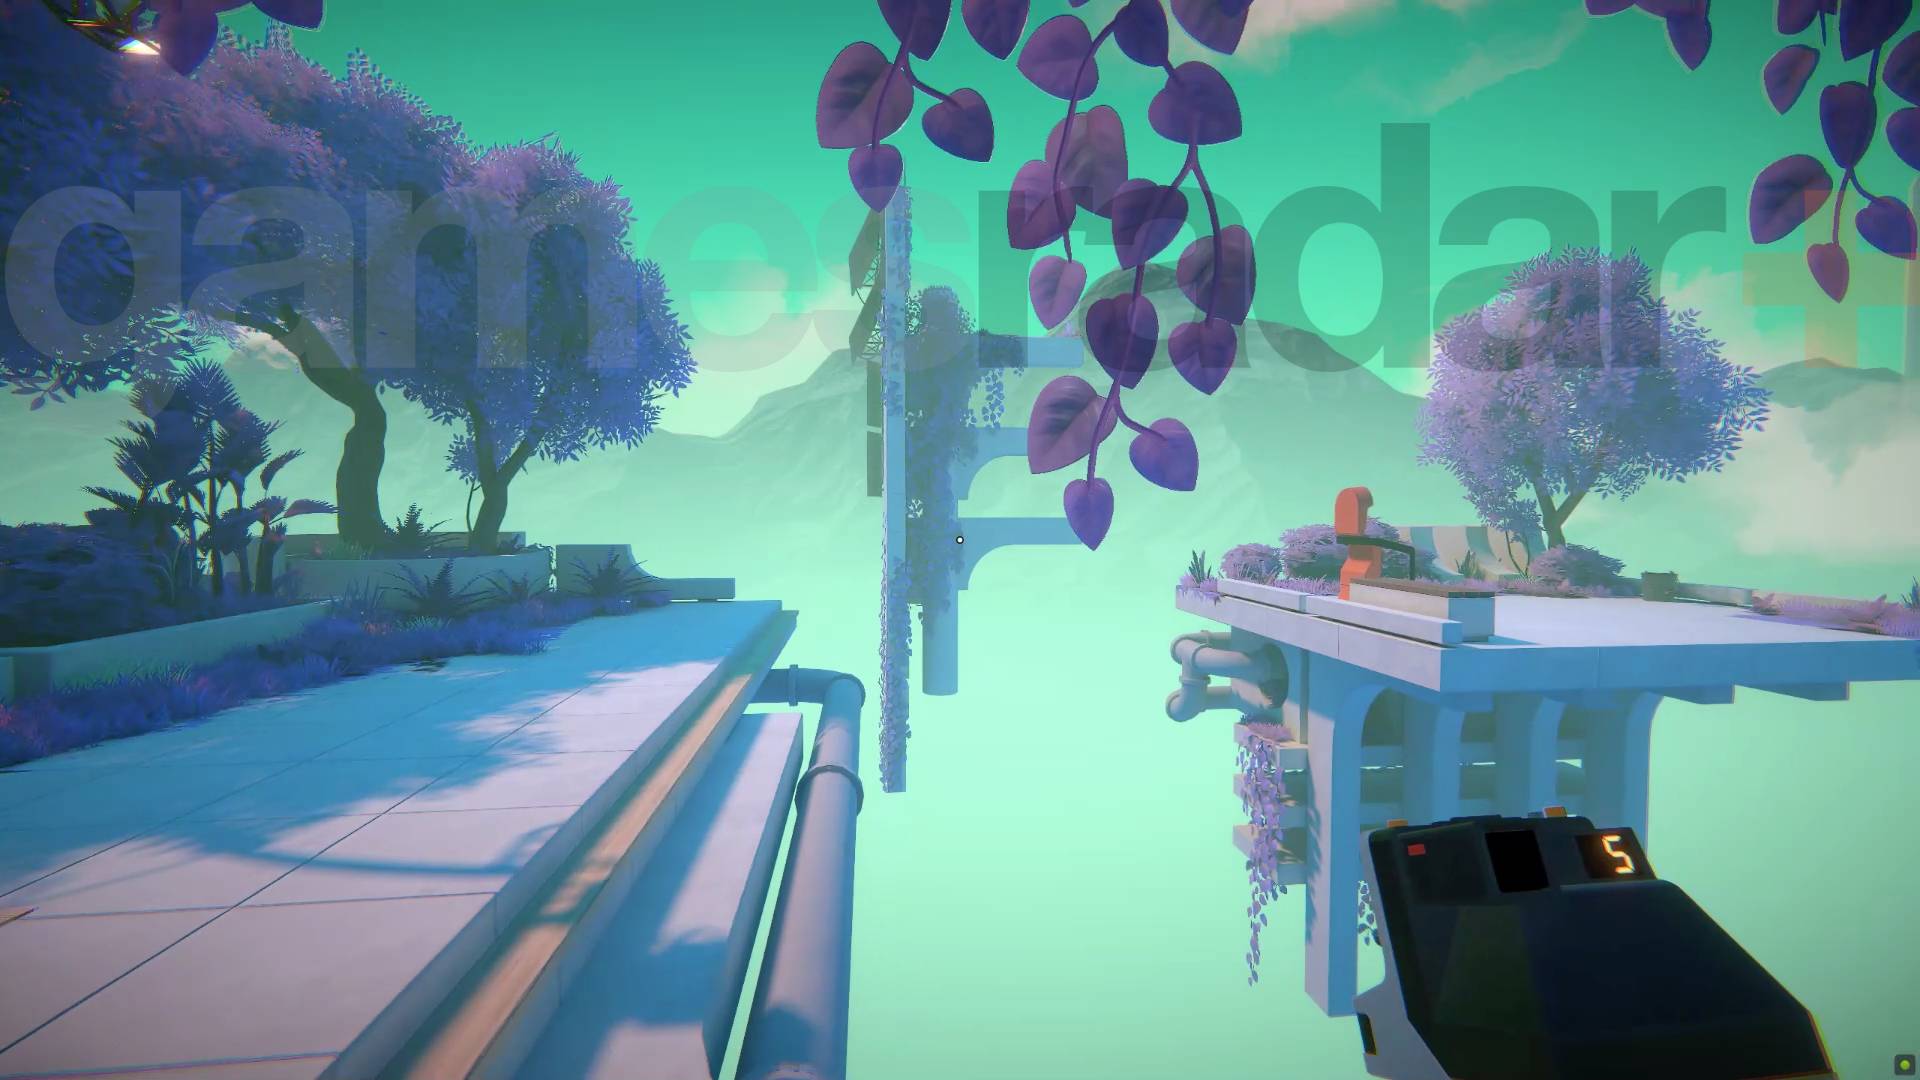
To reach the teleporter here you just need to photograph anything to make a bridge between where you are and the platform it's on. Almost any surface will do but the floating thing between the two areas you can see above is a prime candidate.
Chapter 3 Chi Leung Level 1-4
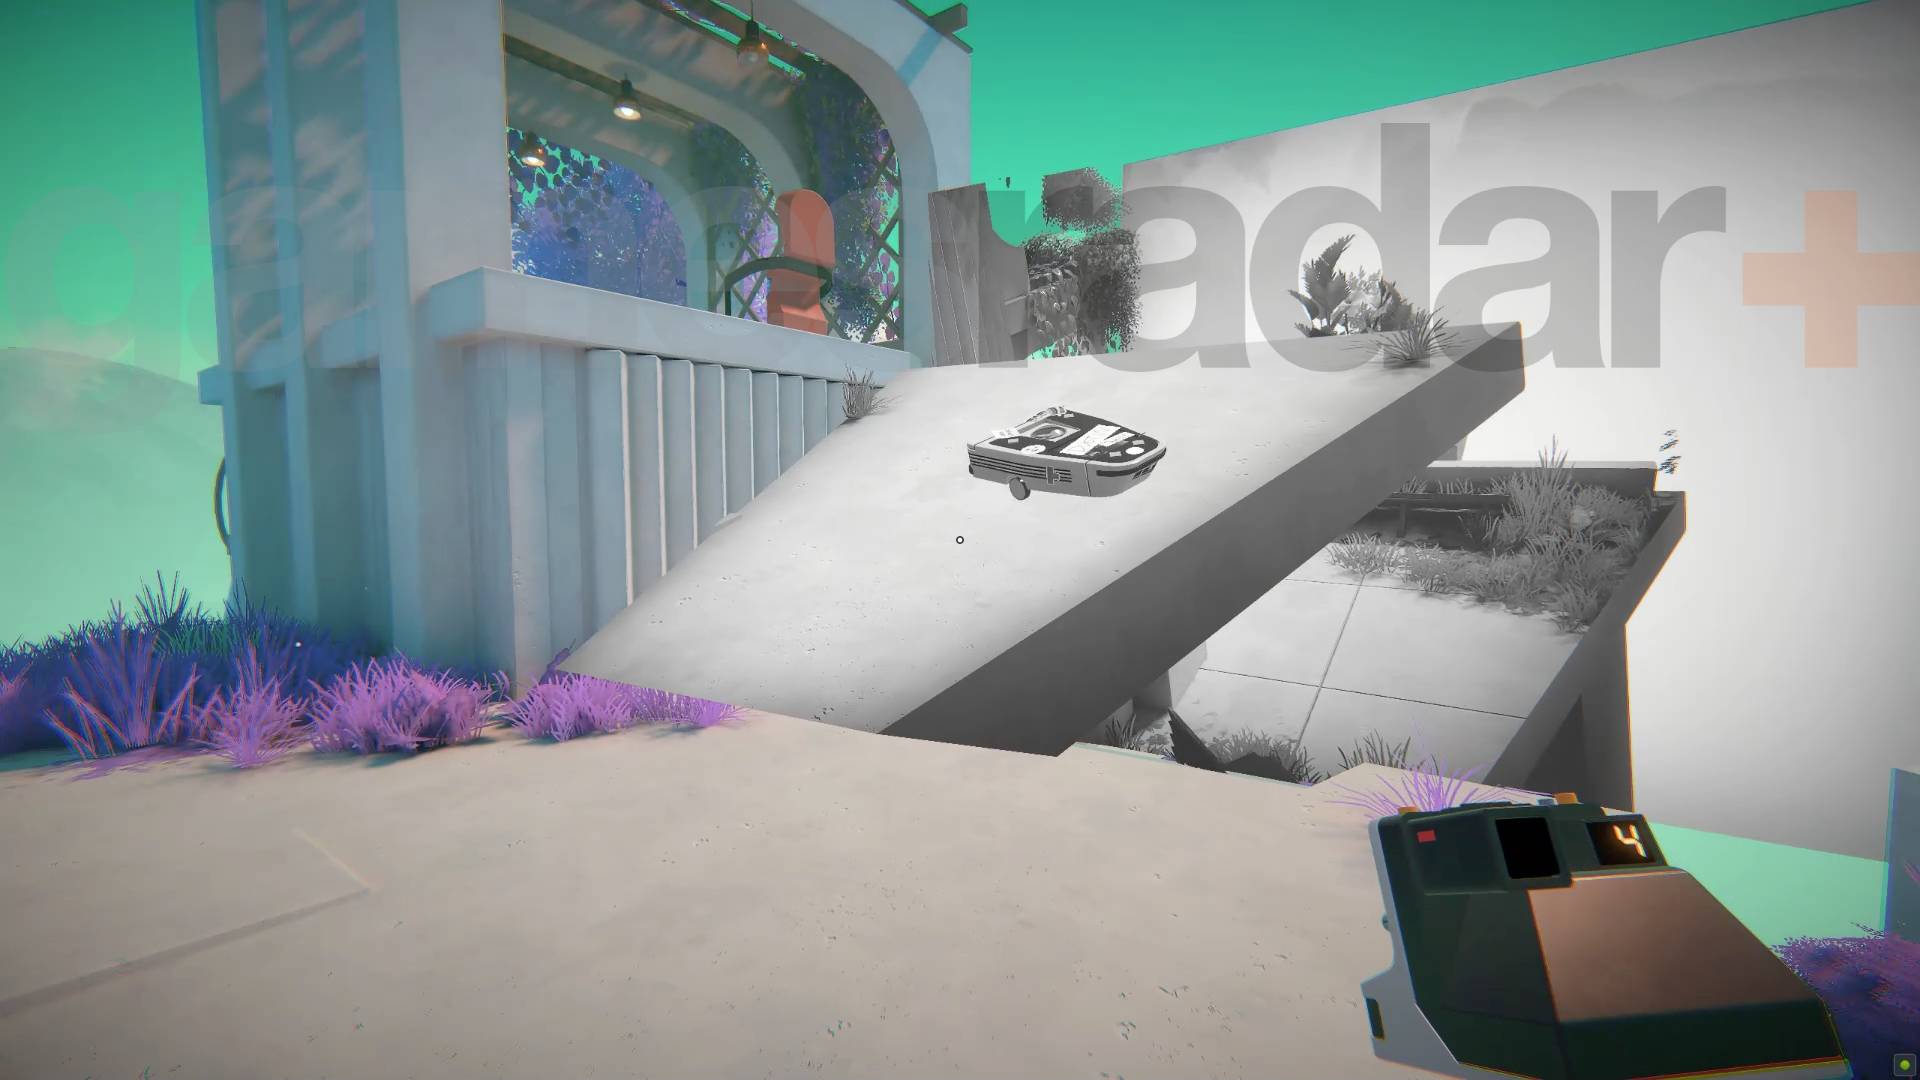
To reach the teleporter in the small tower you just need to take a picture of anything you can then use to make a ramp.
Chapter 3 Chi Leung Level 1-5
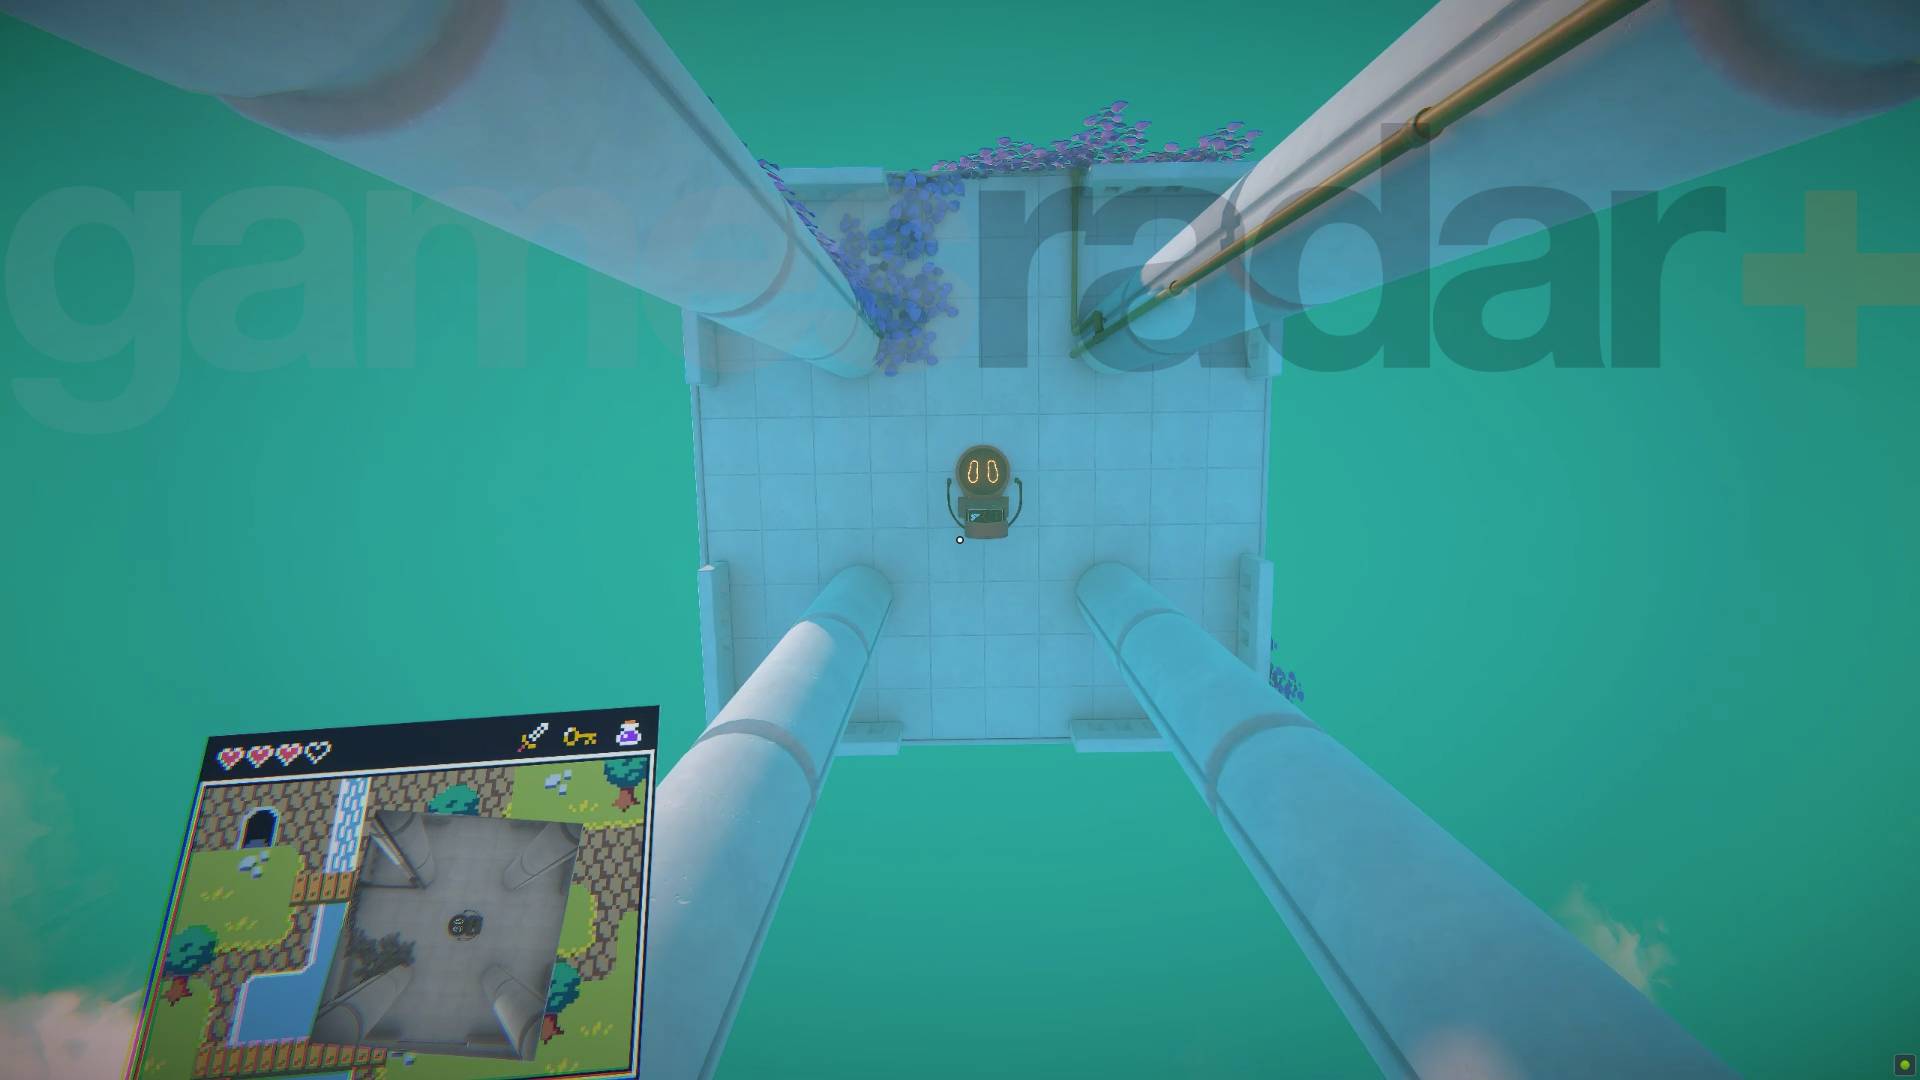
All you need to do here is look up to see a teleporter on the very high ceiling. Take a picture of it and then place the picture right under your feet to fall down and use it.
Chapter 3 Chi Leung Level 1-6
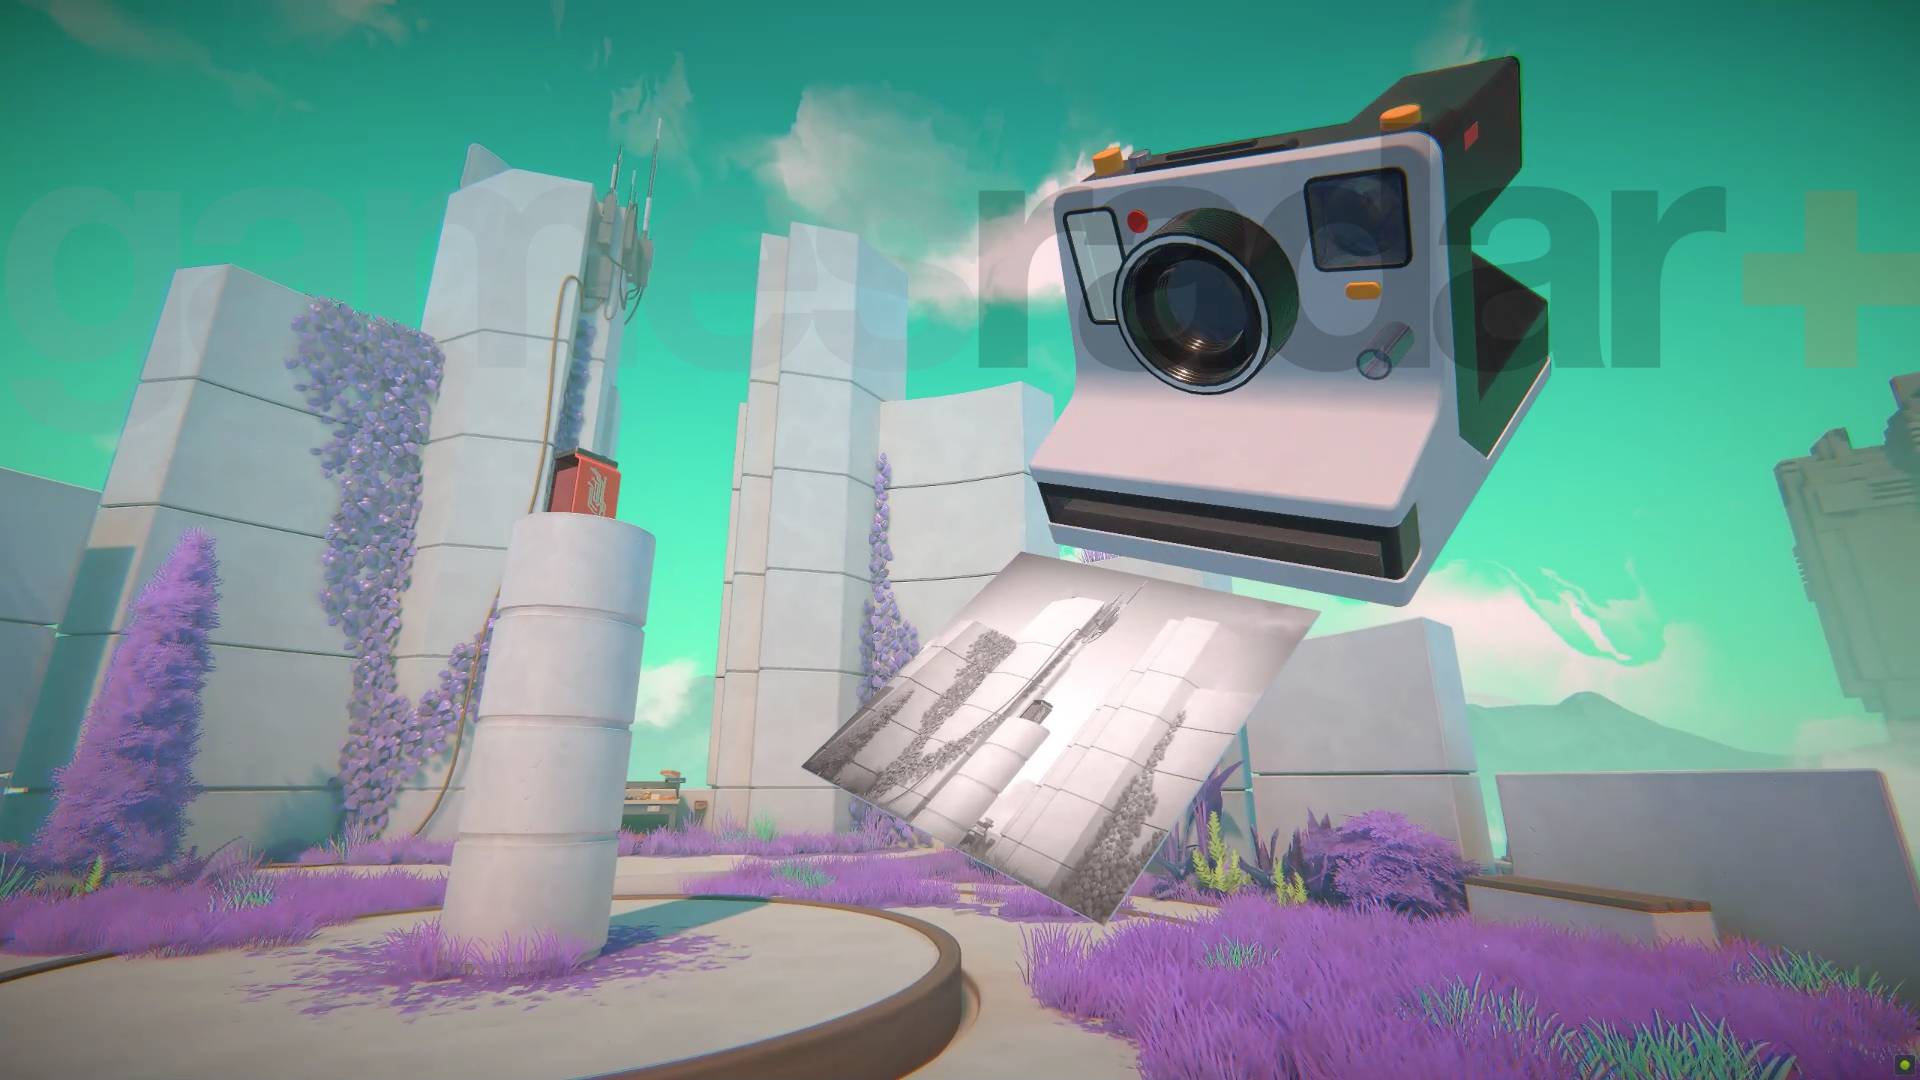
To solve this level, first take a picture of the sky and use it to cut away the fence so you can reach the teleporter behind it. Now go to the other area with a battery on a pedestal you can't reach. Take a couple of pictures of it and rotate them so that when you place them in the world, the batteries fall down to you.
Weekly digests, tales from the communities you love, and more
Chapter 3 Chi Leung Level 2-1
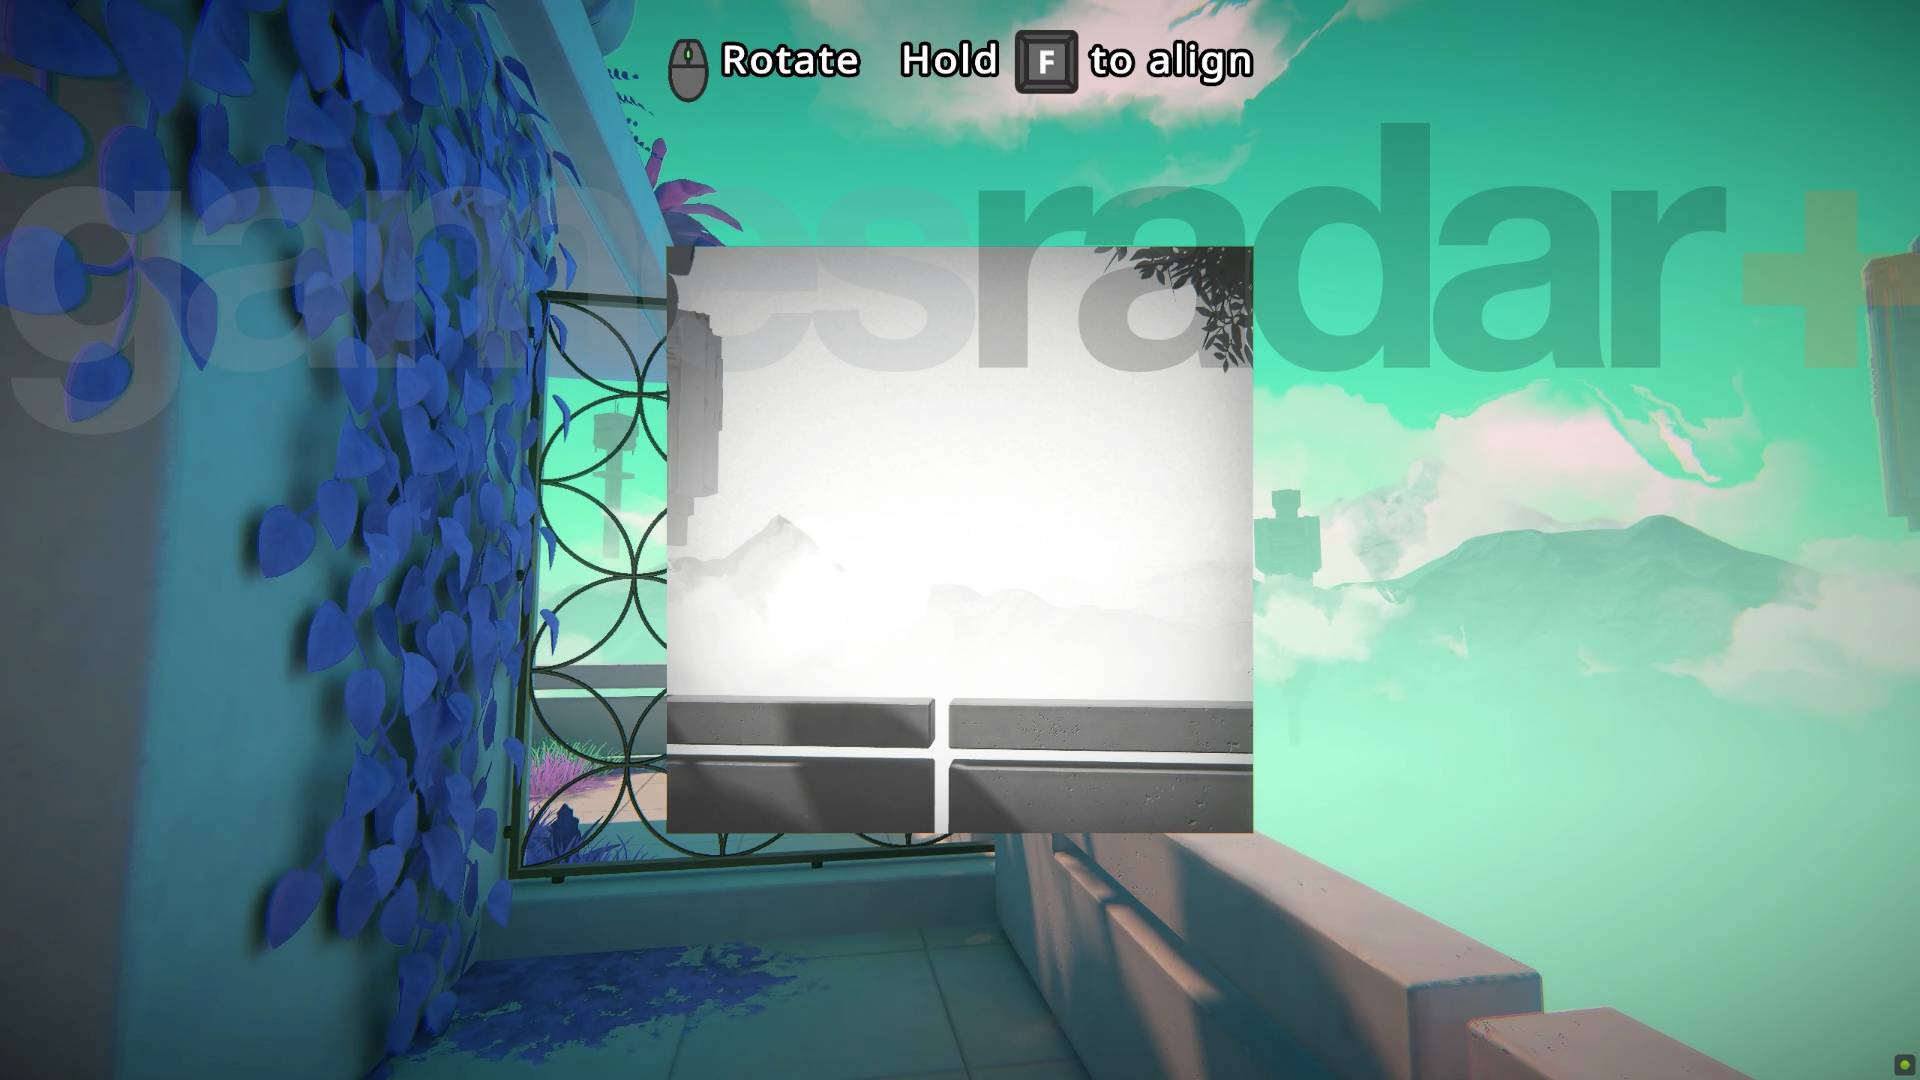
You'll start fenced into a small room so take a picture of the sky and use it to make a gap you can get through. However, you only have a single photo in your camera so once you're free follow the path around but go past the teleporter on the wall when you reach it. That will take you to a small room where you can pick up some extra film. Grab it, snap the teleporter, rotate the picture and move on.
Chapter 3 Chi Leung Level 2-2
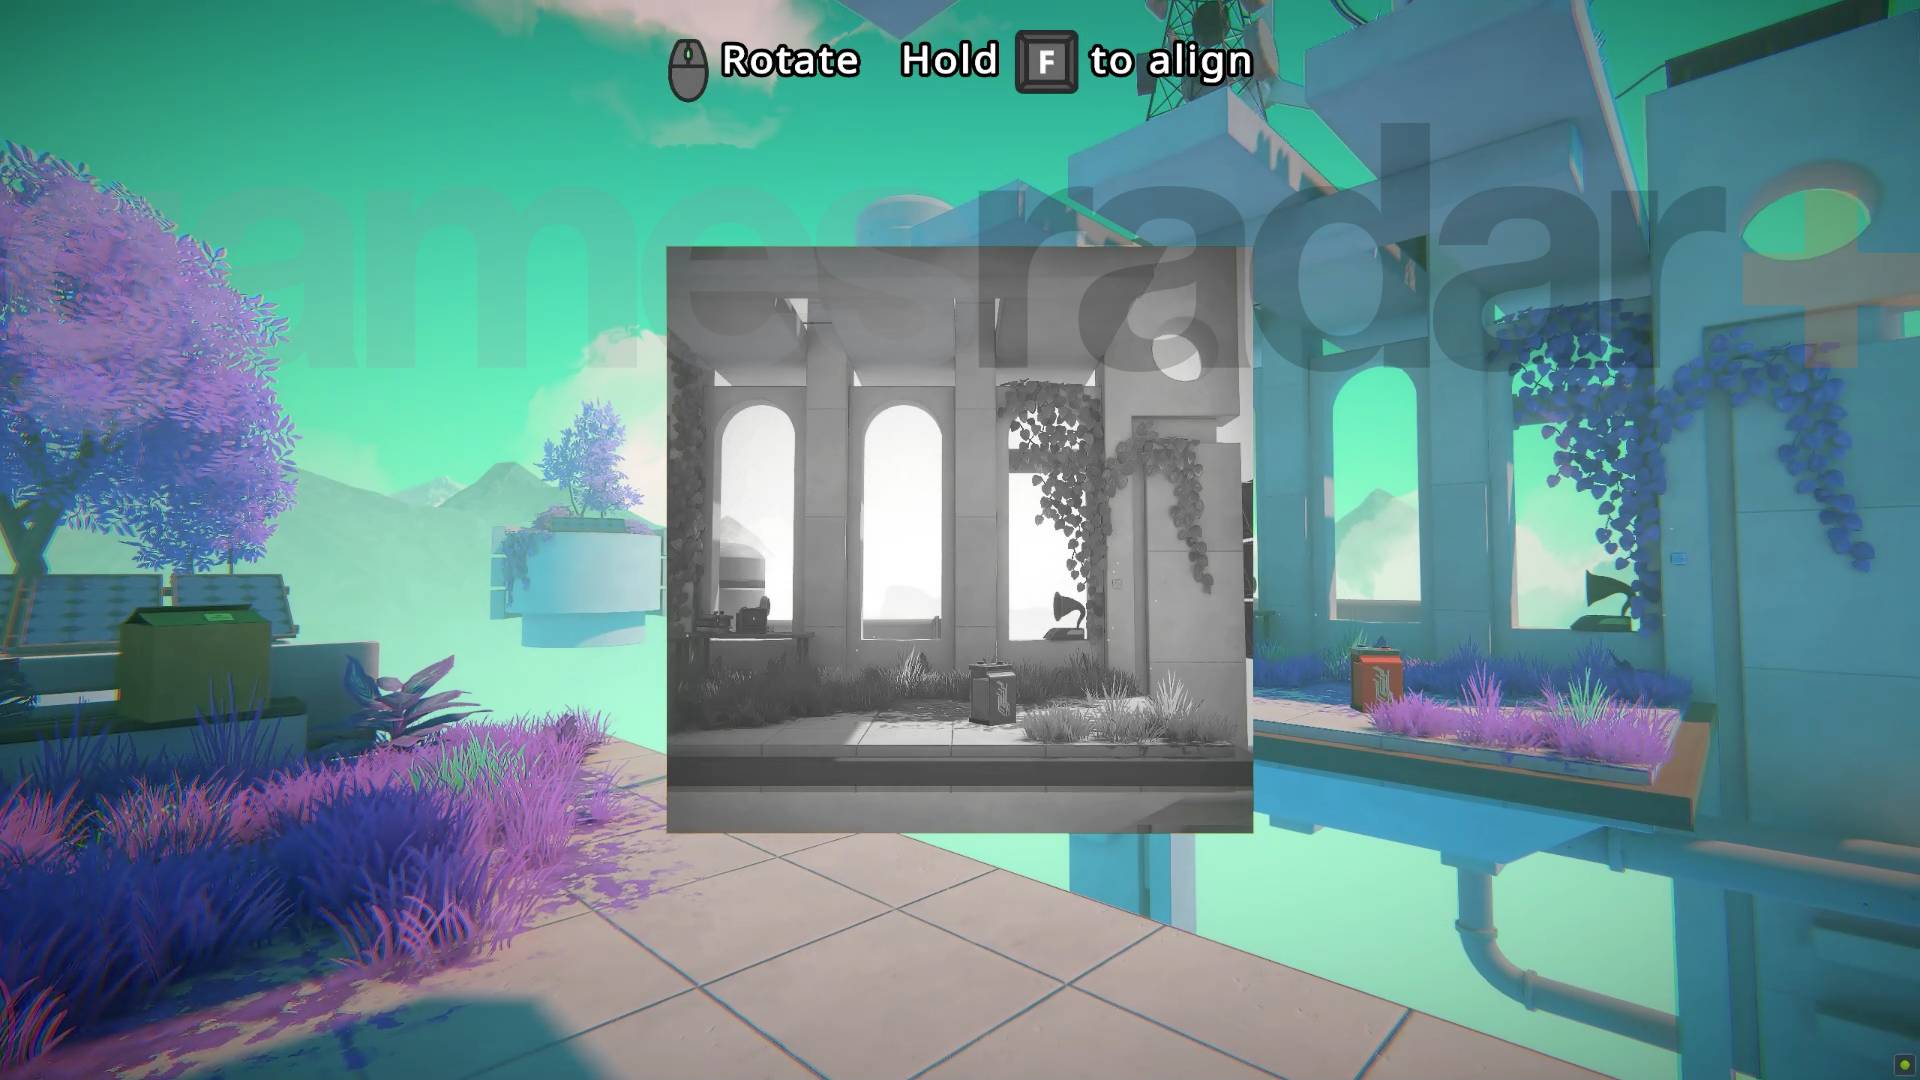
The challenge here is that you need to take a photo of the battery to duplicate it but also make a bridge to reach the battery on the far side. So take a picture of the battery area itself and use it to make the bridge - giving you a second battery and the means to reach the original at the same time.
Chapter 3 Chi Leung Level 2-3
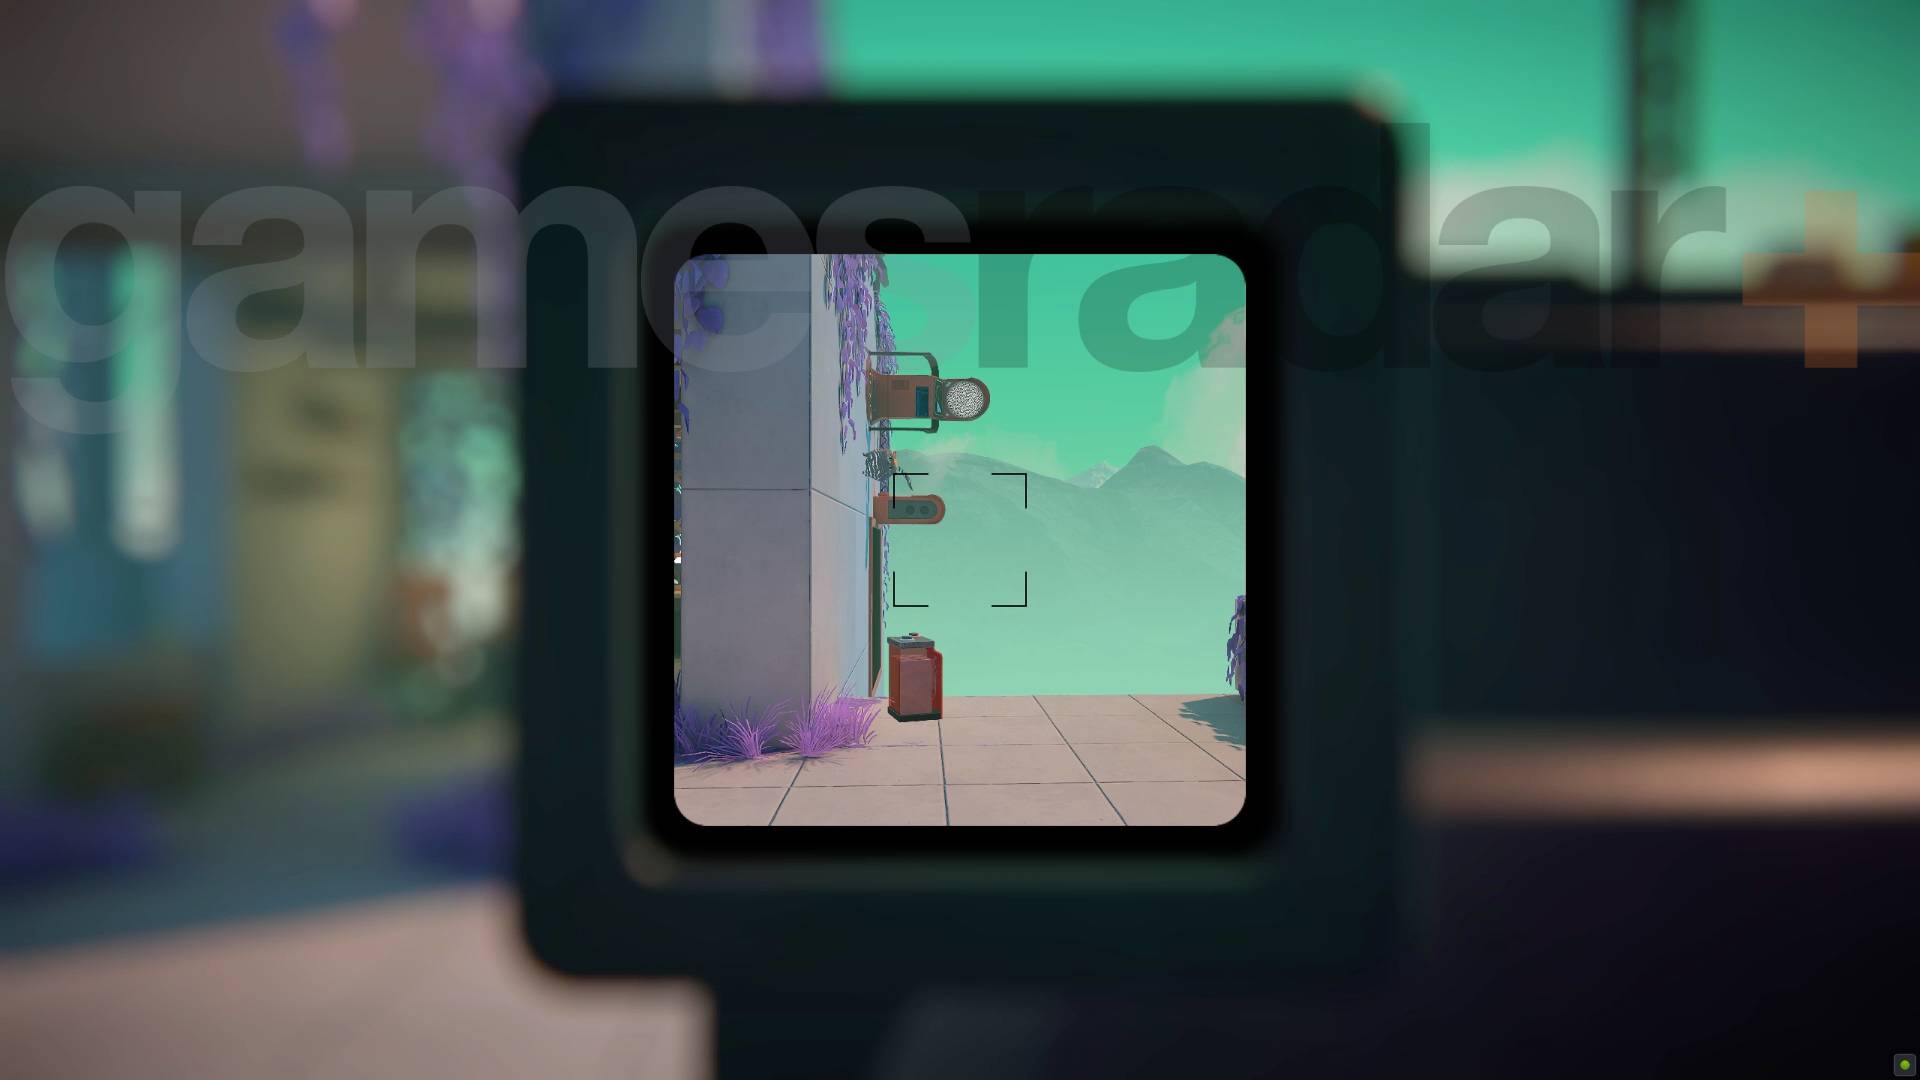
This is another single picture problem. The teleporter is on the wall and needs two batteries to run but you only have one. To solve this pick up the one battery you have and place it so that you can photograph the battery and the teleporter at the same time. Then place the photo, rotating the teleporter so you can use it and the second battery drops somewhere safe. Use the copied and original battery to power things up and head to the next level.
Chapter 3 Chi Leung Level 3-1

All you need to do here is flip the lever and then get both that and the teleporter in a picture and then rotate and place it to use it. There is a hole in the wall to help you get further away but you can just wedge in the corner to get the shot.
Chapter 3 Chi Leung Level 3-2
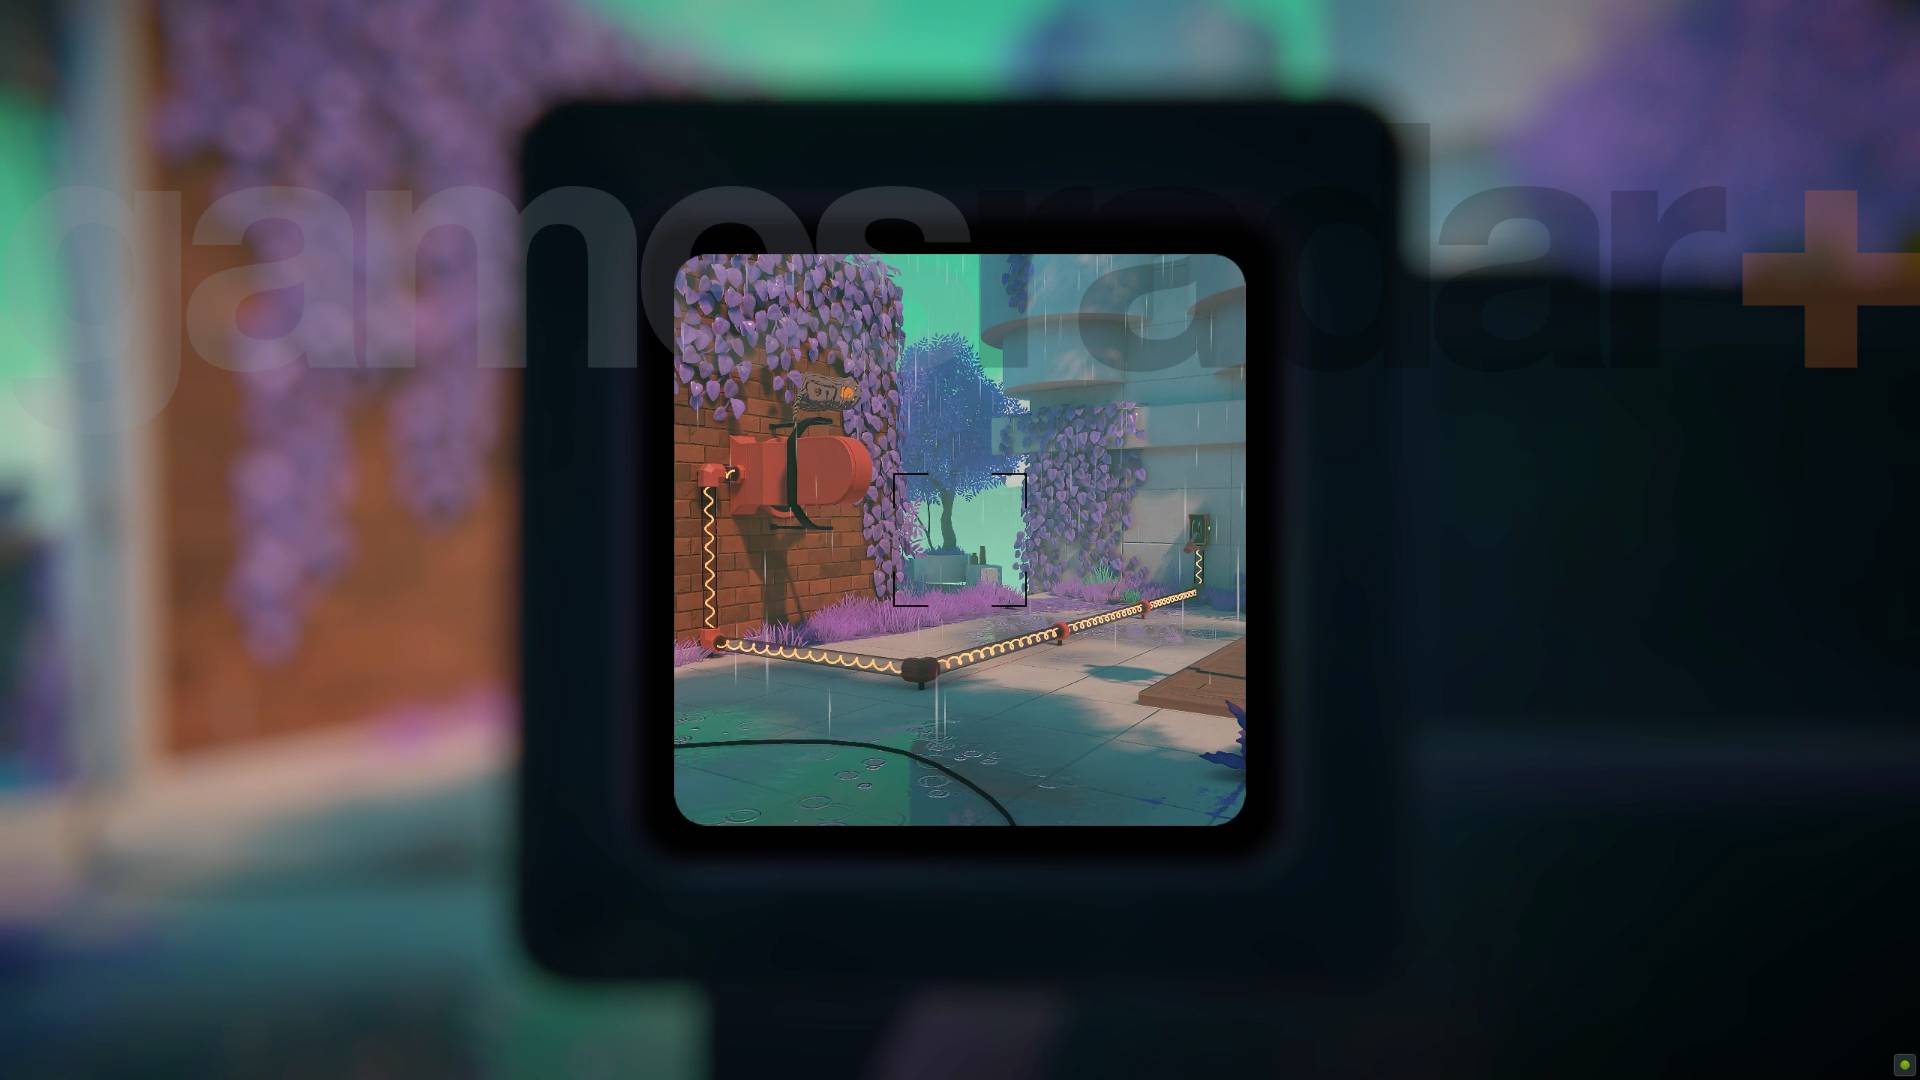
This is another viewfinder puzzle where all you need to do is flip the lever to power the teleporter and then get it all in a picture to keep everything running when you rotate and place it. Because of the angle it all fits in, you'll have to place it under you and drop drop down.
Chapter 3 Chi Leung Level 3-3
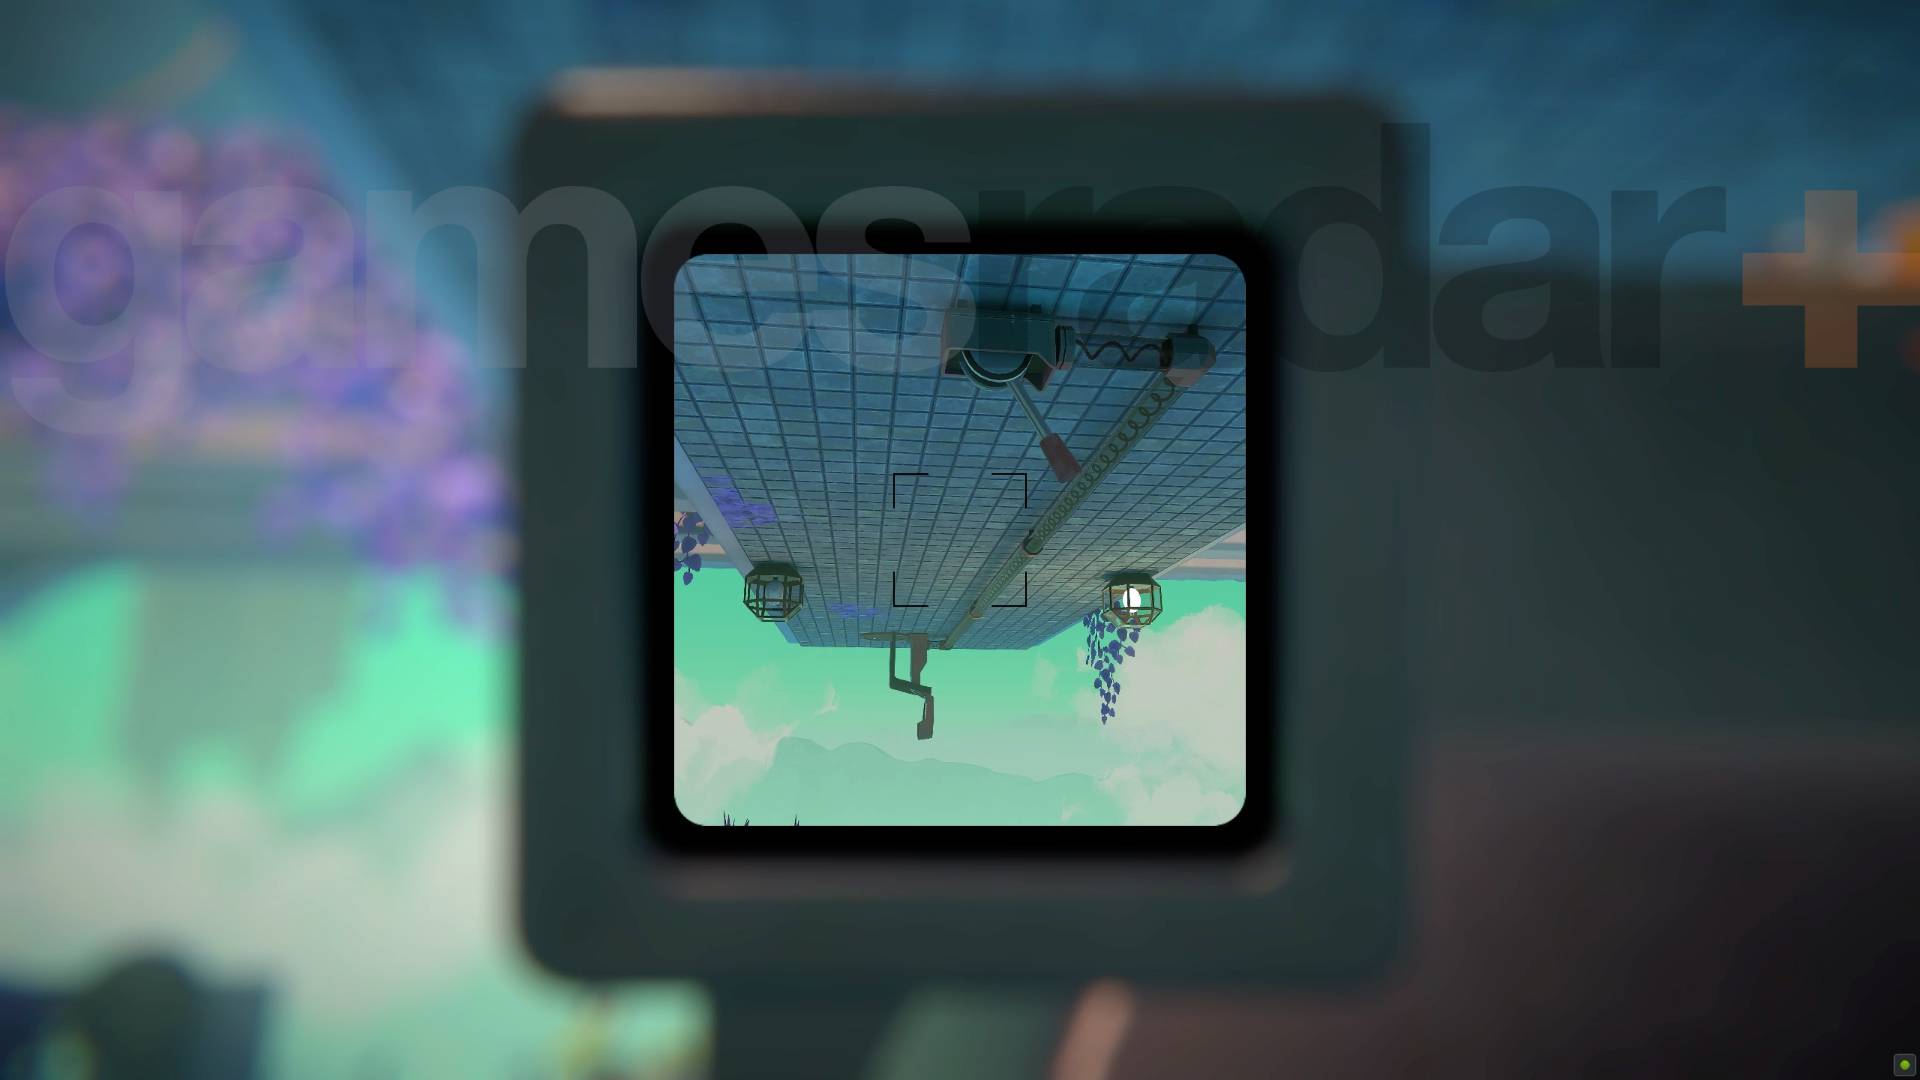
Again, you'll need to fit the entire teleporter and switch in the frame to get a photo without breaking it. To do that here you'll need to take a picture of any wall or structure that will let you create a bridge that goes out from the platform you're on - and underneath the strip the machinery is on. Get out to the side far enough and then you can fit it all in a single picture.
Chapter 3 Chi Leung Level 3-4
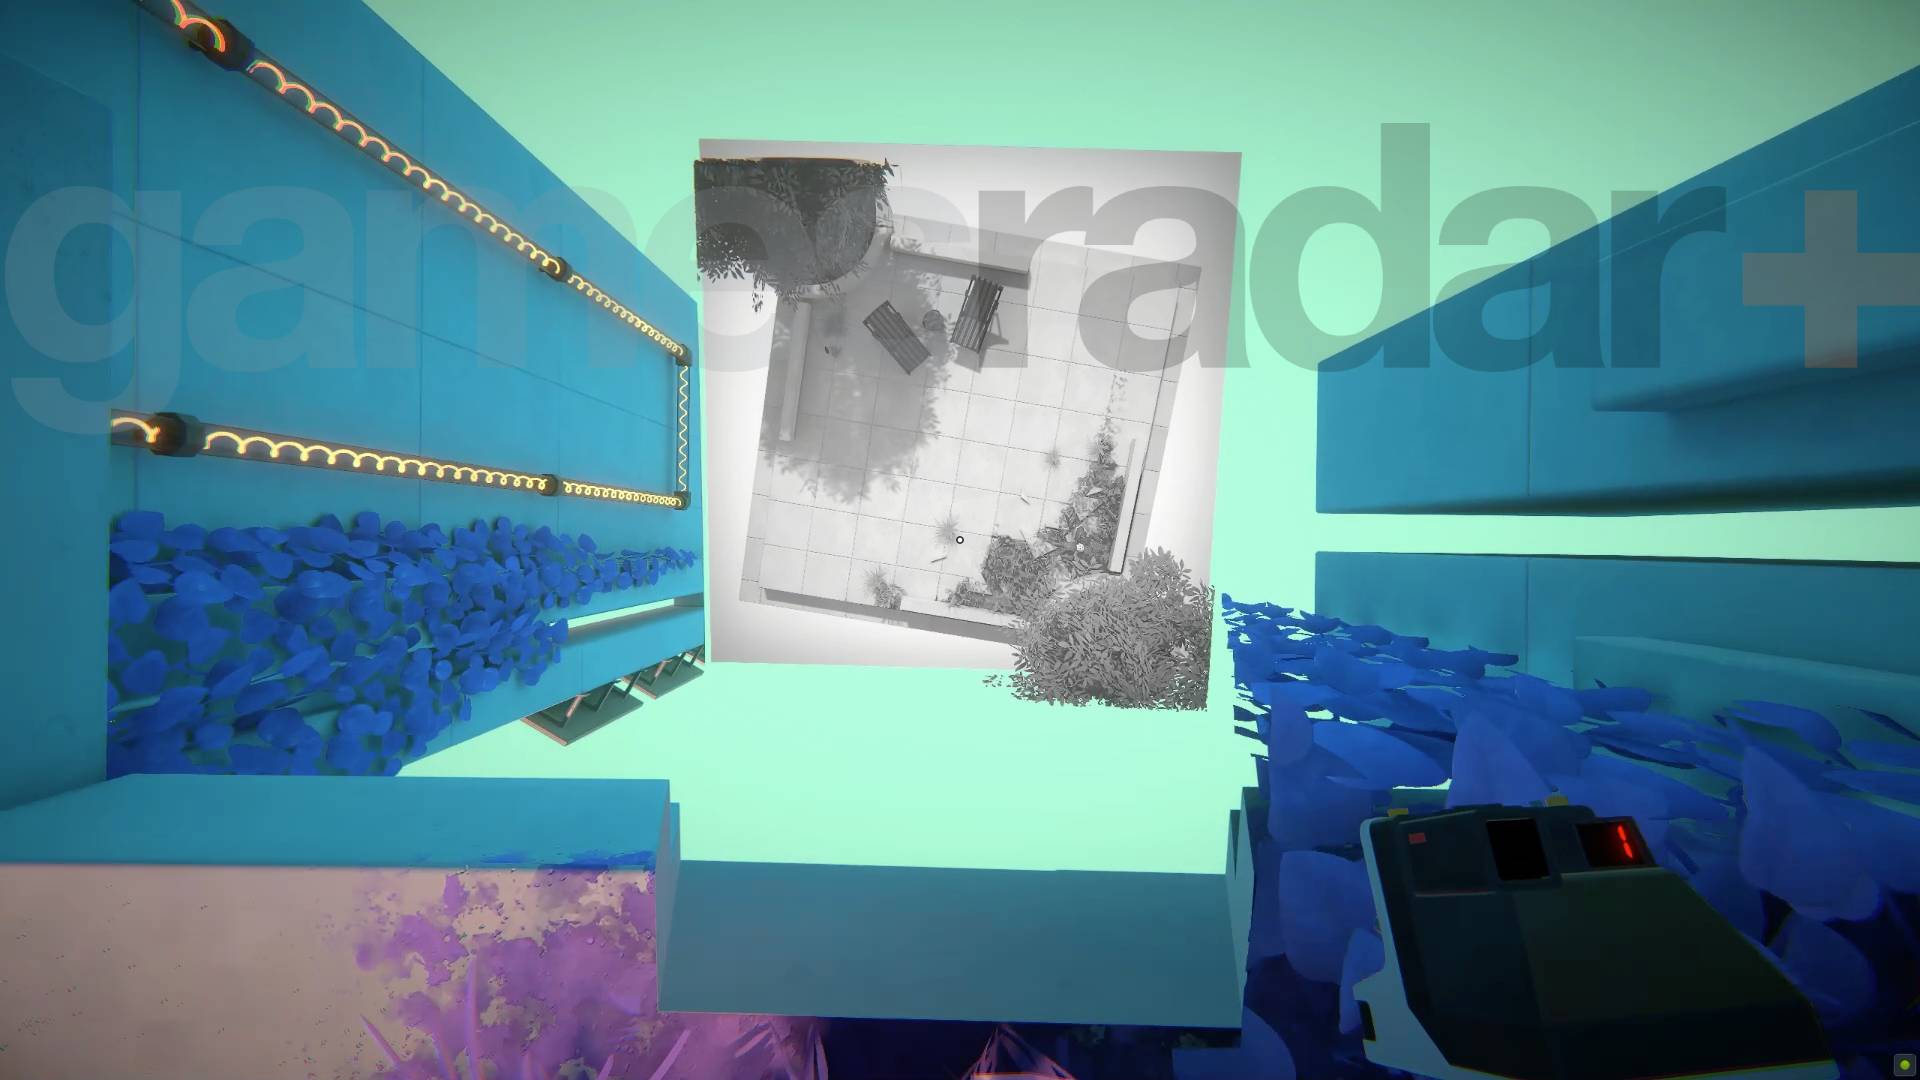
Once you've turned the teleporter on, use the photo you can find on the notice board to create a level way below you so you can take a picture of the teleporter and switch together. You'll then have to place the picture below you again and fall down to it so the teleporter's the right way up.
Chapter 3 Chi Leung Level 4-1
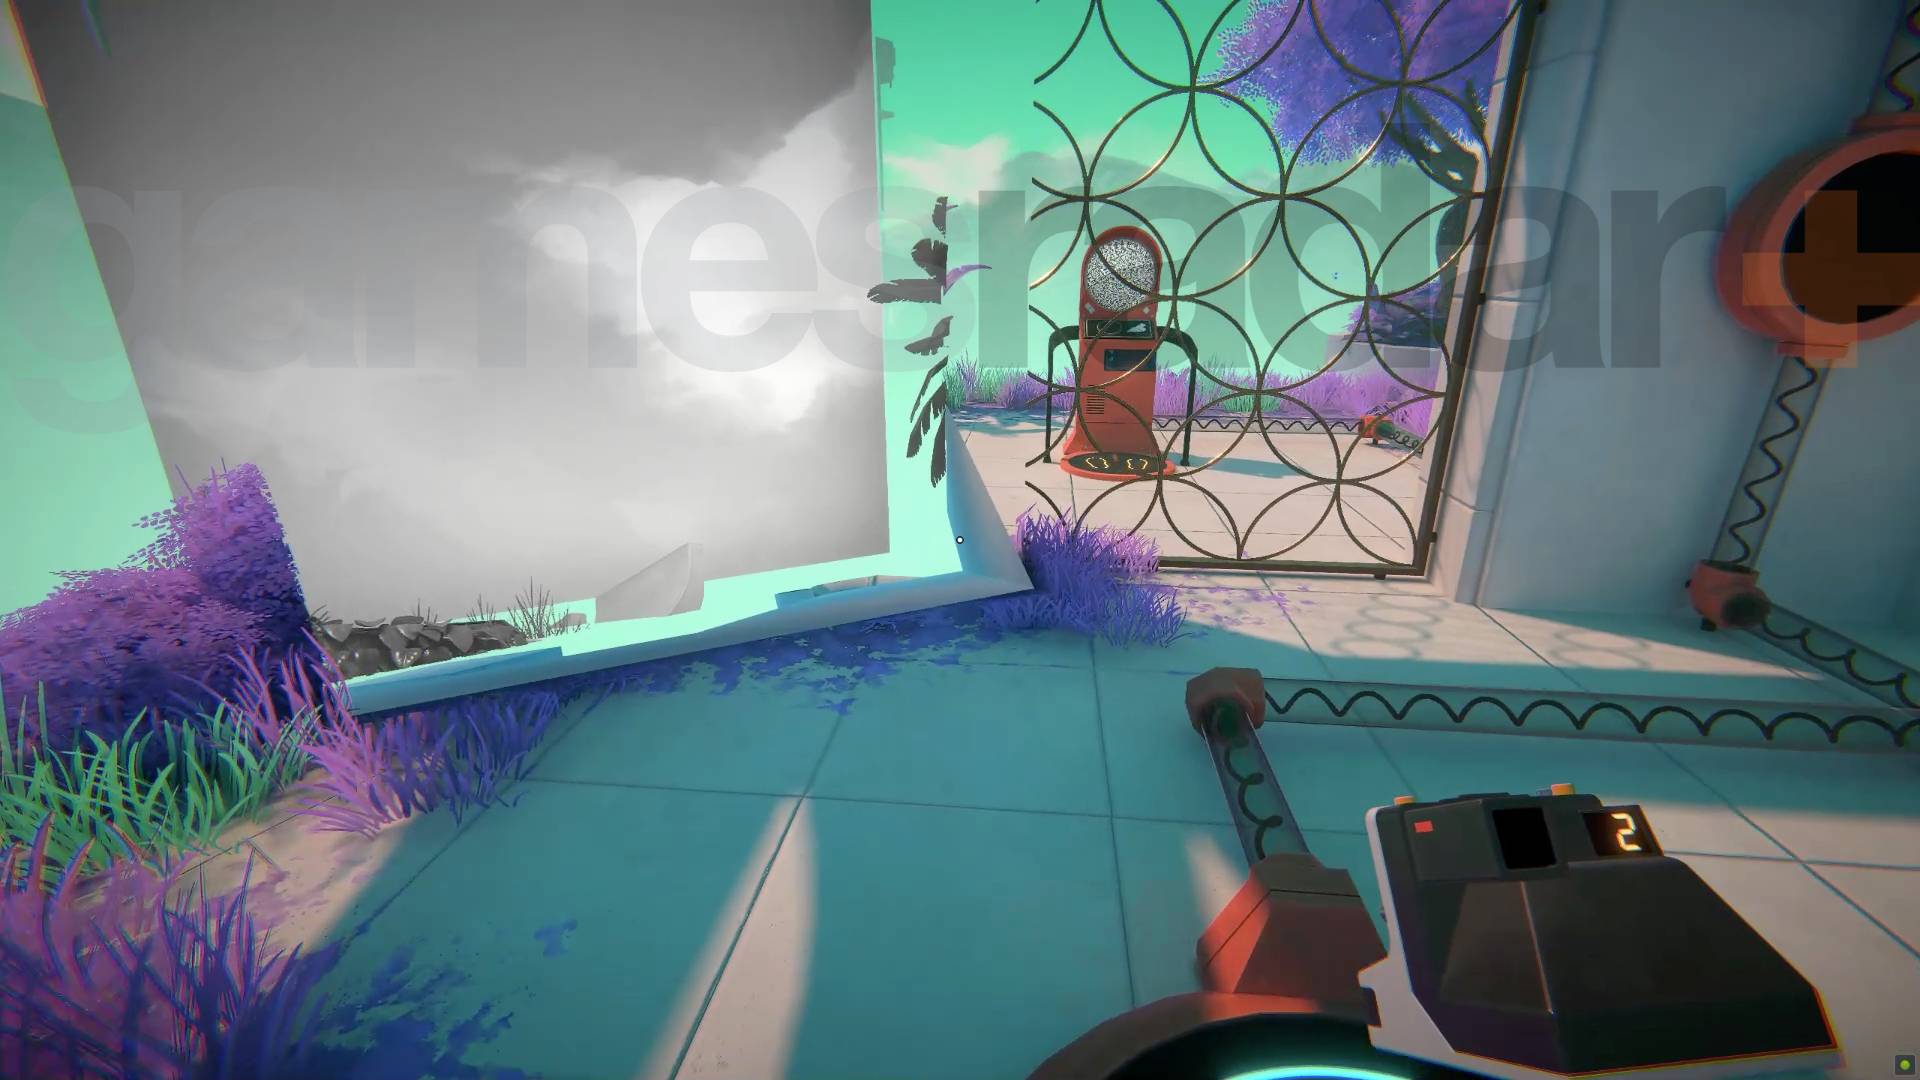
This new series of puzzles introduces a pad you stand on that sets a timed power supply. If you can get to the teleporter before the timer counts down it'll still be on and you can use it. Just take a picture of the sky and use that to cut away the fence, then stand on the pad to start the clock and go!
Chapter 3 Chi Leung Level 4-2
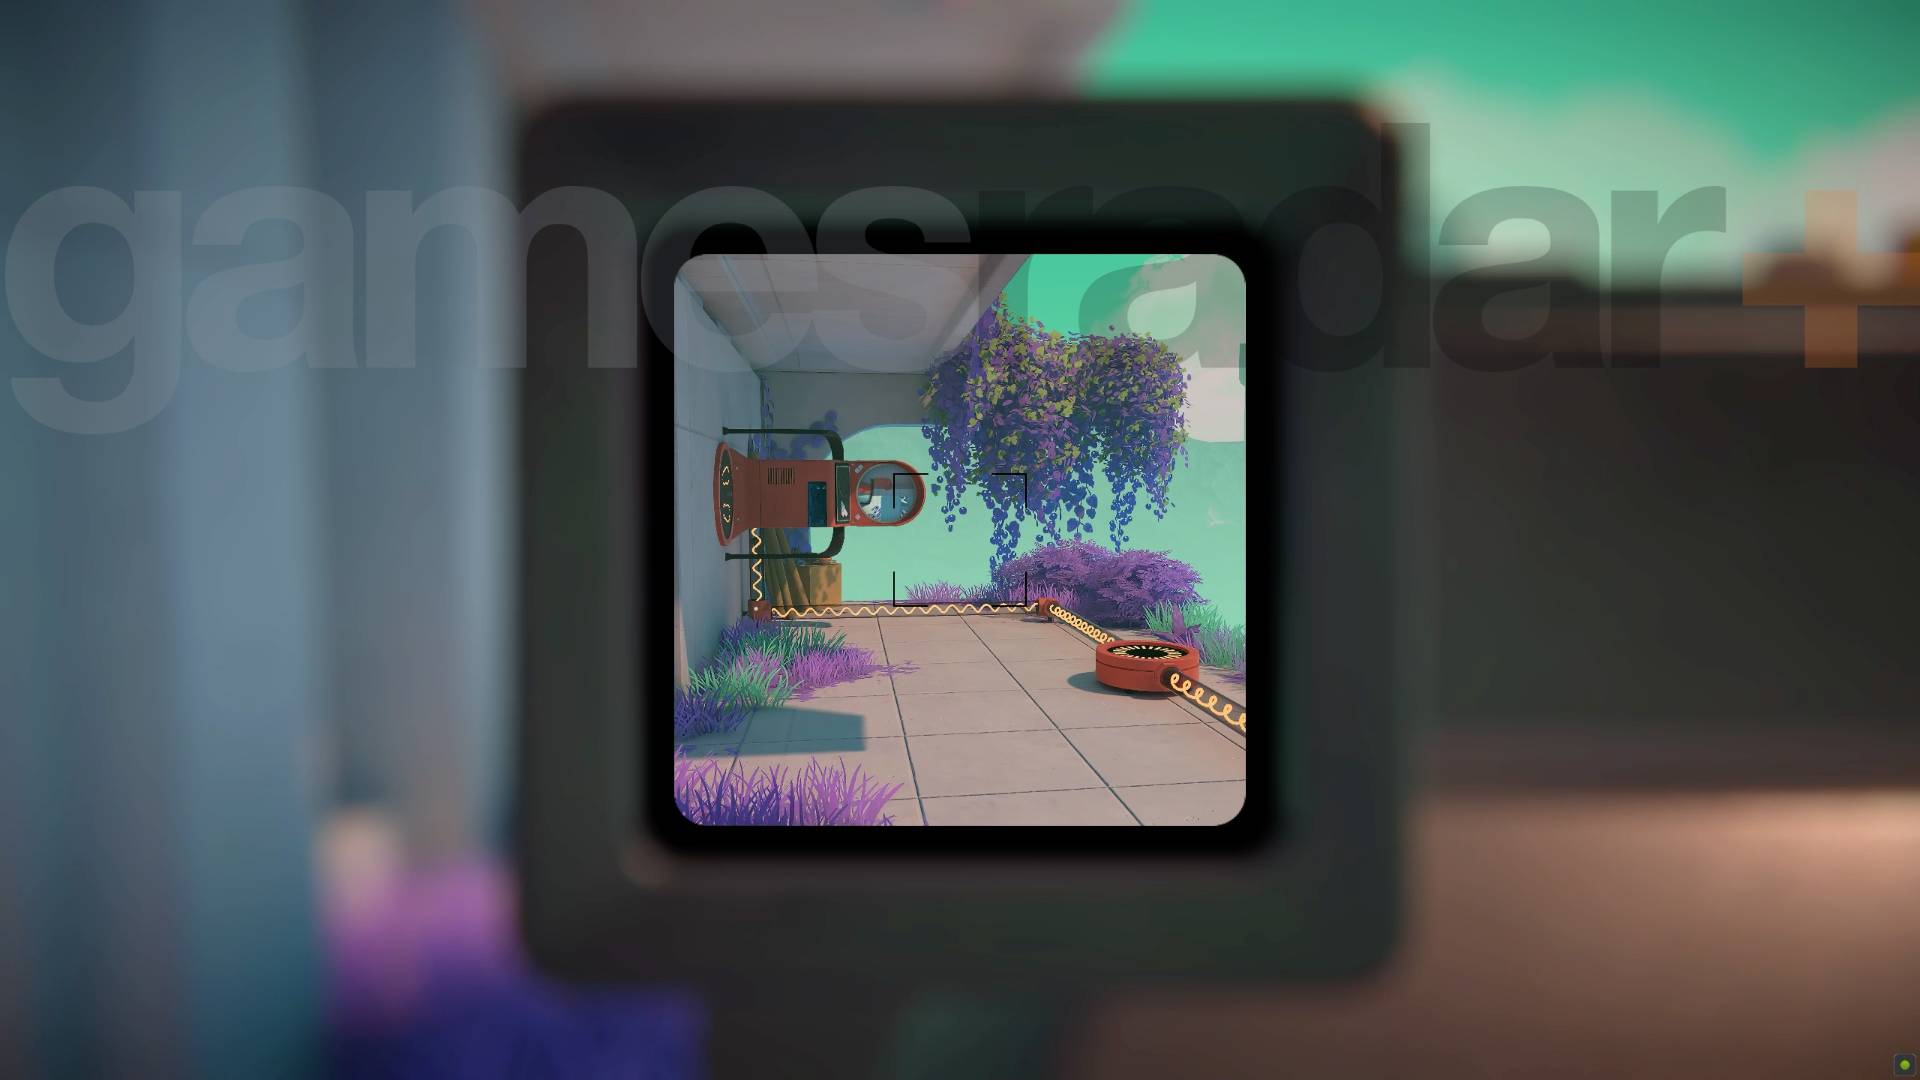
All you need to do here is pull the lever to power up the timer and then take a picture that has both that and the teleporter in frame. When you place the picture it'll break the power supply to the teleporter but you'll have until the timer runs out to actually use it.
Chapter 3 Chi Leung Level 4-3
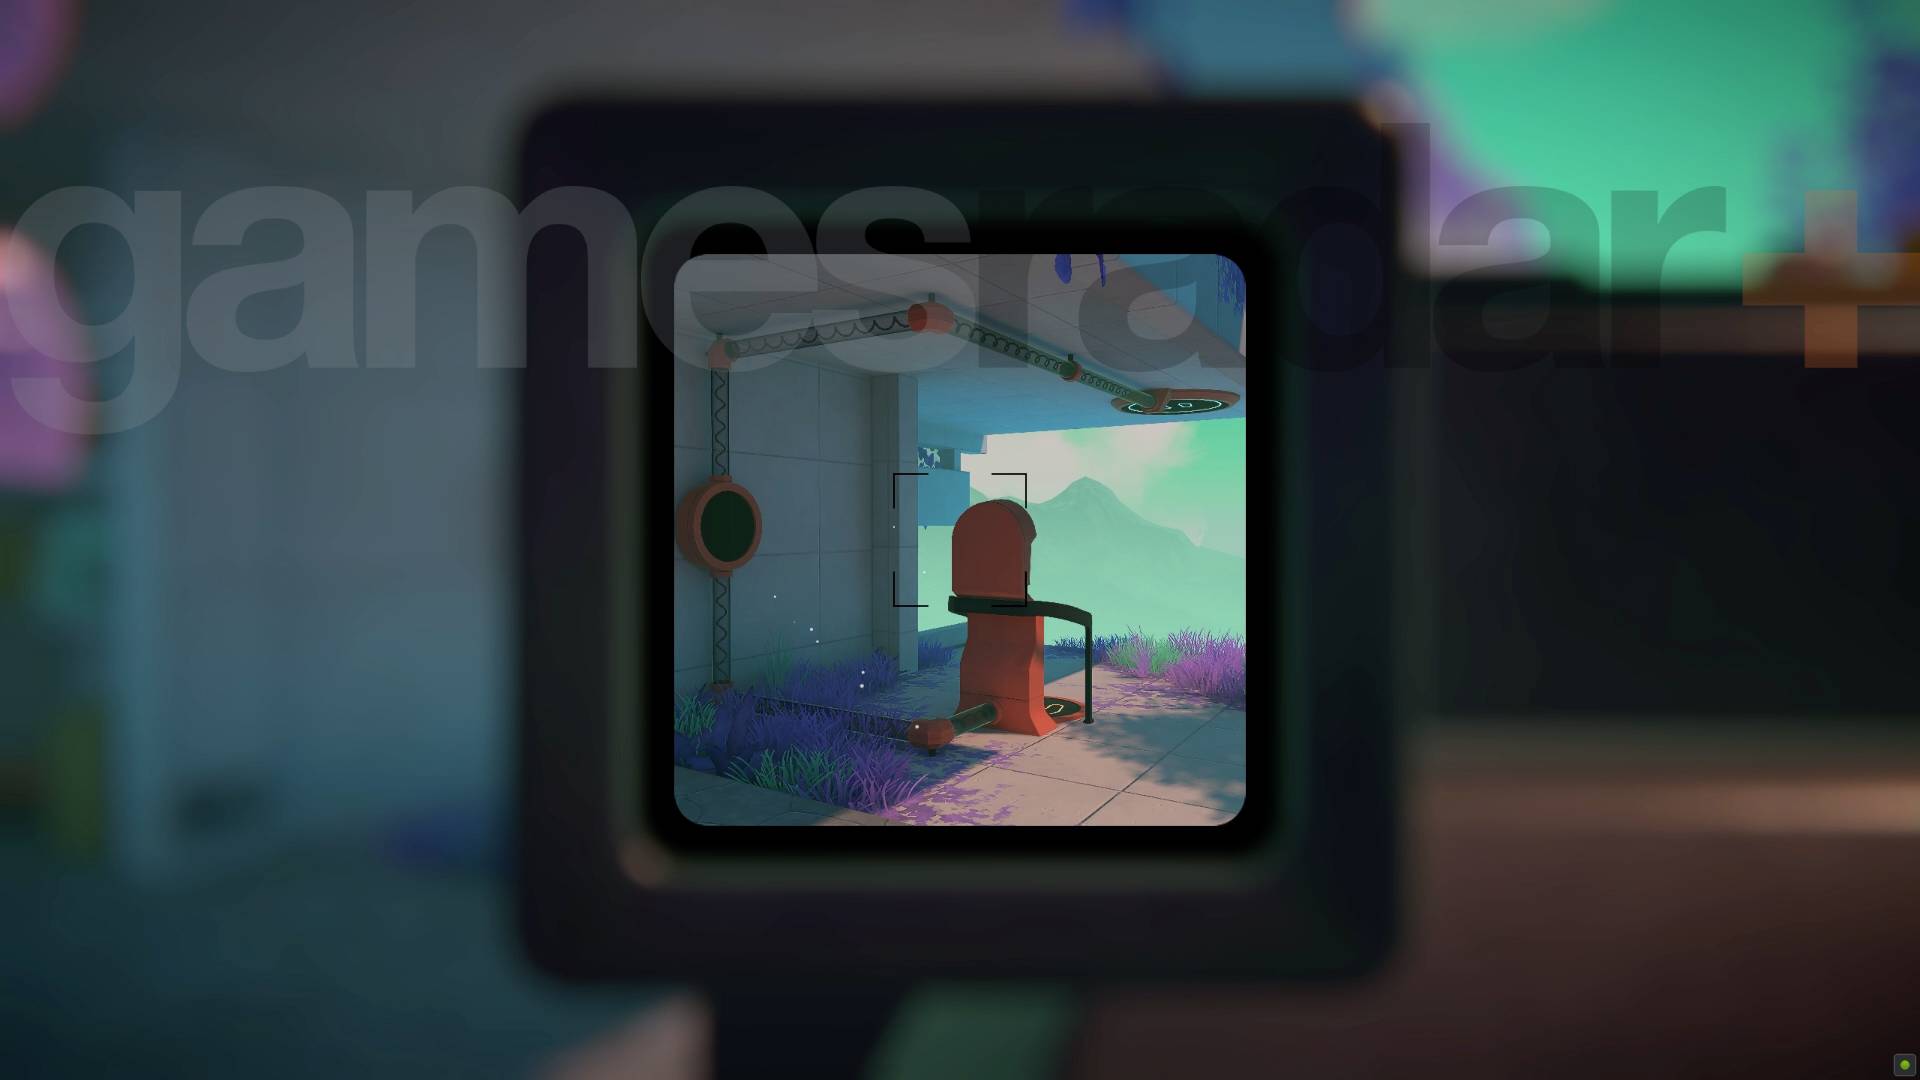
To get the teleporter working here you'll need to first photograph the whole set up so you can rotate it and get the footpad on the floor. Once you've done that stand on the pad to charge the timer and then take a shot of it fully charged. That should give you enough time to use the teleporter when you place this new photo.
Chapter 3 Chi Leung Level 4-4
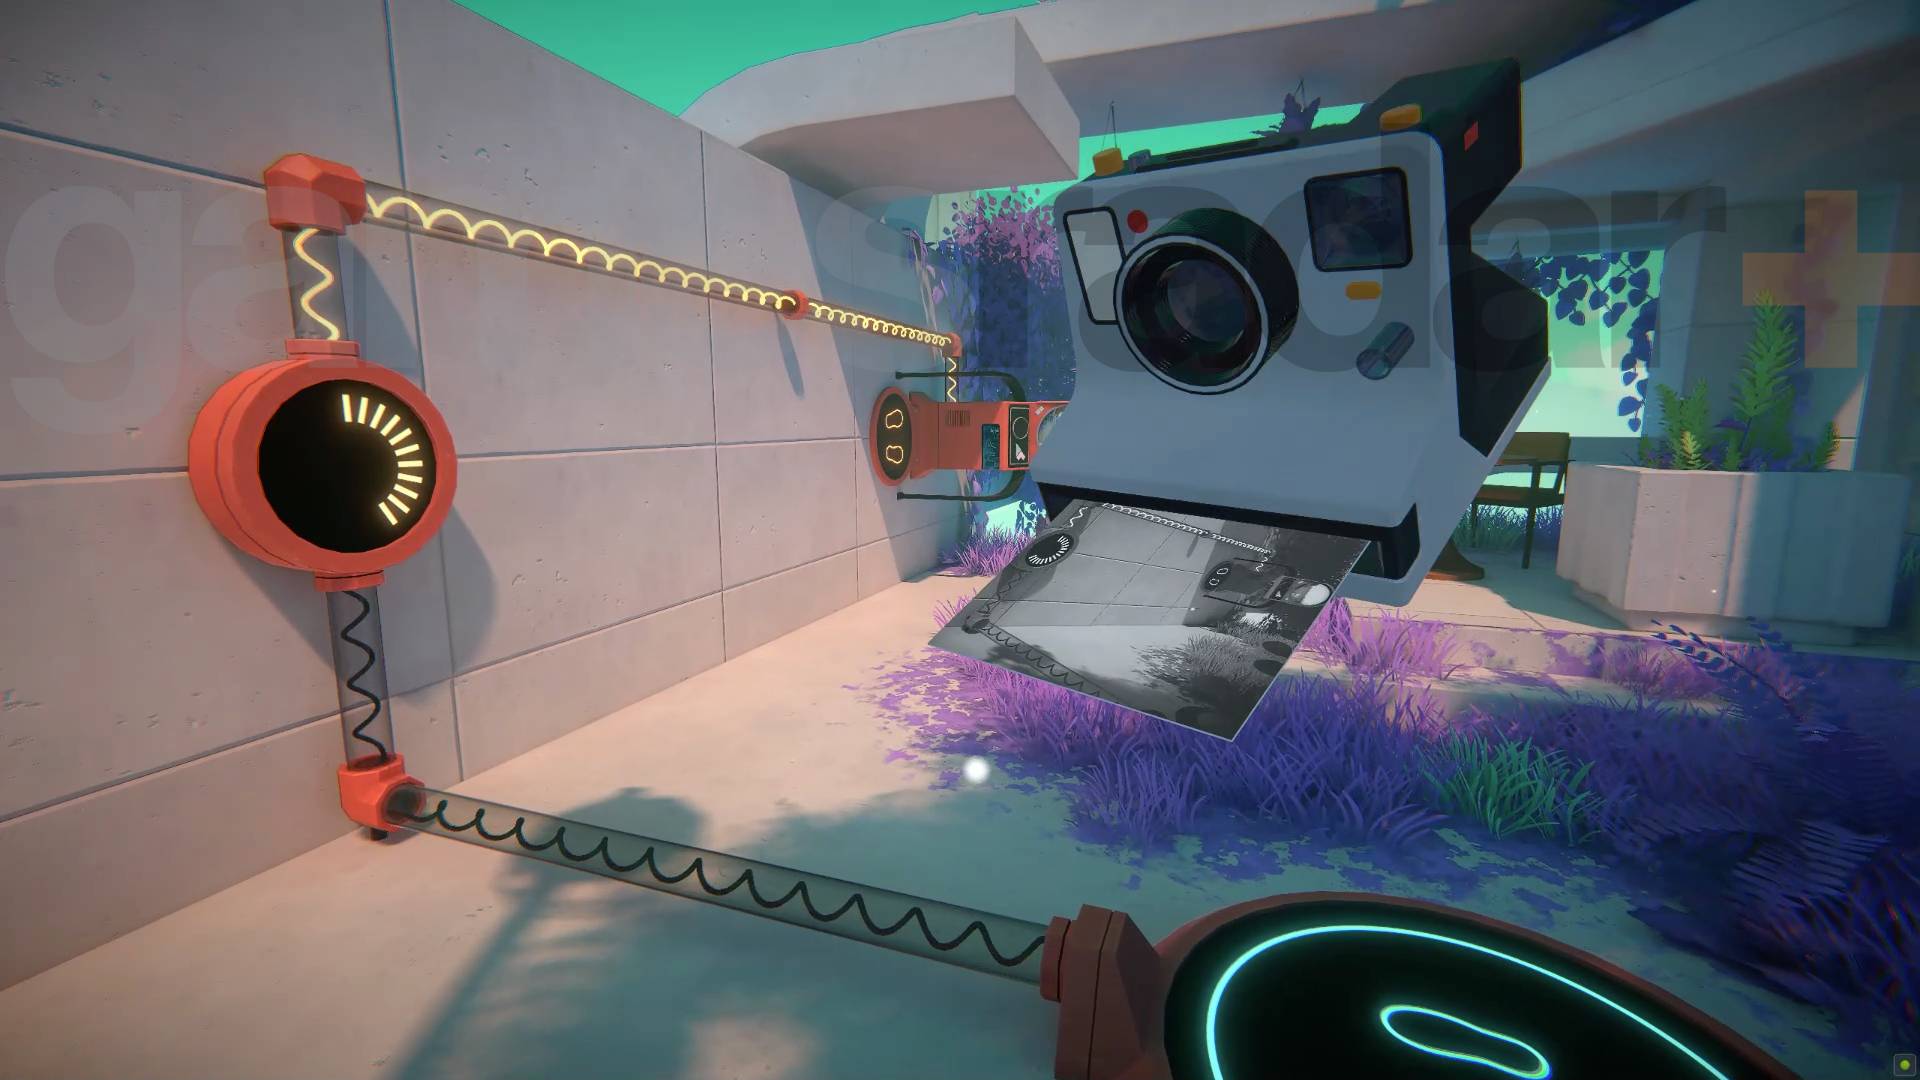
If you're quick here you can stand on the pad to charge the timer and then quickly back away to fit the timer and teleporter in frame with enough time on the clock to use it when you rotate and place the picture.
Chapter 3 Chi Leung Level 4-5
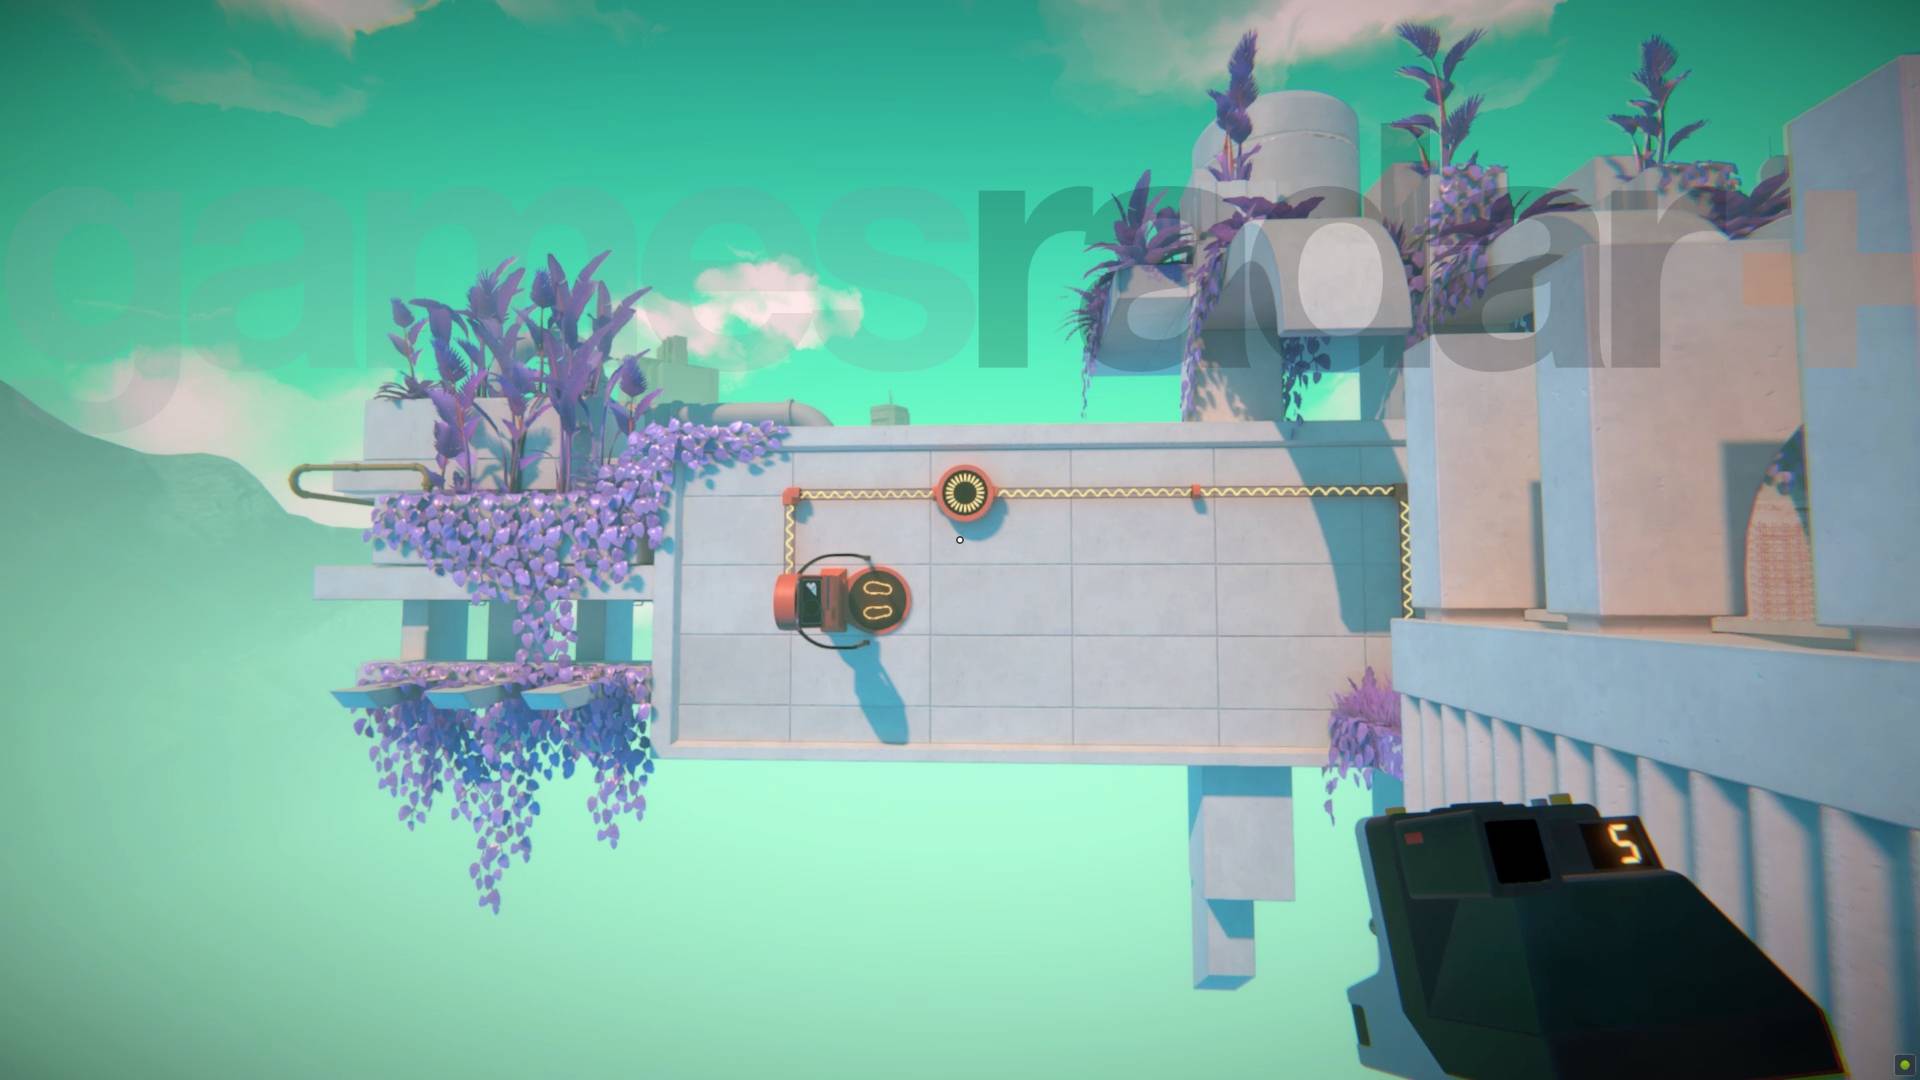
This one is oddly easy. Just stand on the pad to charge the timer and you'll have the perfect shot of the teleporter and timer combined. Take it, and then place it under you so you fall down to the teleporter with time to spare.
Chapter 3 Chi Leung Level 5-1

This is an odd level that basically involves triggering a bunch of illusions and is largely a linear walk in this order:
- Explore until you find a staircase that's painted on the wall.
- Turn back the way you came to find a fake door that reveals a path to the right.
- Follow that path until you fall through a hole into a red brick area.
- Keep going until you find the teleporter. While it appears fenced off if you walk around and look at the right side from the left the fence will appear to be a perspective trick letting you through to the teleporter.
Chapter 3 Chi Leung Level 5-2
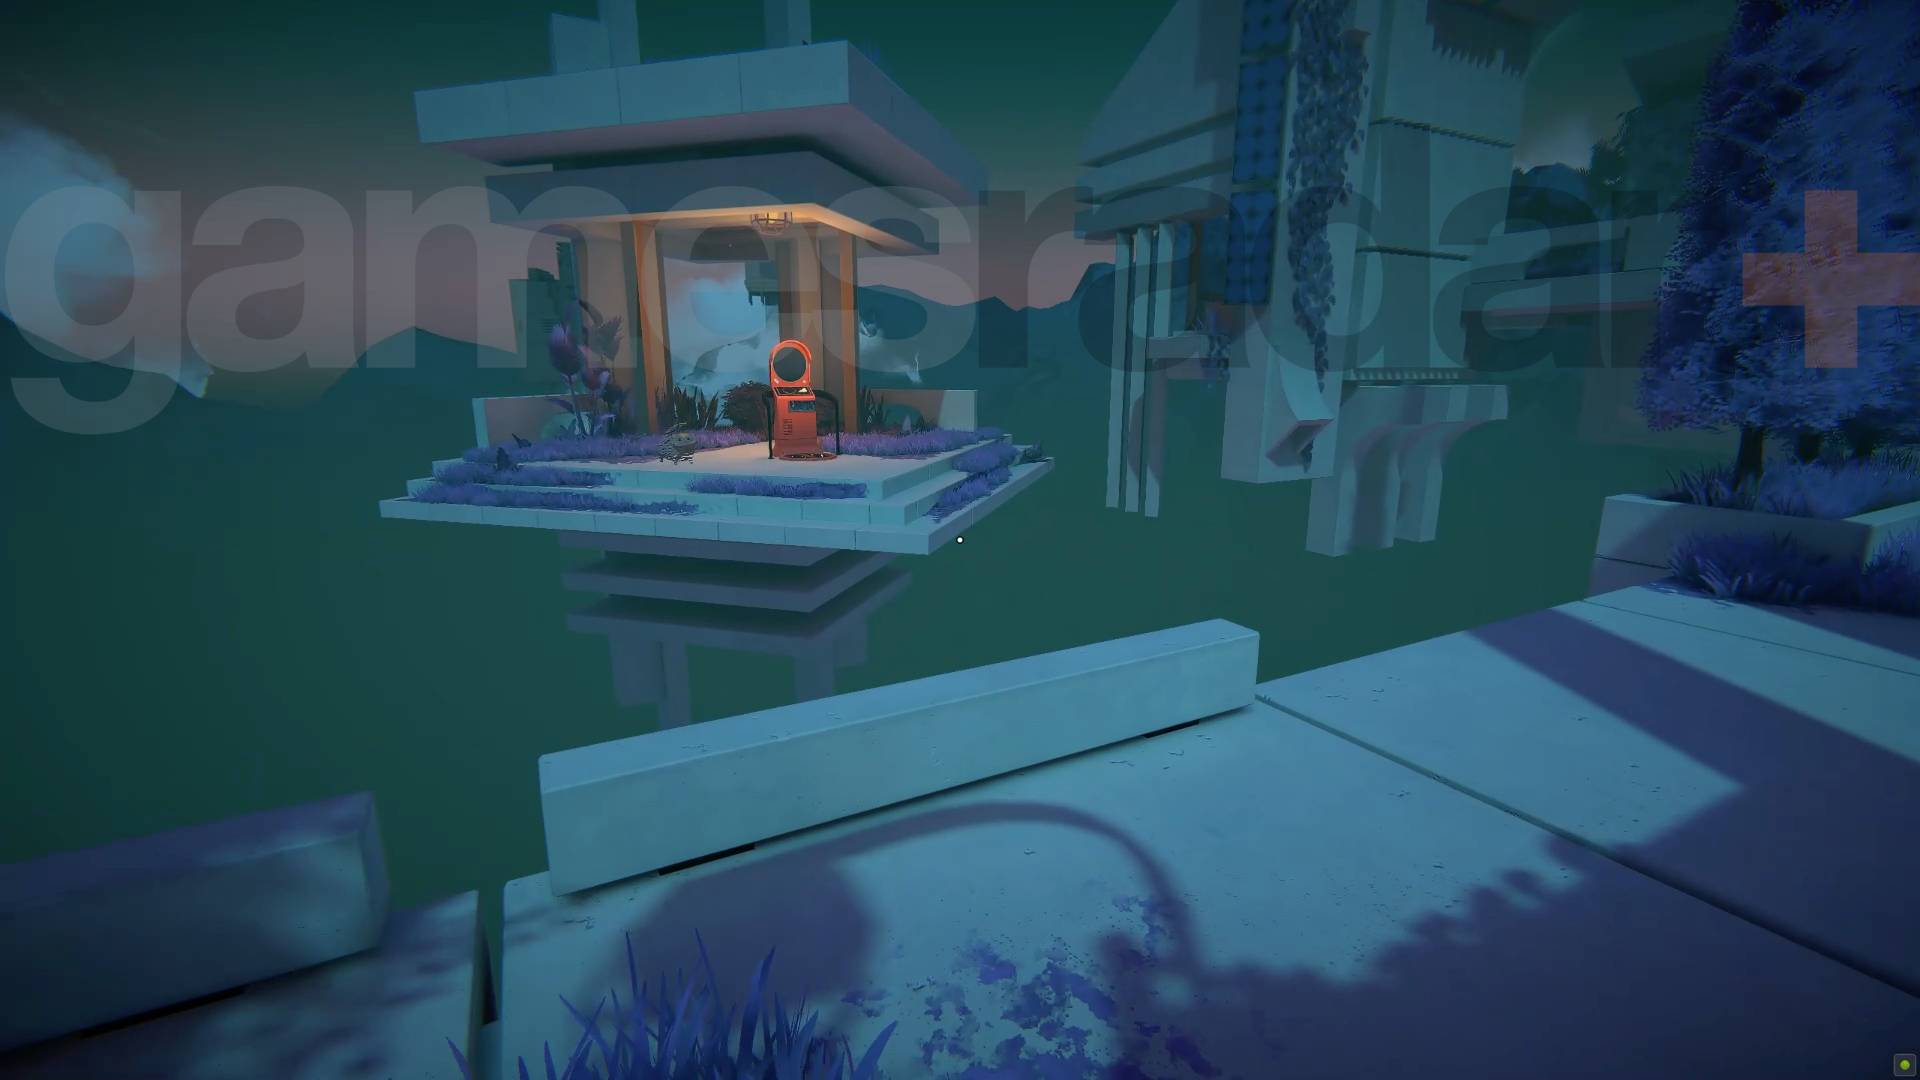
Time for some more illusions using the following route:
- Walk past the teleporter and the small area with the four pillars in.
- You'll reach what looks like a dead end but there's hidden staircase under the light in the corner.
- Go up the stairs and keep going until you see the teleporter again.
- The teleporter will be an illusion so turn around go back where a new staircase will appear leading above the door you came through.
- Go up the stairs and you'll reach a symbol of a bird at a ledge. Walk off and jump at the last minute to reach a hidden bridge. (There's a small gap so if you just walk you'll fall down.)
- This will lead you to this image on a wall:
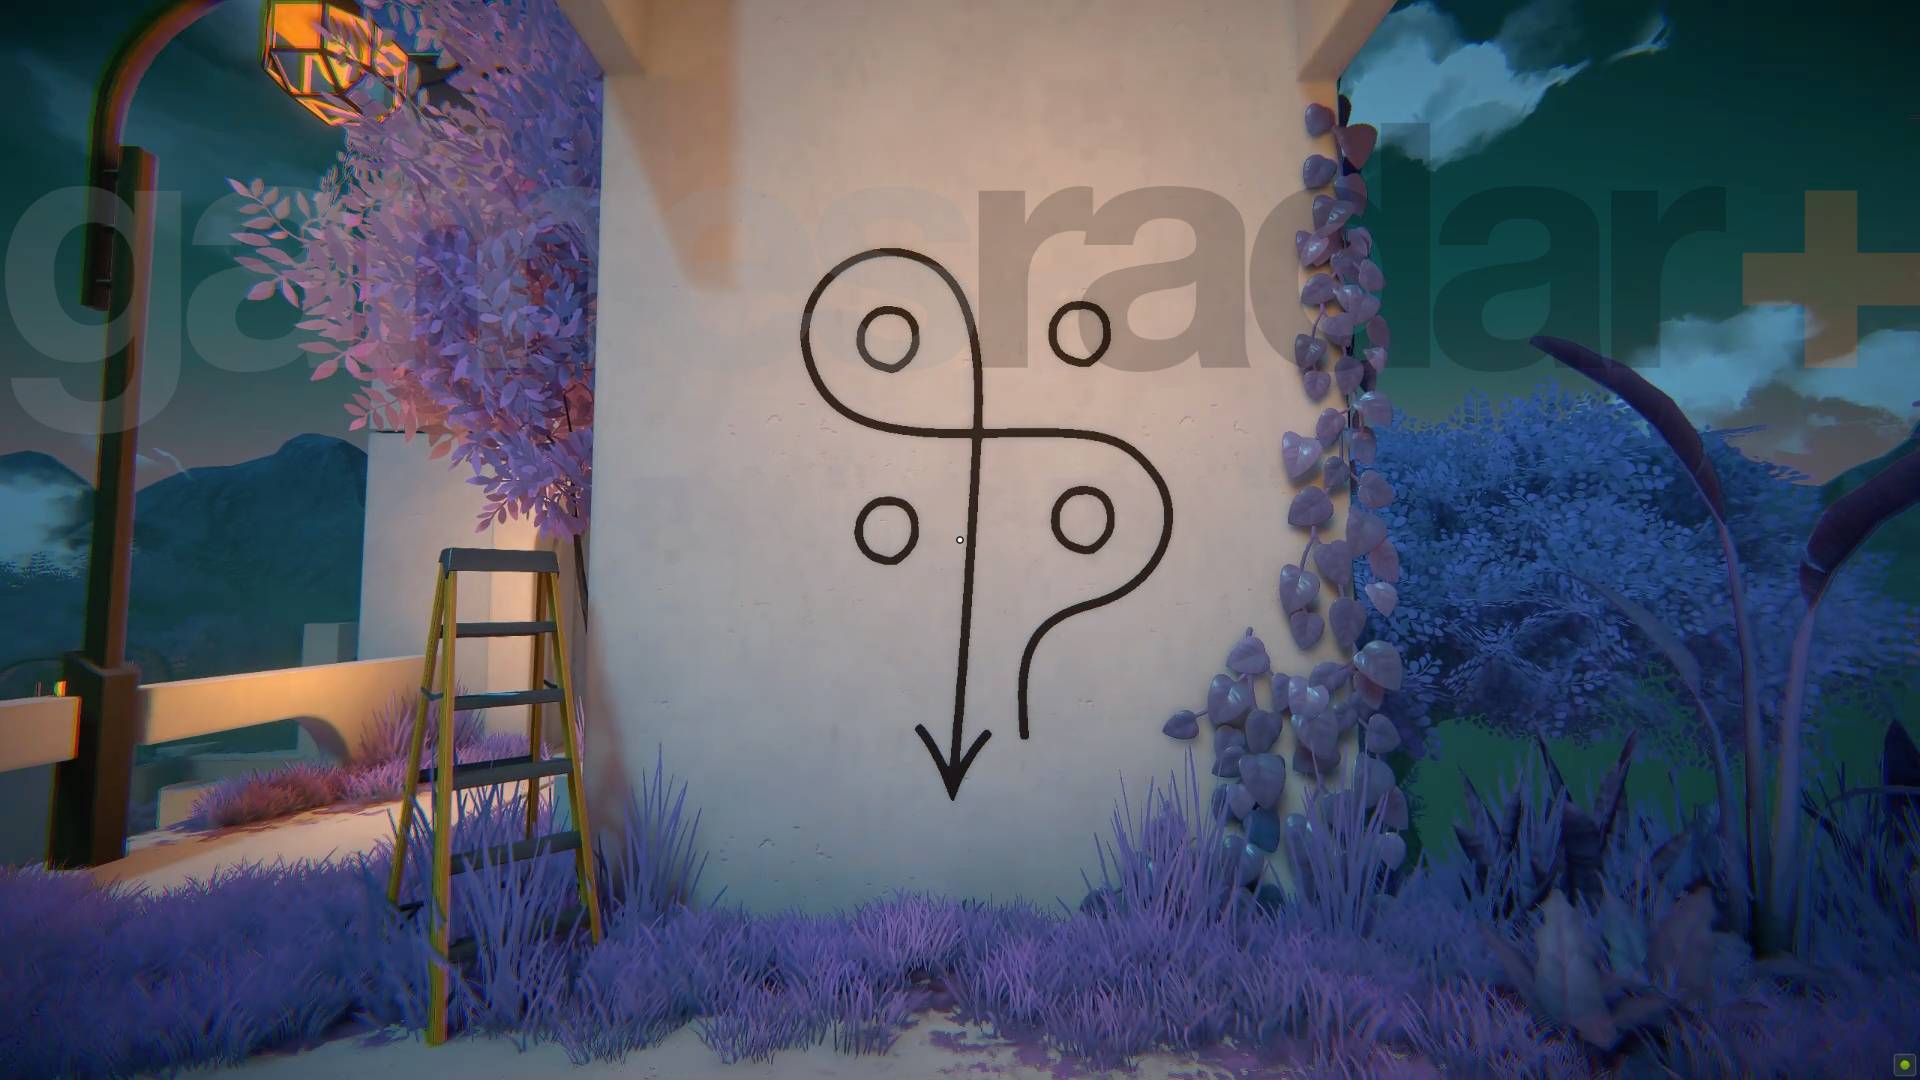
This is a path you can take through the area with the four pillars right at the start that will reveal a hidden bridge to the teleporter if you recreate the route.
Chapter 3 Chi Leung Level 5-3
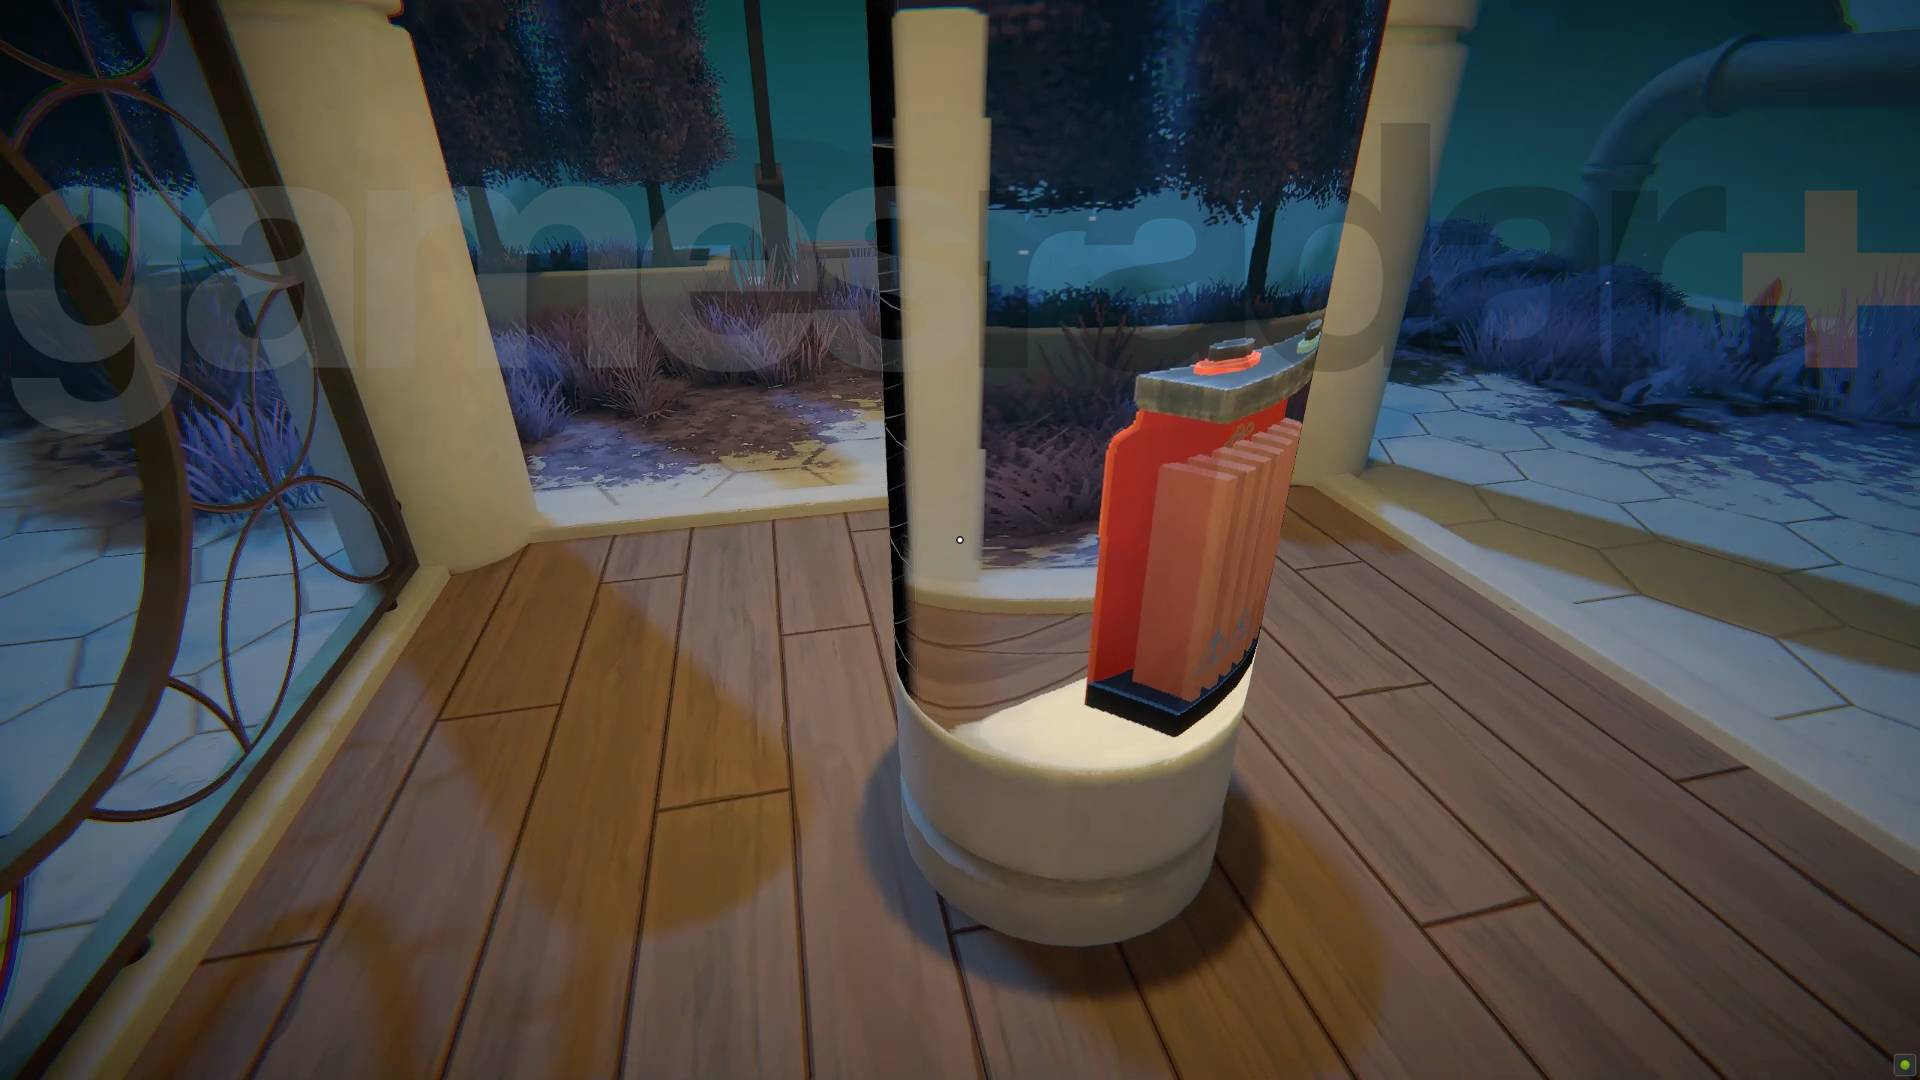
This Viewfinder illusion level can be tricky simply because one path is well hidden. It starts when you approach the battery and it becomes a picture. Directly behind it is a camera that will fix that but the corridor to the right appears to be a dead end. It isn't, it's just an illusion that hold up until you almost walk into the wall - go right up to the electrical boxes and the lantern and you'll see the illusion reveal itself and you can walk into the room with the camera. The one thing to note here is that to get a picture of the battery you'll have to have to rewind time to before you turned it into an illusion. When you've done that take two snaps of it, as you'll need double to power the teleporter, and then place the pictures to get them
And that's level 3 done.
Current page: Viewfinder walkthrough Chapter 3 Chi Leung
Prev Page Viewfinder walkthrough Chapter 2 Hiraya Next Page Viewfinder walkthrough chapter 4 Mirren
I'm GamesRadar's Managing Editor for guides. I also write reviews, previews and features, largely about horror, action adventure, FPS and open world games. I previously worked on Kotaku, and the Official PlayStation Magazine and website.
You must confirm your public display name before commenting
Please logout and then login again, you will then be prompted to enter your display name.

 Join The Community


