Viewfinder walkthrough and puzzle solutions
How to use your camera and solve this mind bending puzzler
Chapter ? 5 Level 1-1
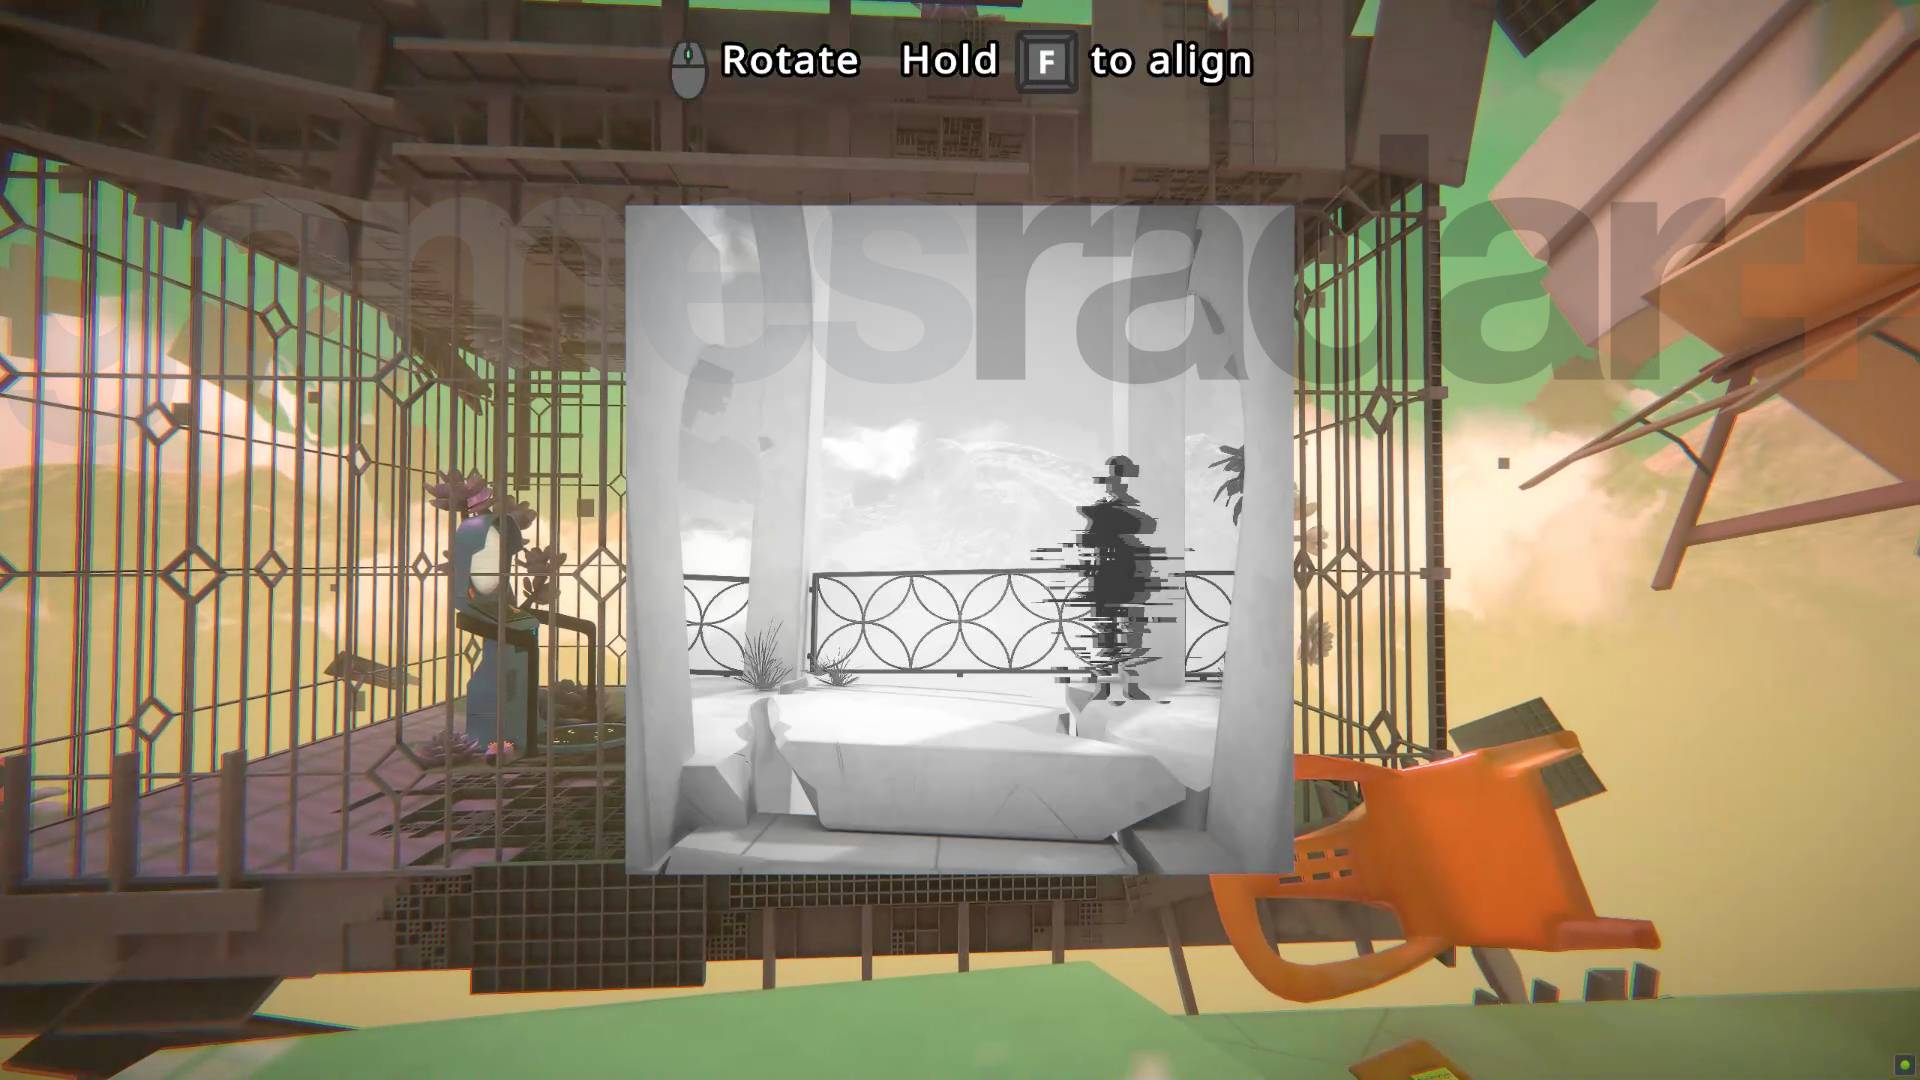
This level introduces a new concept - the ability to move yourself about using selfies. To achieve this do the following:
- Use the first fixed camera you can access to cut away fence to reach the other fixed camera.
- This second fixed camera has a large ring on it that represents a timer. Trigger it and then run around in front of it to get a picture of yourself.
- Because the teleporter and catch are photo resistant material you can place the photo to put yourself in the cage.
Chapter ? 5 Level 1-2
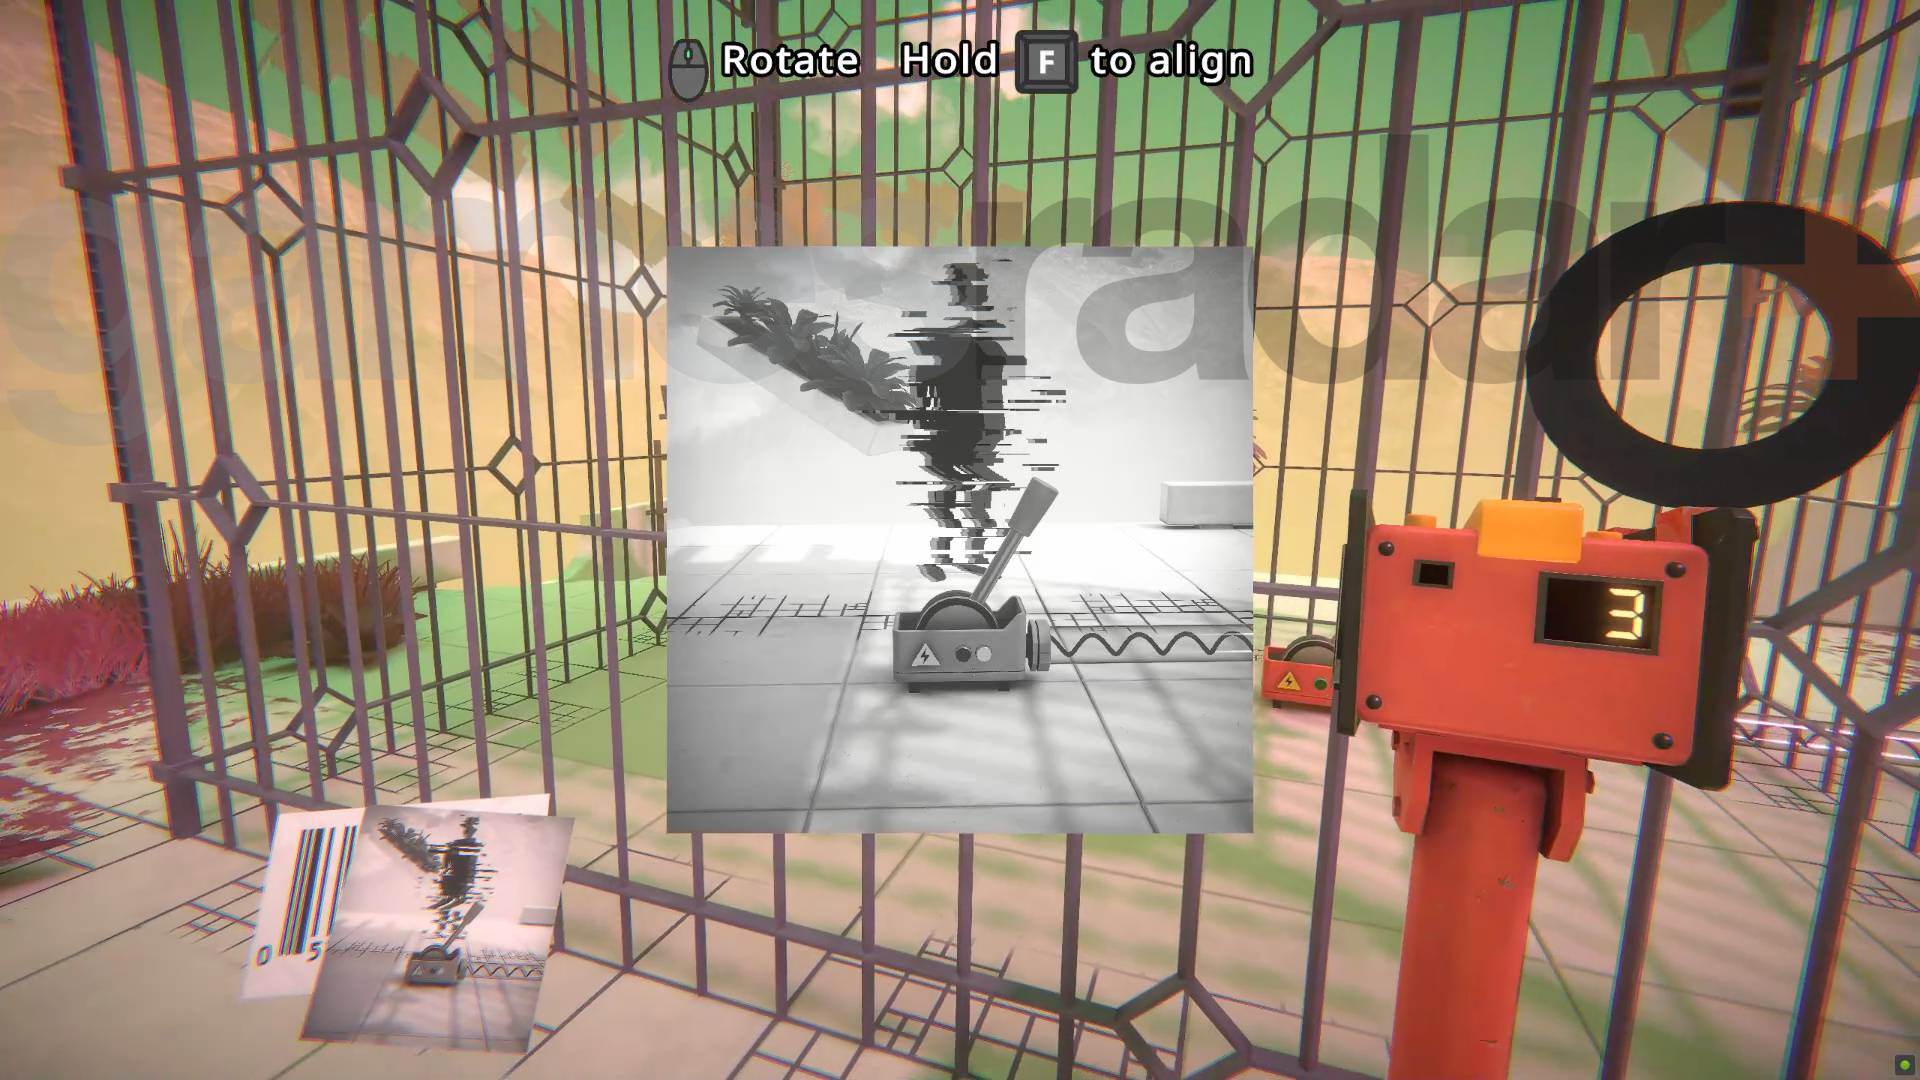
To finish this Viewfinder puzzle take two pictures of yourself through the cage. Use one to get into the cage and pull the lever, and the second to get out and use the teleporter.
Chapter 5 ? Level 1-3
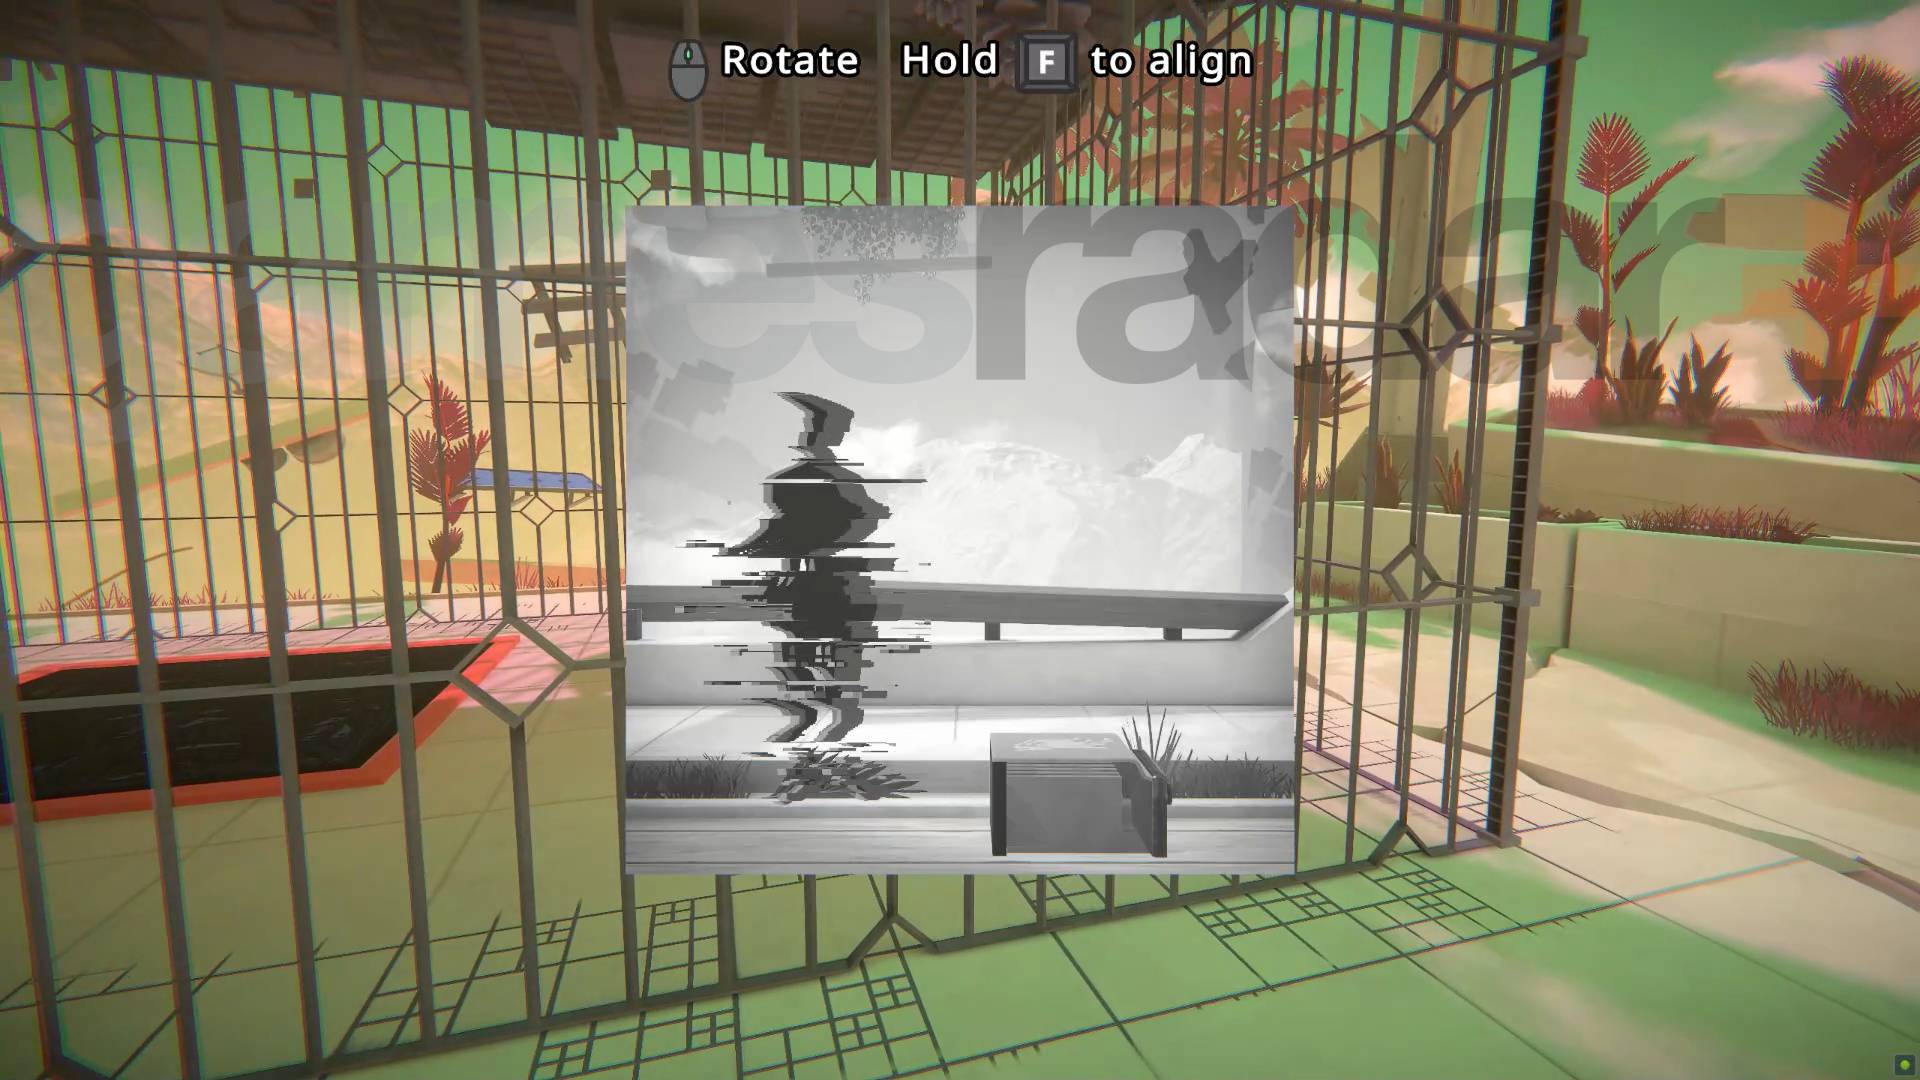
To solve this puzzle take two selfies so you can get into the cage with the battery, put it through the hole to free it and then use the other photo to get out yourself. Then take another selfie with the battery so you can place yourself and it in the teleporter cage.
Article continues belowChapter 5 ? Level 1-4
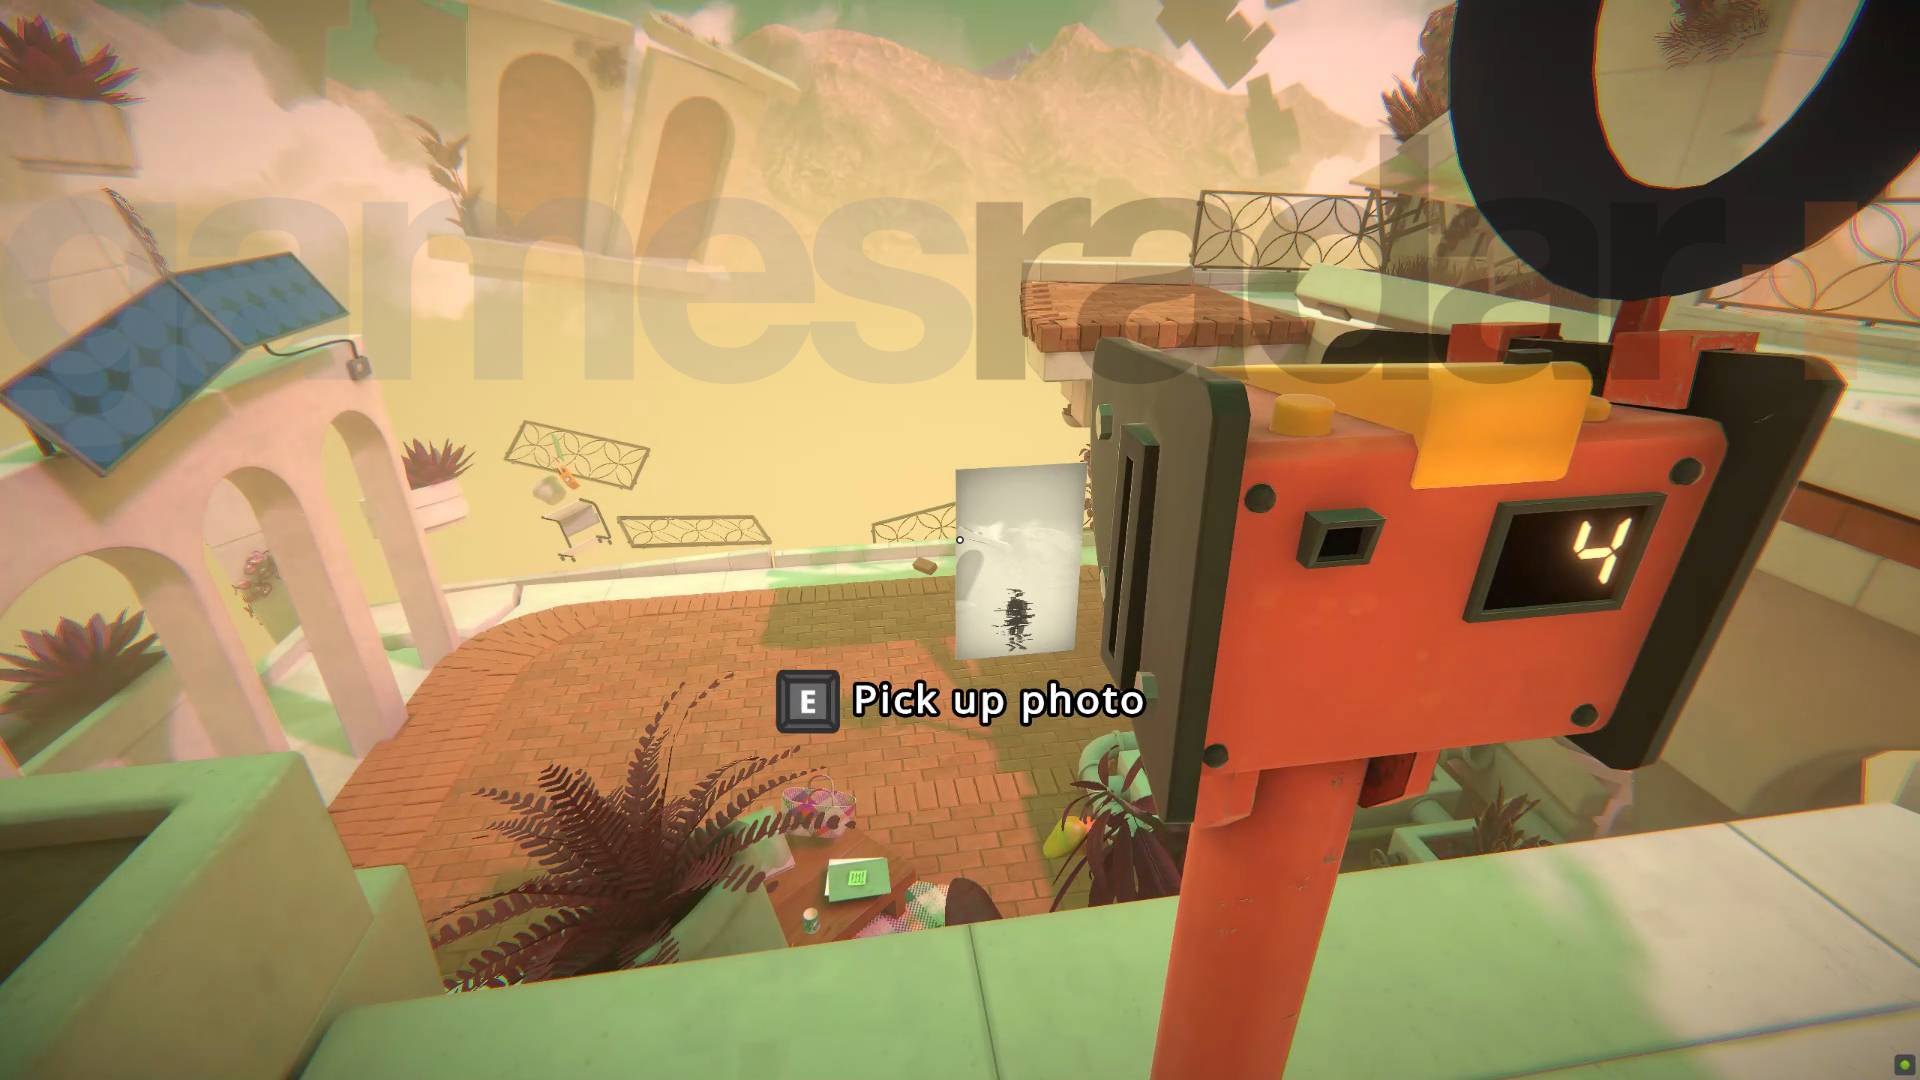
Start the camera timer and run around and off the ledge so you fall in front of it as it takes the picture. If you timed it right and are in the shot, use that to place yourself on the platform with the teleporter.
Chapter 5 ? Level 1-5
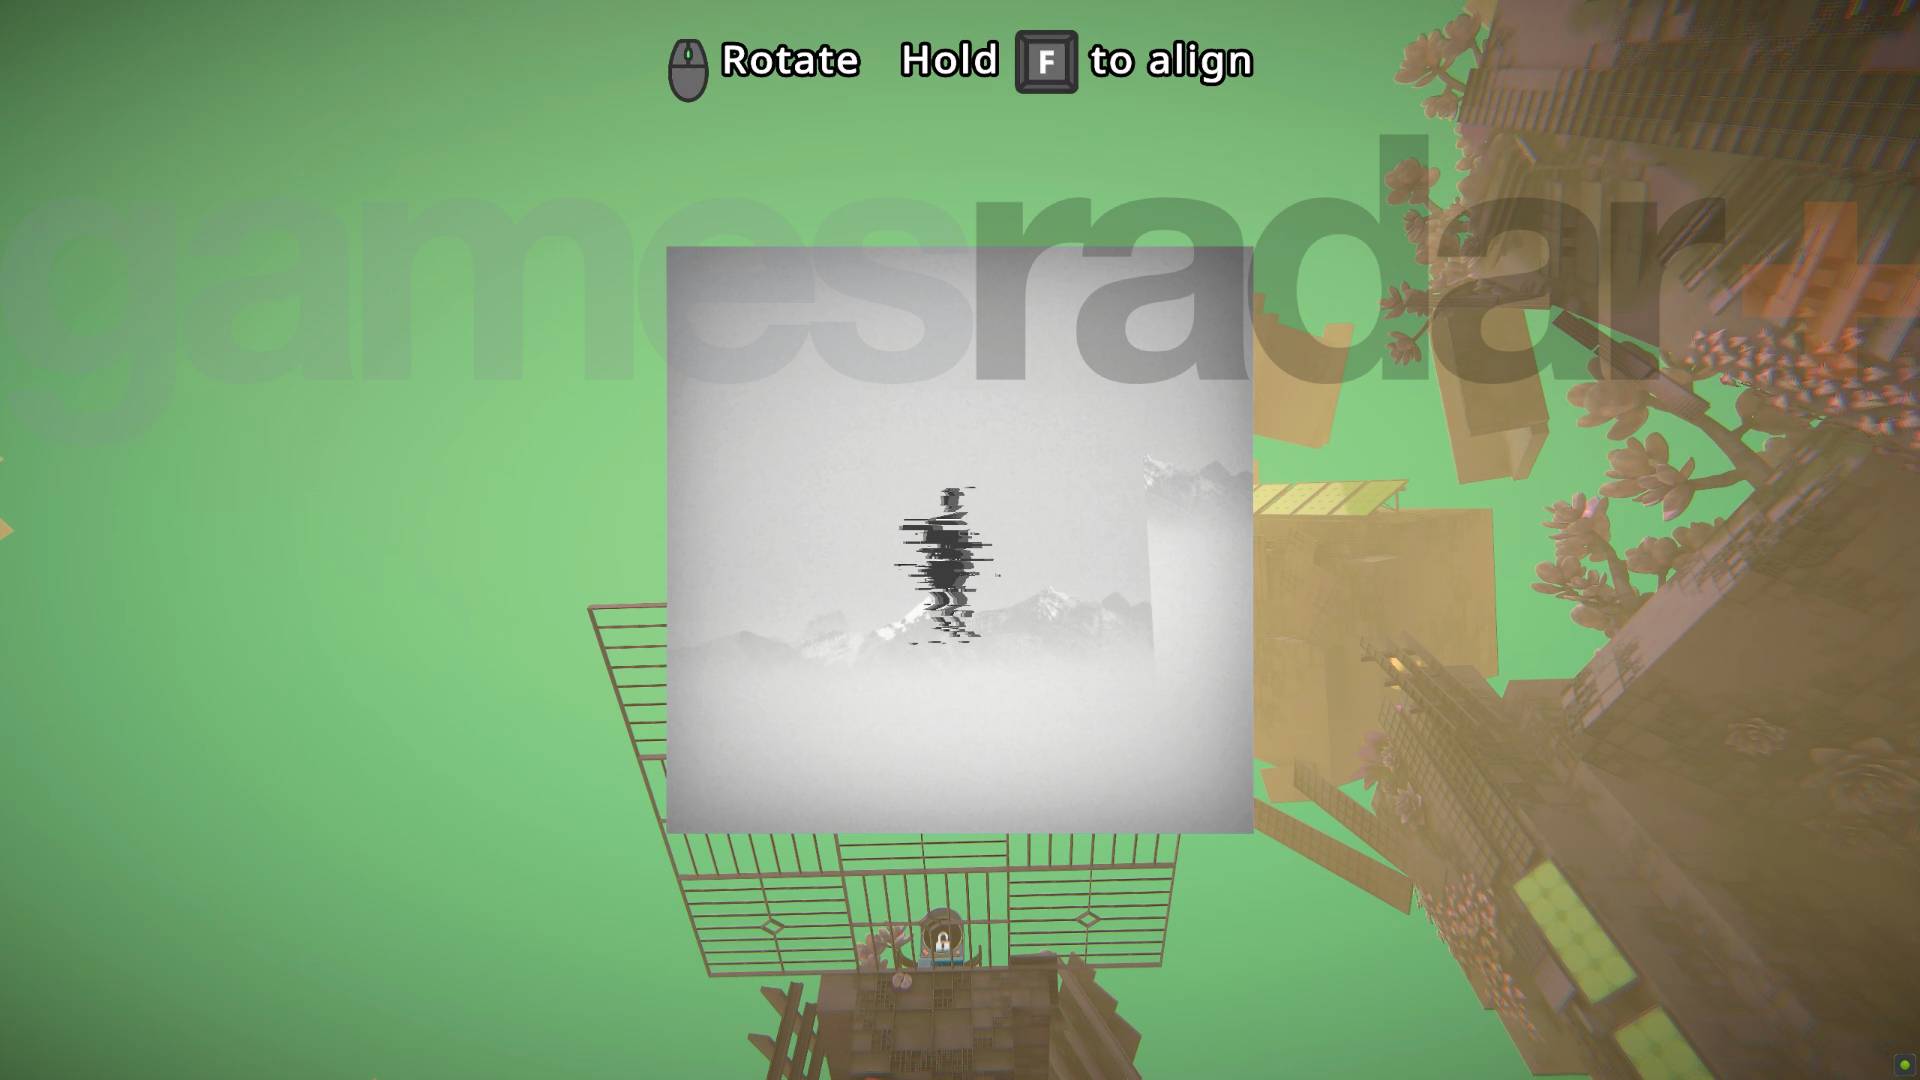
Take two pictures with the timed camera and start the timer again. Use the first picture to get past the fence so you can then take a third picture of yourself further away. Use the second picture to get out and get the new, longer distance picture. Use that to reach the teleporter above you.
Chapter 5 ? Level 2-1
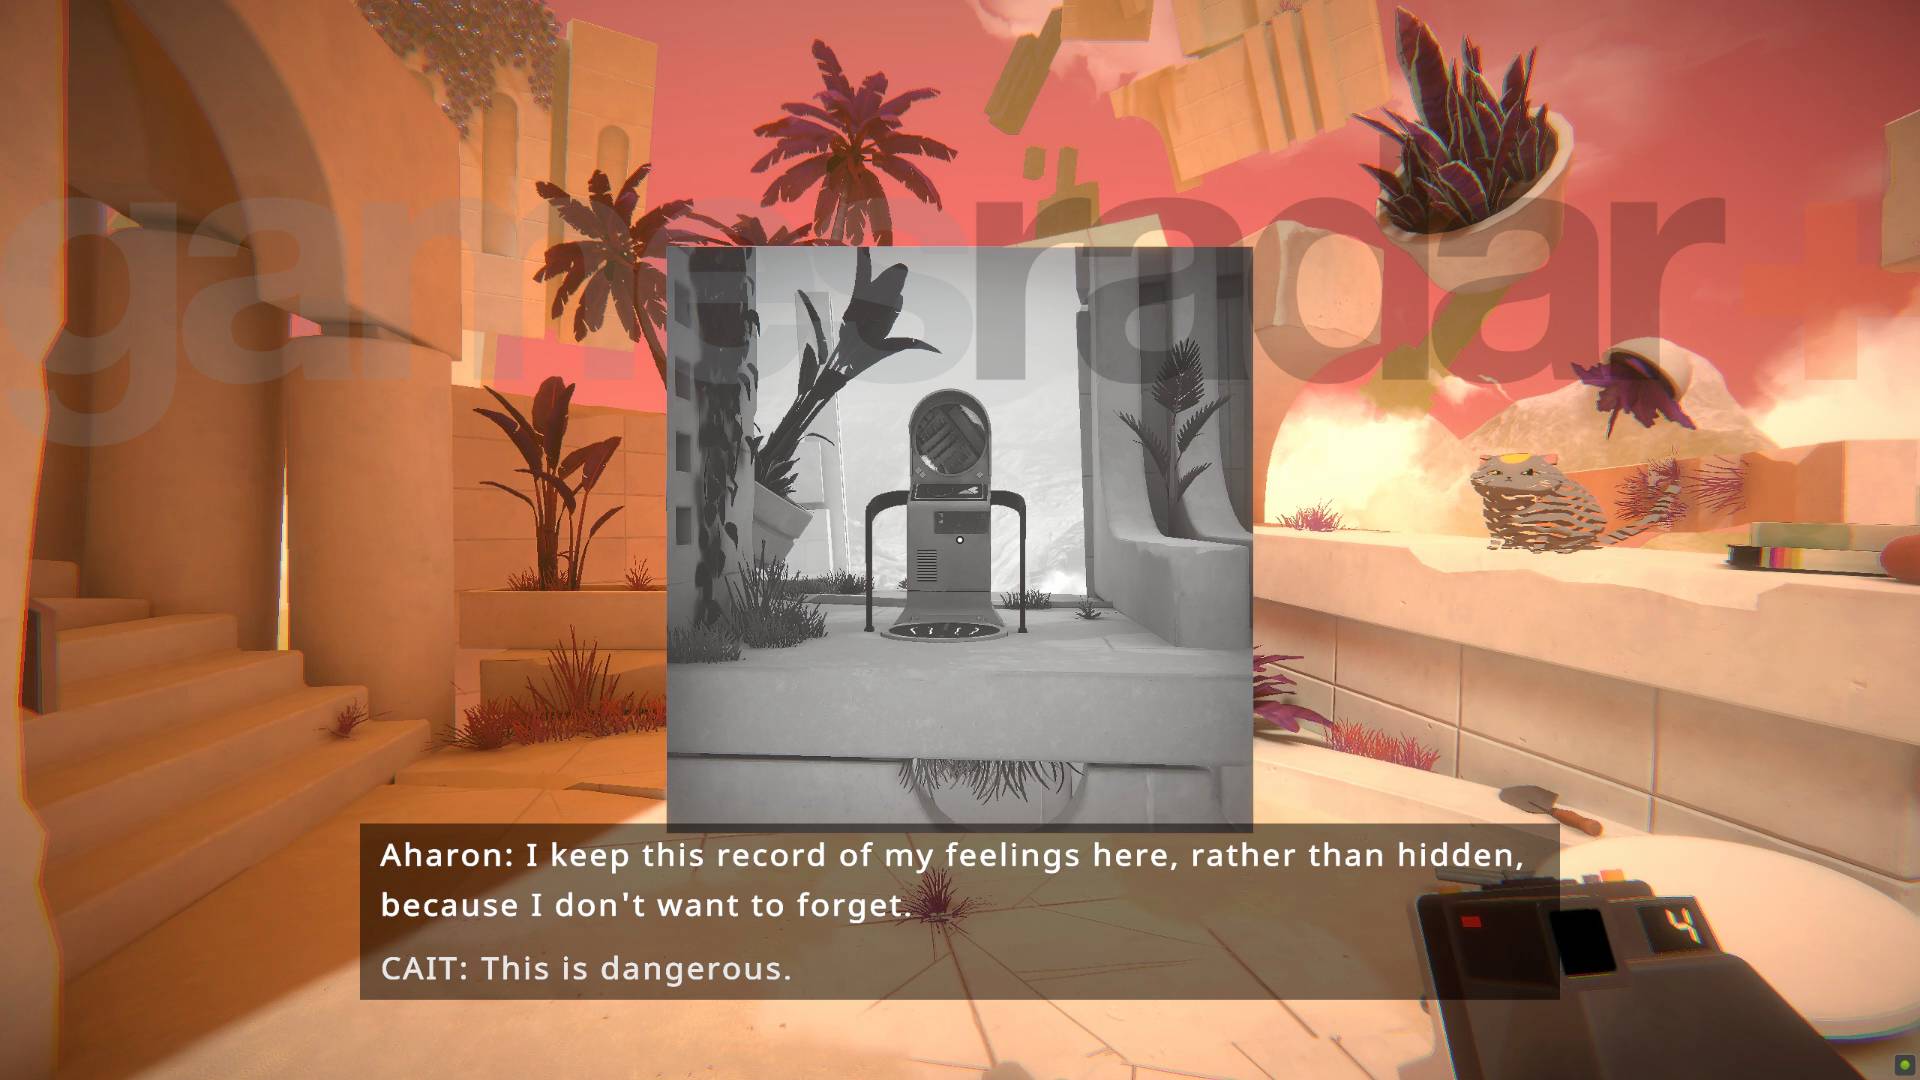
This level is simply setting up a new mechanic where taking a photo destroys the things you took a picture of. So just take a picture of the teleporter, ignore the swirling hell void it creates, and rotate it to escape.
Chapter 5 ? Level 2-2
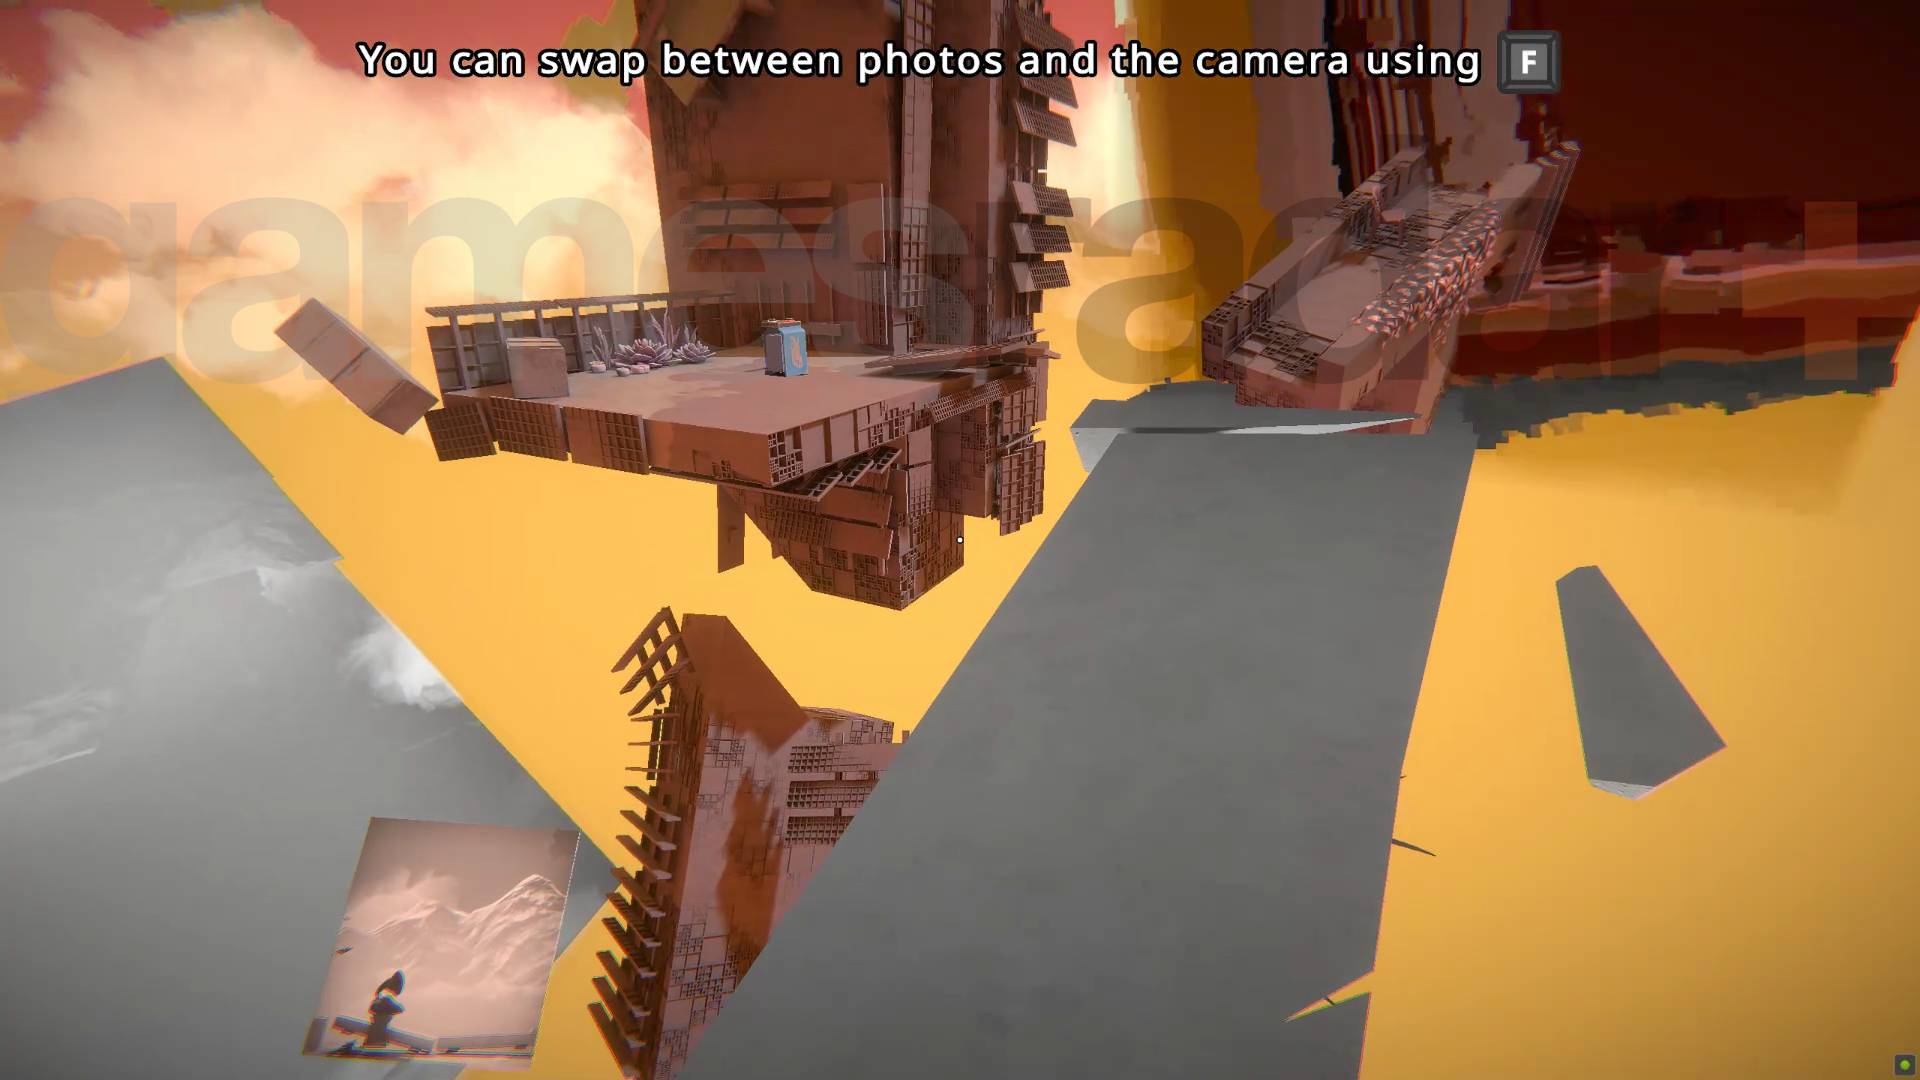
There's no clever solution here, you just need to take pictures of the section you can photograph to extend bridge to reach the battery. Just remember that anything you photograph will be destroyed so don't capture entire chunks, just chip bits off the edges.
Weekly digests, tales from the communities you love, and more
Chapter 5 ? Level 2-3
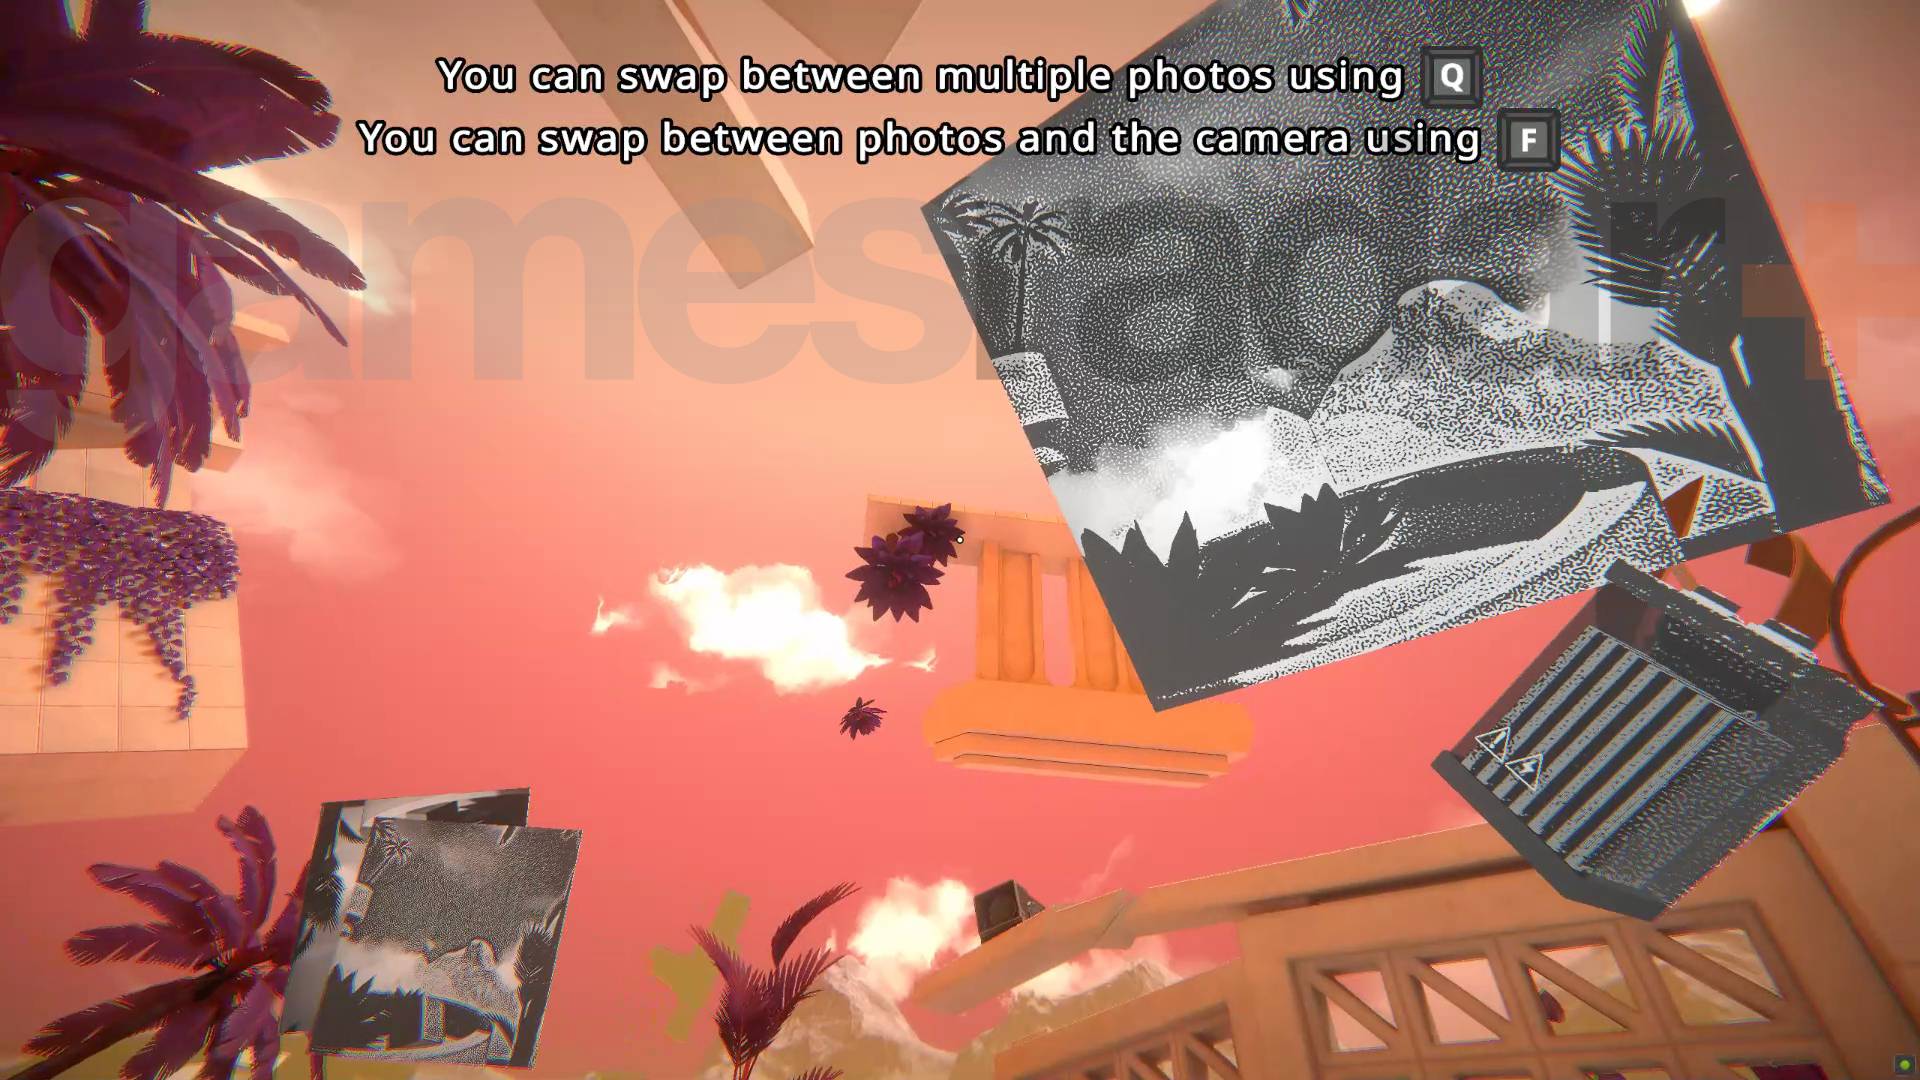
You could probably take enough battery photos to get the three you need but space might get a bit tight as each picture destroys the level. So instead take one and use the photocopier found through one of the narrow gaps to get what you need.
Chapter 5 ? Level 2-4
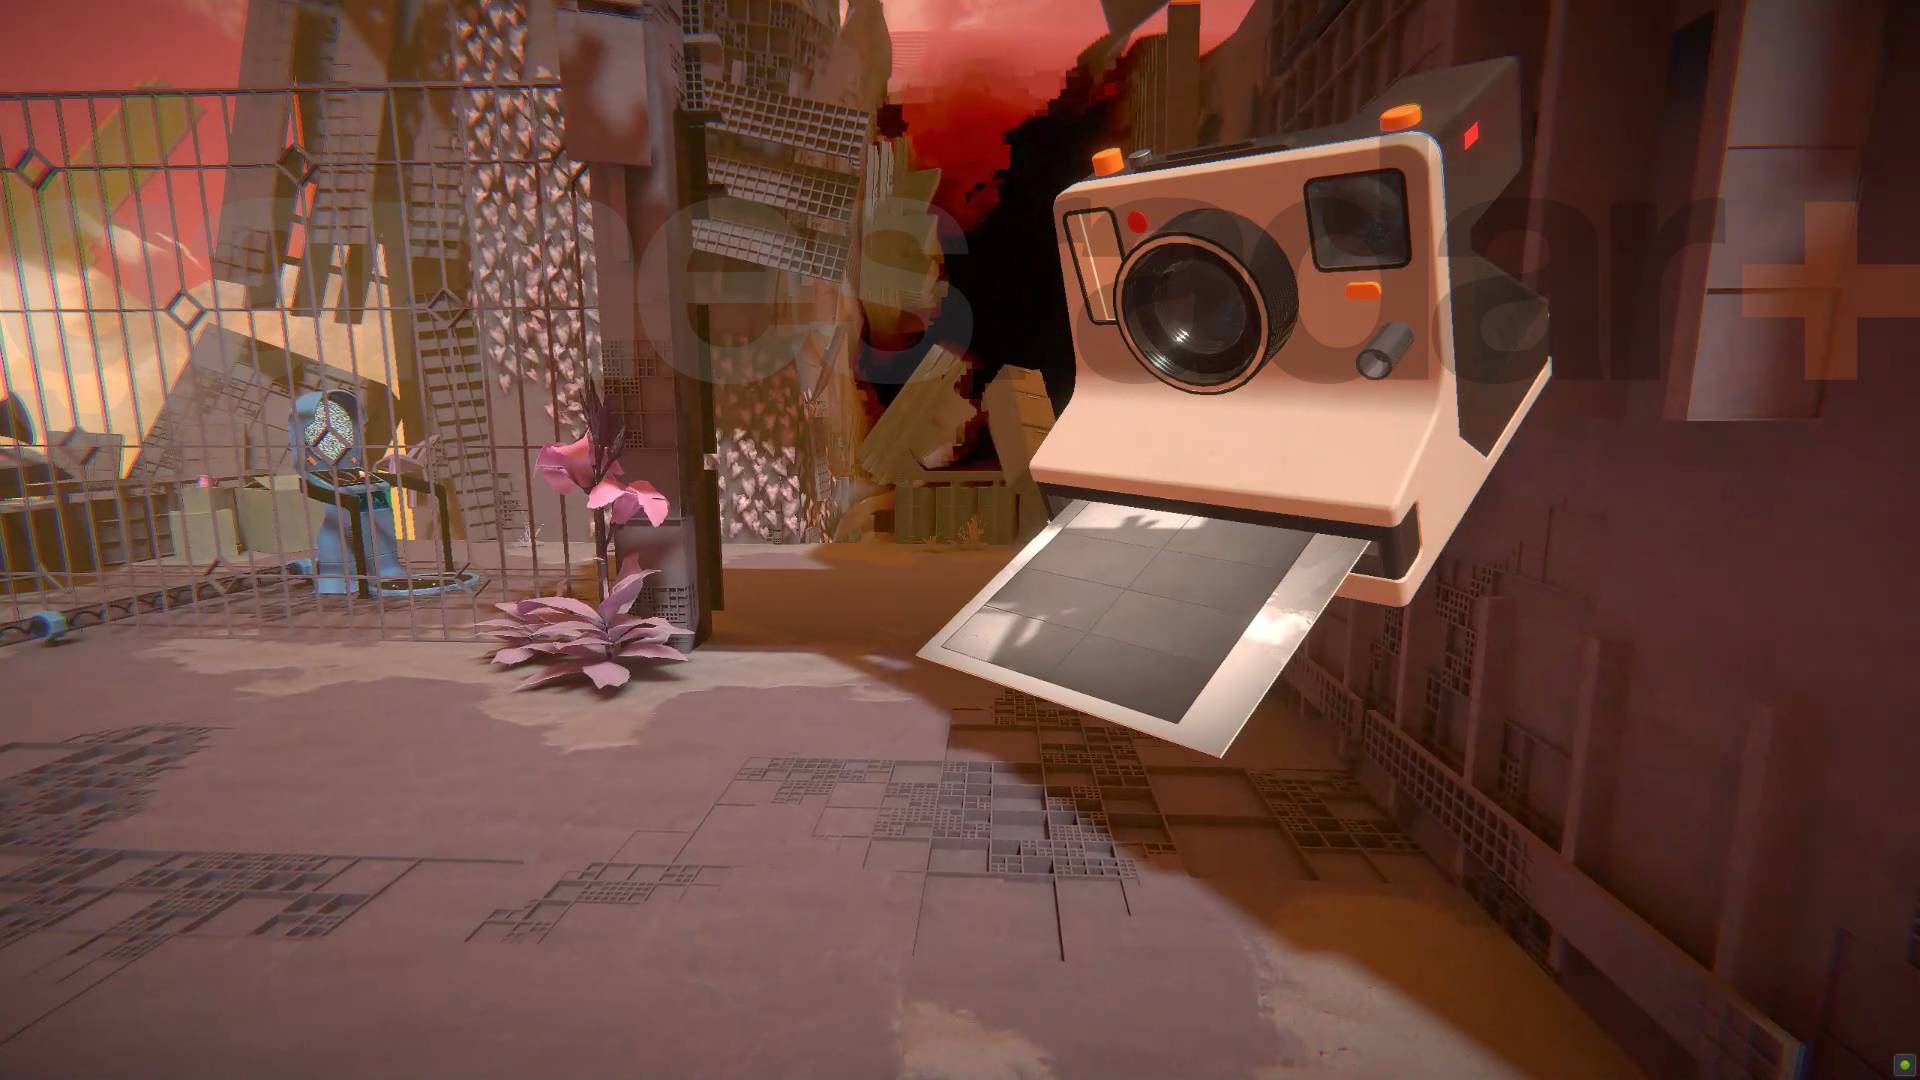
You've only got one picture here so use it wisely: take a picture of the wall blocking yourway to the teleporter. That will destroy it, letting access the teleporter, and give you a picture you can use to make a floor and reach the battery.
Chapter 5 ? Level 3-1
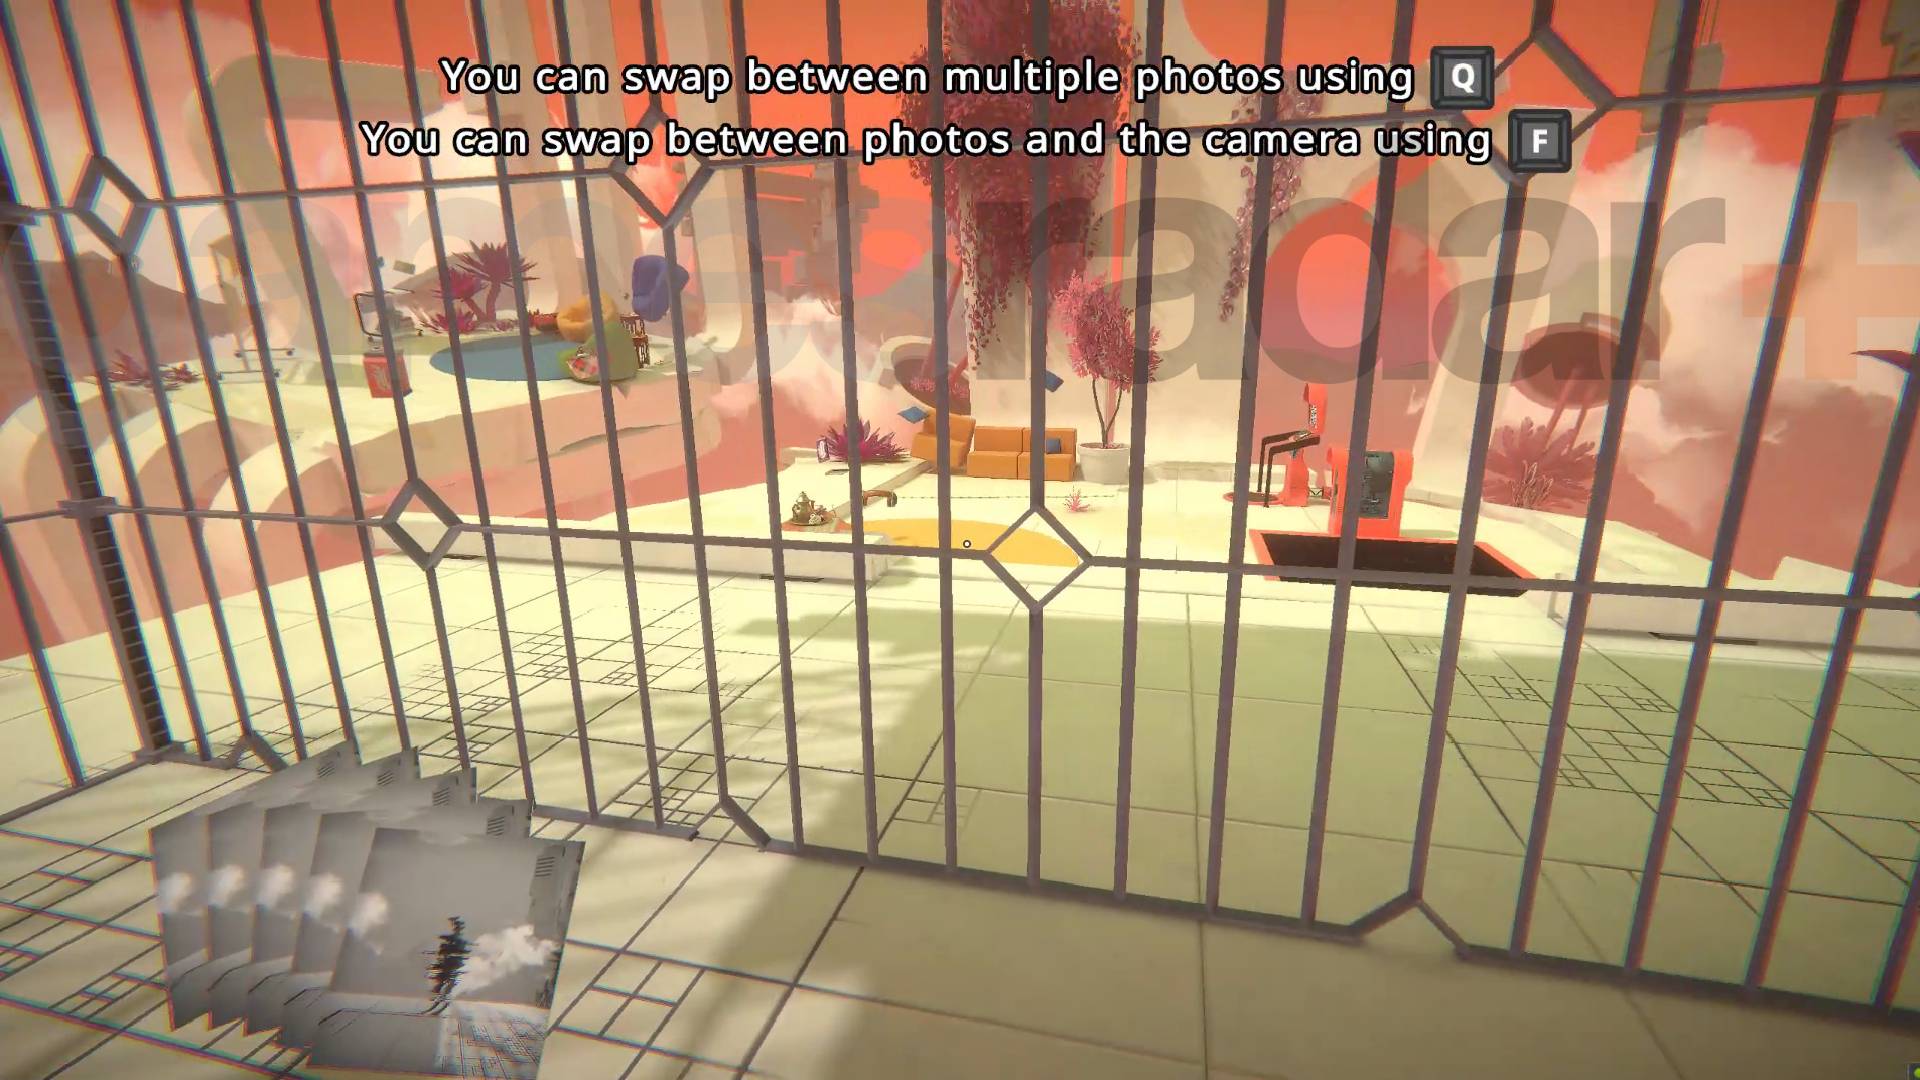
Take three selfies inside the cage you start in. Use one to get out and the other to reach the battery platform. From here grab the battery and jump over so you can place the battery behind the cage in view of the camera. Use the third selfie to get back inside the cage to take a picture of yourself and the battery. You can then use this last picture to get out of the cage and create the second battery you need to power the teleporter.
Chapter 5 ? Level 3-2
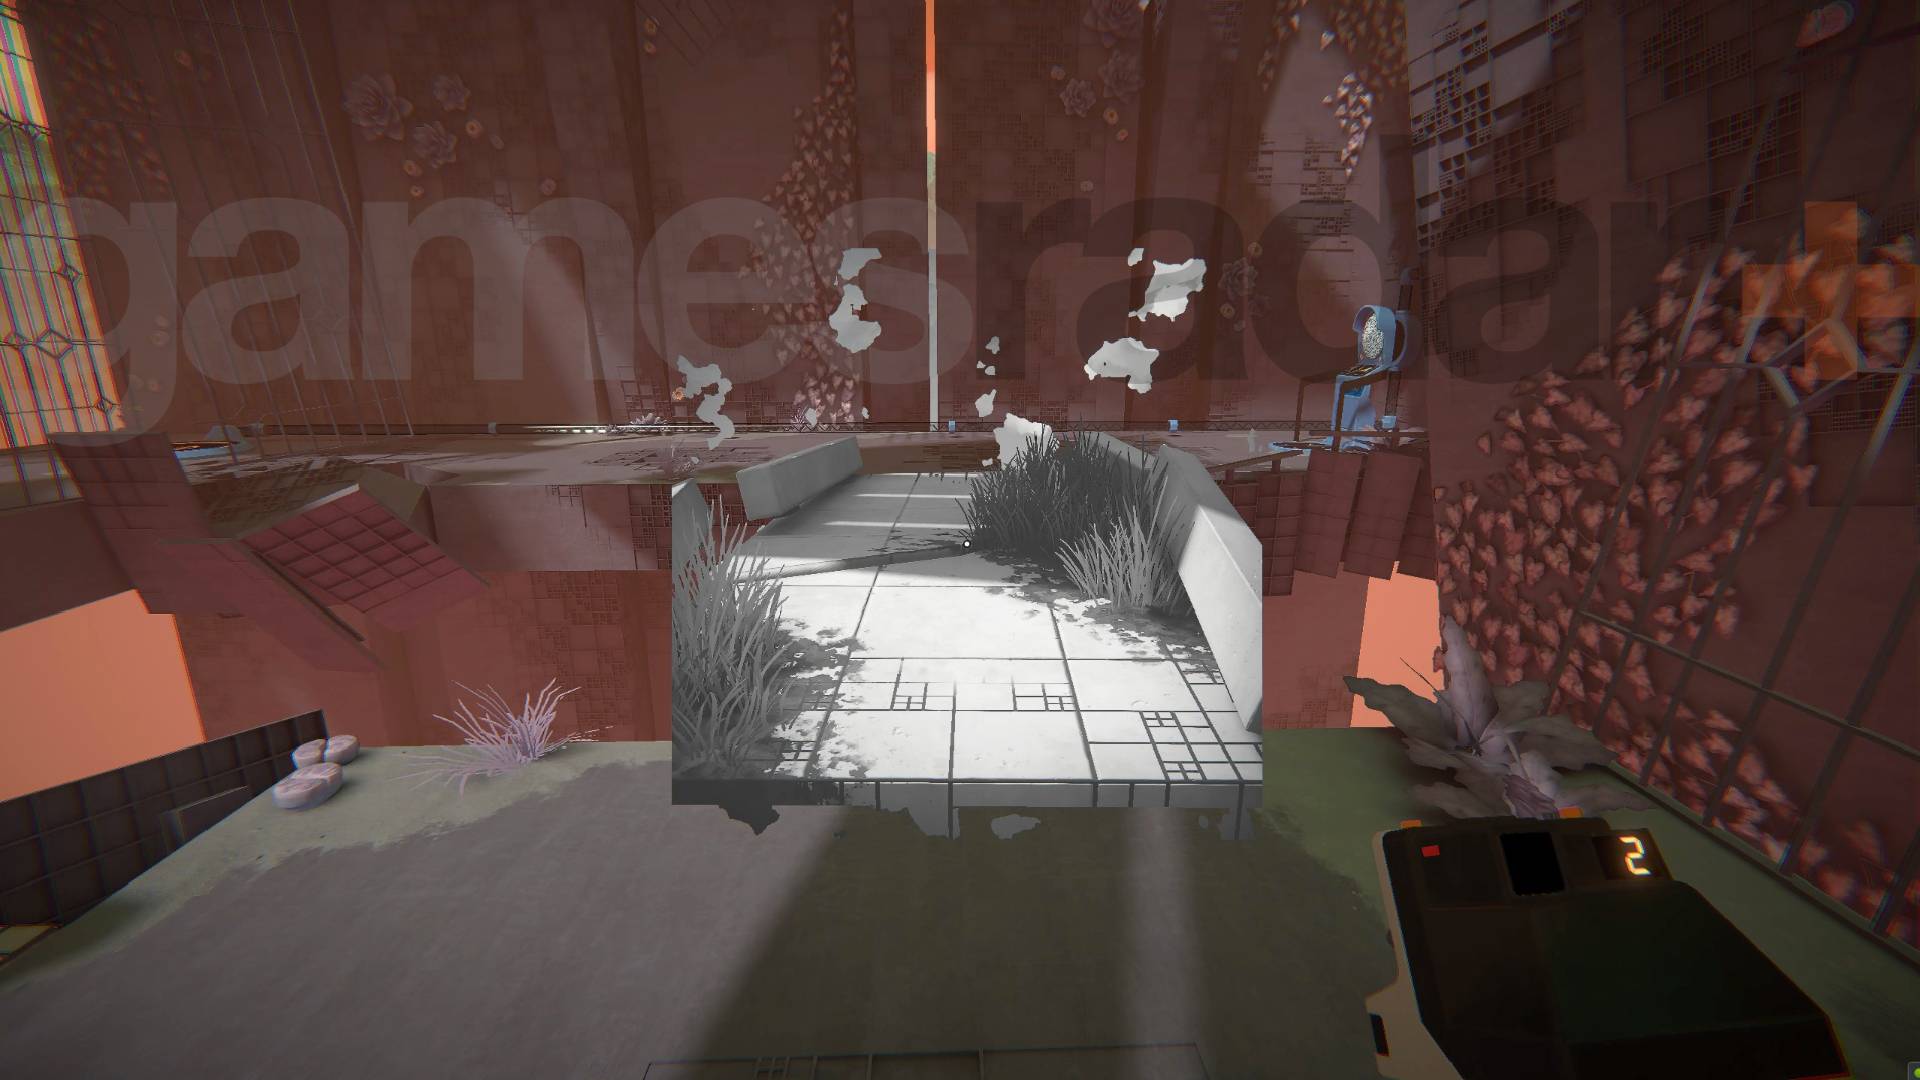
There's a short timer here that makes it impossible to reach the teleporter. To bridge the gap use your camera to take a picture of the bridge you can capture and then place it in front of the timer camera. Trigger it and get as far away from it as you can so the picture has plenty of distance in it. You can then use that to move yourself close enough to catch the teleporter before the timer runs out.
Viewfinder final level
The final level is against the clock, has a limited number of photos you can use, and has some puzzles that require things you might have passed much earlier, forcing you to restart once you realise. Here's how to do it:
Head to the first blue lever and pull it to get started.
In the new location take a picture of the tower immediately to your right as you face the blue lever and use it to make a bridge to the blue lever. It's important to do this in a single picture due to the tight photo limit.
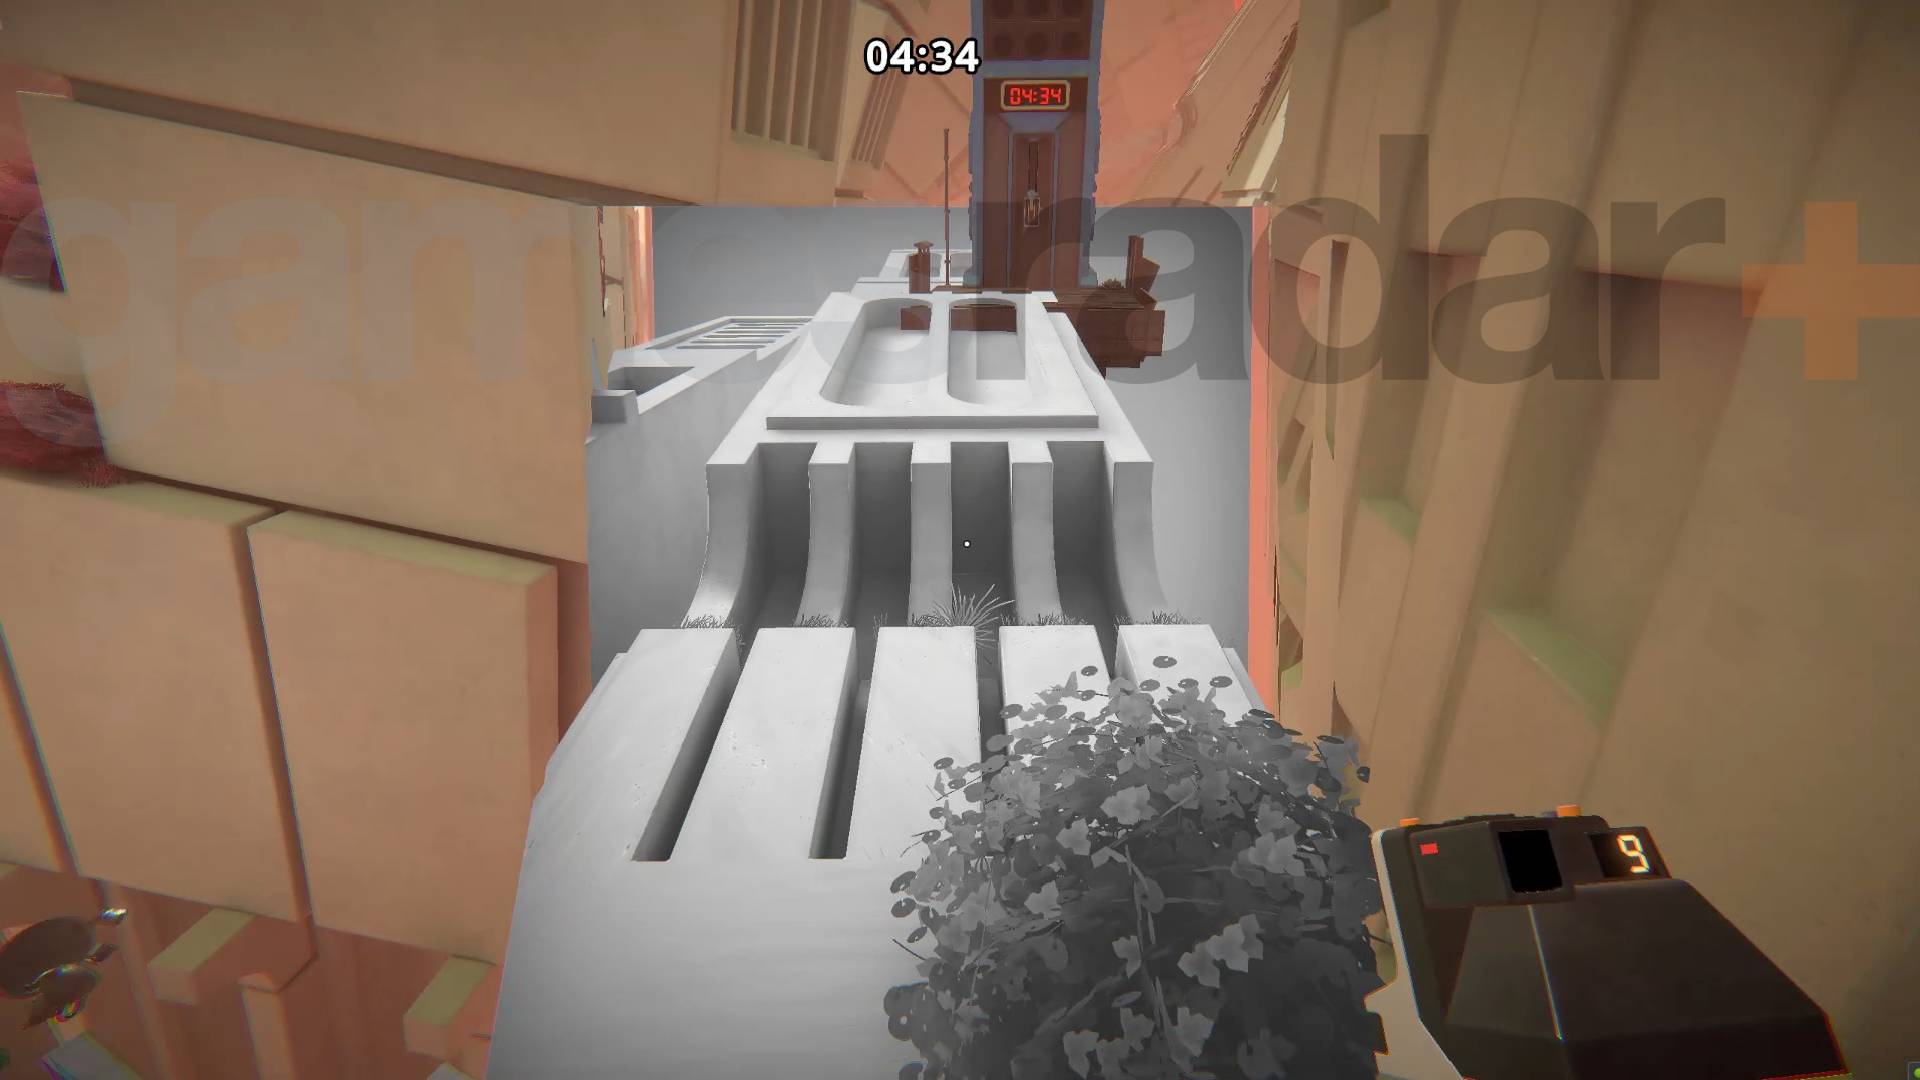
Pull the level and head to the next level where you'll find a three board picture to line up and make a bridge to the next blue lever.
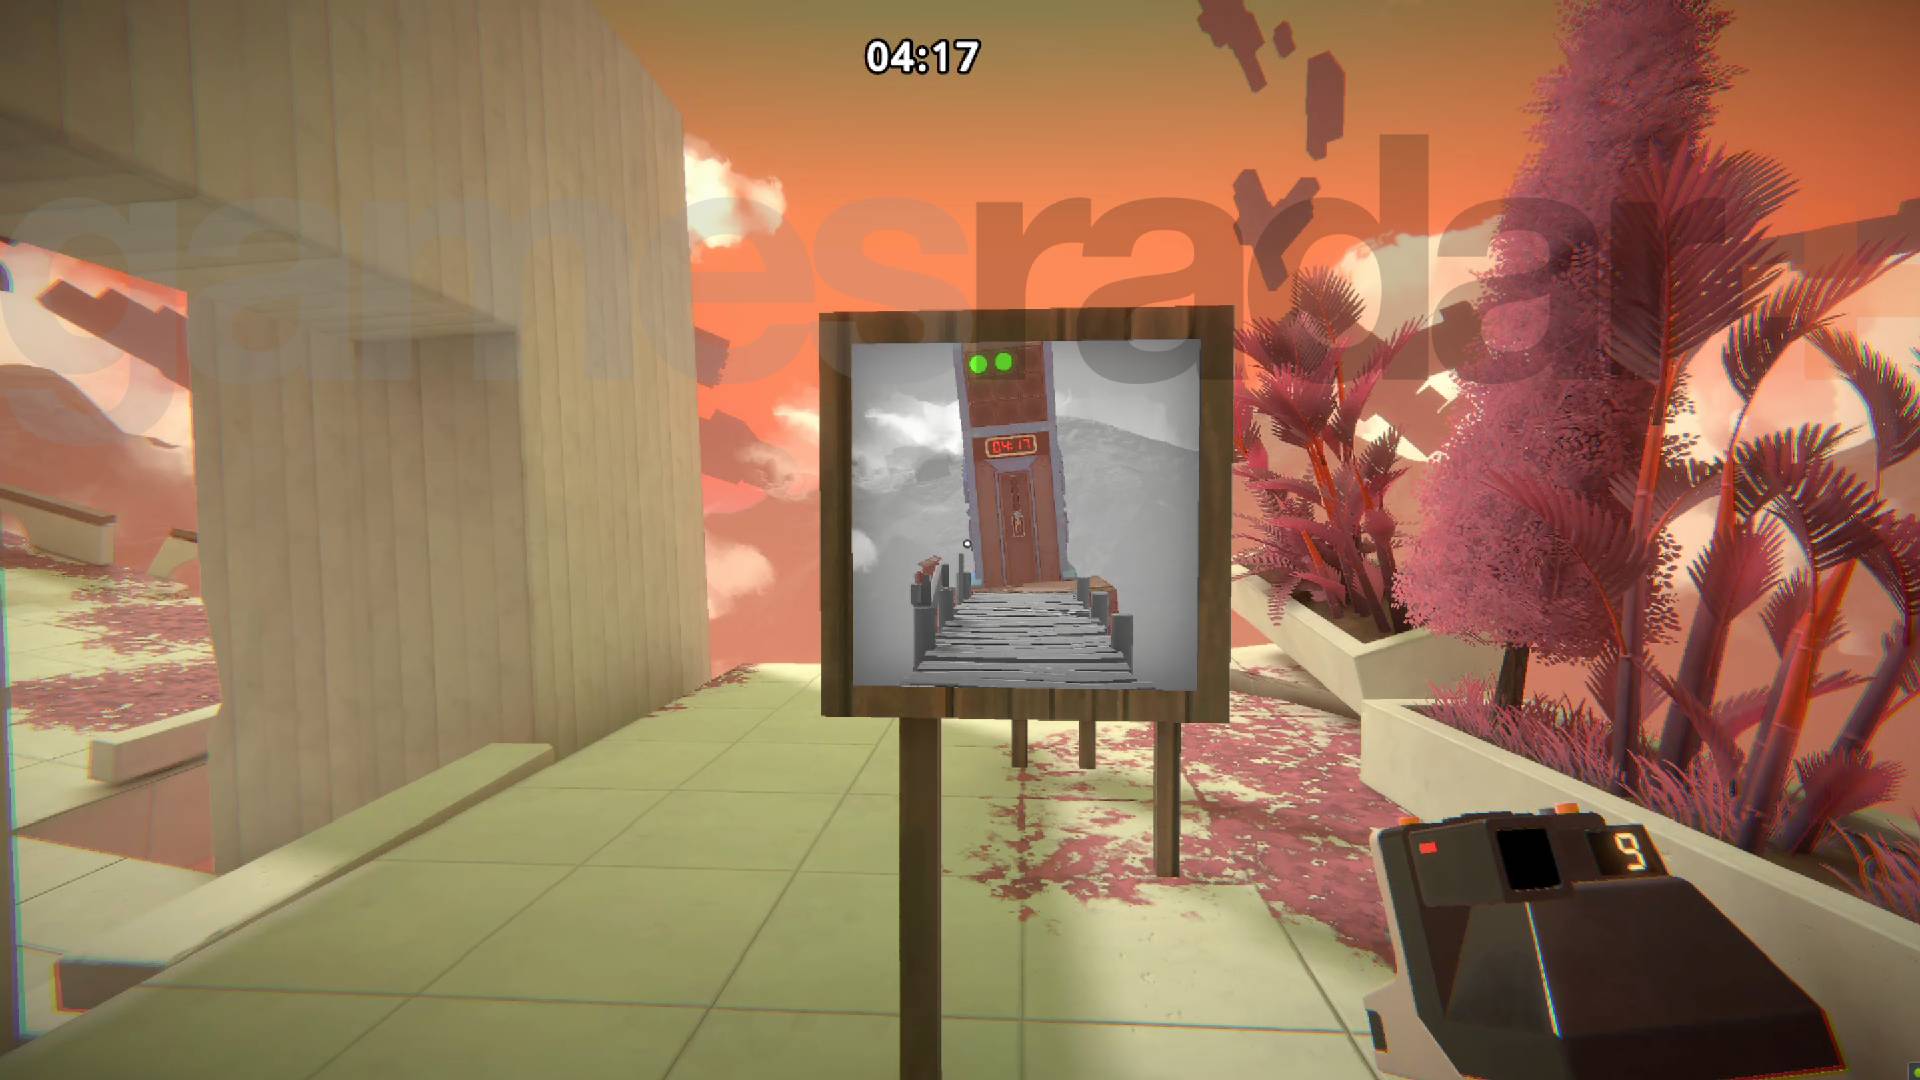
Pull that lever and move on. In the next area make sure you photograph the radio before you do anything else as you'll need it later.
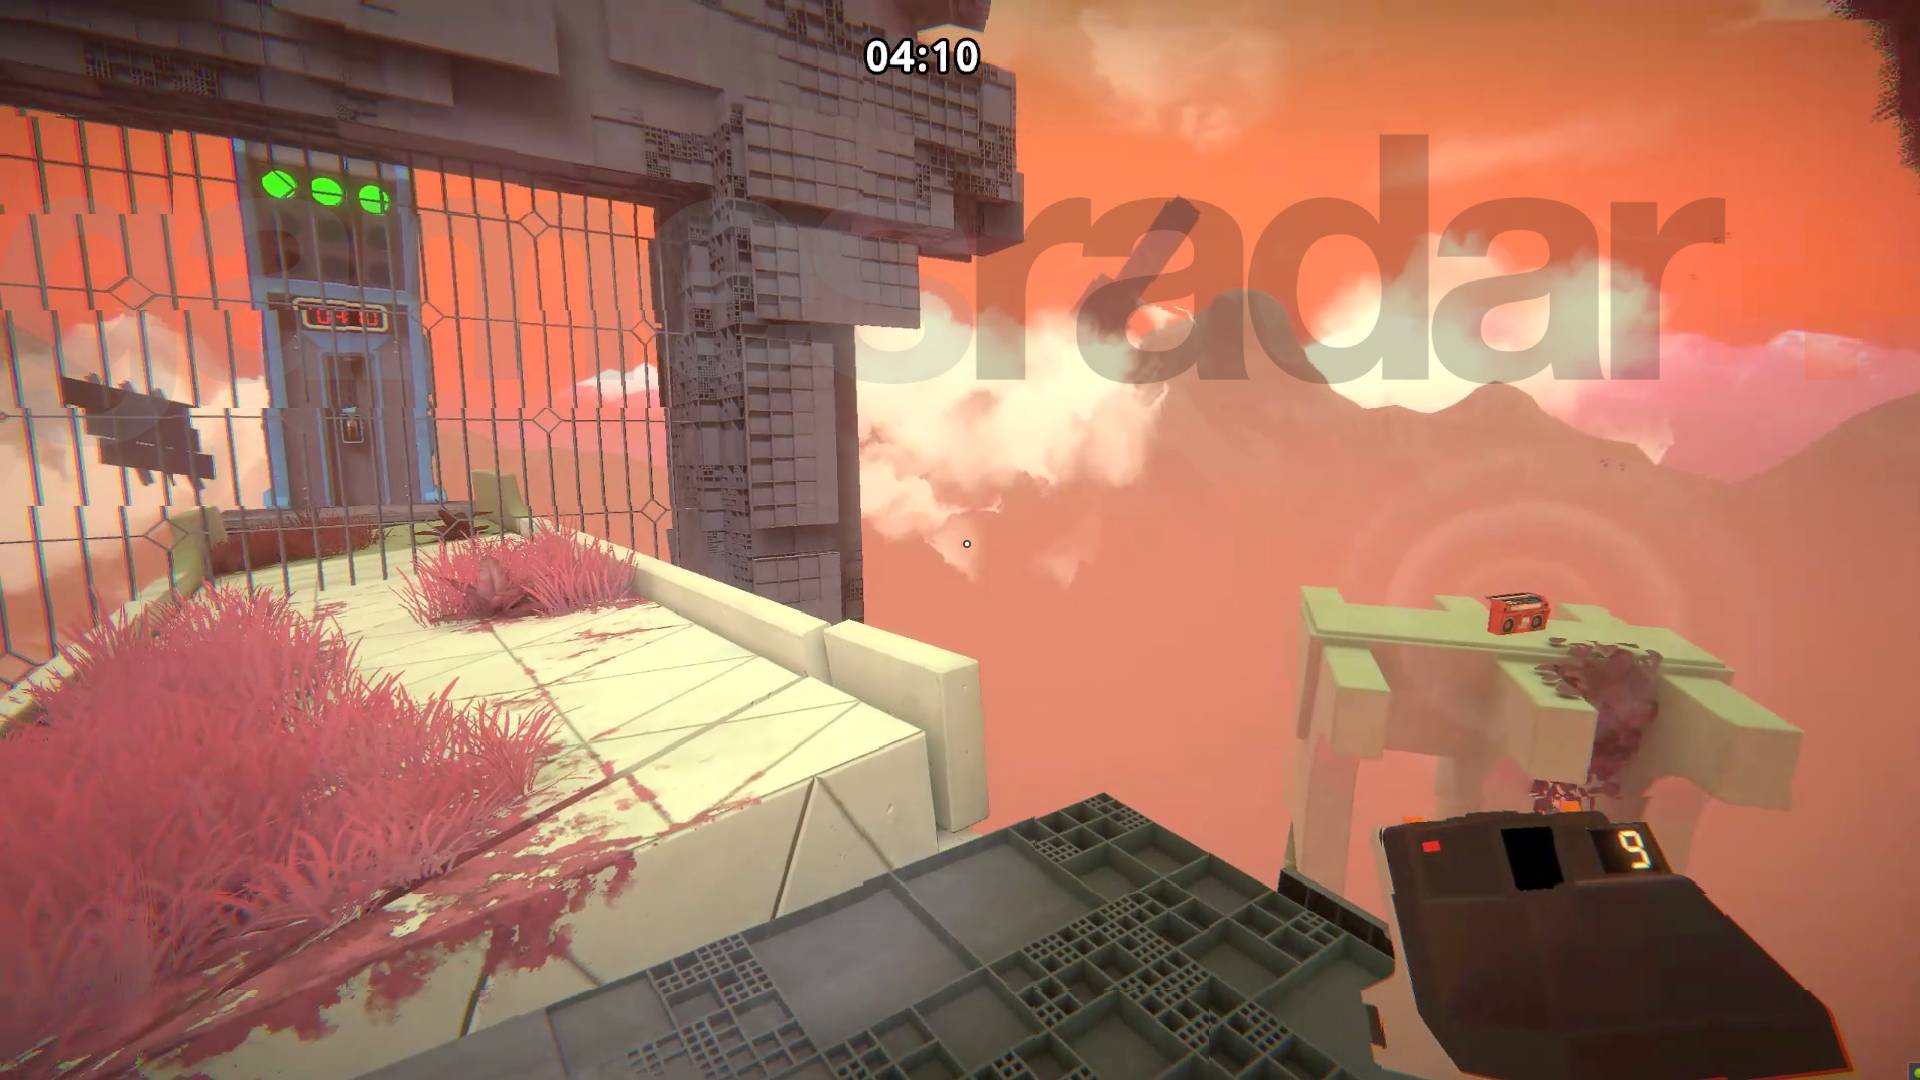
Photograph the bridge in front of you going through the fence which will destroy it but let you create a bridge around the obstacle. Go to the end of your new bridge and photograph what's behind you, destroying that but giving you more bridge to reach the blue lever. Do it in two shots to save film.
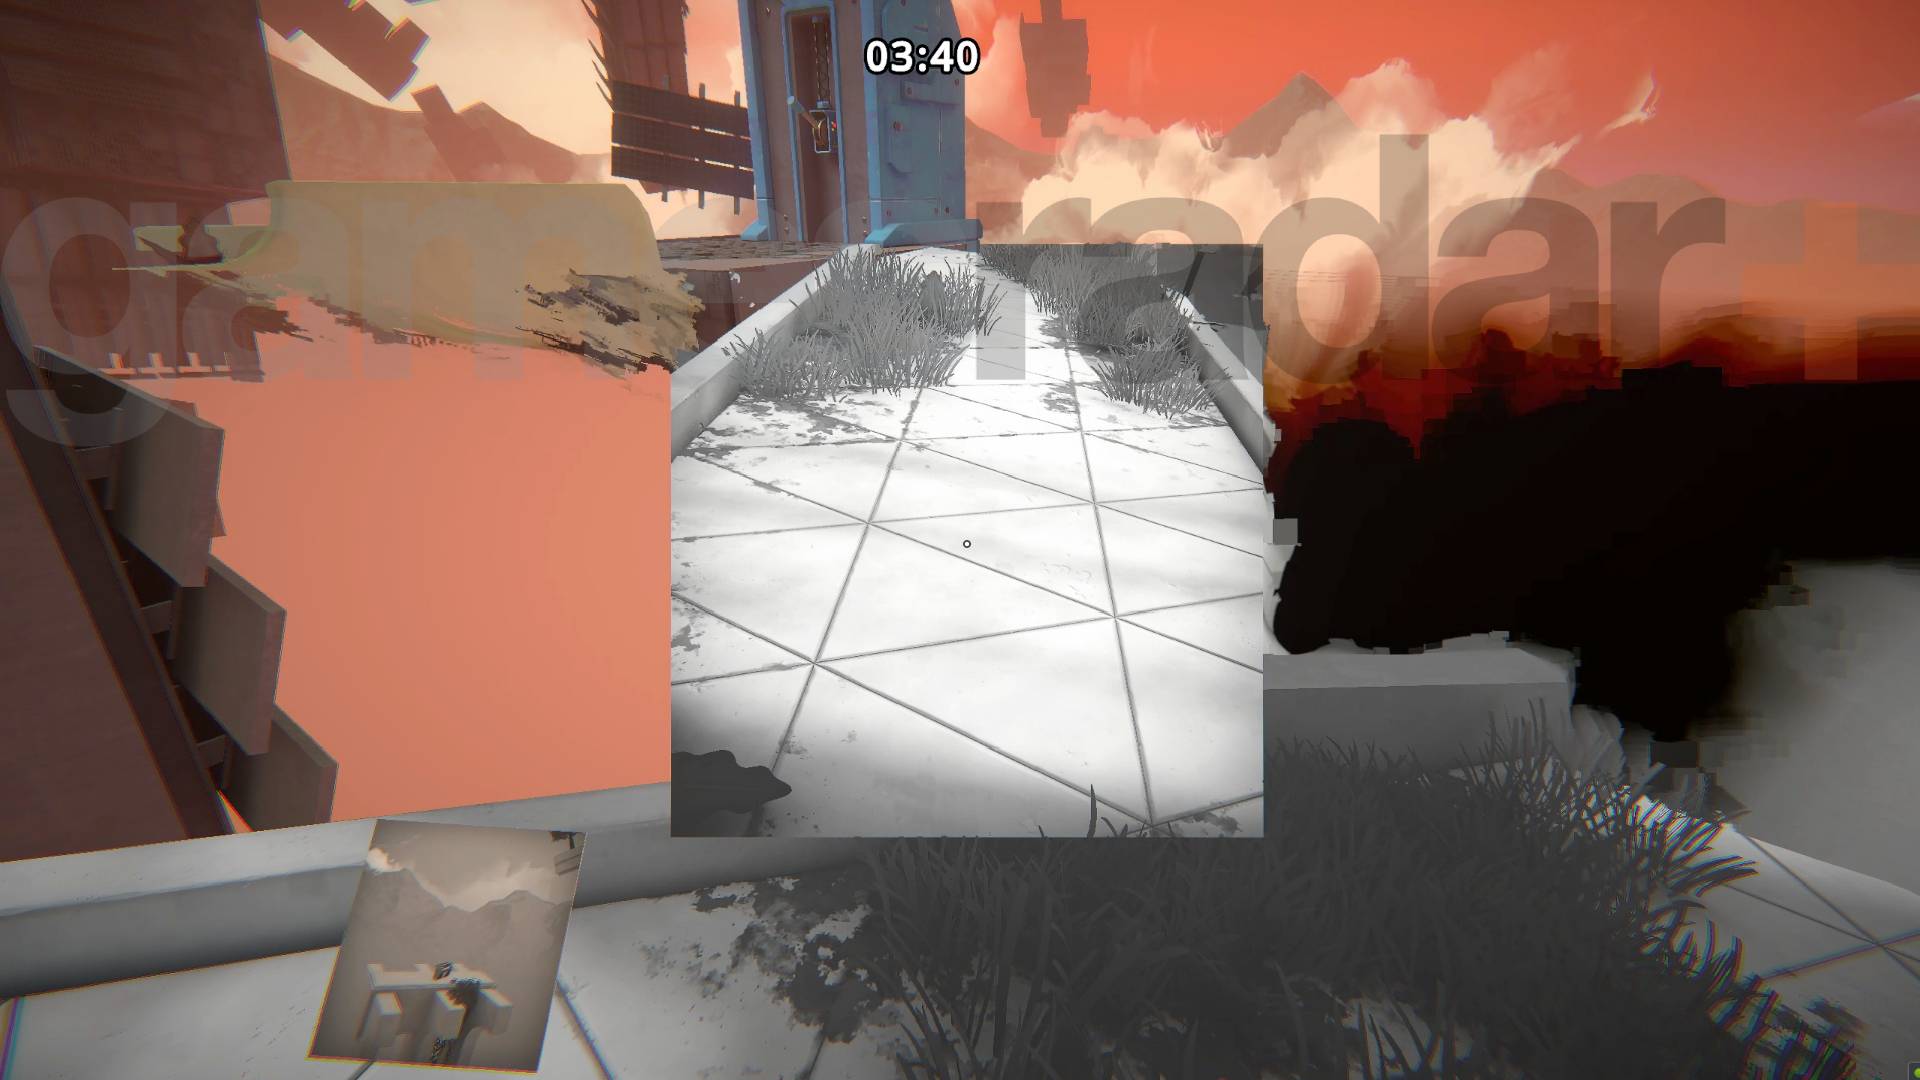
Reach the blue lever and pull it.
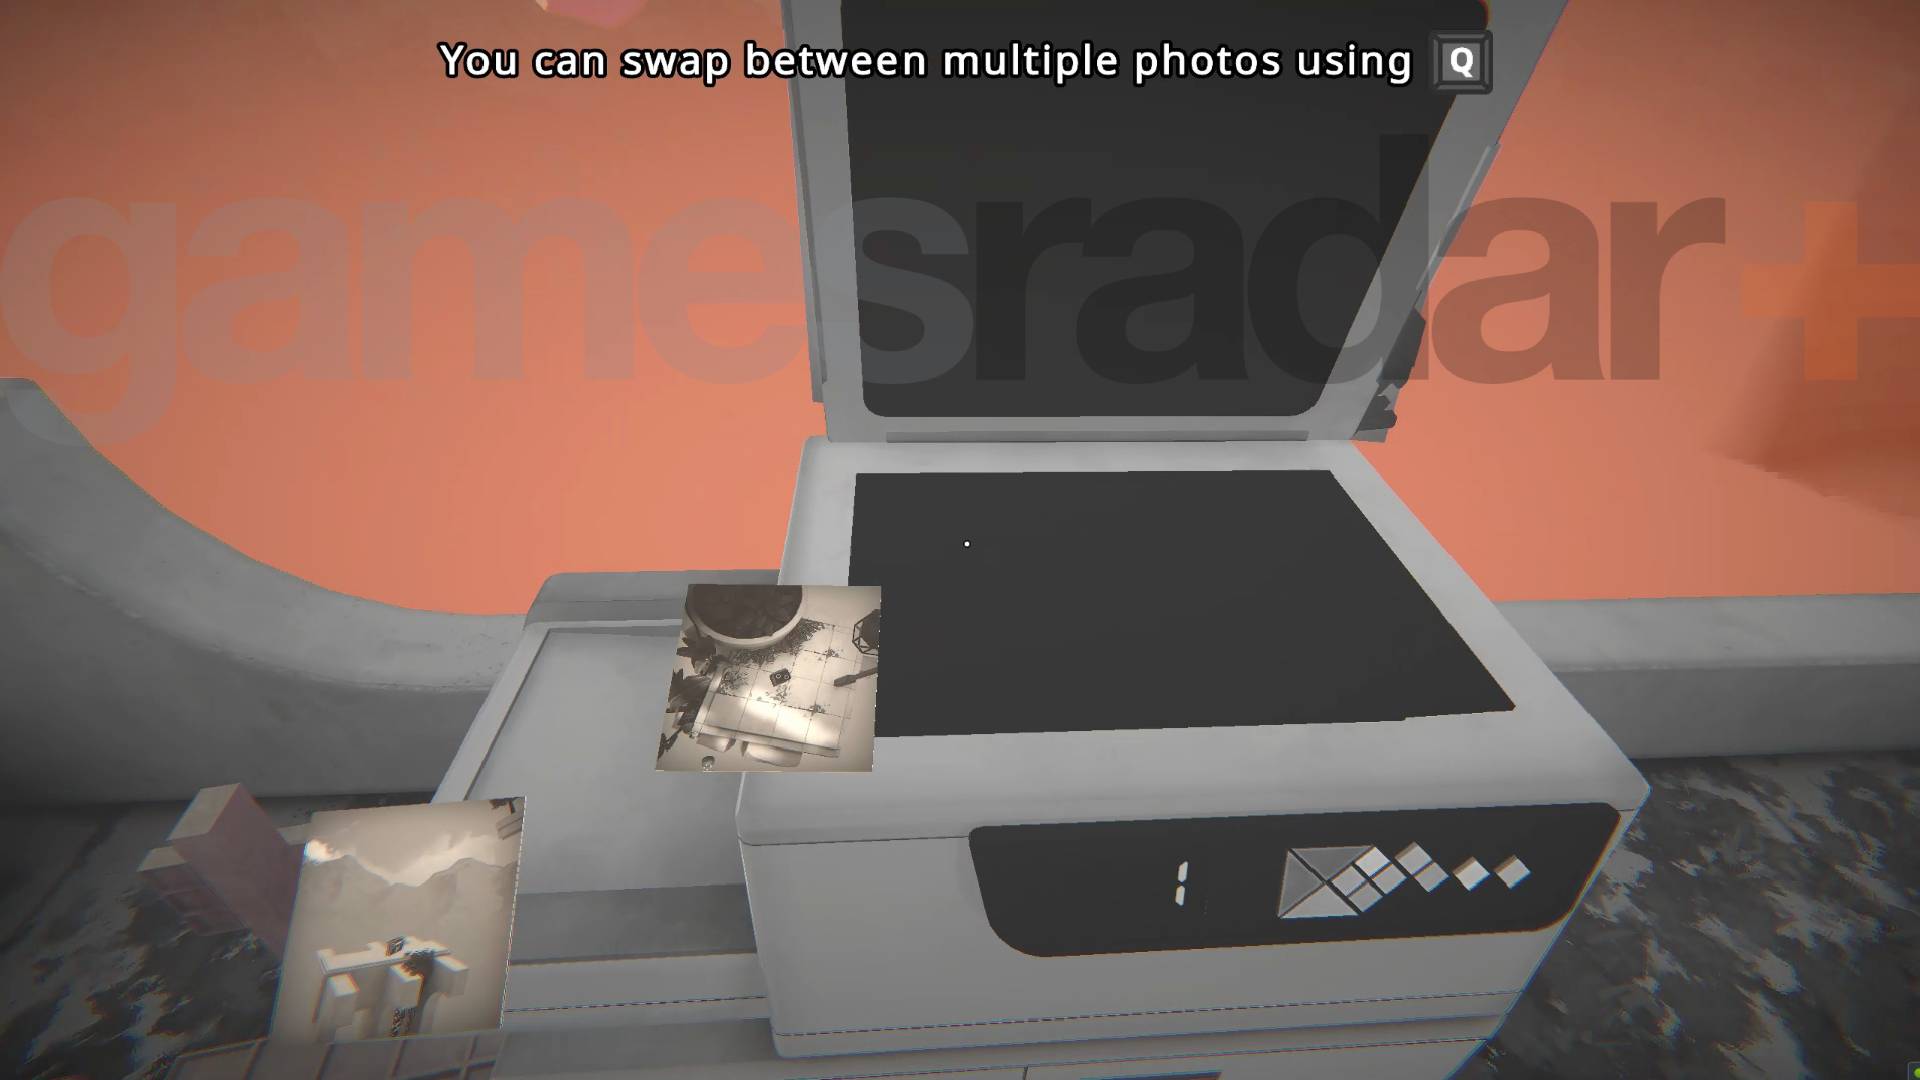
In the new area take a shot of the photocopier and place it so you can use it. Then take a shot of the battery you can see below you, though the grated floor. Use the photocopier to make the extra battery you need, again to save film. Place the pictures above you so the batteries fall on the power pad to move on.
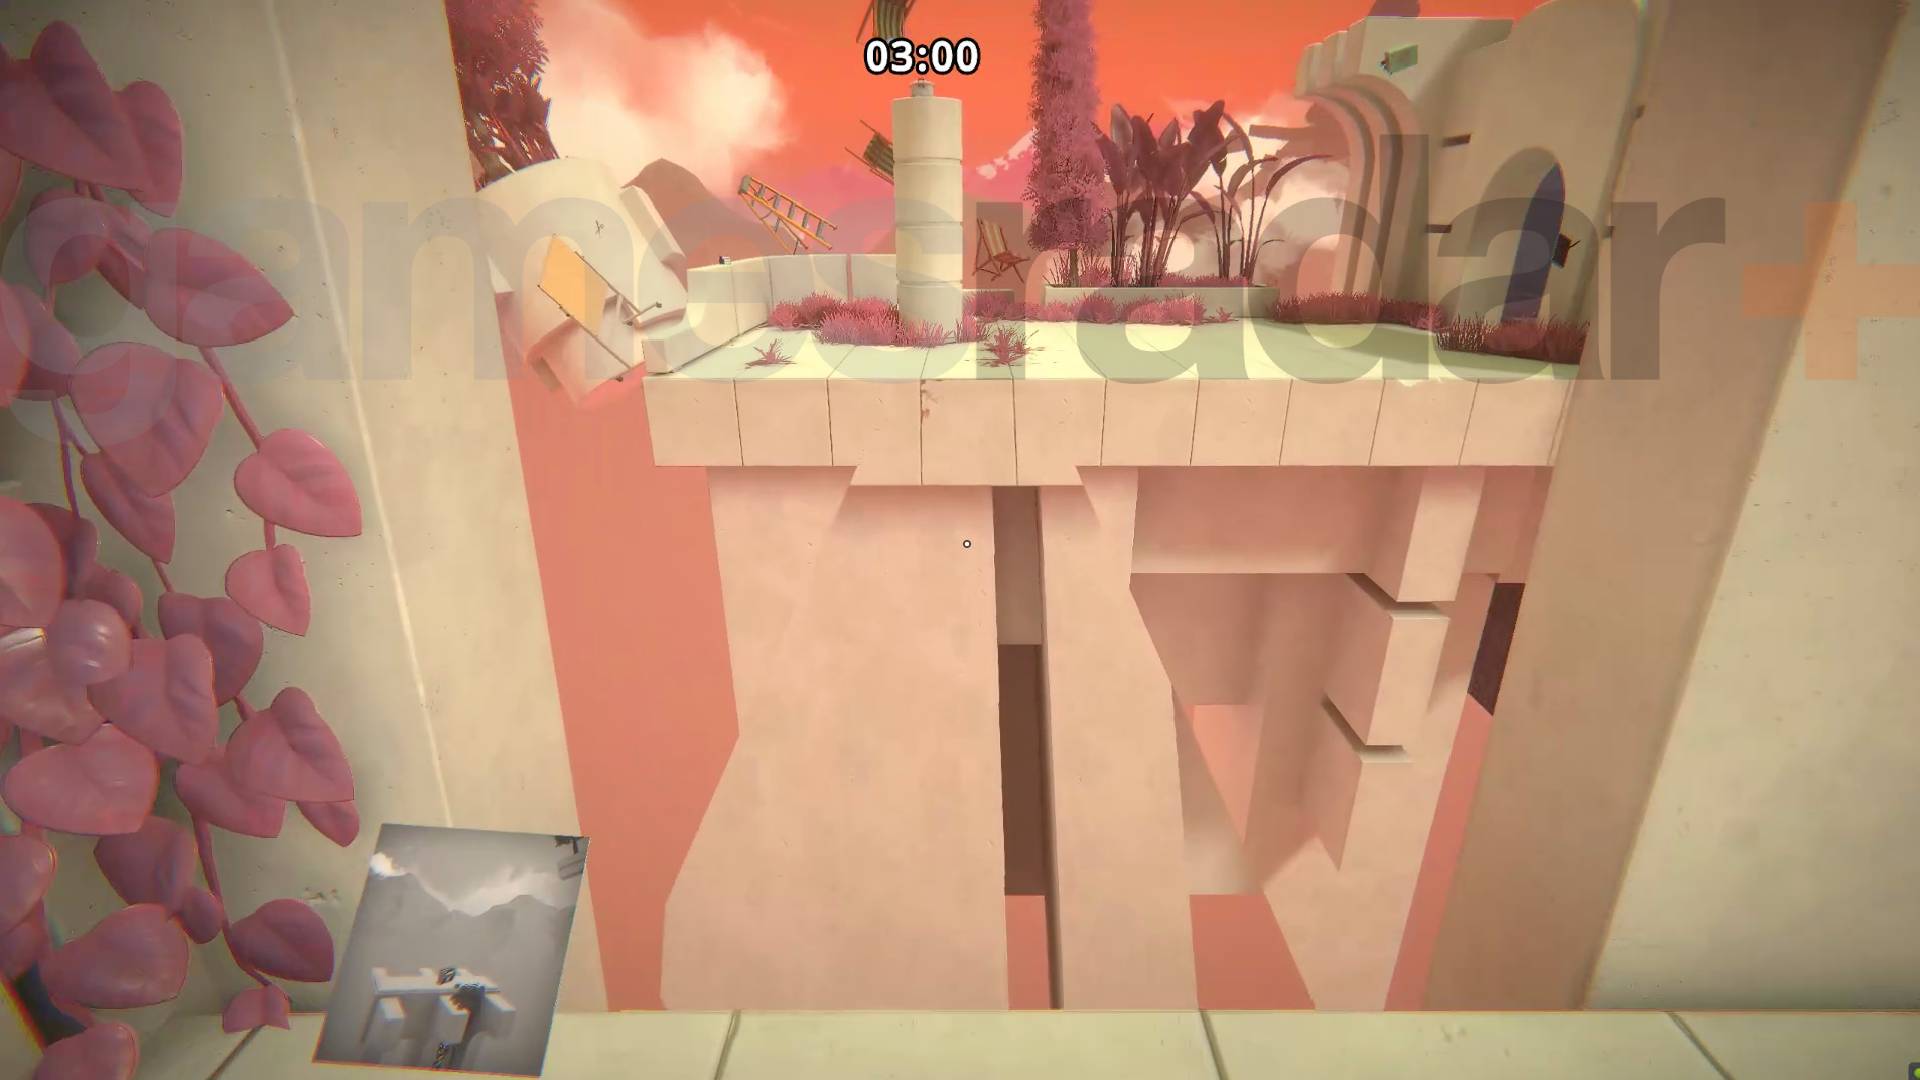
In the next area head though the arch where an invisible bridge will reveal itself.
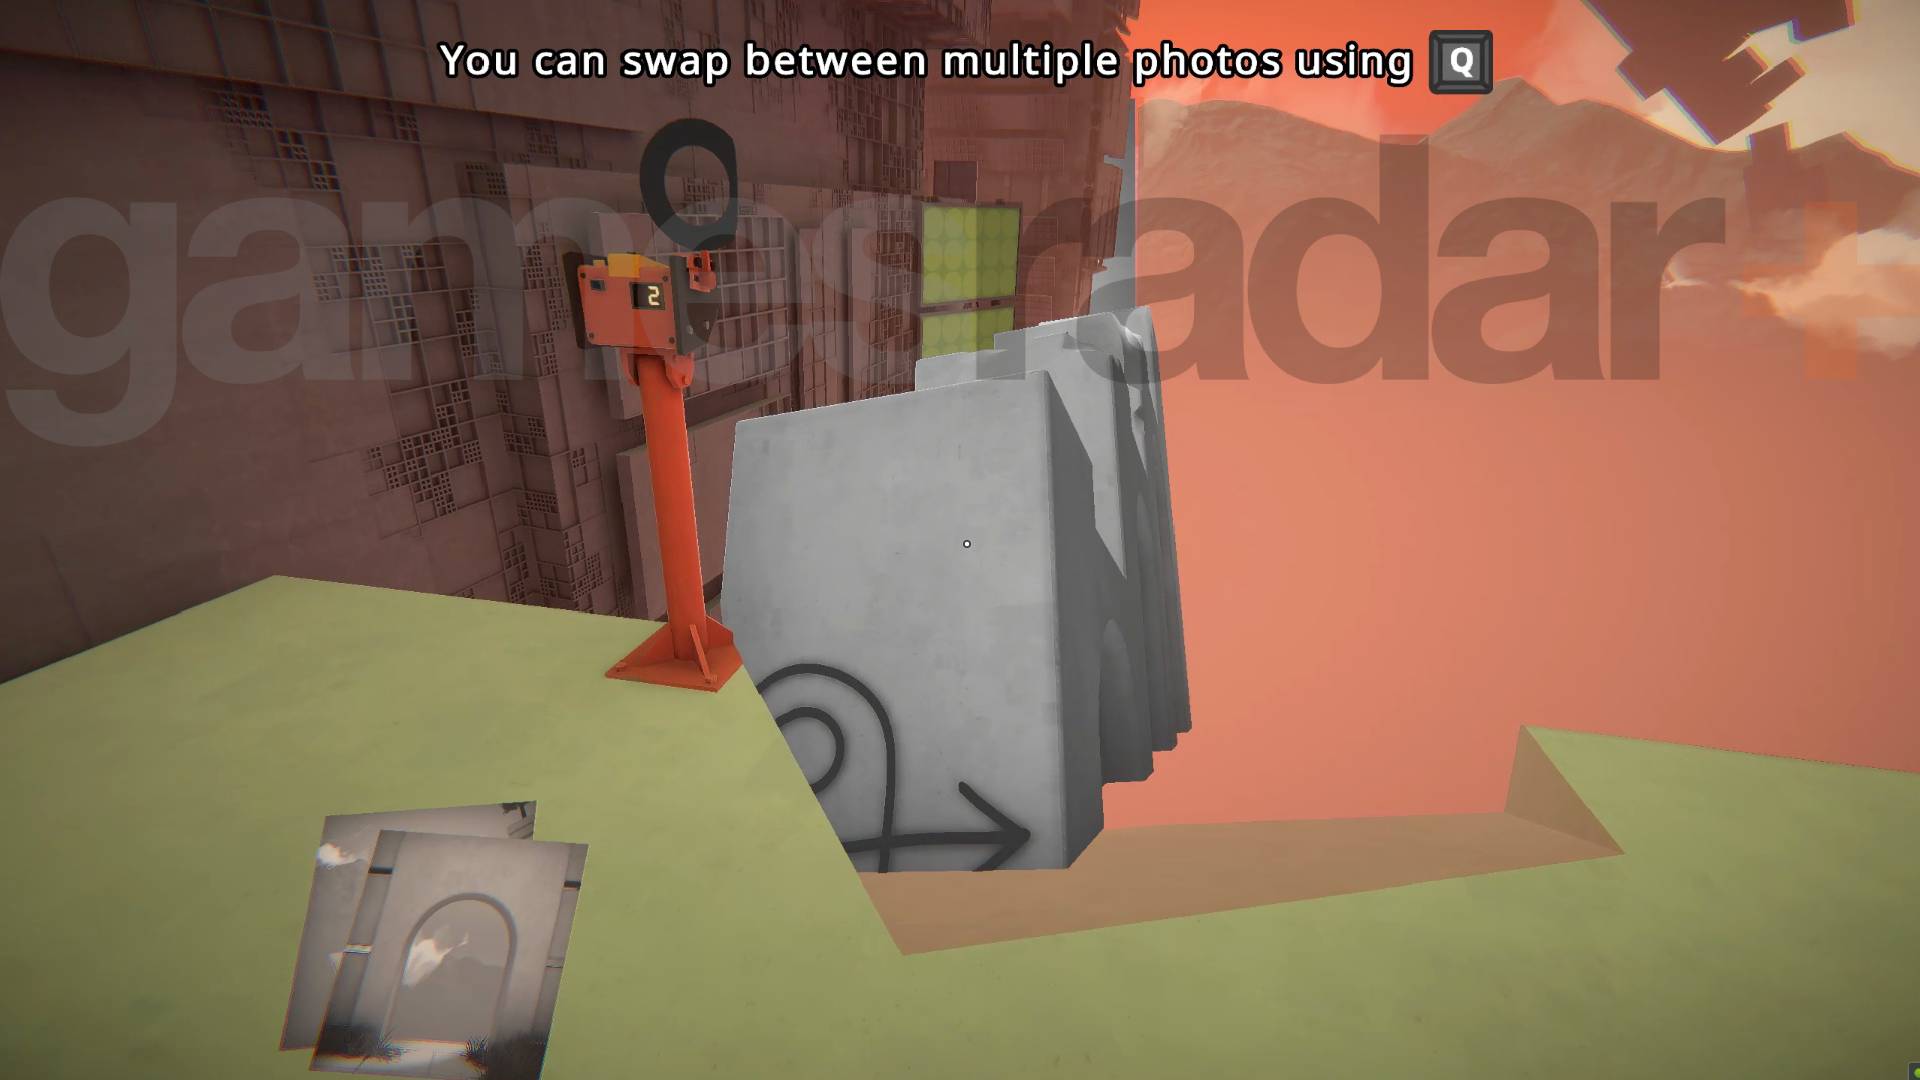
The arch ahead leading to the blue lever is also an illusion you can't pass through so take a picture of it to reveal.. the blue lever. Pull it and move on.
In the next area take a picture of the stone to the left of the timer camera so you can get out in front of it for a selfie.
Get the selfie and use it to get you though the narrow gap to reach the blue lever and proceed.
In the new area you'll see batteries, and film you can't reach, a power pad in a cage and a sound sensor. Ignore everything but the sound sensor and use the picture of the radio from earlier to power the blue lever and continue.
You'll now be in an area with a caged blue level and a timed selfie camera right up against a fence. You should have a couple of shots left at this point but only need one: take a picture of the selfie camera and place it behind you:
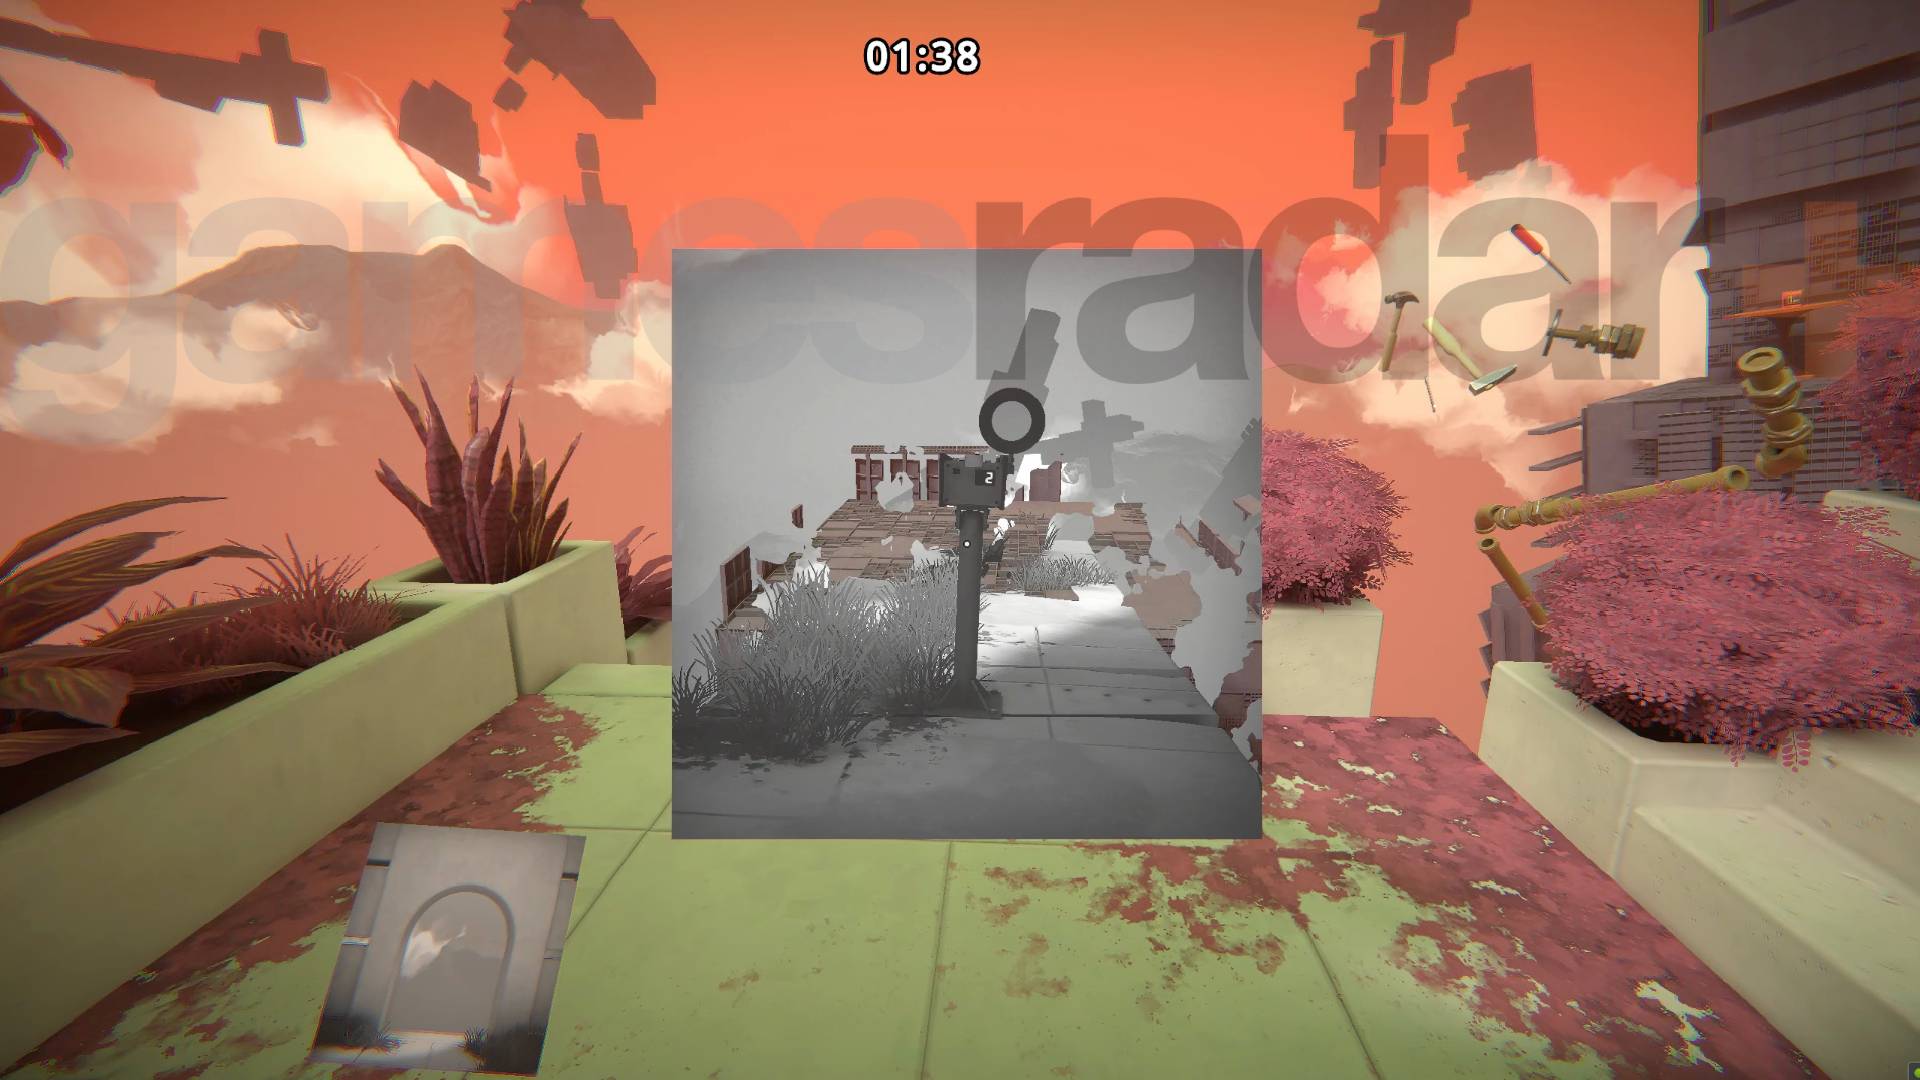
With this new camera you can take the selfie you need to get inside the cage, pull the final lever and see where the ending takes you. Congratulations.
Current page: Viewfinder walkthrough Chapter ? / 5
Prev Page Viewfinder walkthrough chapter 4 Mirren
I'm GamesRadar's Managing Editor for guides. I also write reviews, previews and features, largely about horror, action adventure, FPS and open world games. I previously worked on Kotaku, and the Official PlayStation Magazine and website.
You must confirm your public display name before commenting
Please logout and then login again, you will then be prompted to enter your display name.

 Join The Community


