Viewfinder walkthrough and puzzle solutions
How to use your camera and solve this mind bending puzzler
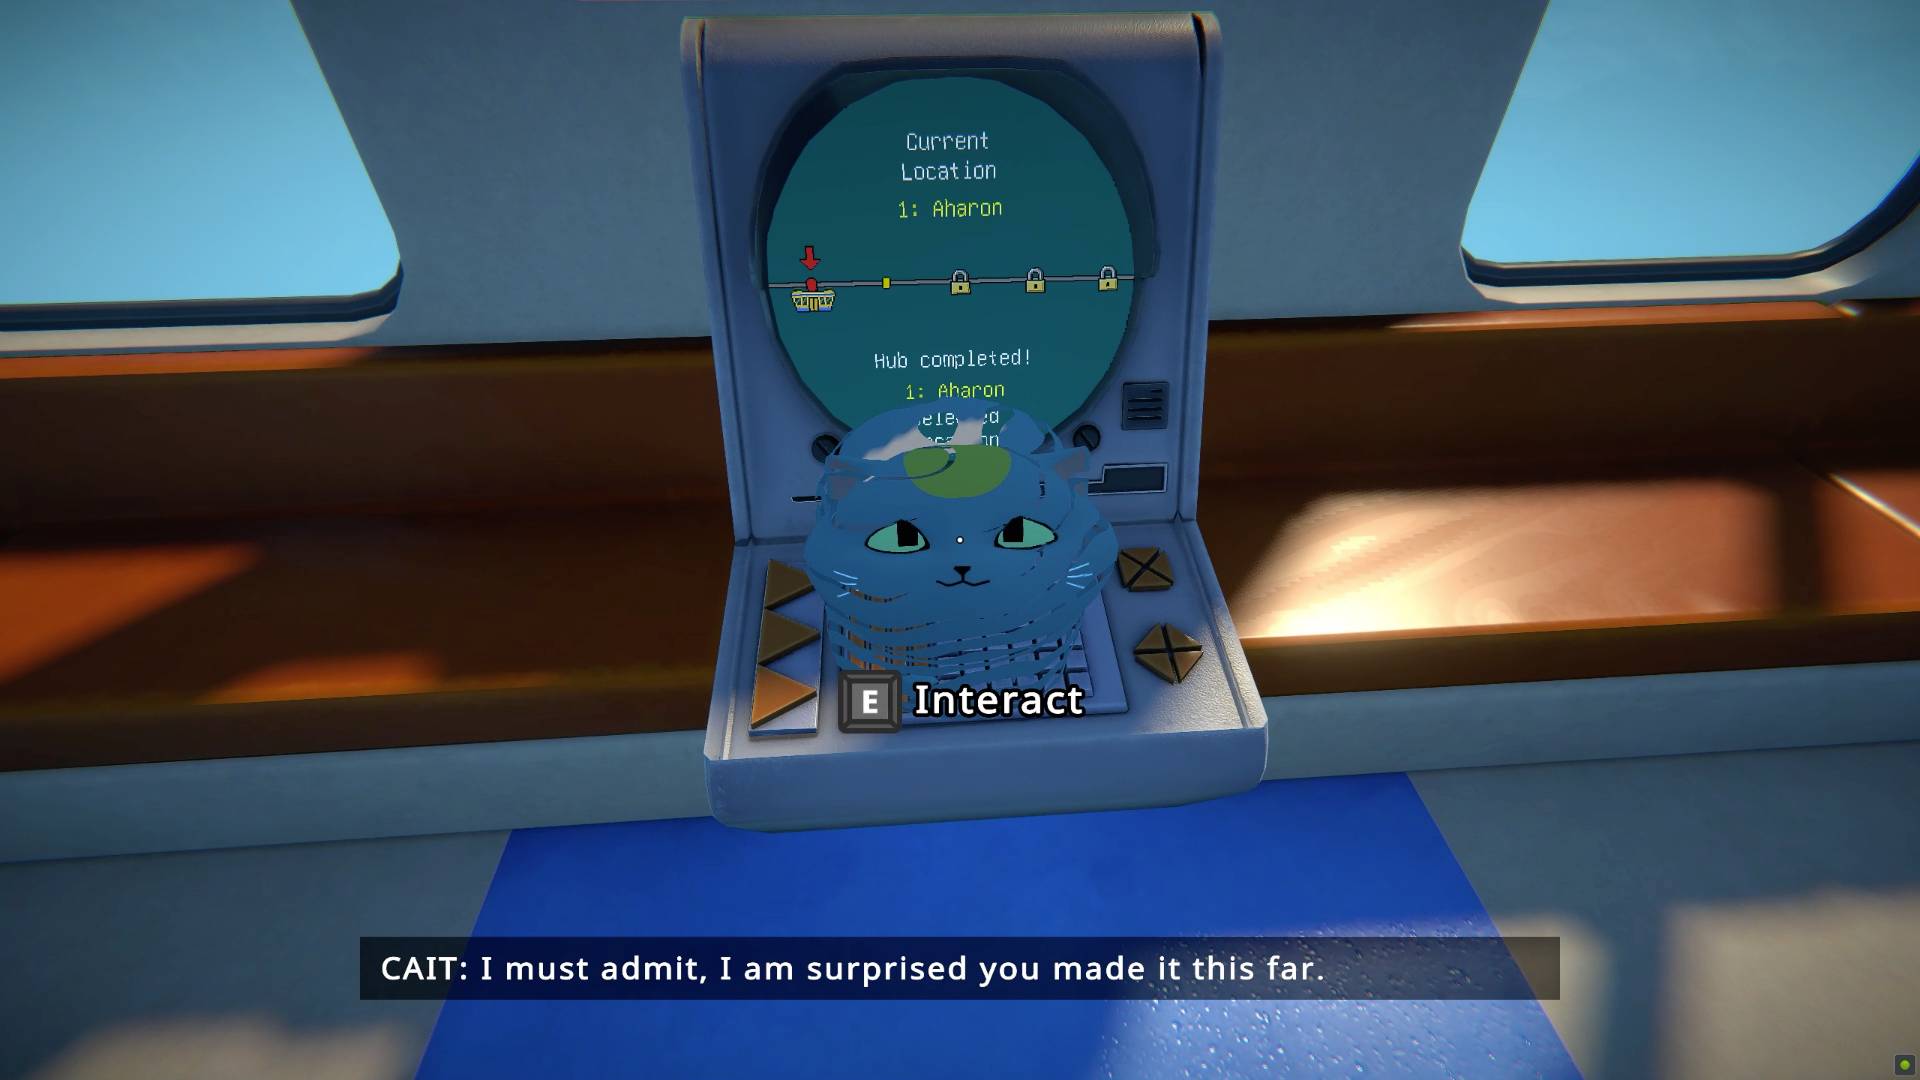
We updated this guide as Viewfinder is included in the PlayStation Plus Monthly Games for September 2025.
Our Viewfinder walkthrough will lead you on a complete step by step guide through this mind-bending puzzle adventure, as you use your photography skills to pull off various tricks and beat challenges. There are directions taking you all the way to the final level so you can finish the game, but we've avoided any spoilers so you can enjoy things at your own pace.
The premise is simple enough - you have what is effectively a magical camera, which makes the pictures you take become real. But the way it warps perspectives, repositions items, and edits reality around you can be hard to take in. It sounds hard to understand at first, but most of the solutions this generates can be summed up in one or two lines once you understand what to do - it's just getting your brain to see these solutions using such a novel and new mechanic.
So, here's a run through of every Viewfinder puzzle solution and how to complete the game.
Article continues belowChapter 1 Aharon Level 1-1
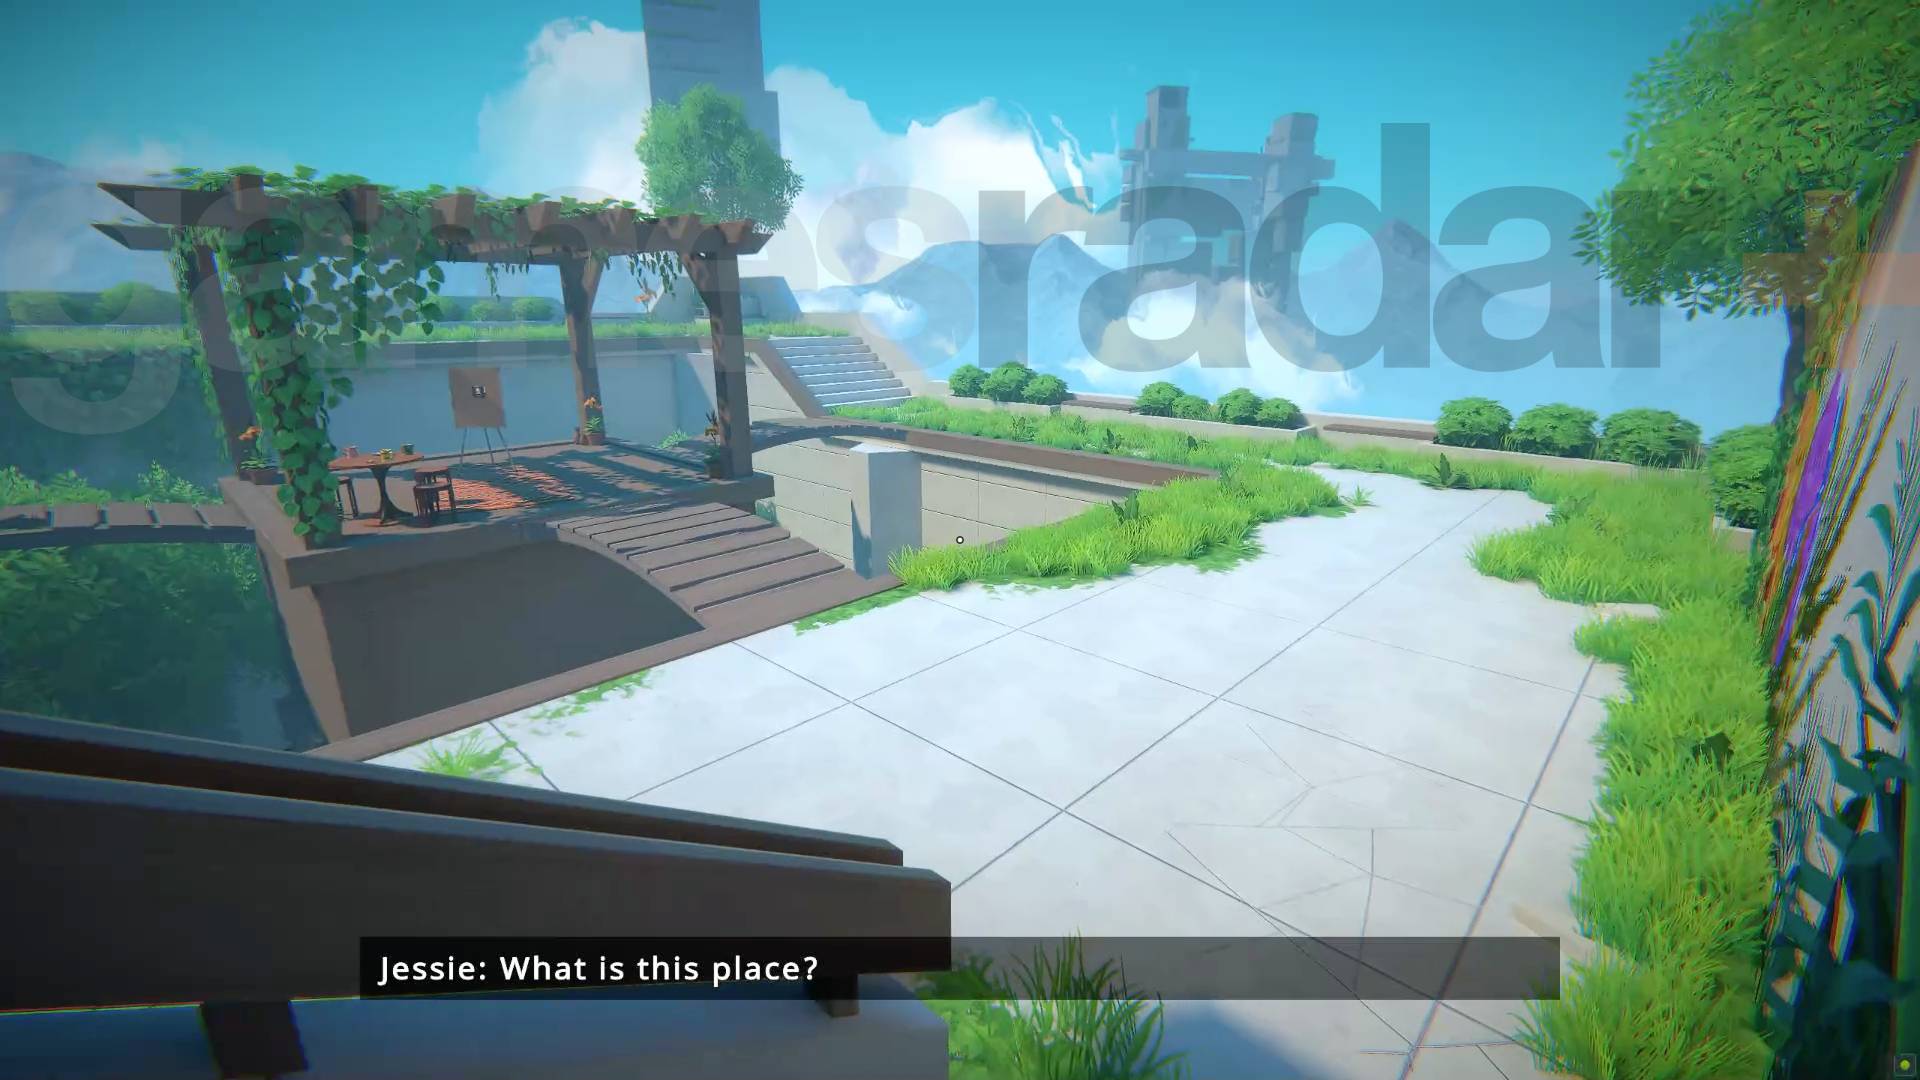
The first area in Viewfinder is basically just there to introduce the rewind function you can use to undo mistakes. Head outside and towards the plant covered pergola. When you try to reach it the bridge will collapse and you'll fall, so use your rewind to get back up and then take the other bridge to reach the photo of a teleporter. Place it anywhere to use it and continue.
Chapter 1 Aharon Level 1-2
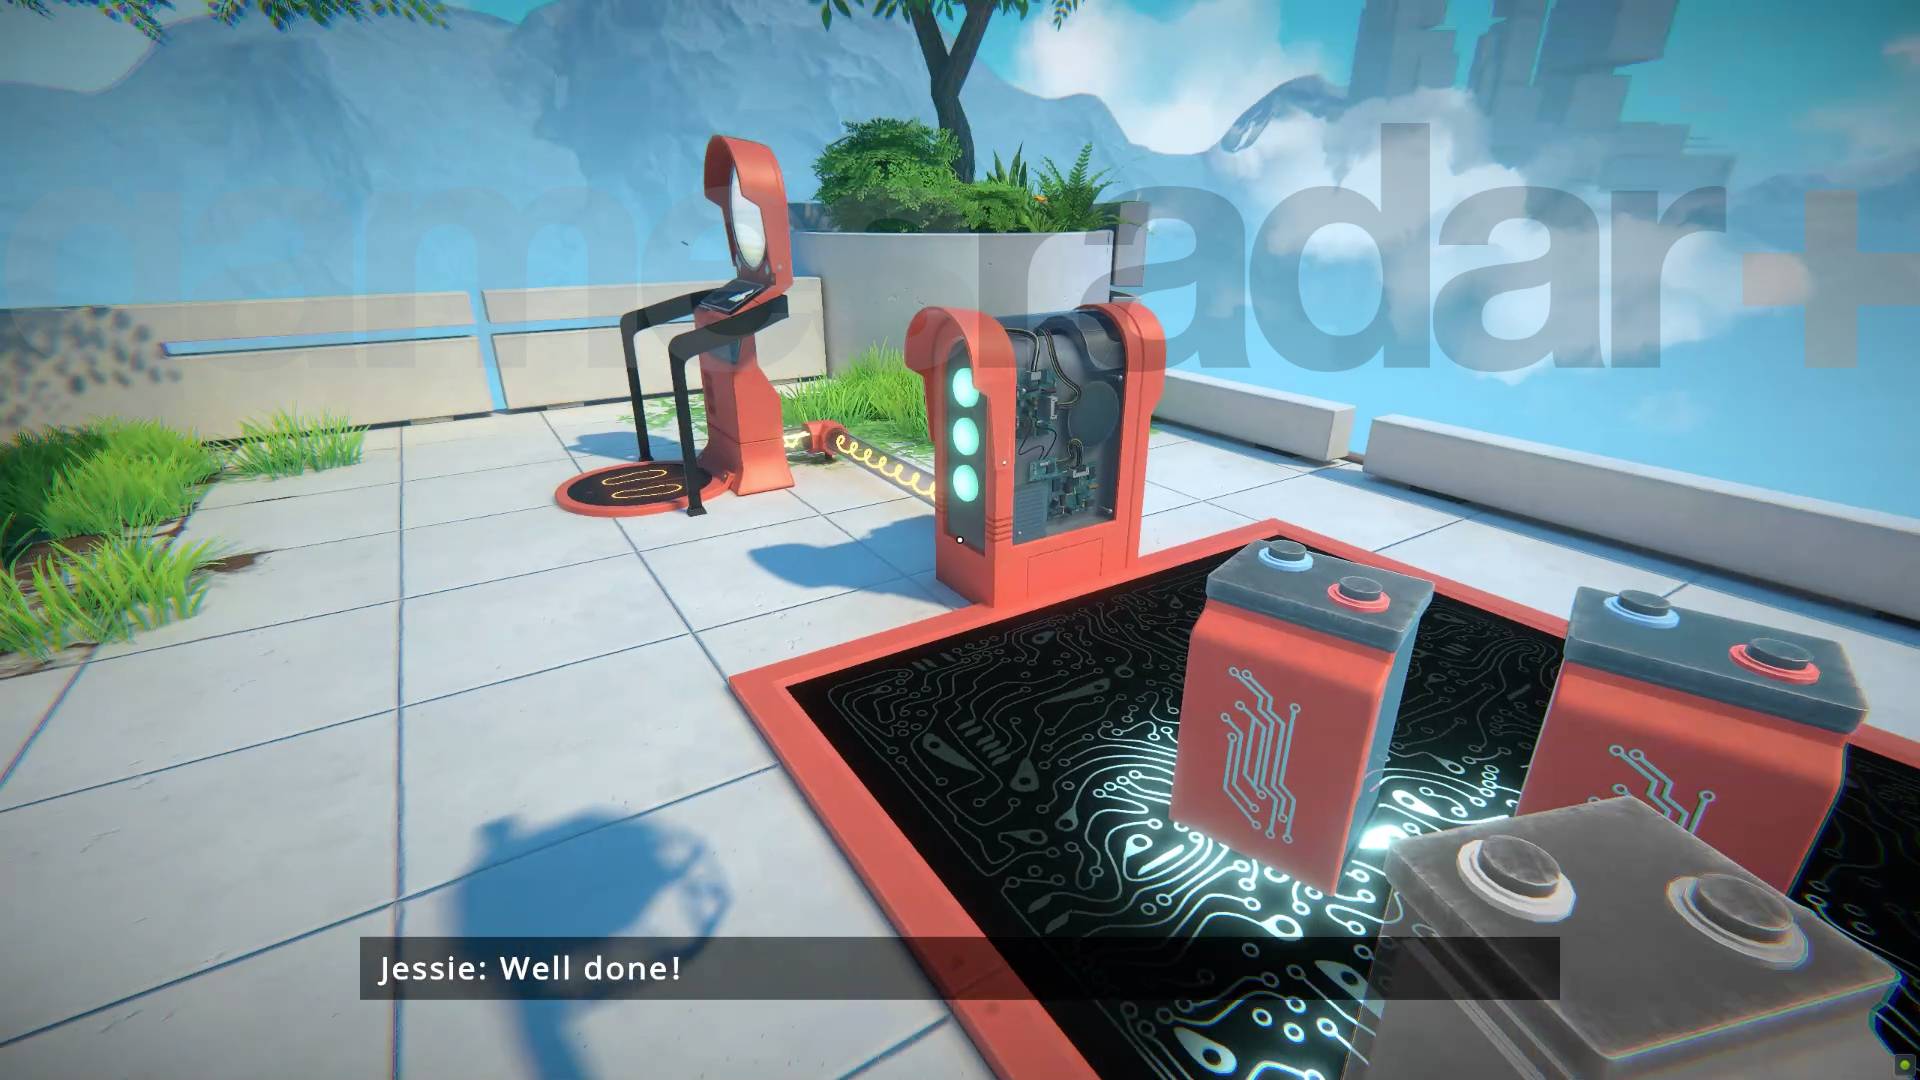
You'll need three batteries to power the teleporter here but only see two initially. Drop the ones you have on the power pad and then check the easel in order to find a photograph of the third battery. Place that anywhere and enter the new area that creates to get the final power source.
Chapter 1 Aharon Level 1-3
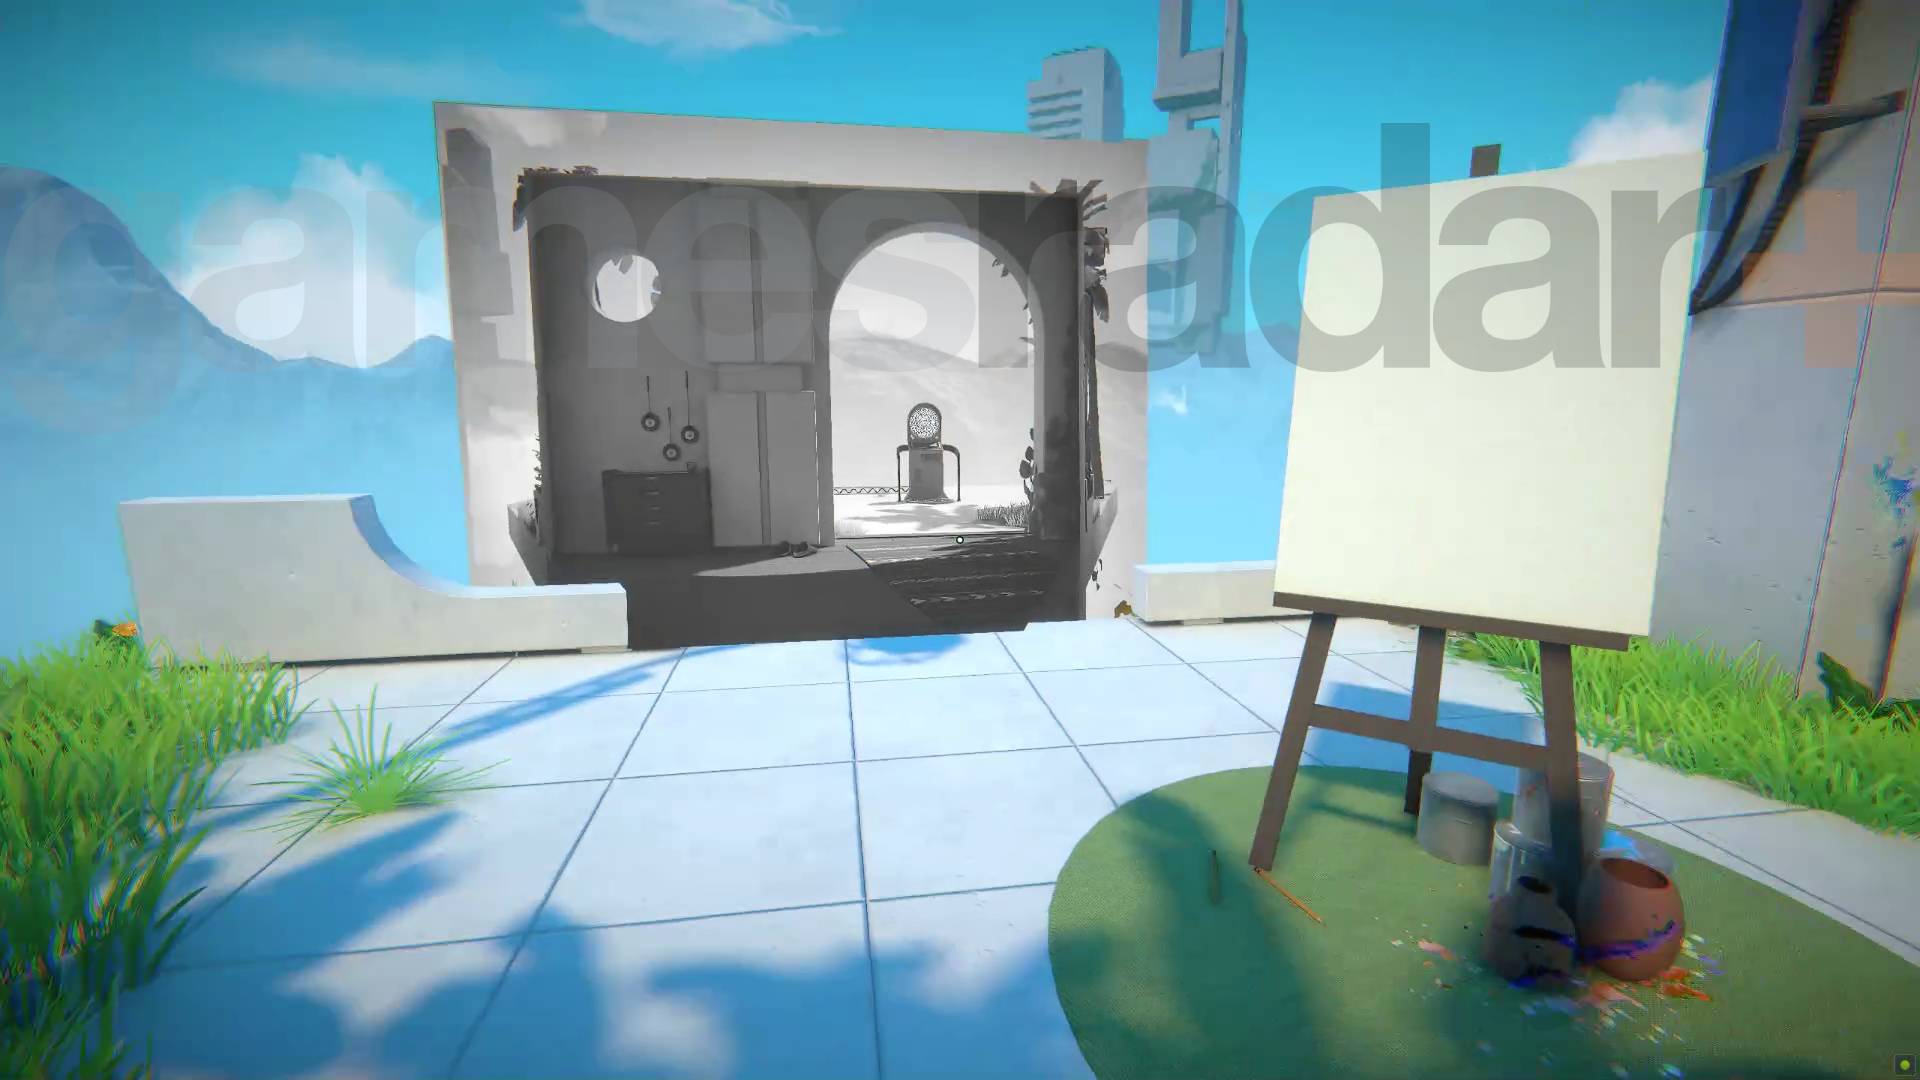
All you need to do here is grab the photo off the frame and place it to get the teleporter. Then go through the new door you just made to find a photo of a battery around the corner. You can then place that and use it to power things.
Chapter 1 Aharon Level 2-1
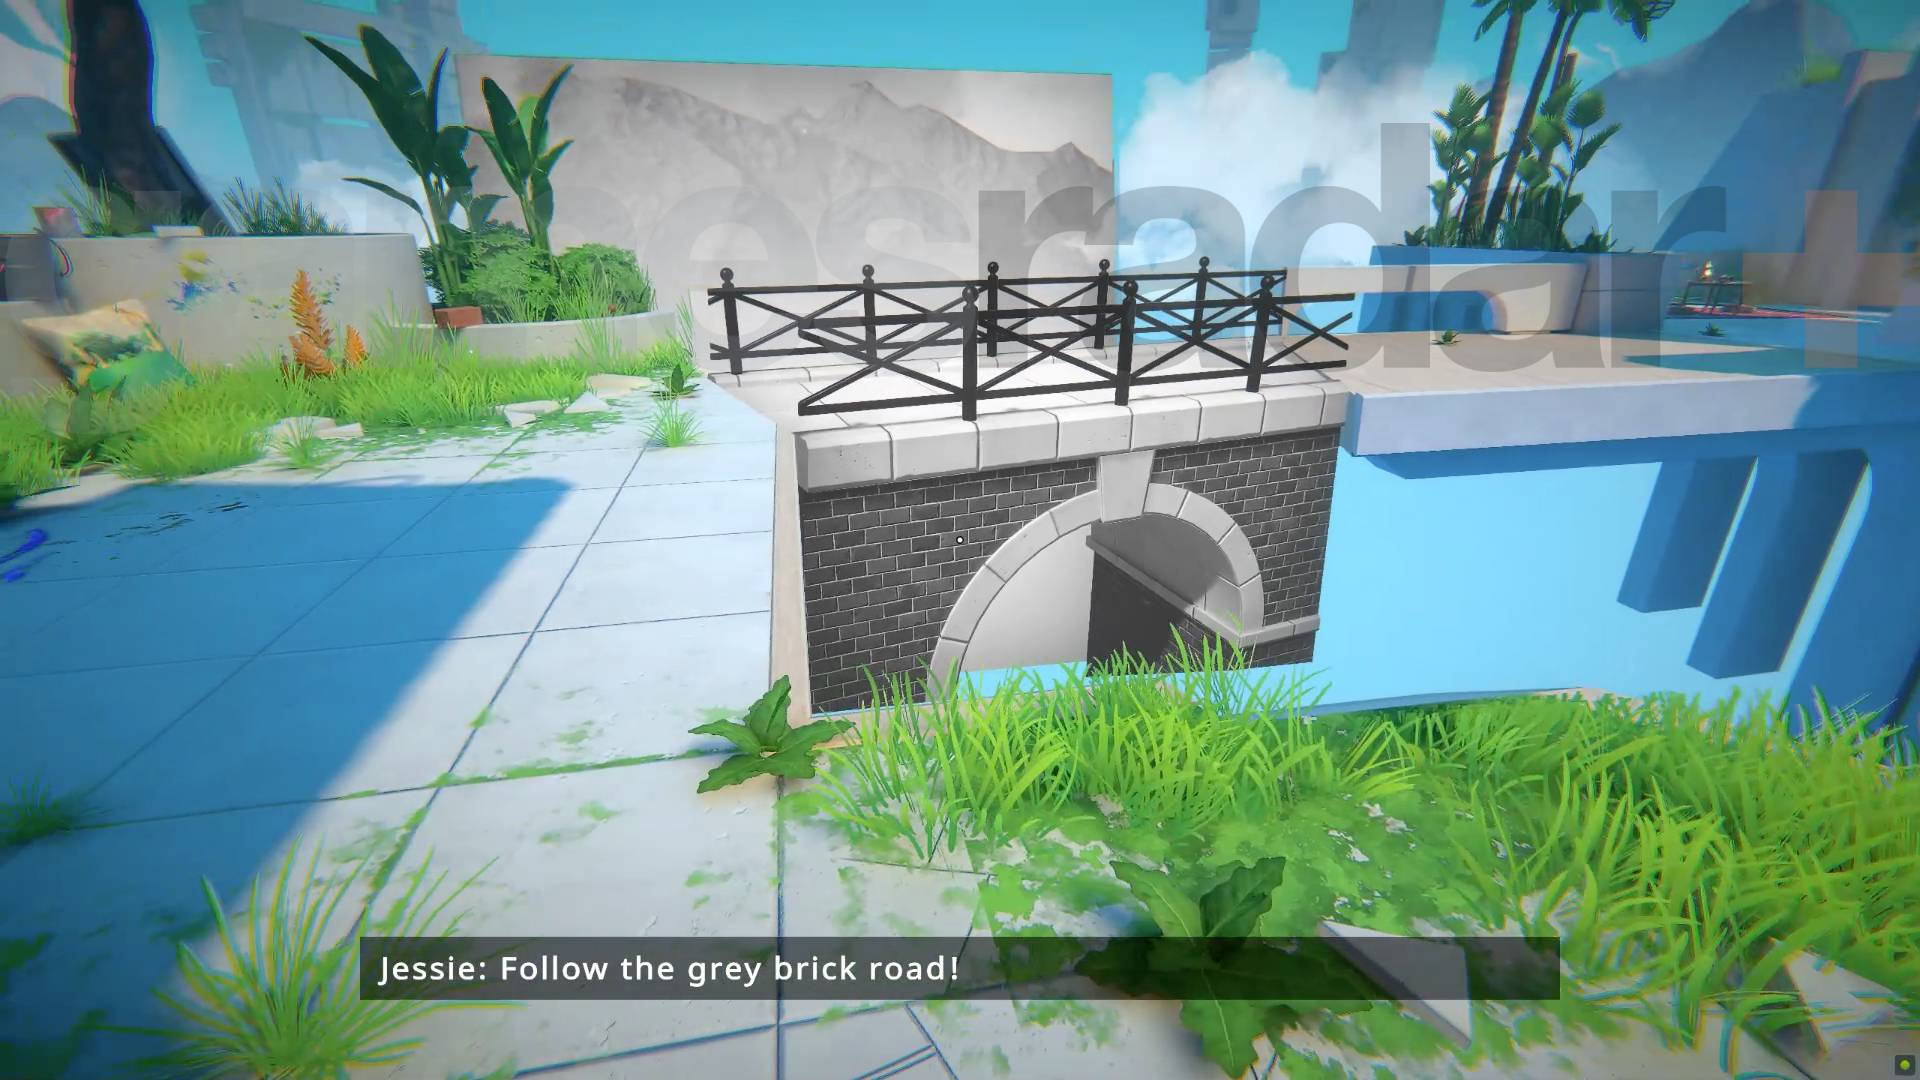
There's two separate floating areas here. Get the picture of the bridge near where you start and use that to make an actual bridge to the other side and then, as you approach the fence, look for the picture of the door on the table to your left and use that to get past. Once you're through that, find the picture of the building and use it to make a ramp between the solar panels and the platform with the teleporter.
Weekly digests, tales from the communities you love, and more
Chapter 1 Aharon Level 2-2
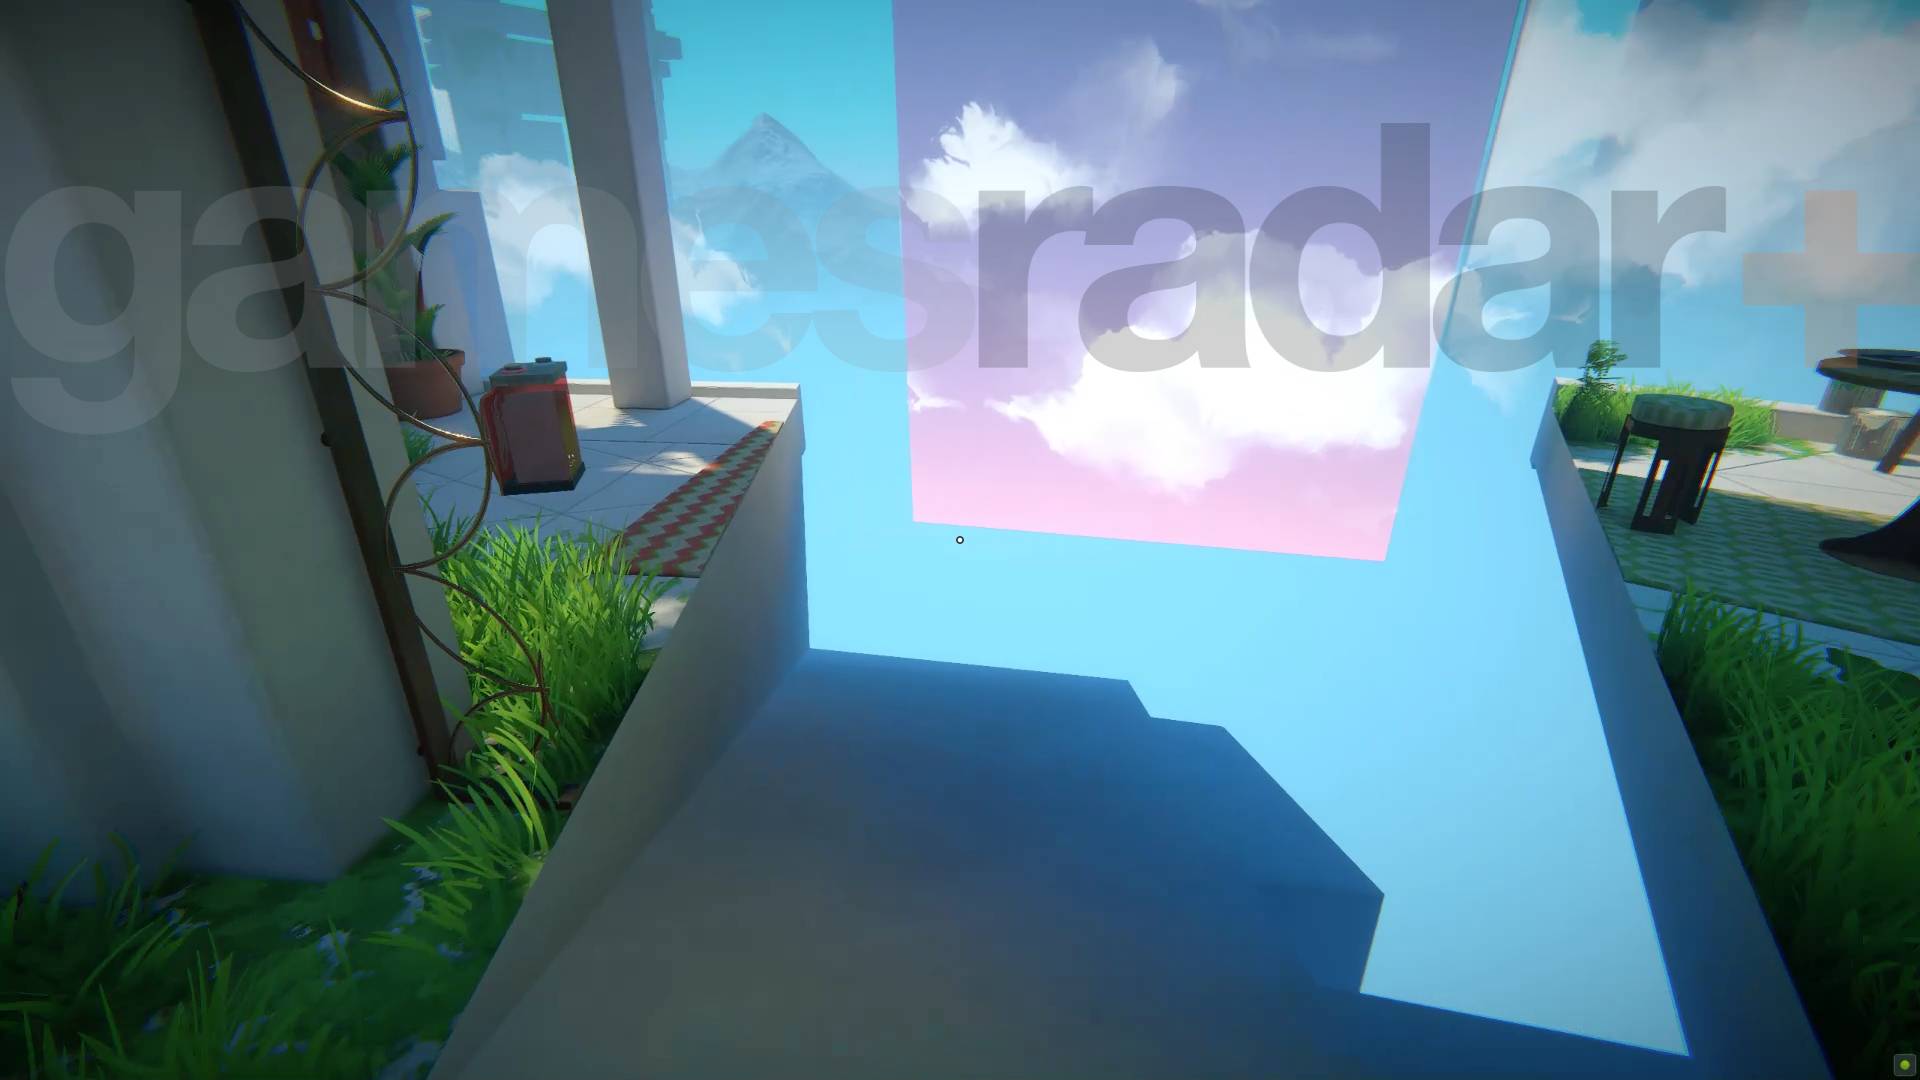
You'll need two batteries for this Viewfinder puzzle. One you can see behind the fenced area and the second is actually in the building without a door. There are three pictures on a screen of some clouds, a sunset and aurora, and because these are effectively just background sky you can use them to cut out parts of the level. So use one to cut the end off the fenced area, and another to cut the corner off the building. You can then get inside and grab the batteries you need.
Chapter 1 Aharon Level 2-3
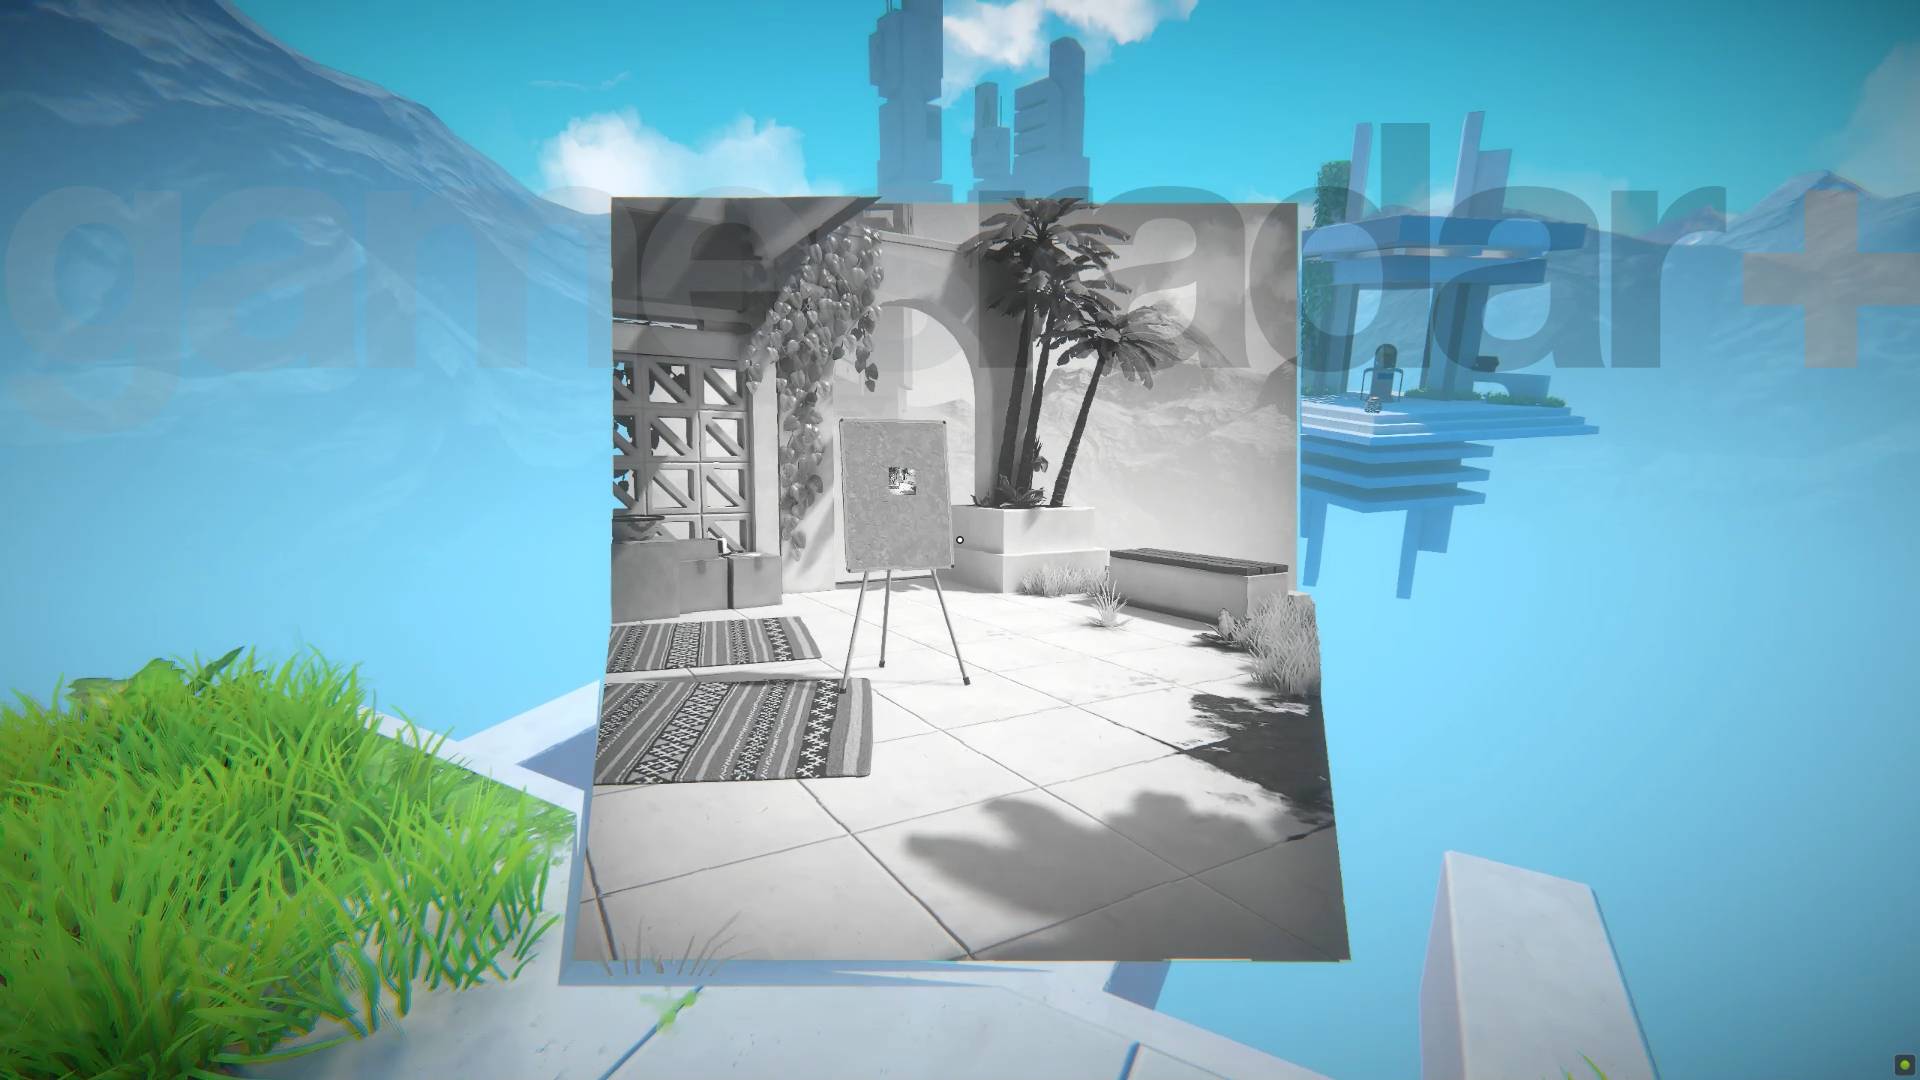
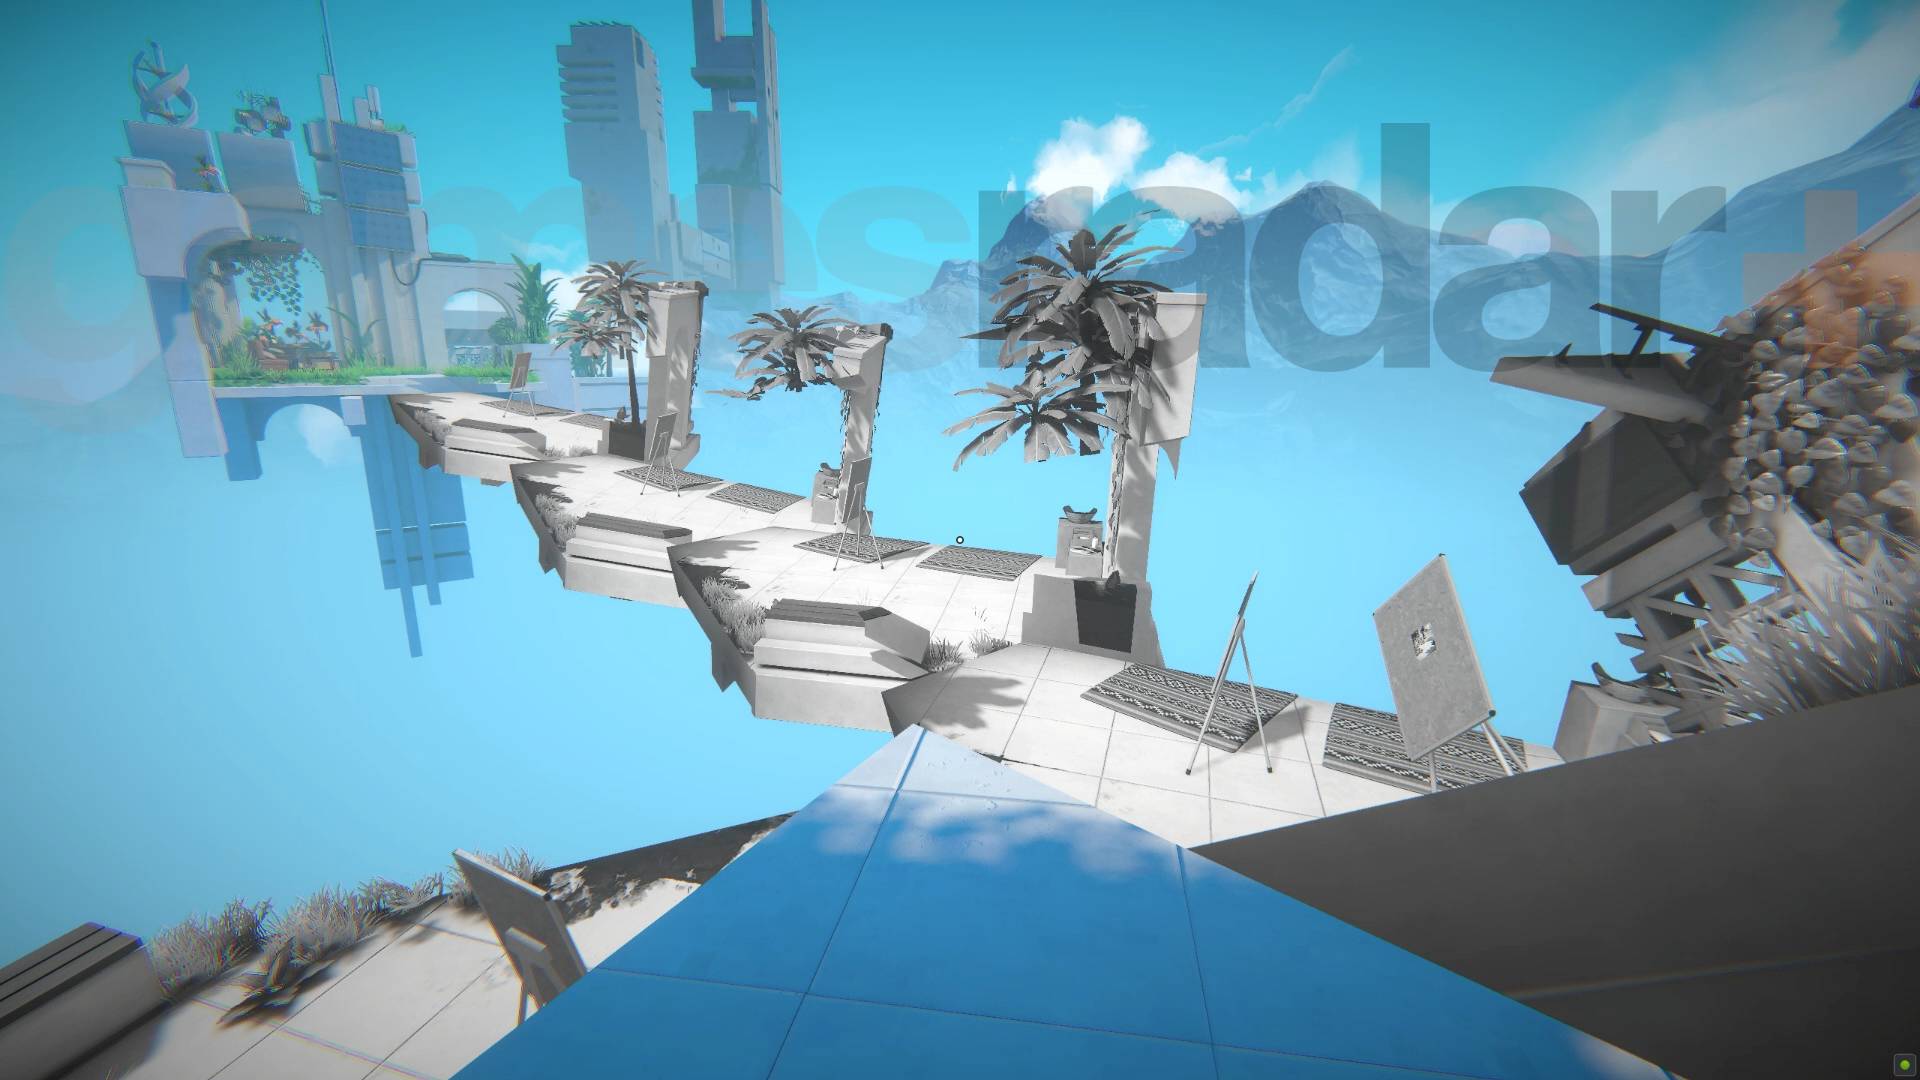
You'll find a picture here on a noticeboard that's actually a picture of the area with the noticeboard and picture. Using it you can place a picture, enter the new area, pick up another picture, place that and so on to move towards the teleporter.
However, you won't actually finish this level for reasons you'll discover below.
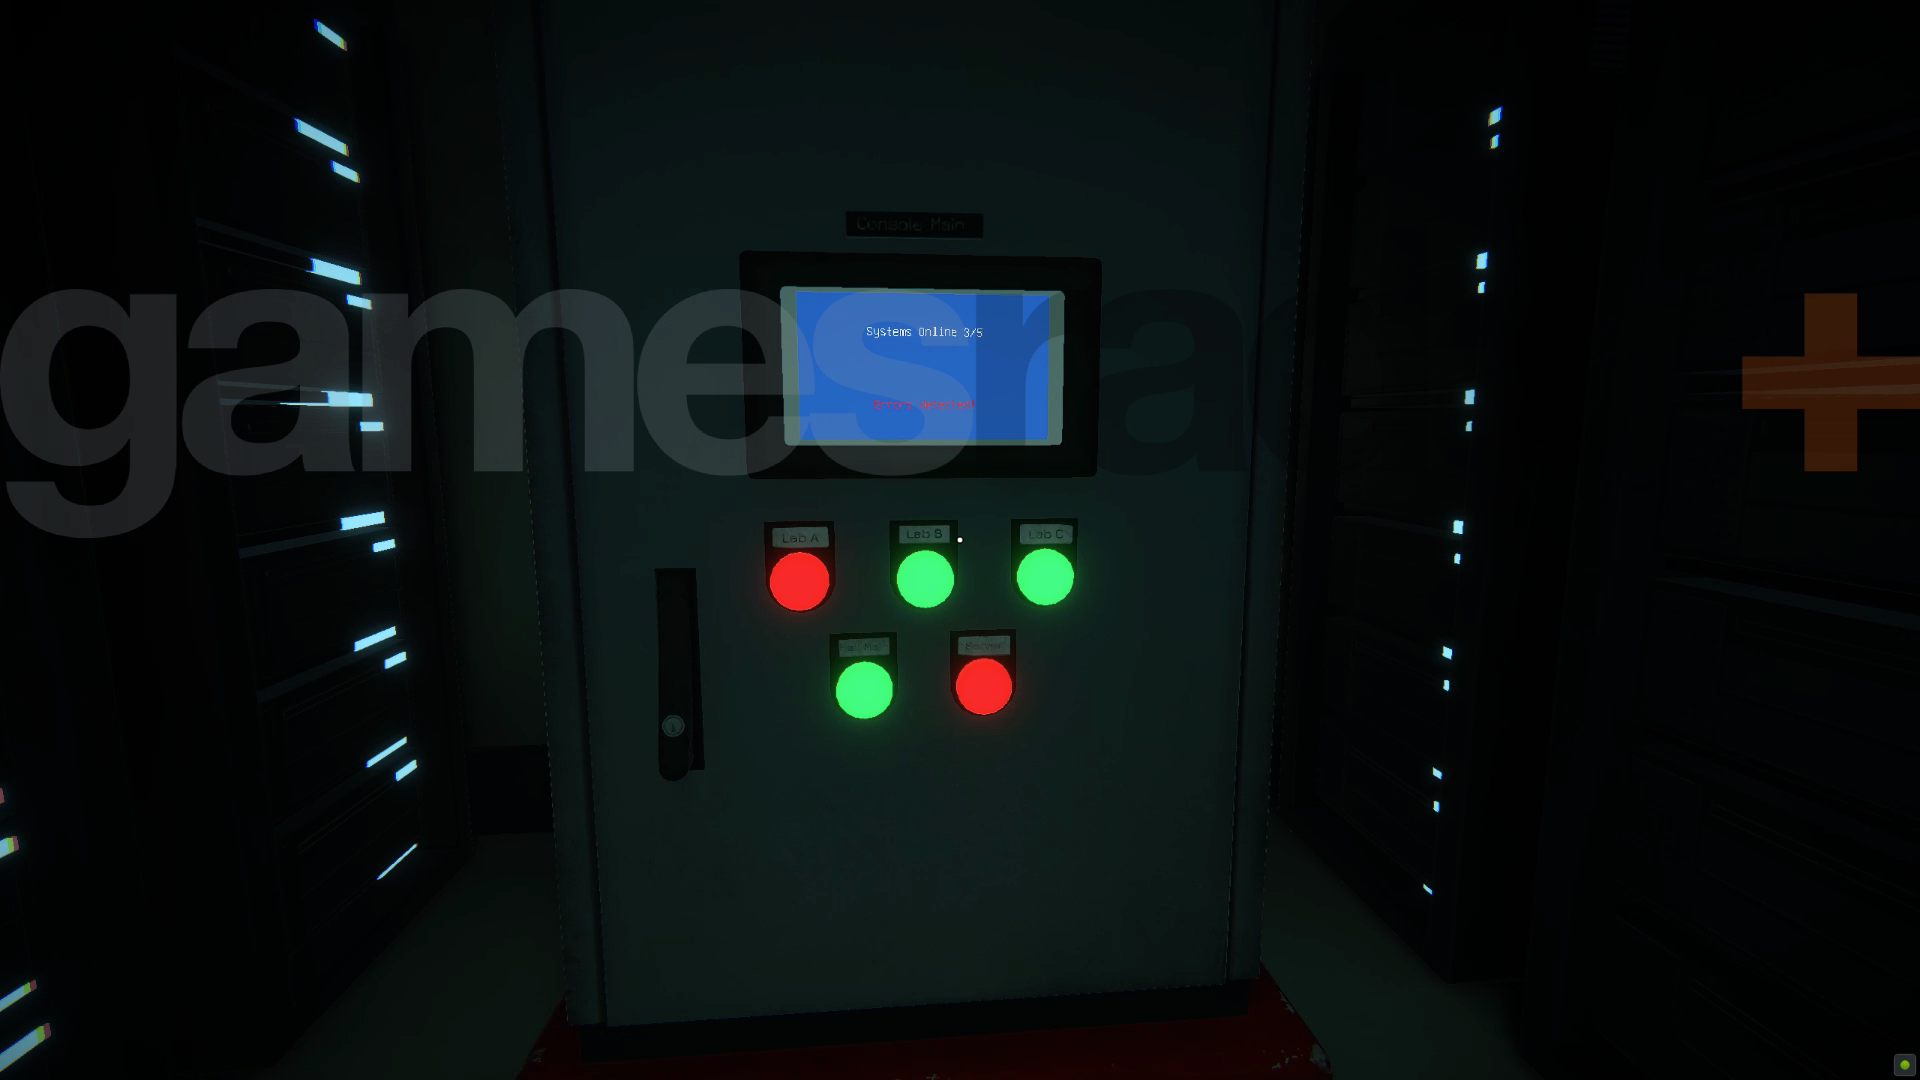
At this point you'll find yourself kicked out of what you now know to be a simulation. To get the power back on in Viewfinder and carry on, find the power room and turn all the switches off and back on again. That should get the lights back and let you continue.
You'll end up back in the house and be able to try the level again. This time you can use the pictures to make a bridge all the way to the teleporter and finish it.
Chapter 1 Aharon Level 2-4
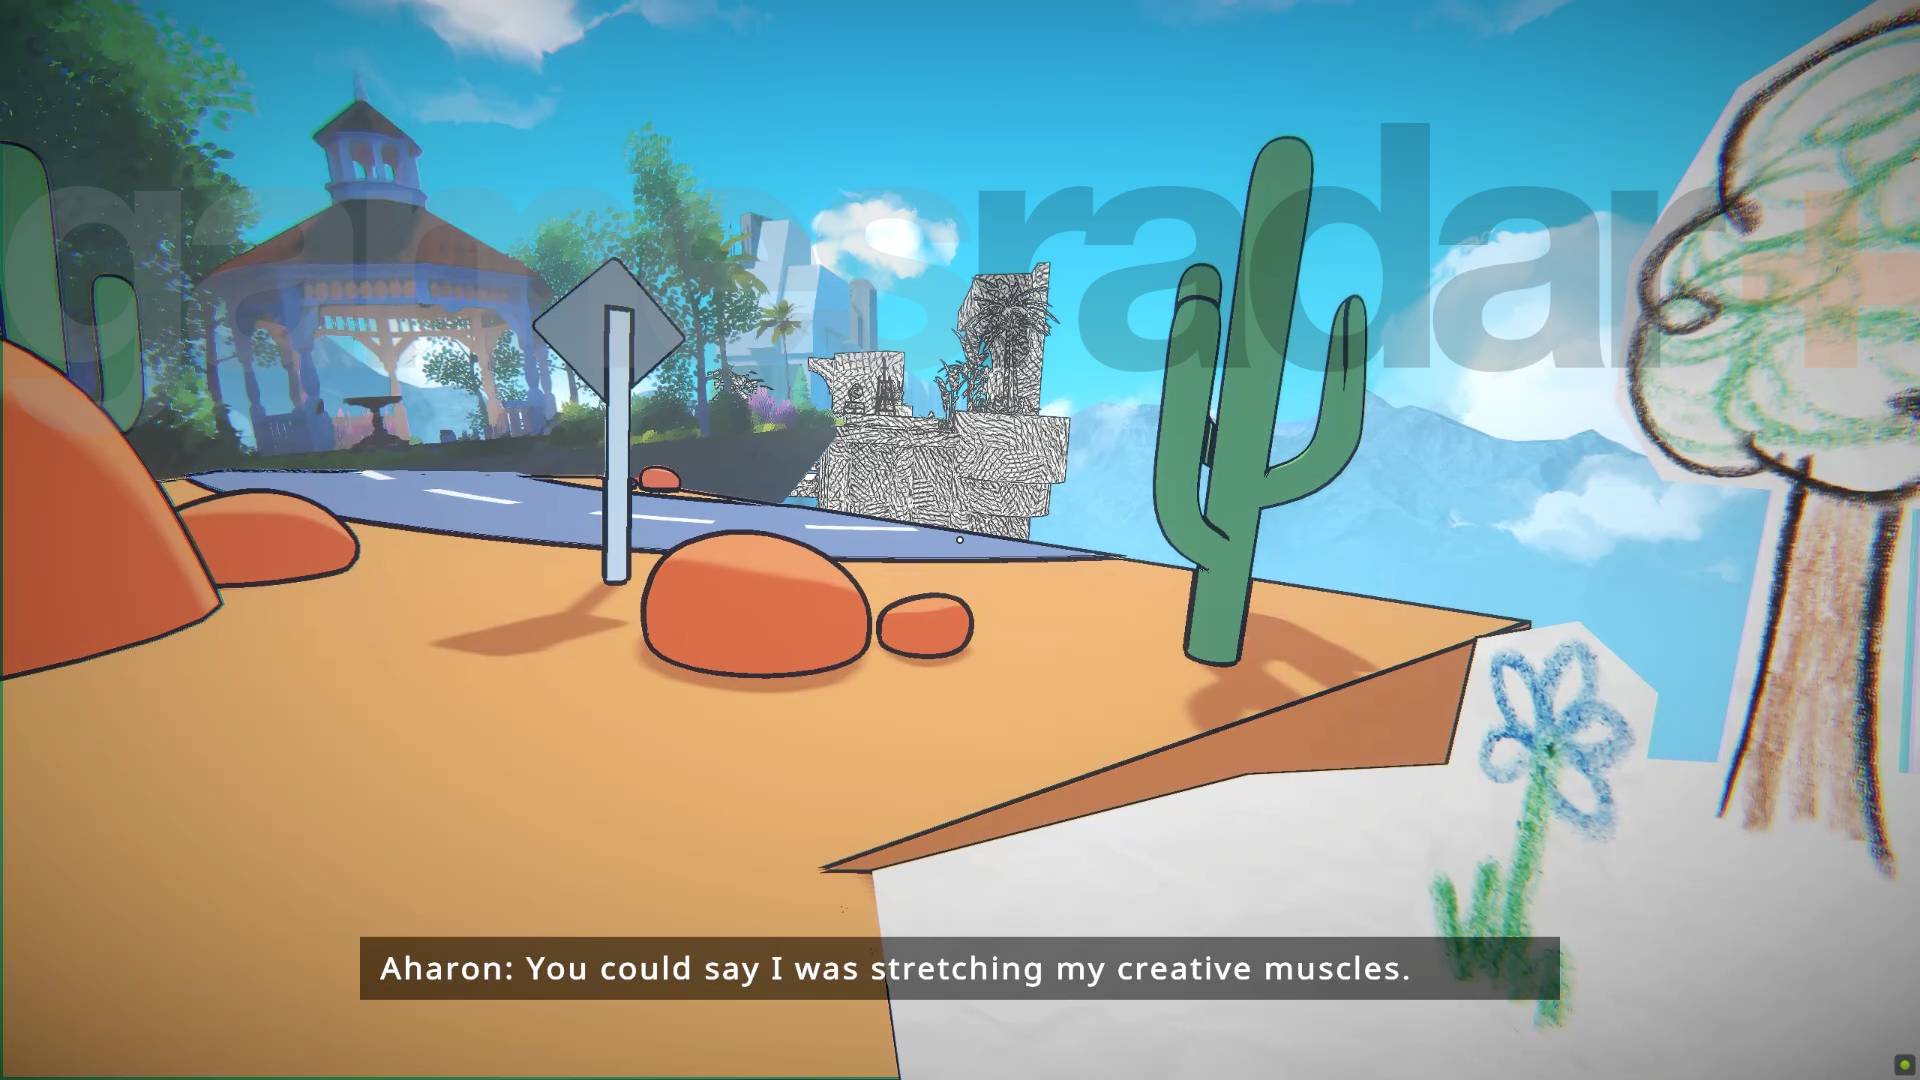
This is a simple but great level. You'll find a drawing you can place to create a penciled area you can enter, and then just repeat the process - finding and placing the new picture you find inside each new area until you reach the teleporter back to the house.
Chapter 1 Aharon optional challenge
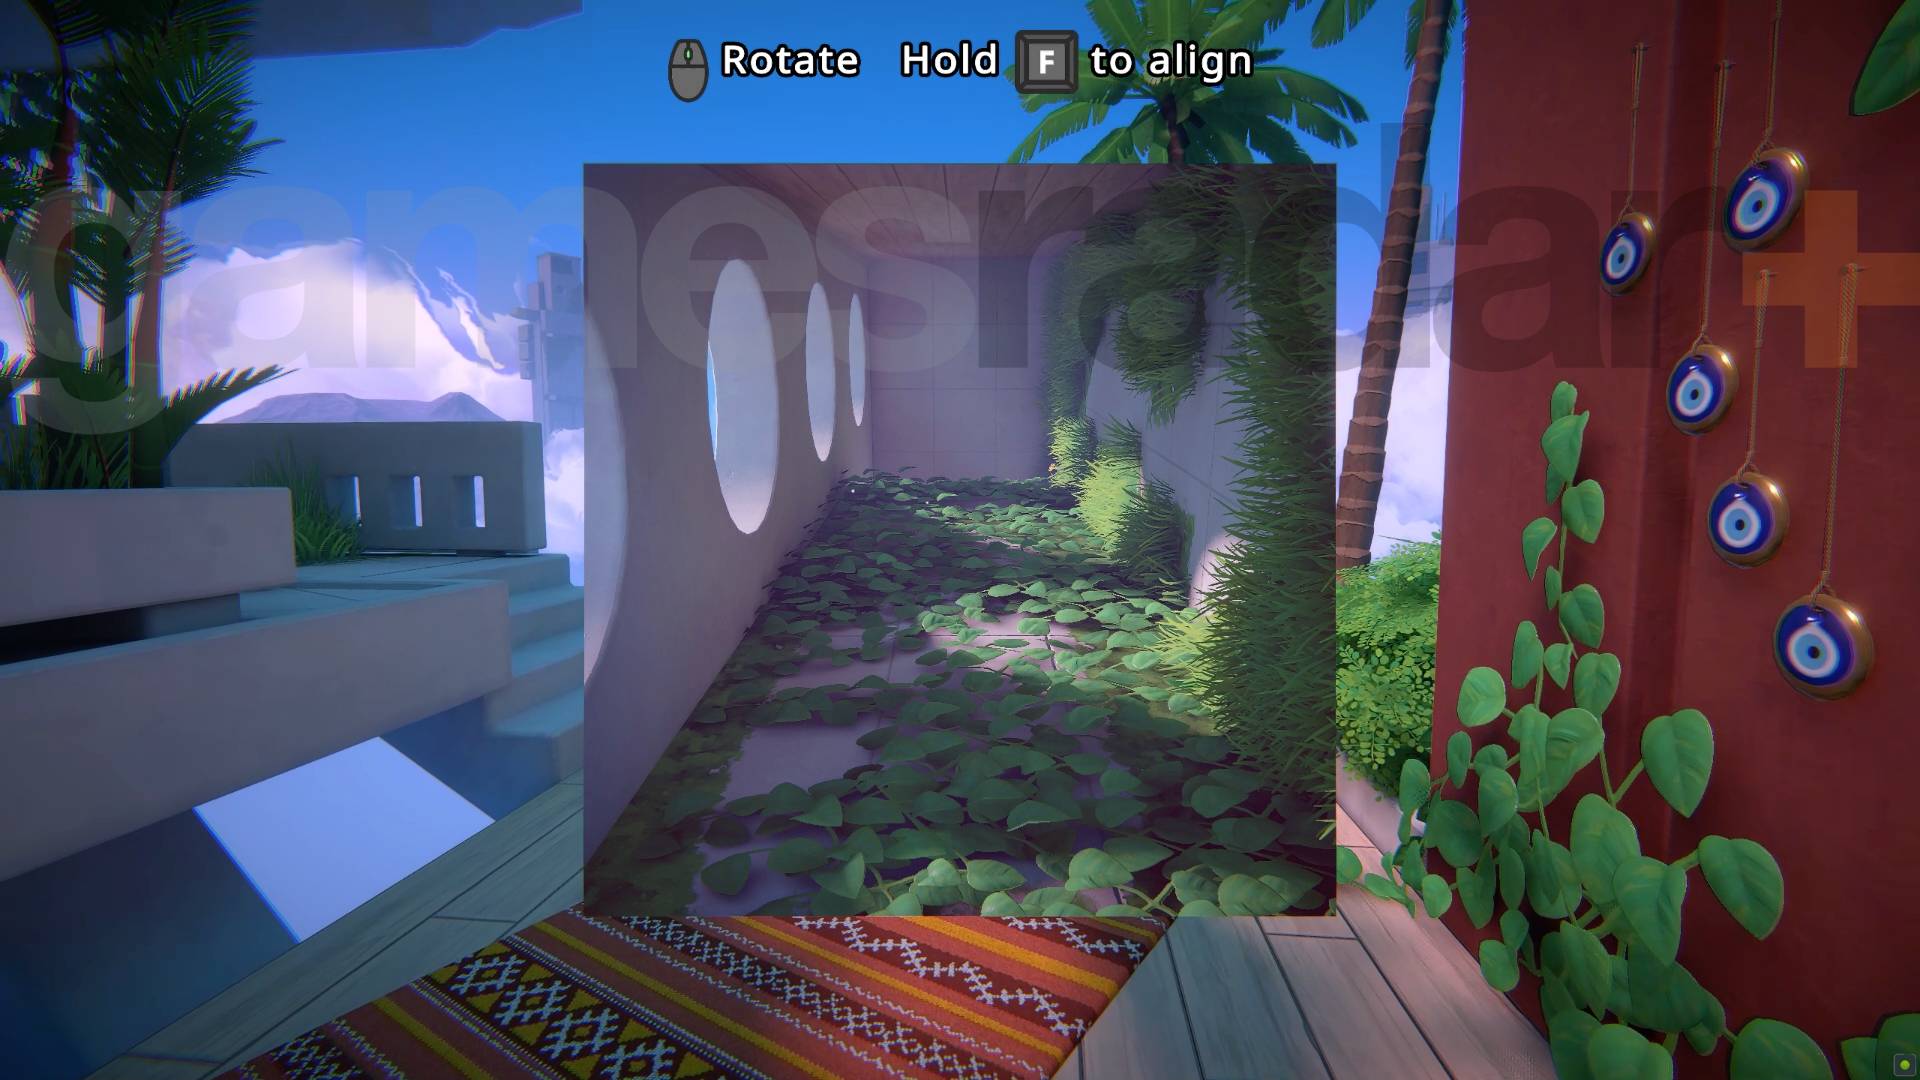
To start this optional challenge in Viewfinder you'll need to rotate the first picture you find so that the leaf covered wall is on the floor. That will let you drop down to a new area where you'll find a new picture of two arches on a table.
If you rotate the picture to access the lit side with a rock visible in the background as so...
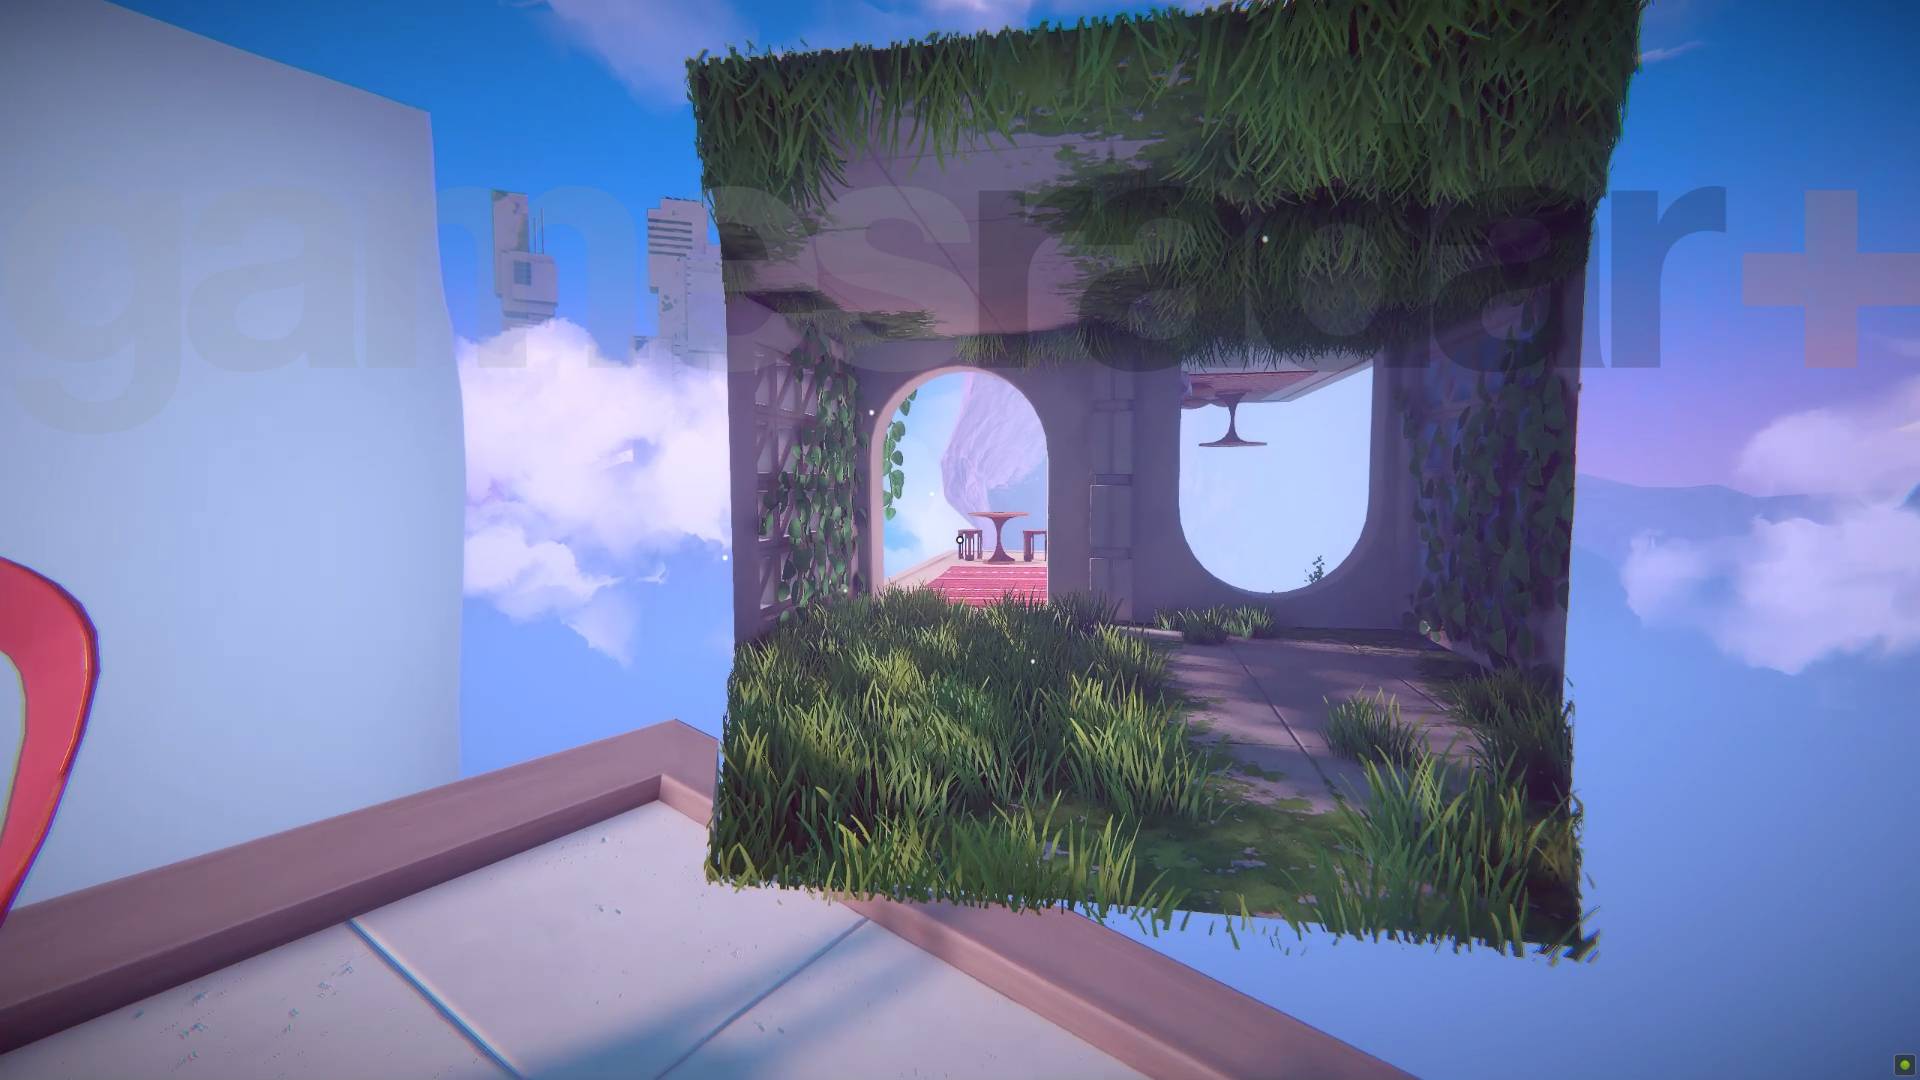
... you'll find a picture of a maze, where you'll be able to get a collectible duck from the back.
If you place the same picture so that the gloomier side with no rock visible is accessible like this...
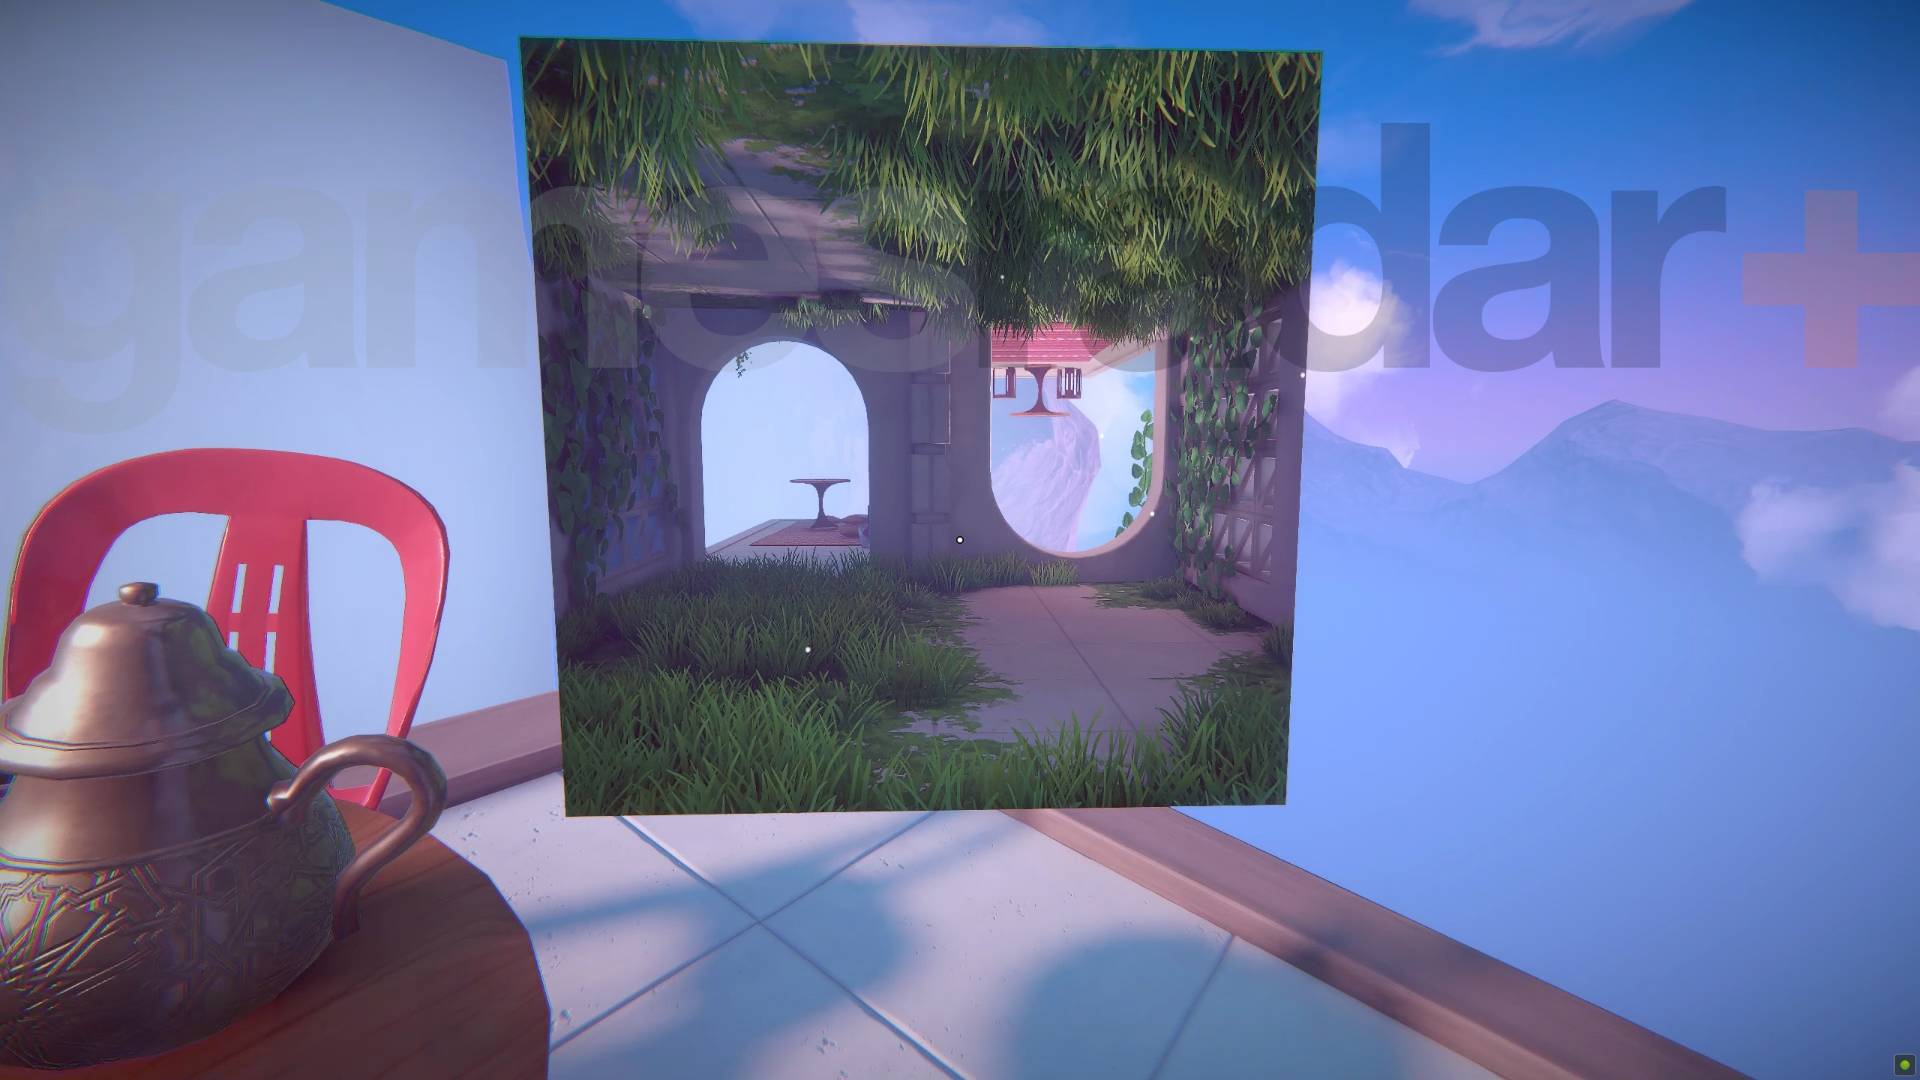
...you'll find another table with a picture that, if you place as you find it, will loop you back to the picture of two arches. However, if you rotate it so the wooden wall is now the floor like this...
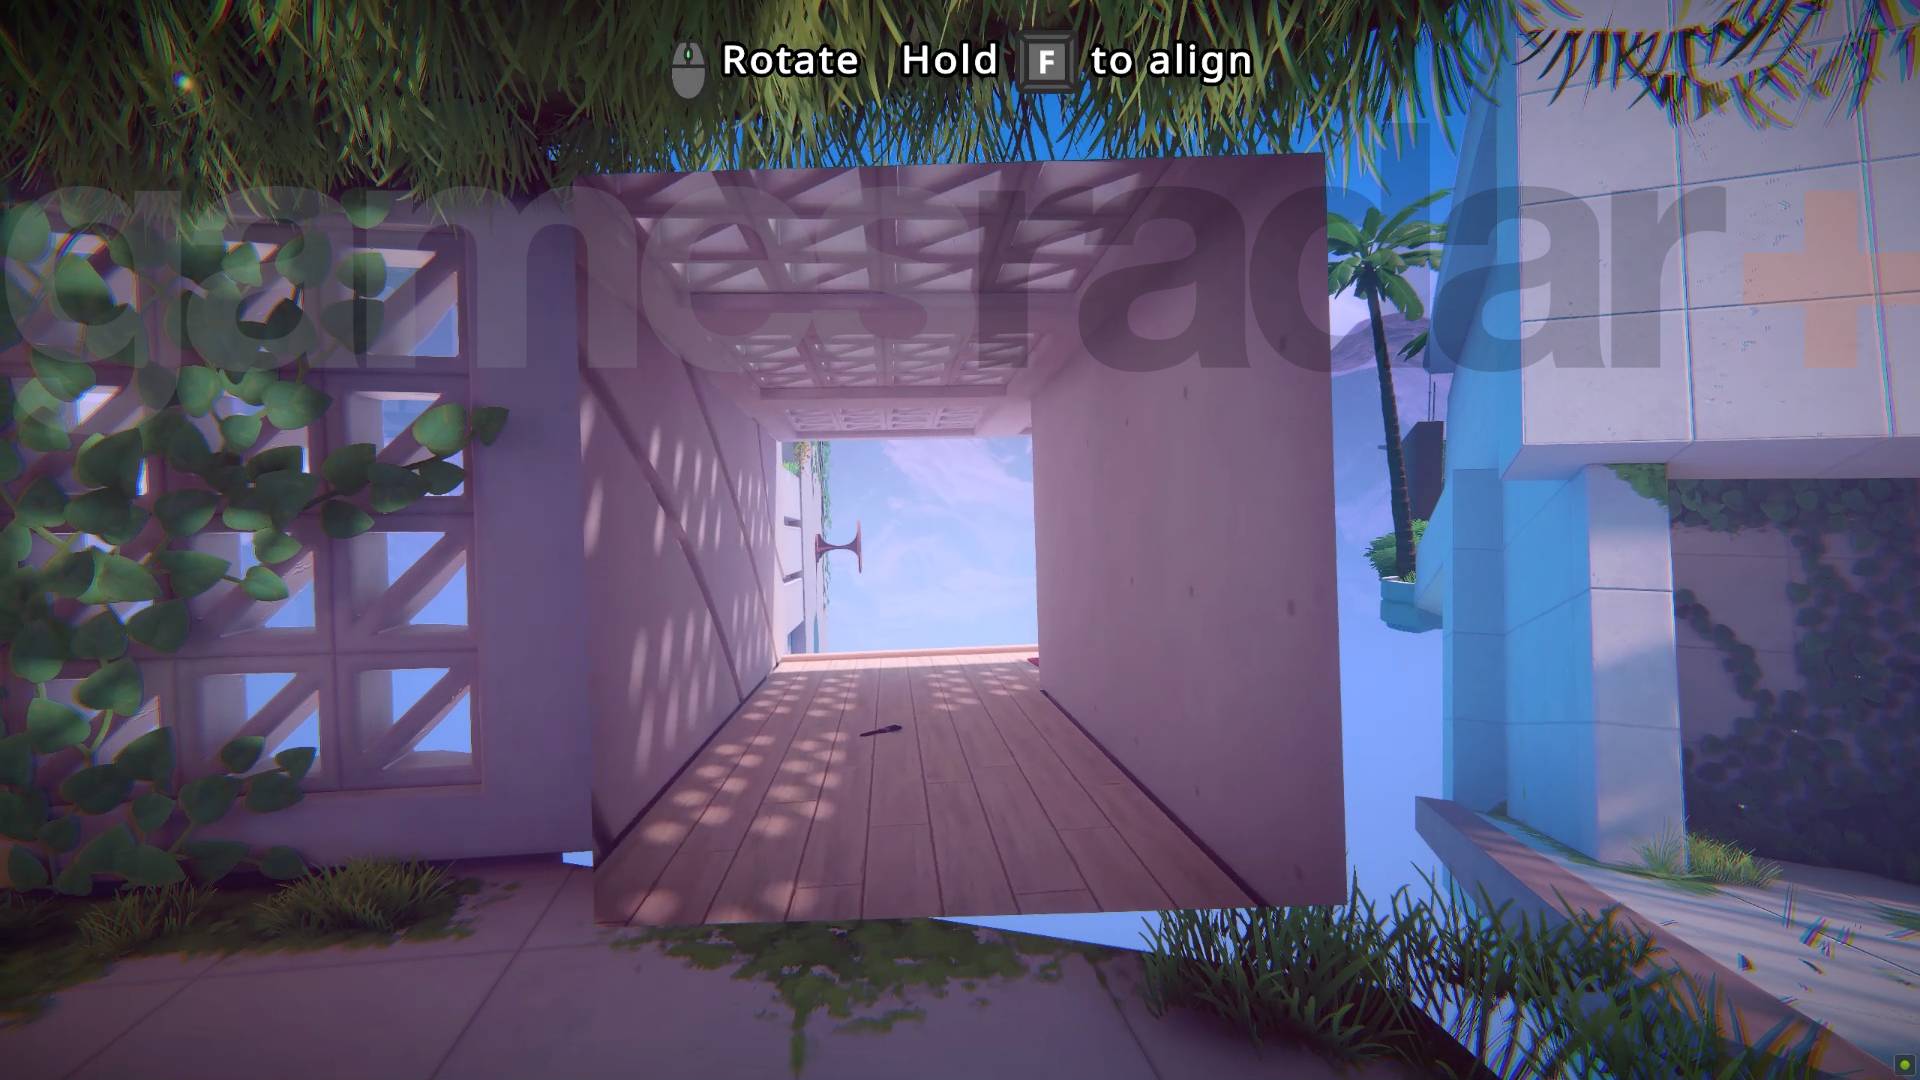
...you can walk on the wood and follow it around the corner to find a new table and picture of what looks like a teleporter in a hole. It's a teleporter in a hole. Place it beneath your feet so you fall into it and can use the teleporter to finish the level.
Chapter 1 Aharon Level 3-1
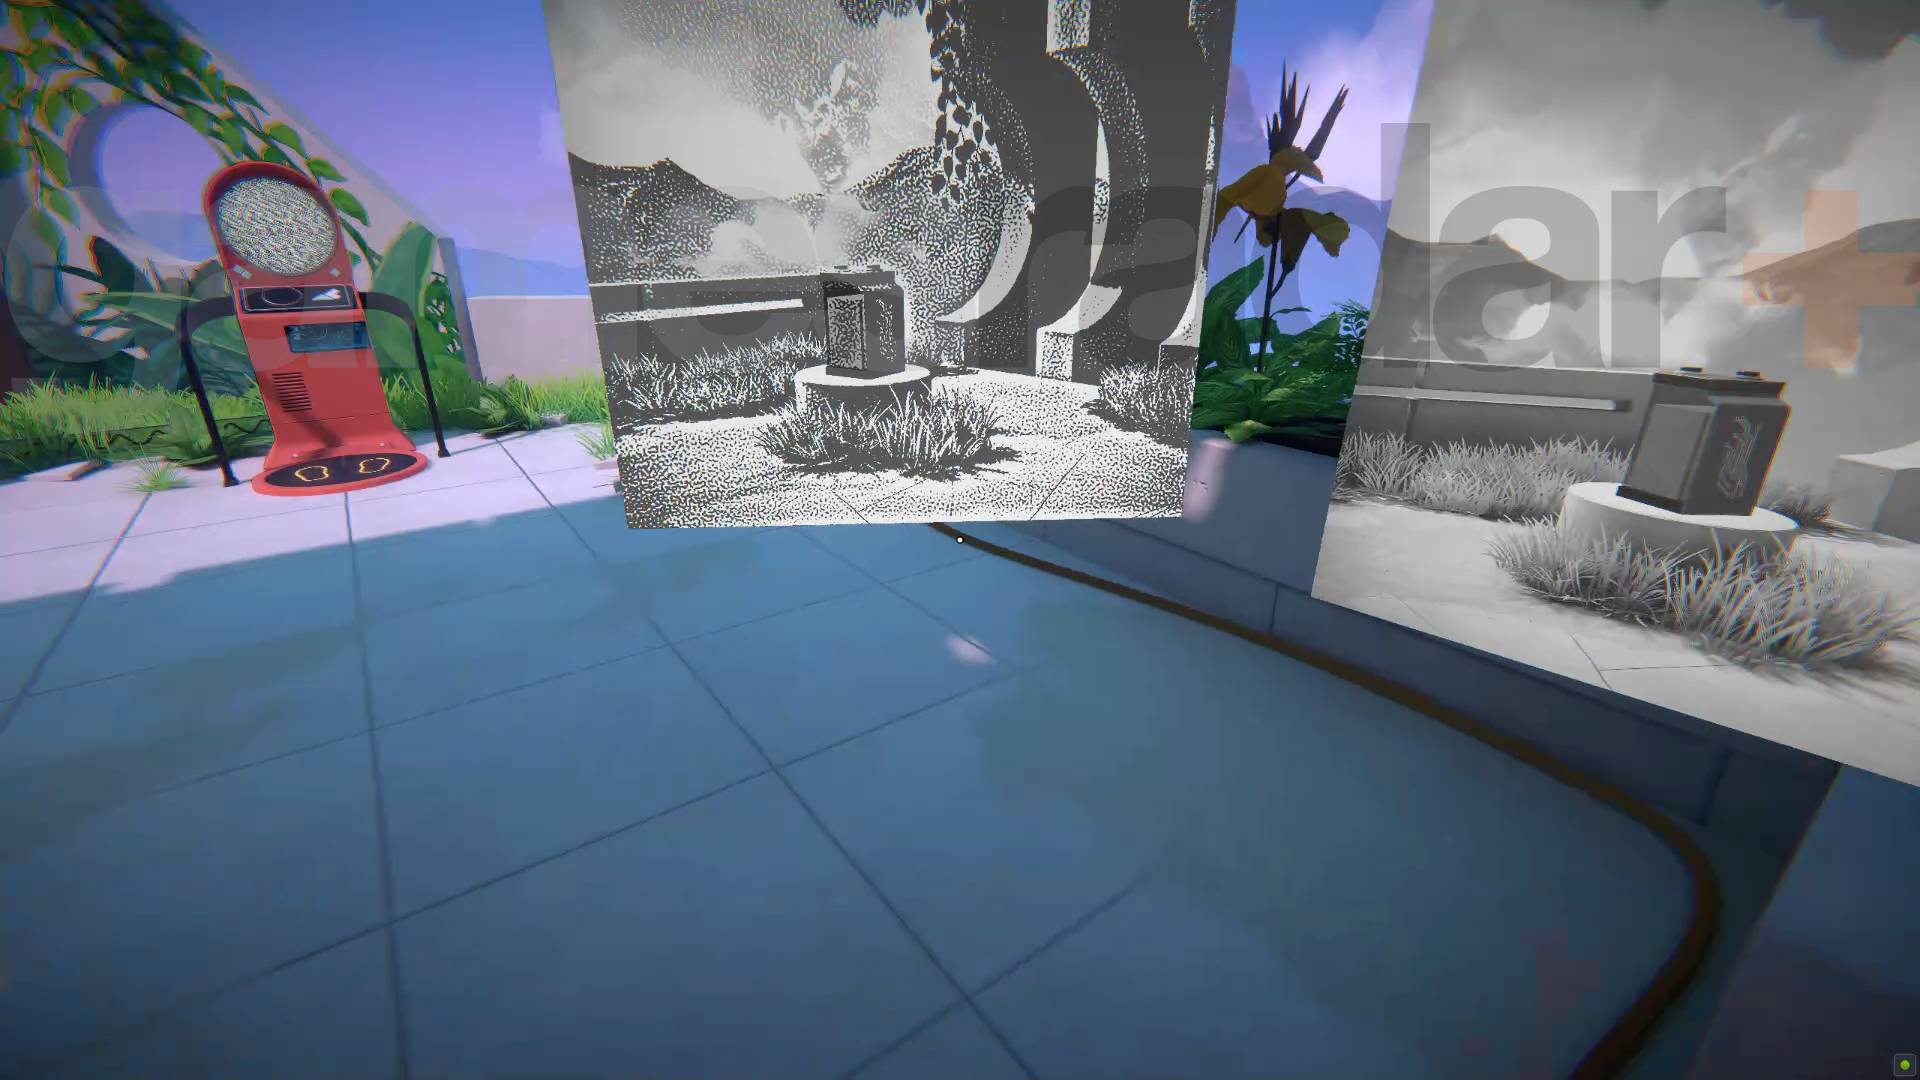
This level starts you off with a two-battery powered teleporter and a picture of a battery. Don't place the picture before you find the photocopier nearby though, and use it to duplicate it. Then you can place both to get the pair of batteries needed to continue.
Chapter 1 Aharon Level 3-2
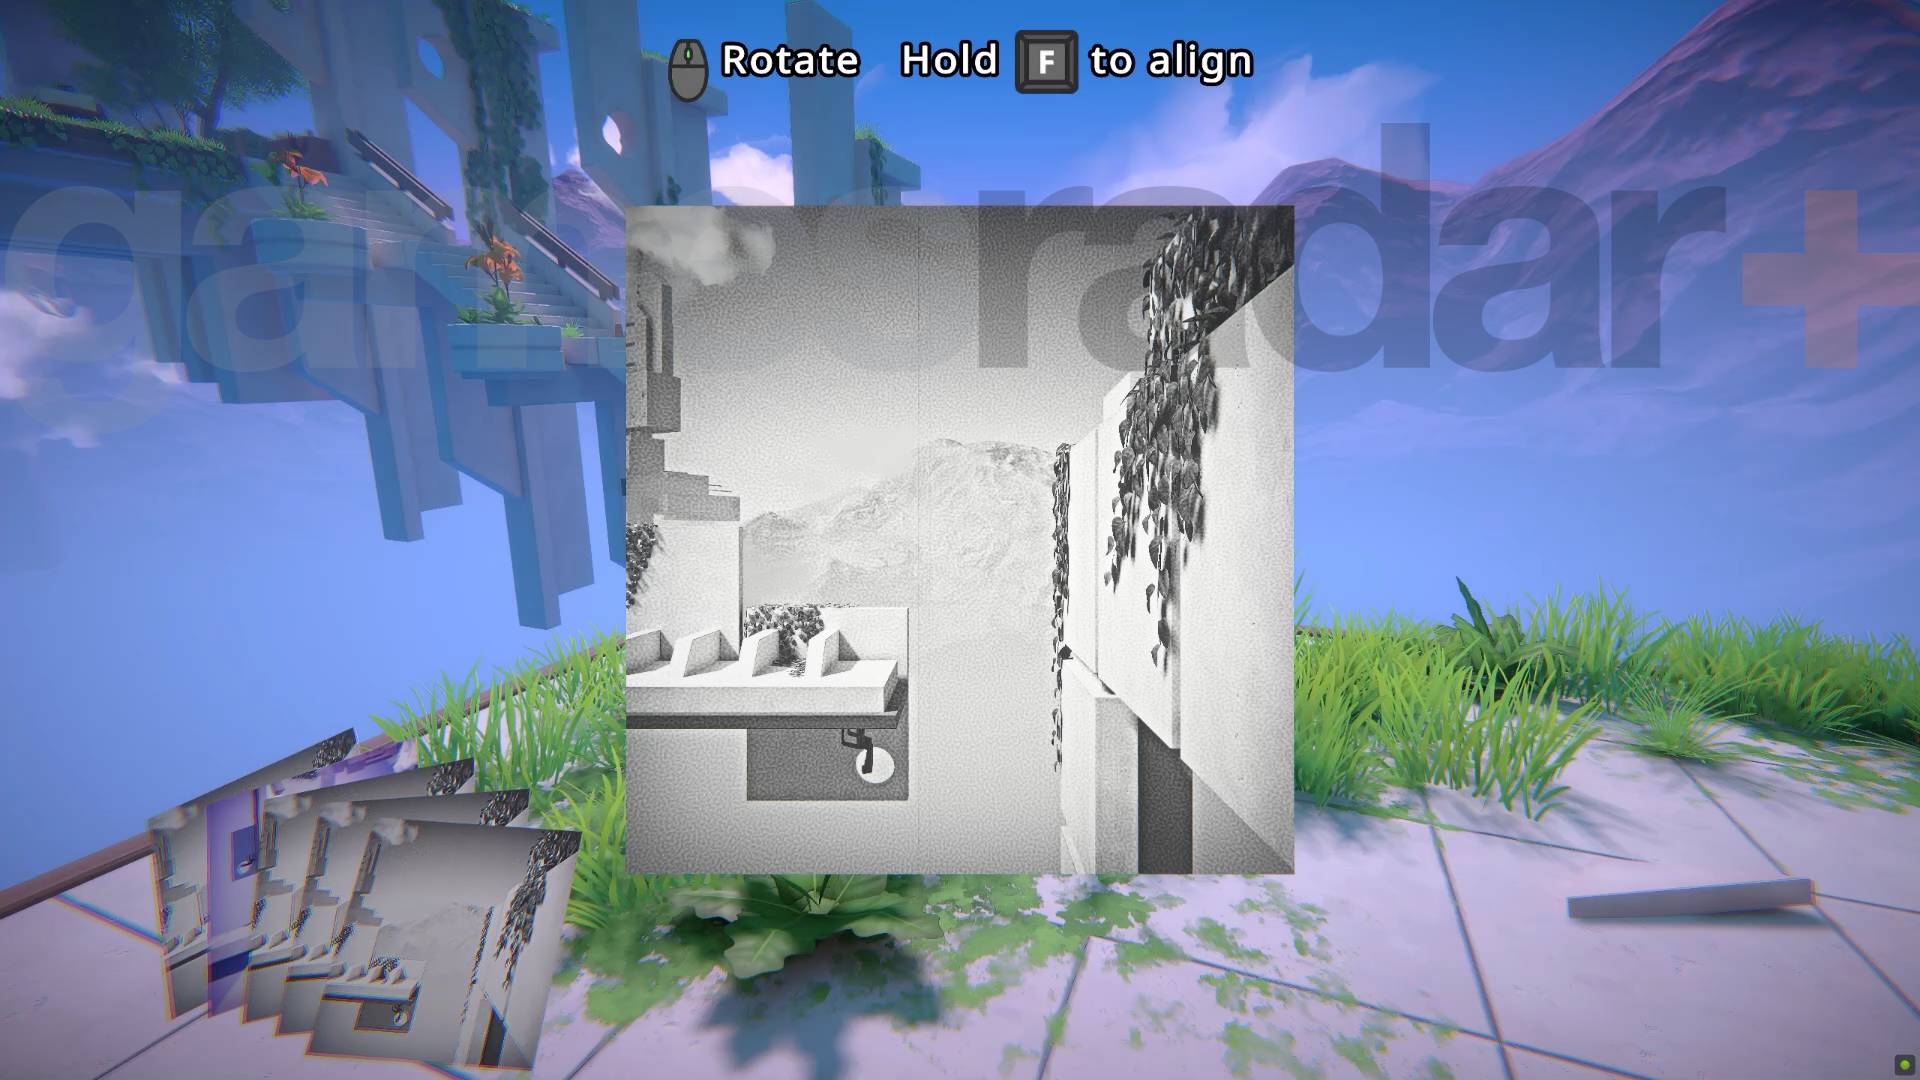
Before you do anything with the picture you can find, use the photocopier to make as many copies as you can. The large staircase off to one side is actually a bit of a red herring, as there's nothing up there but a book you can look at (turn the picture to make a bridge out of the L-shaped part of the photo to reach it if you want to look).
What you actually need is the teleporter you can see upside down in the bottom left hand corner of the picture above. Rotate the picture so it's upright and then use the other pictures to make a bridge that reaches it like this:
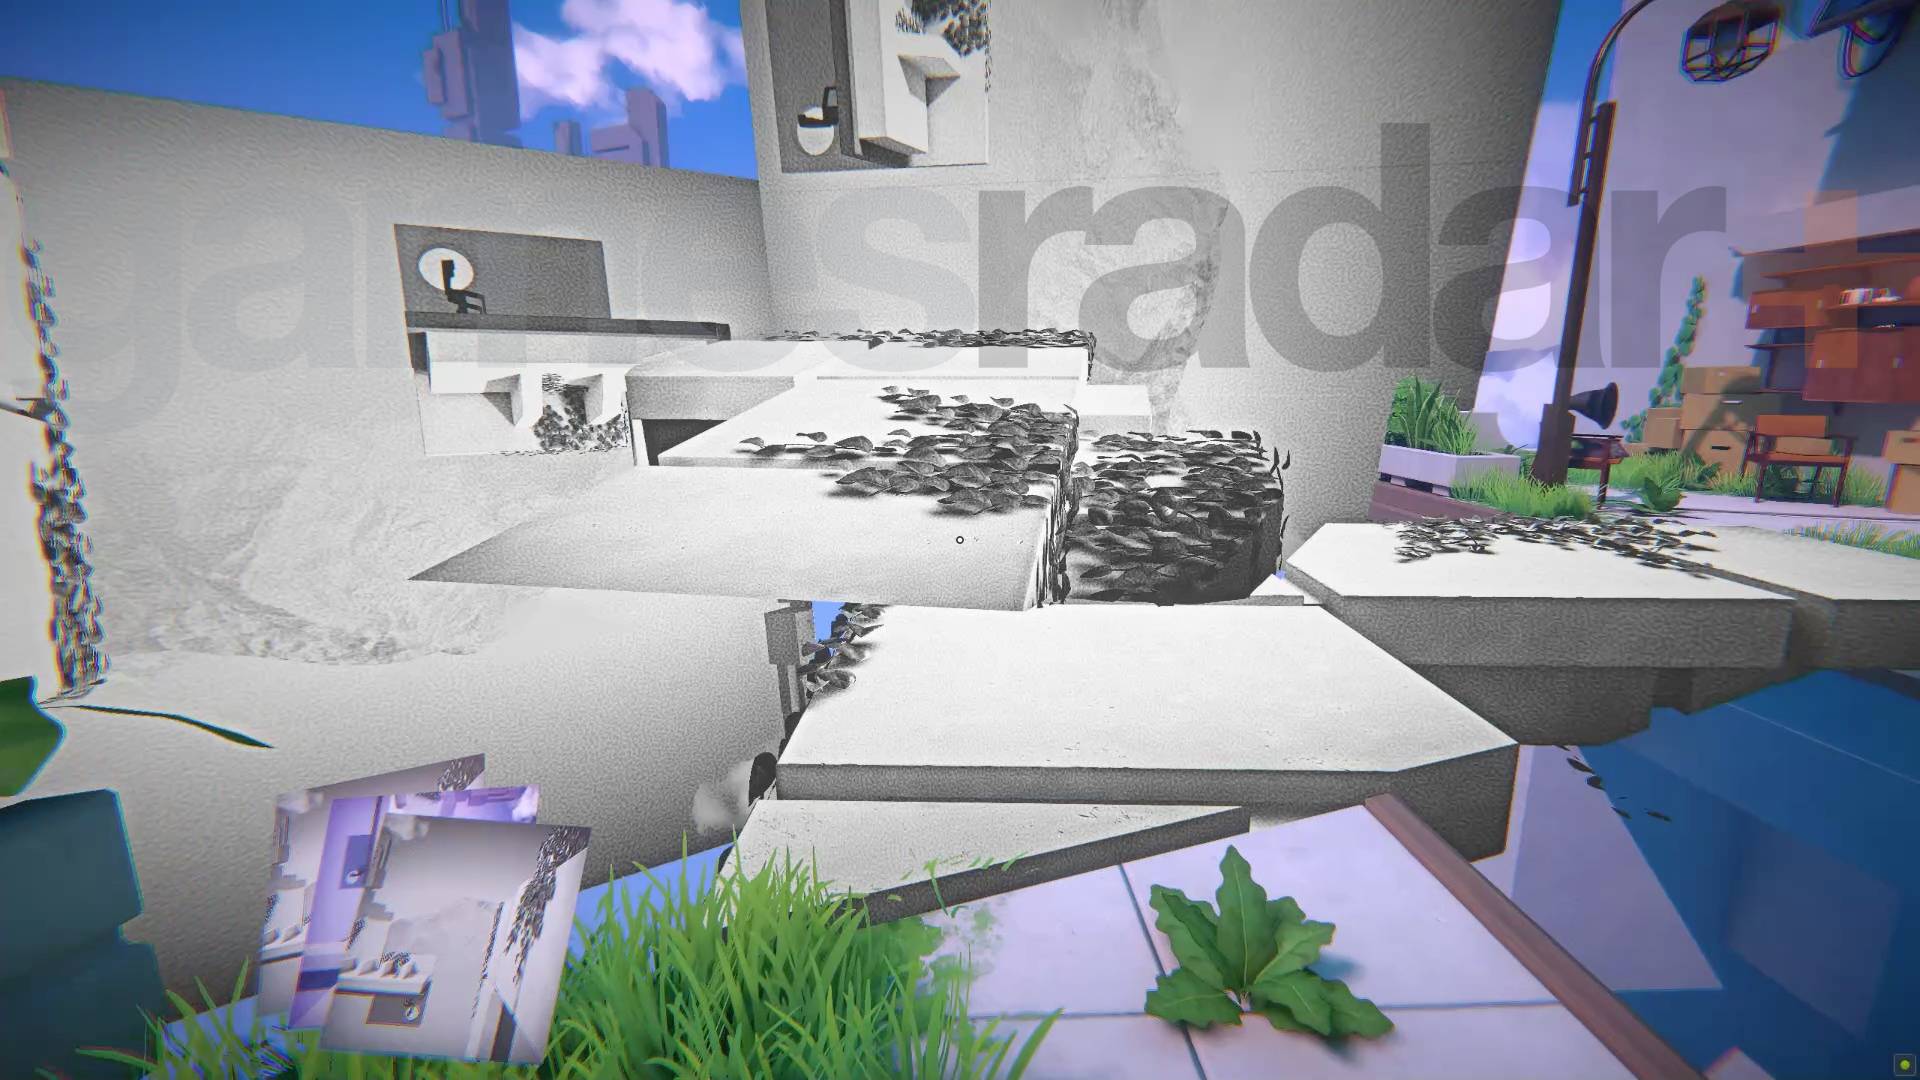
That's the first level completed.
Current page: Viewfinder walkthrough Chapter 1 Aharon
Next Page Viewfinder walkthrough Chapter 2 Hiraya
I'm GamesRadar's Managing Editor for guides. I also write reviews, previews and features, largely about horror, action adventure, FPS and open world games. I previously worked on Kotaku, and the Official PlayStation Magazine and website.
You must confirm your public display name before commenting
Please logout and then login again, you will then be prompted to enter your display name.

 Join The Community


