Viewfinder walkthrough and puzzle solutions
How to use your camera and solve this mind bending puzzler
- Chapter 4 Mirren Level 1-5
- Chapter 4 Mirren Level 1-6
- Chapter 4 Mirren Level 1-7
- Chapter 4 Mirren Level 2-1
- Chapter 4 Mirren Level 2-2
- Chapter 4 Mirren Level 2-3
- Chapter 4 Mirren Level 2-4
- Chapter 4 Mirren Level 2-5
- Chapter 4 Mirren Level 2-6
- Chapter 4 Mirren Level 2-7
- Chapter 4 Mirren optional challenge 1
- Chapter 4 Mirren optional challenge 2
- Chapter 4 Mirren Level 3-1
- Chapter 4 Mirren optional watermelon challenge
- Chapter 4 Mirren Level 4-1
- Chapter 4 Mirren Level 4-2
- Chapter 4 Mirren Level 4-3
Chapter 4 Mirren Level 1-1
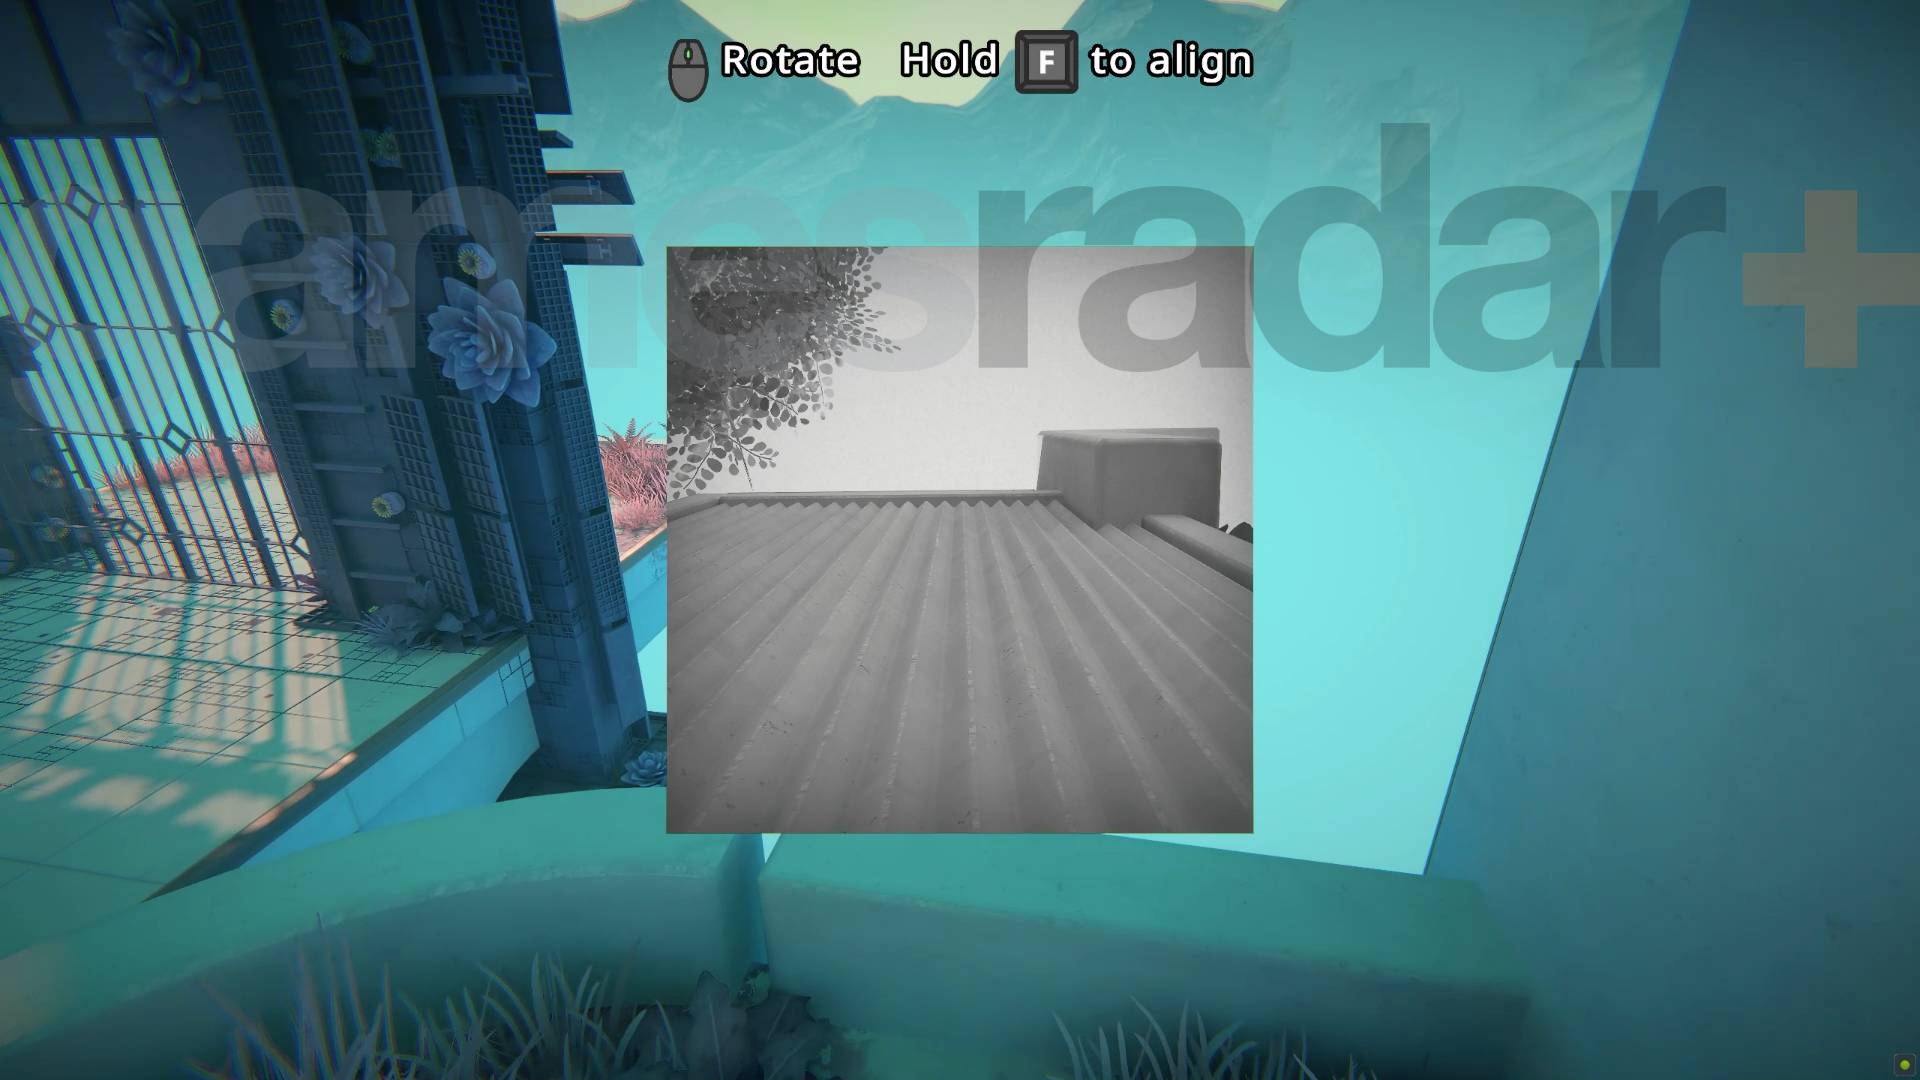
The Mirren levels and Chapter 4 introduces blue material to Viewfinder that can neither be photographed or affected by pictures. So you can't duplicate the battery here, or delete the fence blocking your way. The solution is actually fairly easy - just photograph enough beams or pillars to create a bridge around the gate to pick up the battery you can't otherwise reach.
Chapter 4 Mirren Level 1-2
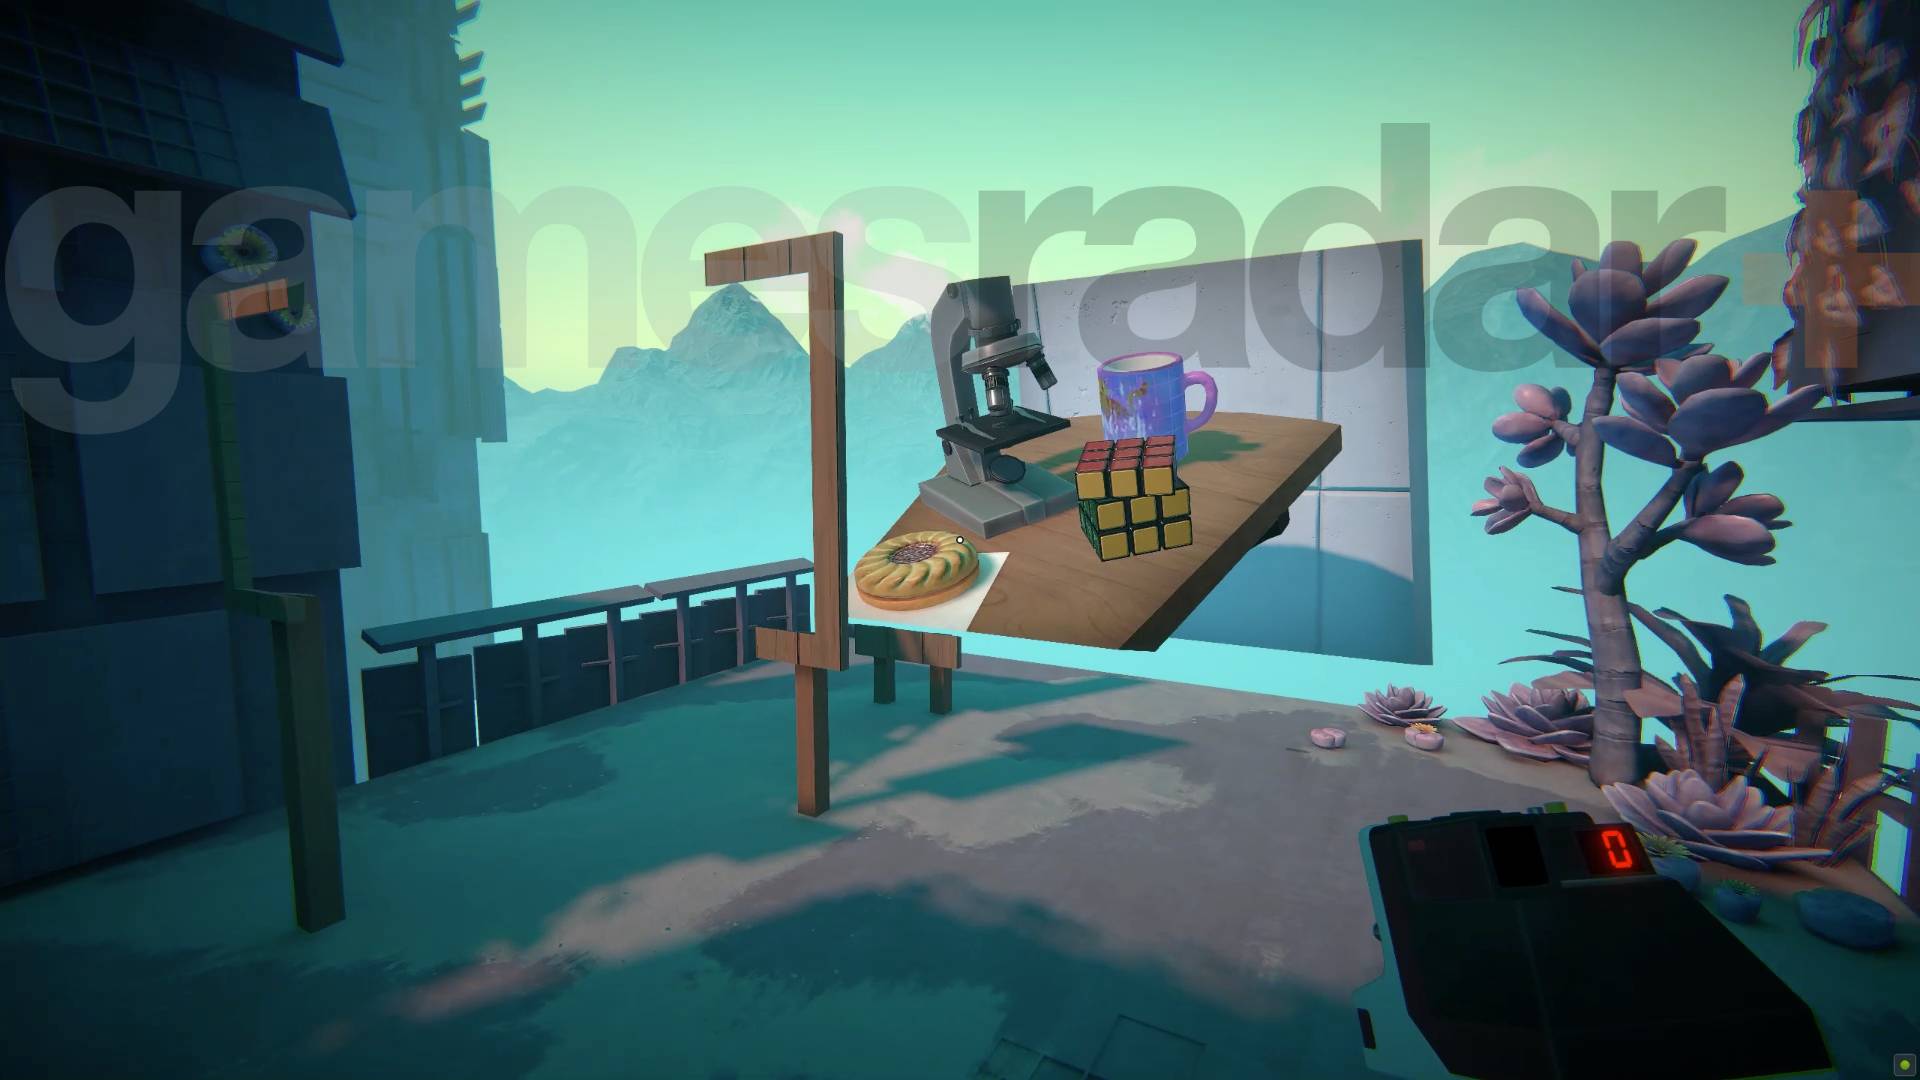
The blue anti photographic material is a red herring here as the main issue is your lack of film. Use the three board image to get a rubix cube you can pick up and take that to the small raised area with a table and chair. The cube will let you get up there and find a picture of some clouds. Directly behind you there will be one grey wall you can use the picture on to delete it - do that and inside you can find a single piece of film you can then use to photograph the teleporter between the bars and reposition it to use it.
Chapter 4 Mirren Level 1-3
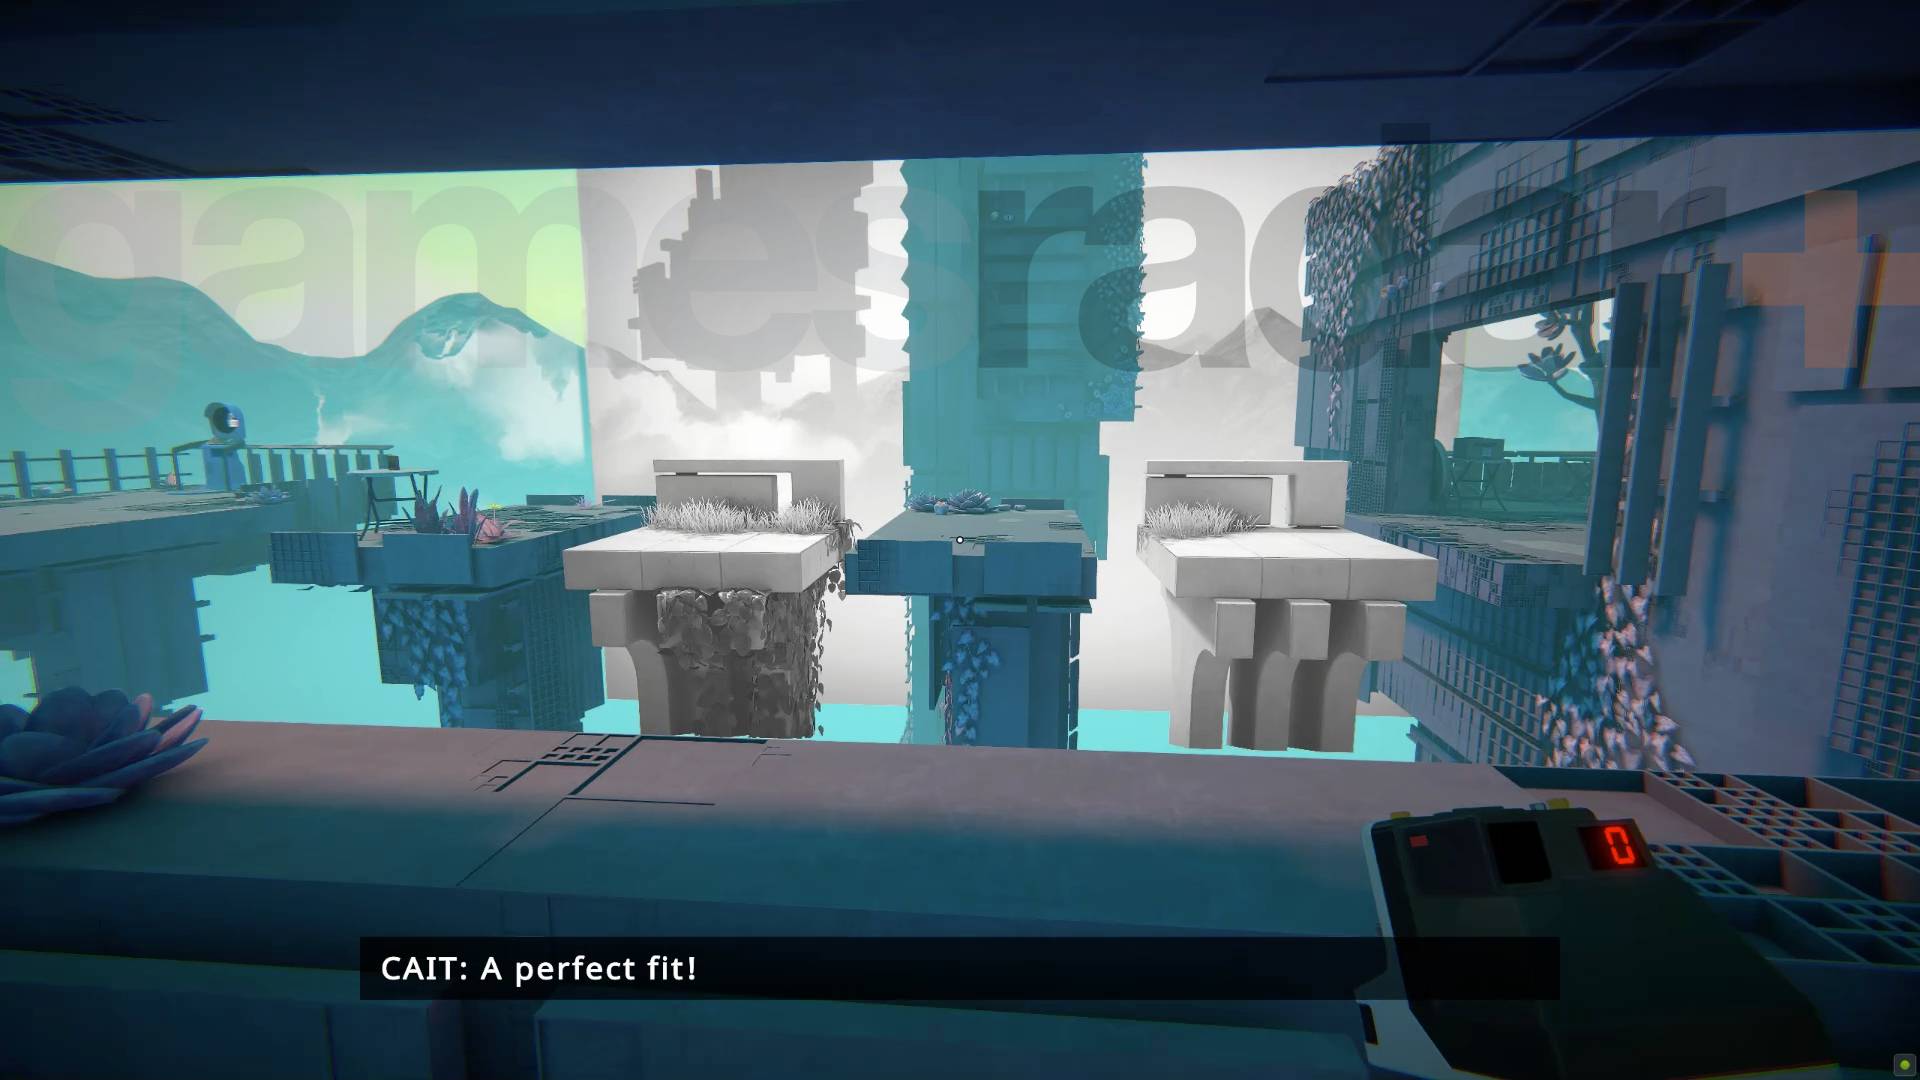
To solve this Viewfinder puzzle first use the stairs leading down that will take you to a darkroom where you'll find a picture of a platform. Use that to reach the platform you can't reach with a chair and table on.
Article continues below 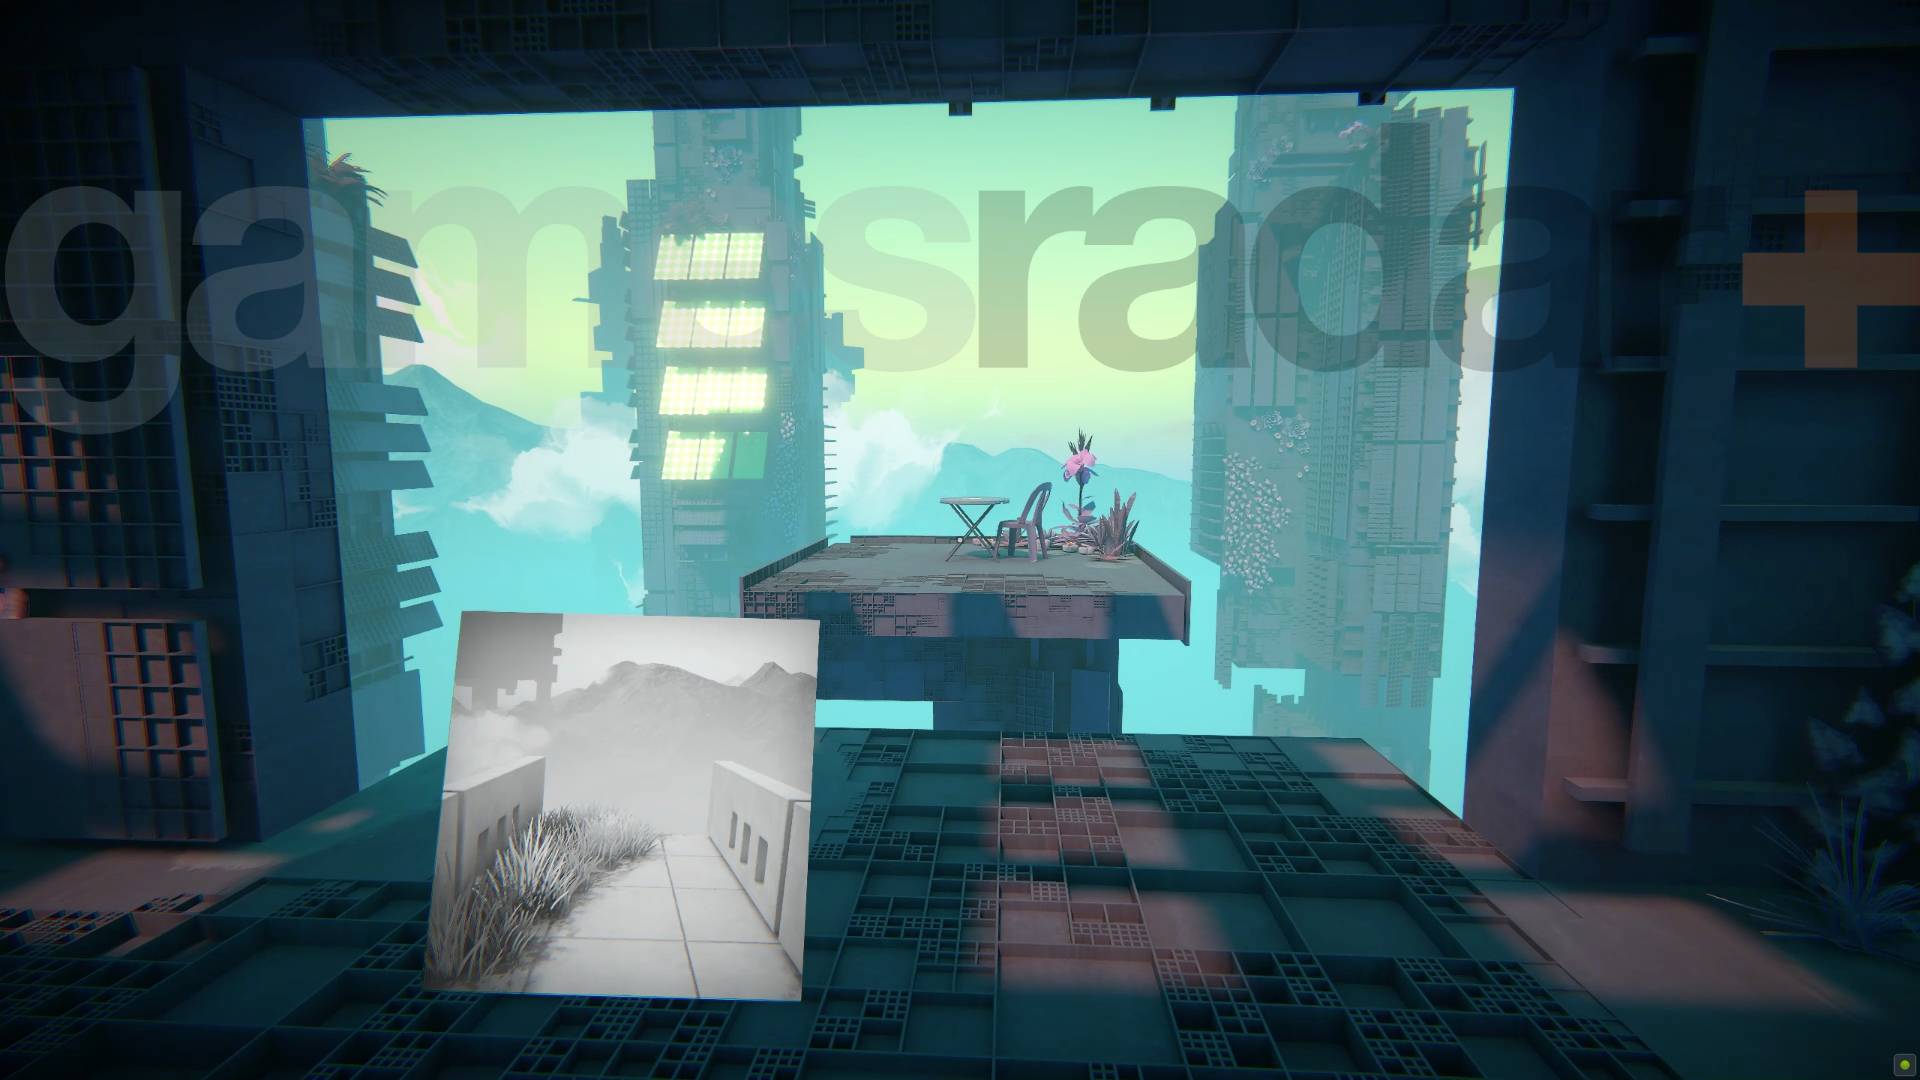
That will get you a picture of two platforms you can use to bridge the gaps you can see from the viewing gallery where the teleporter is visible:
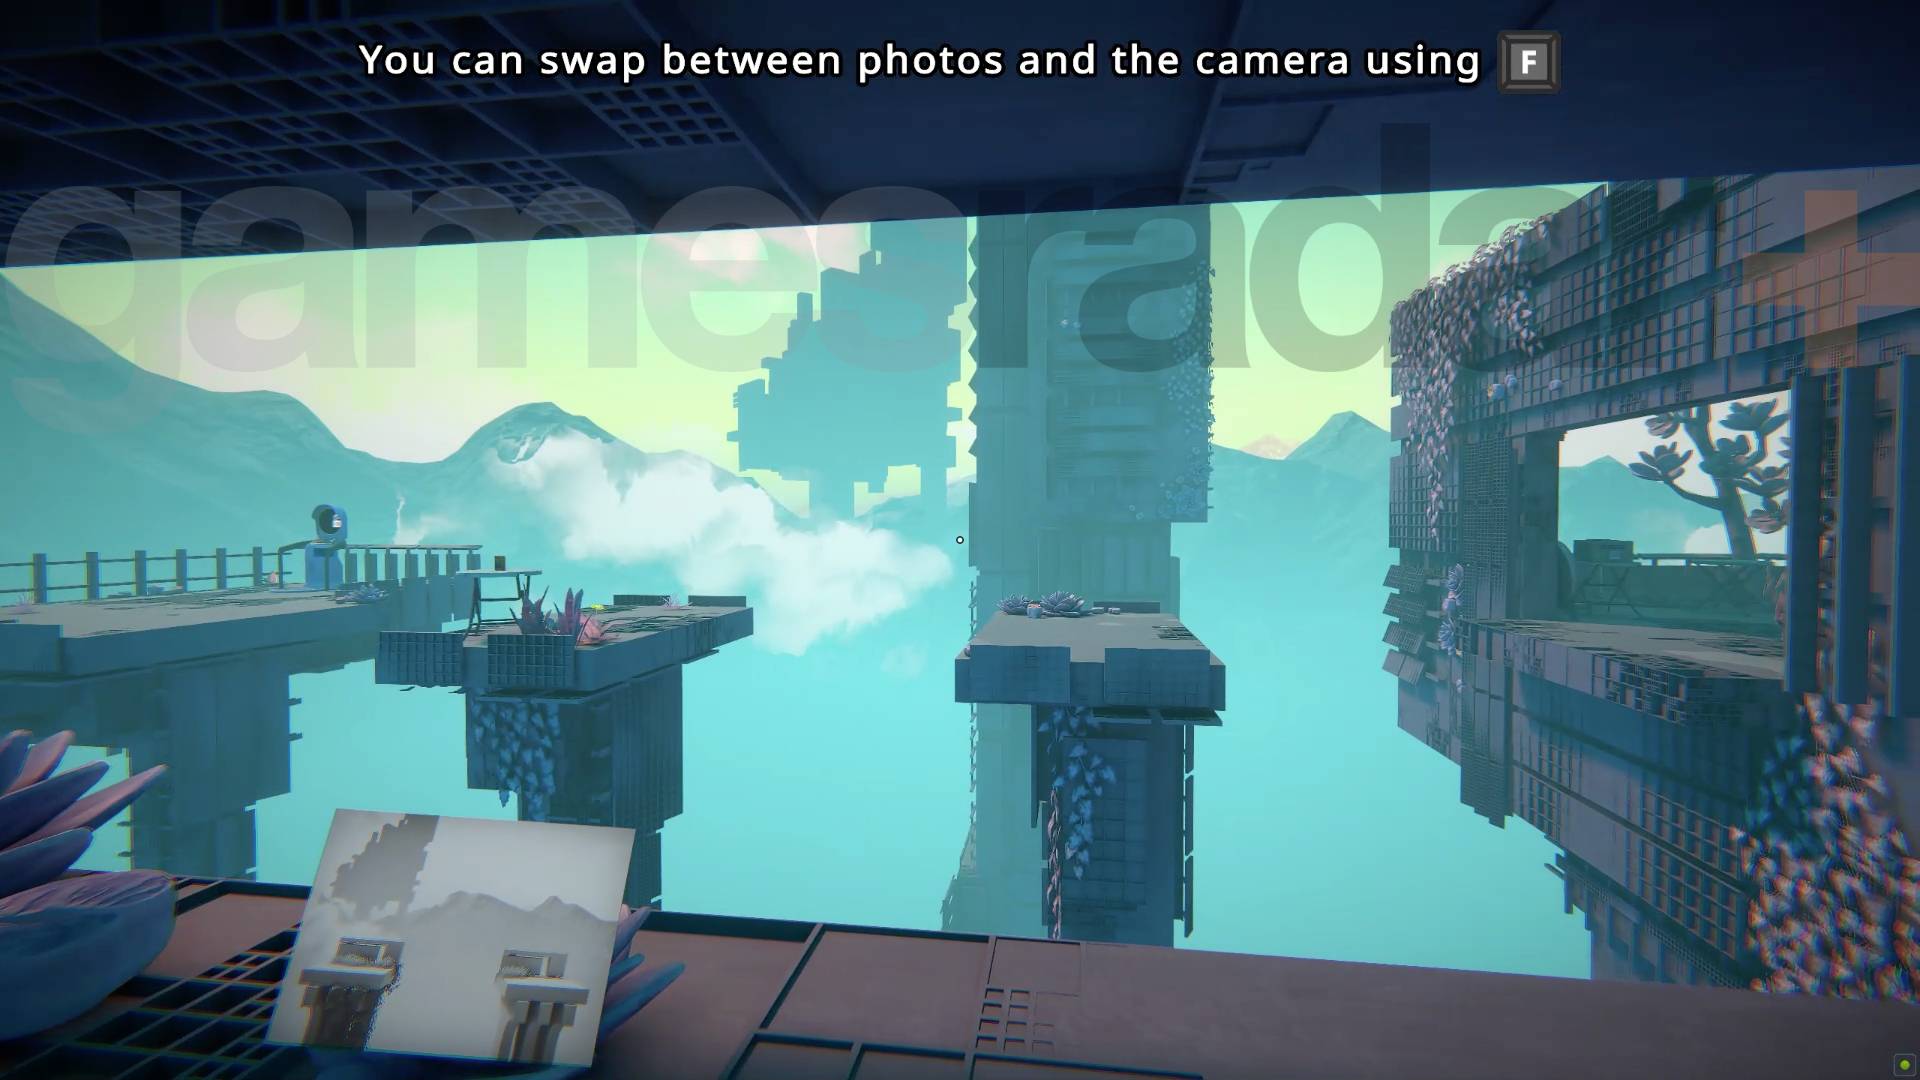
If you place the picture correctly you should recreate the top image above and be able to reach a table with a single film exposure you can use to photograph the platform behind you and bridge the final gap.
Chapter 4 Mirren Level 1-4
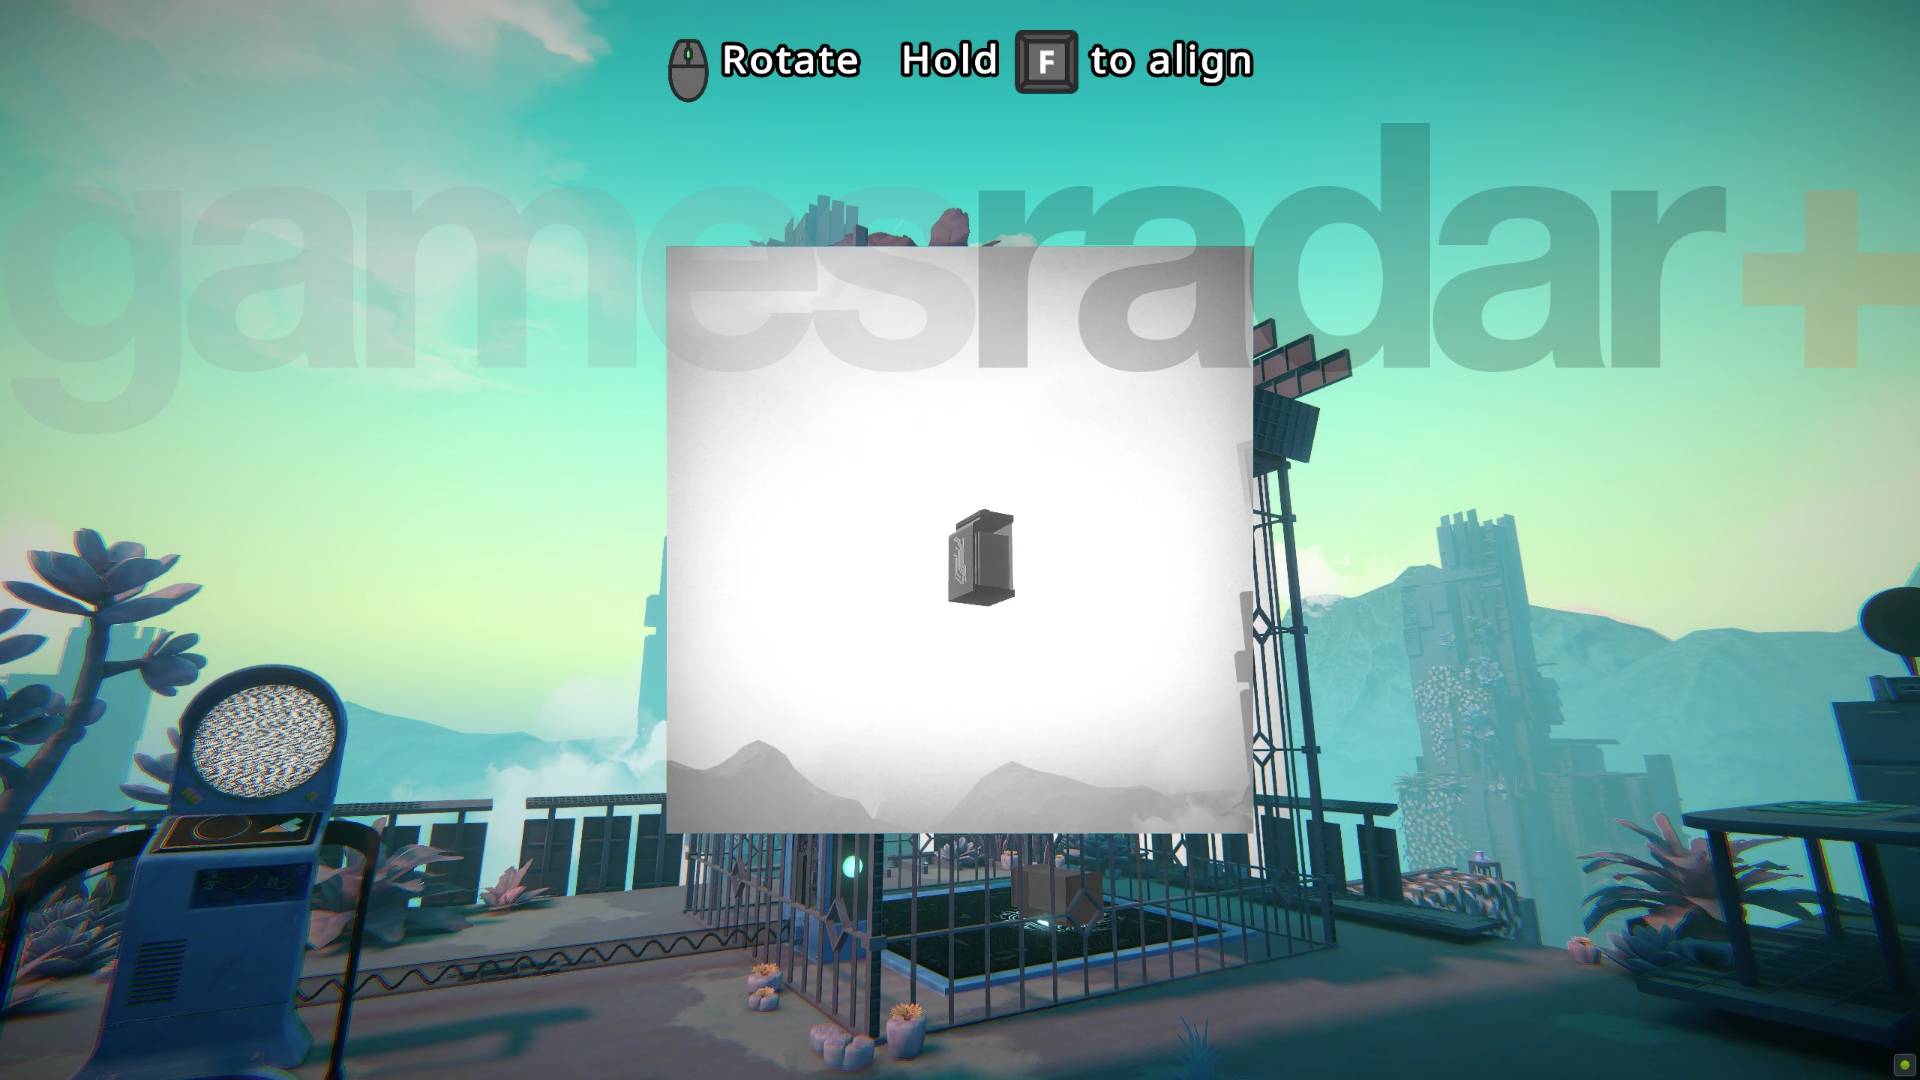
To solve this head away from the teleporter until you find a box and turn around where you should see a battery on a hidden shelf up high to the left. Take two pictures of it which, because the blue stuff doesn't show up on film, will just give you the battery. Then use those pictures to place the battery inside the cage. It might take a few goes to get the distance right and you'll need to be careful not to damage the first battery with the second picture.
Chapter 4 Mirren Level 1-5
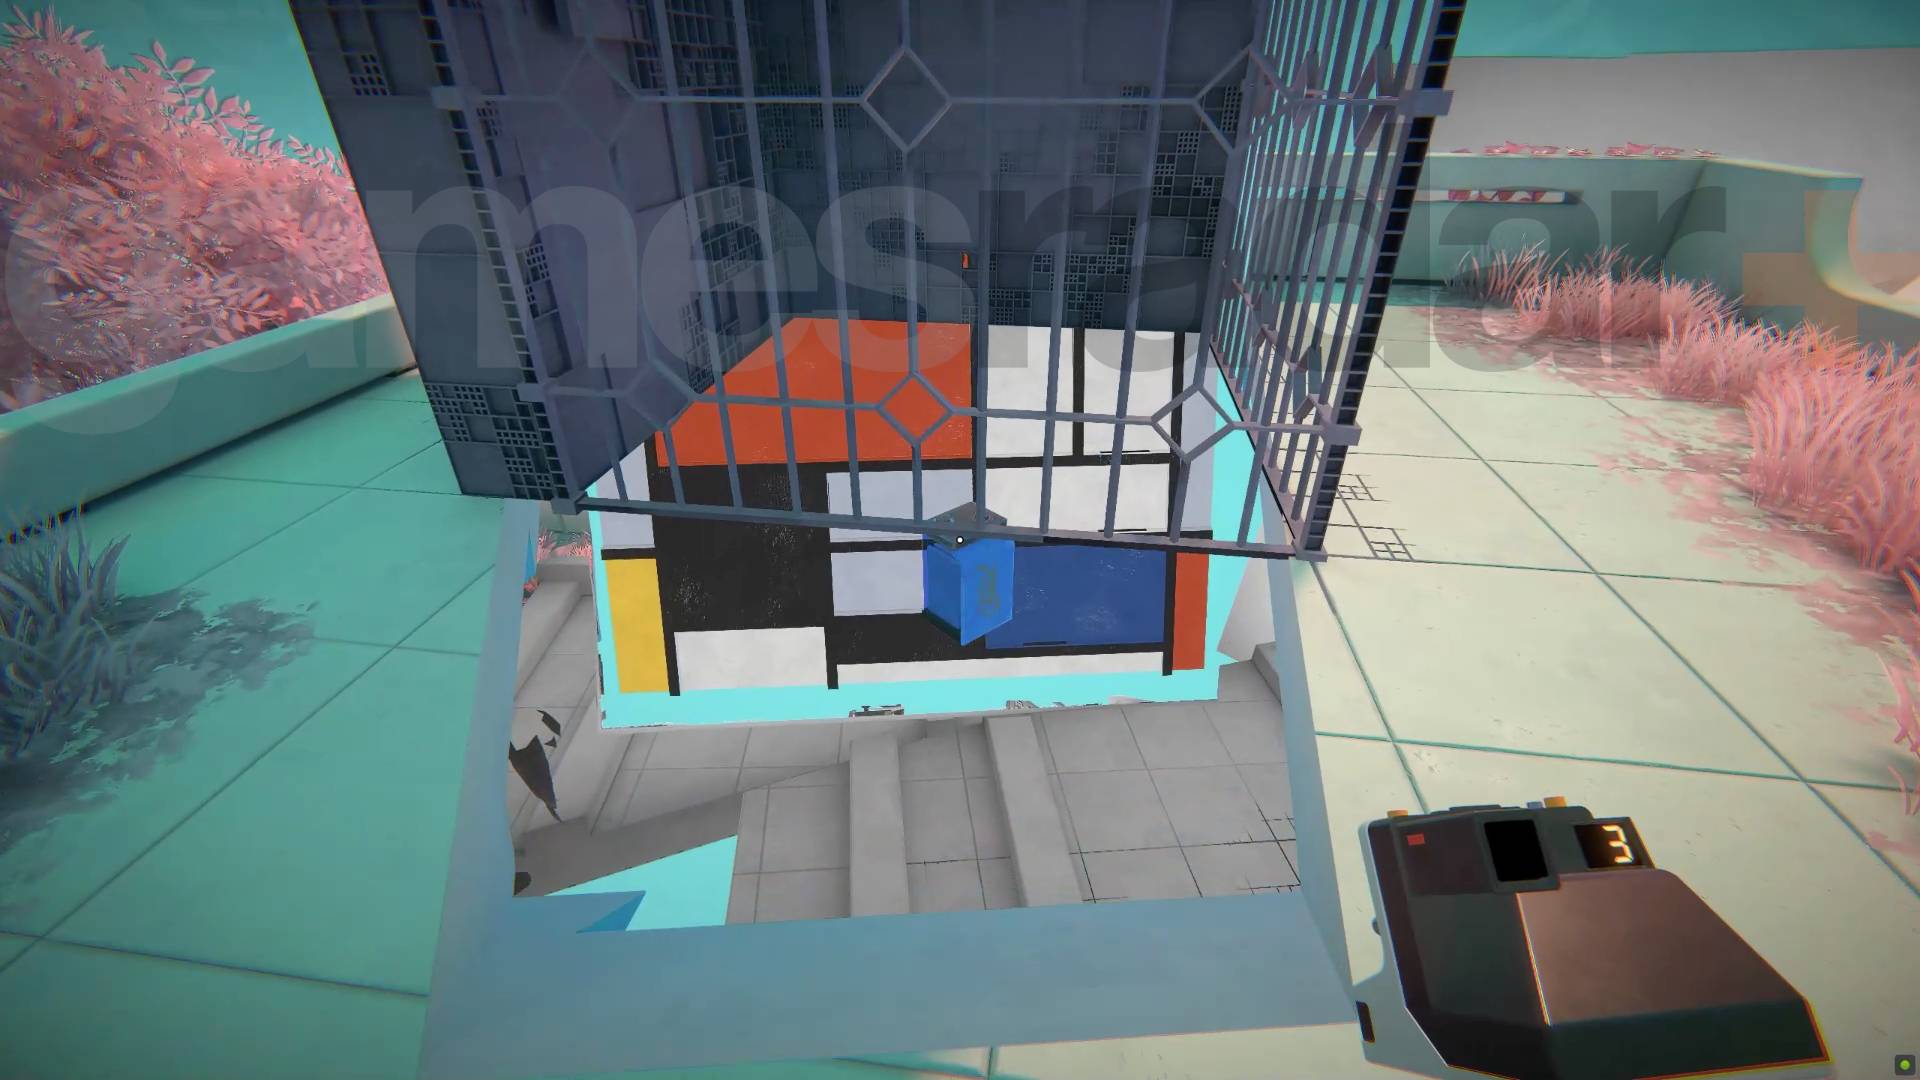
To get the battery inside the cage take pictures of any walls or structures to create a platform underneath it. You can then take the Mondriaan painting of colorful squares and place it to erase the floor - because it acts as a 'sky' it will only appear in the background and not block the battery or platform you've made. Then just get the battery and place it on the teleporter to leave.
Weekly digests, tales from the communities you love, and more
Chapter 4 Mirren Level 1-6
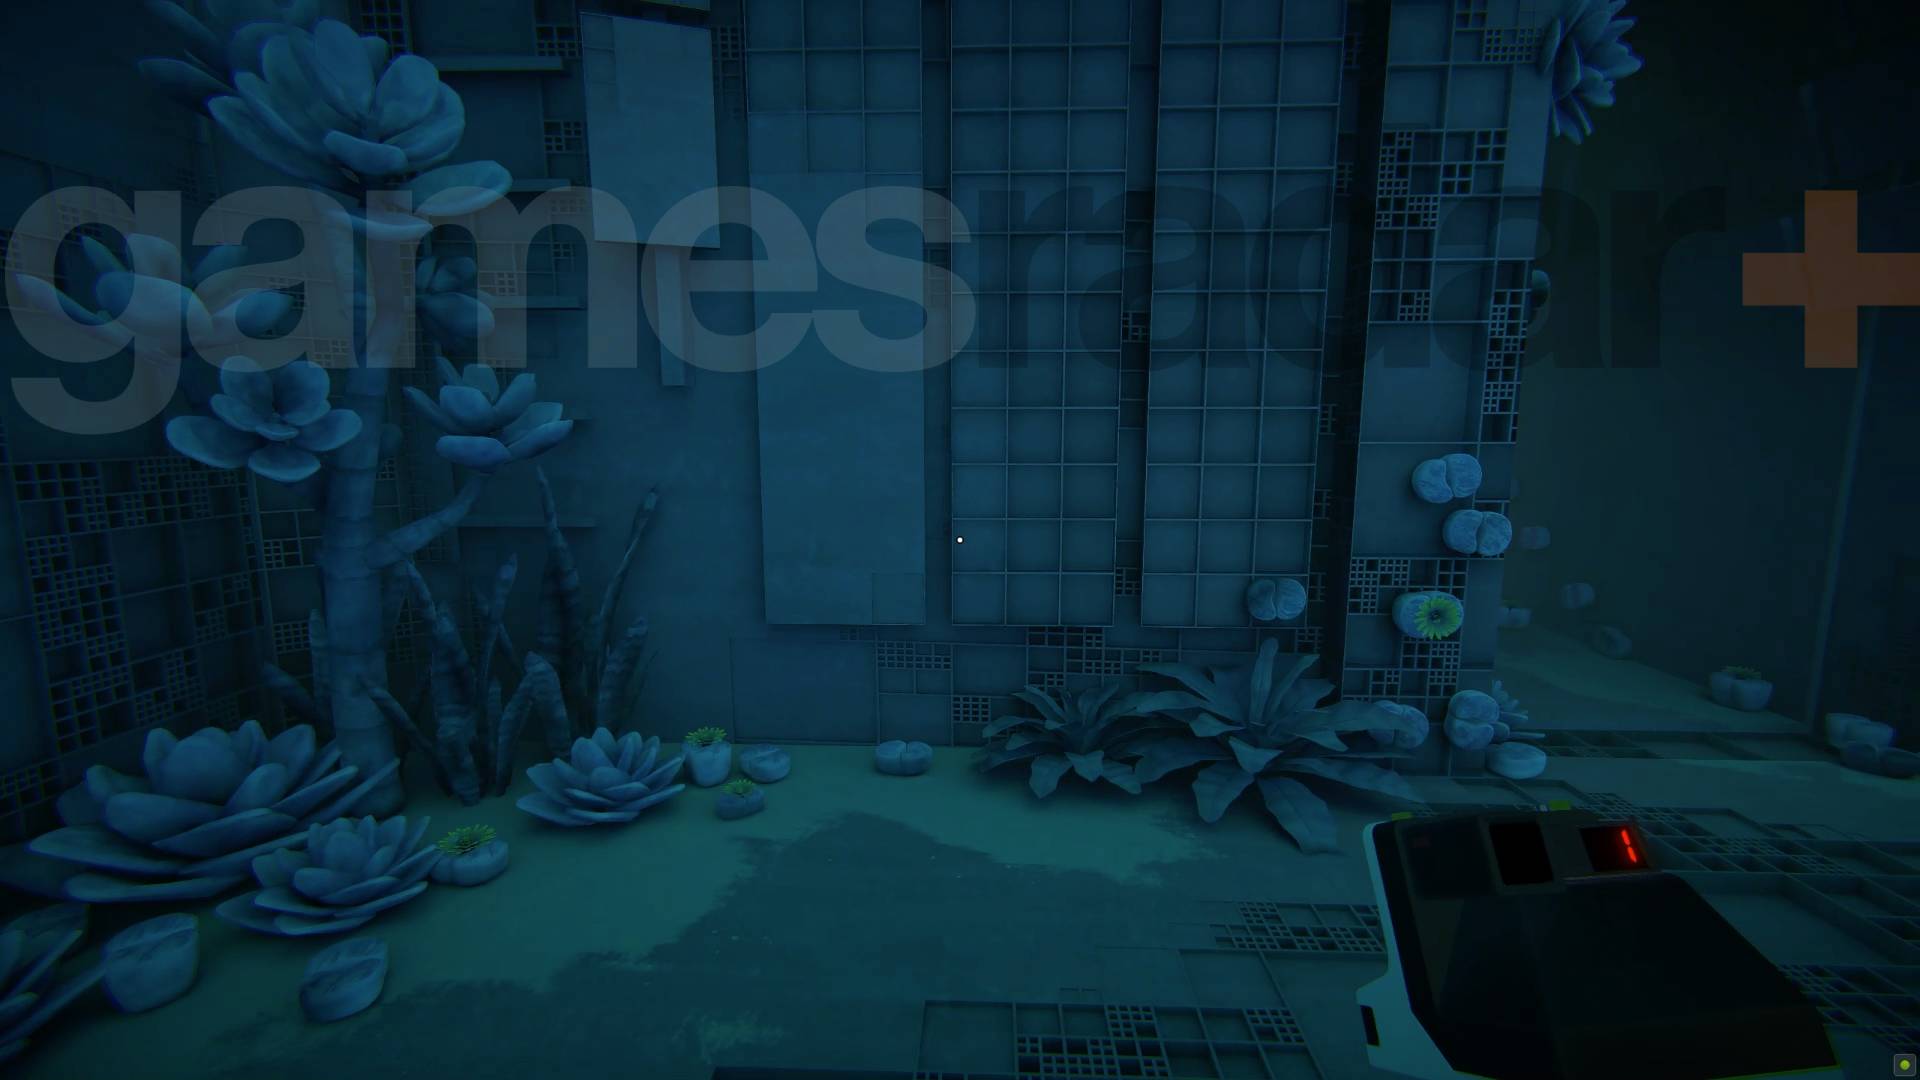
This puzzle involves you remembering that the blue material doesn't show up on film at all. If you go to the wall shown above so that you would be looking along the length of the teleporter and switch on the other side, a picture will get you just that but without the wall. You can then place it anywhere to use it.
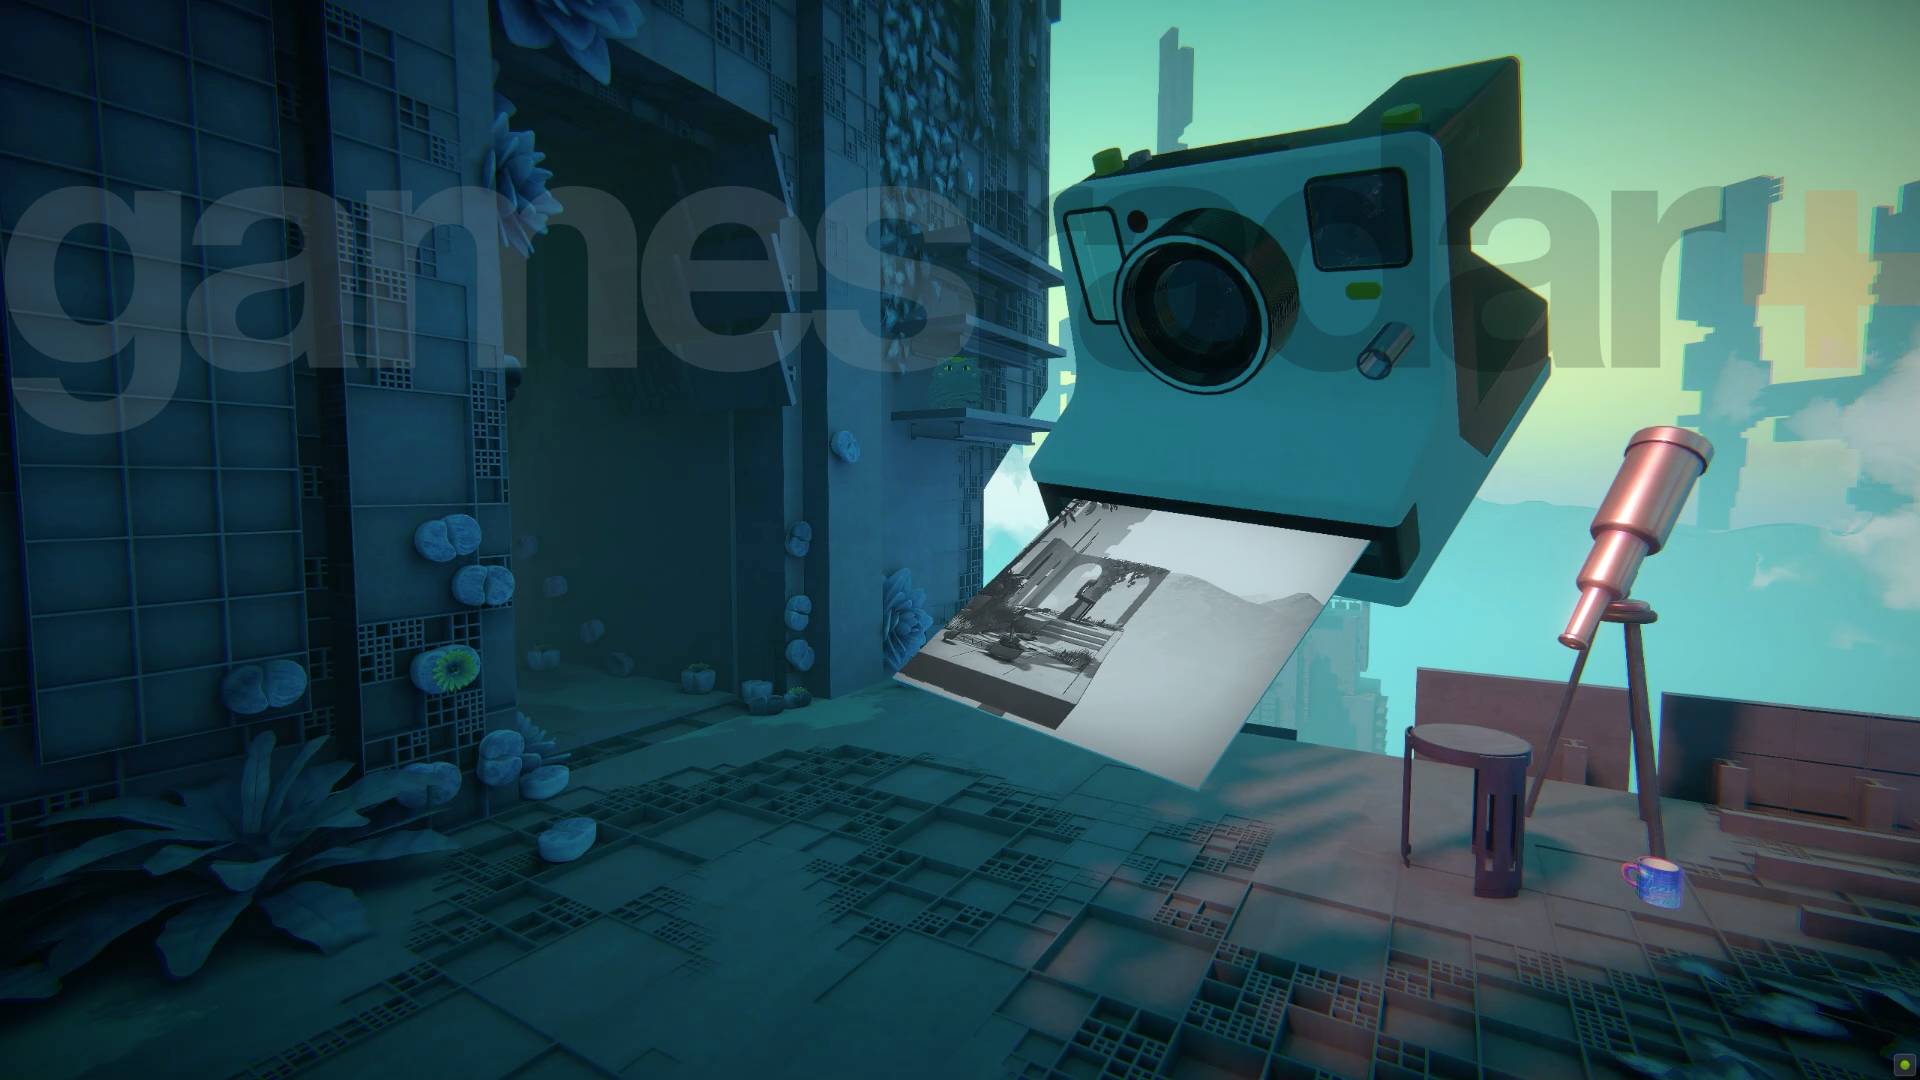
Chapter 4 Mirren Level 1-7
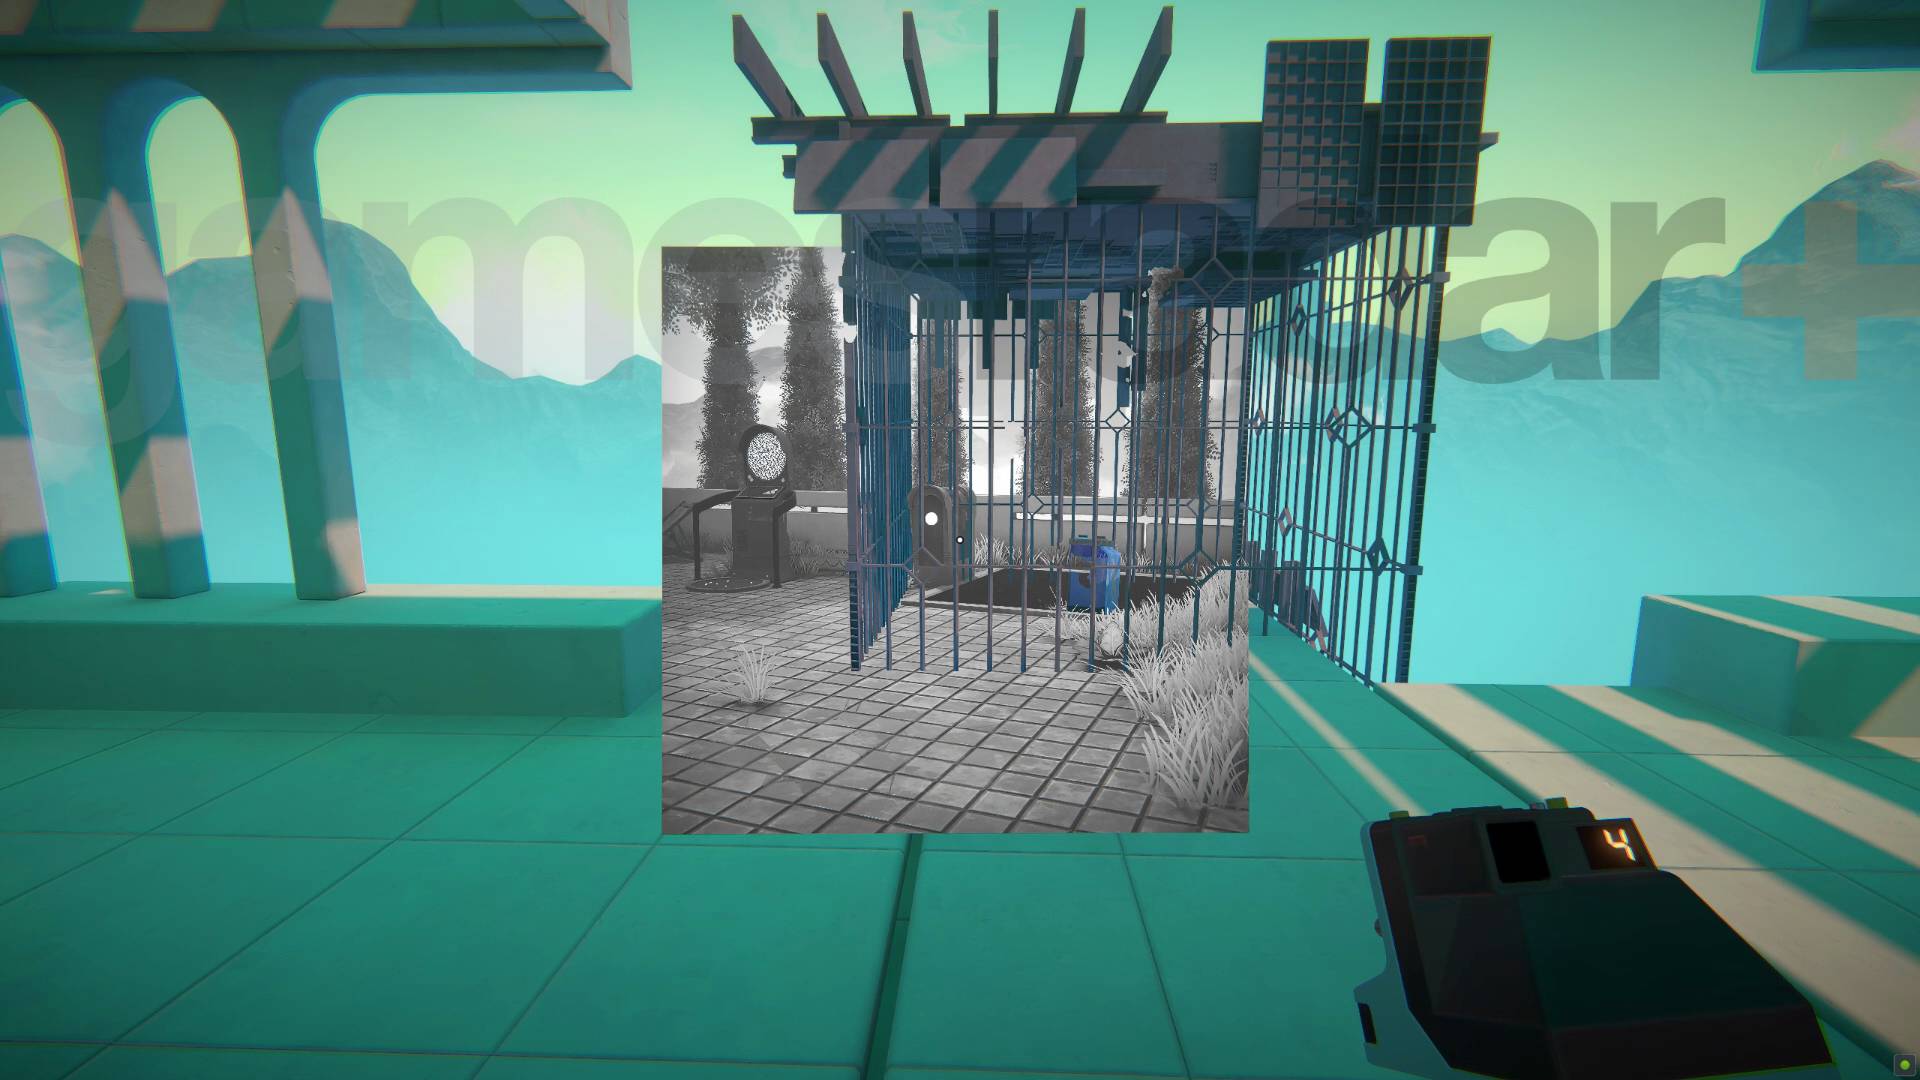
This challenge is easy to solve once you realise it's not about the battery in the cage. To solve this you just need to take a picture of the teleporter and pad and then place it so that the pad is inside the cage, under the battery. That's enough to power it up and let you carry on.
Chapter 4 Mirren Level 2-1
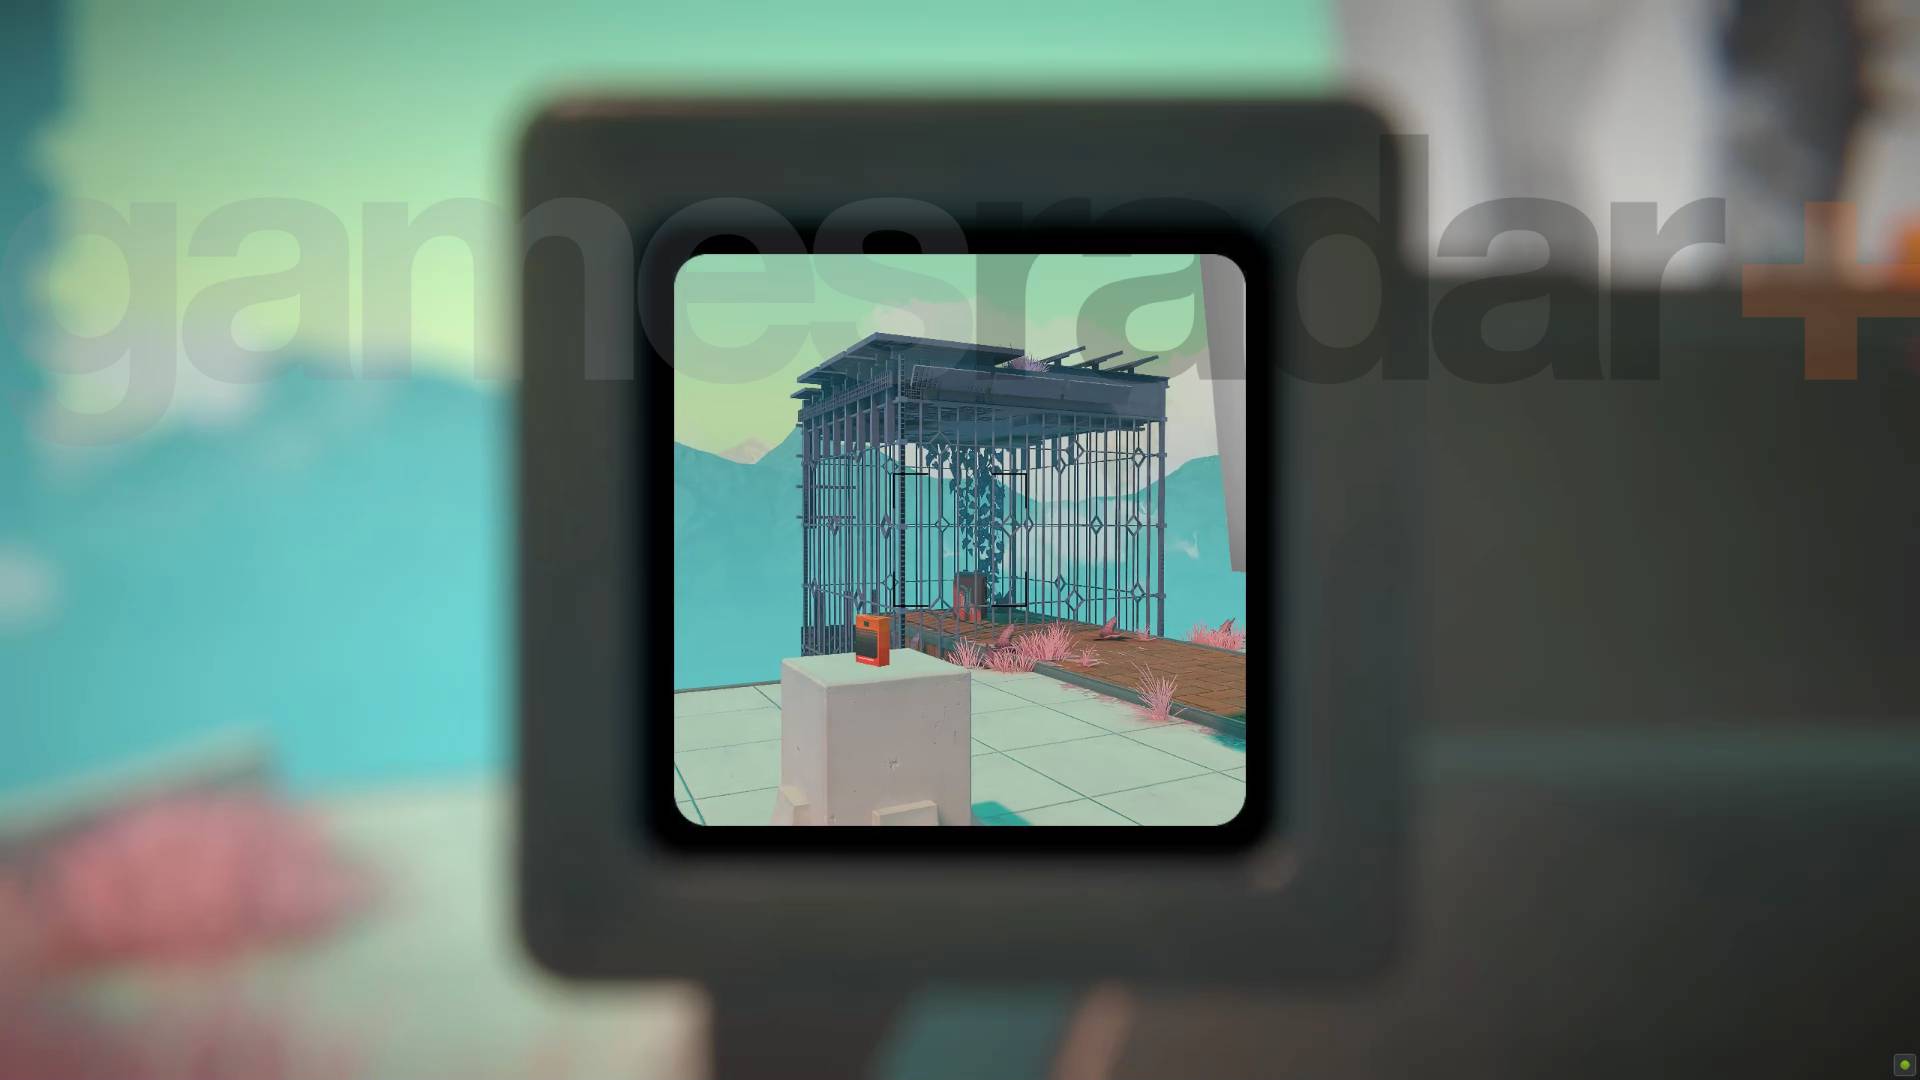
This is another problem with limited film. To solve just take a picture of the battery and the film together. As long as you place it so you can reach the film and keep the battery, you can just repeat the process until you have the four you need.
Chapter 4 Mirren Level 2-2
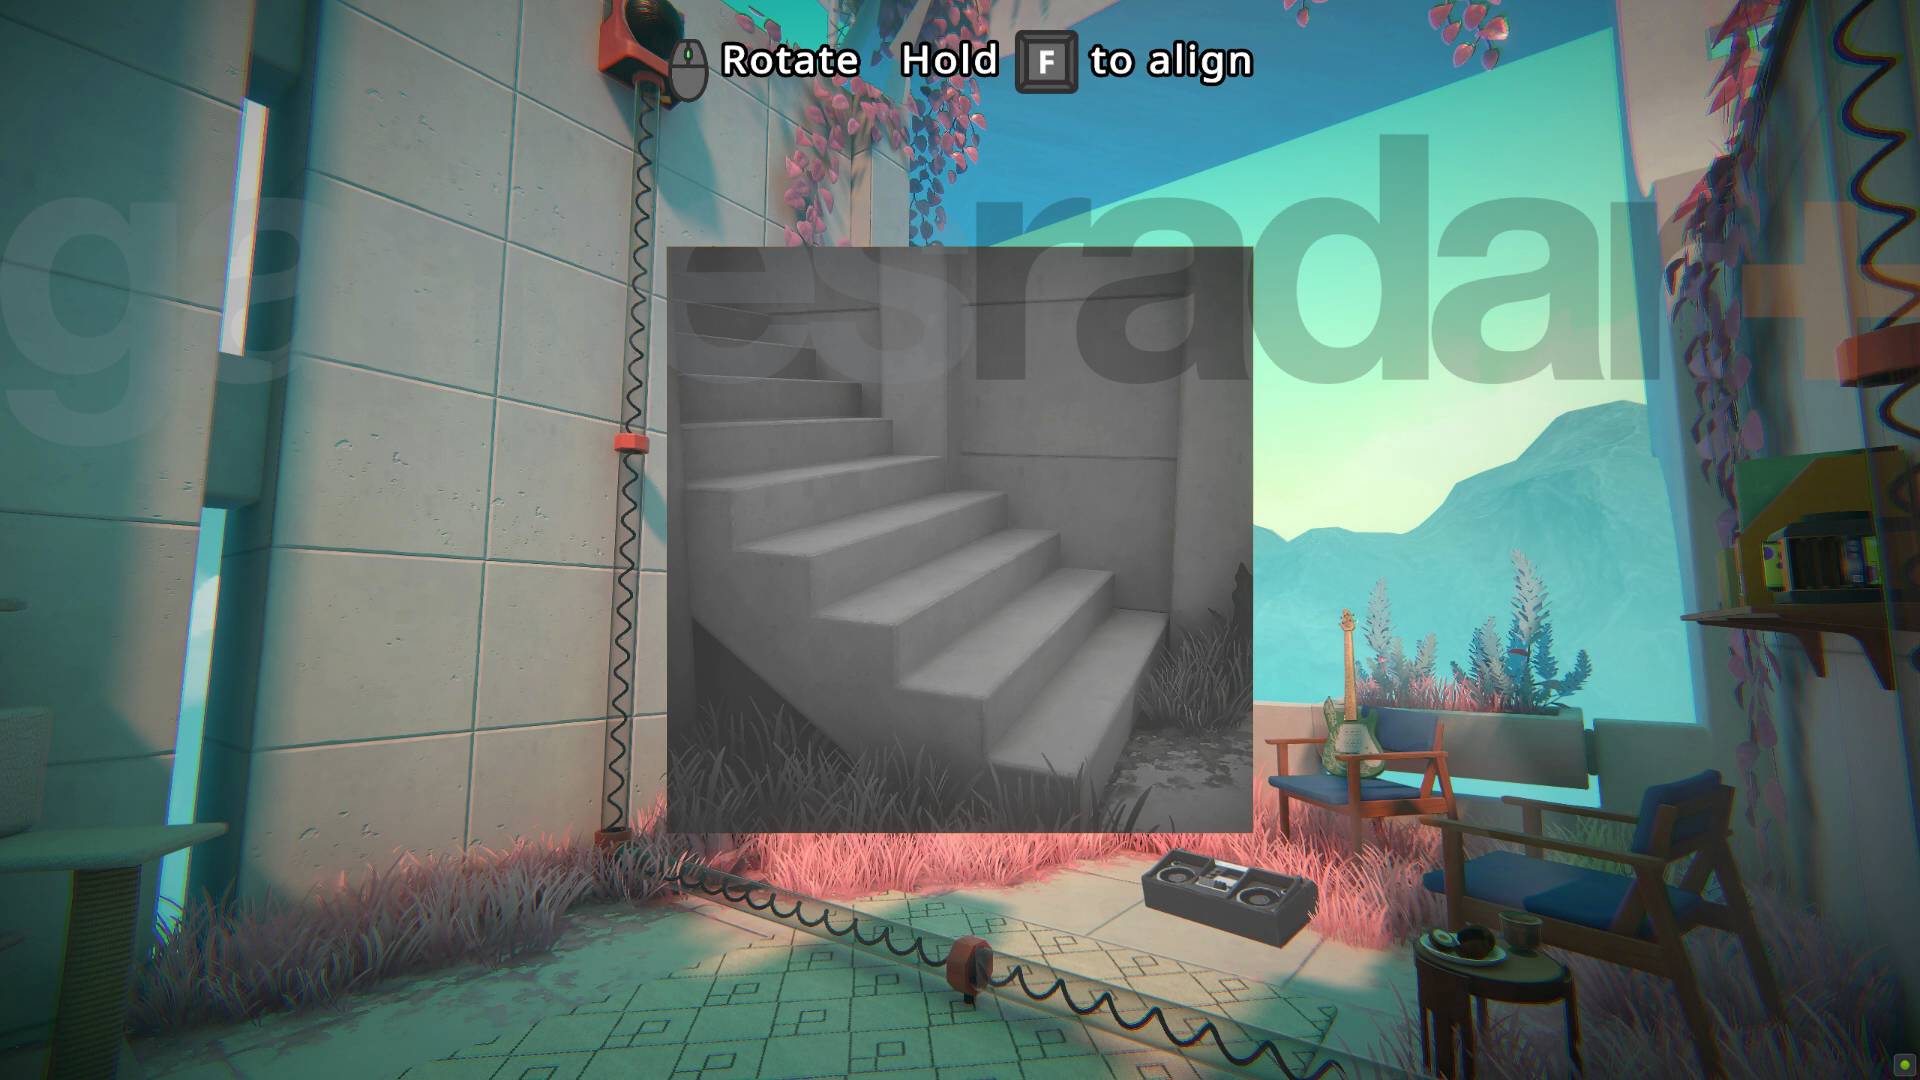
This level introduces sound activated switches. So to activate all the frames you need to reach the teleporter you'll need to photograph and duplicate the radio and place it near each sensor. For the one half way up a wall take a picture of the stairs to create a platform that reaches it.
Chapter 4 Mirren Level 2-3
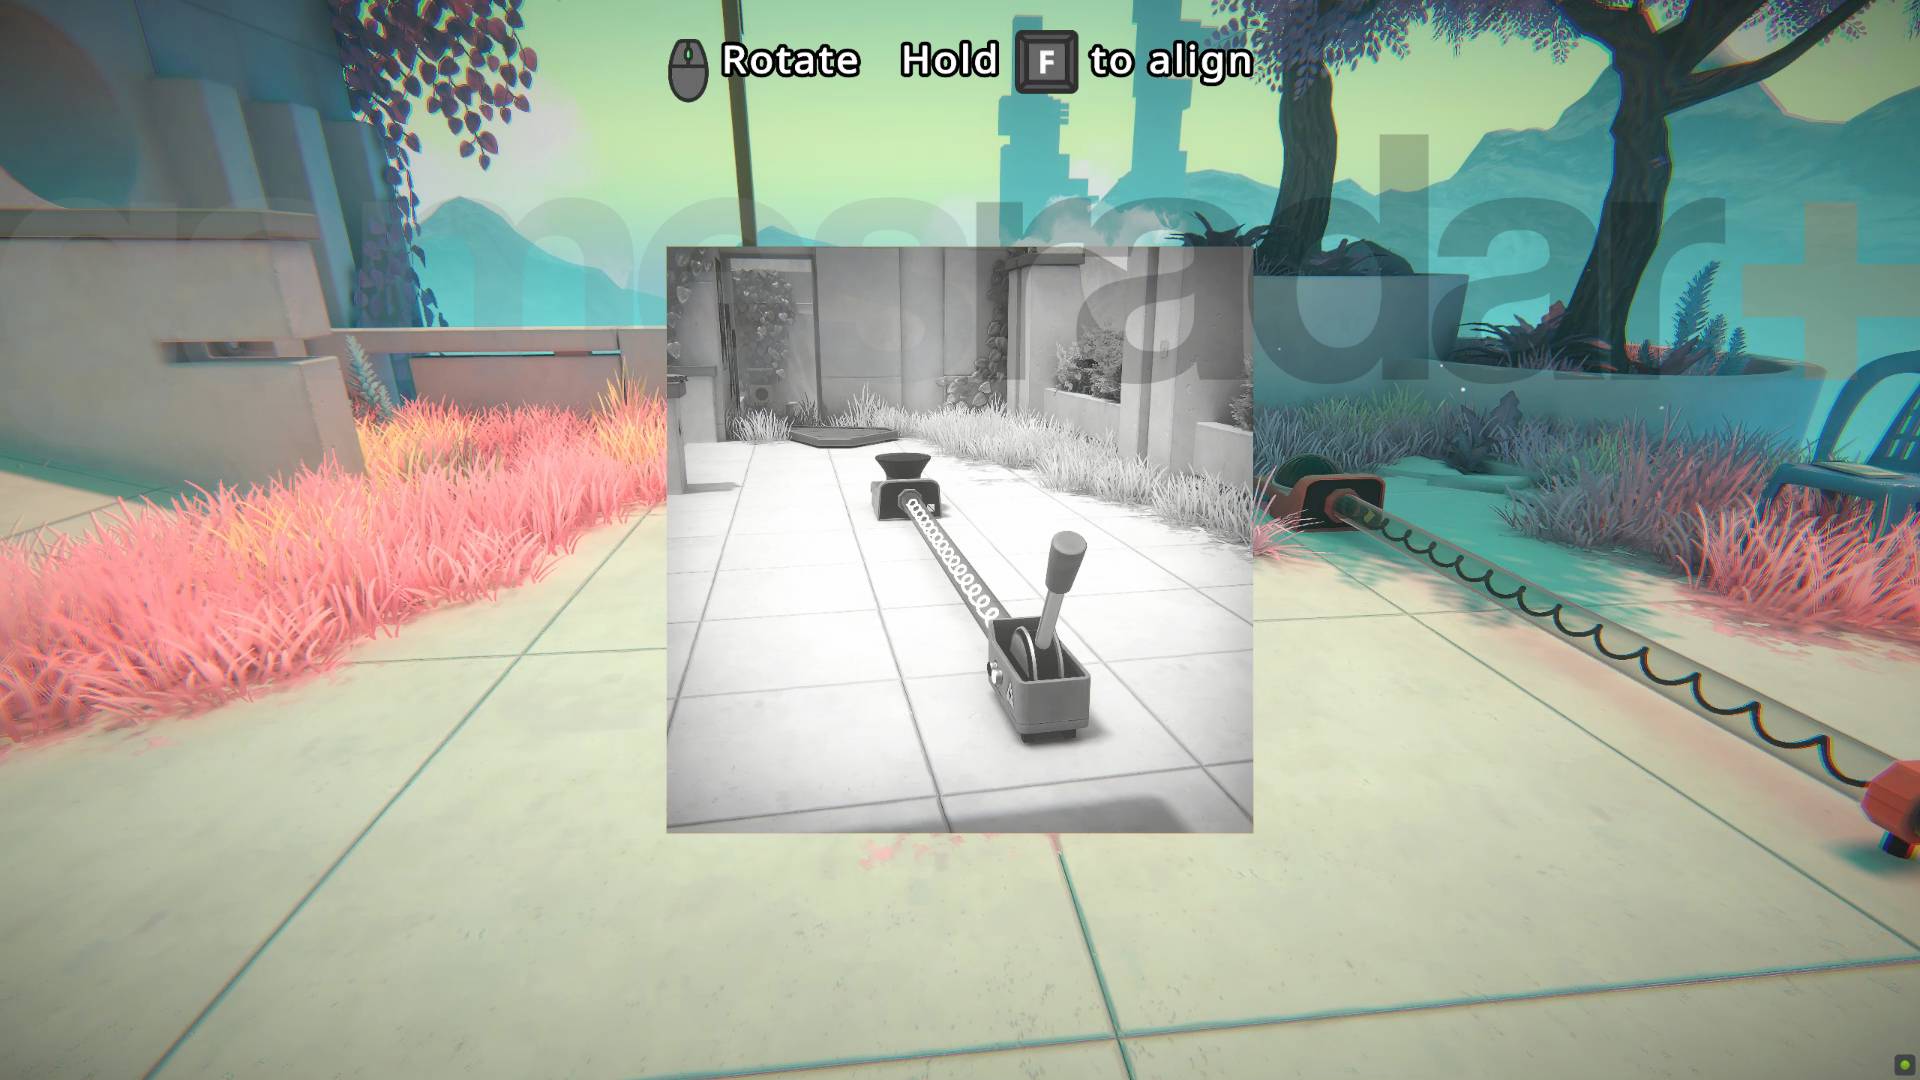
To trigger the sound sensor here you just need to take a picture of the speaker and switch and place it nearby. That will power up the teleporter and let you continue.
Chapter 4 Mirren Level 2-4
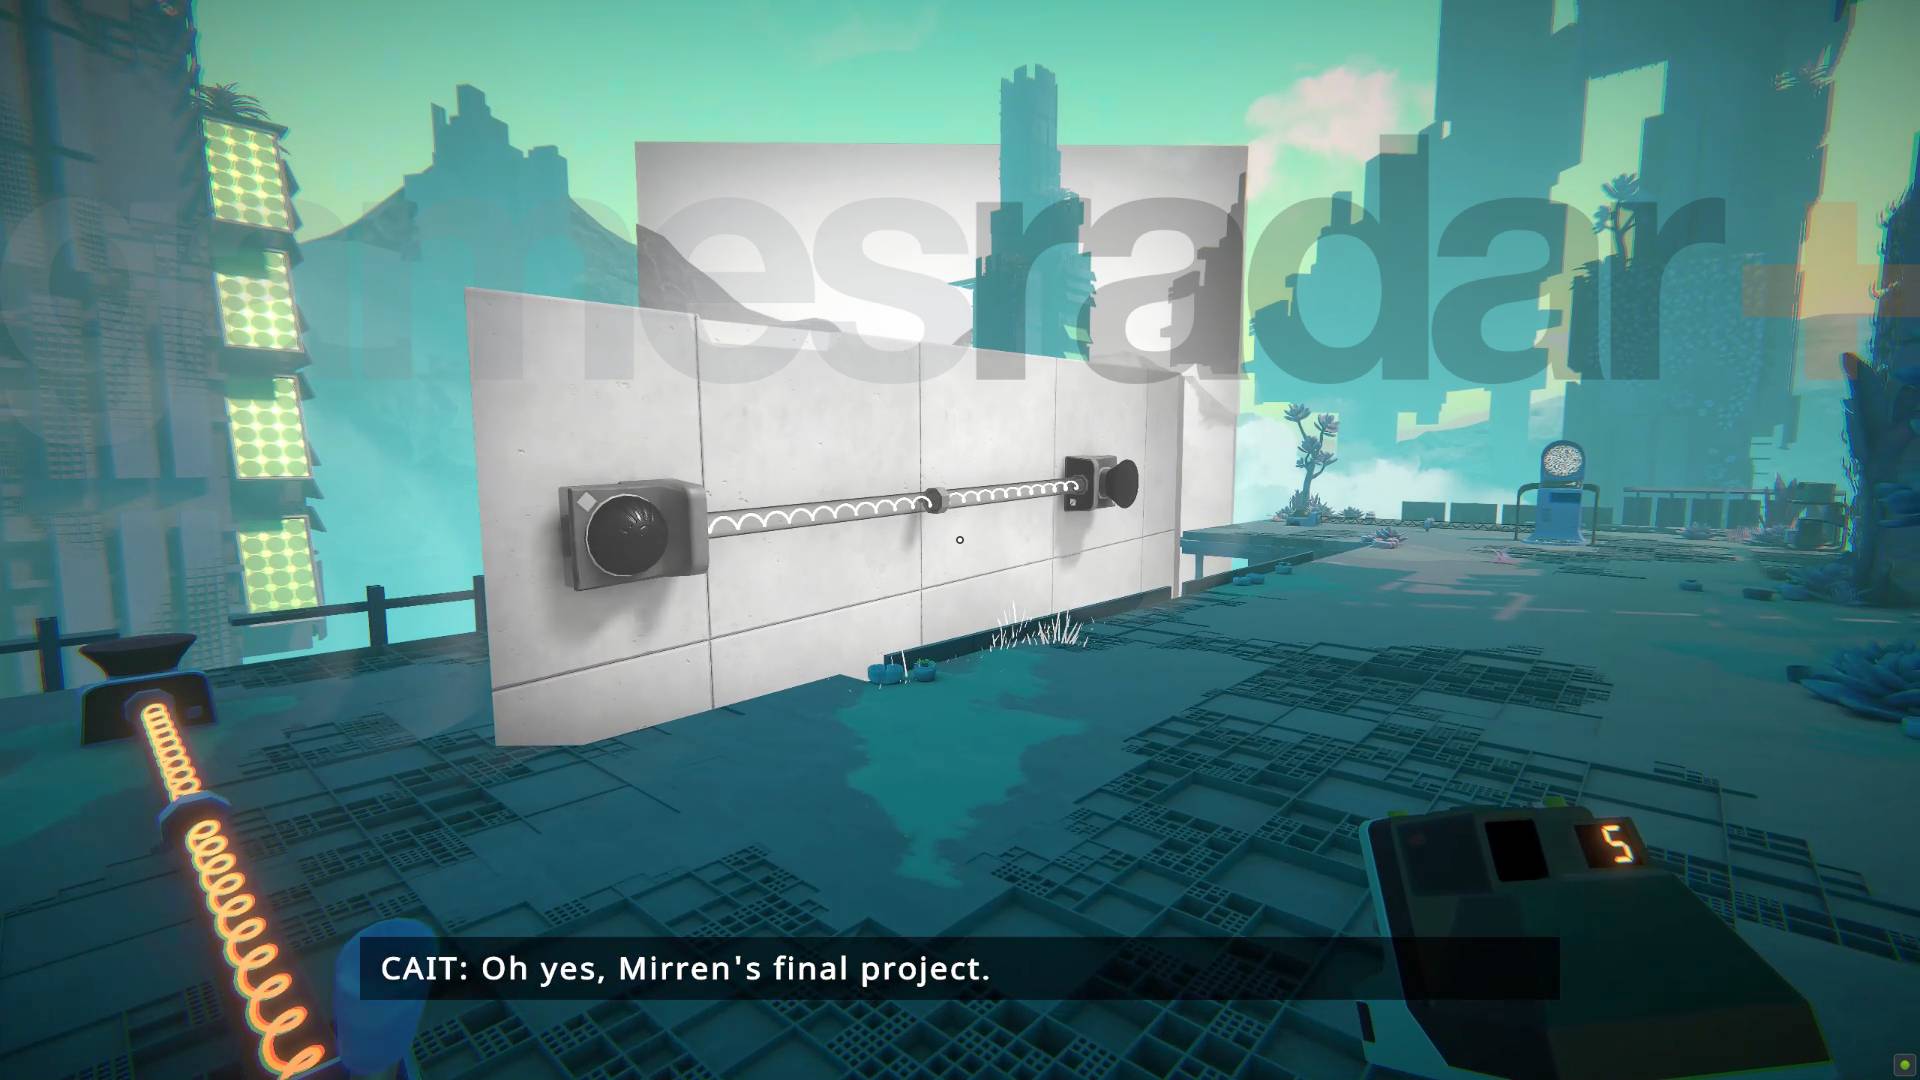
To get the sound from the speak to the teleporter sensor you'll need to use the photo you can find near by, and your camera to bridge the gap. Place the picture first, near enough to the speaker to trigger the sensor, and then use the camera to repeat the process until you reach the teleporter.
Chapter 4 Mirren Level 2-5
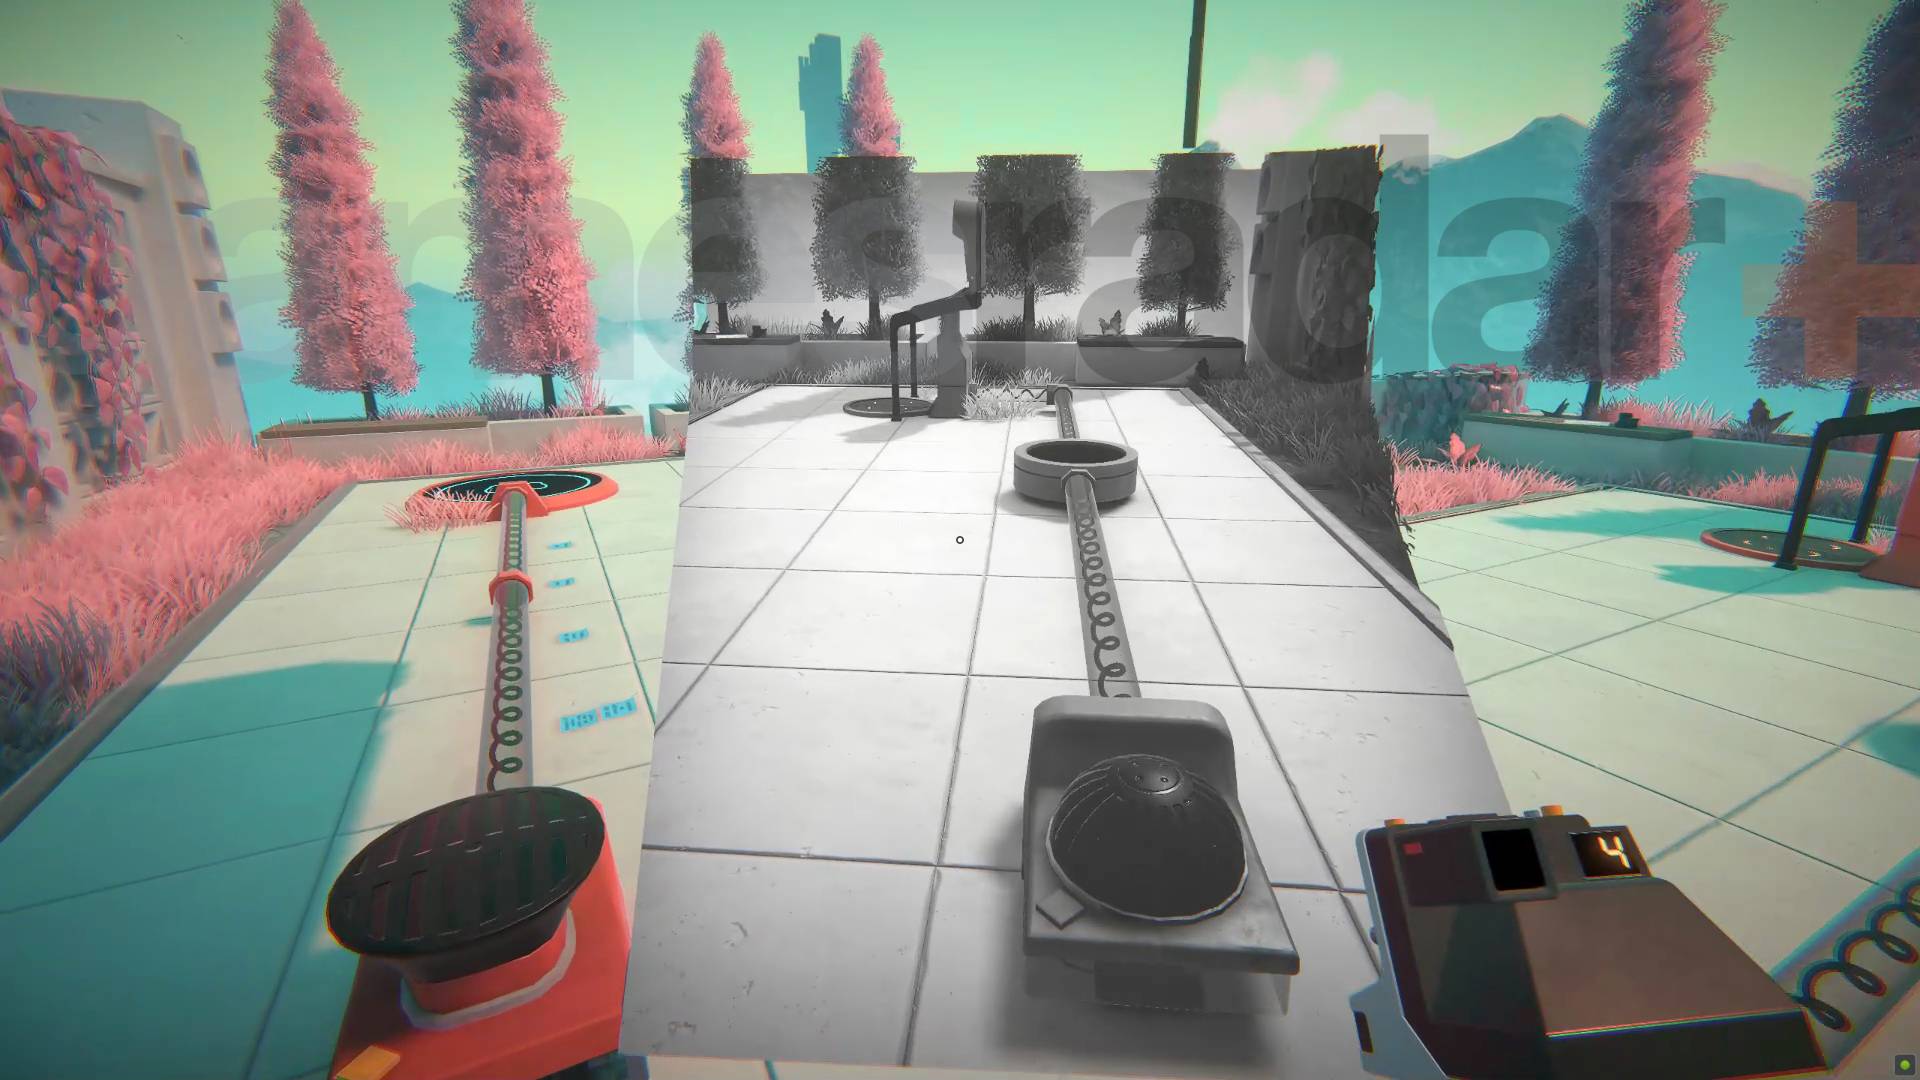
This is another timer challenge but with a really short countdown. The best solution I found was to take a picture of the whole teleporter/timer/sensor set up and place it right next to the footpad and speaker. That way you can get every thing nice and close and cover the distance before the time runs out.
Chapter 4 Mirren Level 2-6
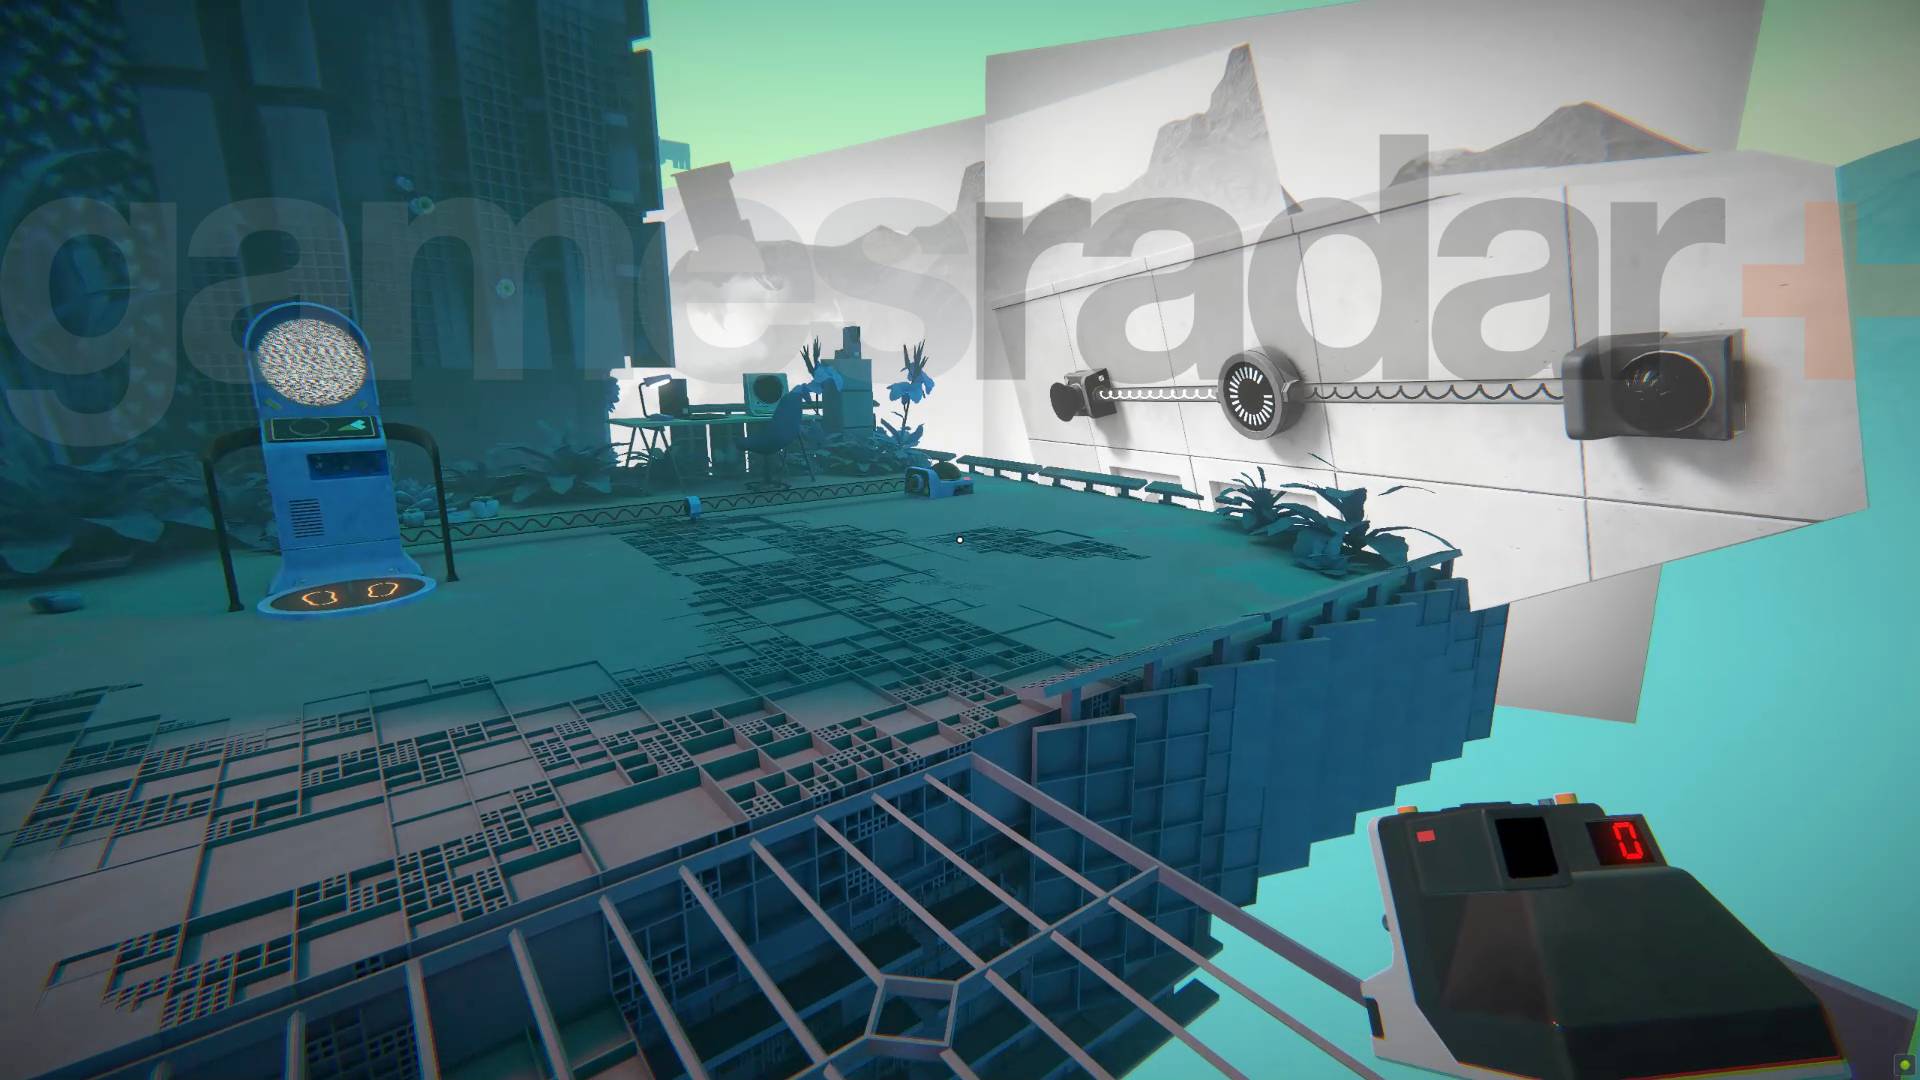
To power the teleporter here you need to first place the photo of the sensor and timer near the footpad so you can stand on it and charge it. Then, when it's charged, take a picture and place it near the teleporter to power and use it before the time runs out.
Chapter 4 Mirren Level 2-7
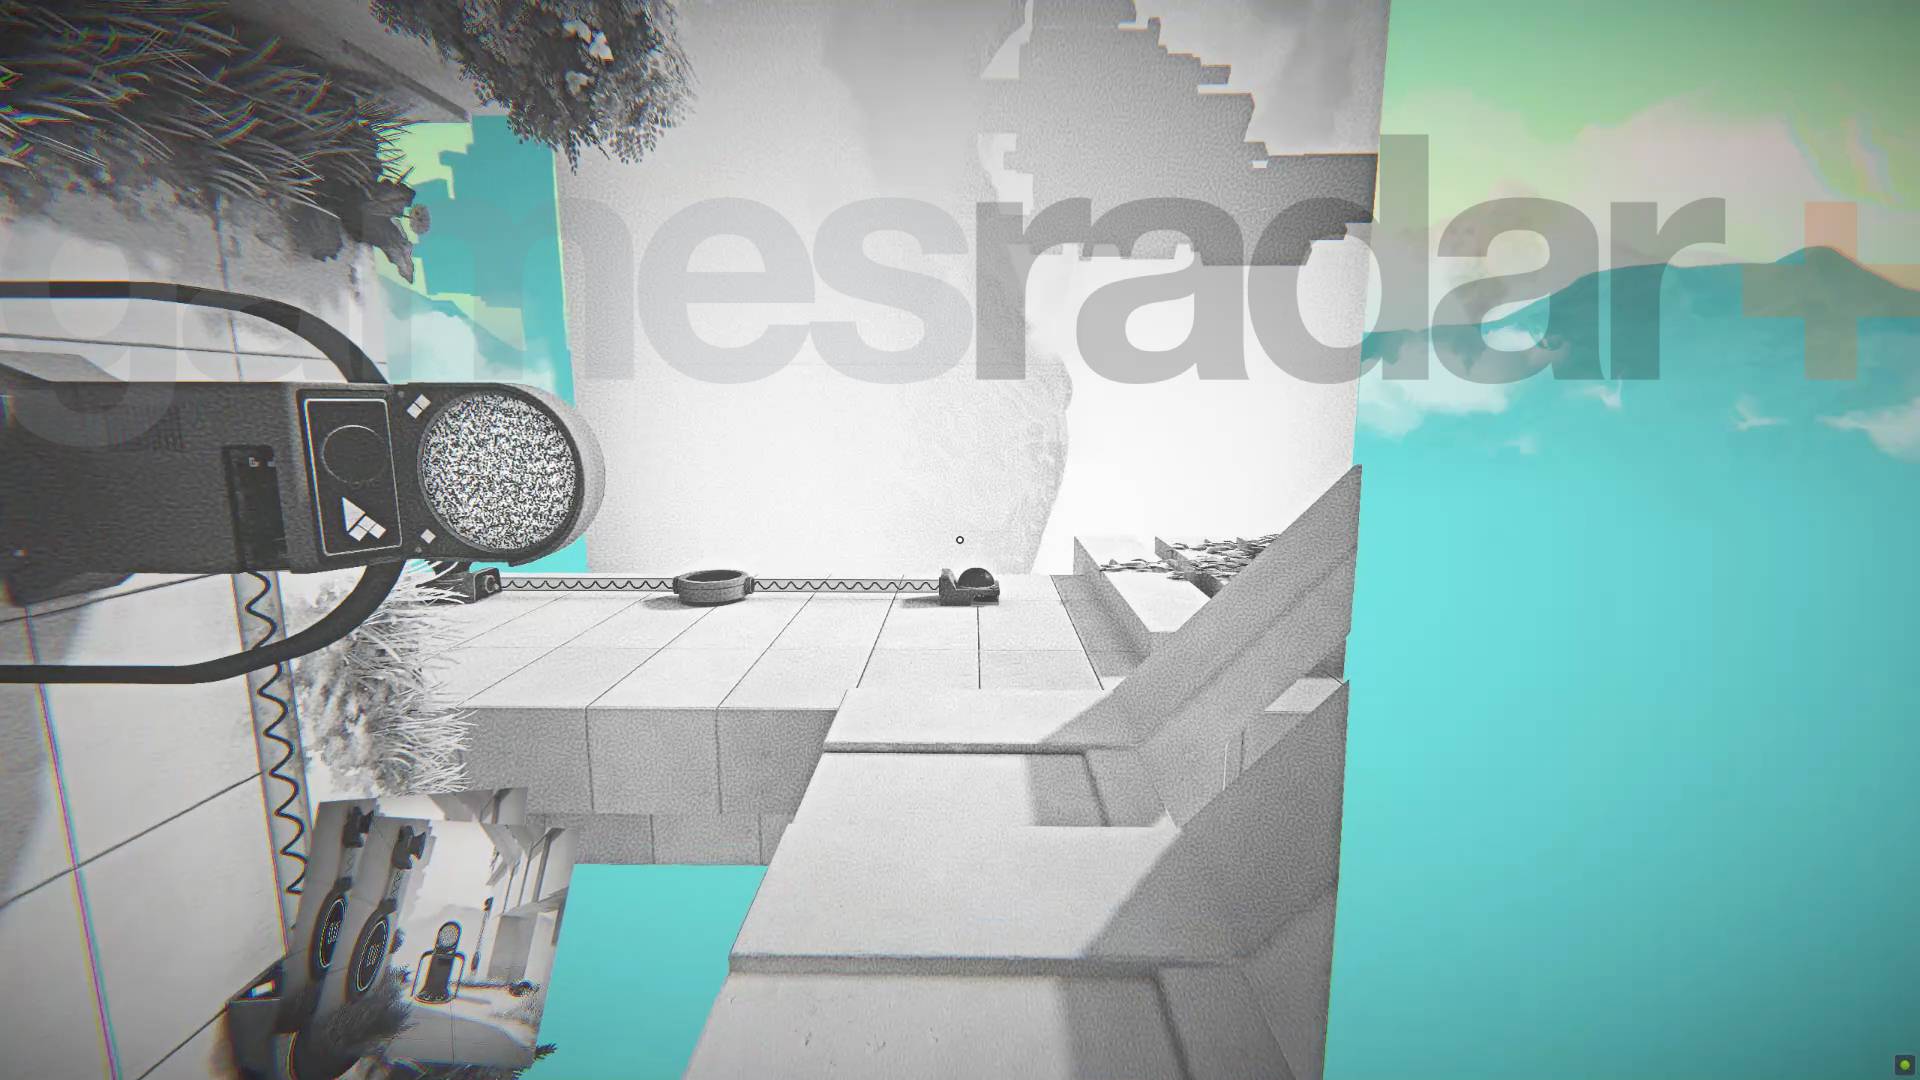
You'll need to make two copies of the picture you can find in this level. Importantly, when you place it rotate it to the right so you can reach the speaker and sensor that would have otherwise been on the wall behind the teleporter. With that in place, as you can see in the picture above, you can then use the other two pictures to place the footpad powered speaker near the switch, and the teleporter near the speaker. The timer in between will then give you enough time to reach the teleporter and complete the level.
Chapter 4 Mirren optional challenge 1
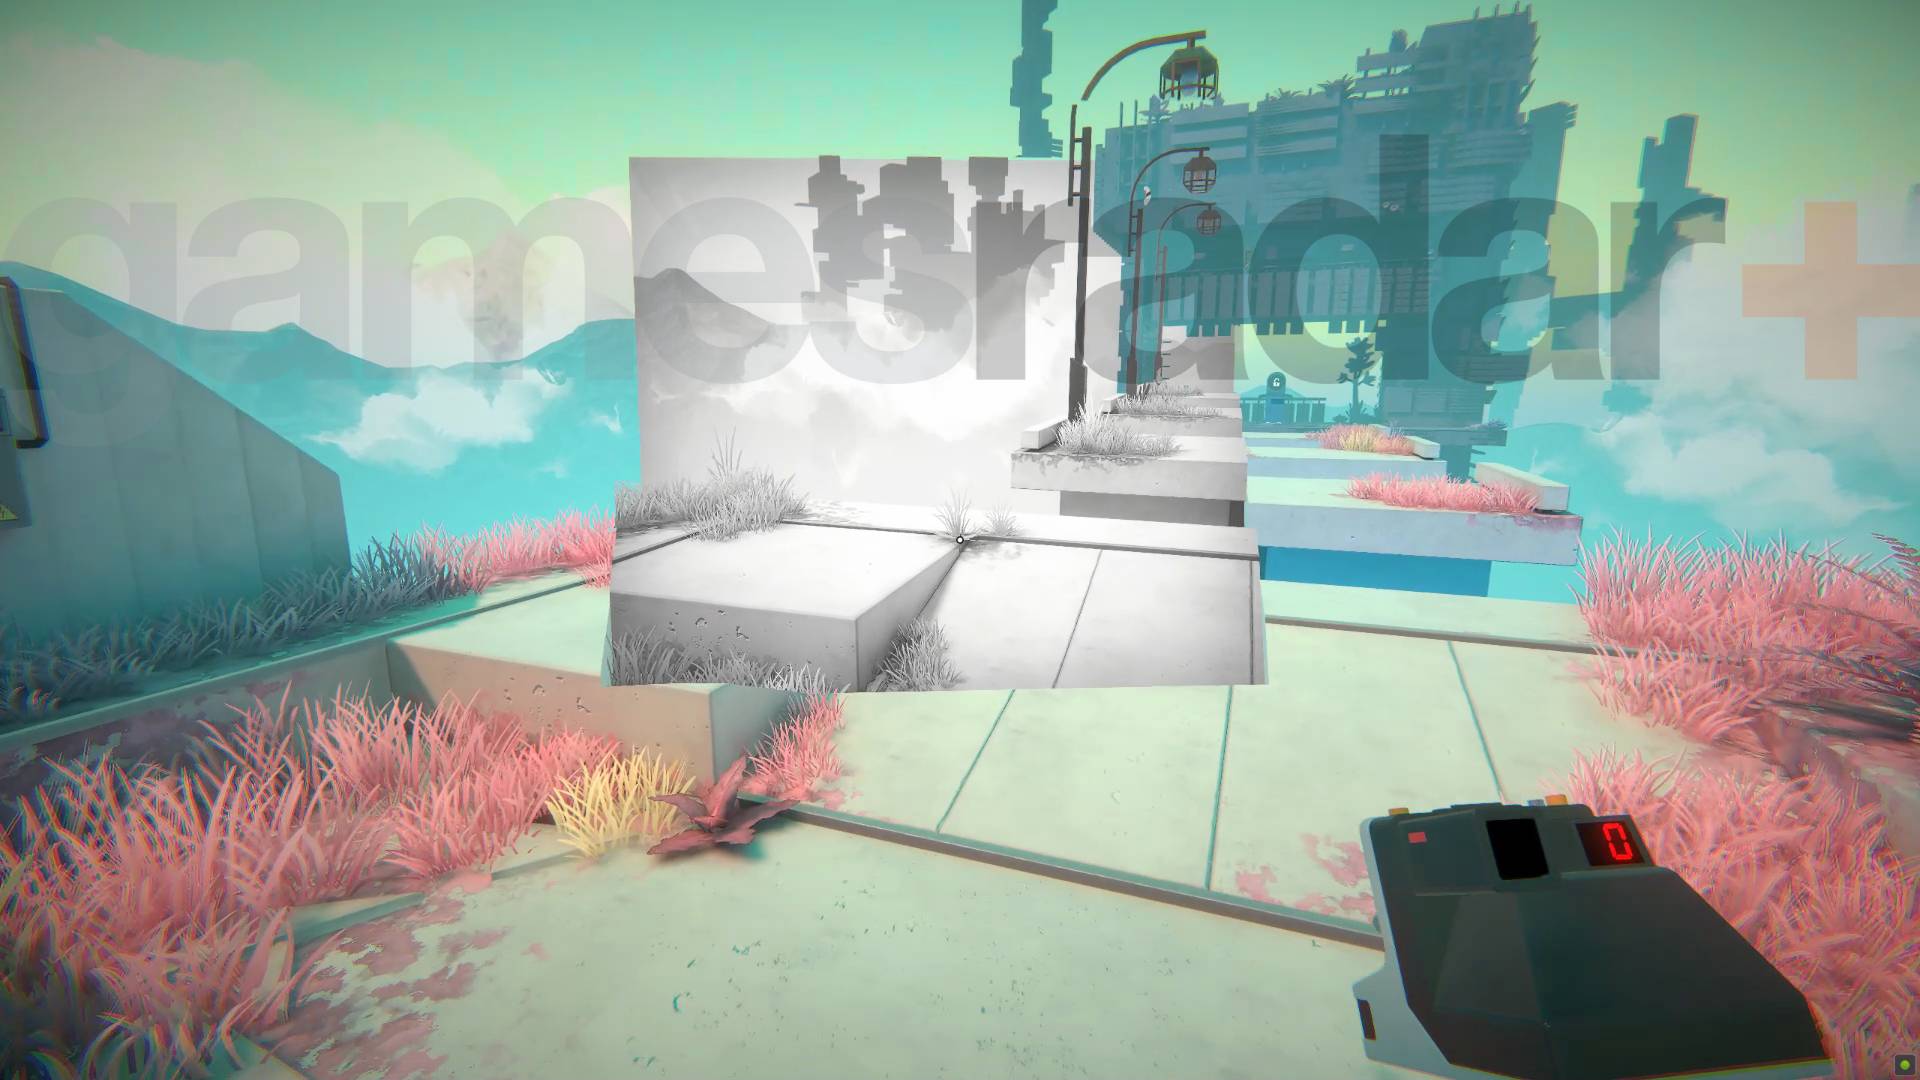
To get across and reach the teleporter, take a picture of the platforms and place it so that it bridges the gaps. You might have to try a few times to get it just right, and it helps to add a little height so you can jump farther.
Chapter 4 Mirren optional challenge 2
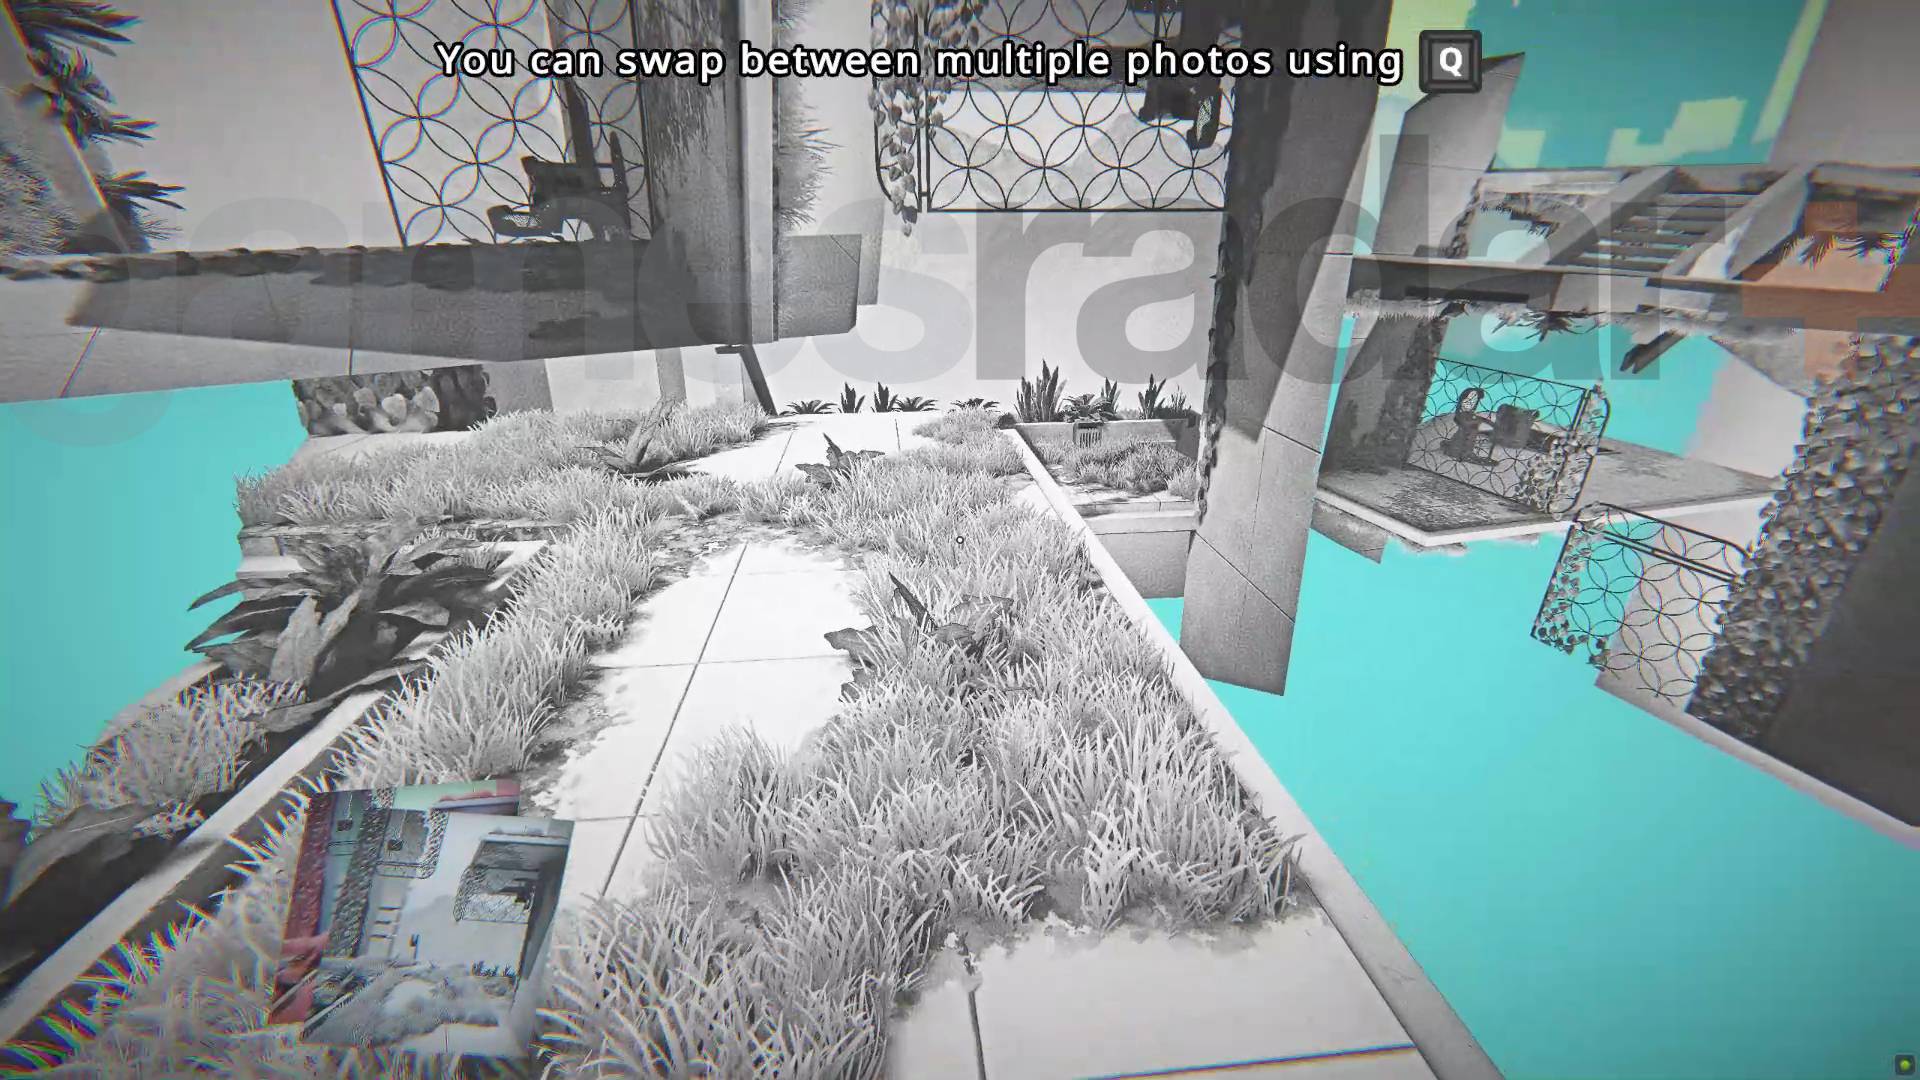
You can really, really bodge this one. Just make as many photocopies of the start image you as can, then follow these steps:
- Place a photo to create a platform to catch a second battery. The battery in the photo you're placing will fall into oblivion but that won't matter because you have copies.
- Place a second photo so that the battery in it drops on the platform you just made.
- Place a picture with the teleporter the right way up.
- Use all the remaining pictures to create a path to the teleporter and then take the battery there to continue.
Chapter 4 Mirren Level 3-1
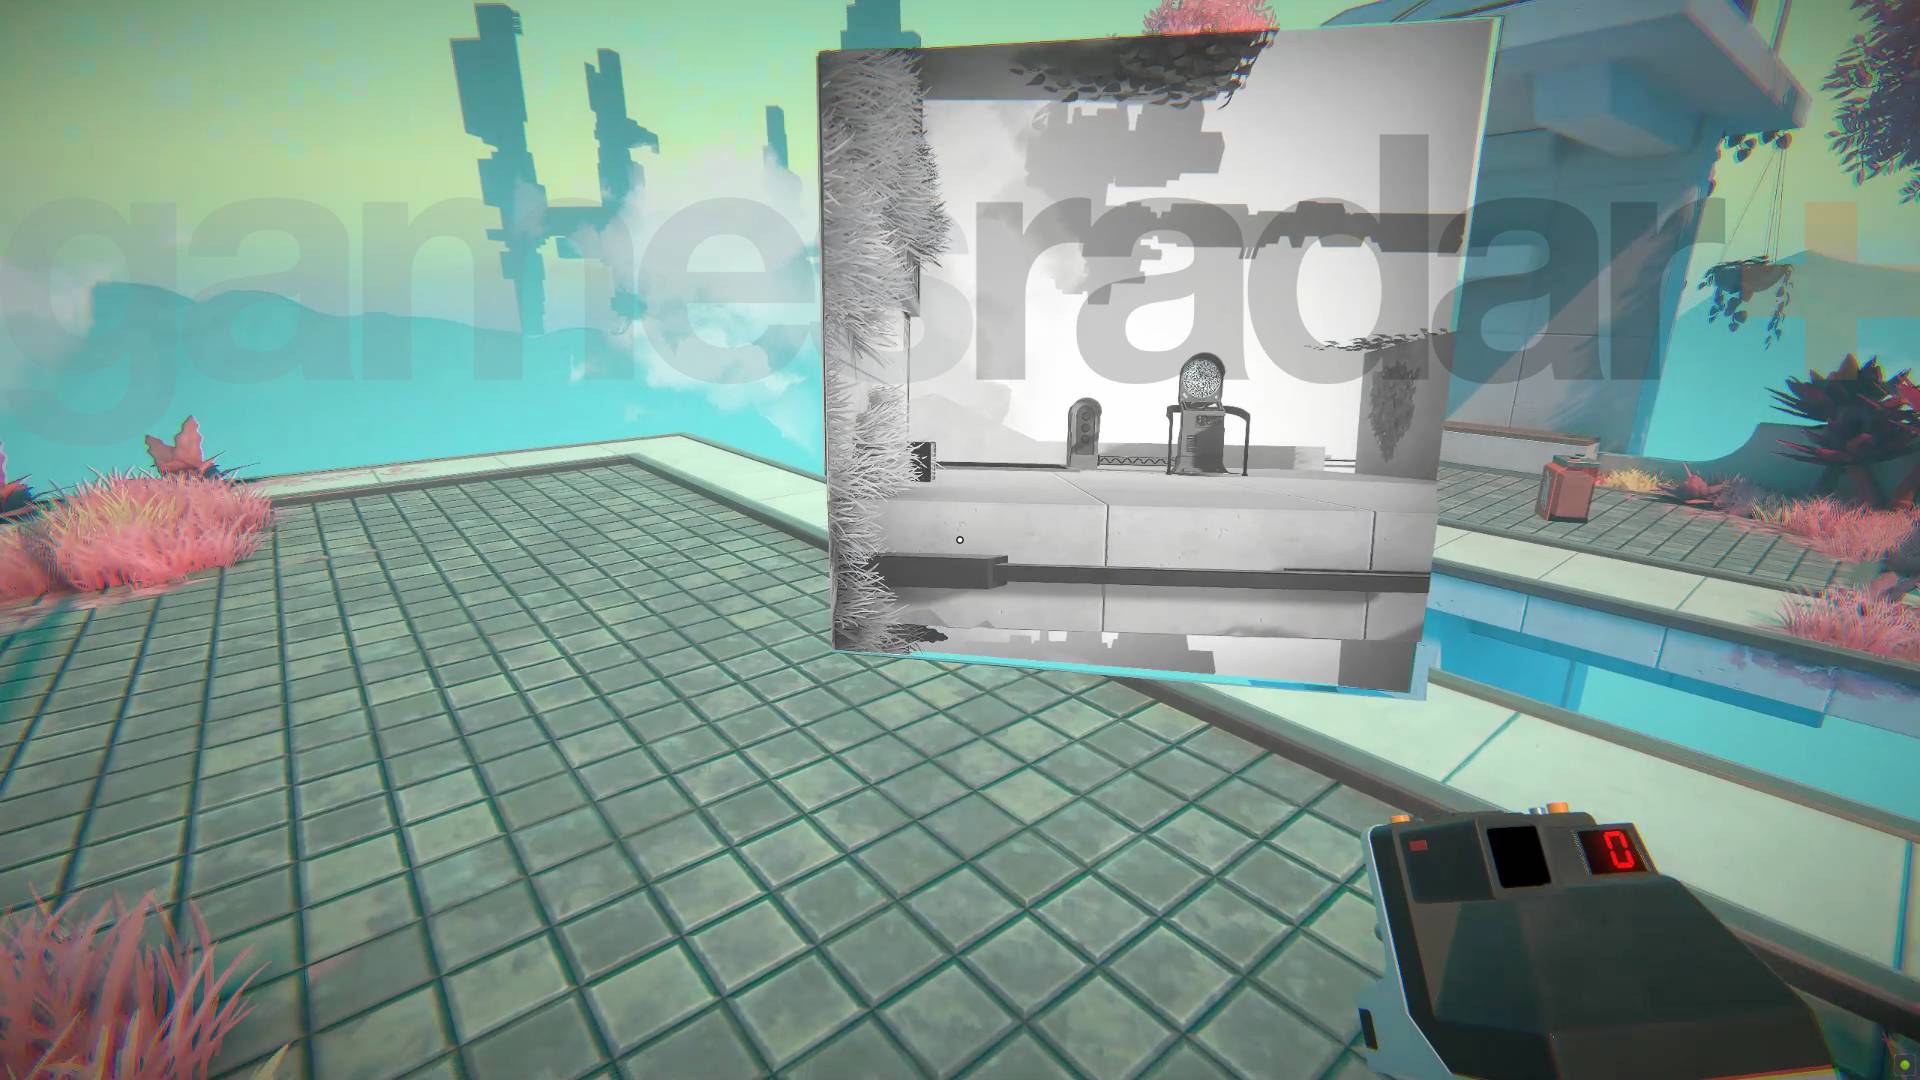
You'll need to get three batteries, cut through a fence and bridge the gap to the teleporter to complete this Viewfinder level. To do that, follow these instructions:
- Take a picture of the battery and flip it so you can cut through the fence and catch the battery when it drops.
- Take the battery over to the teleporter so you can photograph both together.
- Flip the photo of the teleporter and battery so you can stand on the teleporter pad and then place the picture so it acts as a bridge back to the original battery. If you've done it right you'll have the battery from the first photo, the battery from the teleporter photo, and the original battery you can now reach.
Chapter 4 Mirren optional watermelon challenge
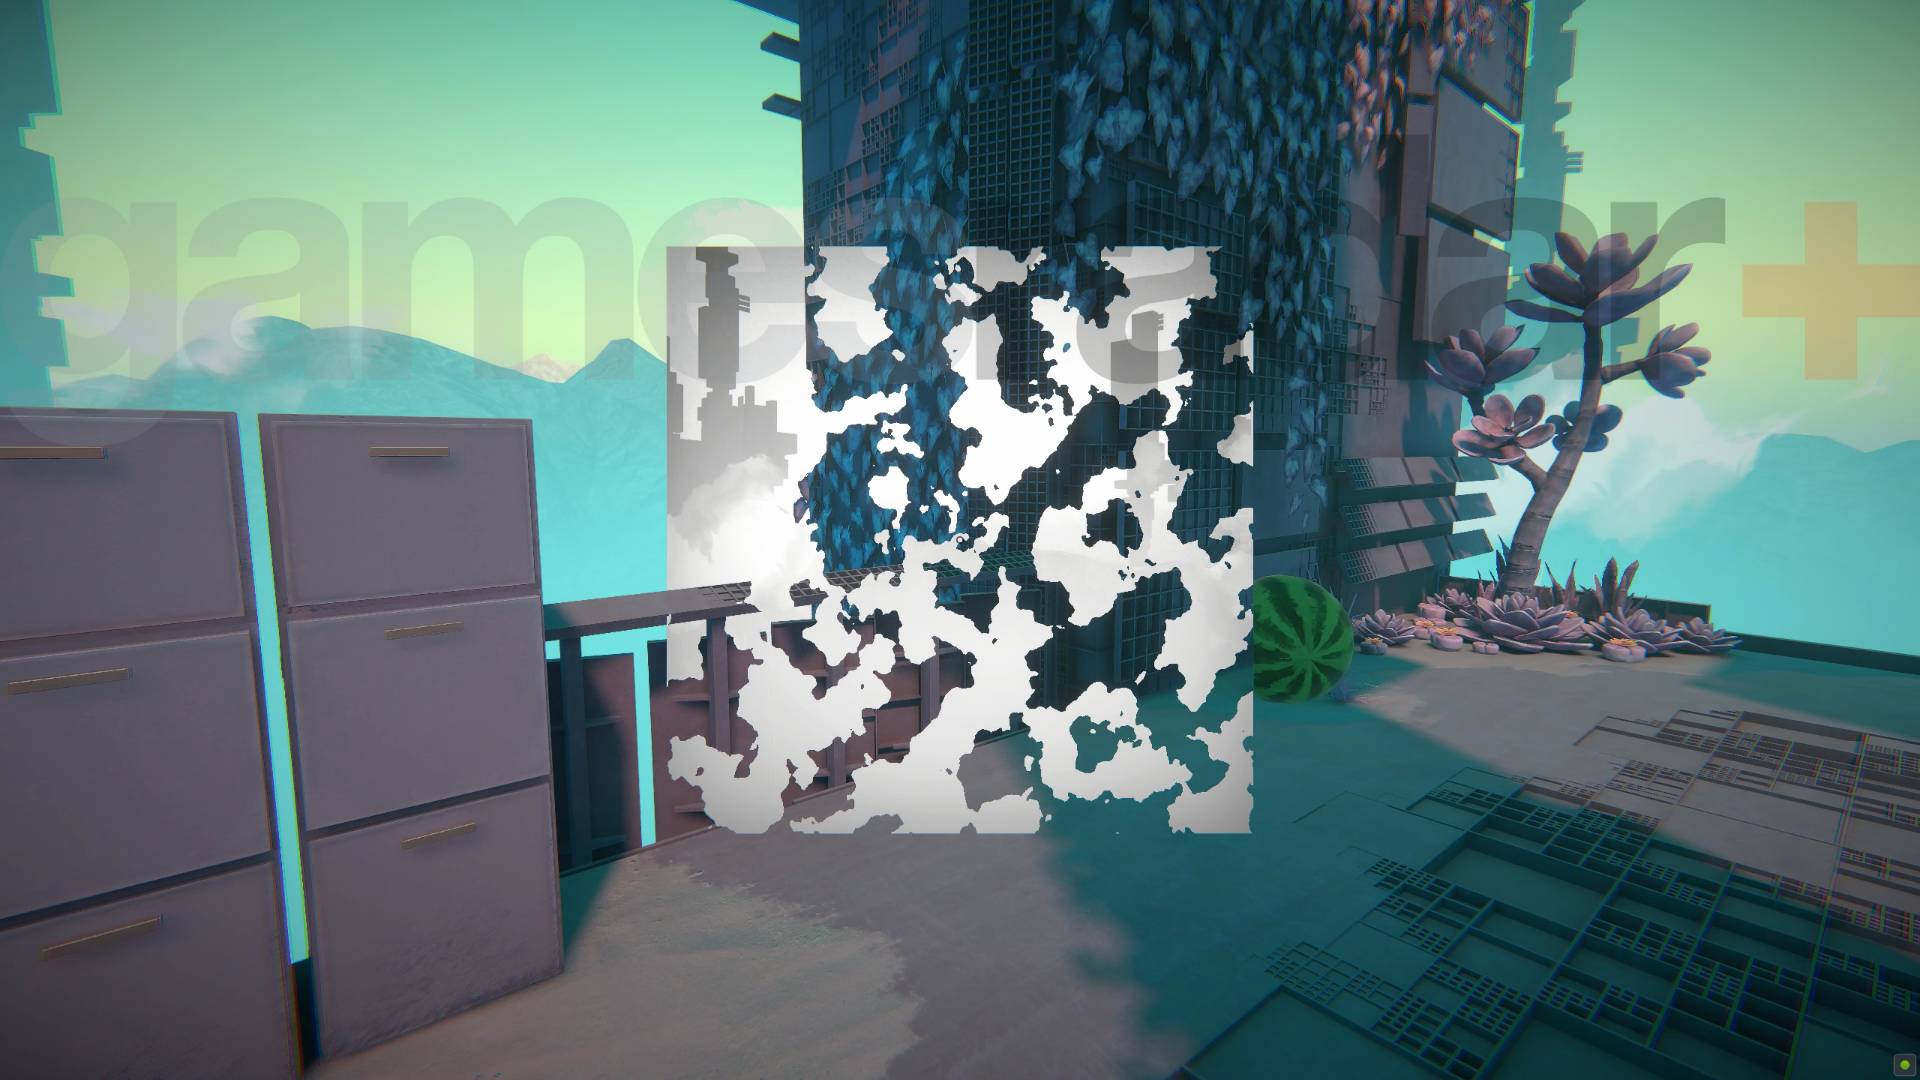
You'll need two watermelons here so first use the fixed camera to take a picture of the sky and then use that photo to slice a tiny bit off the watermelon so it won't roll down the slope. That will let you take a picture of it, duplicate it, and get the weight you need on the scales to complete this puzzle.
Chapter 4 Mirren Level 4-1
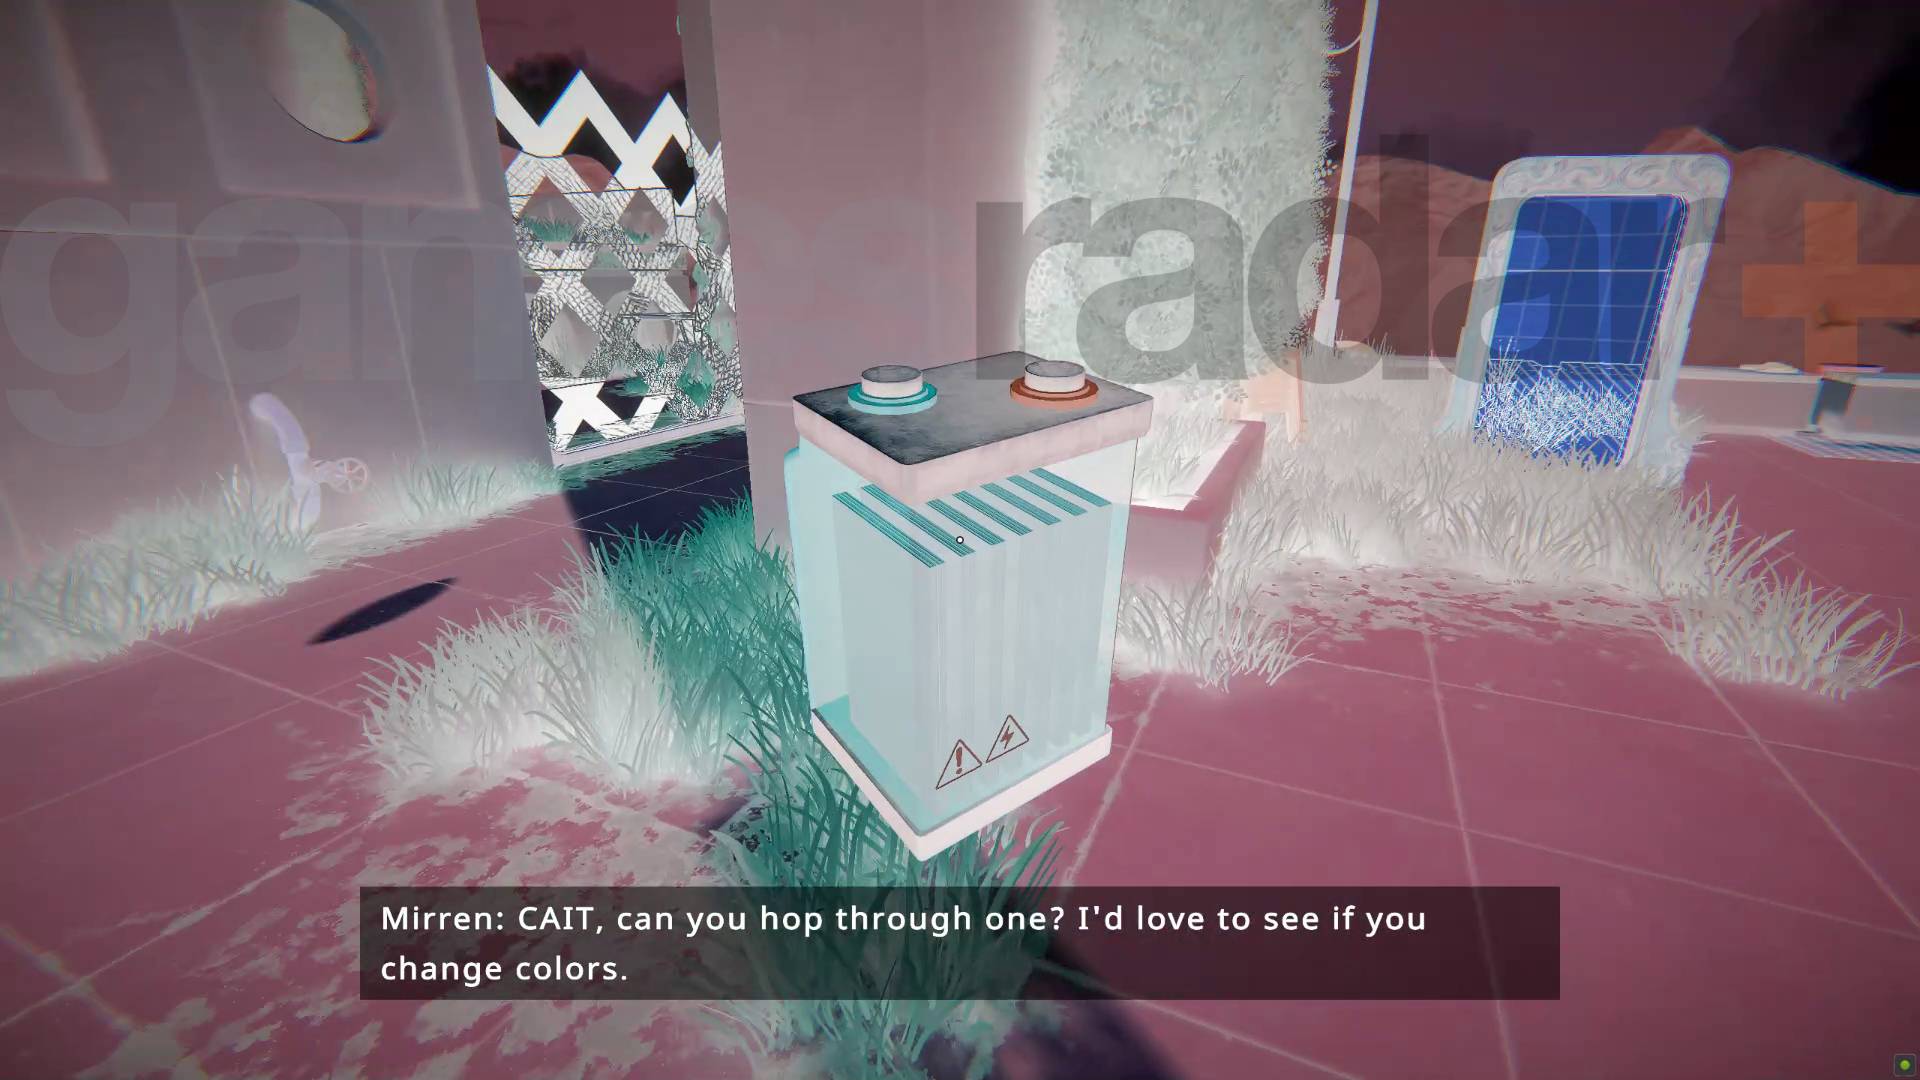
All you need to do here is walkthrough the sketchy portal so you can get into an area full of different color and art style portals. Use the one that matches the gated area where you can see the battery and then go back through the sketchy portal to get back to the teleporter. All the other portals are just decoration.
Chapter 4 Mirren Level 4-2
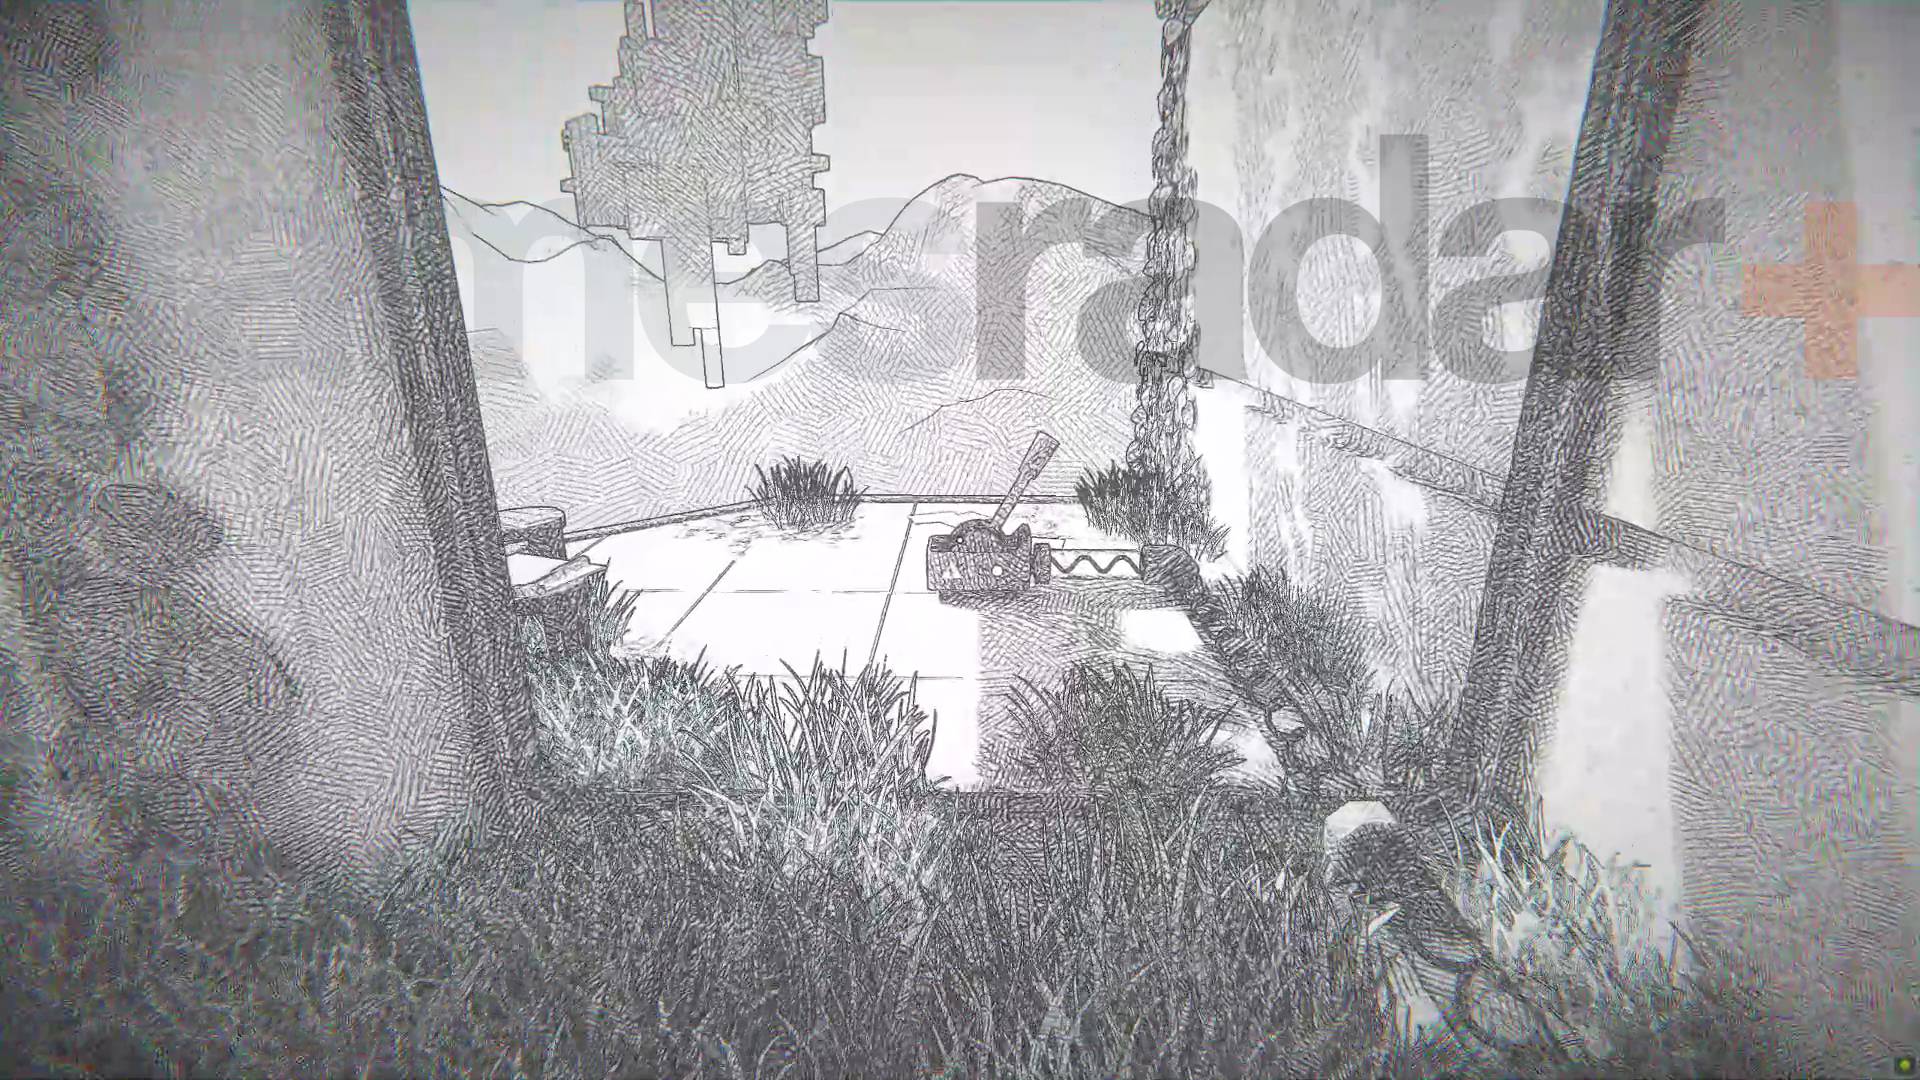
Walk through the sketchy portal and then drop down to the lower level of the opposite structure. Take the stairs back up where you can now pass through the gate that was blocking the switch. Then head back down stairs and through the normal colored portal so you can reach the now powered teleporter.
Chapter 4 Mirren Level 4-3
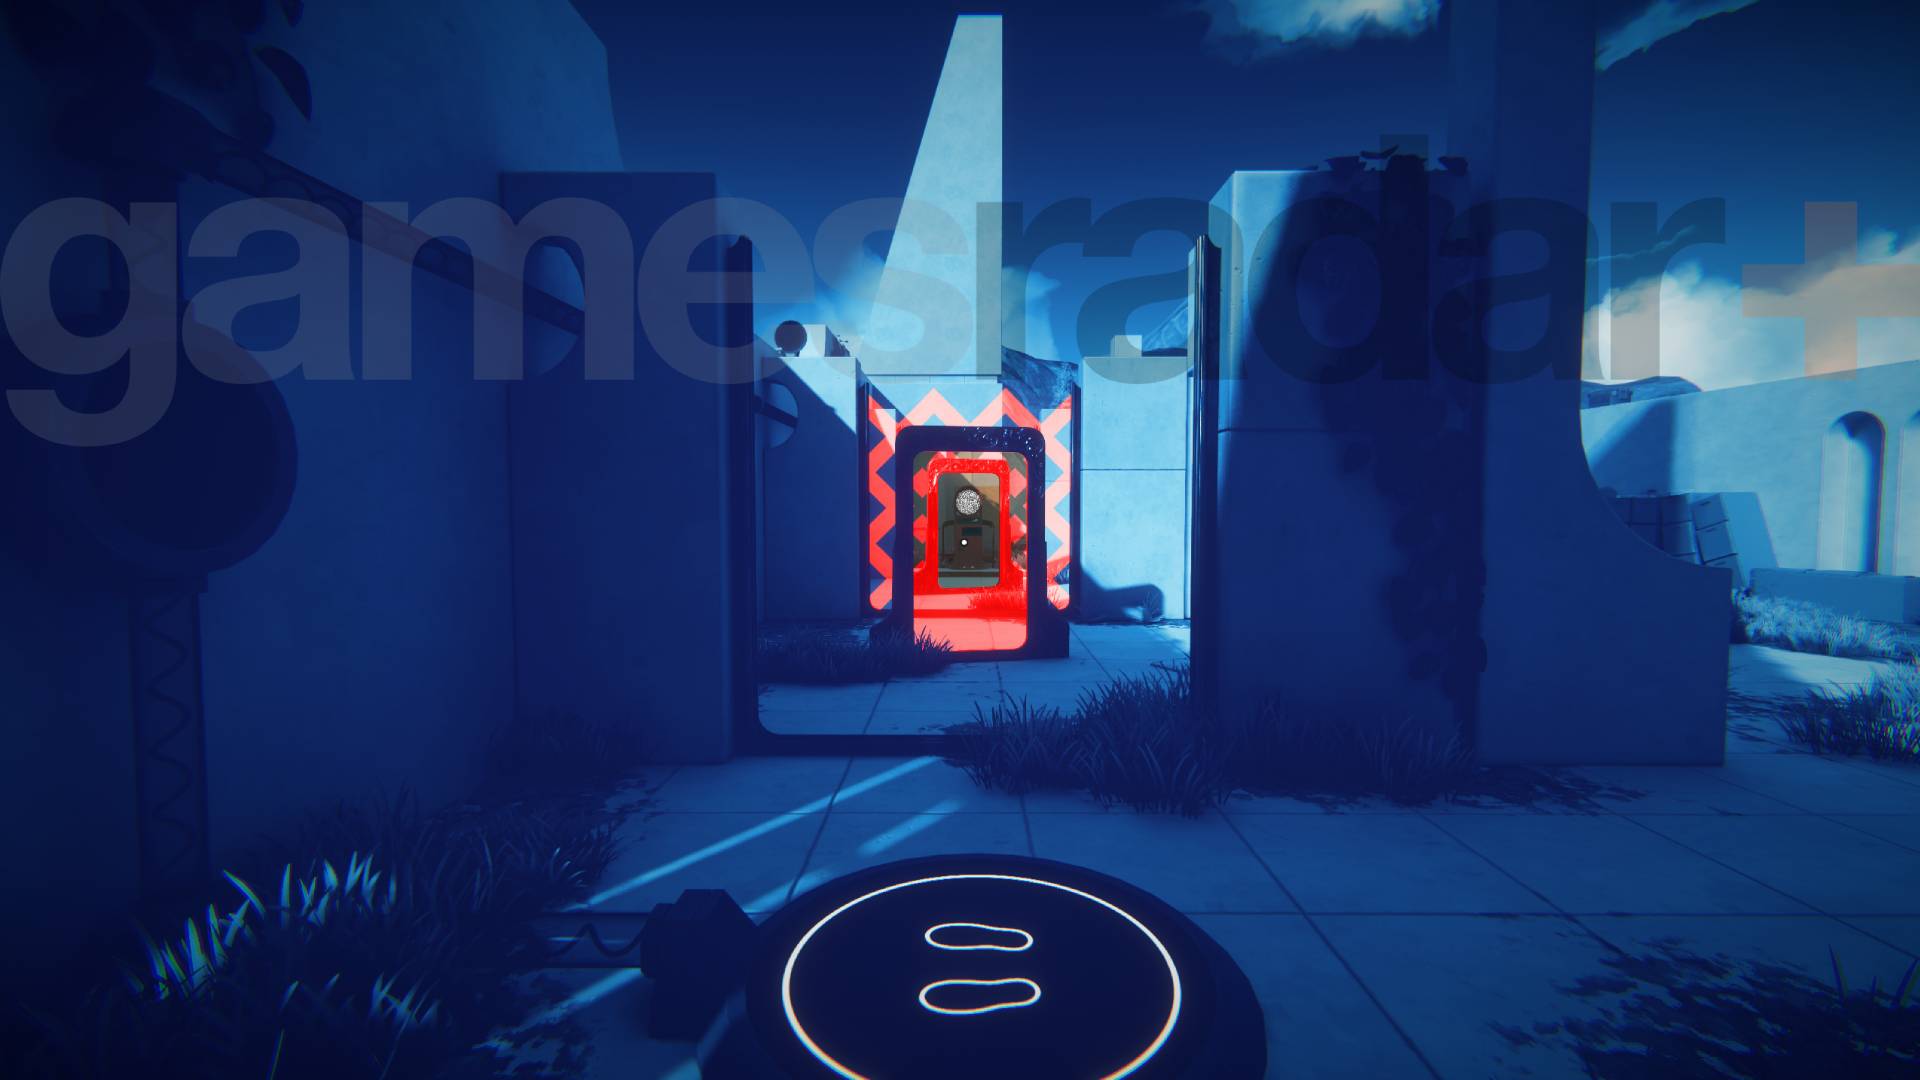
The trick here is to line up the portals to match the next gate so that you can see a clear path to the teleporter. Every time you pass through a portal it swaps colors with the last gate/color you passed through. Assuming you're starting fresh in the level and haven't changed anything yet, the order of portals to pass through should be this:
- Sketchy
- Red
- Blue
That's chapter 4 and Mirren done. Time to take on the final level.
Current page: Viewfinder walkthrough chapter 4 Mirren
Prev Page Viewfinder walkthrough Chapter 3 Chi Leung Next Page Viewfinder walkthrough Chapter ? / 5
I'm GamesRadar's Managing Editor for guides. I also write reviews, previews and features, largely about horror, action adventure, FPS and open world games. I previously worked on Kotaku, and the Official PlayStation Magazine and website.
You must confirm your public display name before commenting
Please logout and then login again, you will then be prompted to enter your display name.

 Join The Community


