Transistor combat guide
Backdoor Tests

To access the test areas, you’ll need to enter the unfortunately named Backdoor. This will pop up in various parts of the map as you make your way through the game so be sure to explore so you don’t miss it.
The Backdoor is a safe haven, untouched for the most part by the troubles of Cloudbank city. The four different test categories will be made available at intervals and you’ll be limited in how often you can enter the same test area in a single visit. This is essentially akin to Bastion’s Proving Grounds.
Successfully passing a test will reward you with XP and the unlocking of a music track that can be played on the record player down on the beach.

All of the tests will impose certain restrictions on the available functions while in the arena. Most of them will do this by equipping you with preset functions while the Performance test will put a cap on the available memory as well as limiting the choice of functions before the test begins.
These constraints may seem frustrating at first, but it’s a great way to experiment with function combinations you may not otherwise use while honing your strategy skills. The presets for each test are themselves a huge clue as to how to go about passing each trail so if at first you don’t succeed, you’re doing something wrong. Try again.
Speed Test
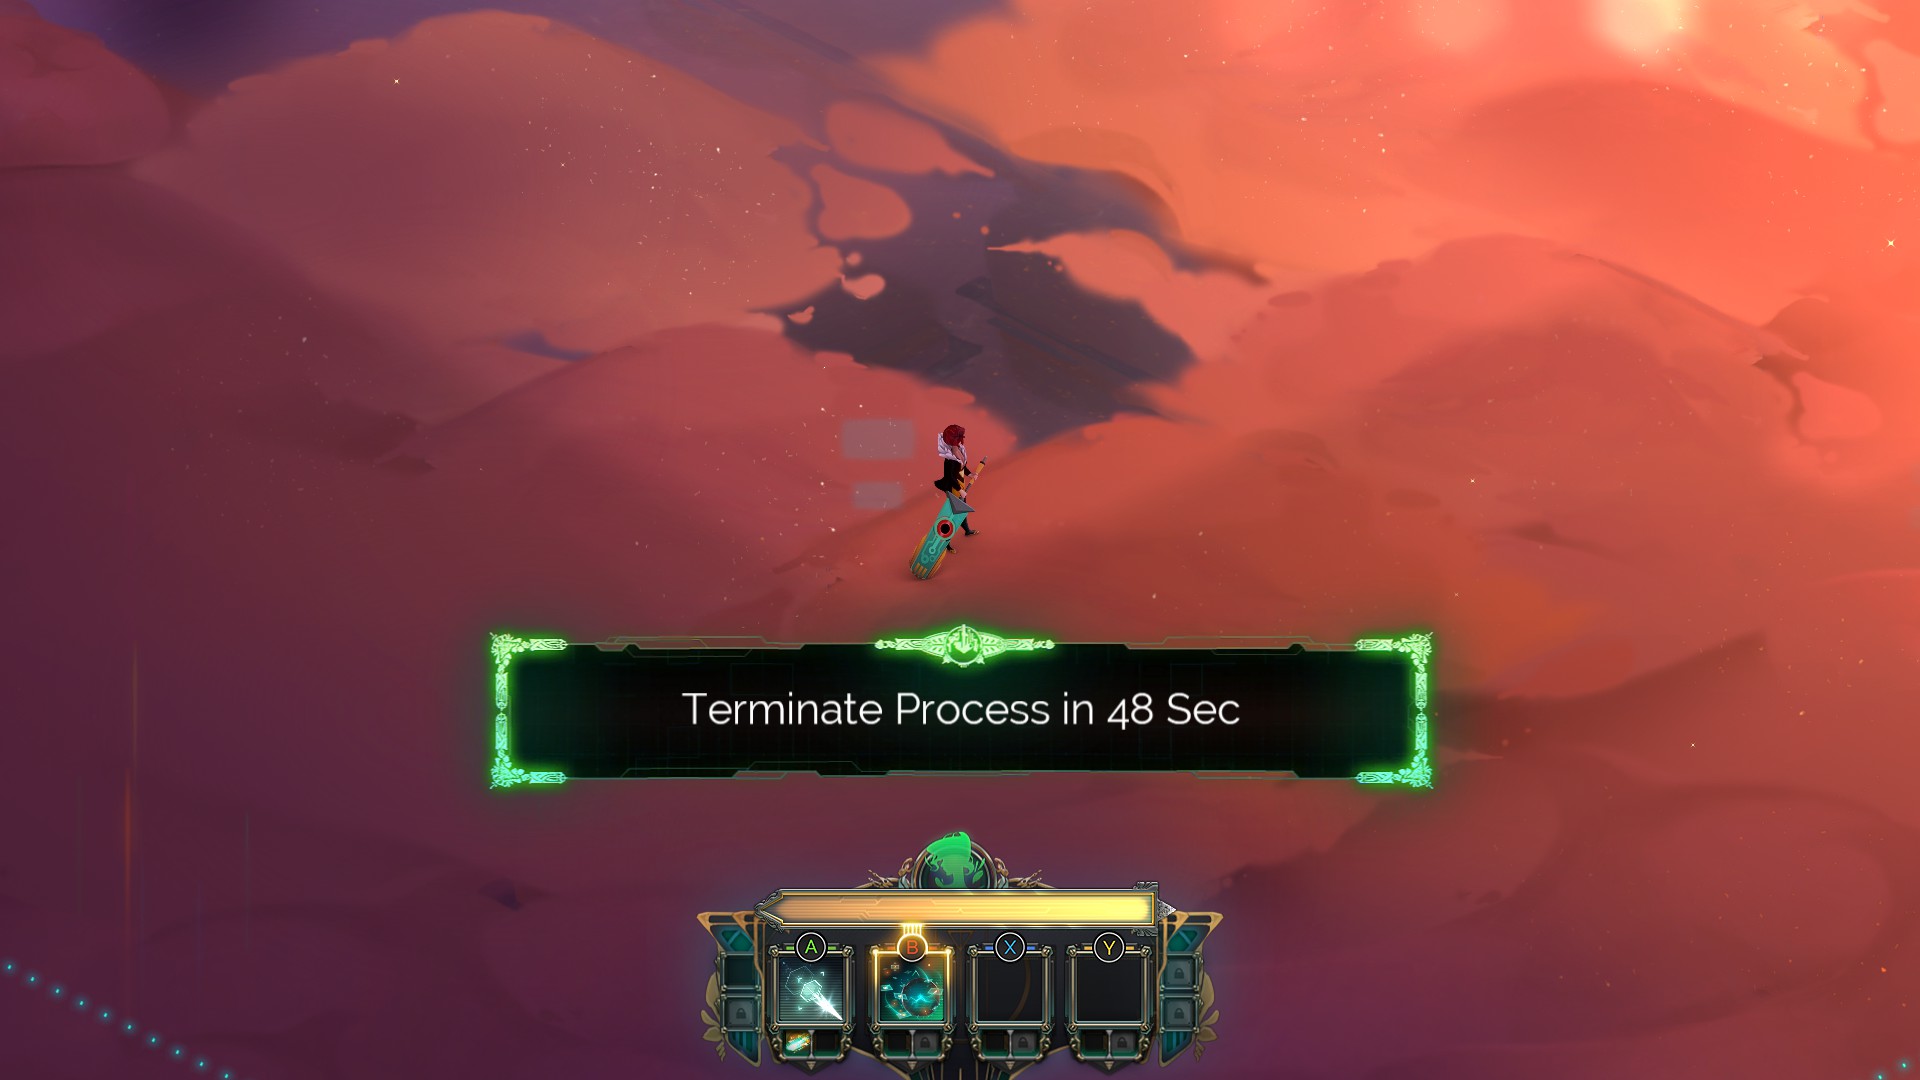
This is a basic time attack. You’ll be asked to dispatch a number of enemies within a given time limit. If you beat the clock, you pass the test. As you advance through the 6 levels, you’ll need to take down tougher enemies in less time and contend with respawning cells, so this sneaky test is actually heavily reliant on your knowledge of the turn system, enemy patterns and super-efficient planning as well.
Planning Test
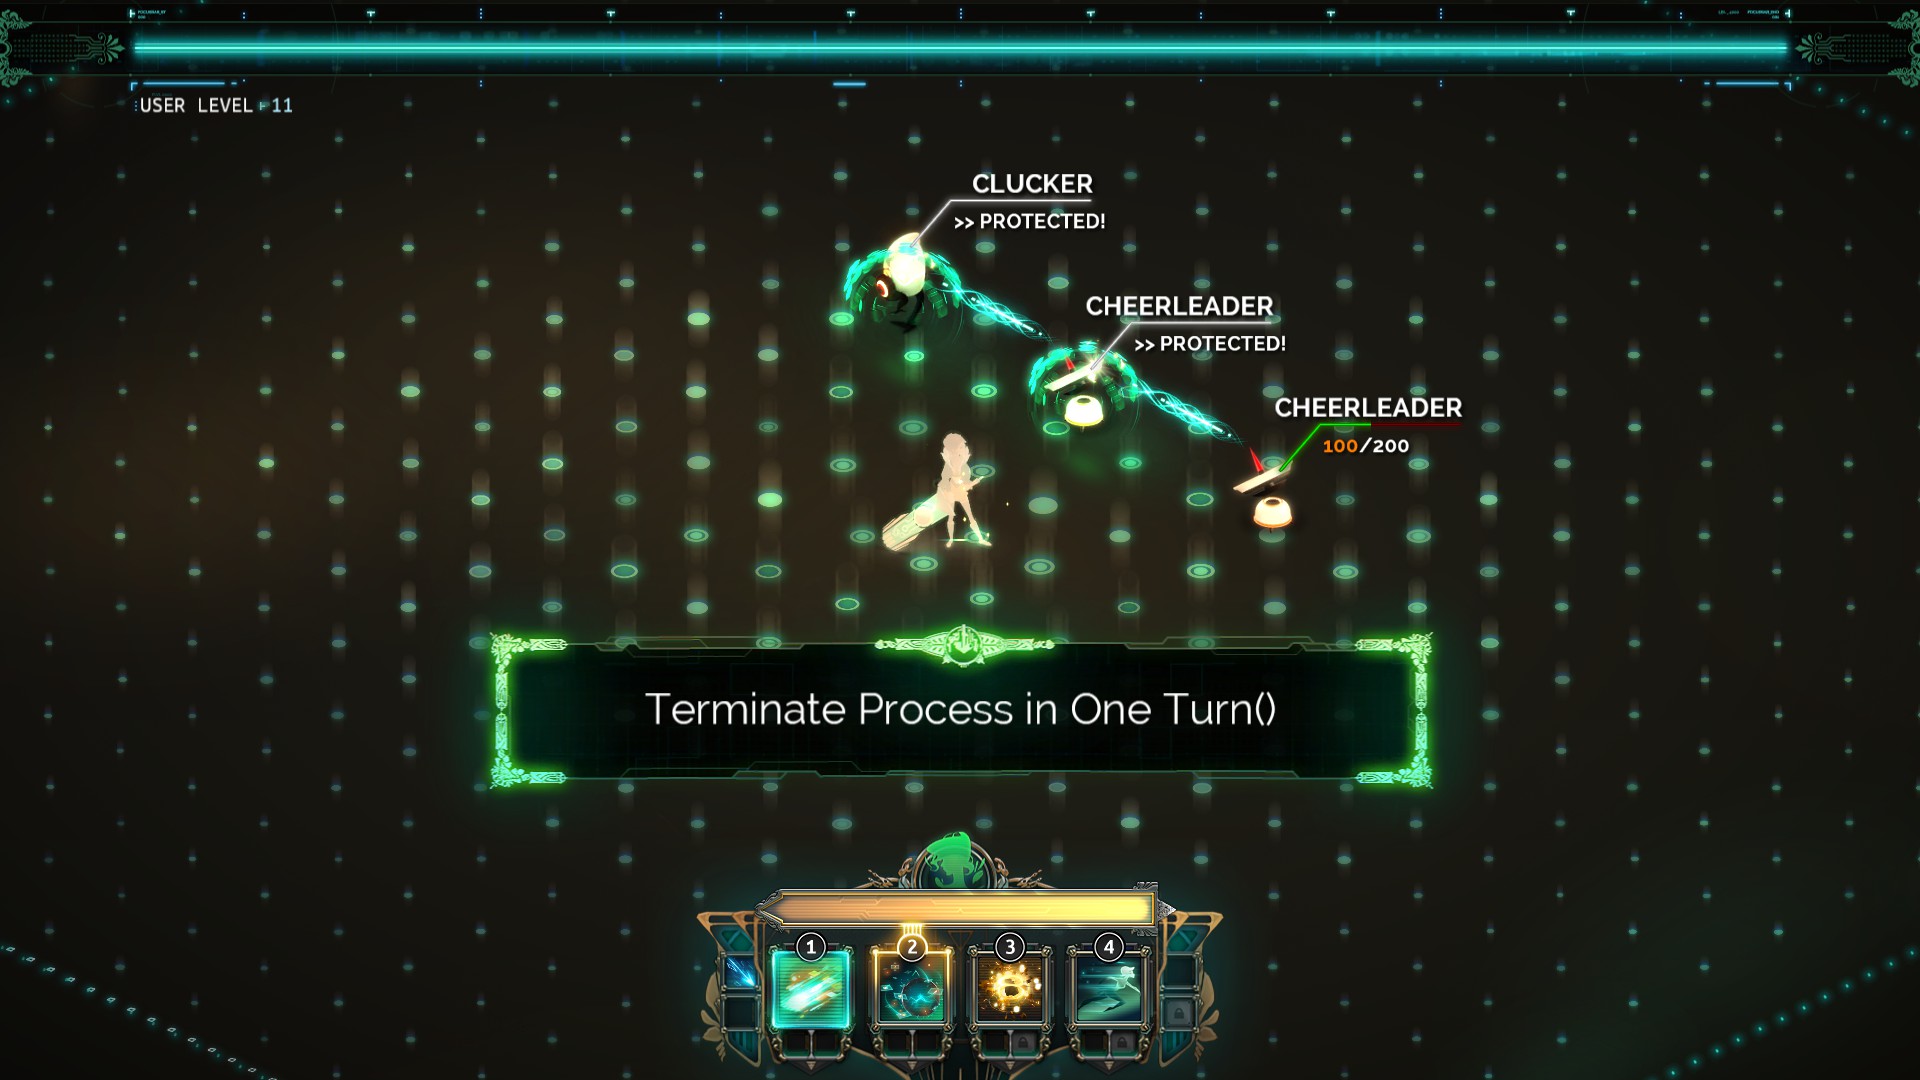
Never have the 7 P’s rung more true. Proper planning and preparation do indeed prevent piss poor performance; an adage which happens to form the crux of the entire combat system. You’ll be asked to terminate the targets in a single Turn using only the preset functions. This particular arena will shake things up with obstacles in the terrain and protected enemies so it’s well worth slogging through the 7 tests here to sharpen your skills.
Performance Test
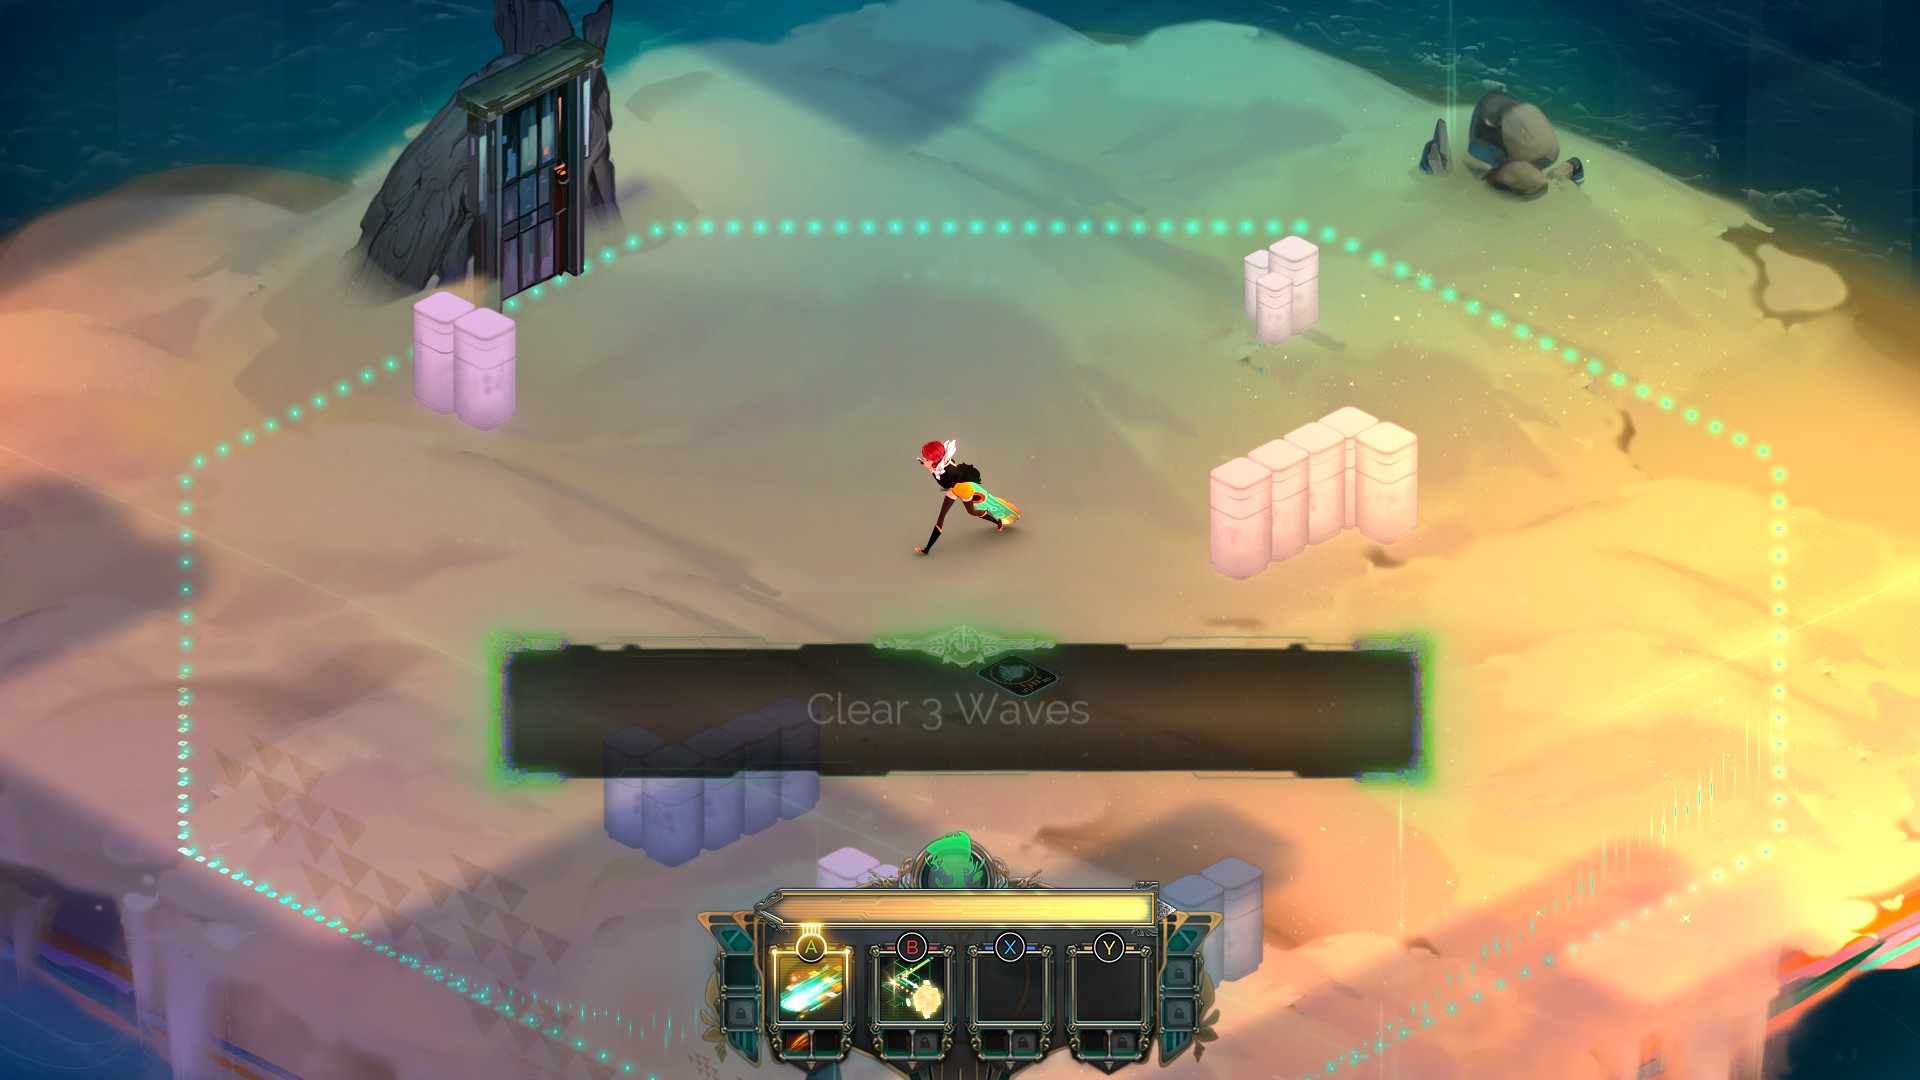
This is a basic horde mode with an increased number of waves and harder enemies as you battle your way through the 7 levels. There is no timer so as long as you survive each wave and make it to the end, you pass! A leisurely slaughter is just the thing to cheer up Red. Rather than a preset loadout, you can choose your own functions from a limited selection but memory is capped so it's up to you to decide if you want to opt for a single, upgraded attack or 2 or 3 attacks of average power.
Stability Test
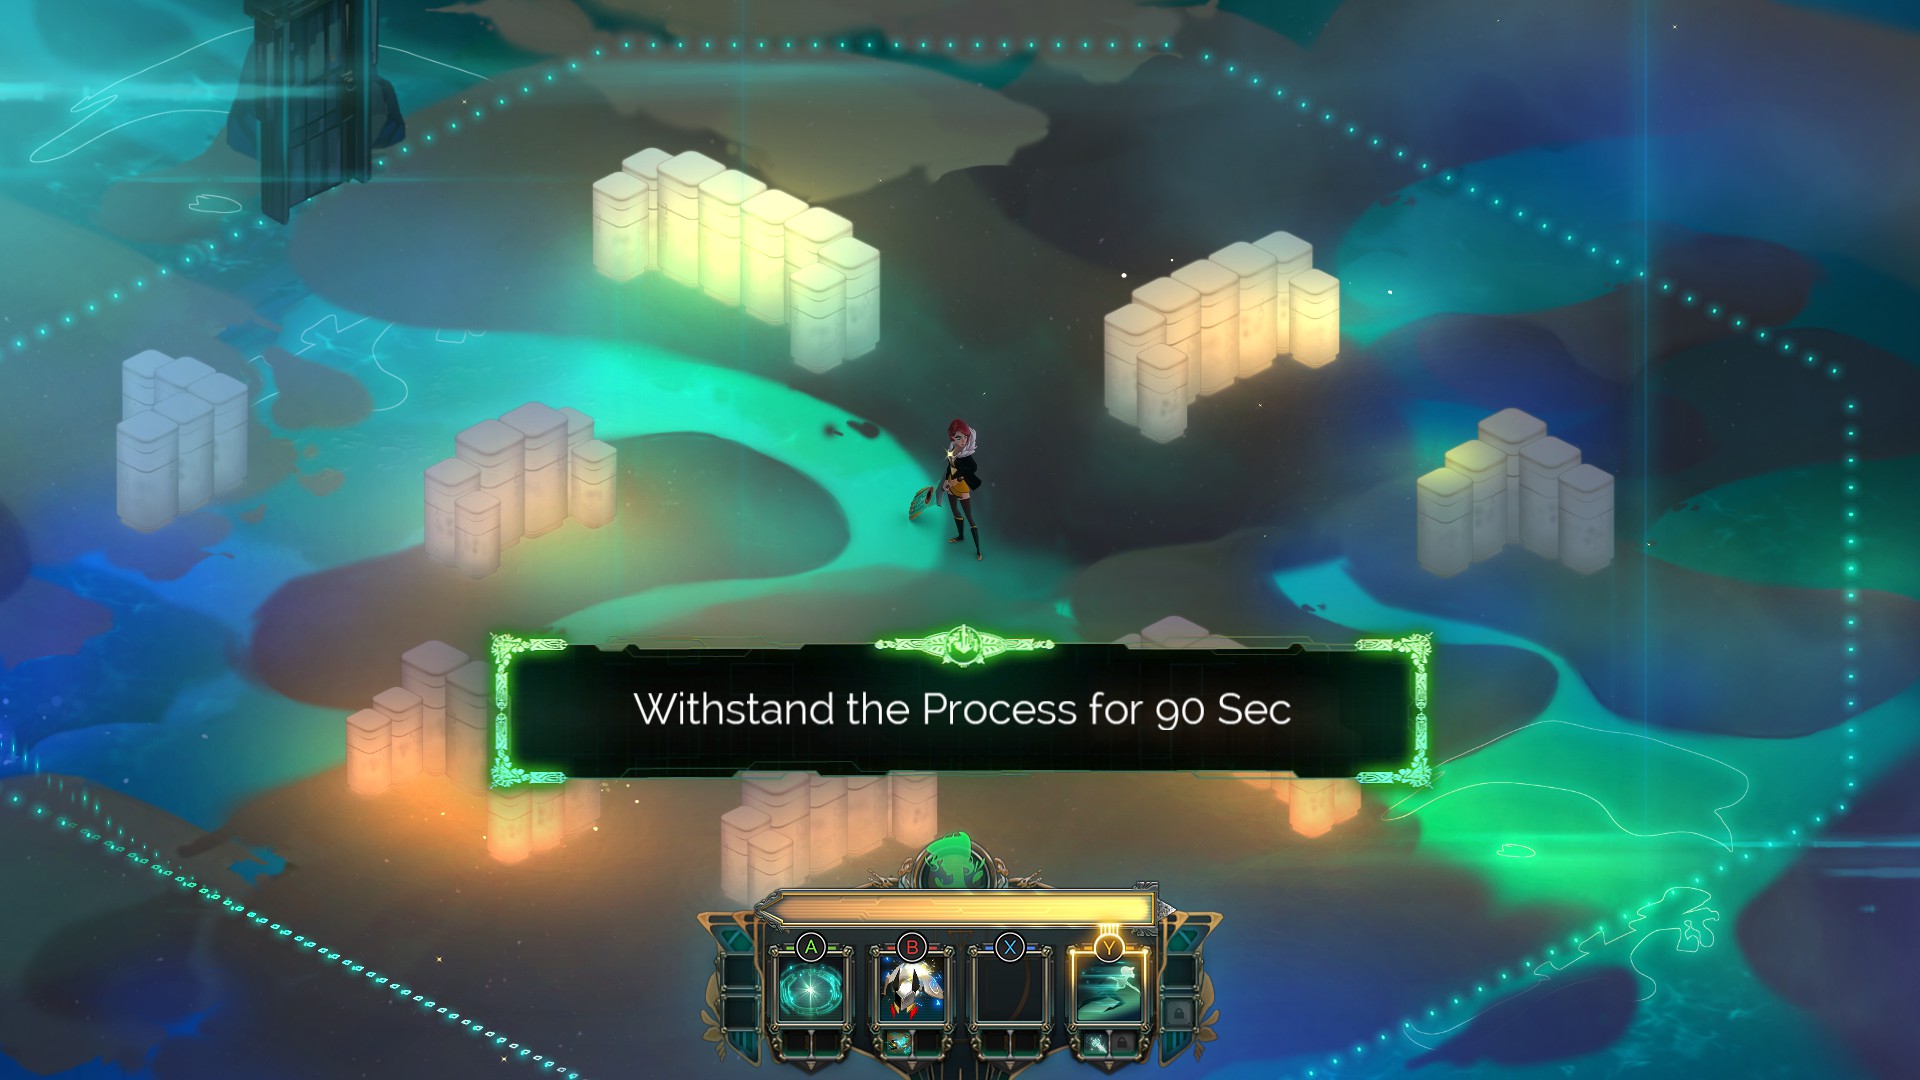
We're back on the clock with this one and the objective is to survive until it hits zero. You'll be given a preset loadout, but the earlier stages allow for a lot of strategic running away and fearless dodging of enemy contact. The most important thing to remember in this arena is that you don't need to defeat the enemies, or even engage them. As long as Red's still standing at the end, you win, yellow belly be damned!
Table of Contents:
- Basics of Combat
- Functions
- Limiters
- Backdoor Tests
- Recommended Loadouts
Weekly digests, tales from the communities you love, and more


