Sly Cooper: Thieves in Time clue bottle and safe locations guide
Don't have a clue? We'll help you get them all.
Weekly digests, tales from the communities you love, and more
You are now subscribed
Your newsletter sign-up was successful
Want to add more newsletters?
Every Friday
GamesRadar+
Your weekly update on everything you could ever want to know about the games you already love, games we know you're going to love in the near future, and tales from the communities that surround them.
Every Thursday
GTA 6 O'clock
Our special GTA 6 newsletter, with breaking news, insider info, and rumor analysis from the award-winning GTA 6 O'clock experts.

Every Friday
Knowledge
From the creators of Edge: A weekly videogame industry newsletter with analysis from expert writers, guidance from professionals, and insight into what's on the horizon.

Every Thursday
The Setup
Hardware nerds unite, sign up to our free tech newsletter for a weekly digest of the hottest new tech, the latest gadgets on the test bench, and much more.

Every Wednesday
Switch 2 Spotlight
Sign up to our new Switch 2 newsletter, where we bring you the latest talking points on Nintendo's new console each week, bring you up to date on the news, and recommend what games to play.

Every Saturday
The Watchlist
Subscribe for a weekly digest of the movie and TV news that matters, direct to your inbox. From first-look trailers, interviews, reviews and explainers, we've got you covered.

Once a month
SFX
Get sneak previews, exclusive competitions and details of special events each month!
Go West Young Raccoon
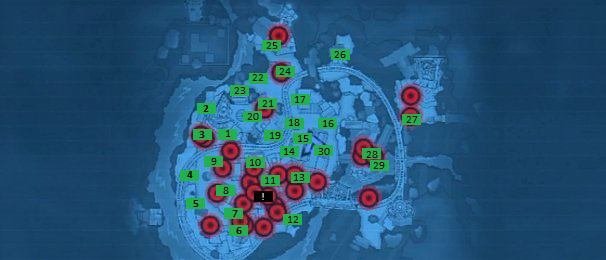
Above: The green boxes represent Clue Bottles. The black box represents the Safe.
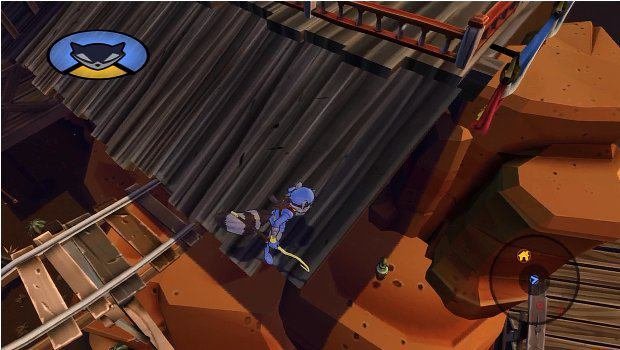
CLUE BOTTLE #1
Just south of the hideout, the first Clue Bottle sits on a well hidden rock.
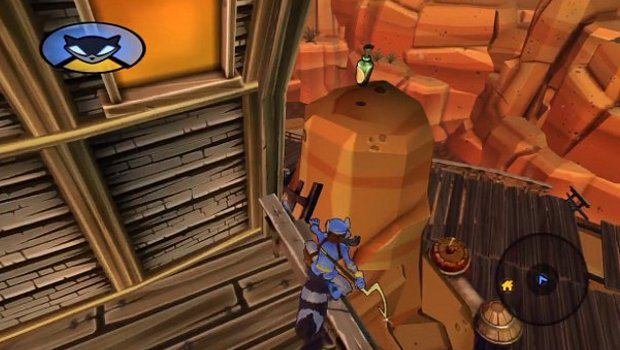
CLUE BOTTLE #2
This one sits on a rock immediately behind the hideout.
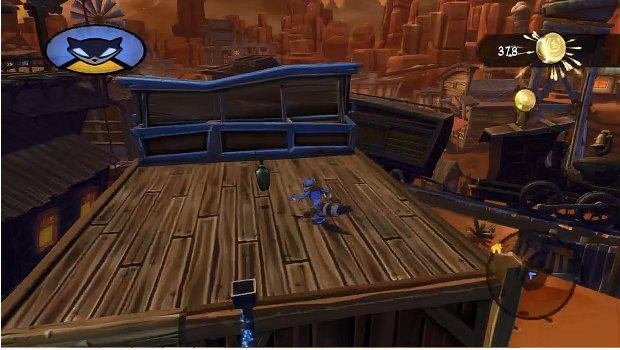
CLUE BOTTLE #3
Found on a rooftop just south of Clue Bottle #2.
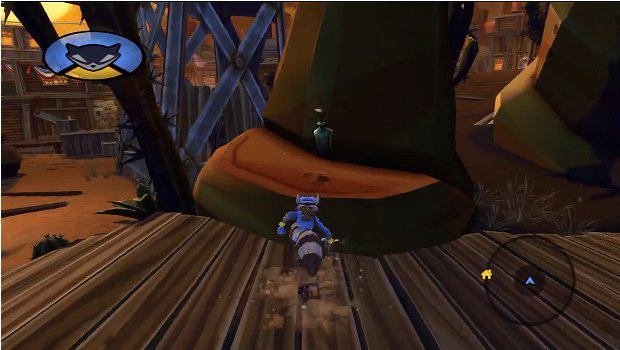
CLUE BOTTLE #4
Follow the train tracks south to spot this bottle on a small rock.
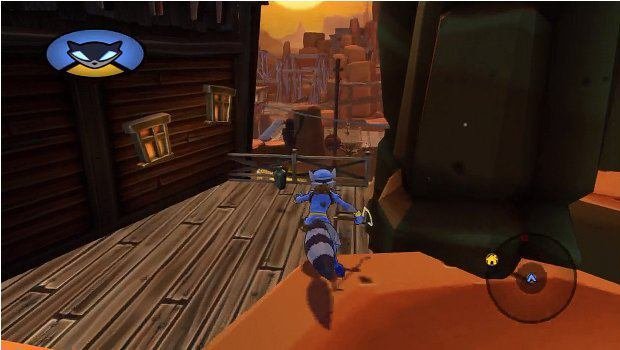
CLUE BOTTLE #5
Follow the tracks a little more, and climb the series of rocks to reach this bottle.
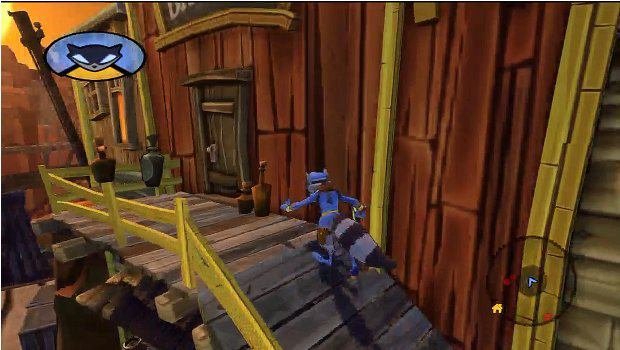
CLUE BOTTLE #6
Southeast from Clue Bottle #5 is the saloon. The next Clue Bottle sits by the entrance.
Weekly digests, tales from the communities you love, and more
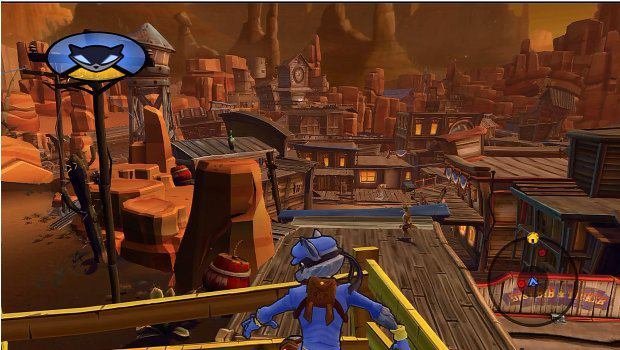
CLUE BOTTLE #7
From the saloon, you can see another Clue Bottle atop a rock. Climb the nearby telephone pole to reach it.
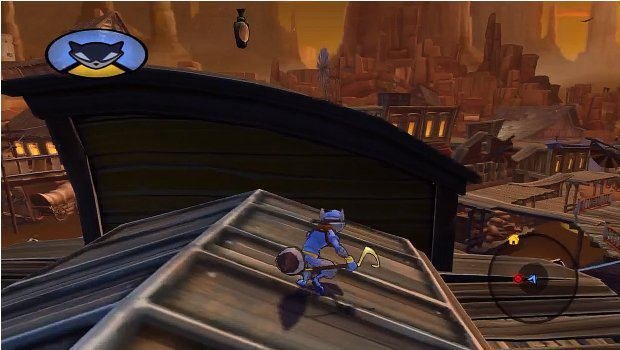
CLUE BOTTLE #8
North from Clue Bottle #7 is a large building where you'll find another bottle on the roof.
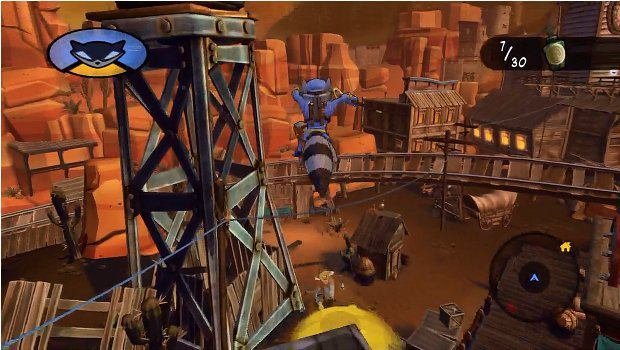
CLUE BOTTLE #9
Look northwest from this roof to spot another bottle atop an outhouse.
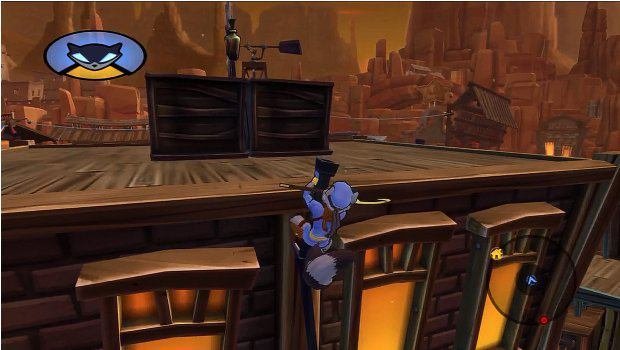
CLUE BOTTLE #10
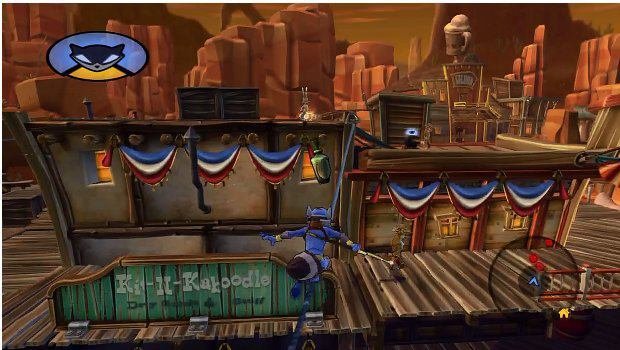
Turn east from atop the outhouse to spot a tall building decorated in red, white, and blue banners. A Clue Bottle can be found on top.
CLUE BOTTLE #11
South of here is a wire connecting two roofs. A Clue Bottle bobs above it.
CLUE BOTTLE #12
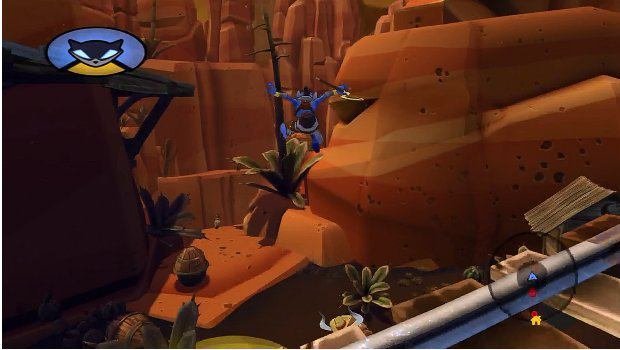
This one's a bit out of the way. Drop from to the ground and head south, crossing the train tracks. The Clue Bottle lies just beyond, nestled between two cliffs.
CLUE BOTTLE #13
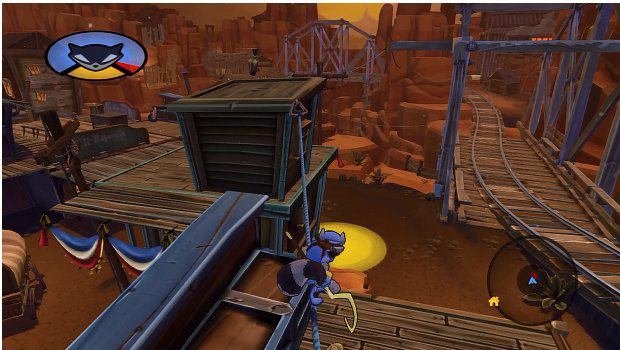
Return to the rooftop near Clue Bottle #11 and cross the wire heading east. Another Clue Bottle rests on the roof here.
CLUE BOTTLE #14
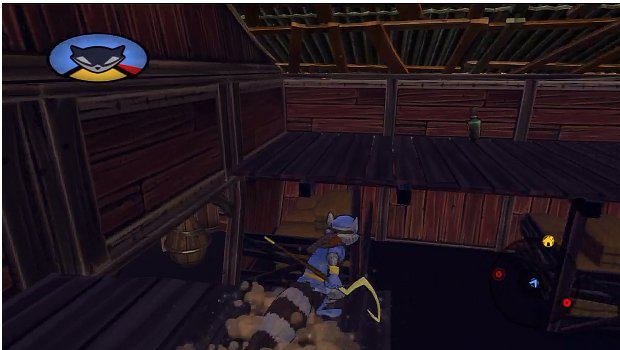
Drop to the ground and enter the green barn to the north. Inside, use the pad to launch onto the upper ledge. Hop over the small gap to find a well hidden Clue Bottle.
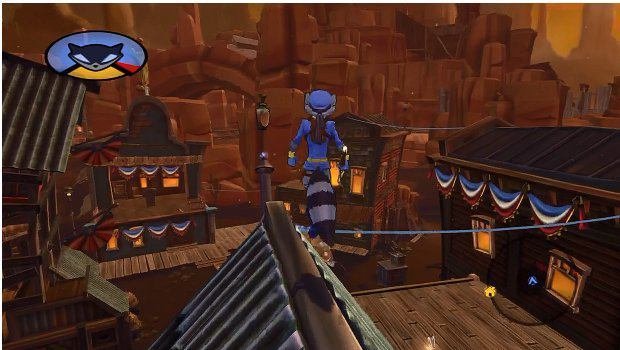
CLUE BOTTLE #15
Head to the roof of this same barn to find another bottle.
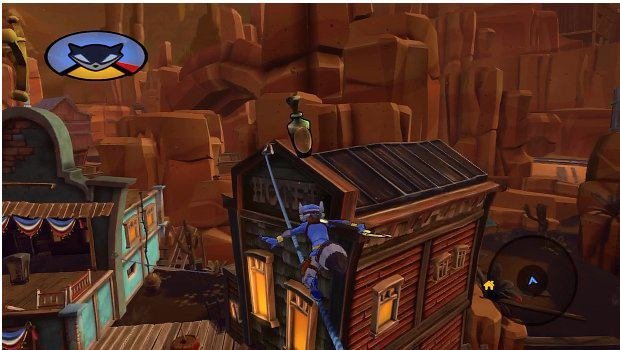
CLUE BOTTLE #16
Northeast from here is a wire between buildings where you'll find a other Clue Bottle.
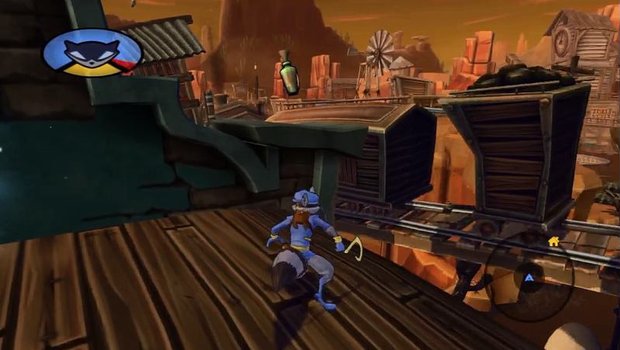
CLUE BOTTLE #17
To the northwest is a blue building, Toothpick's headquarters. You'll find this Clue Bottle on the roof.
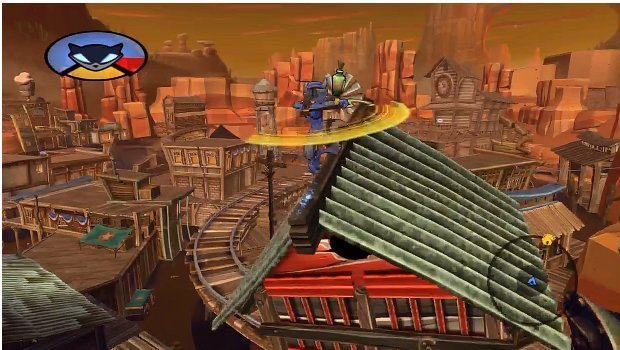
CLUE BOTTLE #18
This one is a pain. It rests atop the wooden tower, and the only way to get there is via the springy ledges sticking out from the side. The best way we've found to reach those ledges is to use Sly's paraglider from Clue Bottle #15.
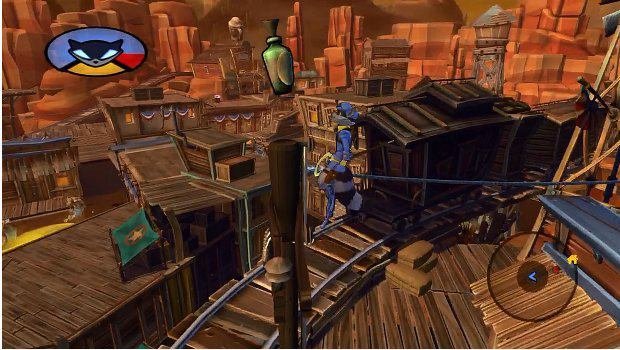
CLUE BOTTLE #19
Southwest of the wooden tower is a telephone pole. The next Clue Bottle rests on top.
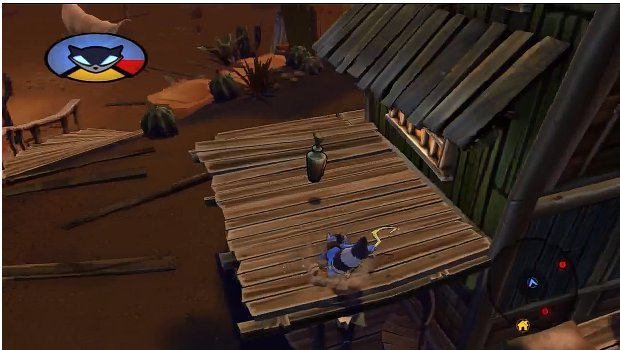
CLUE BOTTLE #20
Head northwest form here as if you were returning to the hideout. A Clue Bottle rests on a ledge facing that direction.
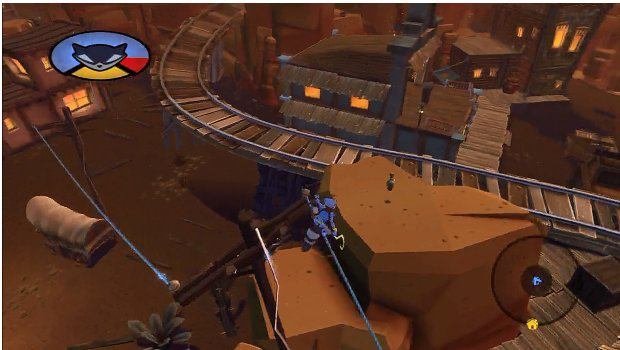
CLUE BOTTLE #21
Cross the wire north of here to find another bottle on a rock.
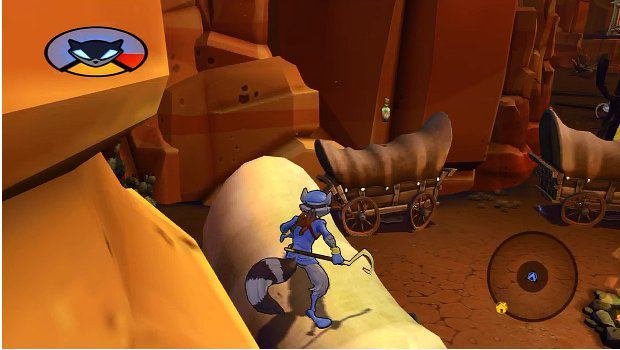
CLUE BOTTLE #22
A little further north is a group of wagons, one of which holds a Clue Bottle on its top.
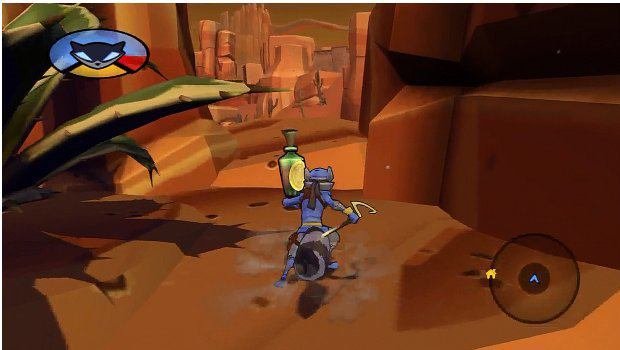
CLUE BOTTLE #23
The narrow path southwest of the wagons holds another bottle atop some small ledges.
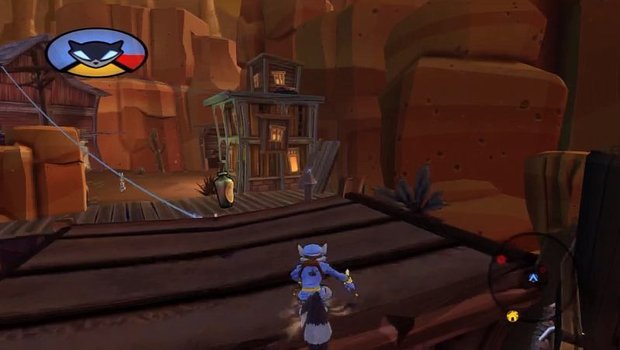
CLUE BOTTLE #24
Return to the wires you crossed a moment ago and head north. A Clue Bottle waits on a roof just up ahead.
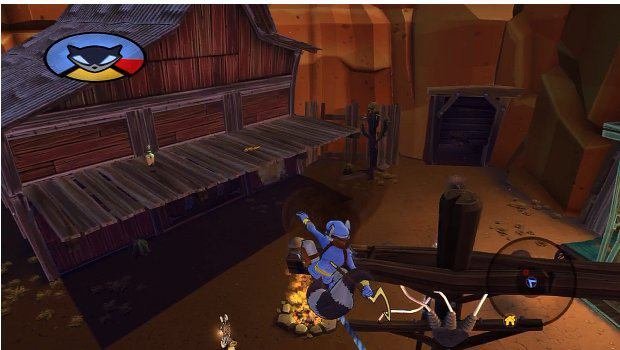
CLUE BOTTLE #25
Continue along the wires to spot another bottle on a ledge.
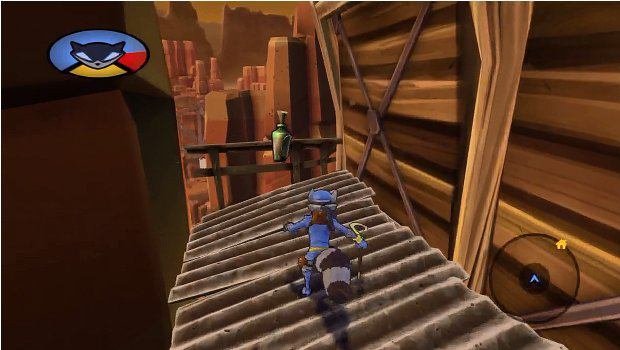
CLUE BOTTLE #26
You'll have to ride the train and have Sly's Jailbird costume unlocked for this one. Hop aboard the train and leap from the roof to reach the high ledge marked for this Clue Bottle on the map. Use the ball and chain to knock the crate back, and use the crate to hop up the ledges where this Clue Bottle awaits.
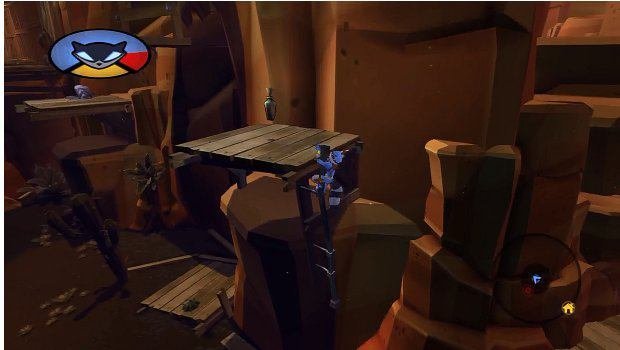
CLUE BOTTLE #27
The train tracks split in the northeast area of the map. Head there to find a ledge you can climb to. There's another bottle up here.
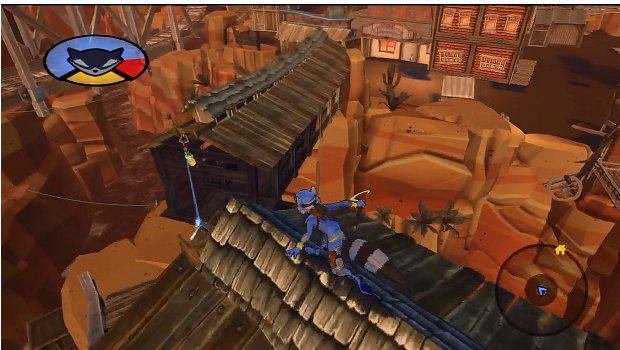
CLUE BOTTLE #28
On the opposite side of the forking tracks is a green covered bridge. Hop on the roof to find another Clue Bottle bobbing on a wire.
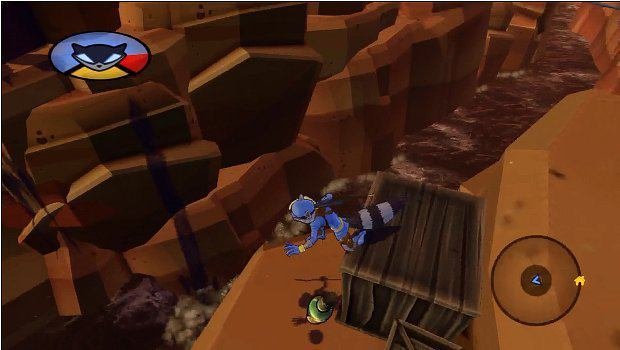
CLUE BOTTLE #29
Look down and southeast from Clue Bottle #28 to see this one on a lower ledge.
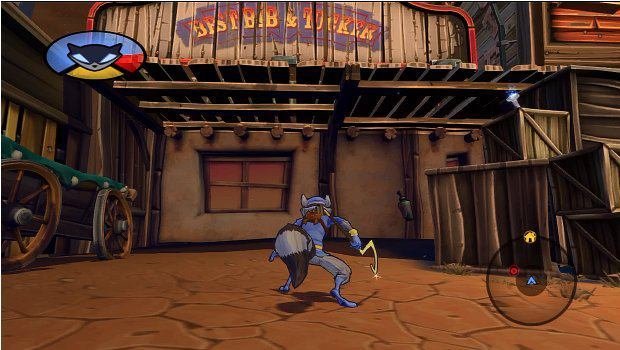
CLUE BOTTLE #30
Move through the second covered bridge to find the final Clue Bottle under an awning.
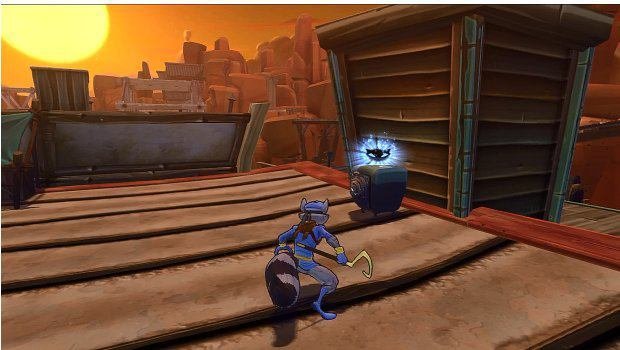
SAFE
You can now unlock the Safe - found near Clue Bottle #11 - to get Muggshot's Coin, which increases loot drops.
Tony lives in Maryland, where he writes about those good old-fashioned video games for GamesRadar+. His words have also appeared on GameSpot and G4, but he currently works for Framework Video, and runs Dungeons and Dragons streams.
