How to fast travel in Saints Row
Unlocking new Saints Row fast travel points explained

The Saints Row fast travel system is handy for getting around the expansive world map, however the way to use it is somewhat confusing as you first need to take photographs of major landmarks found across Santo Ileso. The sheer size of the map in Saints Row can make progress around it feel overwhelming, and manually travelling everywhere is a drawn out process, so being able to fast travel is key. As it's not exactly clear how to unlock new fast travel points and locations in Saints Row, I've got a full explanation and list of locations below.
How to fast travel in Saints Row
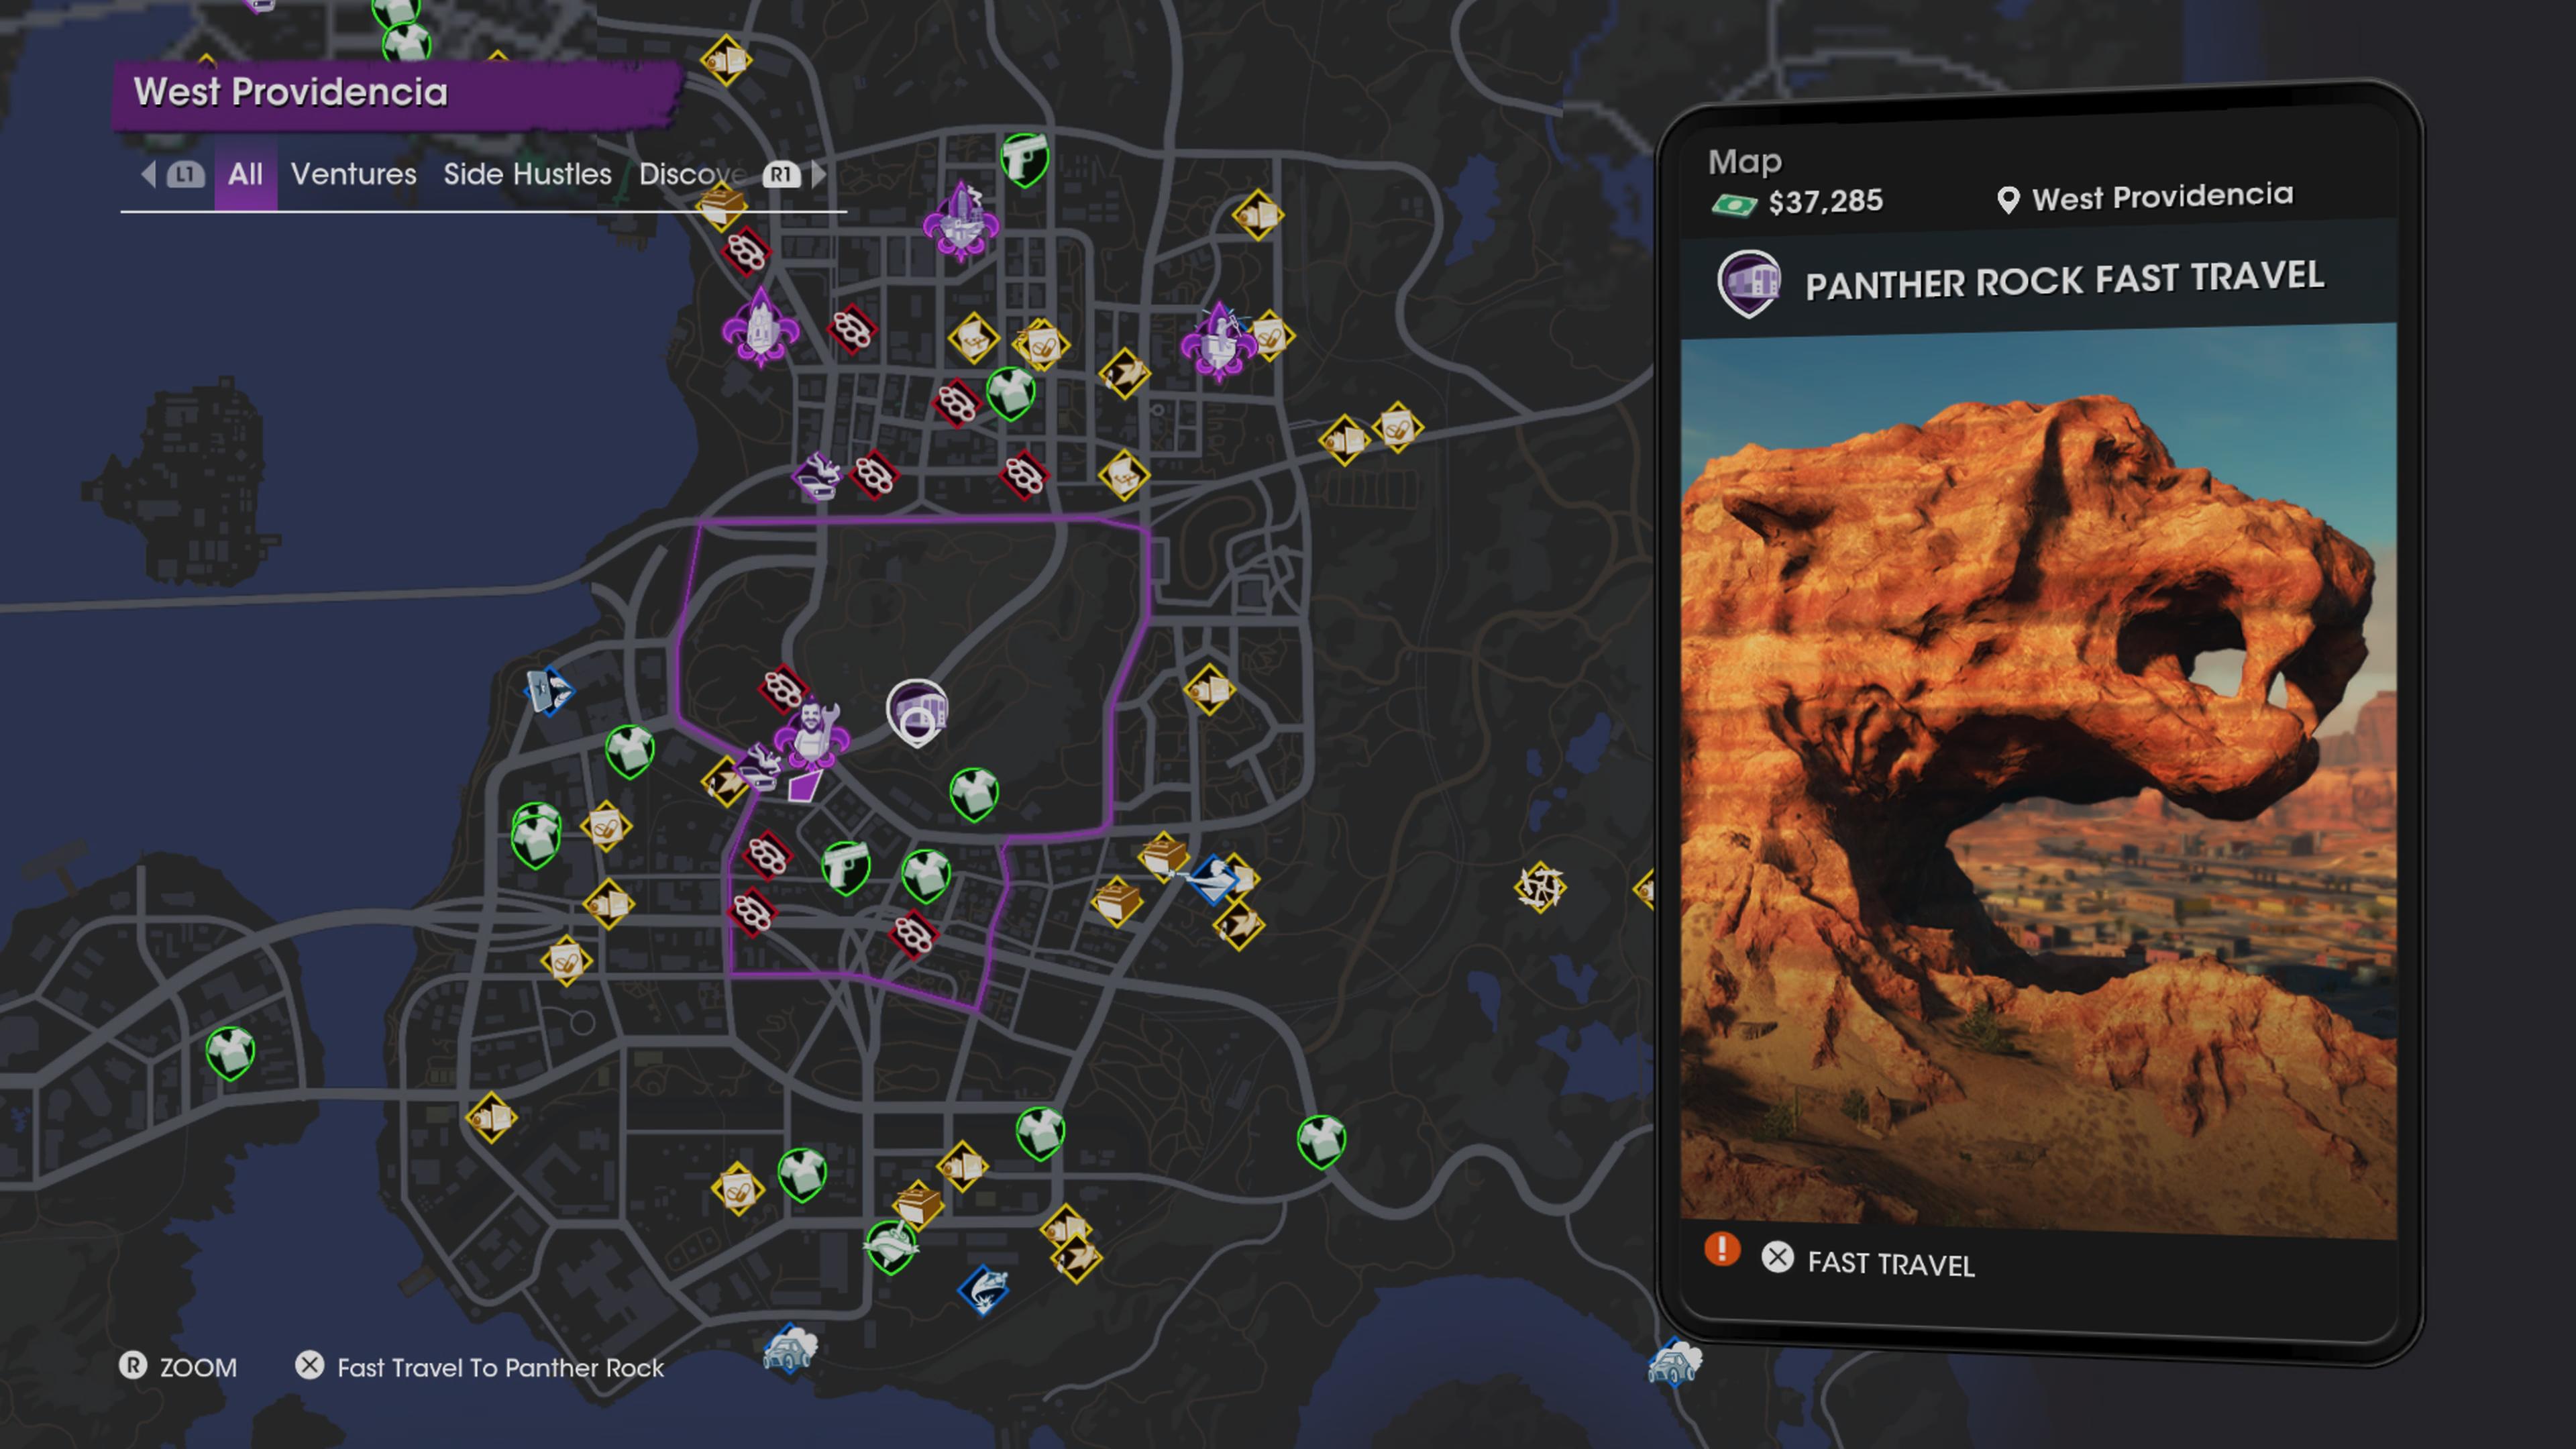
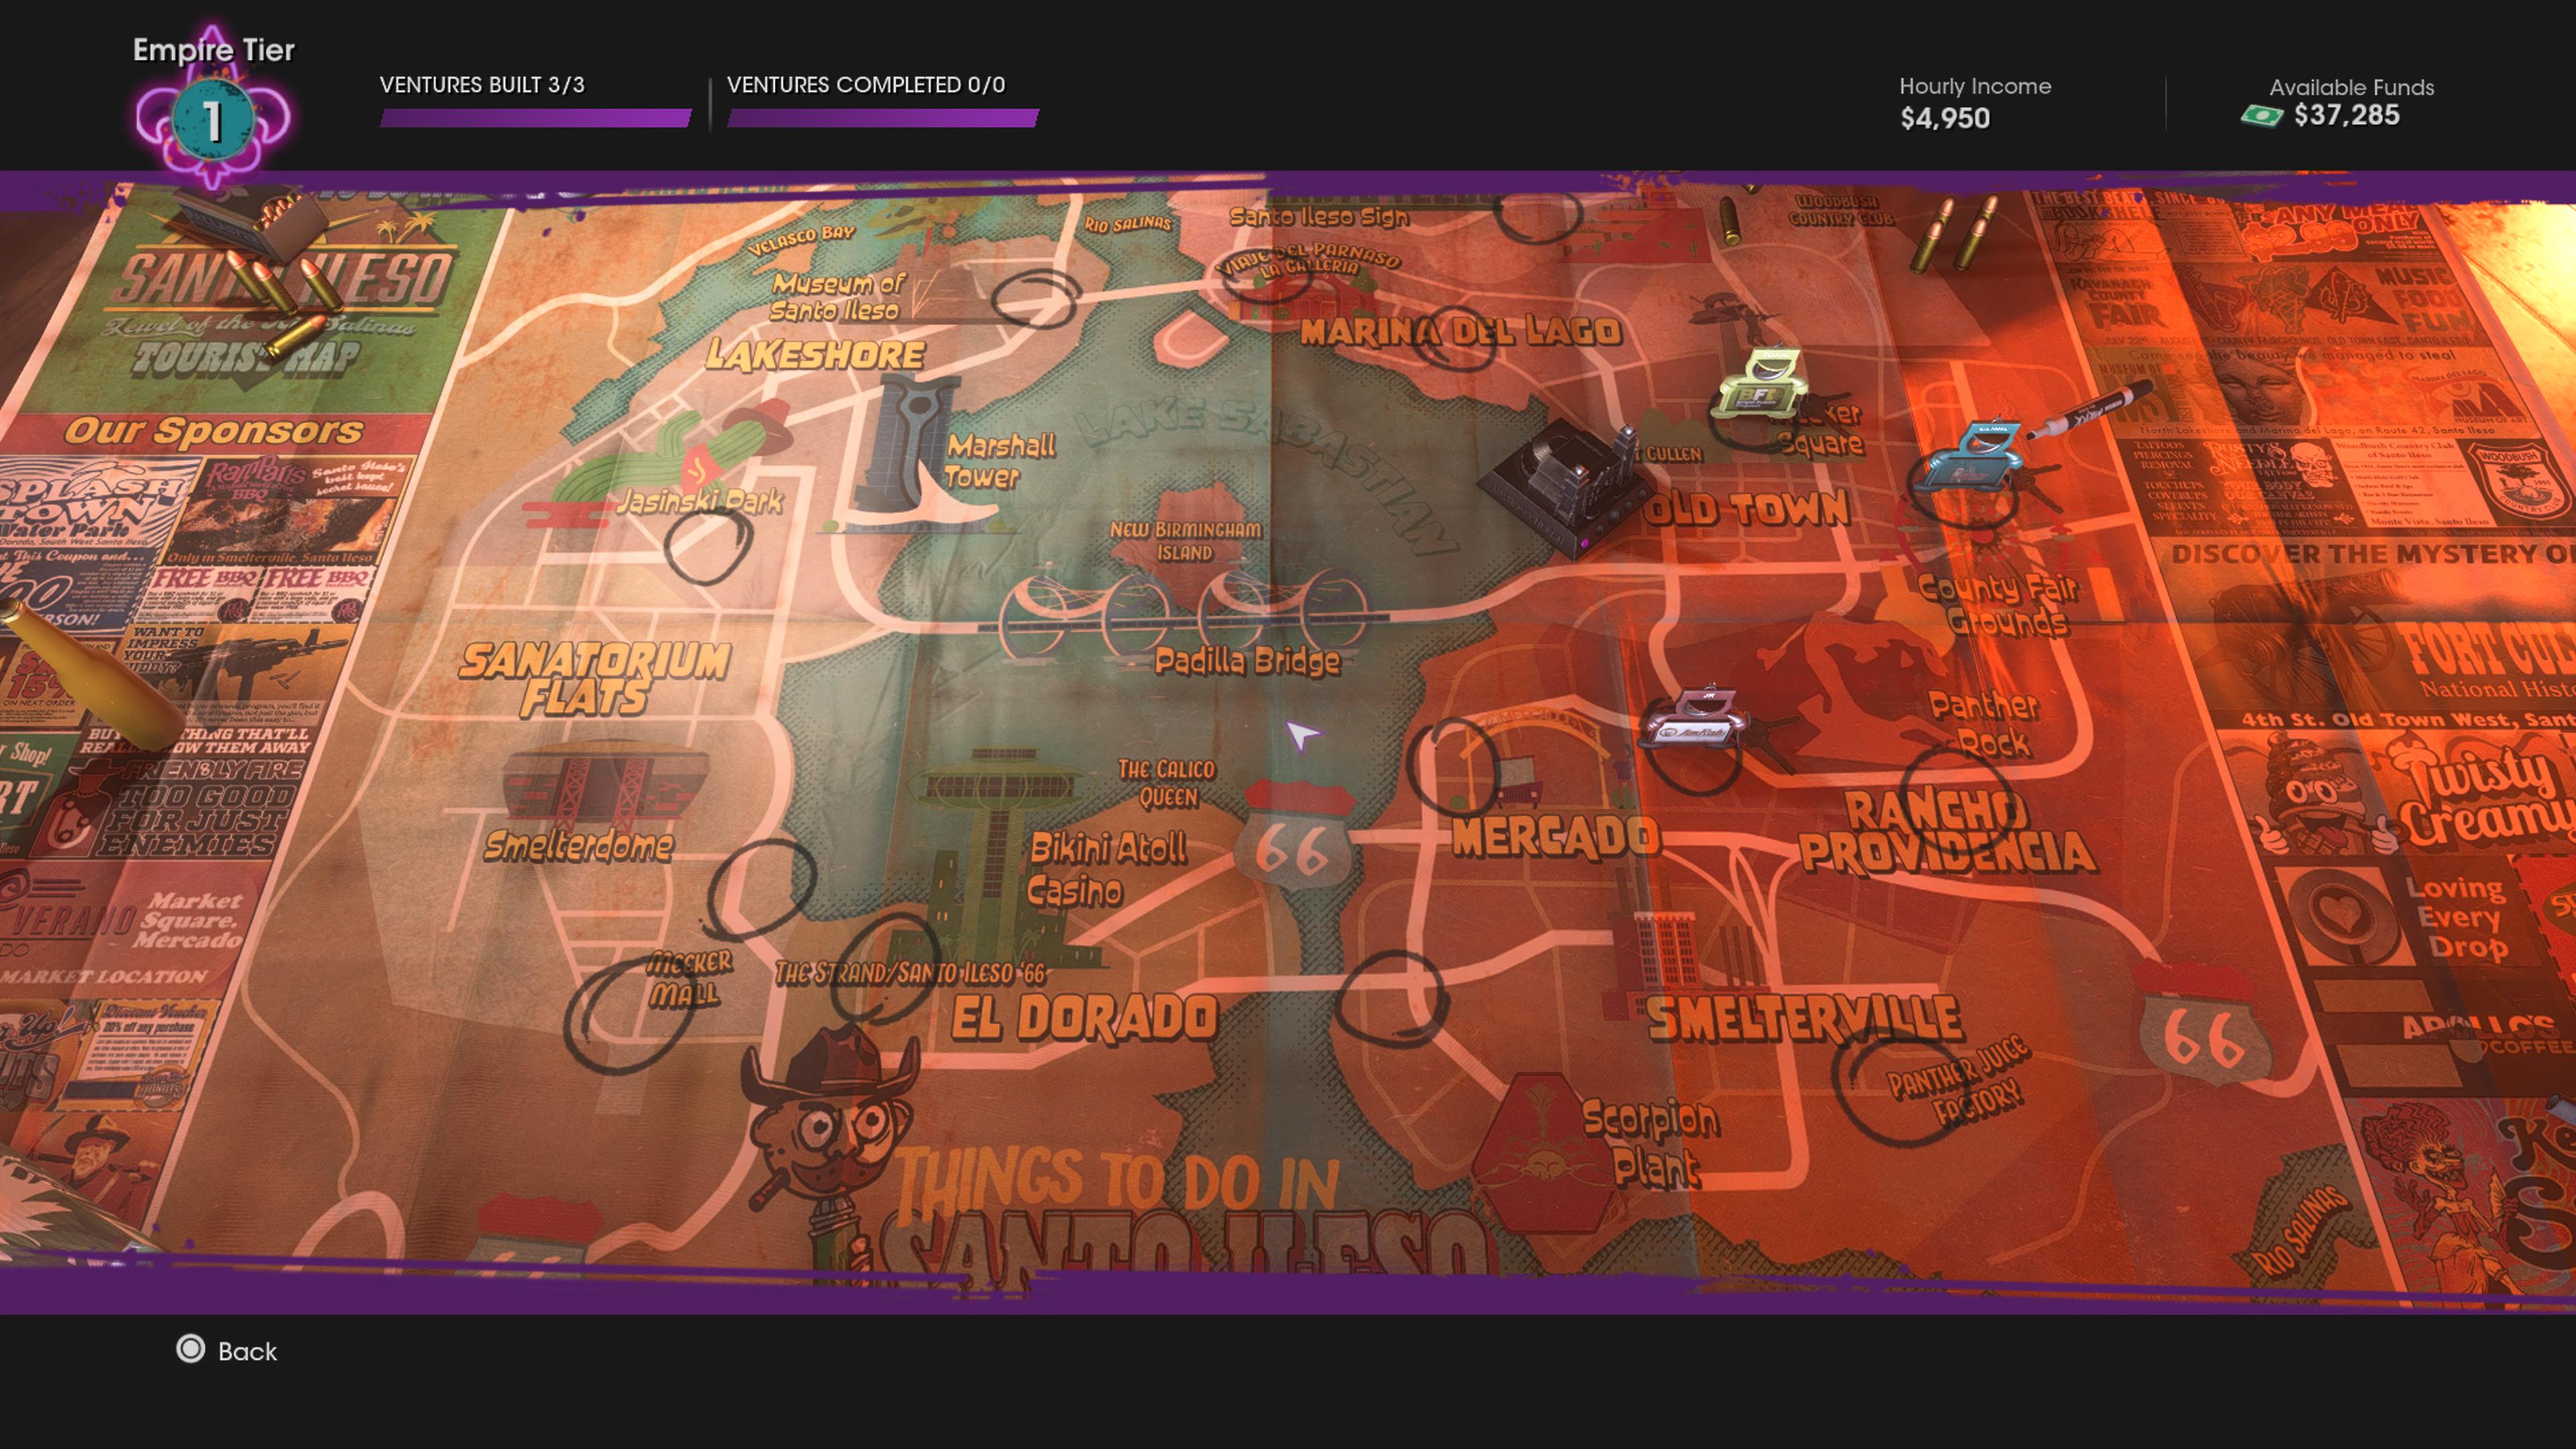
To fast travel in Saints Row to a compatible point they've already unlocked, players simply need to open the map from their phone, move their icon over the location, and hit X/A/LMB (depending on platform). The player will then fast travel to that location after a quick loading screen. This is something you can basically do whenever you're not in the middle of a mission, but is almost never an option while you're in the middle of one.
Of course, while fast travel doesn't require Saints Row money to use, it does require compatible fast travel points to go to, and this is where the issues arise…
How to unlock new fast travel points
Certain fast travel points will come pre-unlocked - the apartment from the start of the game, and the Church HQ when you access that several hours into the story, for example. However, most other fast travel points need to be unlocked manually, which is… a process, one that we've laid out below.
1. As you explore the map, getting close to a potential Fast Travel Point will mark it on your map with an icon of a yellow train. There's almost never more than one fast travel point per region.
2. Head to that train icon when you want to unlock it. There'll be a landmark or noteworthy object there (indicated on its map icon).
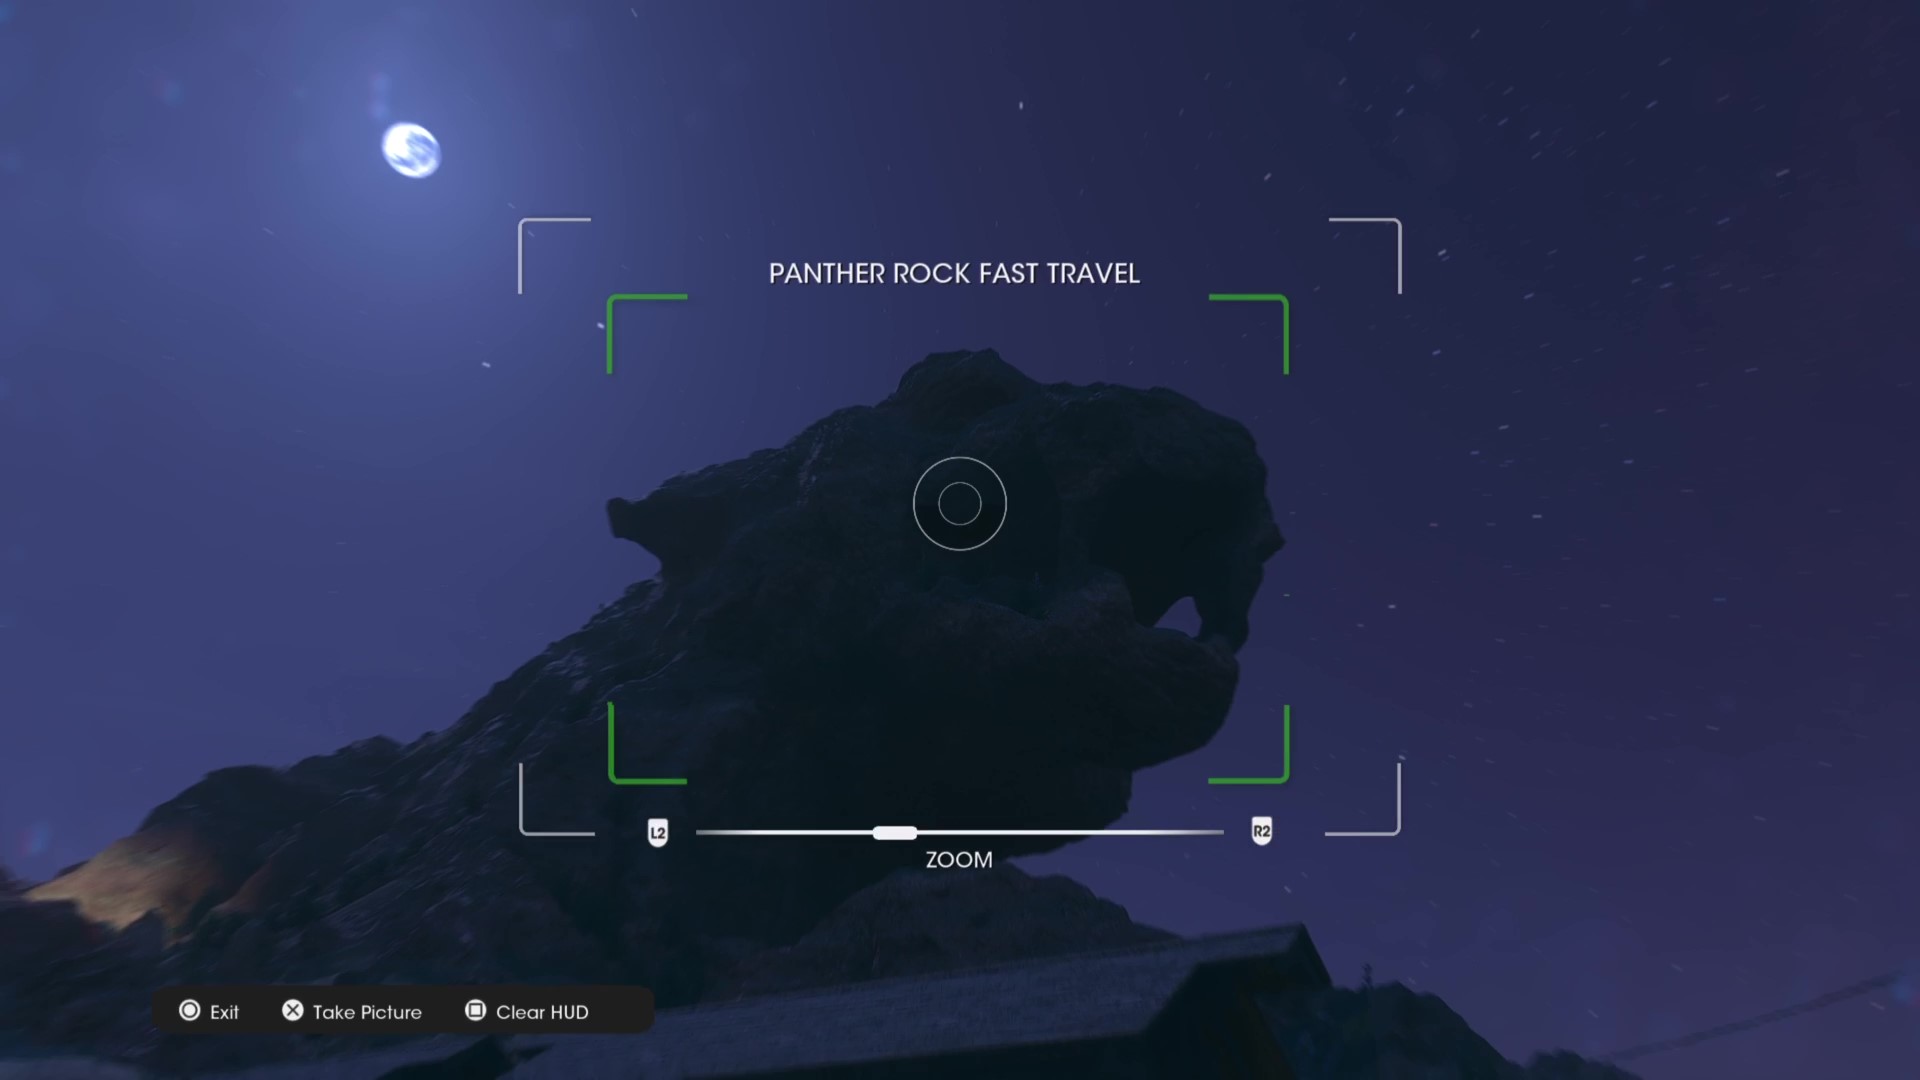
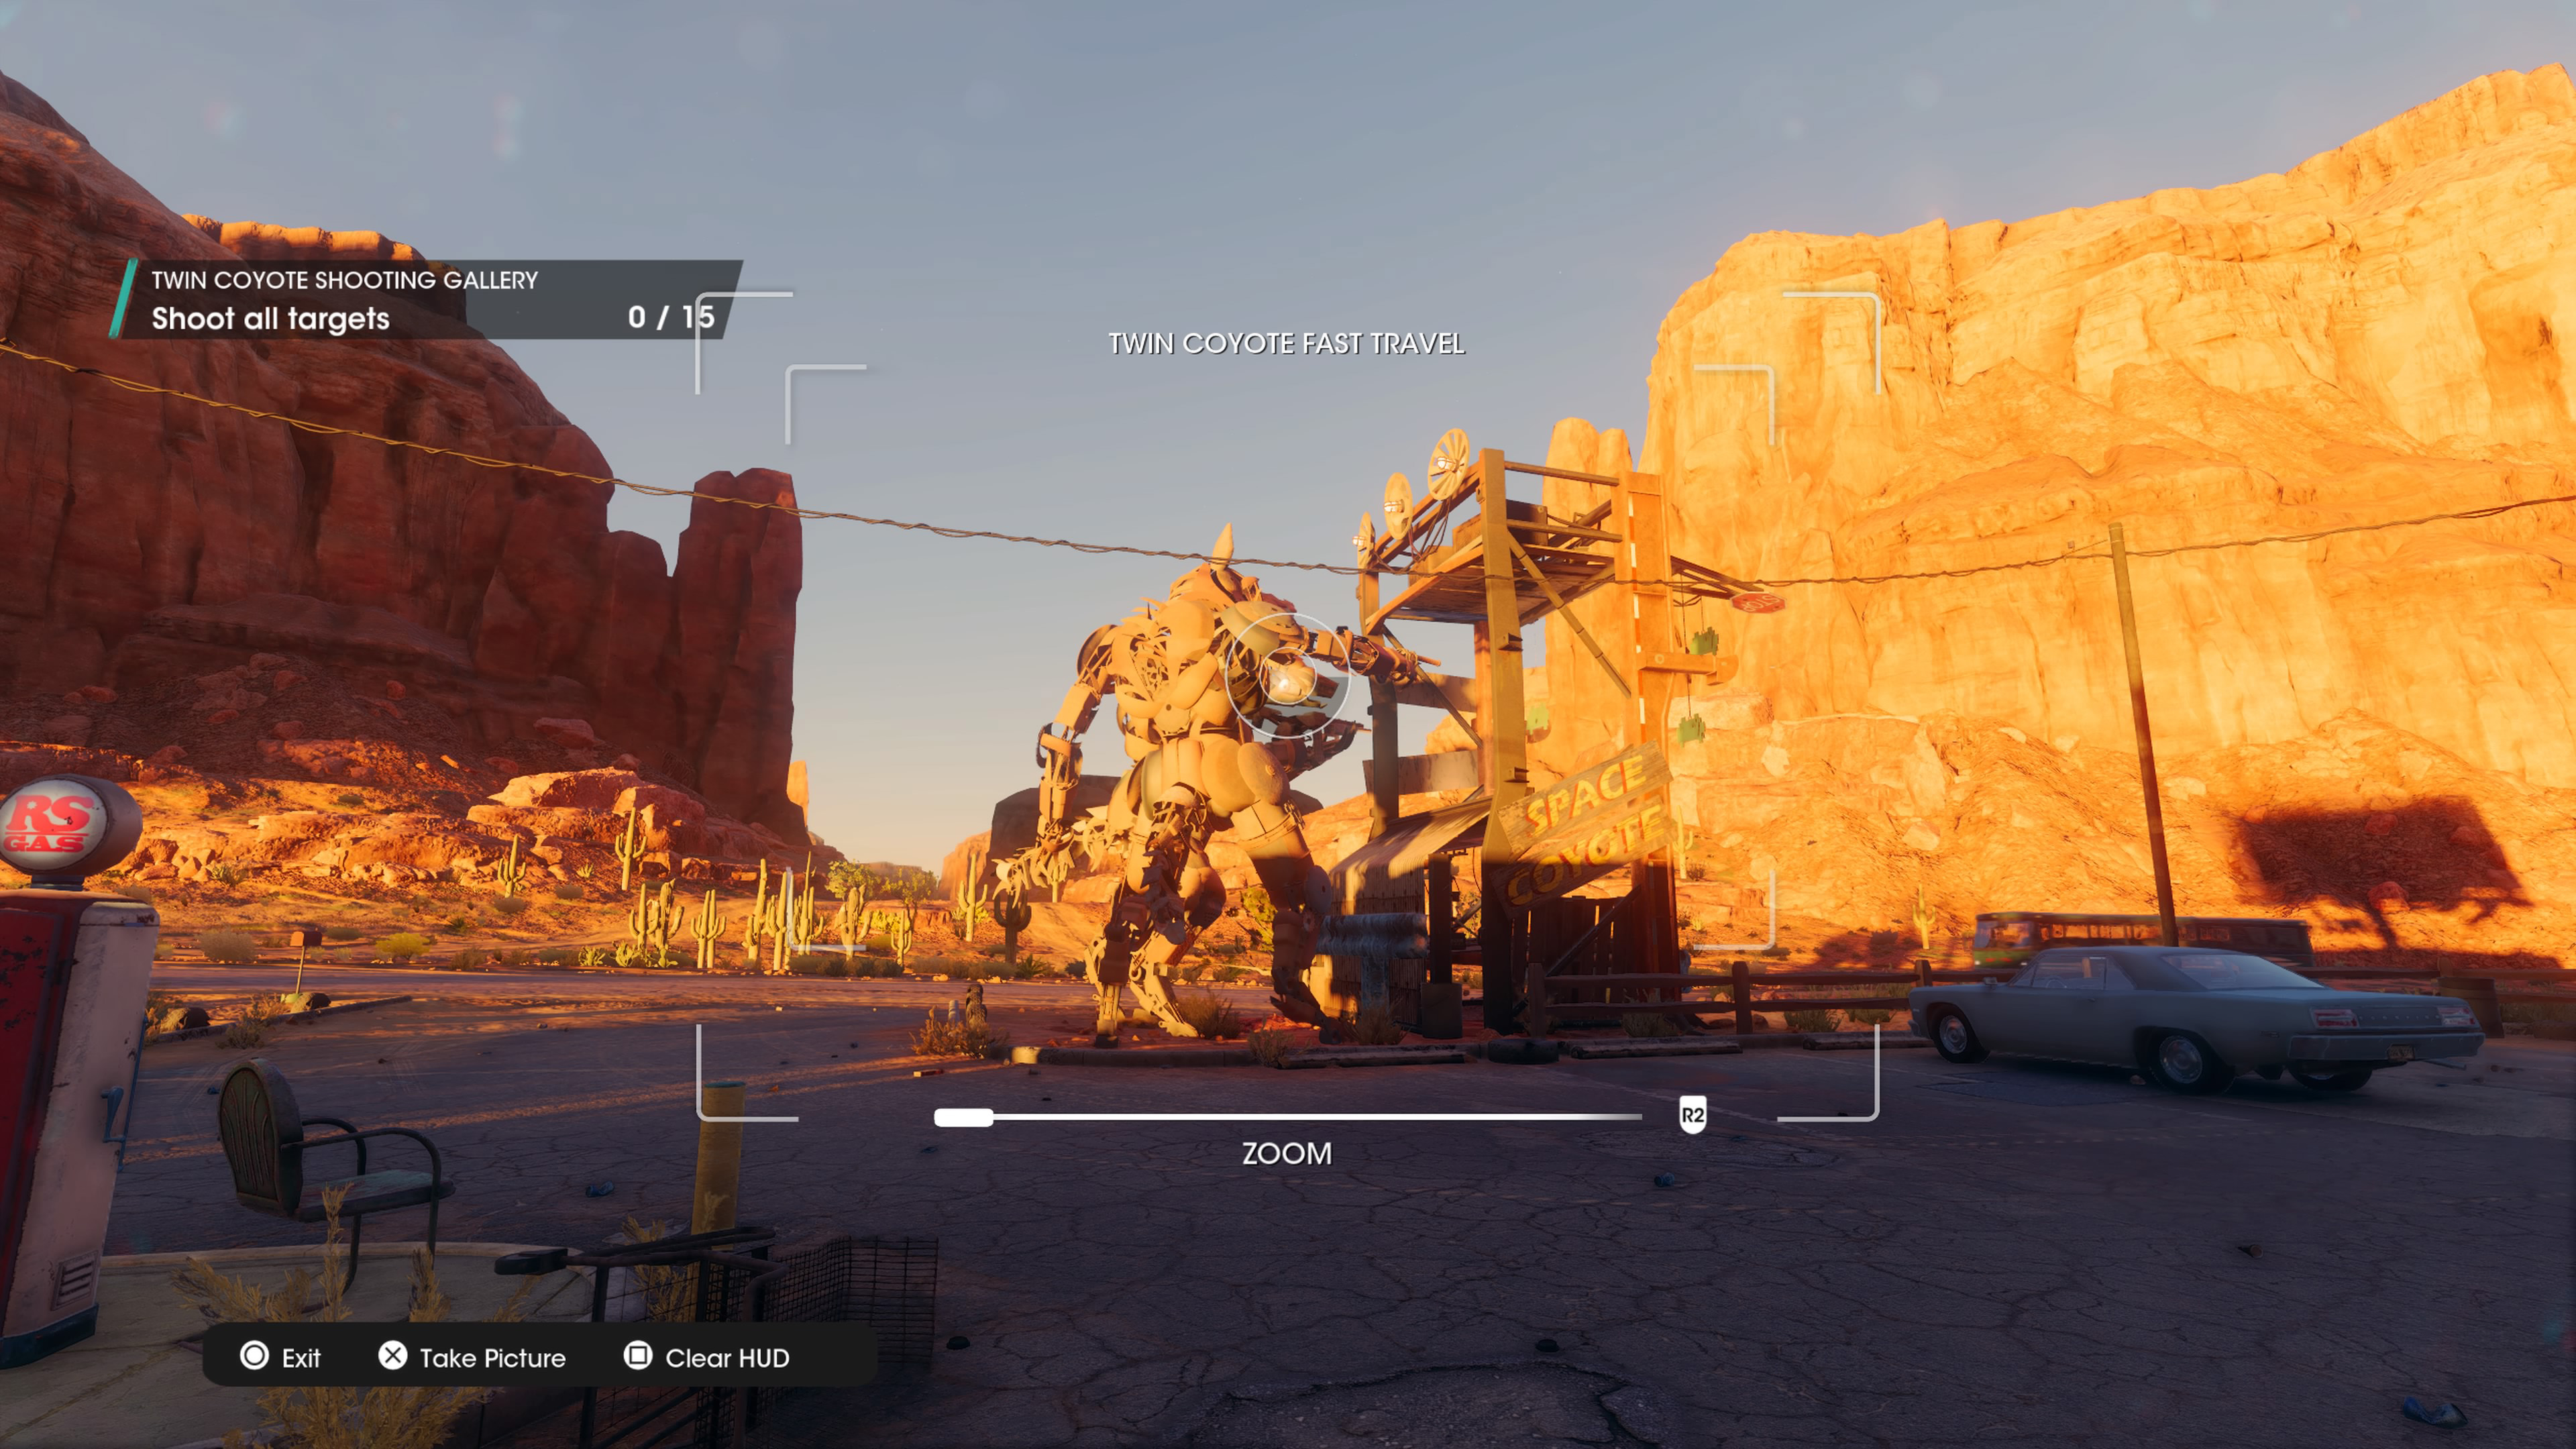
3. Use your phone to access the camera, and take a photo of the landmark (it'll be marked through the camera, make sure it's fully in view)
4. If done correctly, it'll be ticked off and the fast travel point will be unlocked, now presented as a purple train instead.
Saints Row fast travel photo locations
The big problem here is finding fast travel points, as it's not always obvious, and not every photo collectible in the game is a fast travel point too (it has to have the train icon). We've found seven fast travel points in Saints Row, including the Saints HQ church. The key is to look for noteworthy objects that stand out, even from a distance. It's a good thing to keep in mind while you're clearing side objectives and threats for the Ventures in Saints Row.
The Church - Old Town Shoreline
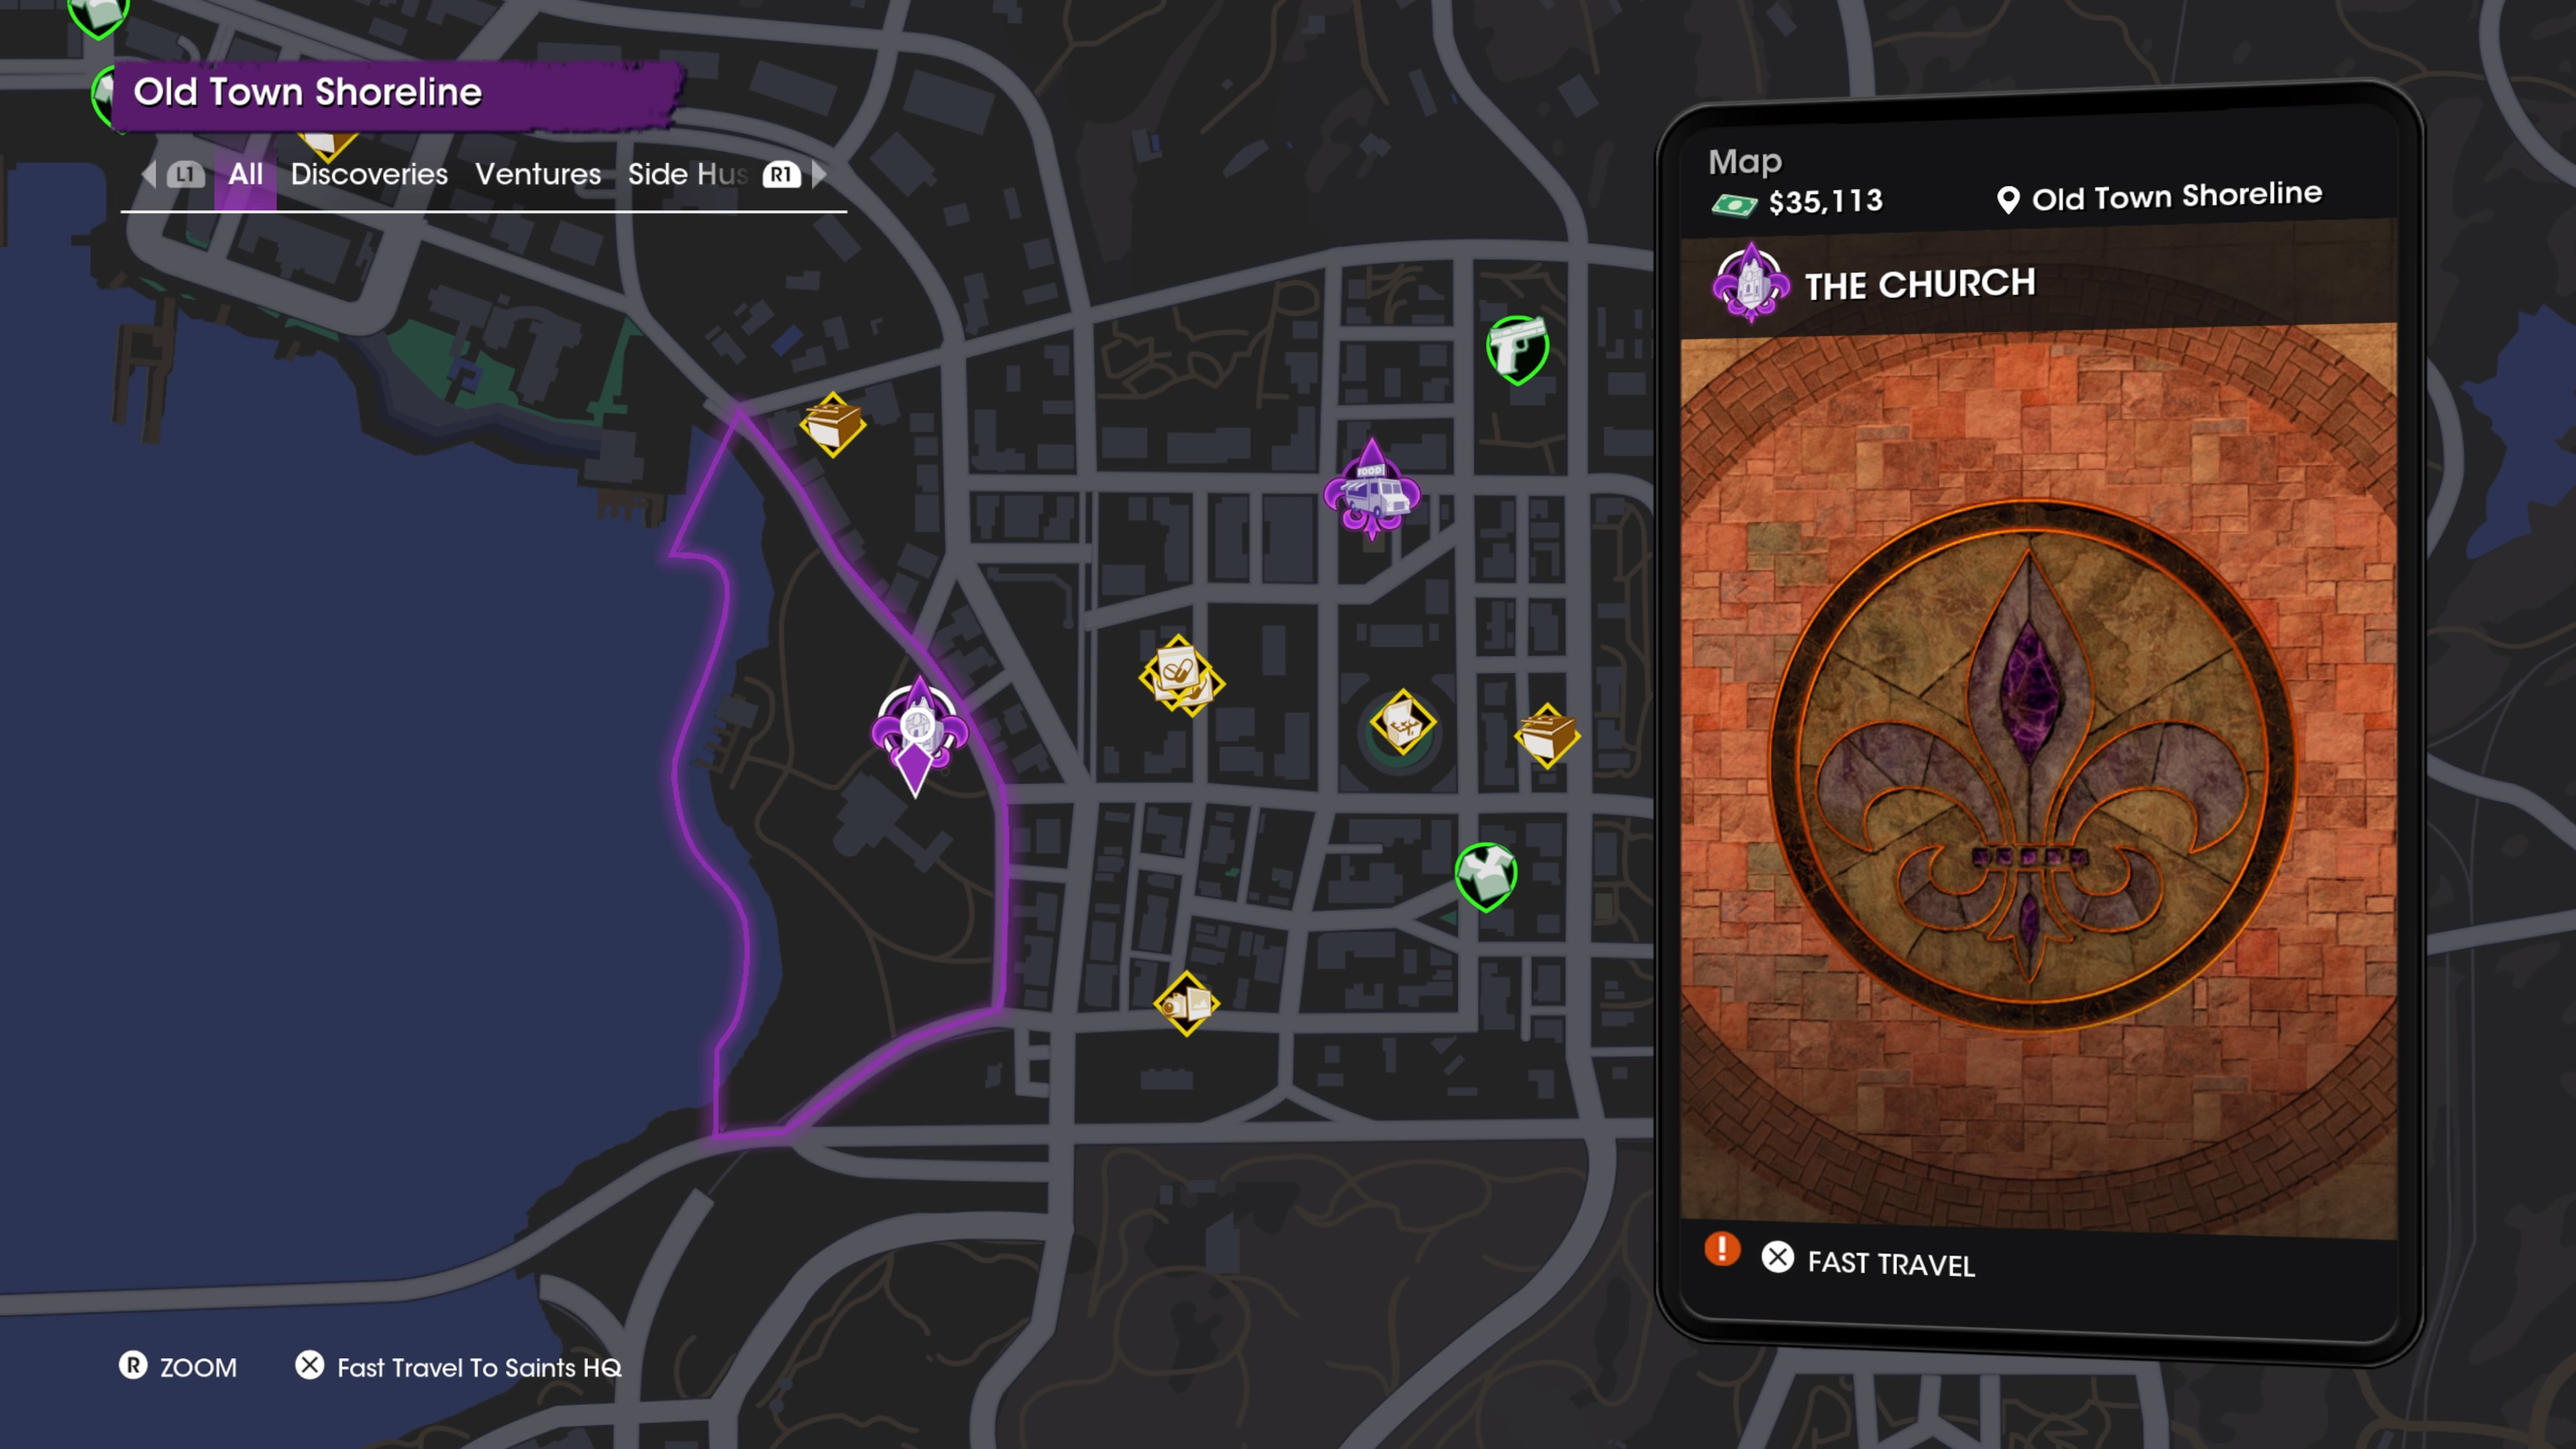
This is the Saints HQ, which you'll unlock after completing the mission called "The Saints". you can fast travel to it at pretty much anytime.
Panther Rock - West Providencia
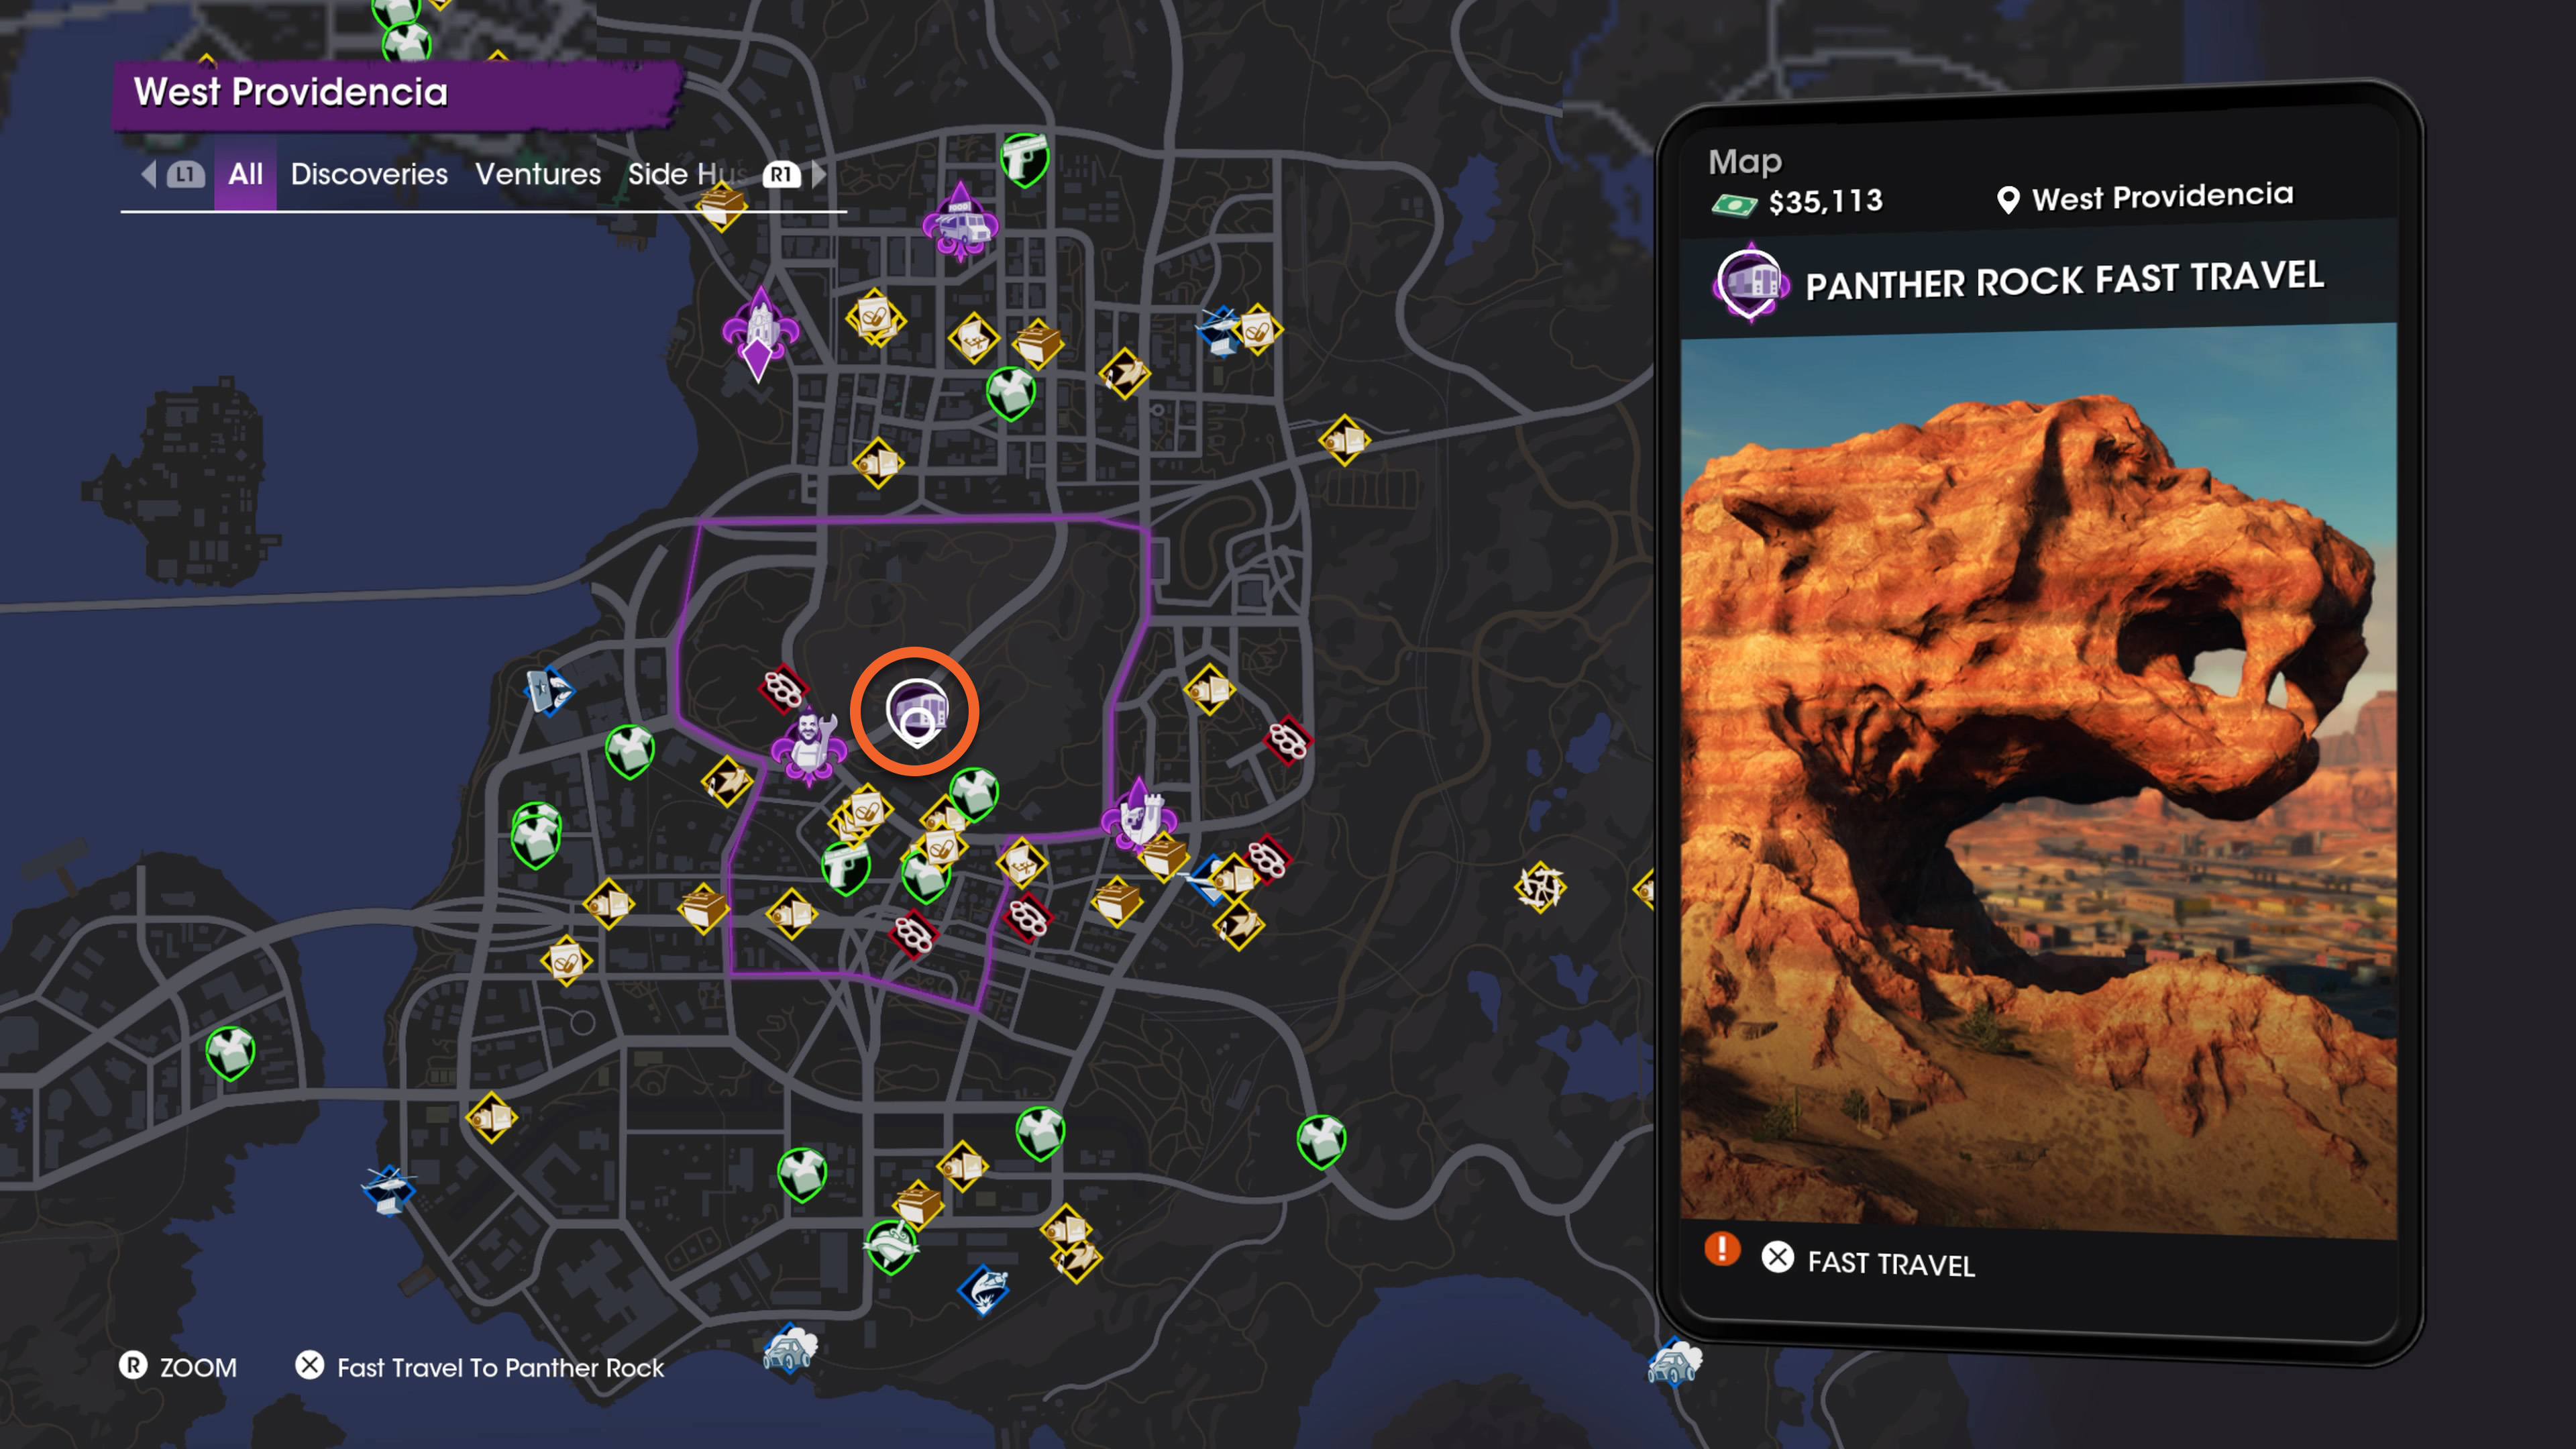
Not far from the Saints HQ, you'll be able to spot this massive panther-shaped rock. Make sure you snap a picture to unlock it as a fast travel point as it makes it easier to reach the busy southeast parts of Santo Ileso.
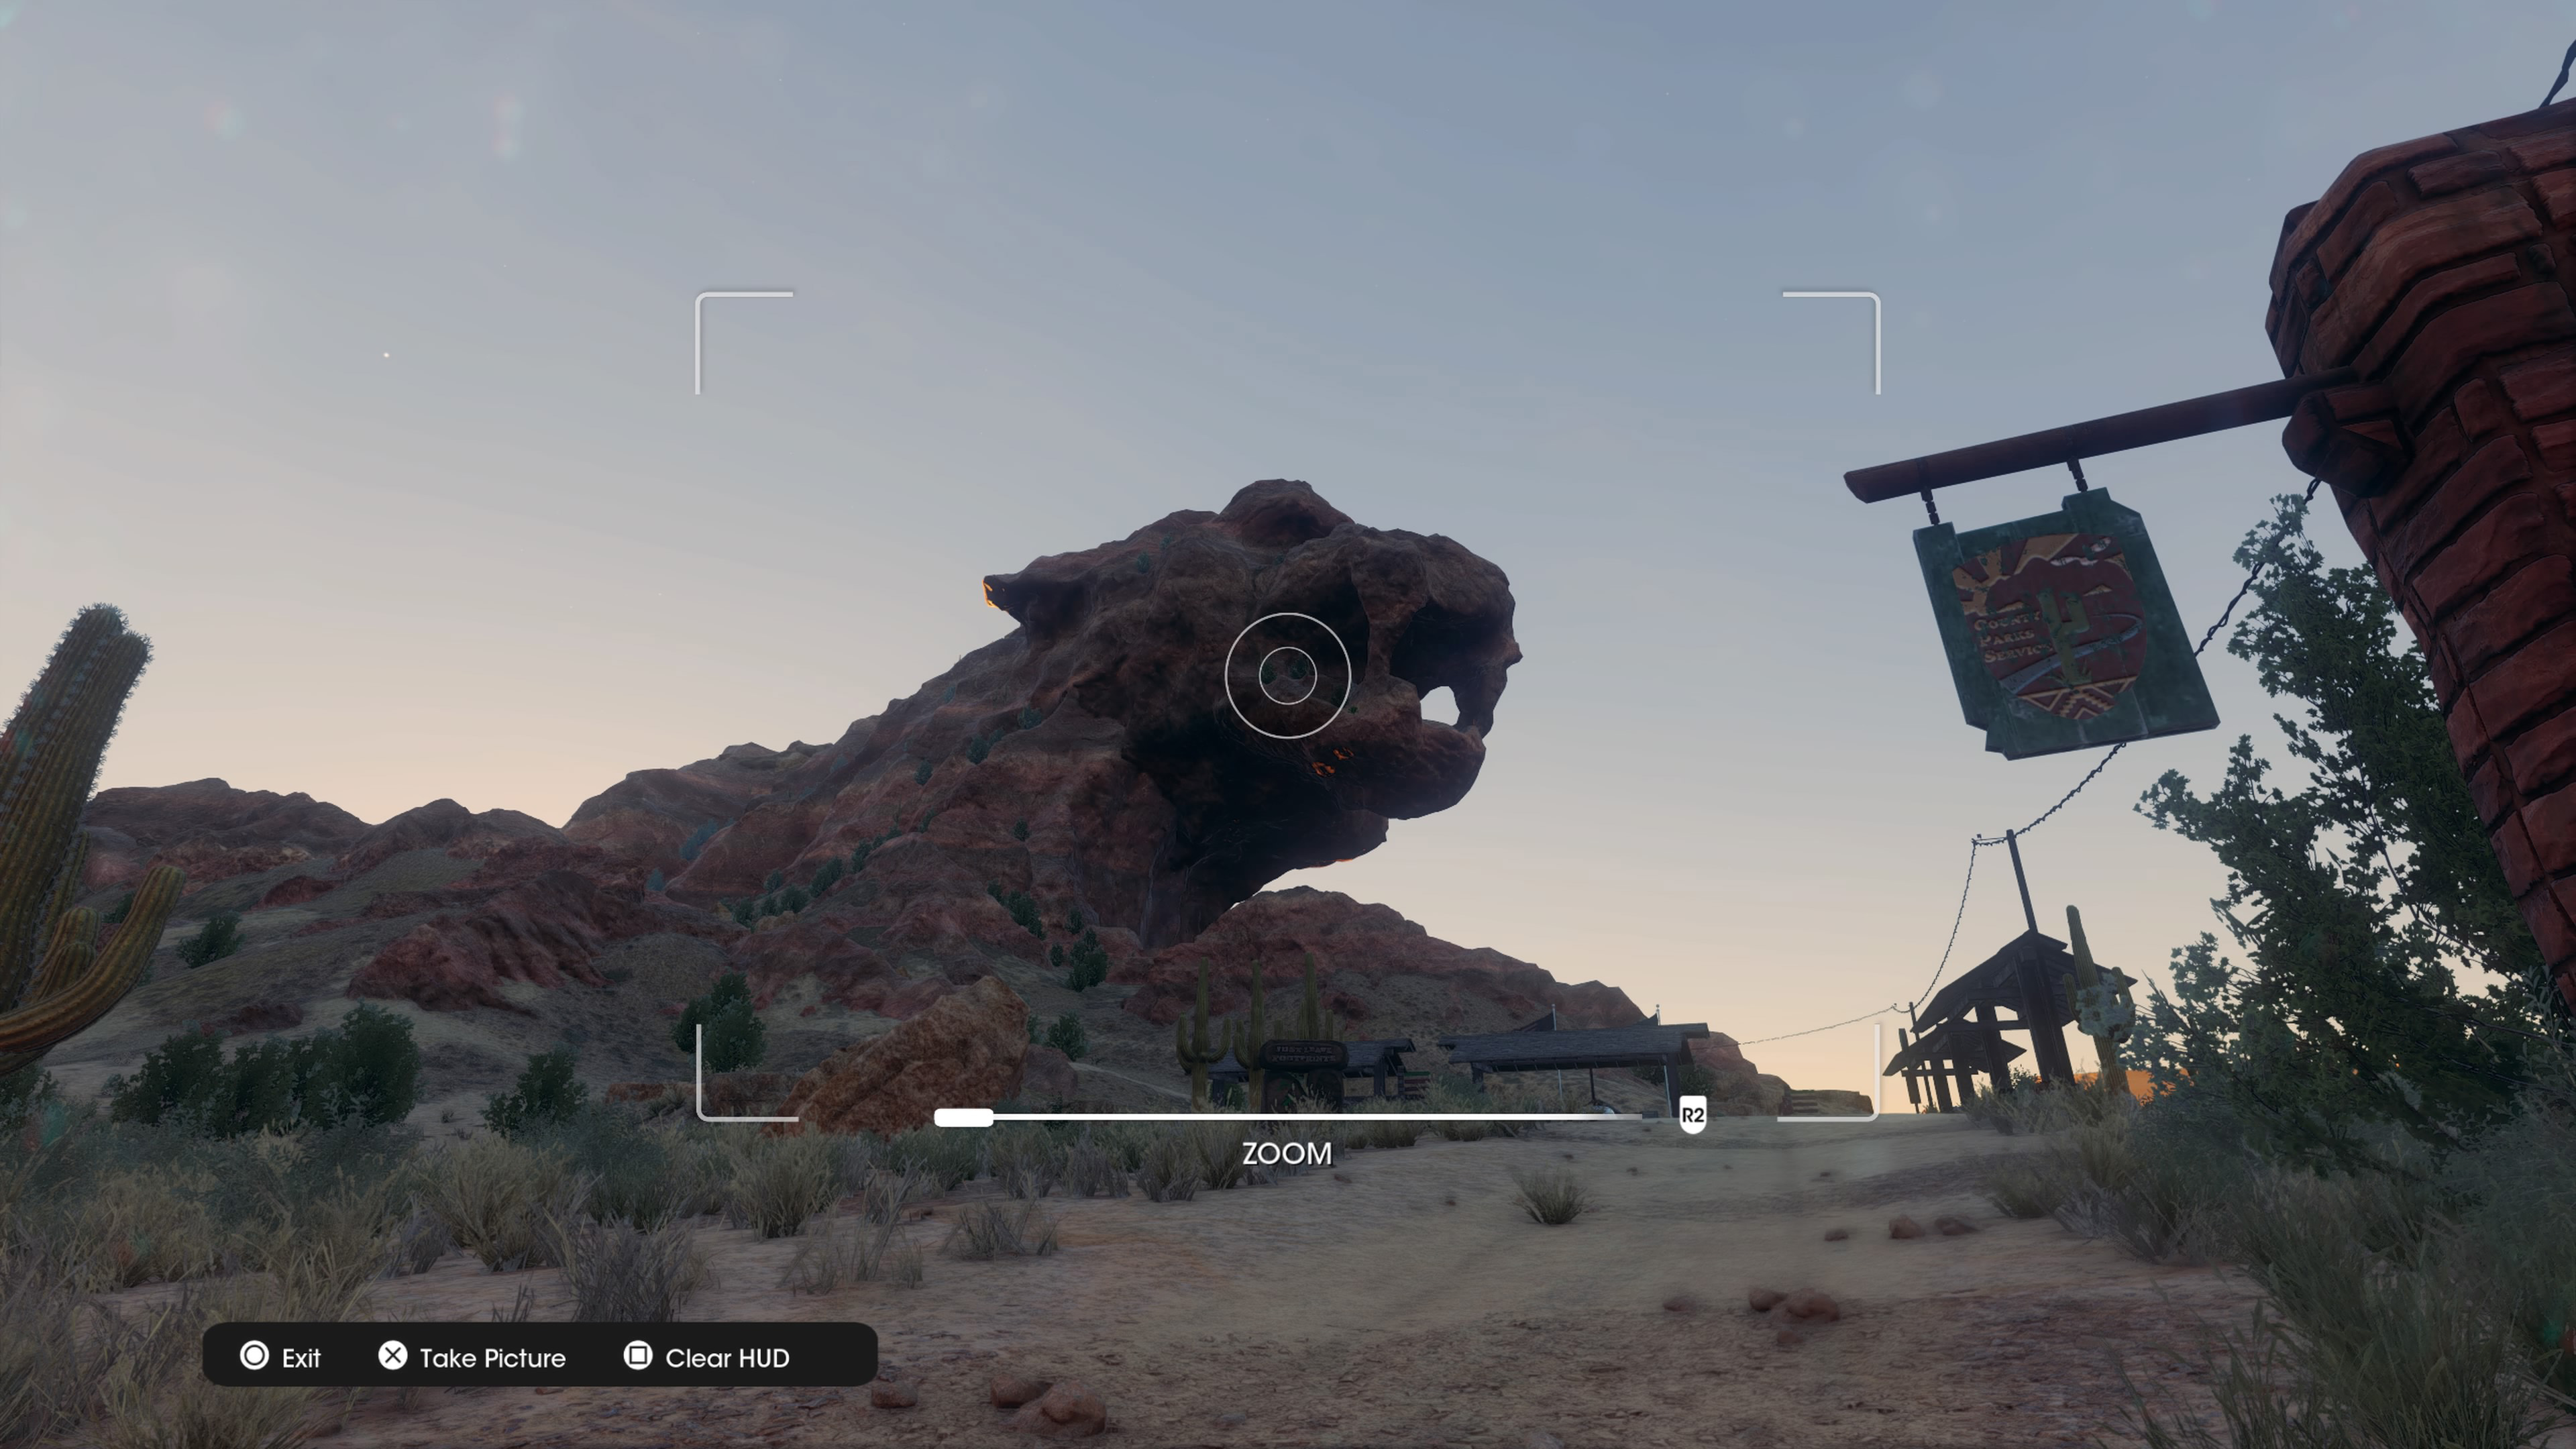
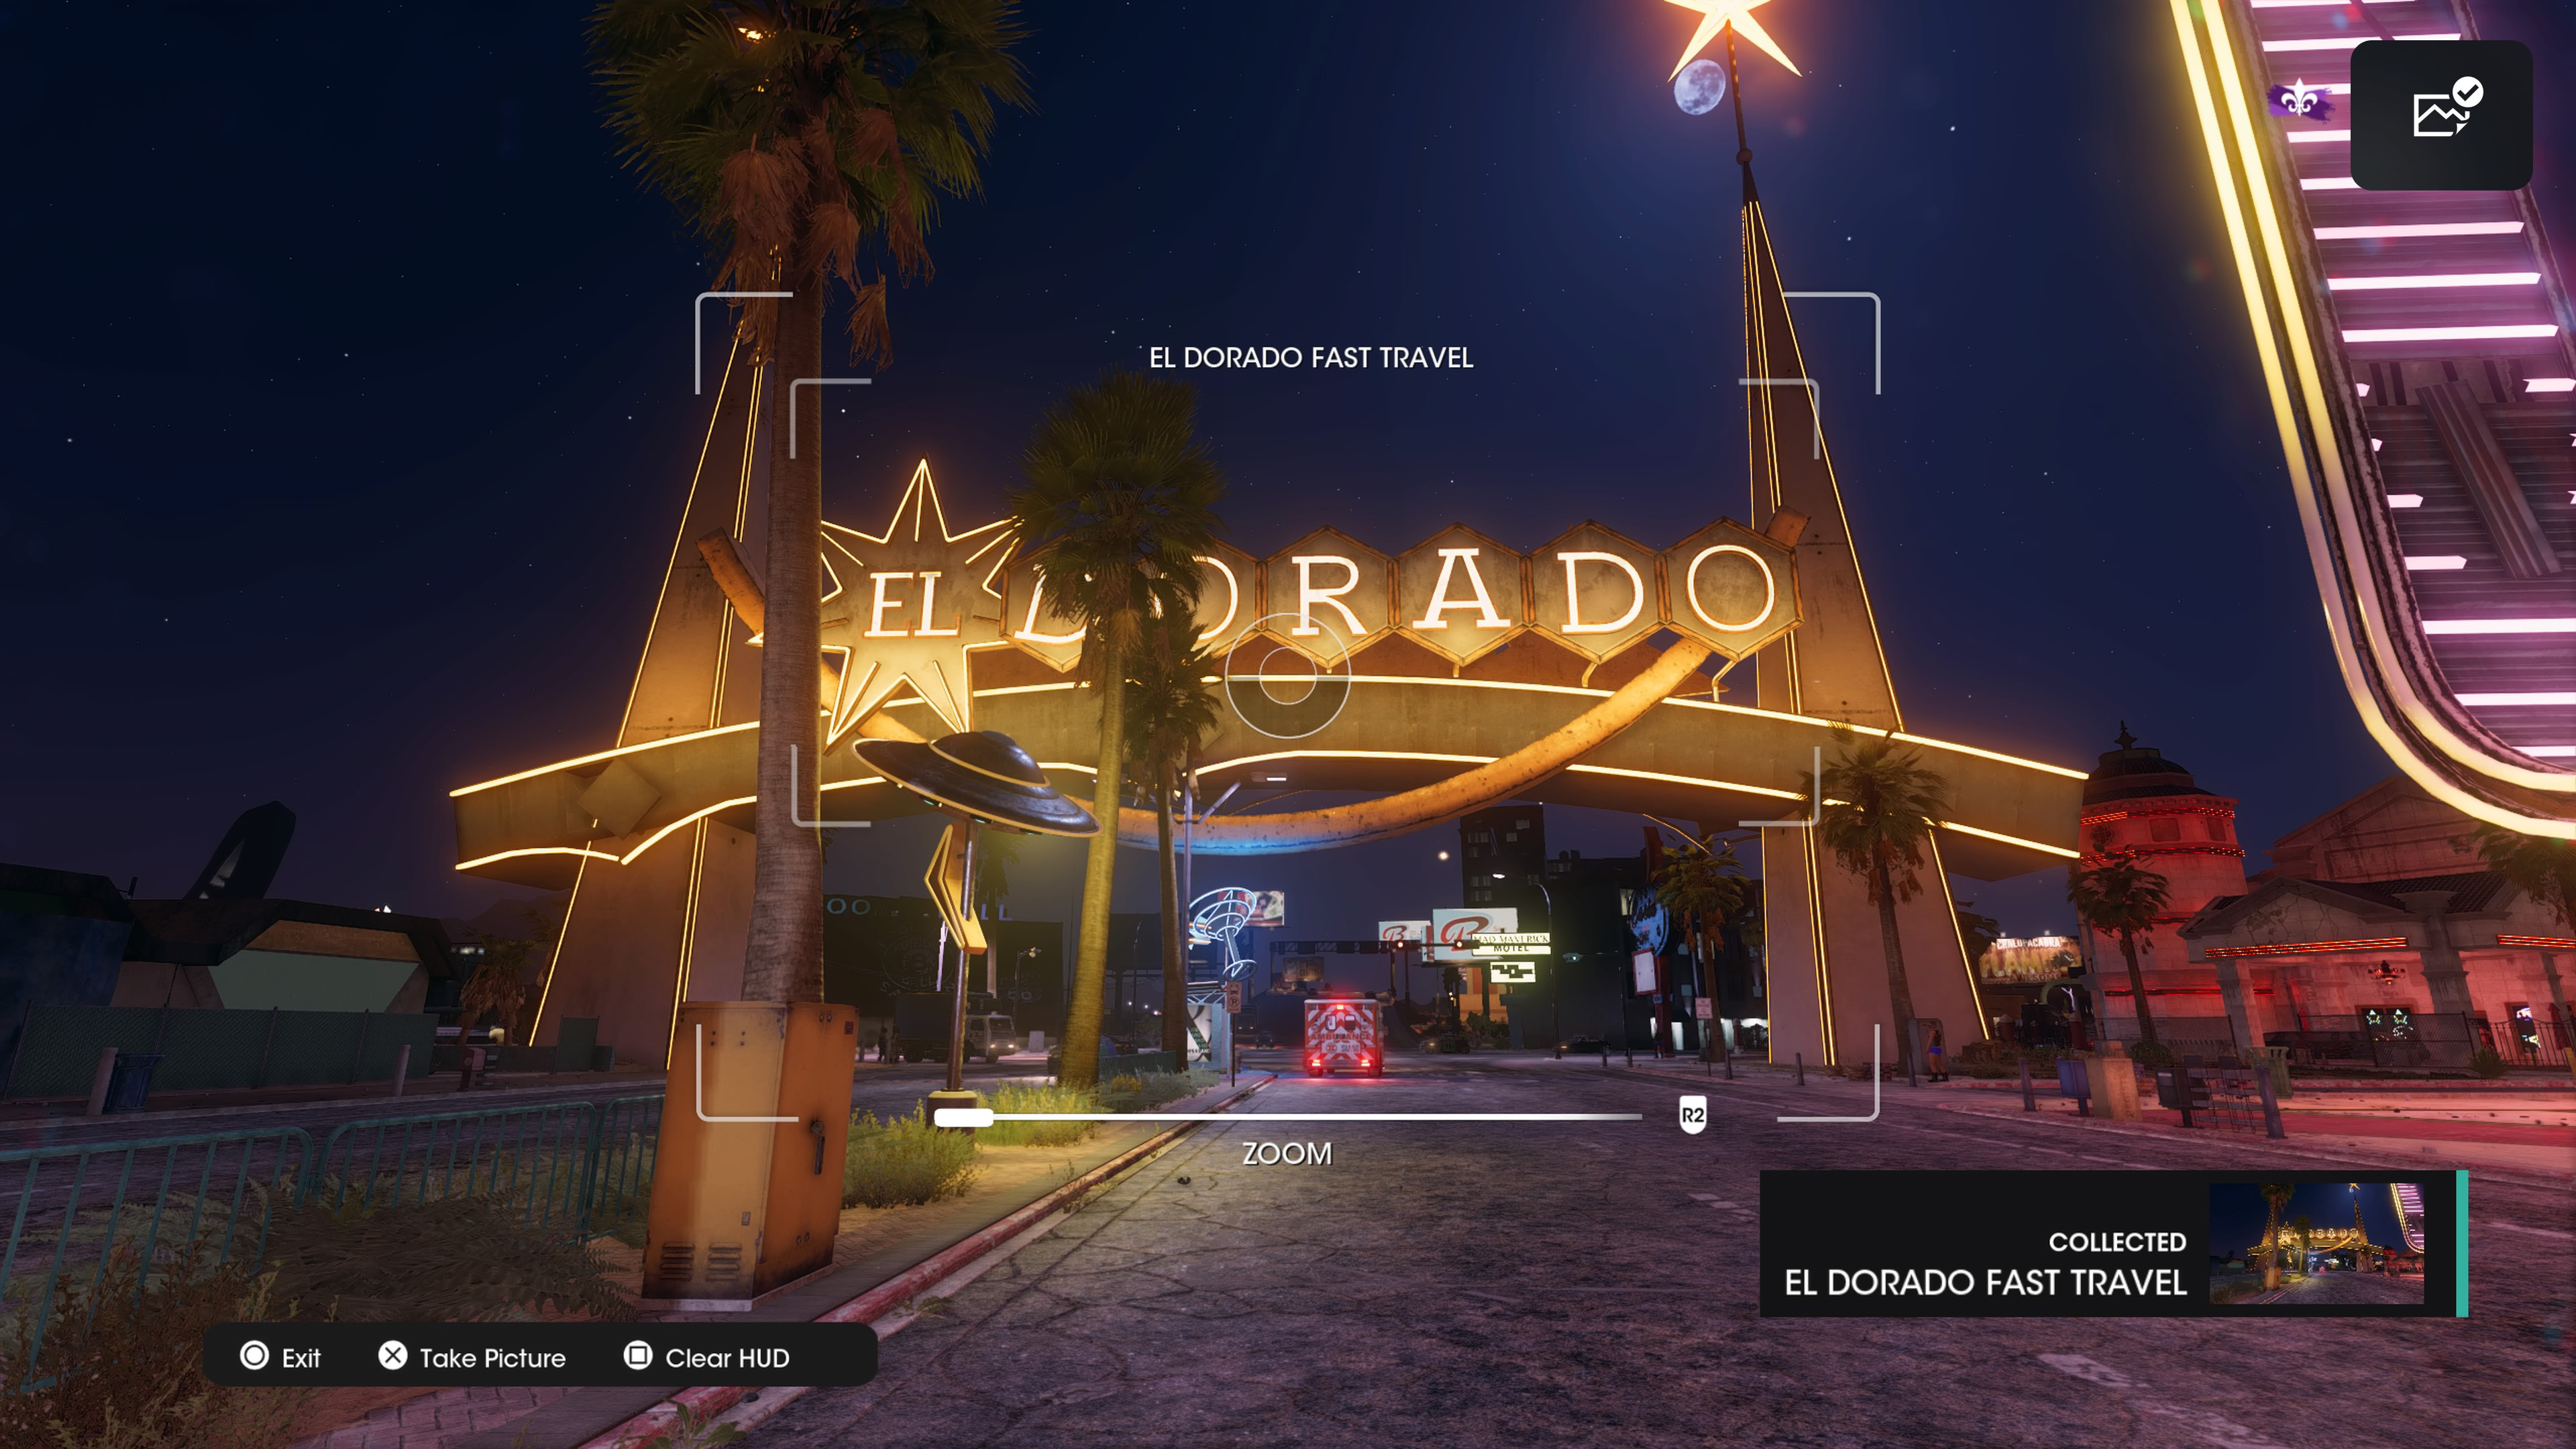
El Dorado Sign - El Dorado
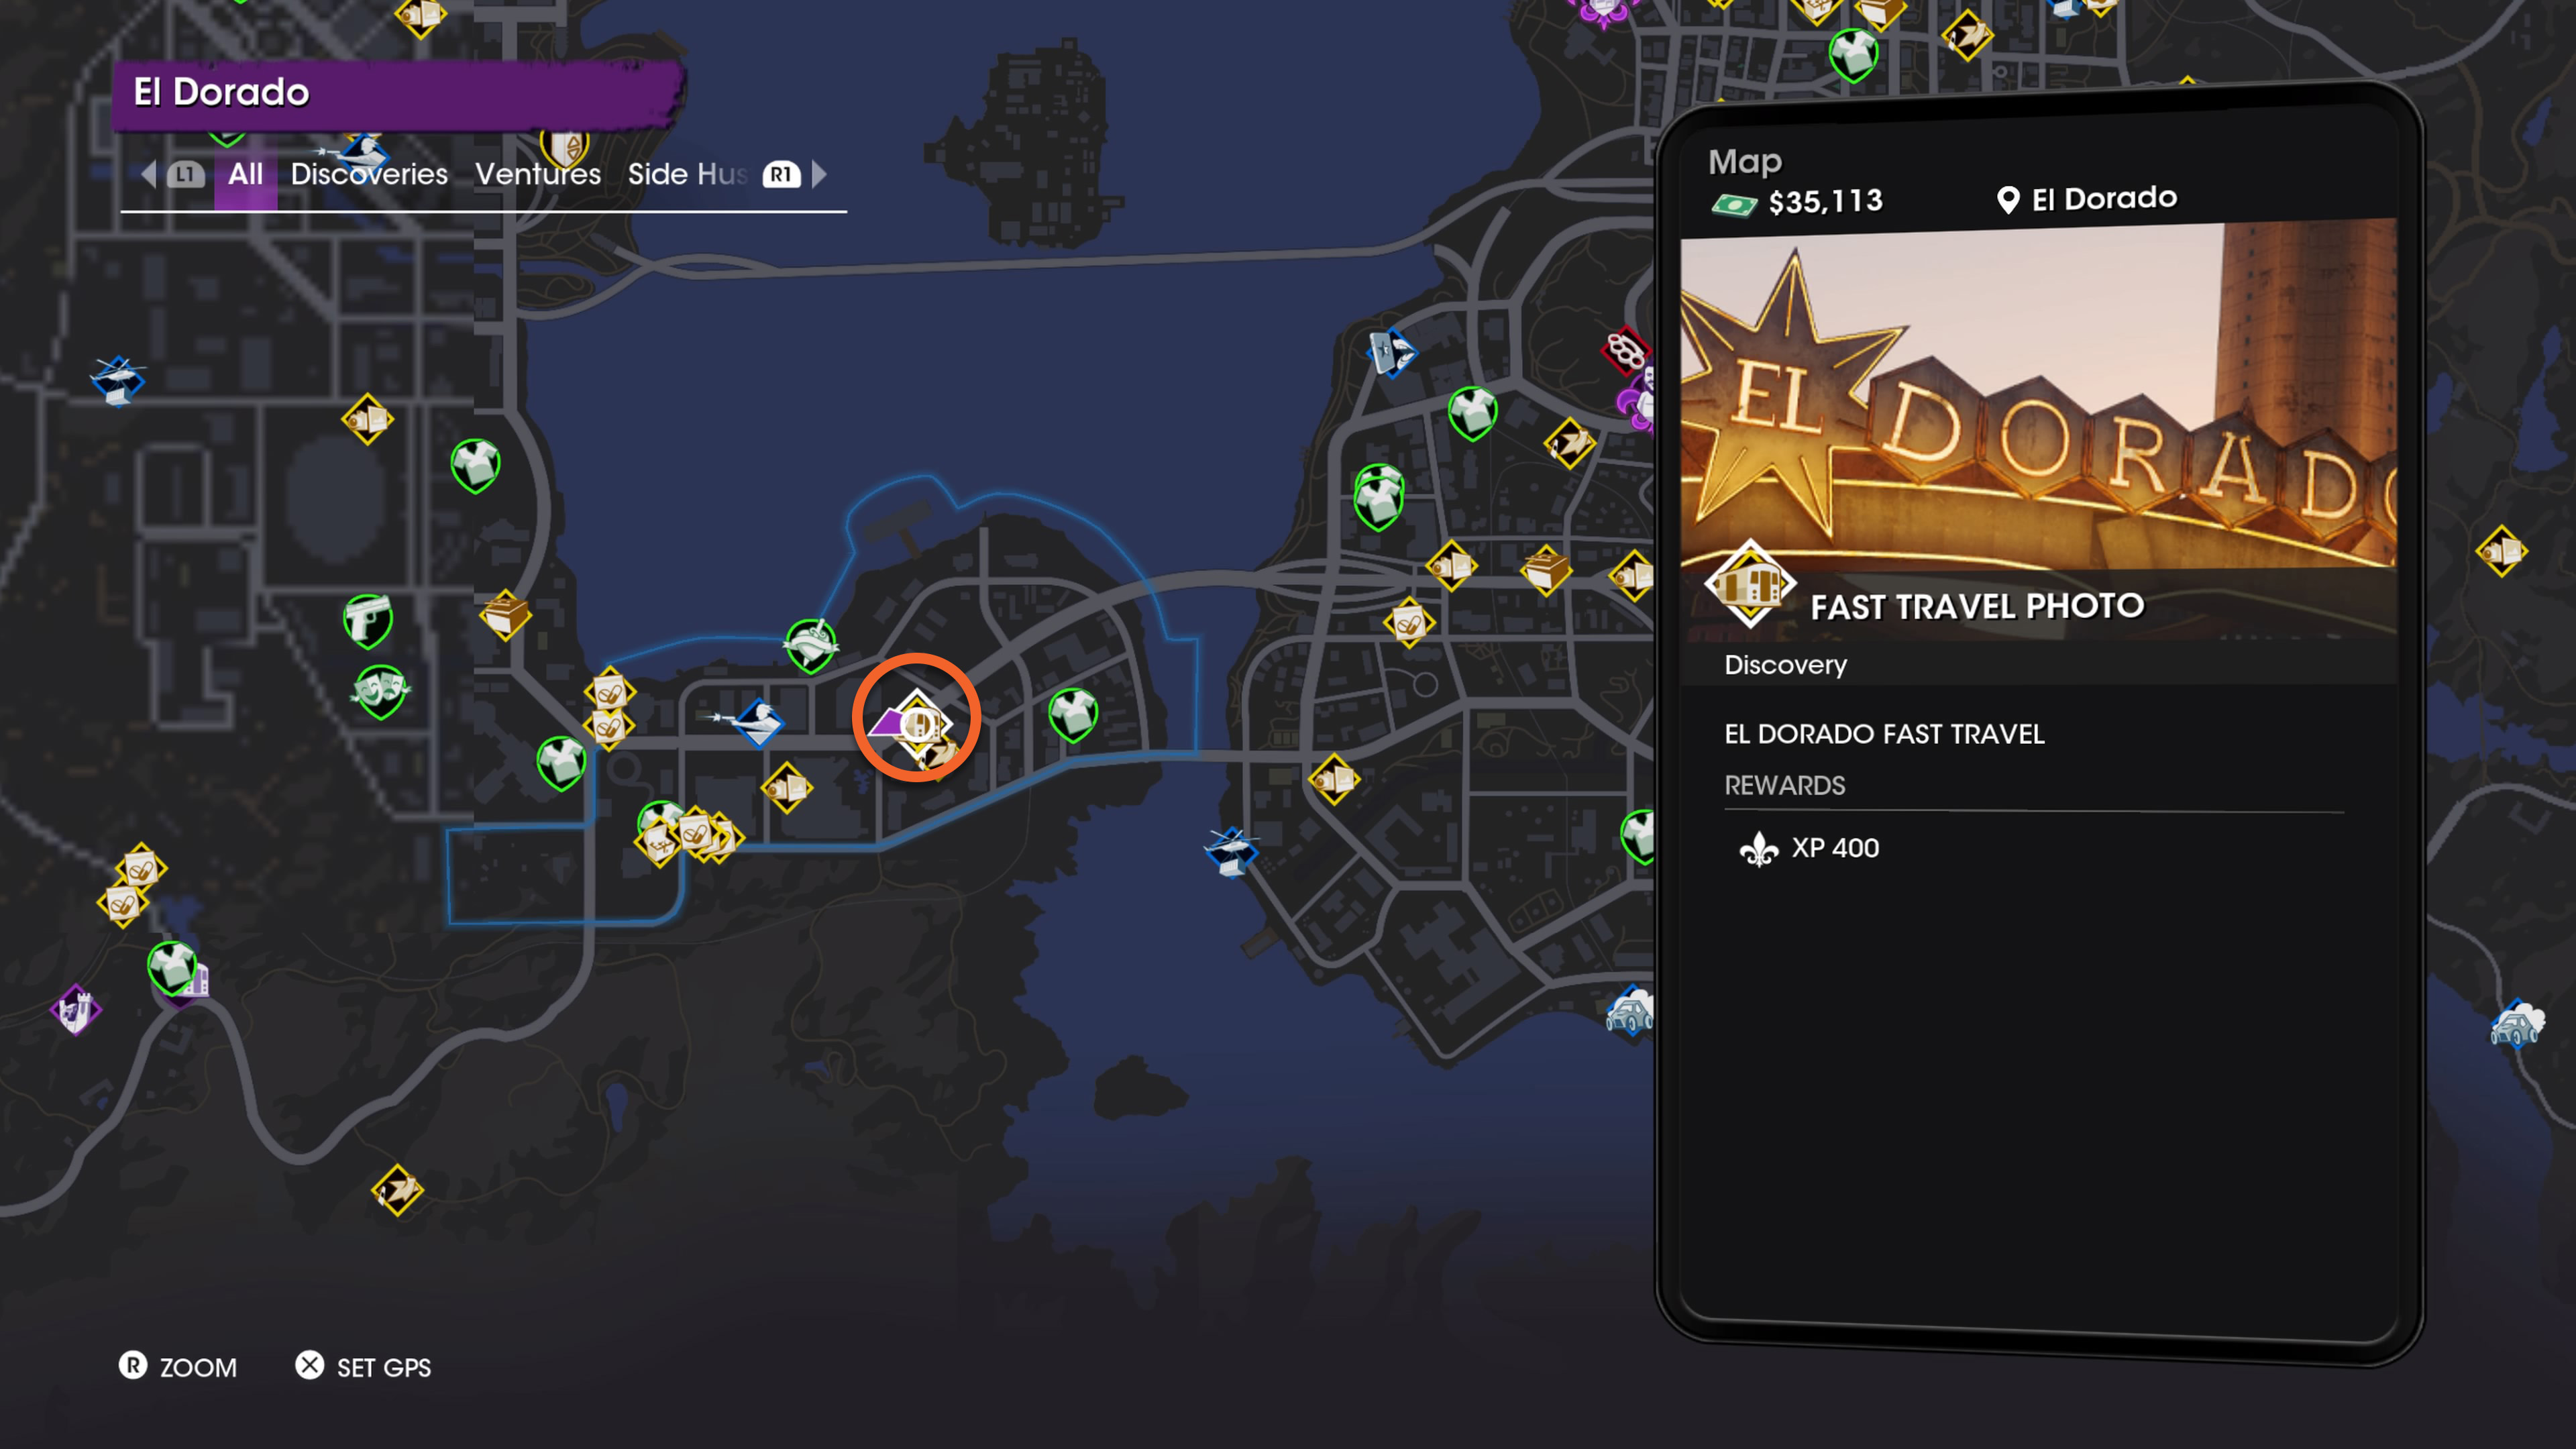
Southwest of Panther Rock and across the water, you'll arrive in the gaudy El Dorado part of Santo Ileso. Get a photo of the bright sign as a souvenir and to unlock it as a fast travel point.
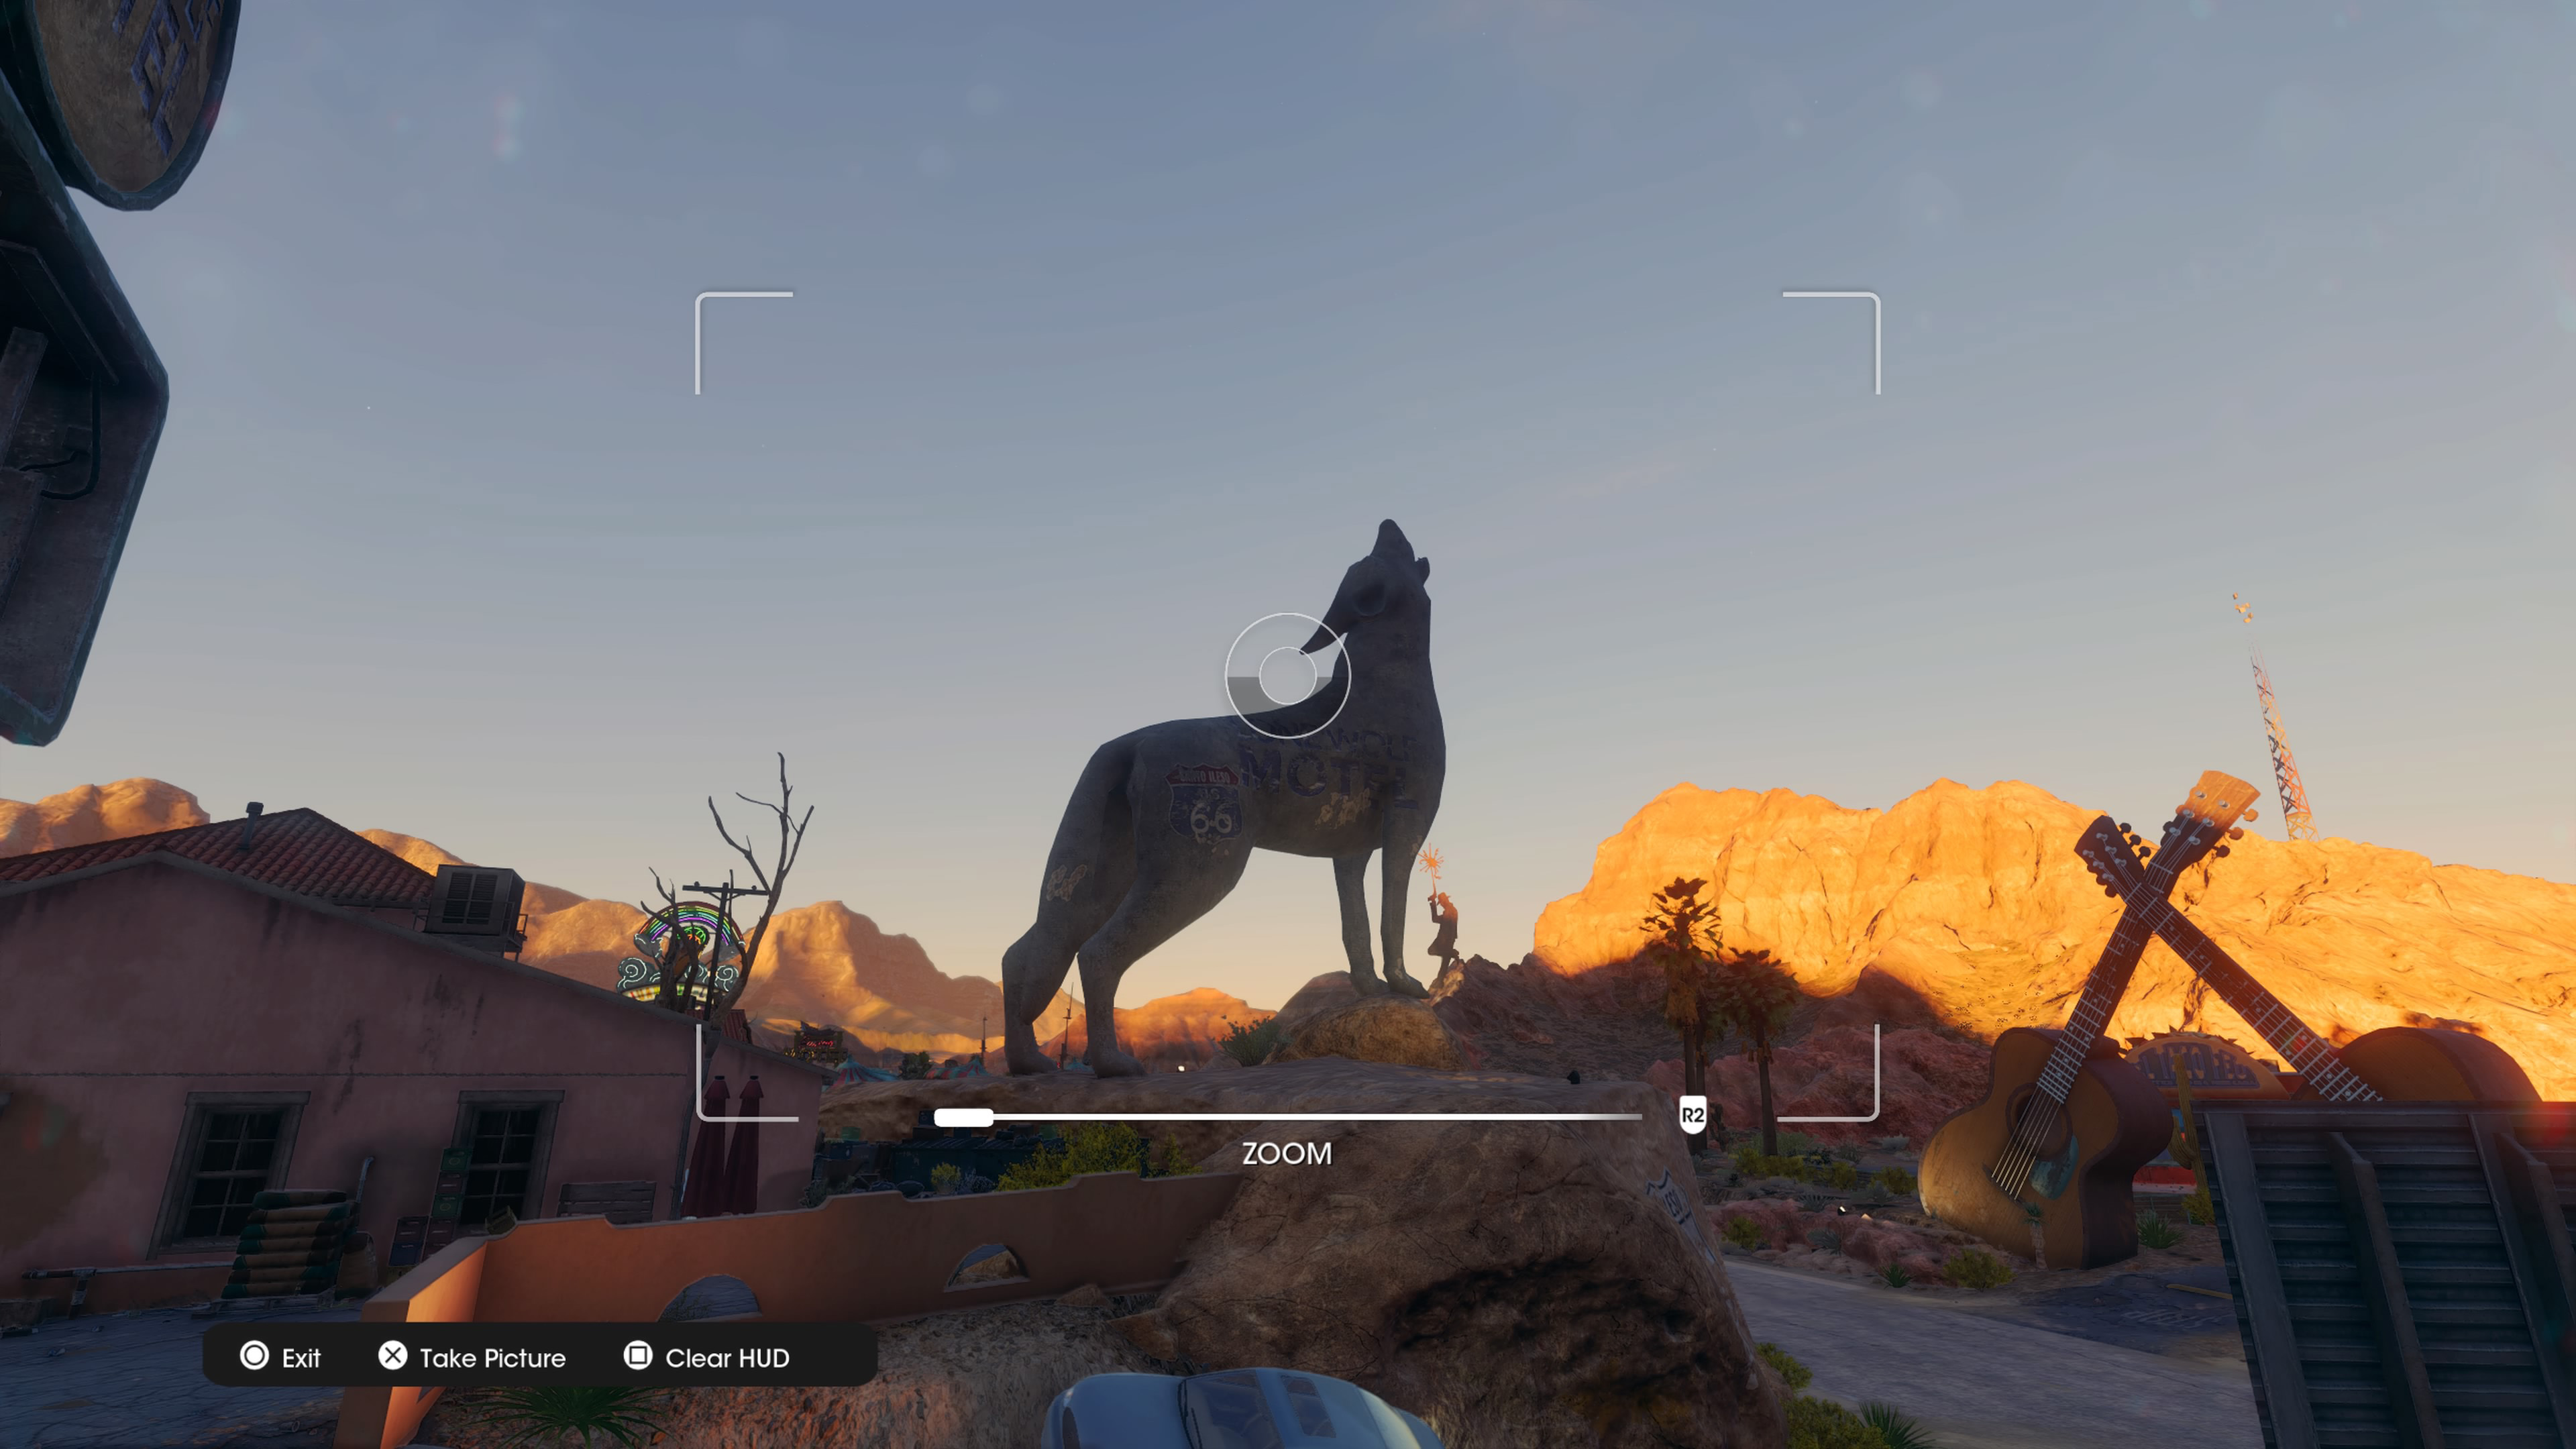
Lone Wolf - Badlands South
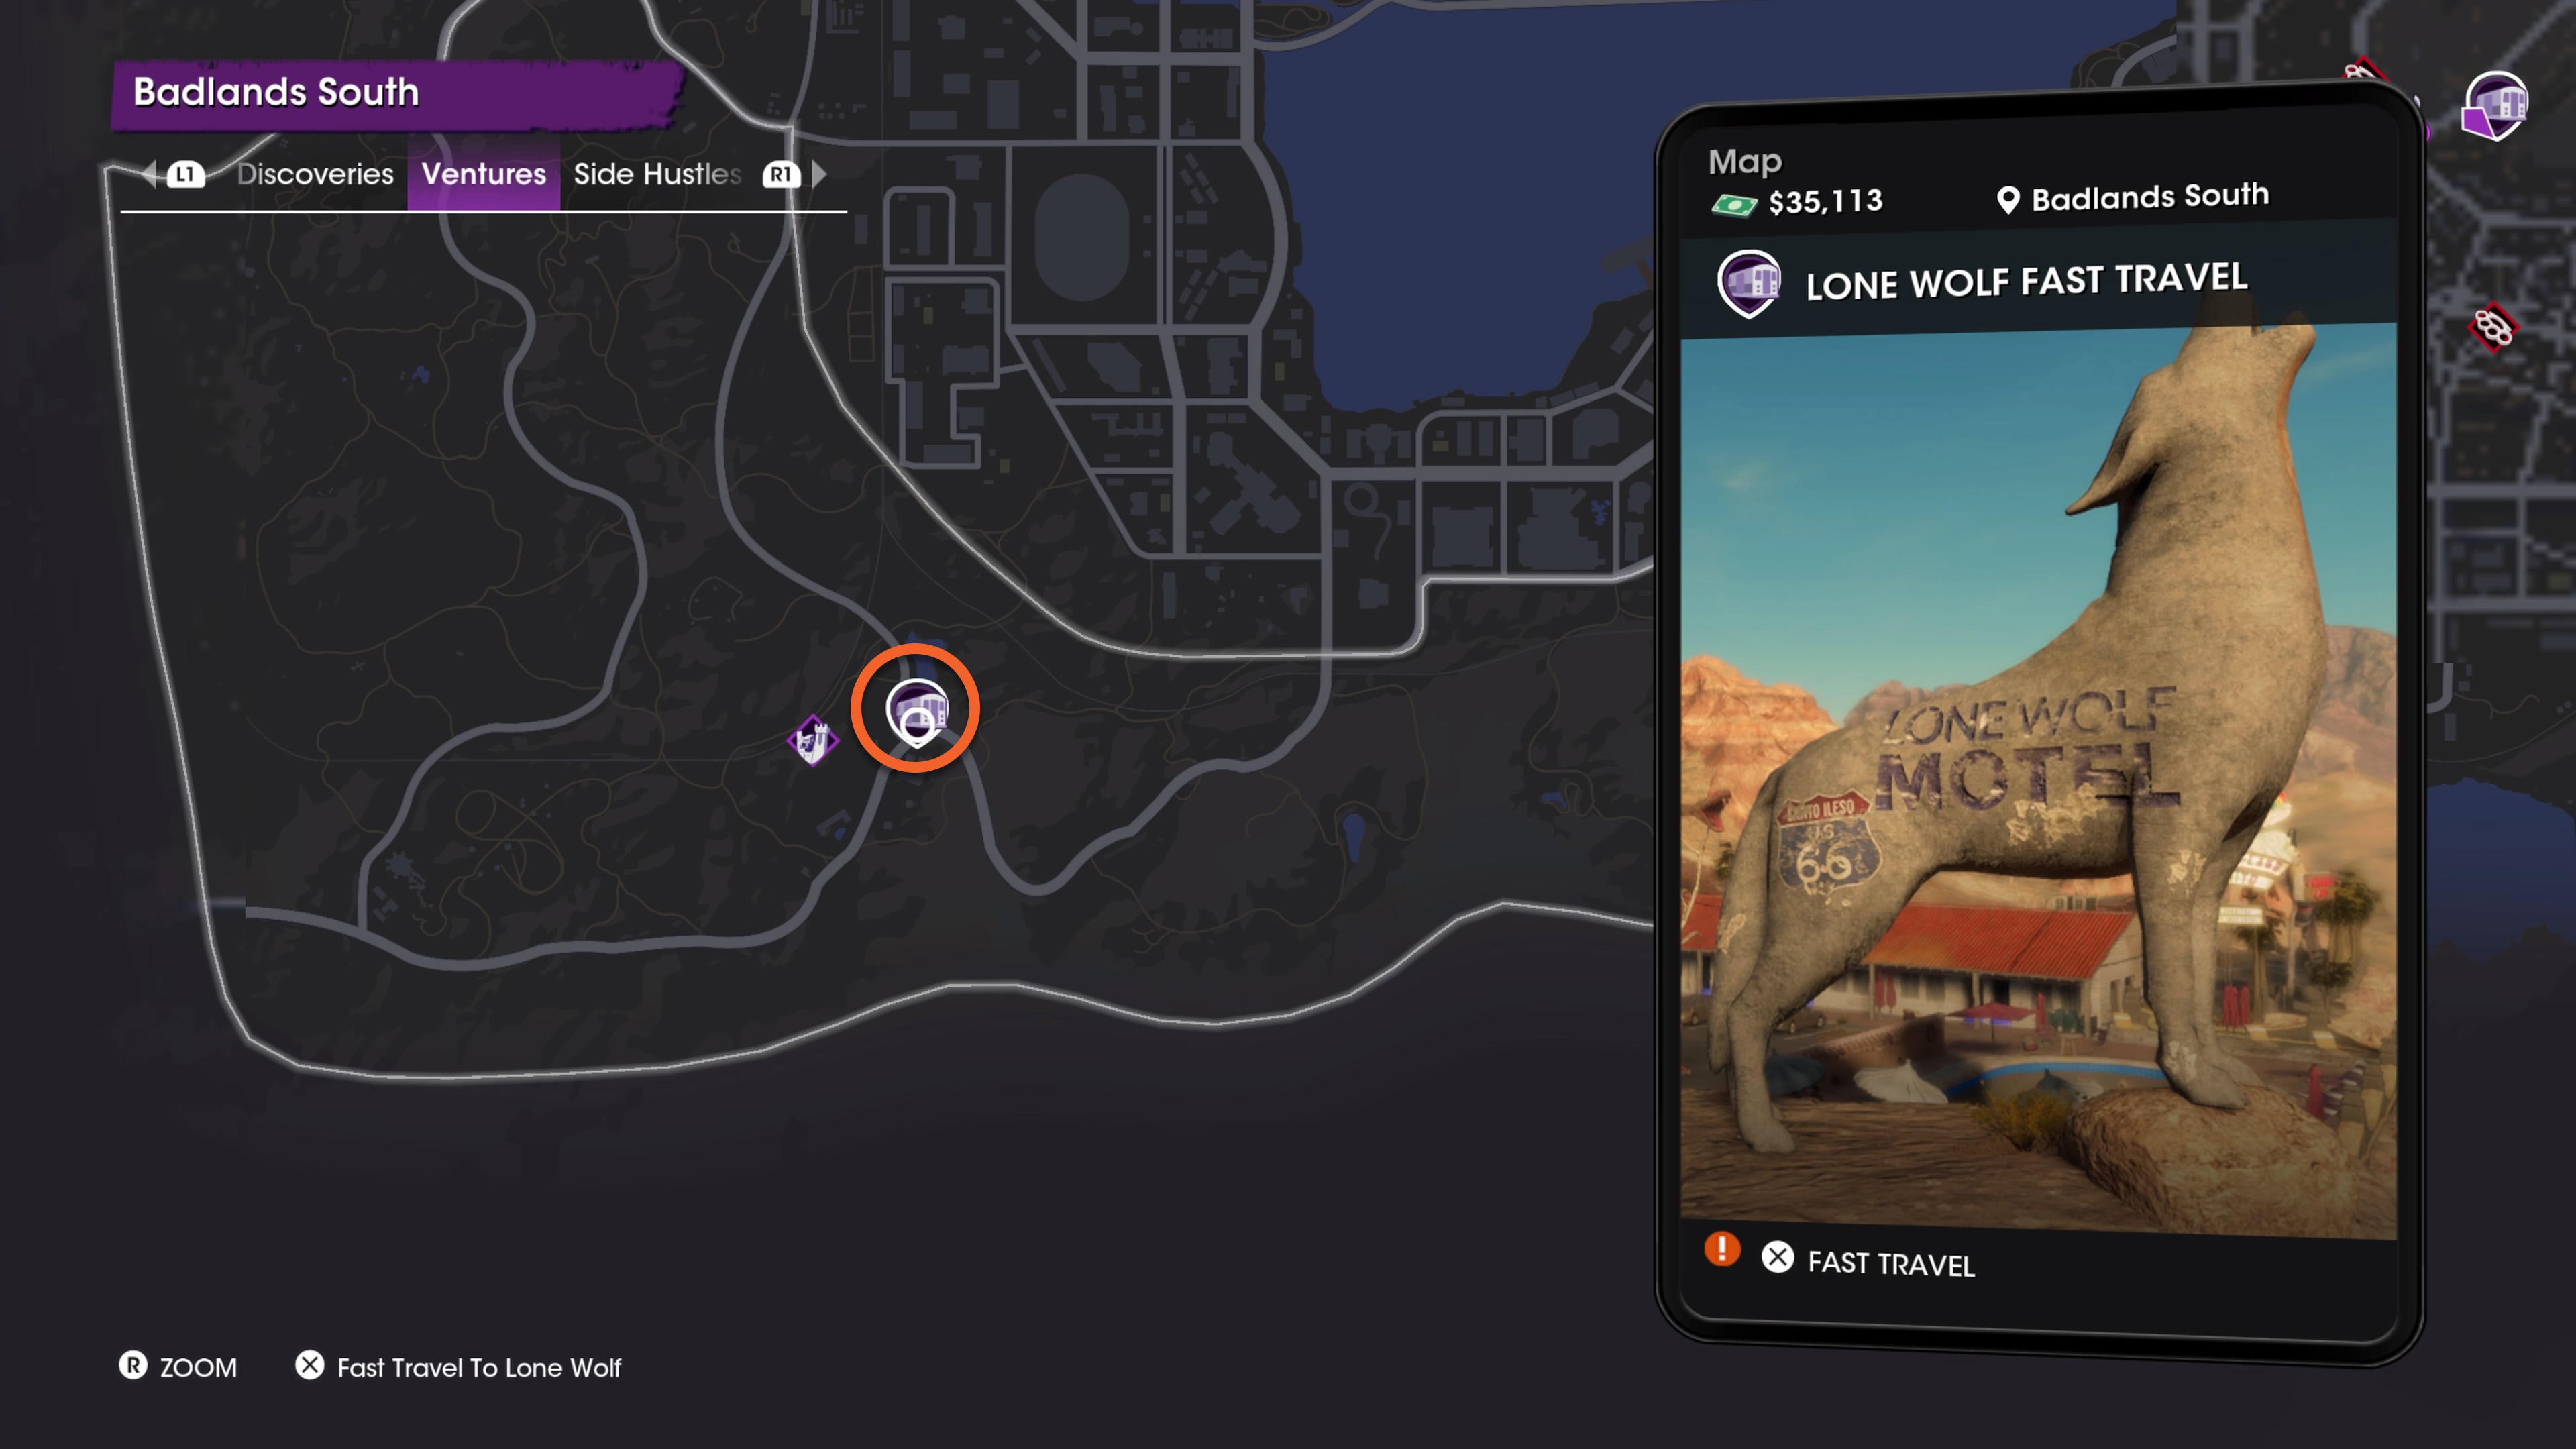
Snap a picture of the large wolf statue at the Lone Wolf Motel in the southwest corner of the map.
Cactus Bill - Lakeshore South
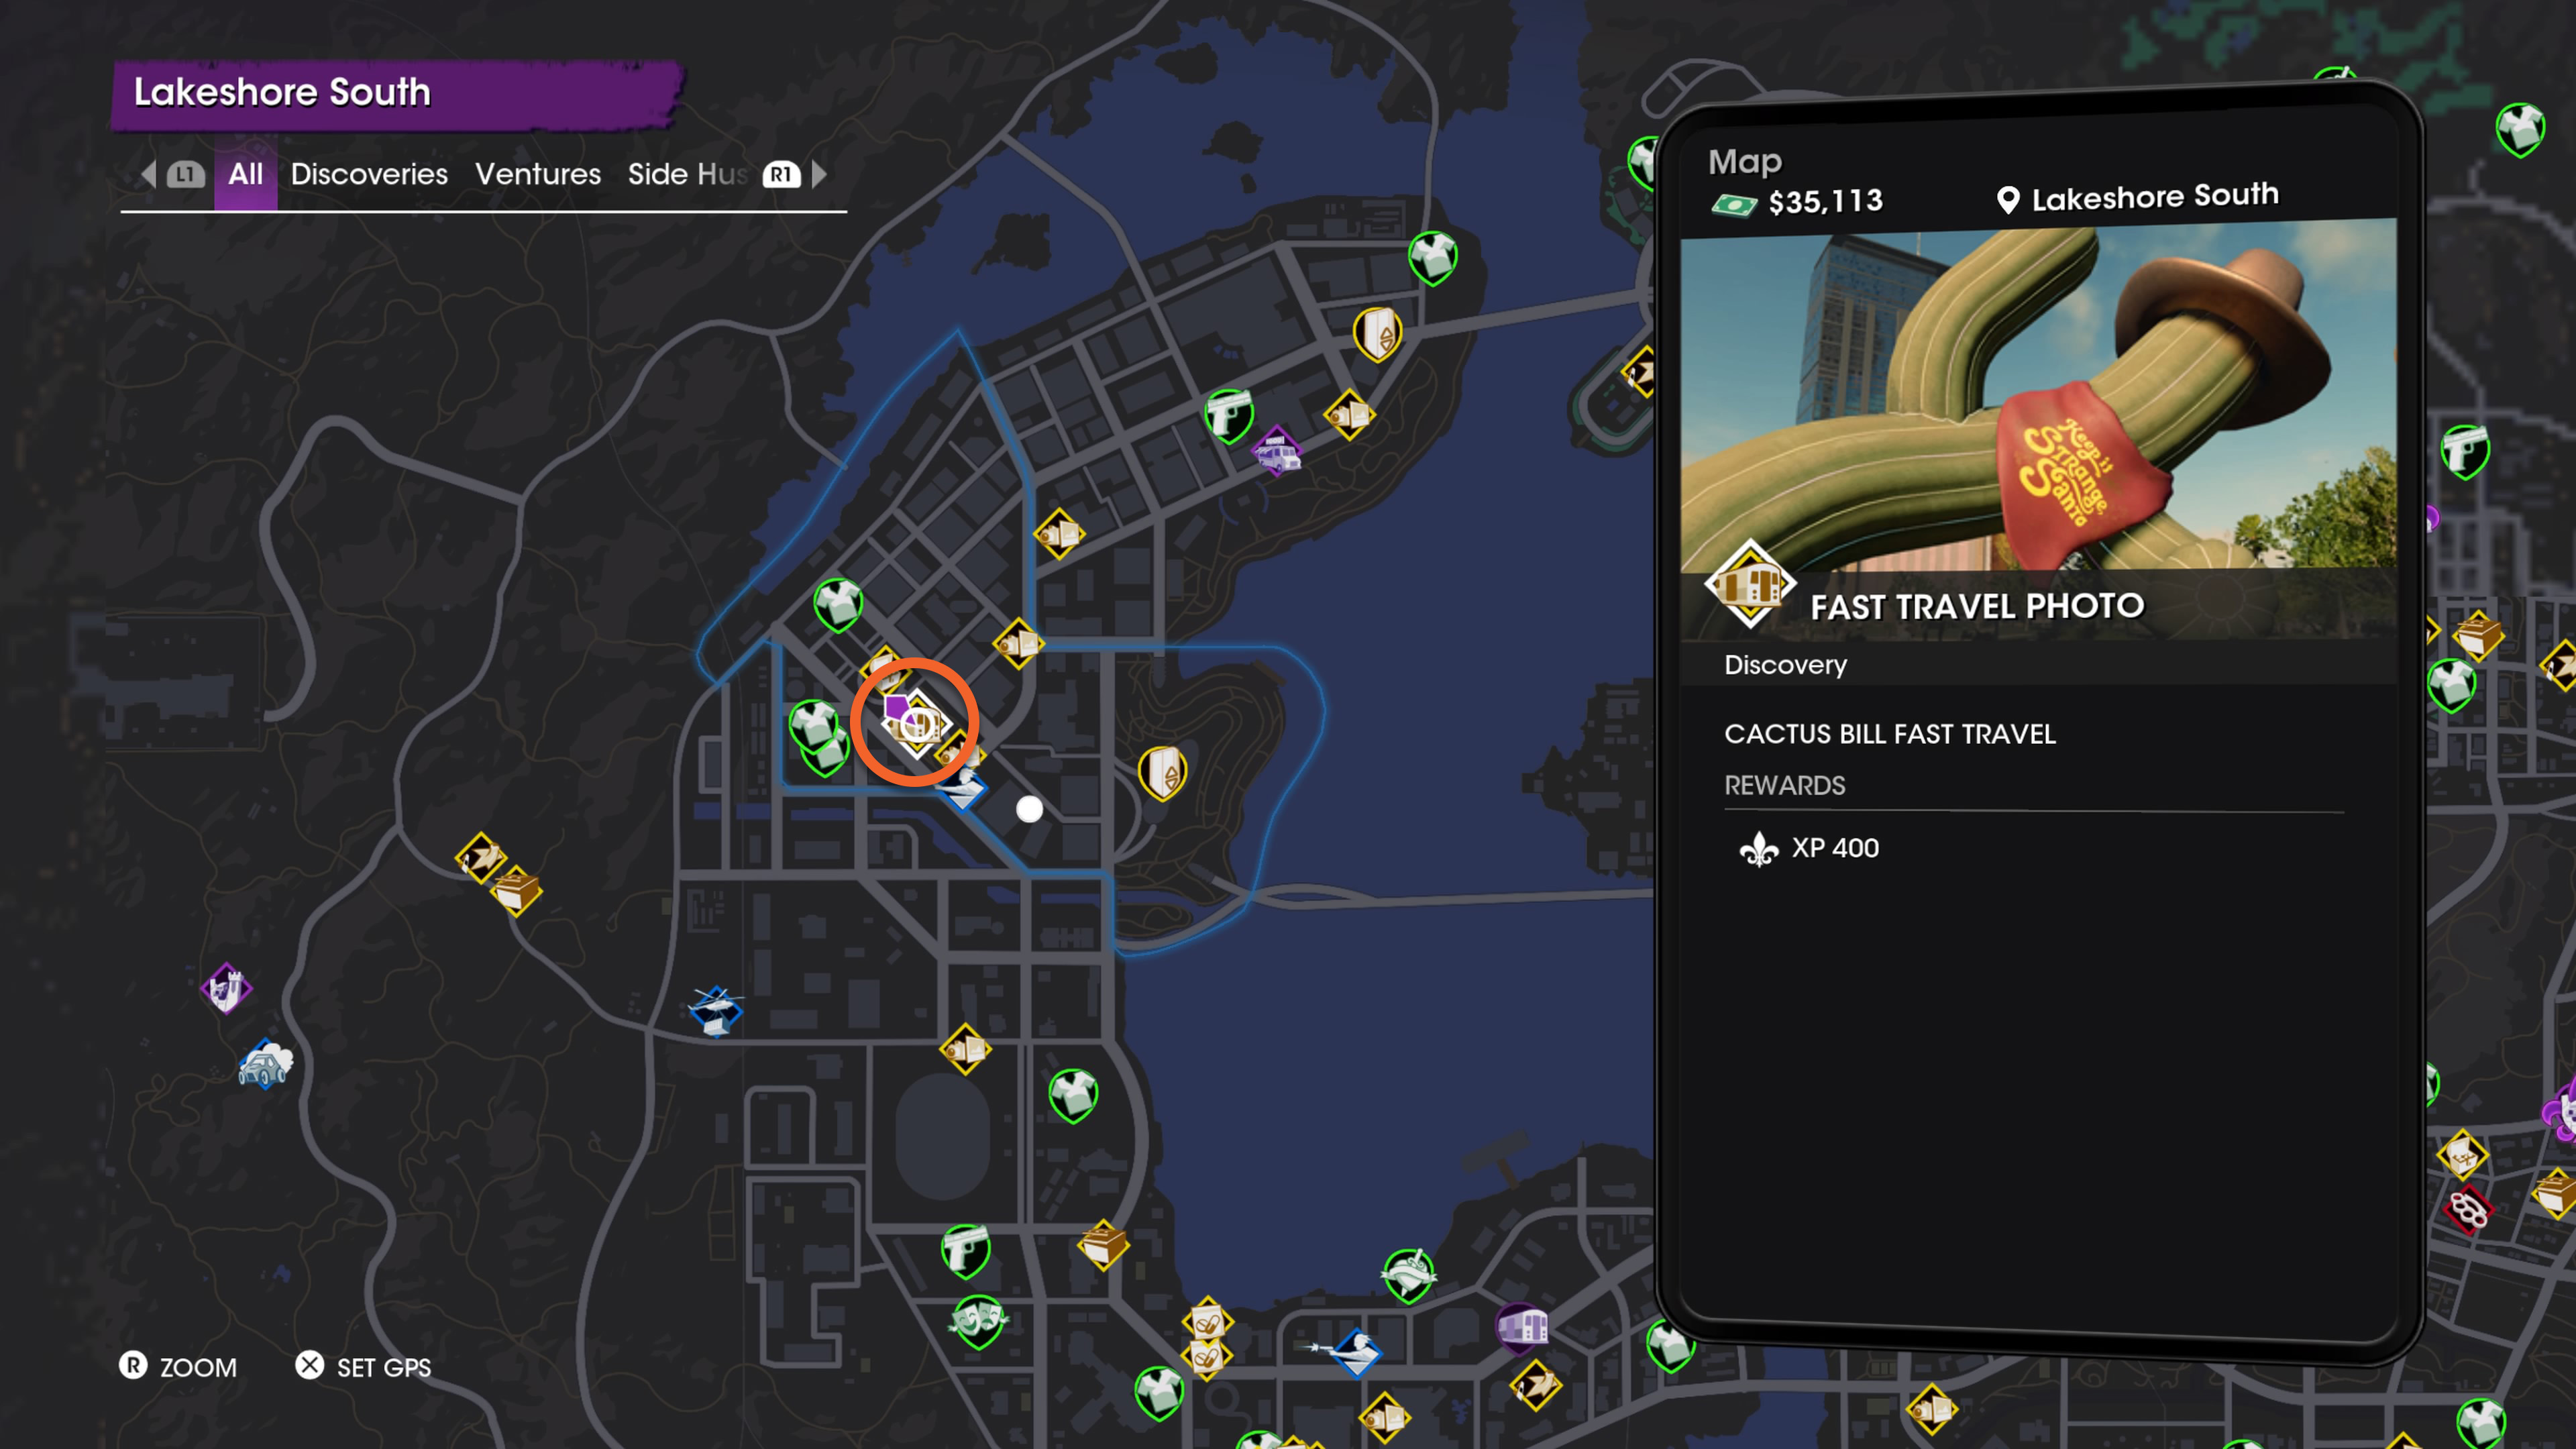
From the Lone Wolf Motel, you can head north towards the more modern parts of Santo Ileso. When you're in Lakeshore South, head to the park area to spot a pair of huge, reclining cactii. Get a photo of the cactus to the south and you'll be able to fast travel to this park area at any time.
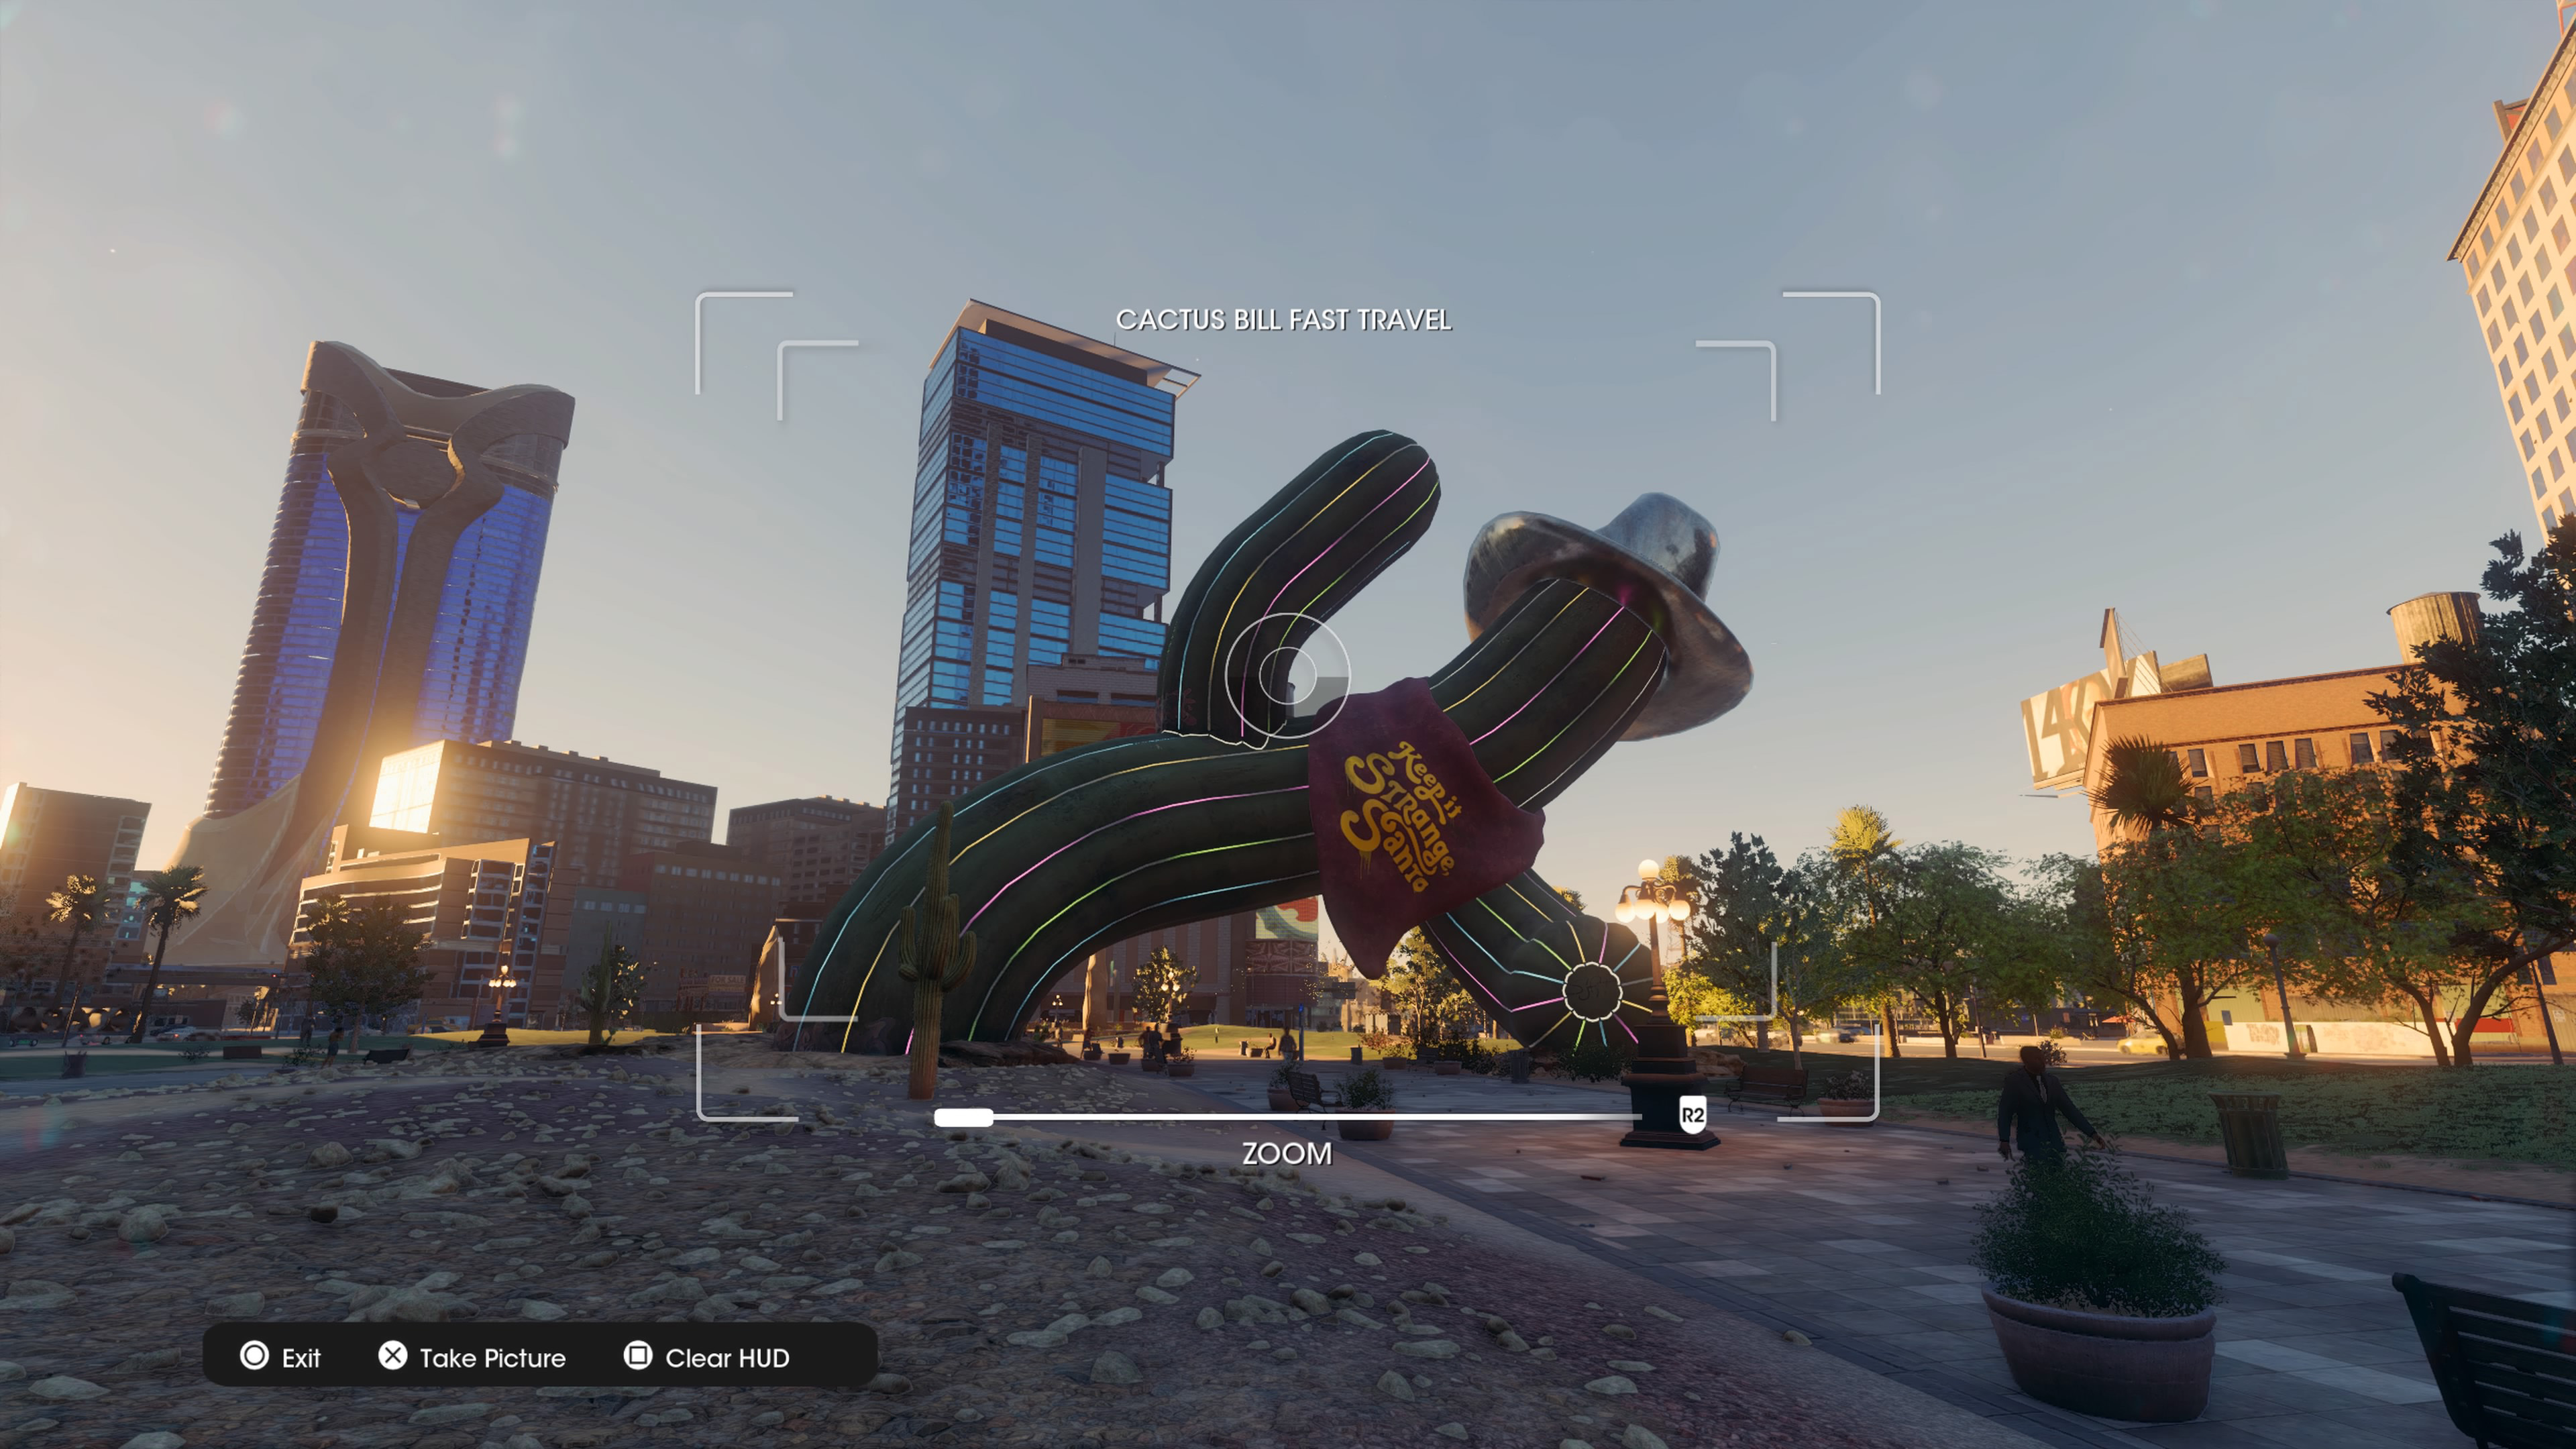
Bear Lake - Marina West
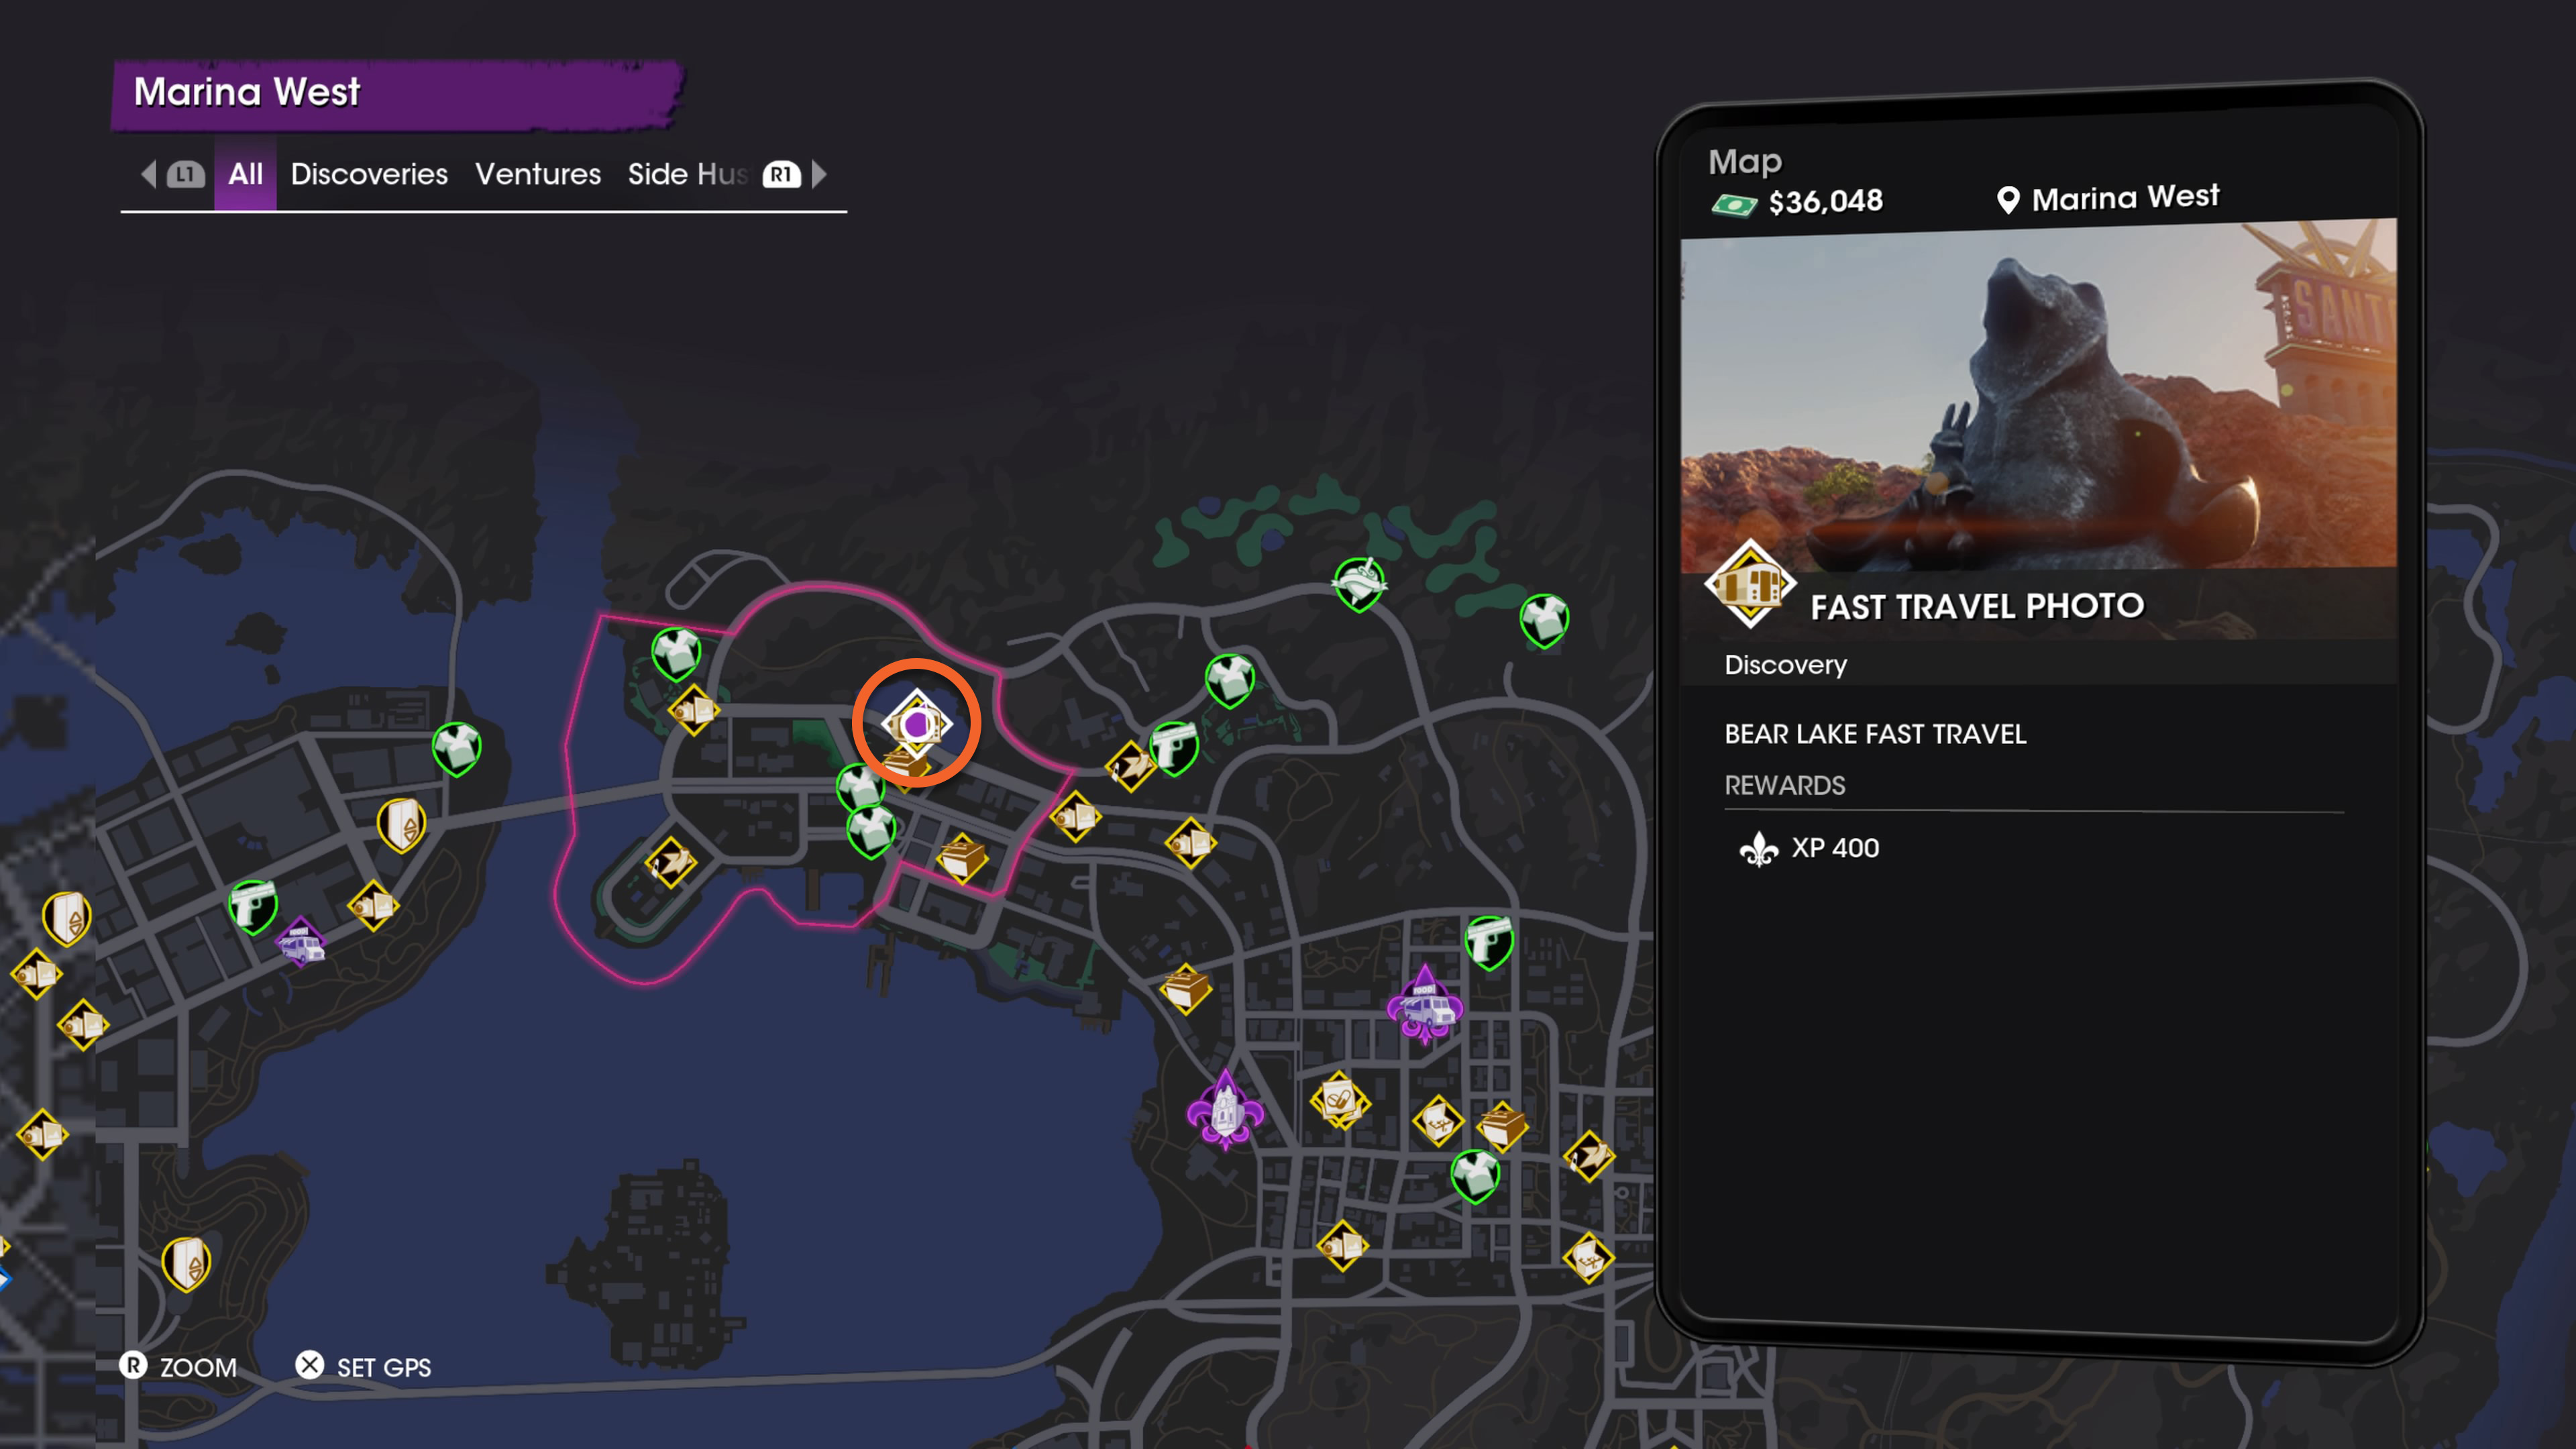
From Cactus Bill, go northeast and across the bridge over the lake to reach Marina West. Head over to the lake in the northern half of that area and snap a photo of the big bear statue in the lake to get this fast travel point.
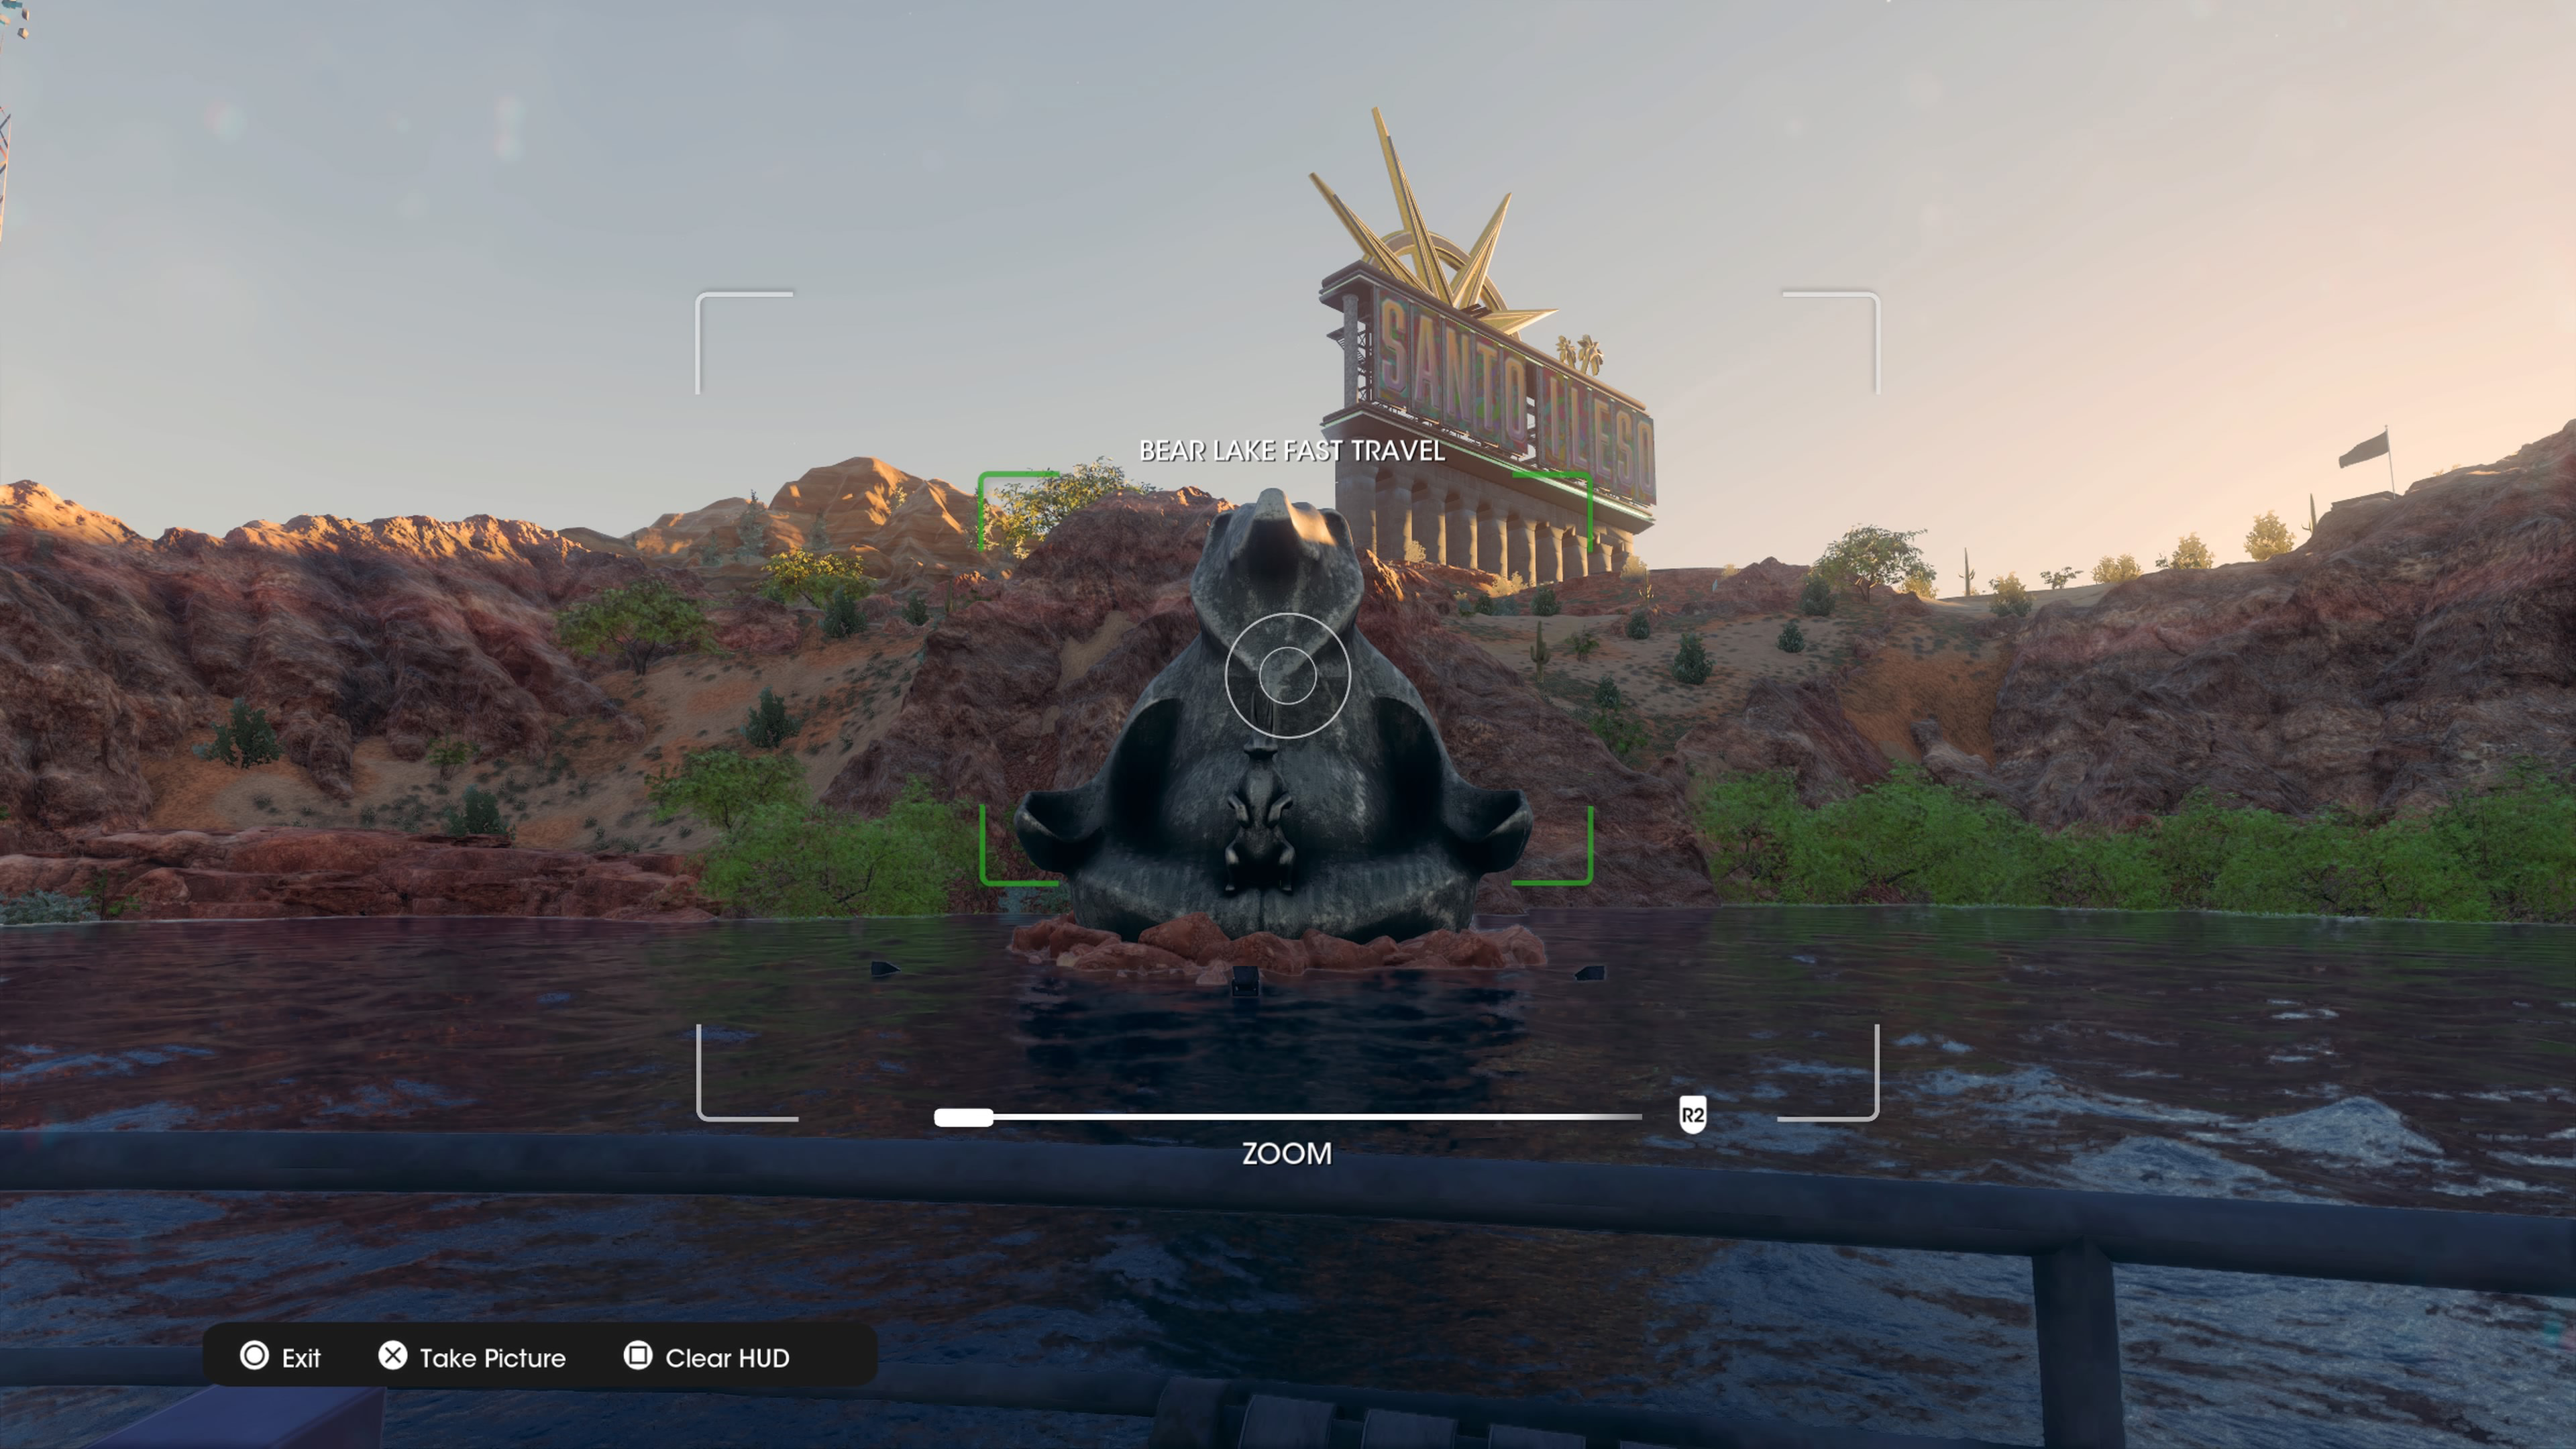
Twin Coyote - Rojas Desert North
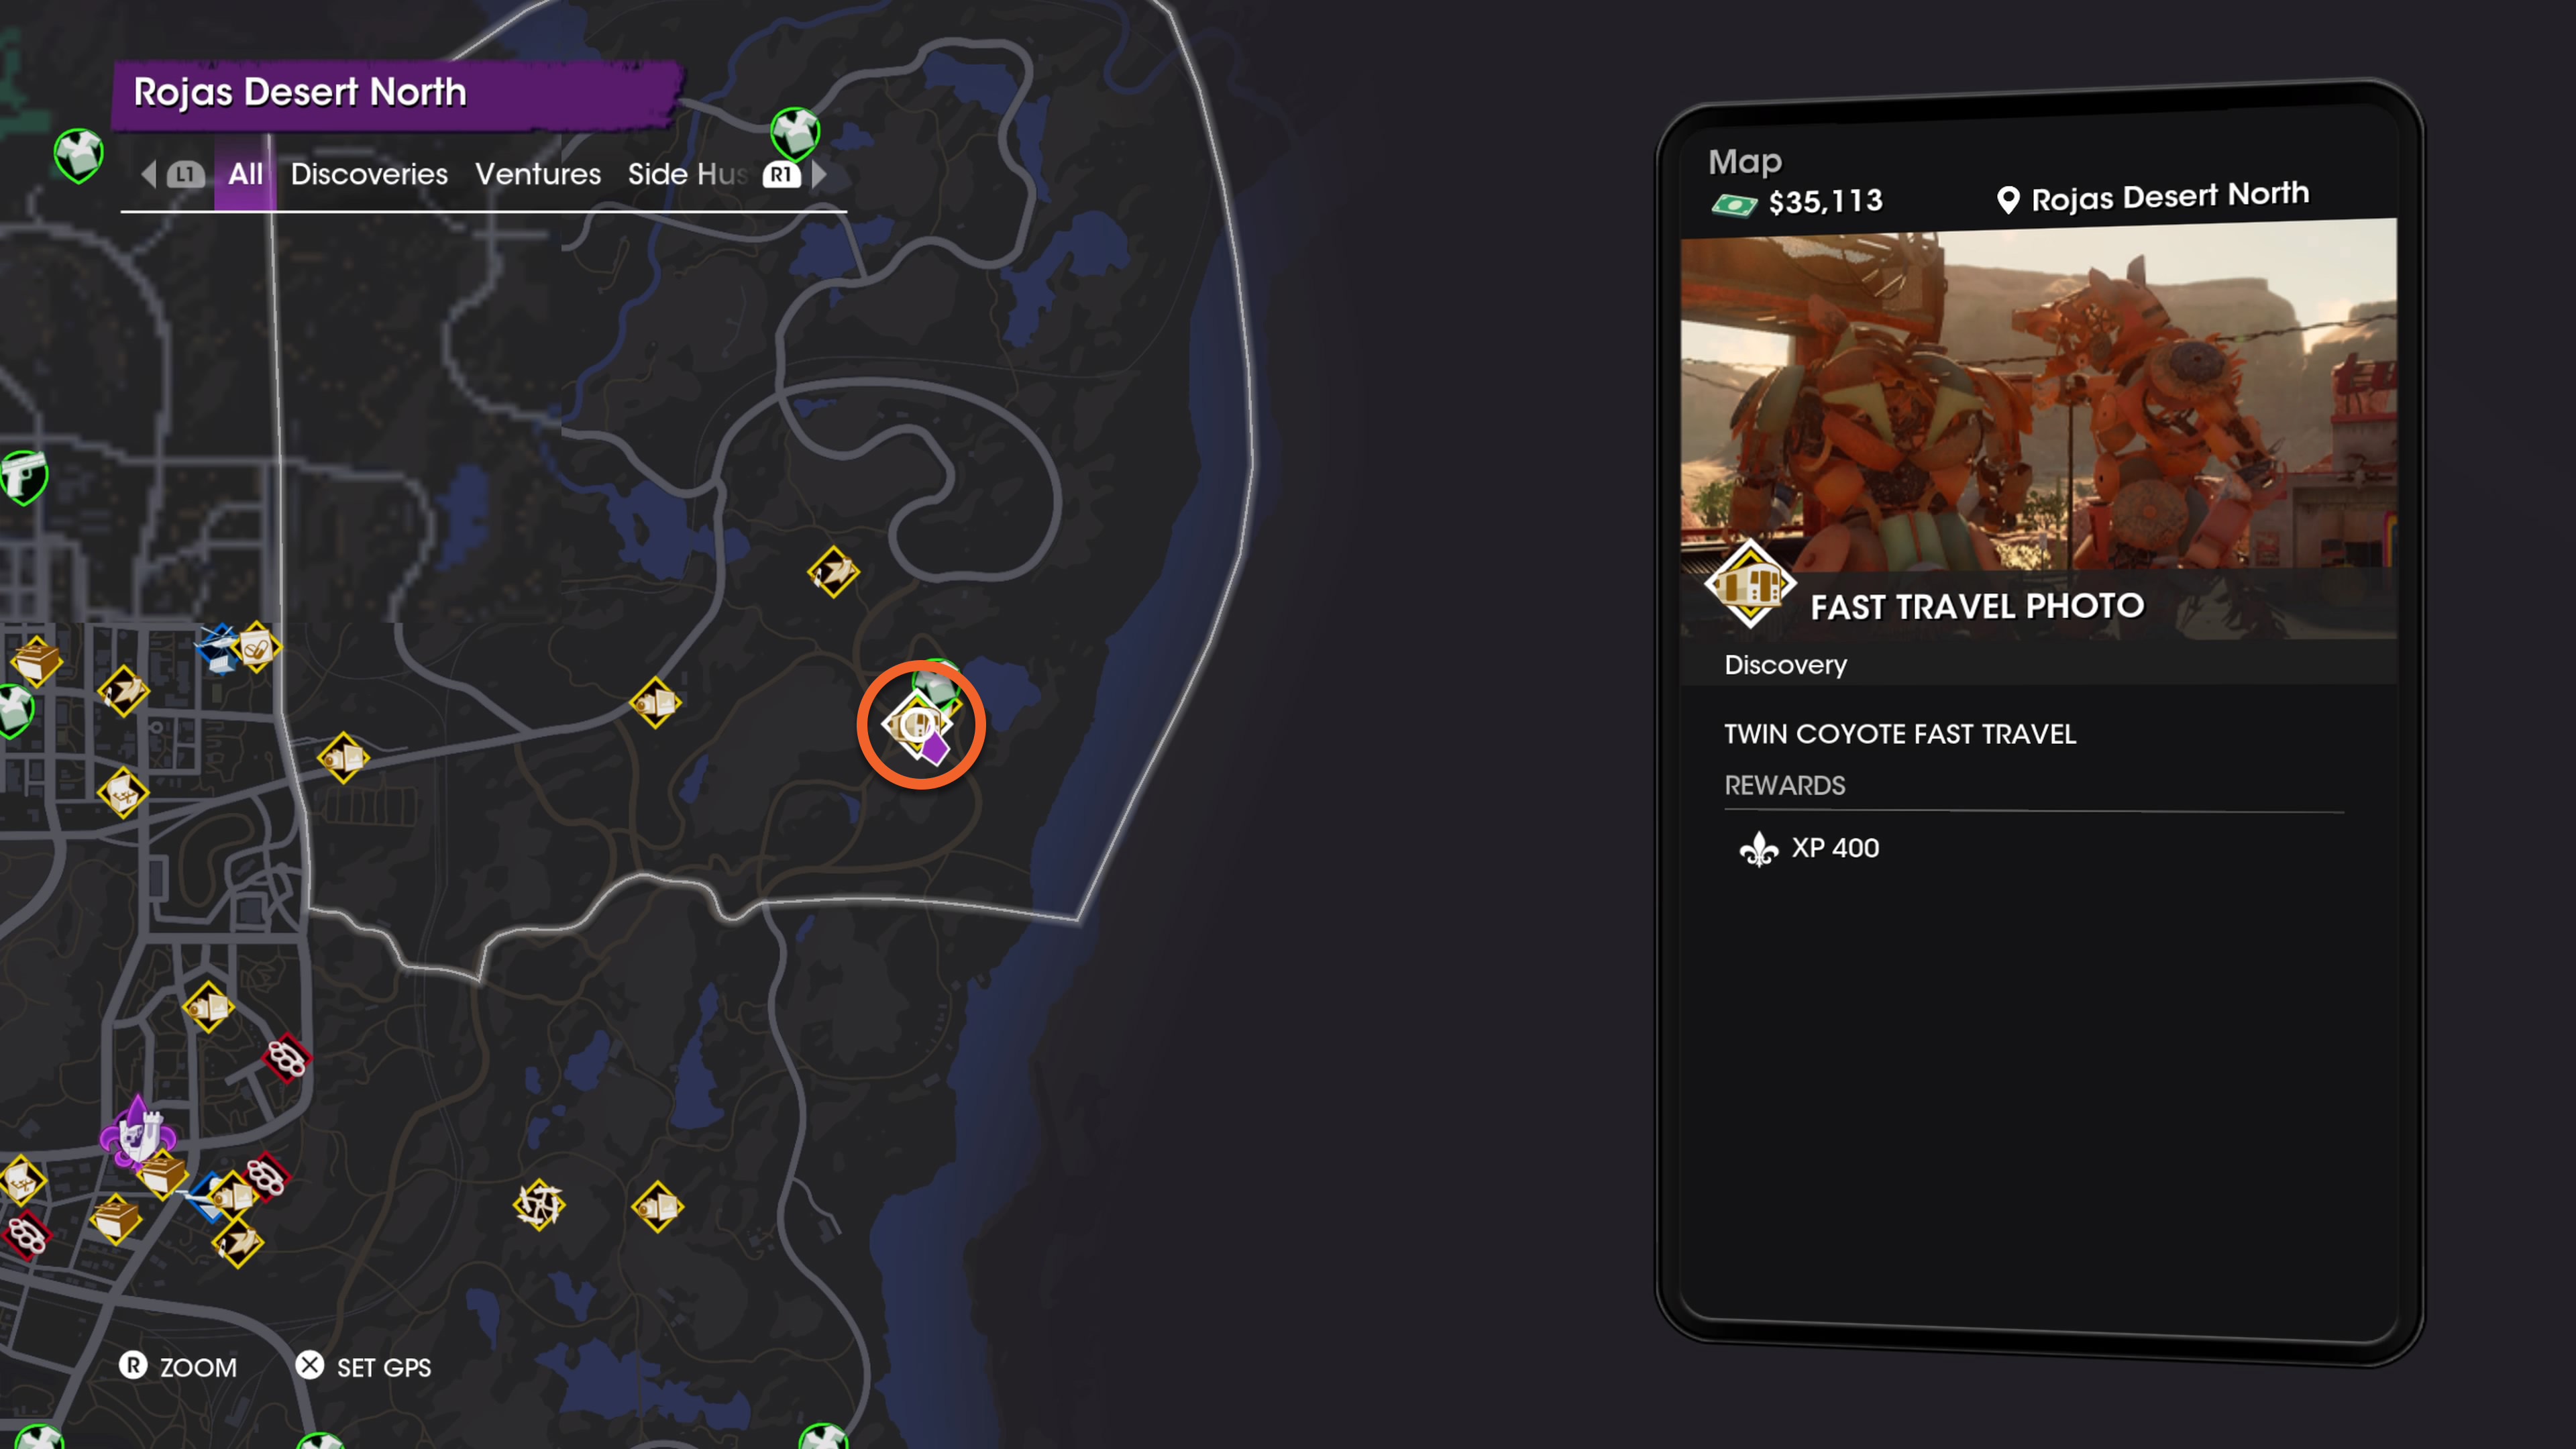
In the northeast section of the map known as Rojas Desert North, you need to venture to the southeast corner near a small lake and look for the Twin Coyote Motel. There's a big sculpture of two metal coyotes playing an arcade machine. When taking a photo, make sure you take a picture of the 'Twin Coyote Fast Travel' and not the 'Metal Coyote' as this will not count as the fast travel point.
Fast Travel Photo not working
Fast Travel Photo points don't always actually unlock fast travel when you get them with your camera, which is annoying and can even feel like a glitch. However, there's a couple of reasons that this might be happening (assuming it isn't a bug).
- You haven't framed the photo correctly. Make sure you've zoomed out so the entire object is in the viewfinder. The box will highlight green when it's ready for you to take the photo.
- It's a Photo Collectible, not a fast travel point. Many collectibles are picked up by photographing them, but not every photo point allows for fast travel. Make sure it's marked on the map by the train icon, and the label "Fast Travel". It's easy to get thrown by a Photo Collectible and a Fast Travel Photo being in the same area, snapping one and mistaking it for the other.
© GamesRadar+. Not to be reproduced without permission.
Weekly digests, tales from the communities you love, and more

Joel Franey is a writer, journalist, podcaster and raconteur with a Masters from Sussex University, none of which has actually equipped him for anything in real life. As a result he chooses to spend most of his time playing video games, reading old books and ingesting chemically-risky levels of caffeine. He is a firm believer that the vast majority of games would be improved by adding a grappling hook, and if they already have one, they should probably add another just to be safe. You can find old work of his at USgamer, Gfinity, Eurogamer and more besides.
- Will SawyerGuides Writer
