Ratchet and Clank Rift Apart walkthrough
This complete Ratchet and Clank Rift Apart walkthrough is all you need to beat the game
Zurkie's Bar and Gastropub
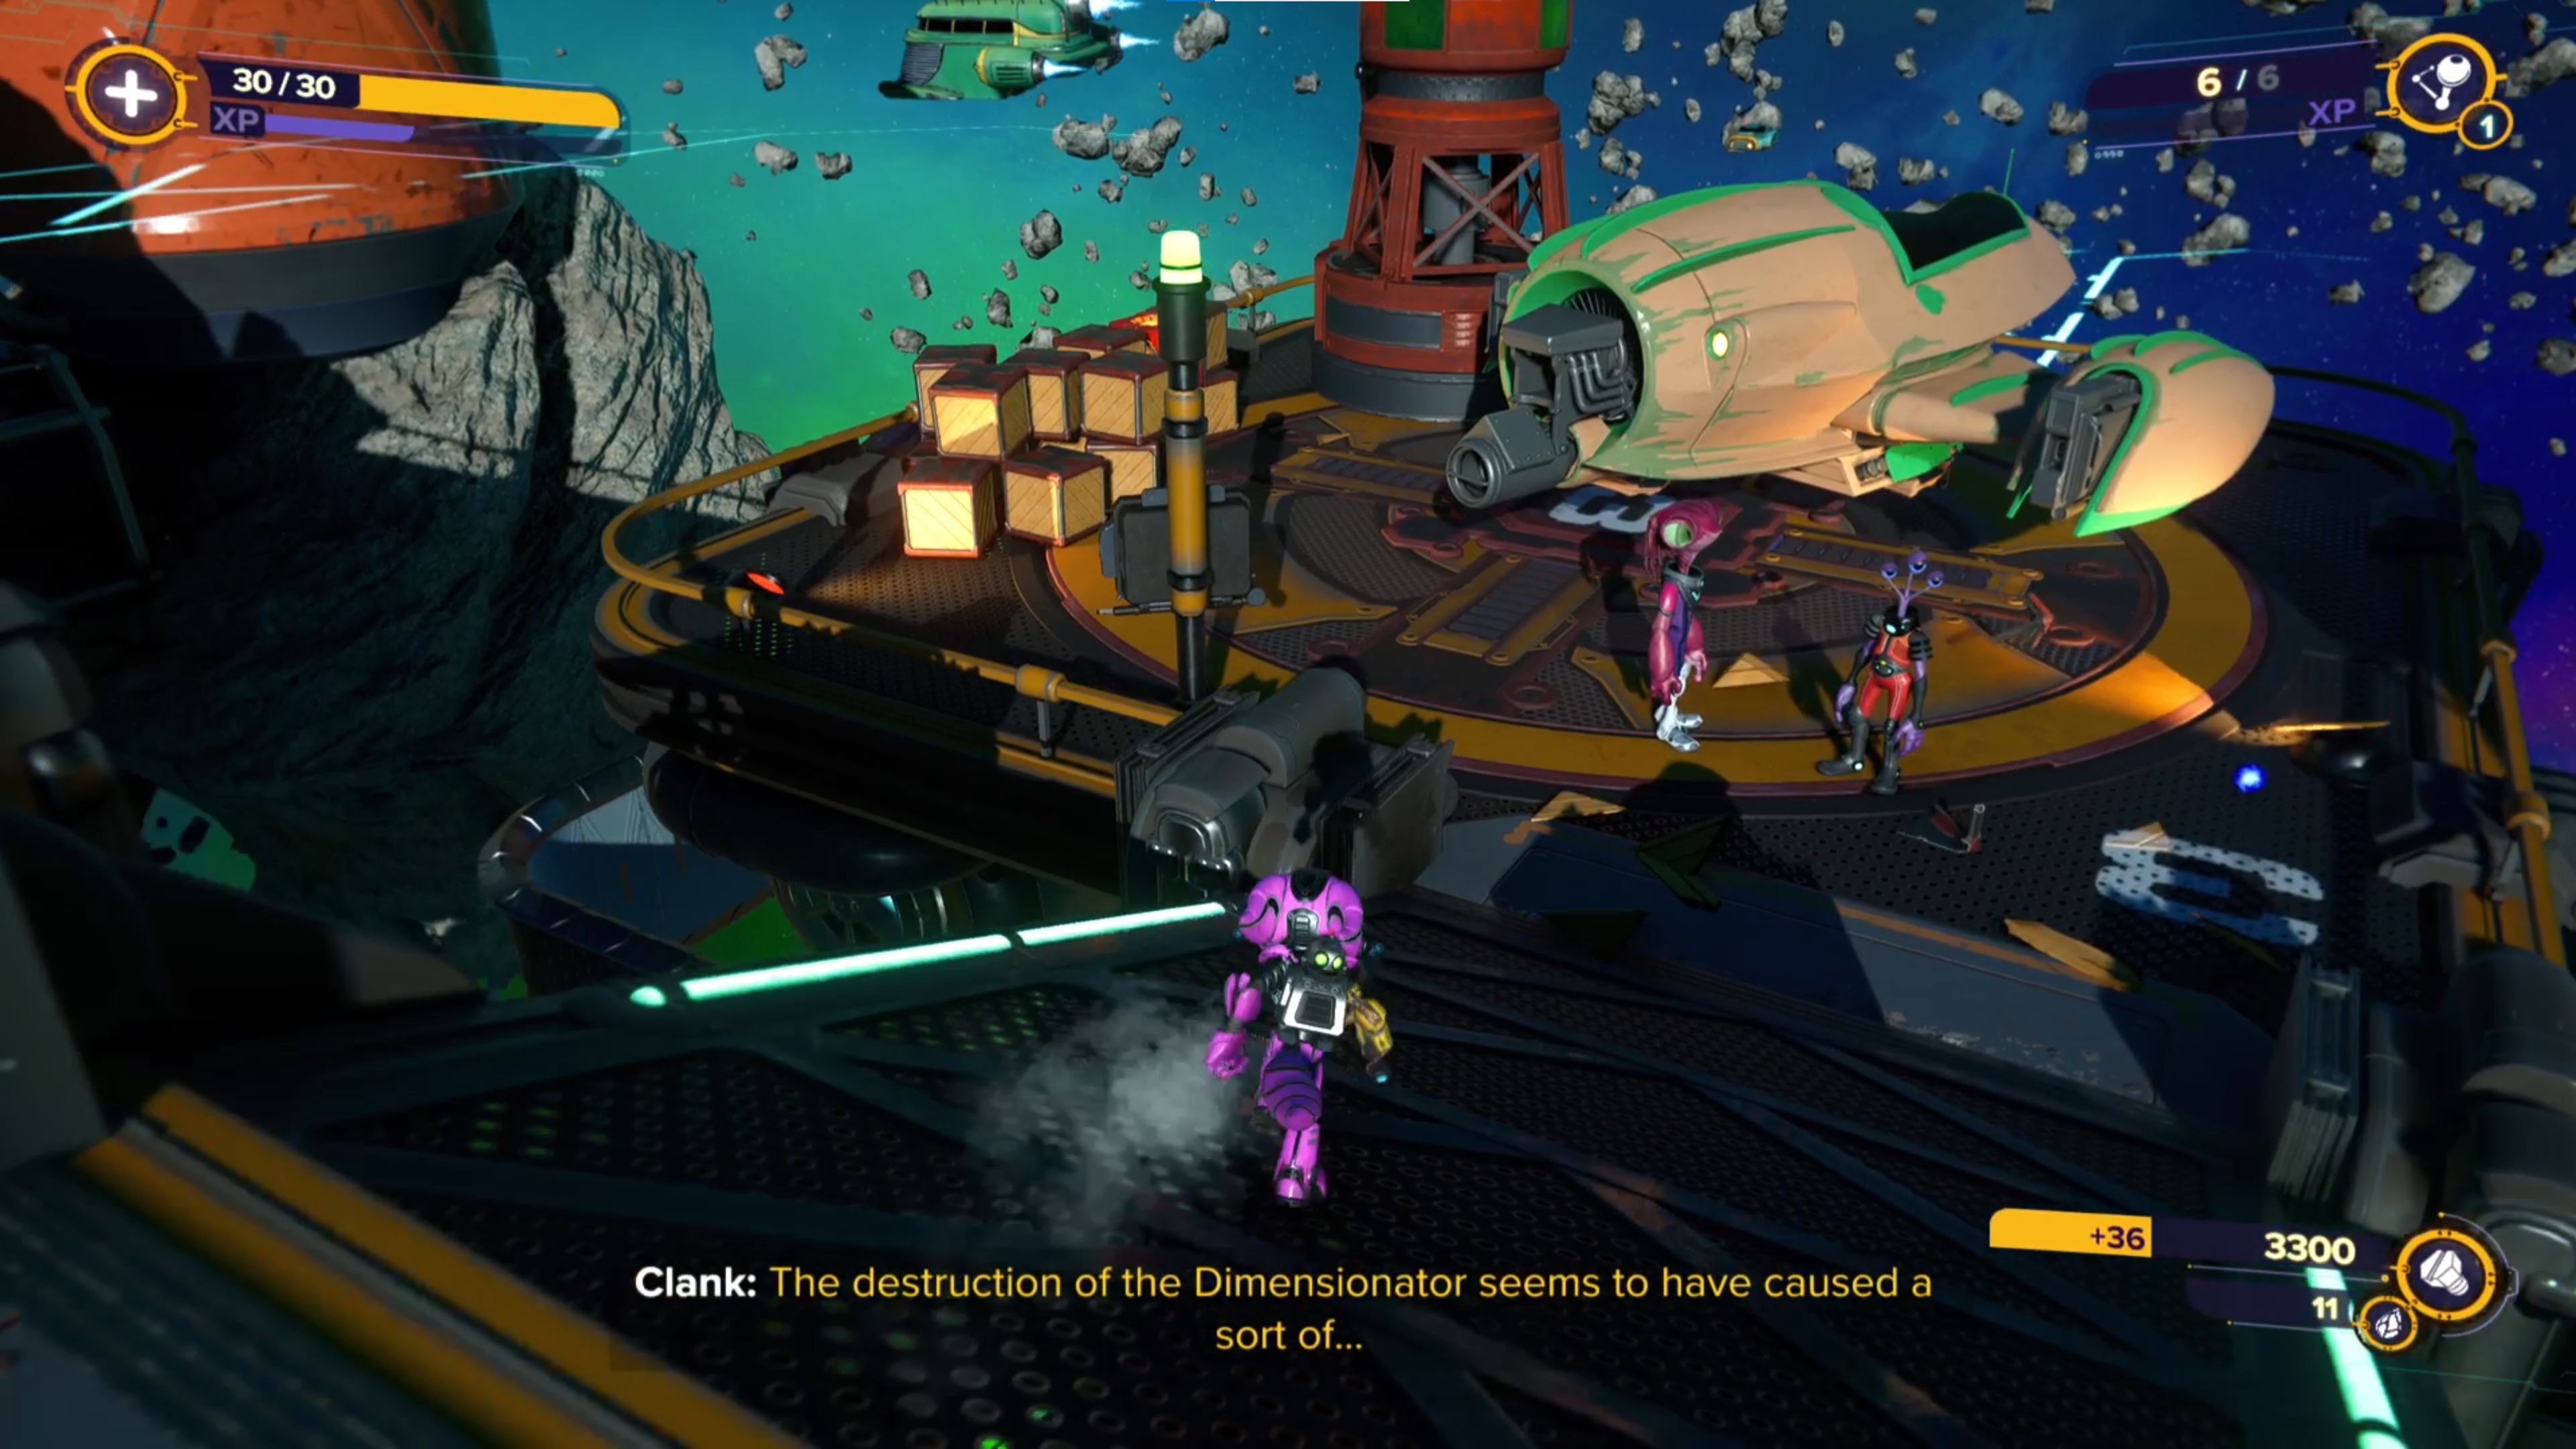
Scarstu Debris Field isn't very big. This space outpost is just the home of Zurkie's Bar, which is where most of your time will be spent on this "planet". With that in mind, there is a gold bolt to find before you enter the bar – see our dedicated guide linked above. Along with a CraiggerBear, which we also have a guide for at the top of this page, and a Pocket Dimension to get the Q-Force Helmet. There's also a spybot in the distance behind the bar, but you can't get it yet because you don't have the Hurlshot. When you do get it on Torren IV, return here to get the spybot.
Enter the bar and you'll meet Pierre Le Fer, a robot pirate who makes you take on his gang in the Battleplex Arena. The fight isn't too difficult, it's just waves of enemies, but after you take down the fifth wave, you'll face off against Francois. This fight is similar to the Nefarious Juggernaut; he fires bombs, jumps towards you, and can bring in some smaller enemies. Never stop moving and you'll see the fight off in no time, especially if you're generous with the Topiary Sprinkler and Mr. Fungi.
Completing the fight is the end of your mandatory time on Scarstu Debris Field, but you can keep challenging the rest of the Bronze Cup in the arena for extra rewards. Later on in the story, you'll unlock the Silver and Gold Cup challenges, which is how you get the rest of the gold bolts and spybots.
Article continues belowNow you have the option of Savali or Blizar Prime, so pick whichever one you fancy. Savali is next in this walkthrough, Blizar Prime after.
Meeting Gary
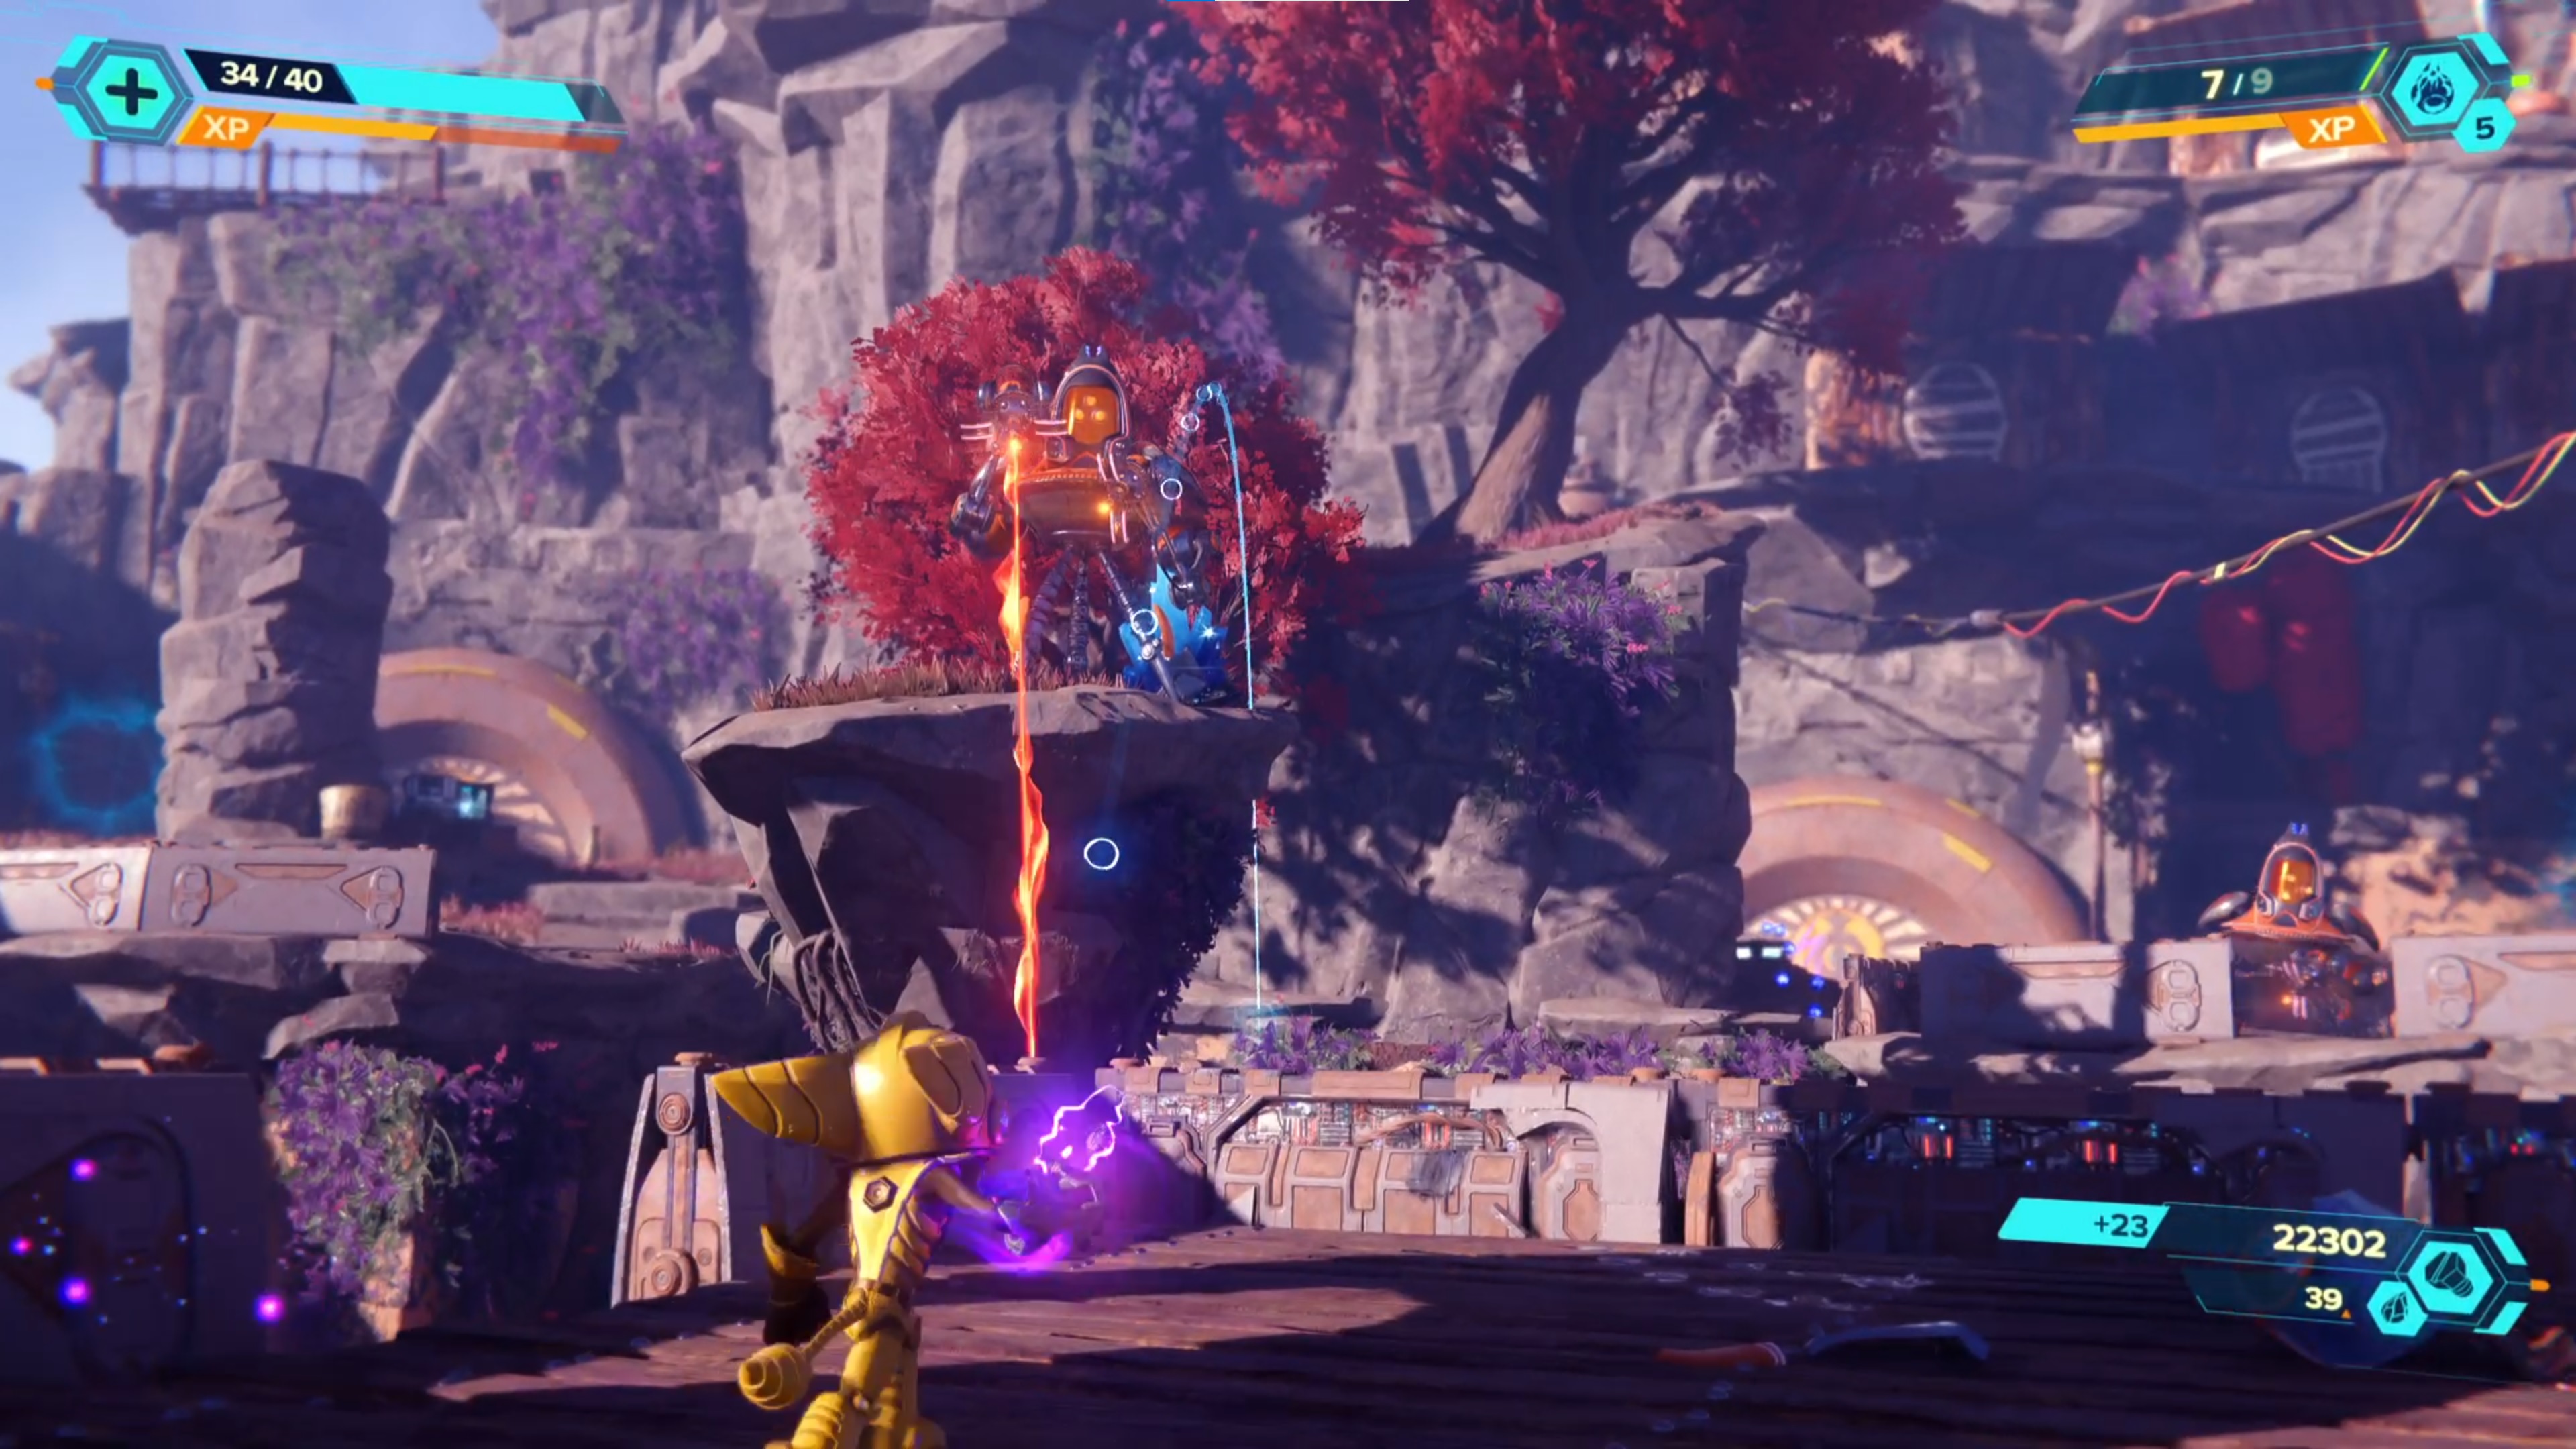
Walk forwards from your landing spot on Savali and you'll encounter Gary, who tells you to find his apprentice at the Interdimensional Archives. Problem is, the town is under attack. Keep moving onwards, clearing the Sandsharks and other enemies in the area, and you'll find a bunch of Nefarious Troopers in the village.
Clear all the enemies and go to the opposite side of the village, where a cutscene will begin and you're introduced to KT-7461 who gives you the hoverboots. Use the speed boost pad to launch yourself over to the mainland part of Savali.
Freeing the monks at the temples
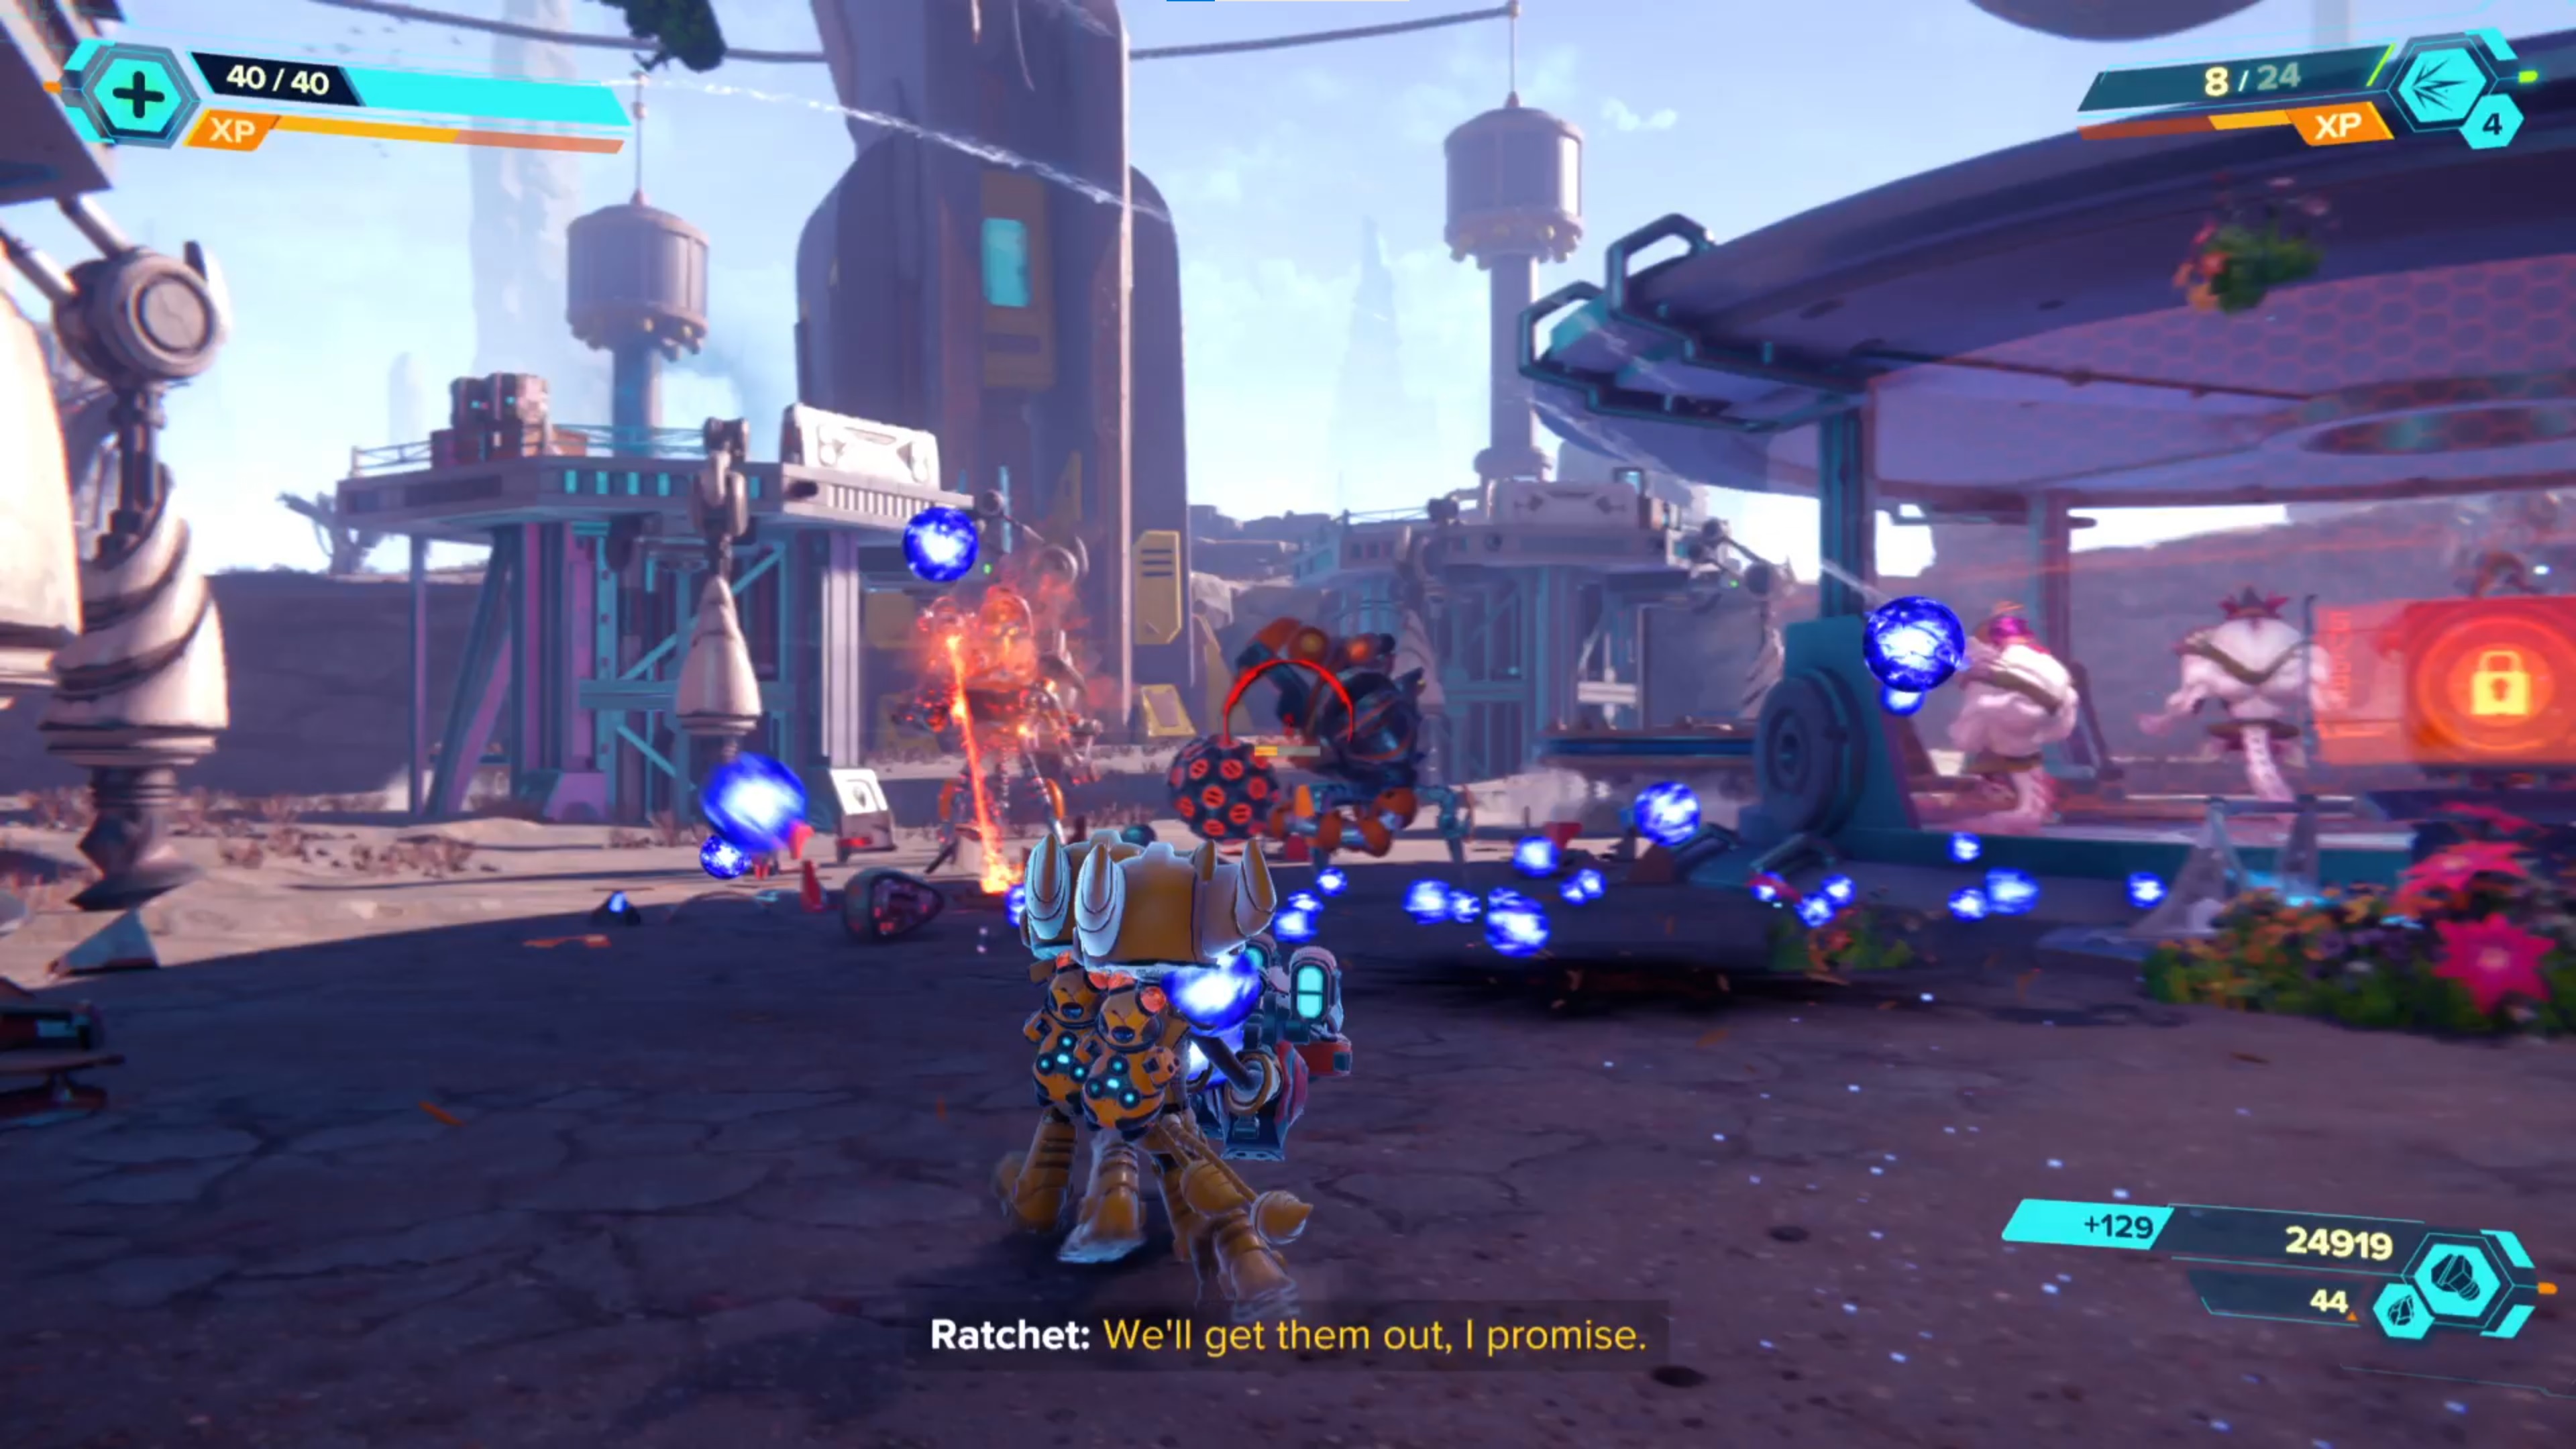
Since Savali is such an open planet, you can tackle things in any order you like. There are three gold bolts, one spybot, and one CraiggerBear to find here, so if you want to make sure you get them before doing anything else, check the linked guides at the top of the page. There are also the Ratchet and Clank Rift Apart lorbs, which we have a dedicated guide for but they are a completely optional objective.
Weekly digests, tales from the communities you love, and more
Otherwise, you need to head to the three temples on Savali and free the monks. All three of them are marked on your map by an objective icon, so don't worry about getting lost or spending time hunting them down. Each one is really quite simple; clear all the enemies at each location then interact with the console to free the captured monks.
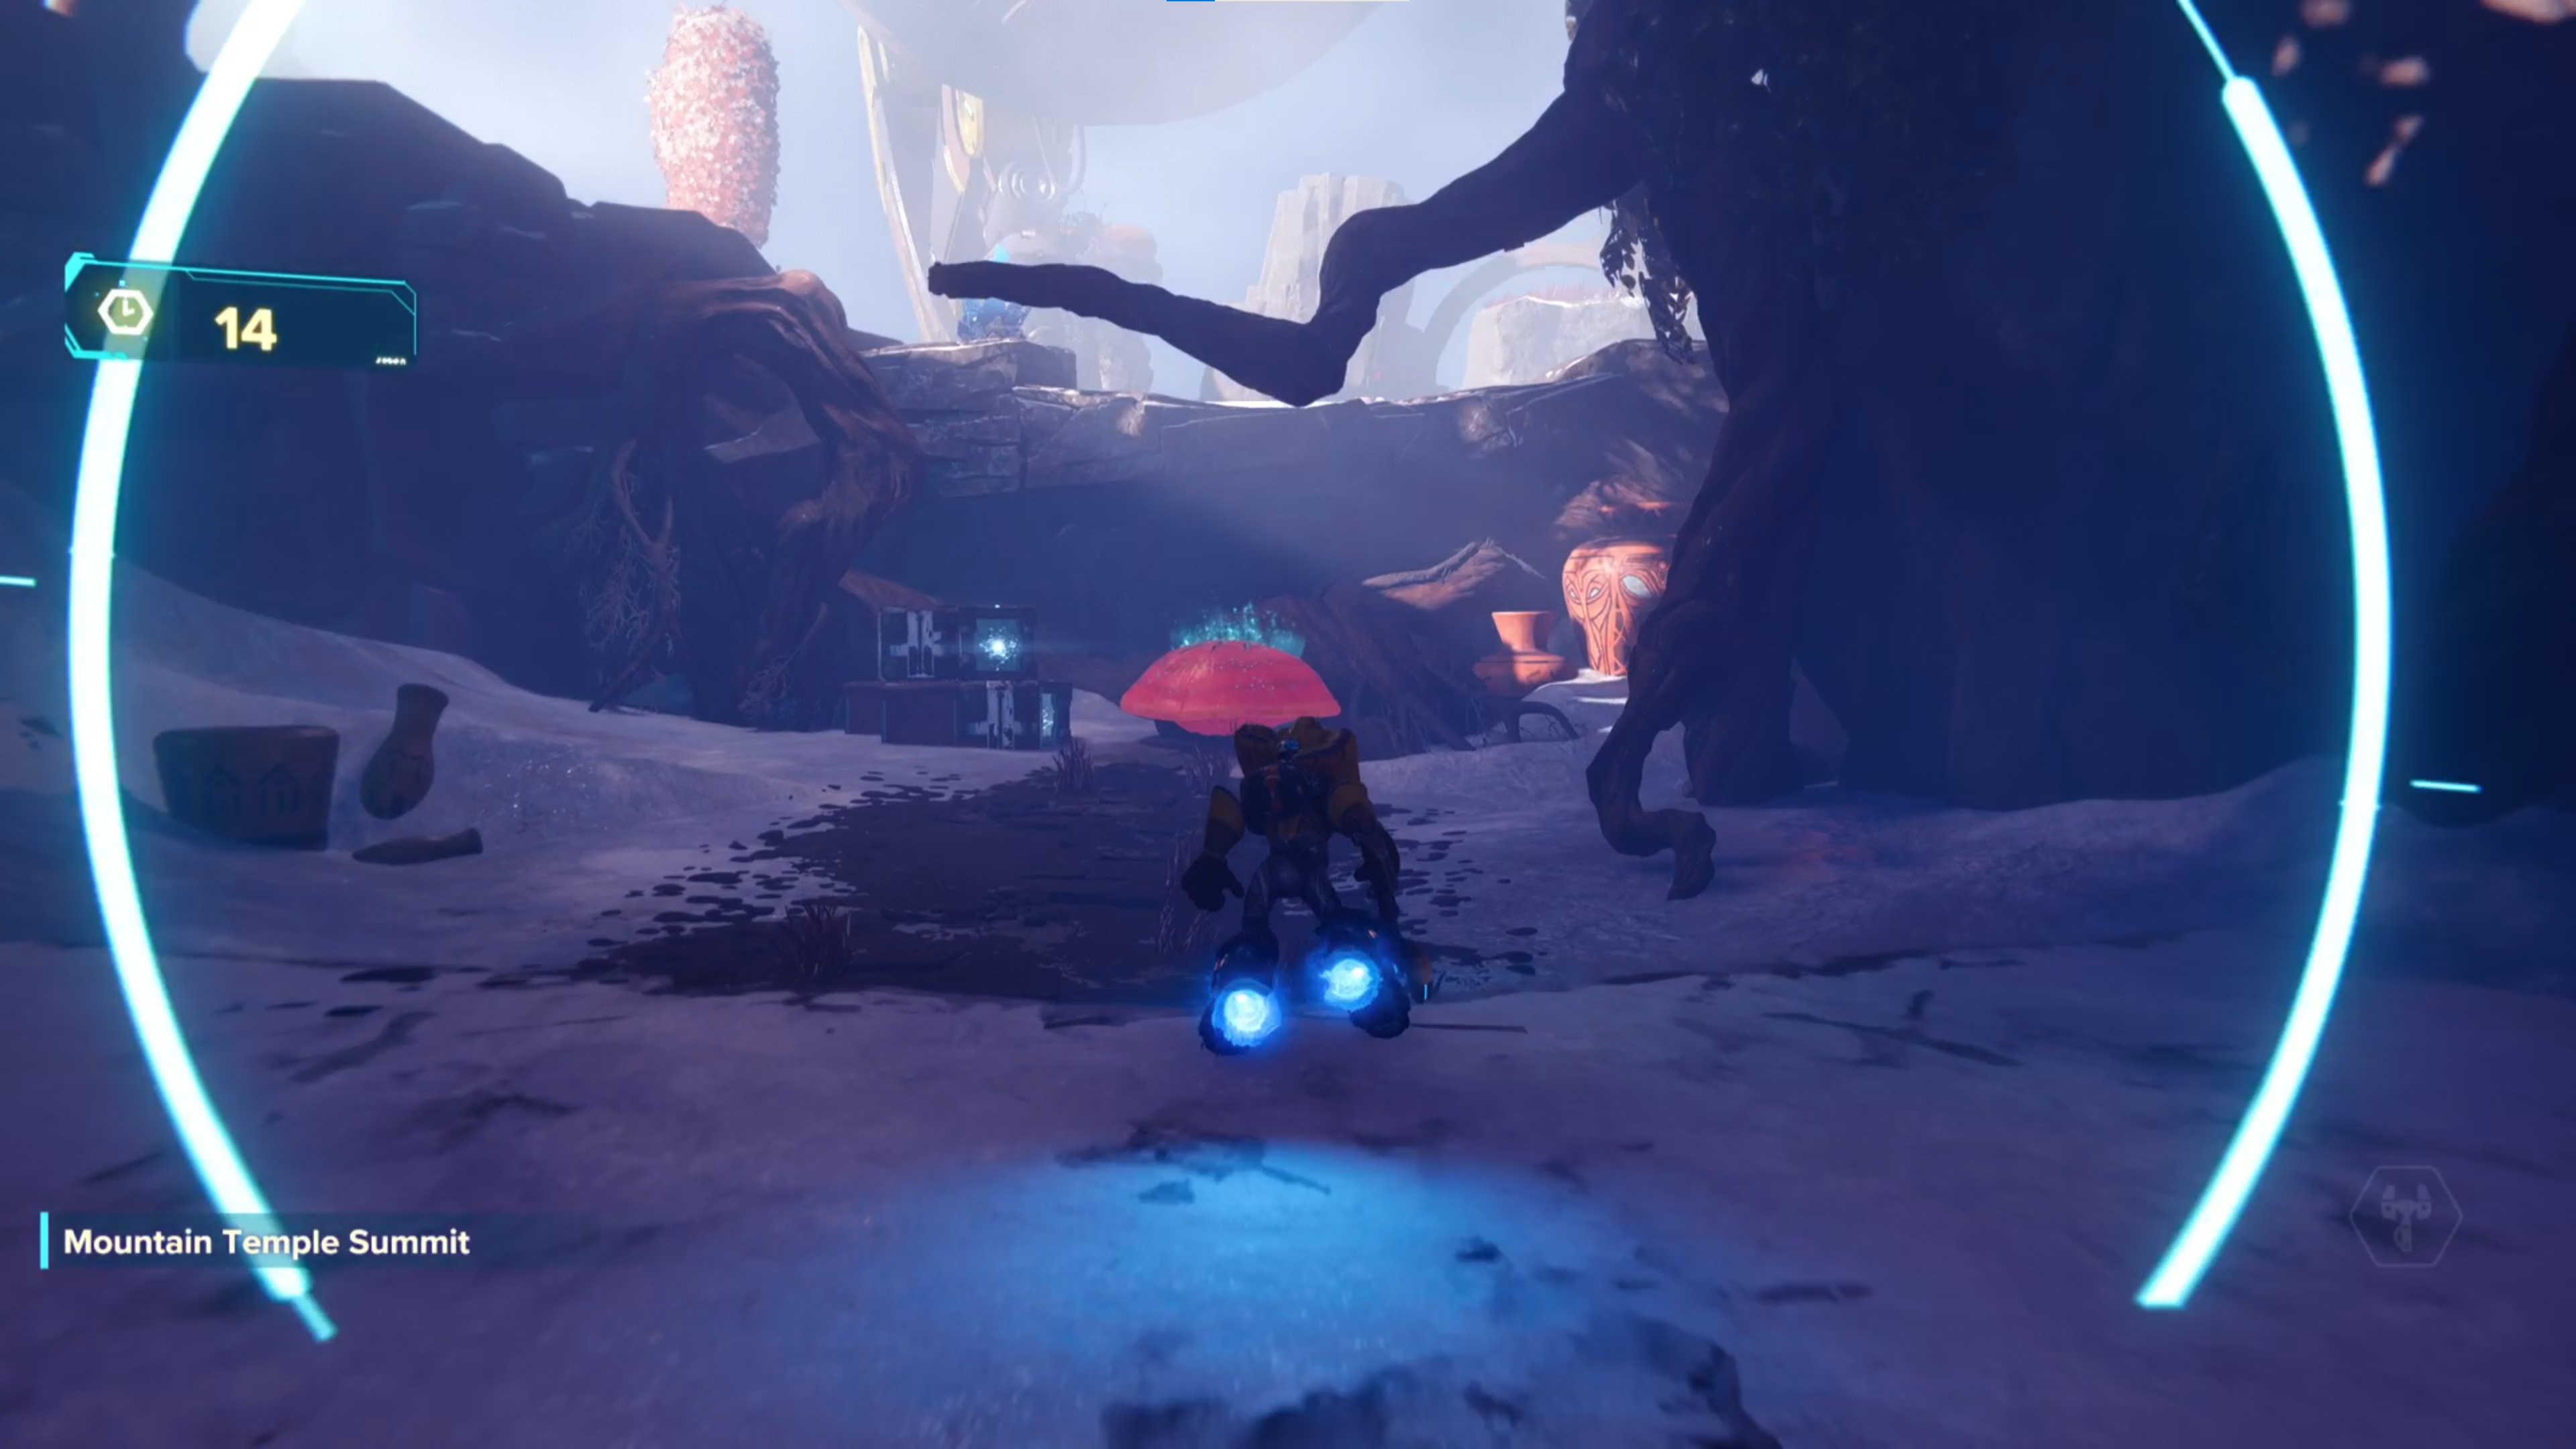
The Earth Piercer temple at the top of the map should be the first one you head to, simply because it's the most straightforward, there are just a lot of enemies. The Crimson Forest temple is all the way to the east; defeat all of the enemies, including a Nefarious Juggernaut, then after interacting with the terminal you'll need to defend KT-761 against some more waves of enemies. Finally, the Great Rock temple is in the south. You just need to complete an easy hoverboot course, complete another glitch mission, and eliminate the enemies at the end, but don't go too quickly or you'll outrun the platforms beneath your feet.
The Interdimensional Archives
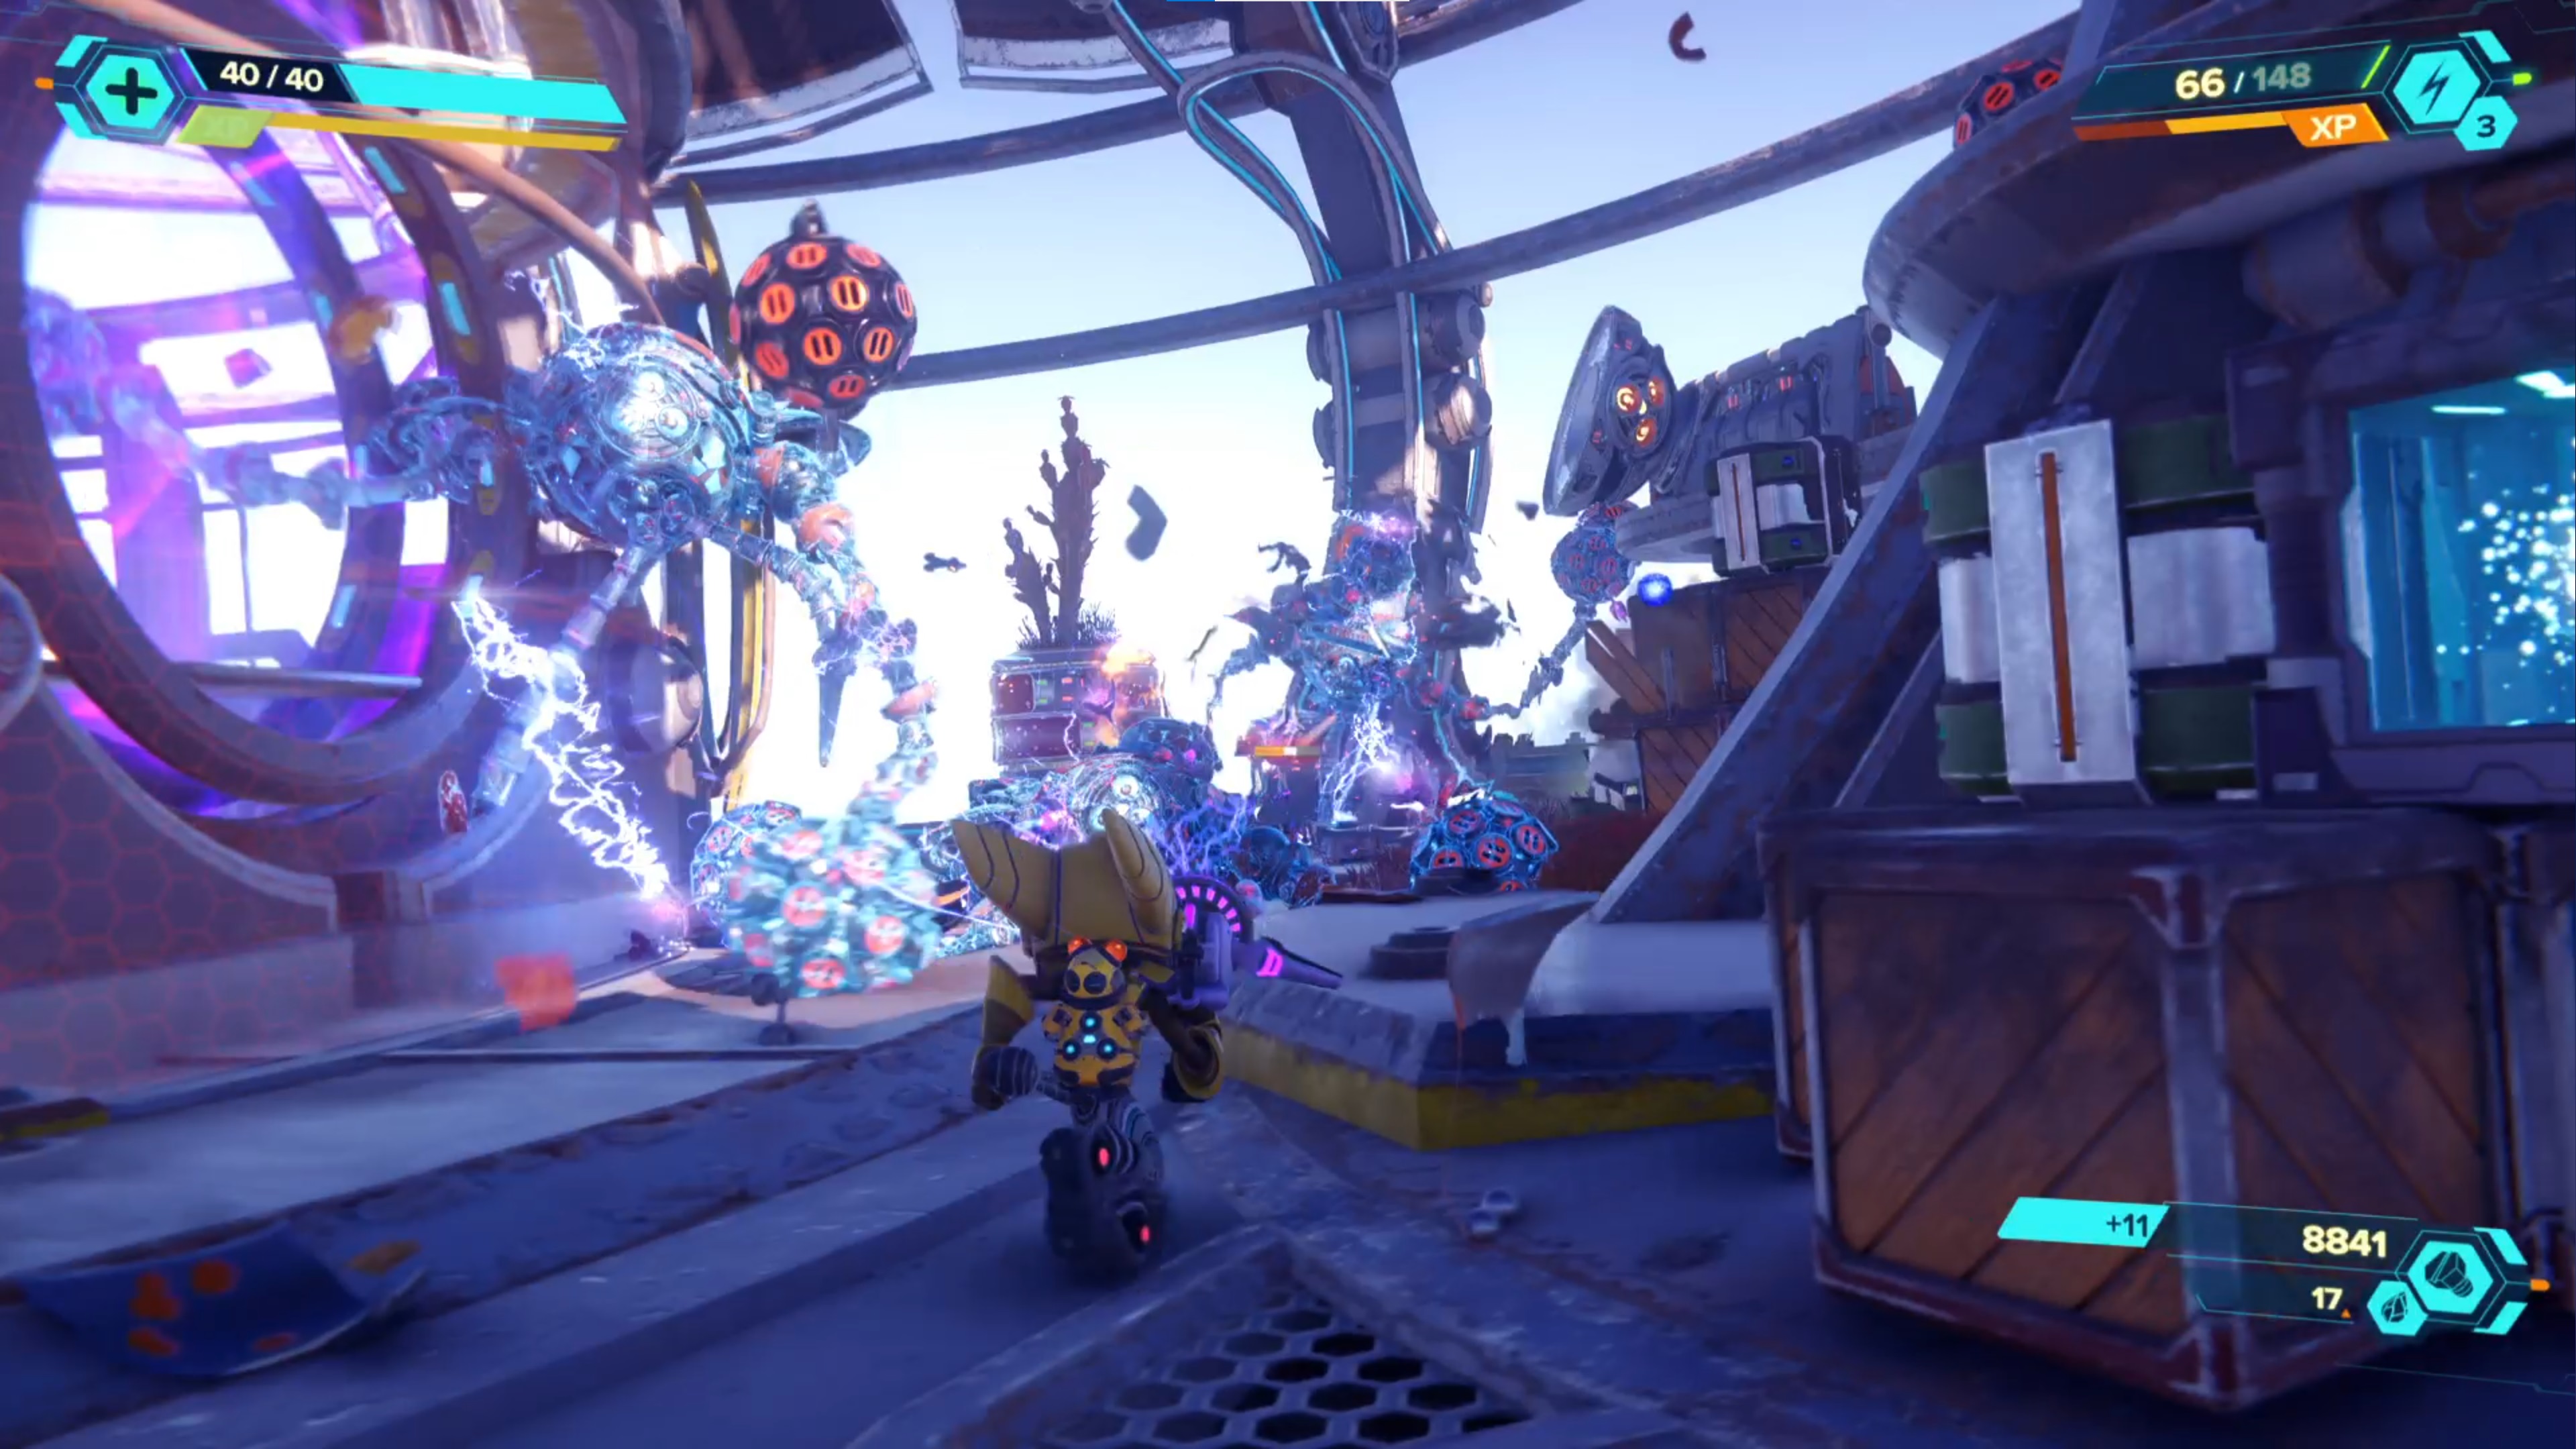
Go back to Monktown and there'll be a series of portals for you to hoverboot thropugh, eventually leading you onto the Interdimensional Archives. Make sure you're stocked up on ammo because this is another big fight against a plethora of Nefarious enemies but when you've defeated them all, turn the boltcrank and head inside the portal for a cutscene. This signals the end of Savali, so you can head back to your ship and go on to Blizar Prime.
Finding the Mining Hub
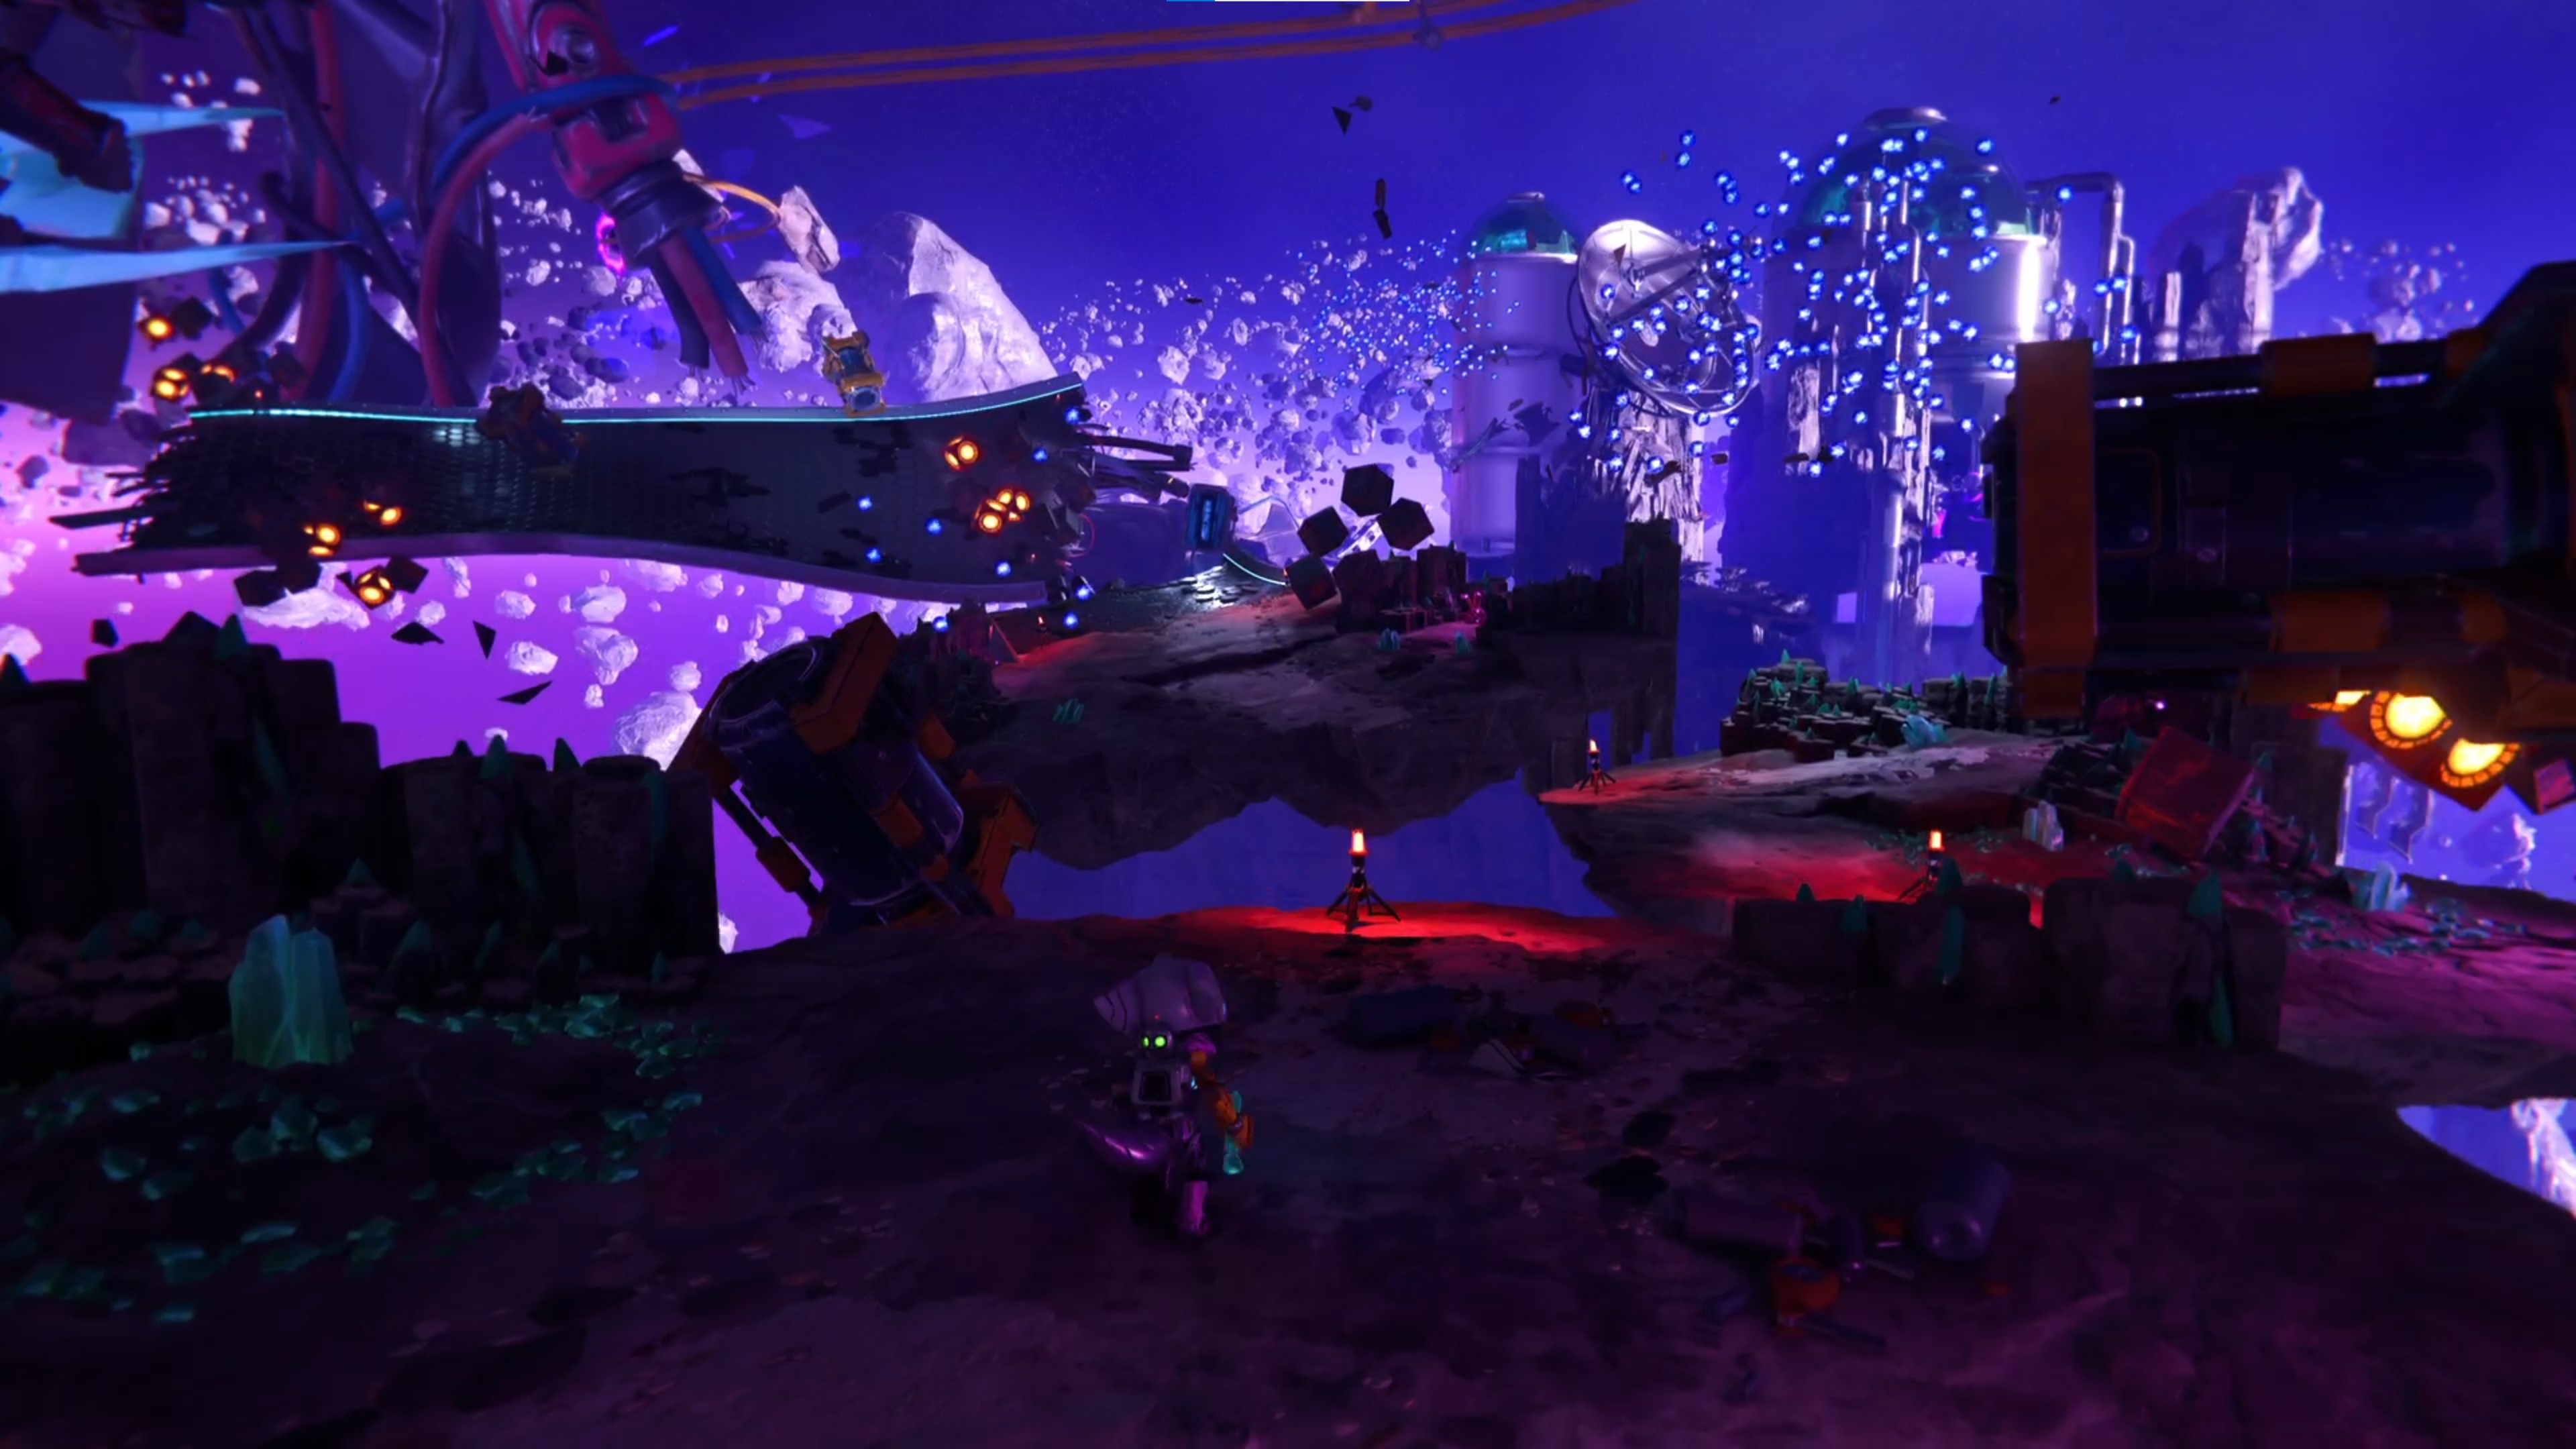
When you land on Blizar Prime, you'll be introduced to Blizon Crystals. Give them a whack and you can alternate between dimensions. Hit the first one in front of you then kill the enemies to your left and head through the doorway where you'll find a Ms. Zurkon. Hit the next crystal in the same room and you'll meet the Mysterious Stranger.
Now you'll be introduced to the magboots, a returning feature from previous Ratchet and Clank games. These allow you to walk vertically, upside down, side-to-side, any direction you can imagine, and you can aim at another section of magnetic strip then press circle to jump to it. Progress through the next area, killing the enemies until you reach the next crystal. There's also a CraiggerBear in this area so check the linked guide above.
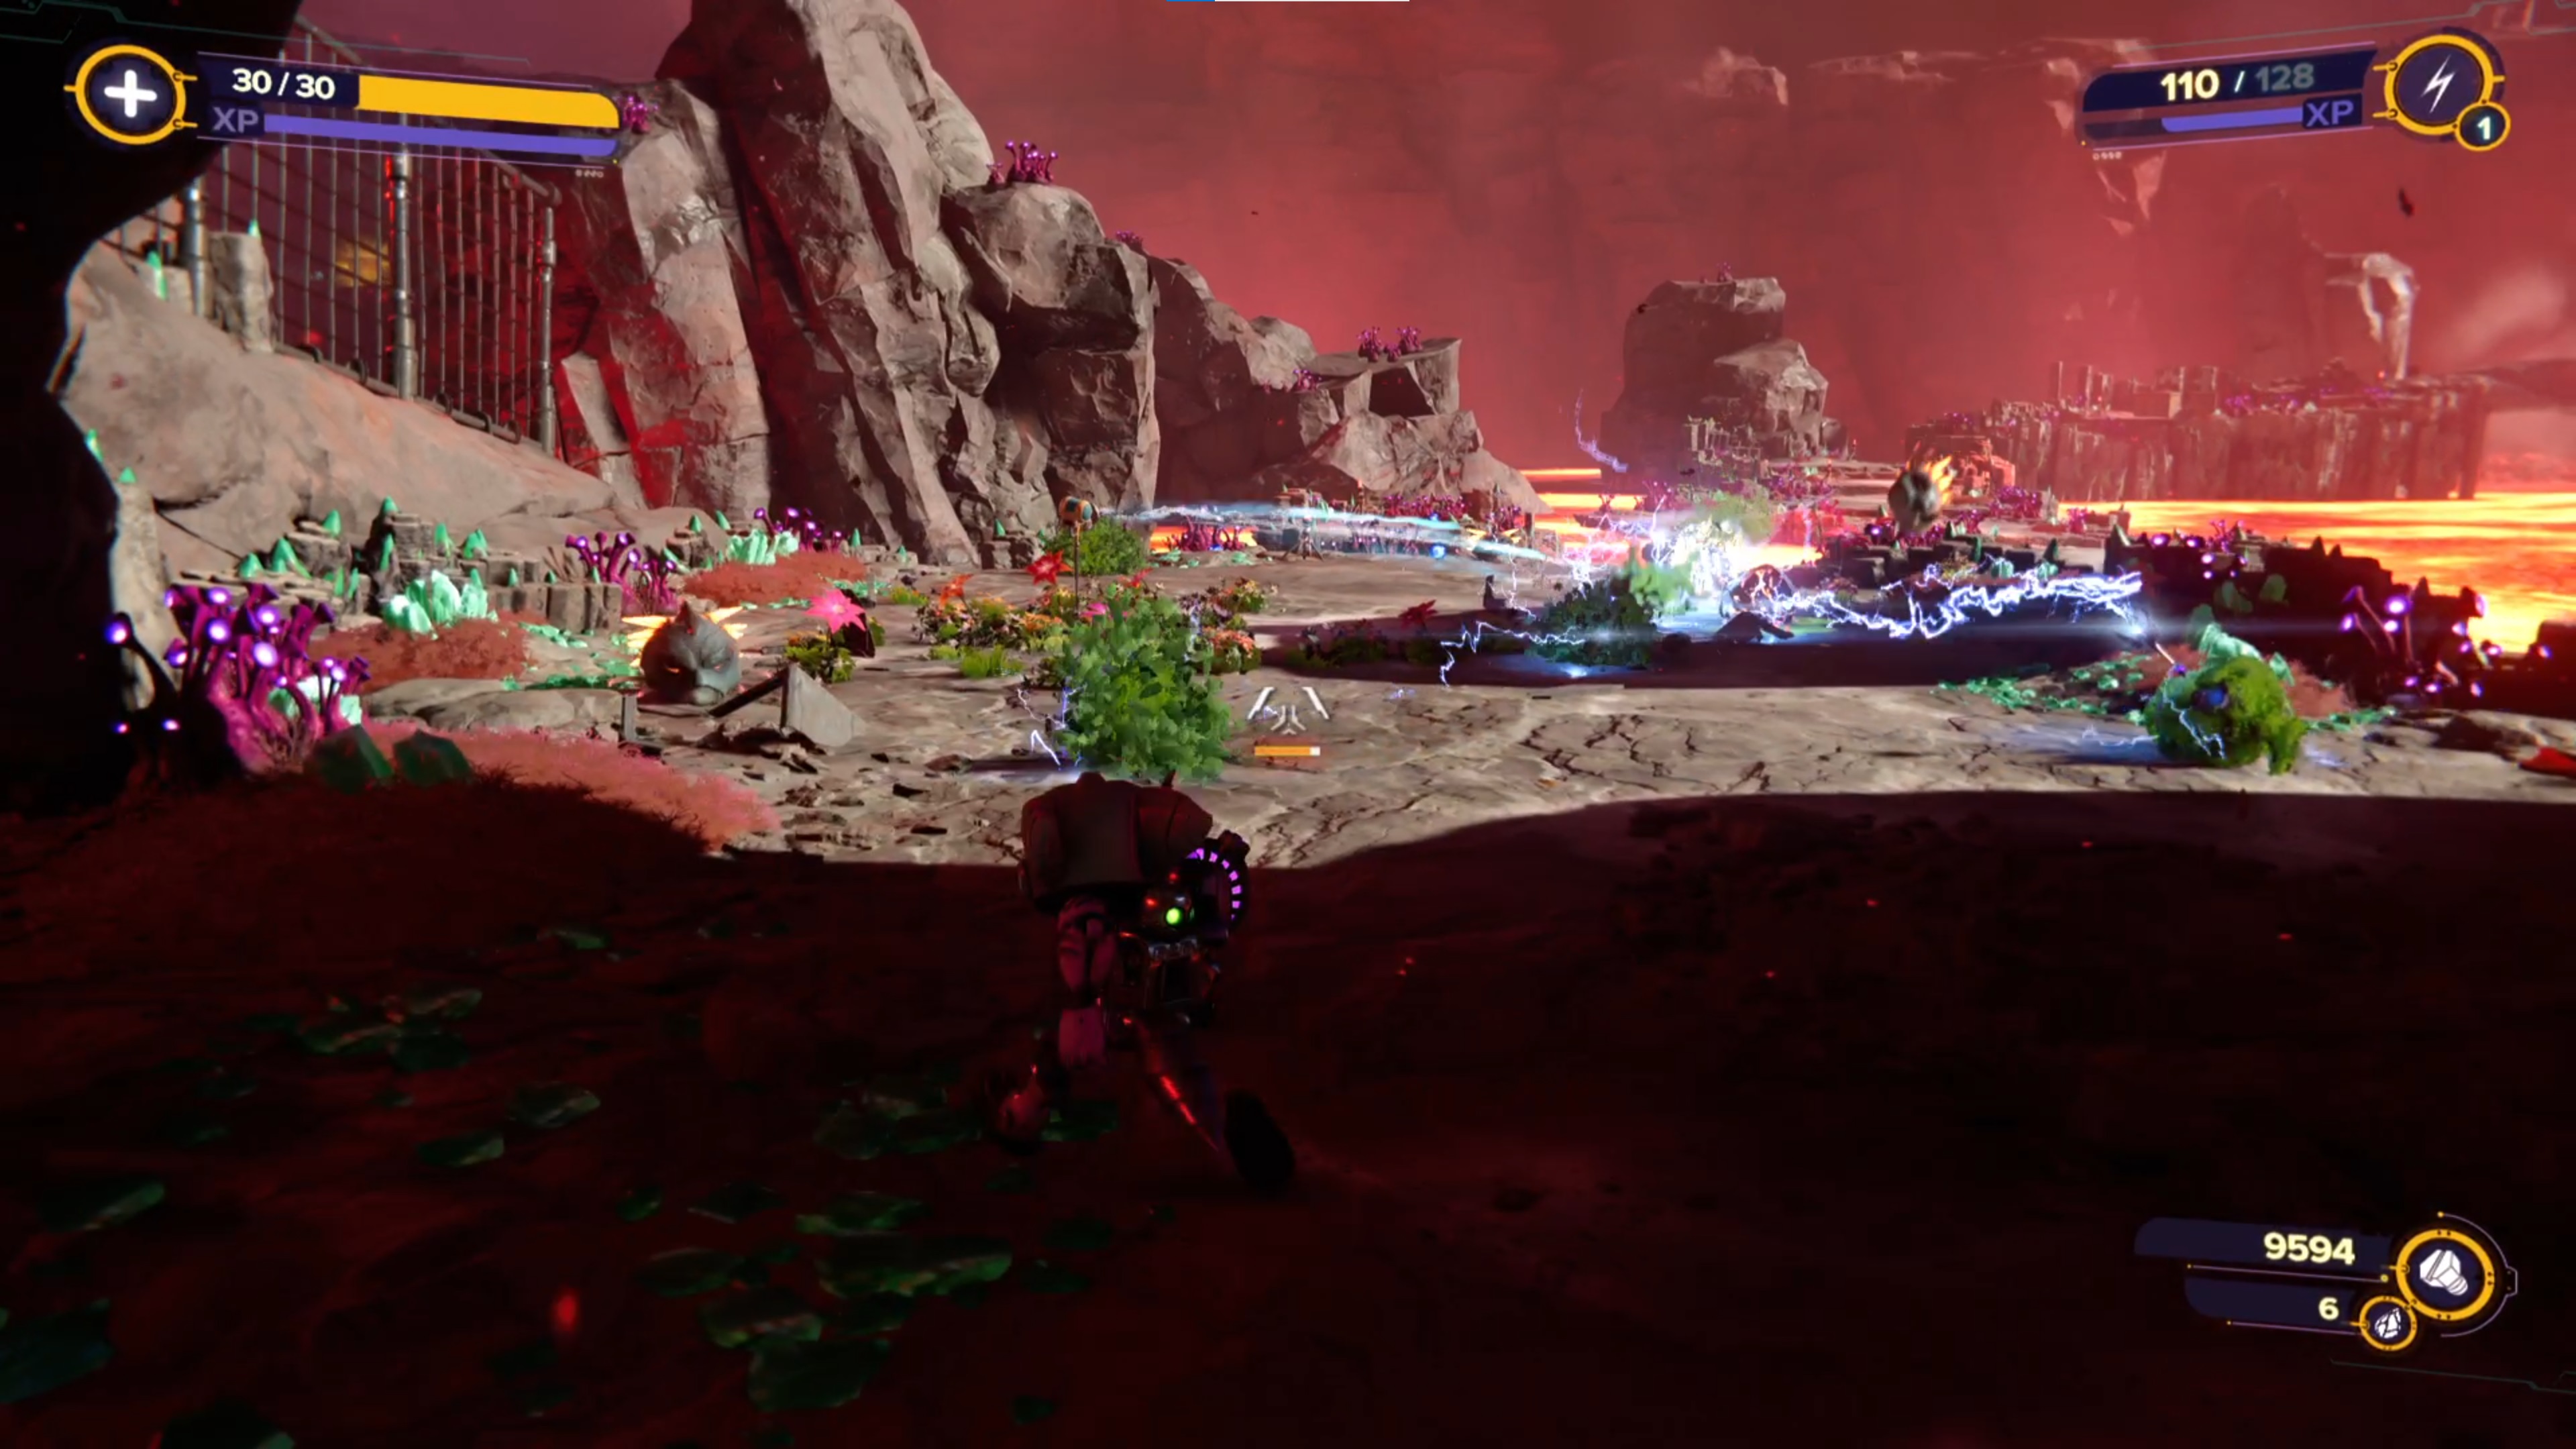
After hitting the next crystal, you can use the terminal to open the door and take on a bunch of small enemies. Some lava parkour is up next and there's a gold bolt in this area, so check the linked guide above for the exact location. Otherwise, keep progressing forward until you reach the big platform, when a short cutscene will ensure with some Goons-4-Less joining the party. Deal with all these enemies and ride the moving platform down to the Mining Hub, where you'll find another gold bolt in the above guide.
Chef Tulio
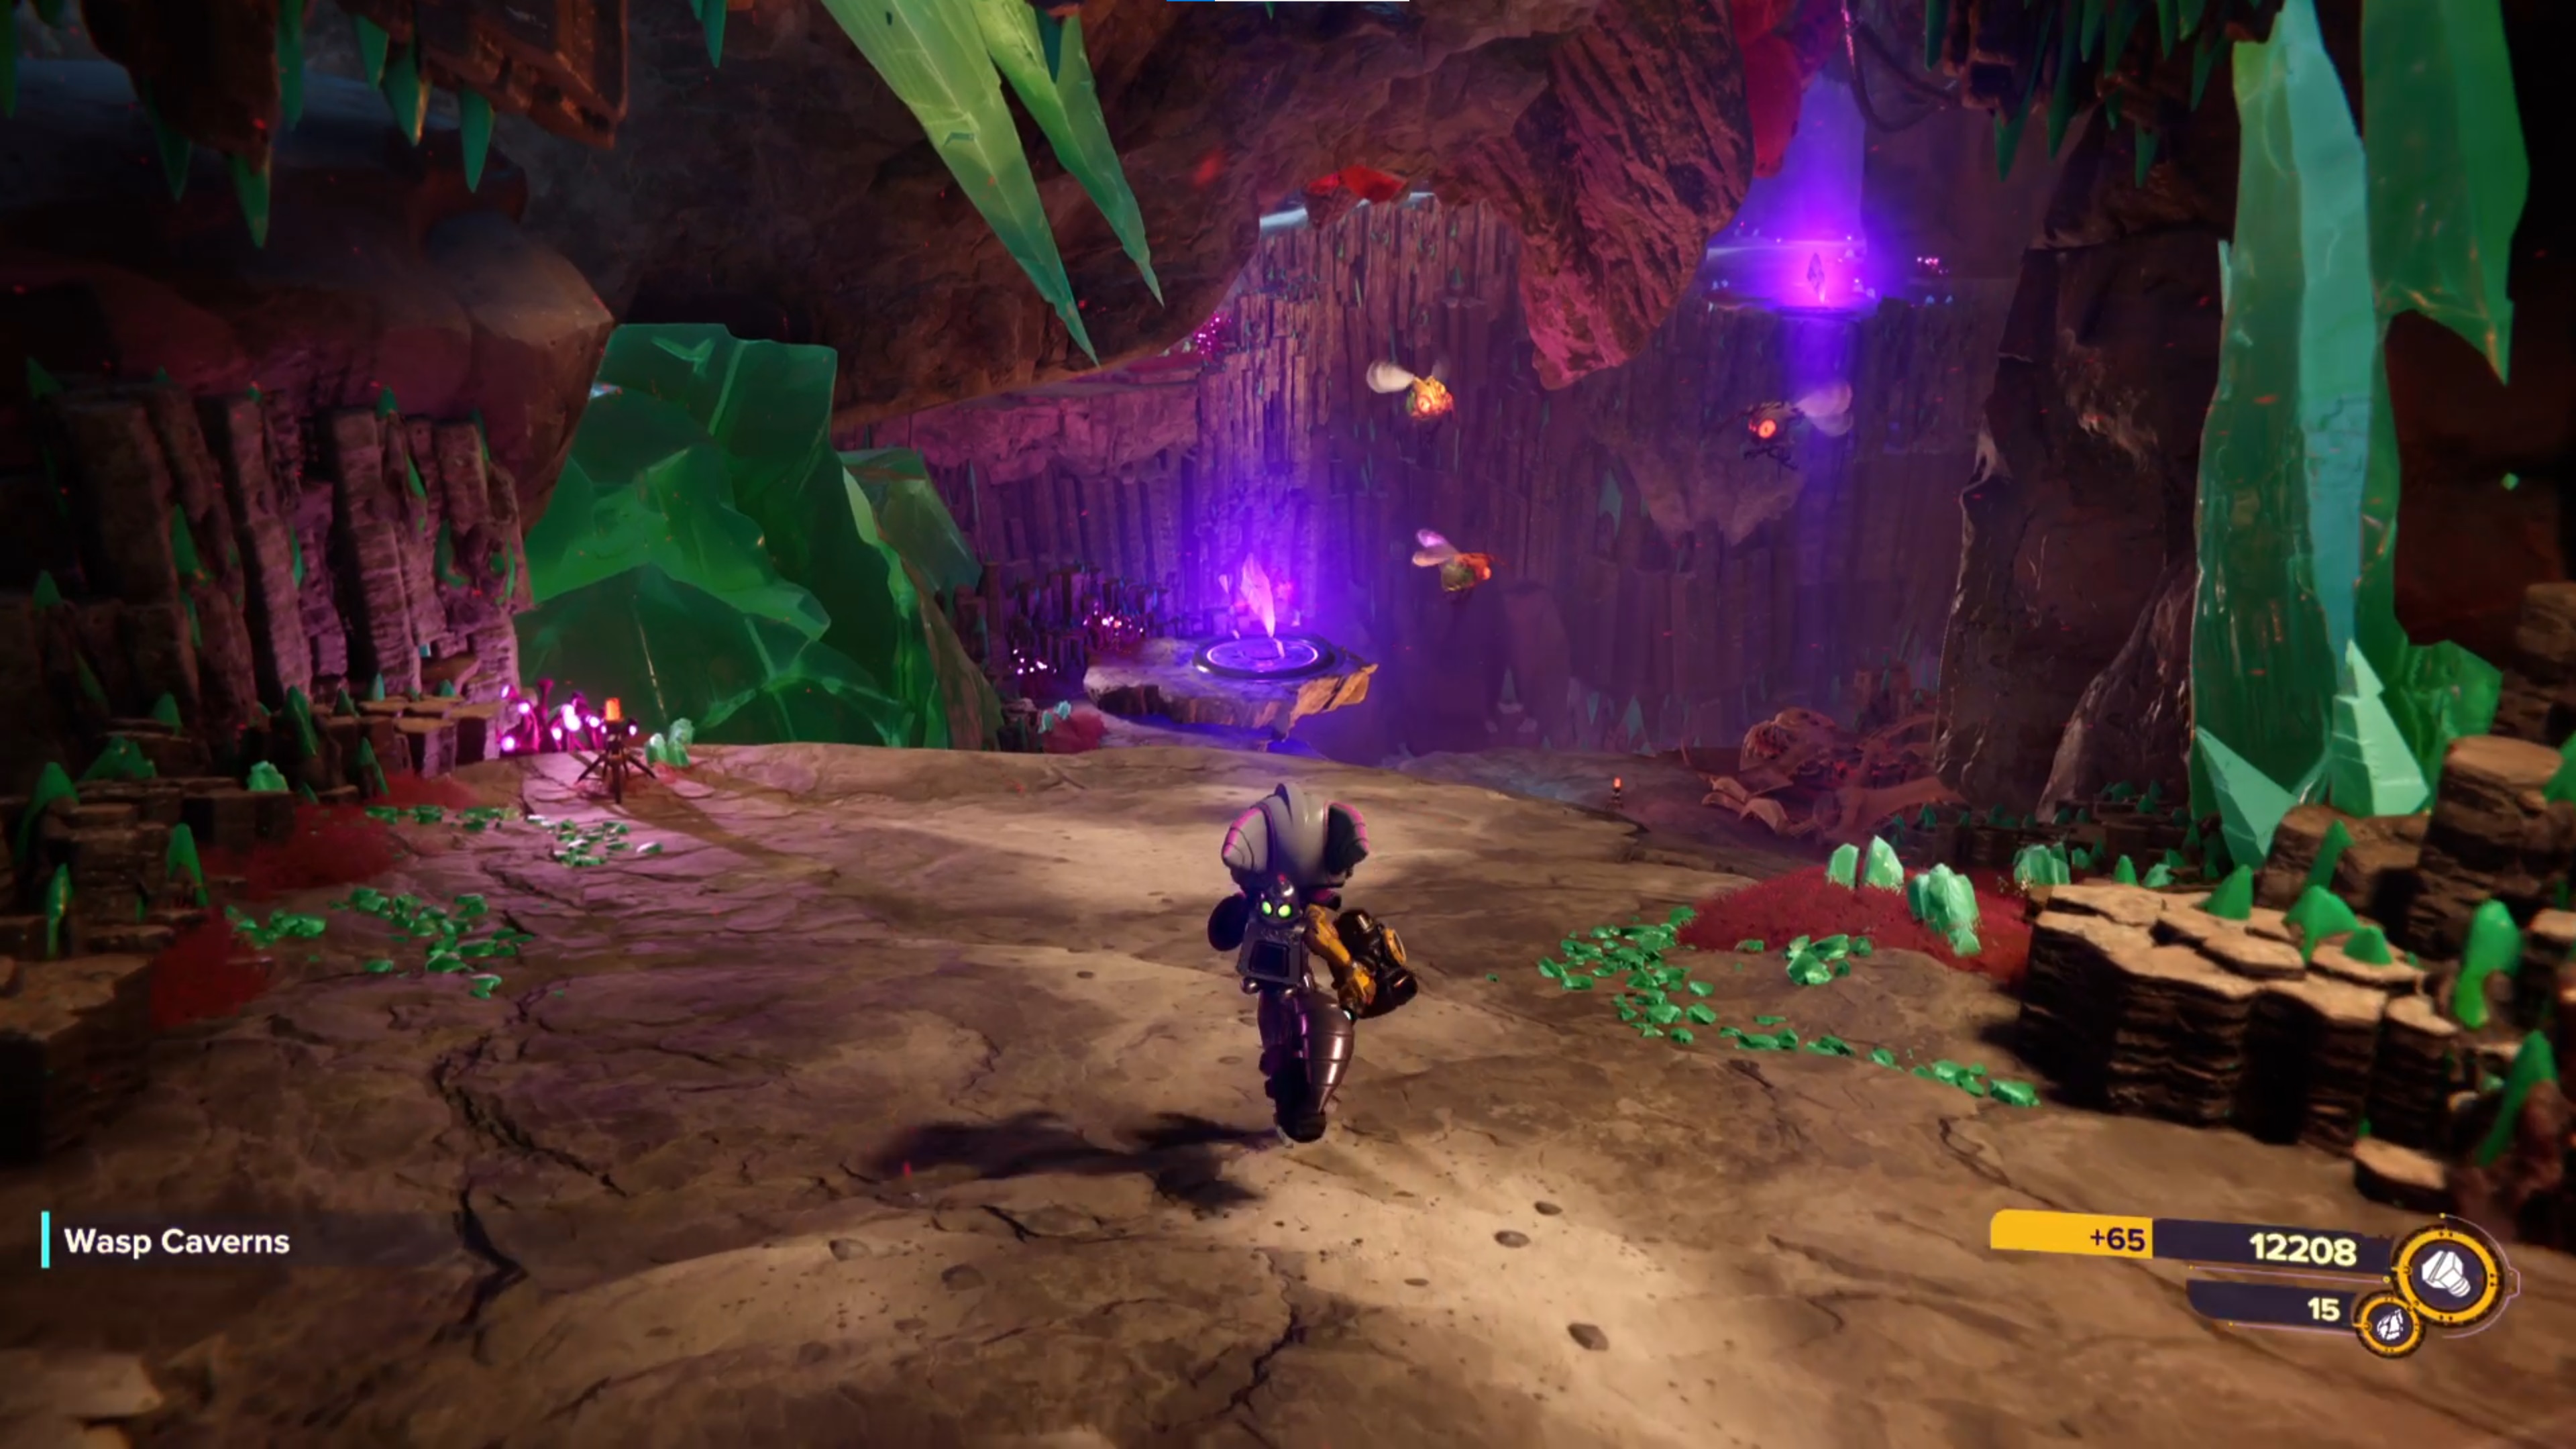
There's a fairly straightforward optional objective to complete off to the side of the Mining Hub. Take the north-east exit and a sous chef will explain to you that Chef Tulio has gone missing and they need your help to find her. Head down the path and alongside a hidden pocket dimension on your left, you'll find a bunch more enemies followed by Wasp Cavern.
Wasp Cavern is simple to navigate – just hit each crystal in turn – but in the "other" dimension, you may notice a gold bolt off to a seemingly unreachable platform. Again, have a look at our gold bolts guide to learn how to get it.
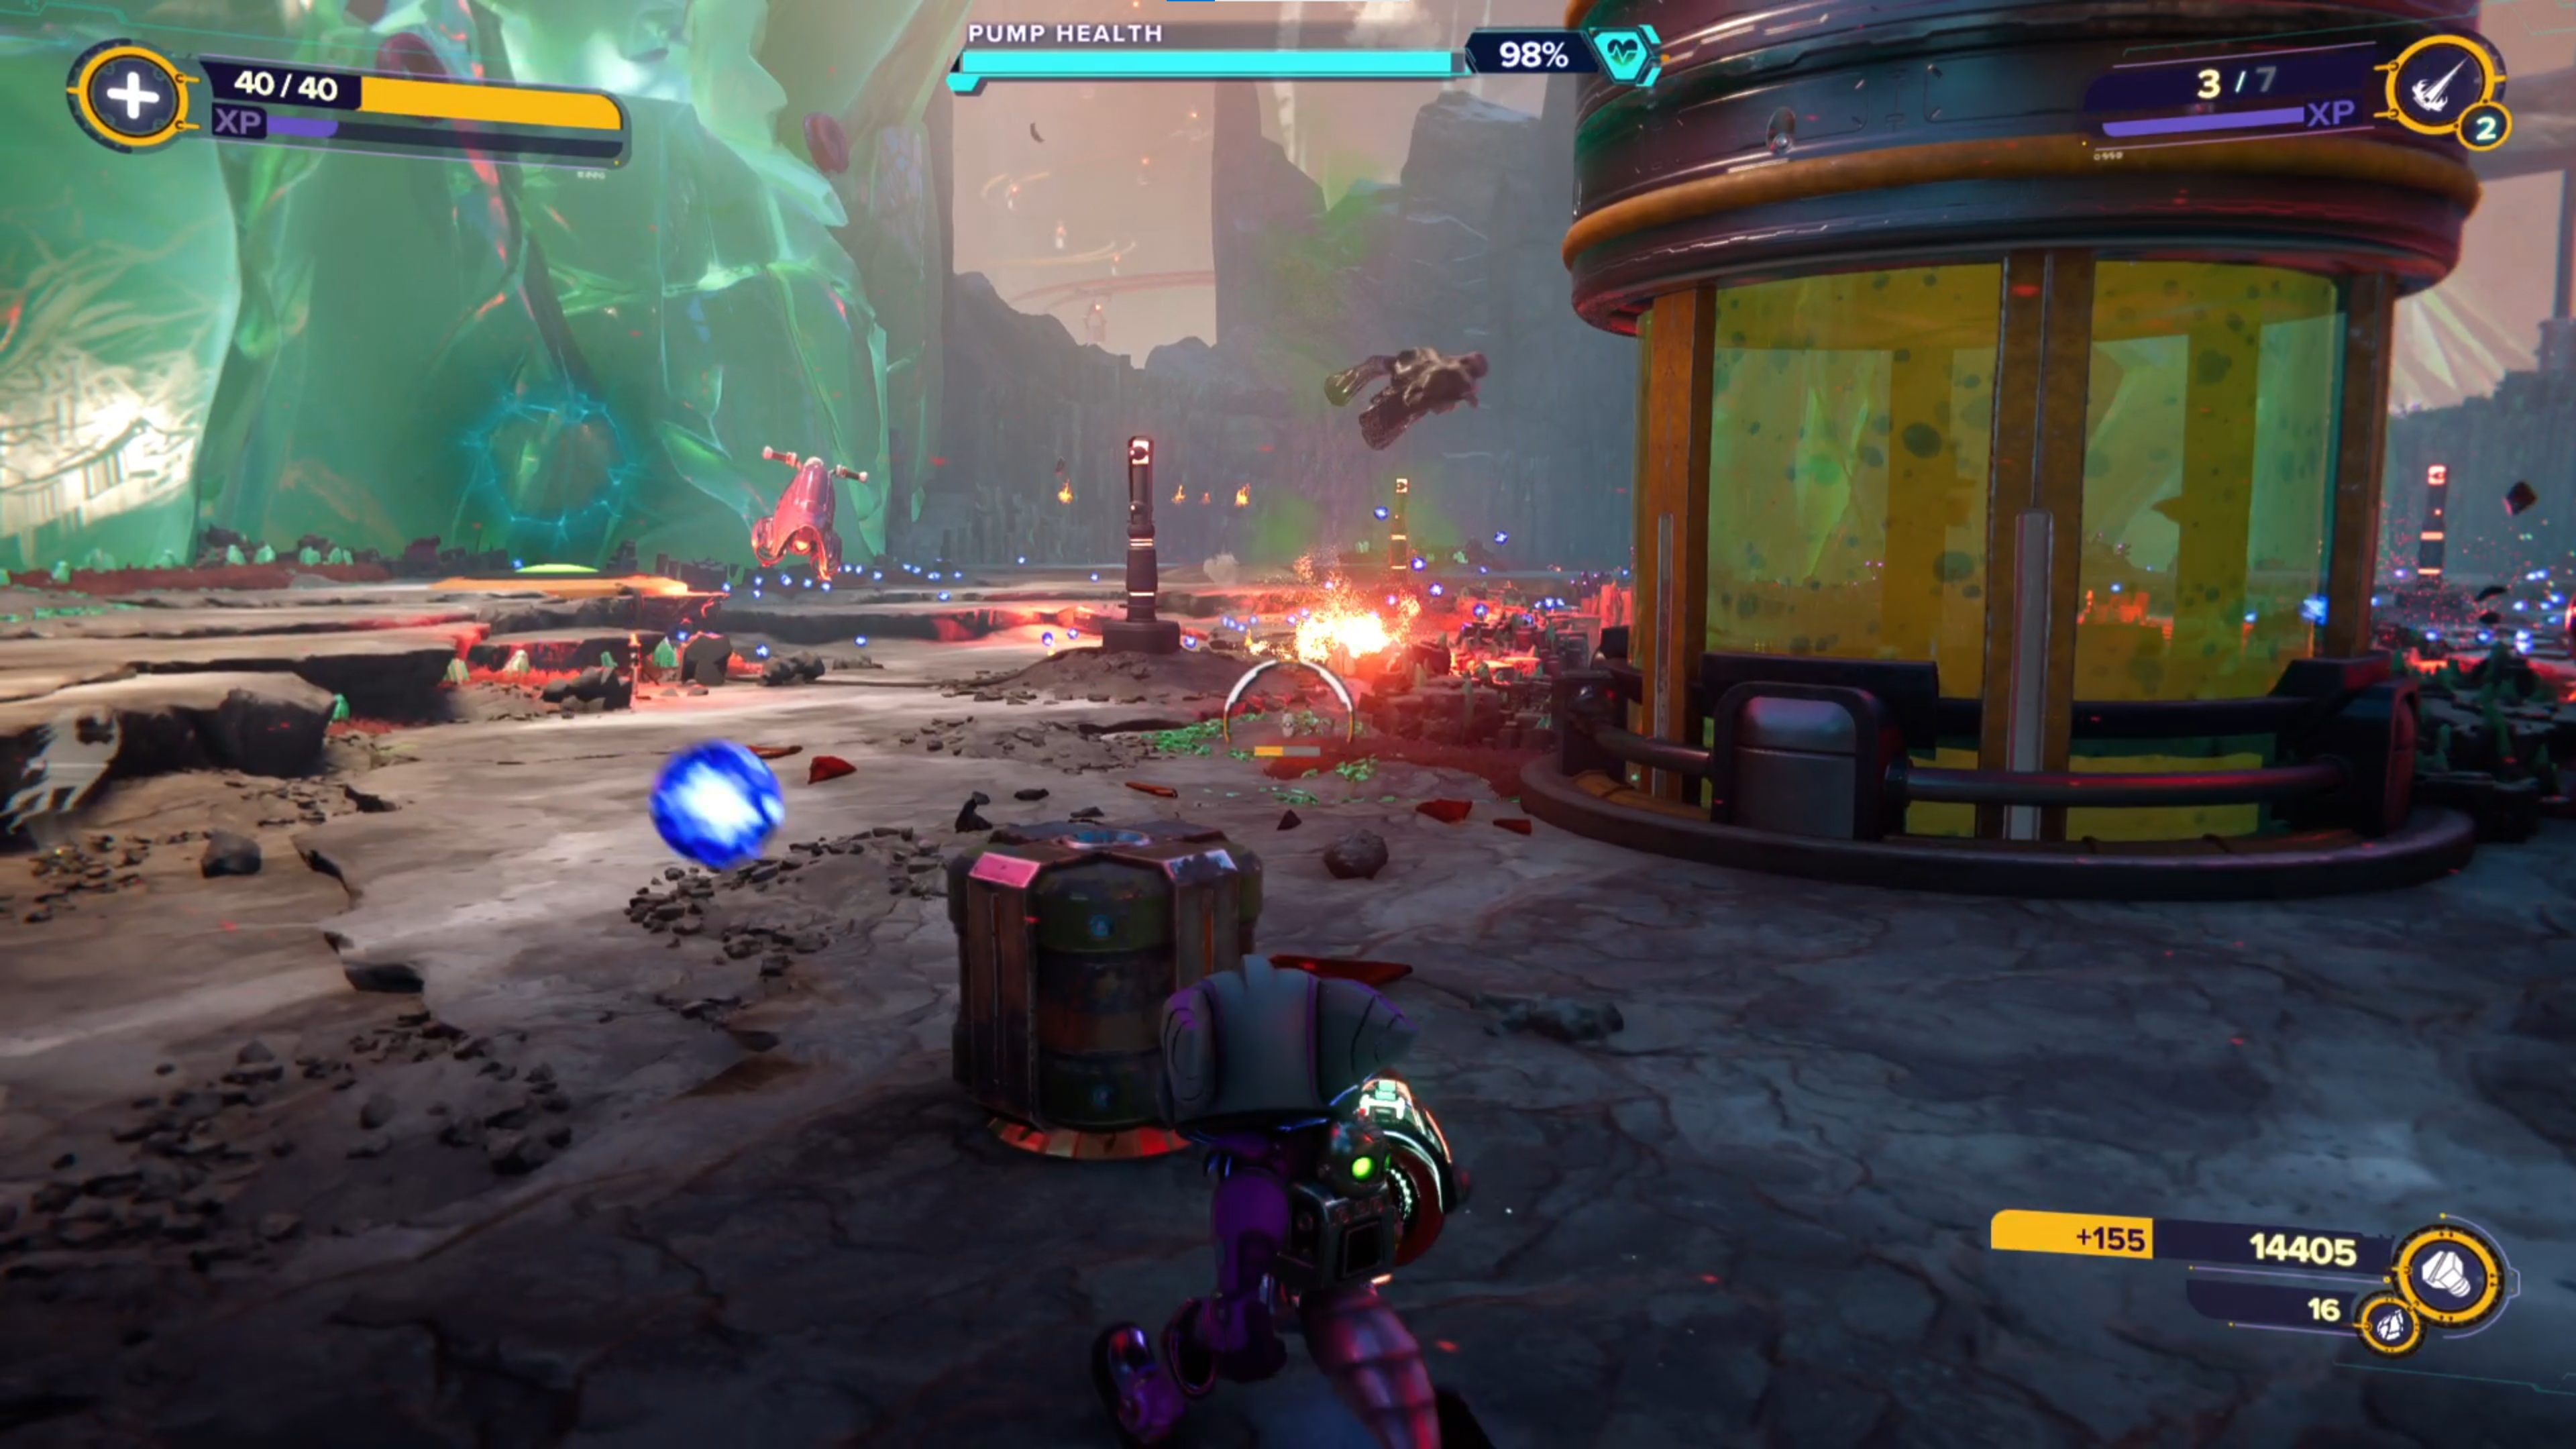
When you leave Wasp Cavern, you'll find Chef Tulio, who is trying to harvest Sirangian Honey. Essentially what this means for you is that you need to defend the VAC-U-SUK from incoming waves of enemies. There are two rift tethers above floor switches you can toggle to raise flames from the ground but other than that, this is a straightforward mission. Kill all the enemies from every wave and it'll be complete, at which point you'll be rewarded with a spybot.
The Chief Engineer and her science bots
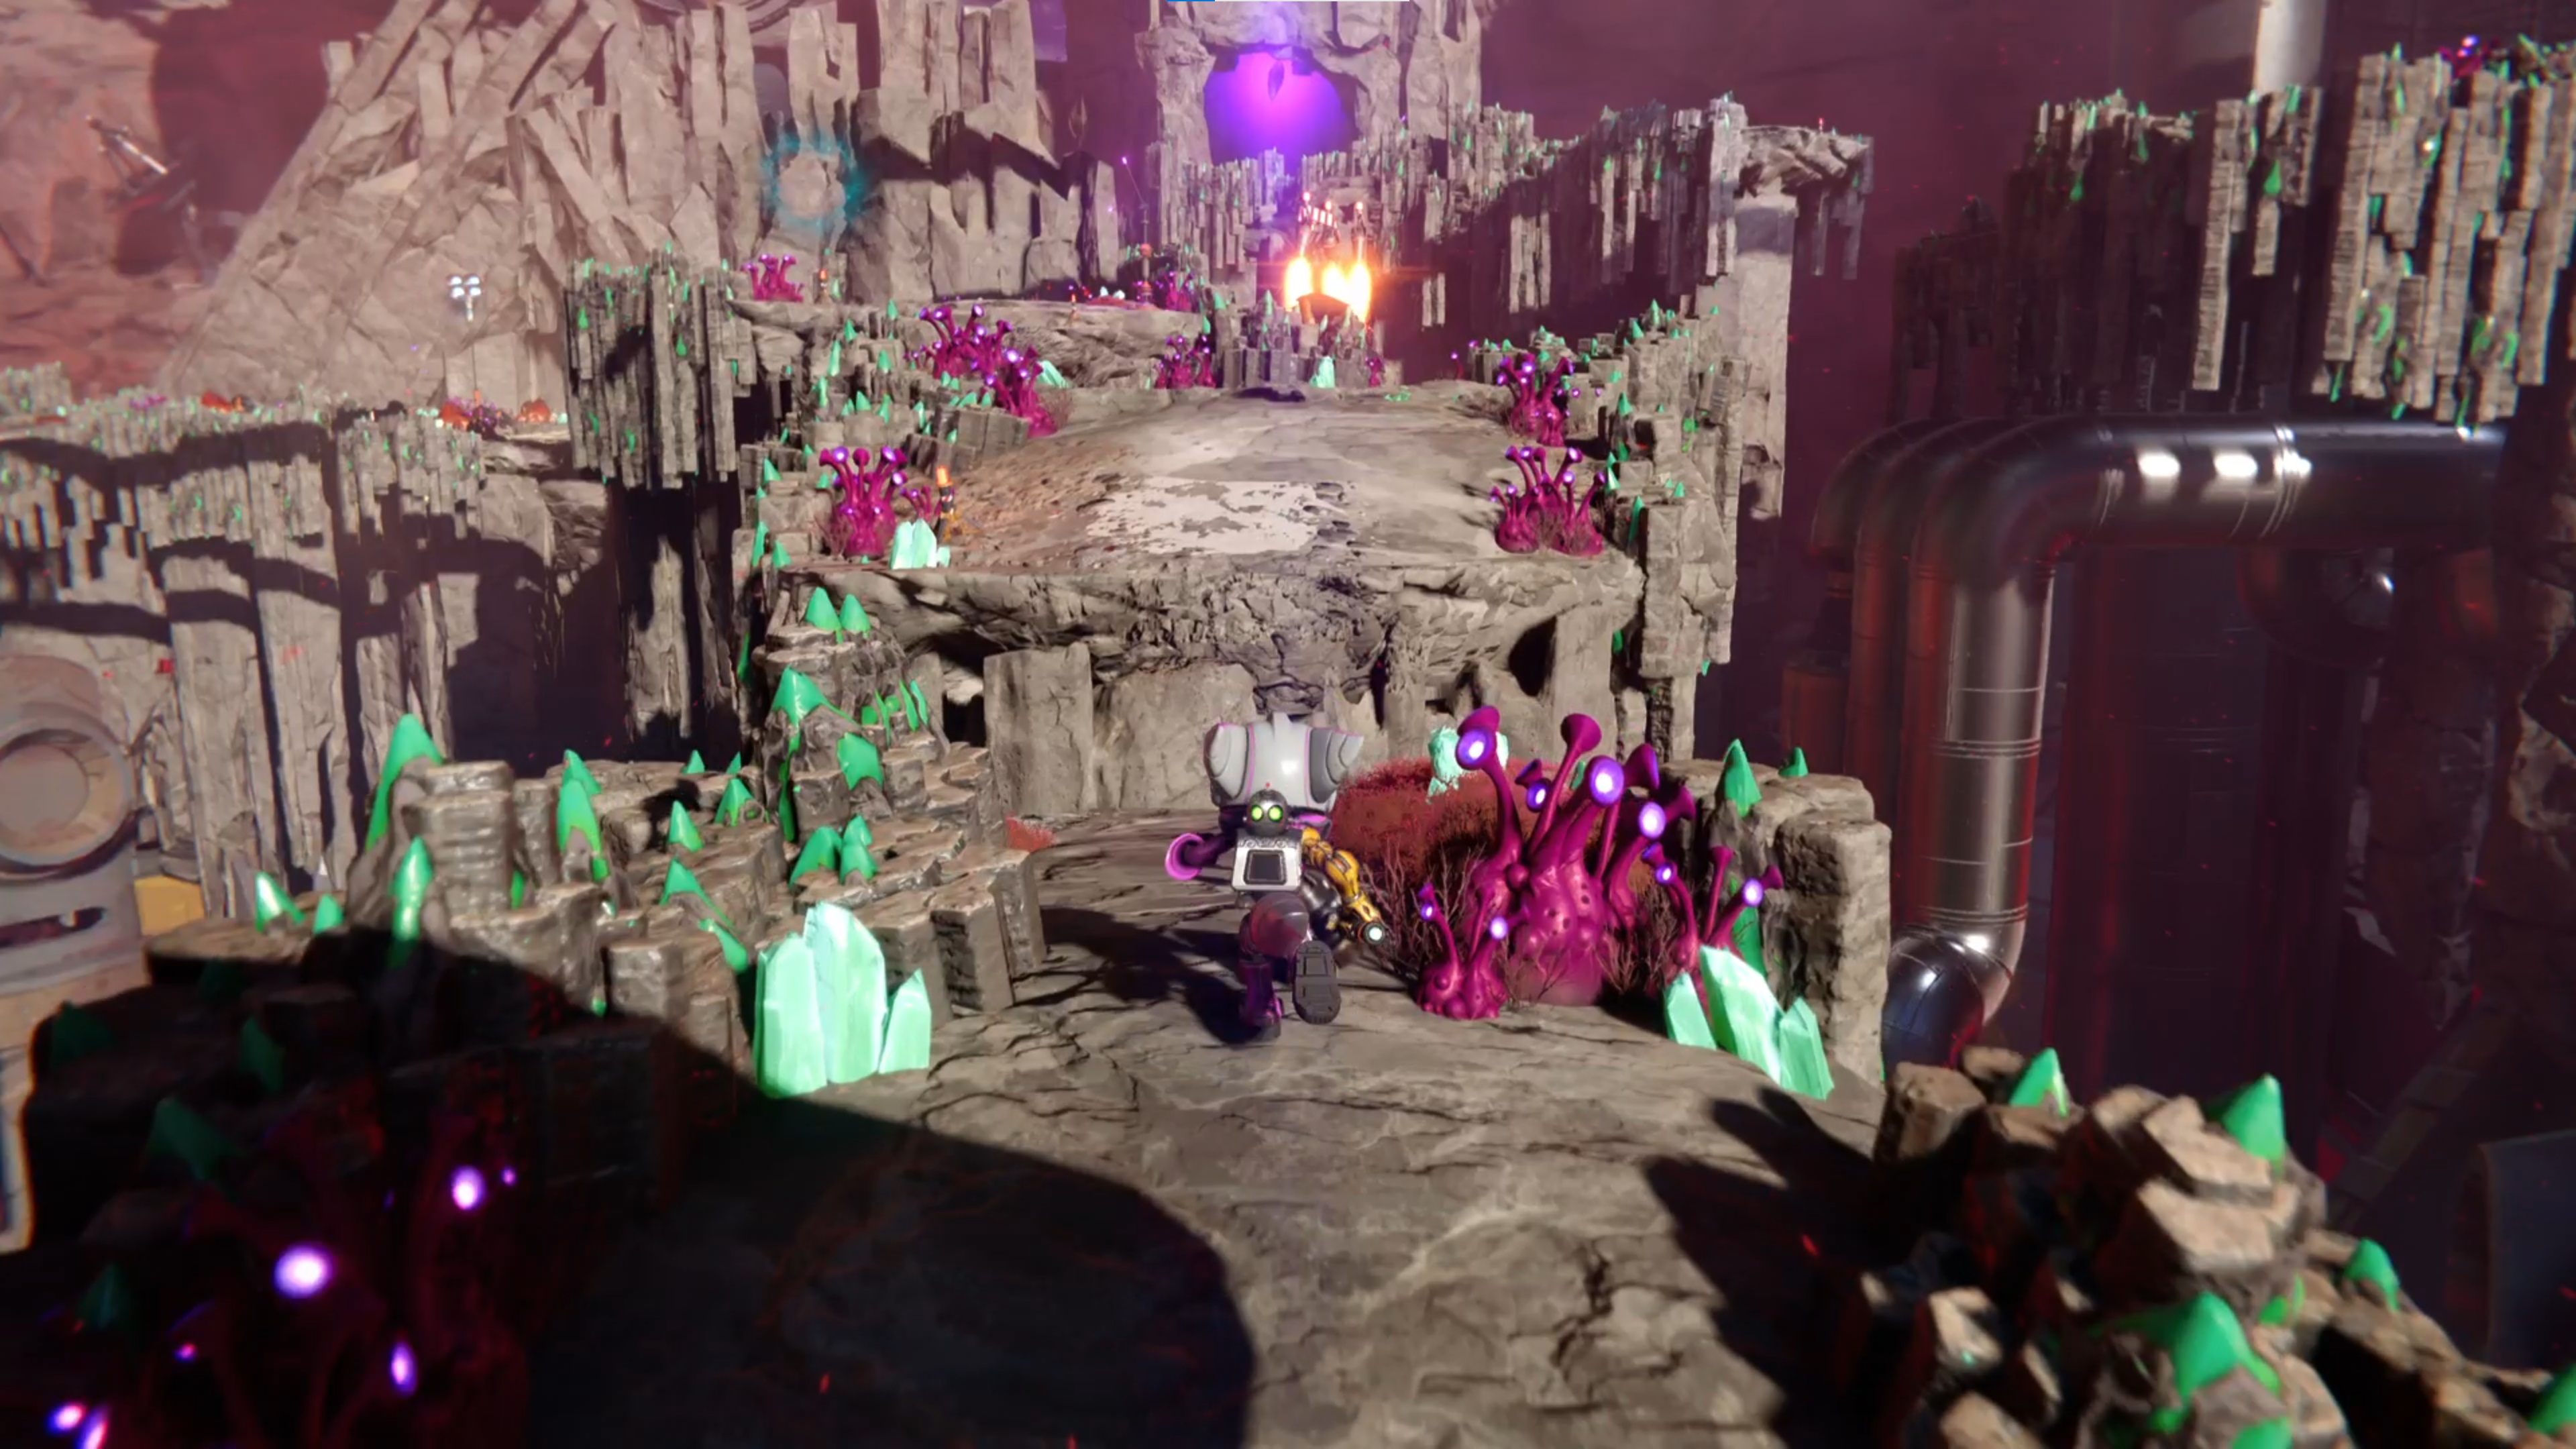
Take the platform back to the Mining Hub and follow the objective marker, through the other side of the hub. Take another platform and you'll find the Chief Engineer at the Survey Station, who explains to you that she needs her three science bots back. It's up to you to locate them.
This area may look confusing with all the branching paths, but it's actually quite simple. Head down the only open route and hop across the rocks, killing the indigenous enemies along the way. Make sure you time your jumps over the lava funnels too. Inside a cave, you'll spot Bob, the first science bot. Approach him and... oopsie daisy, the floor collapses.
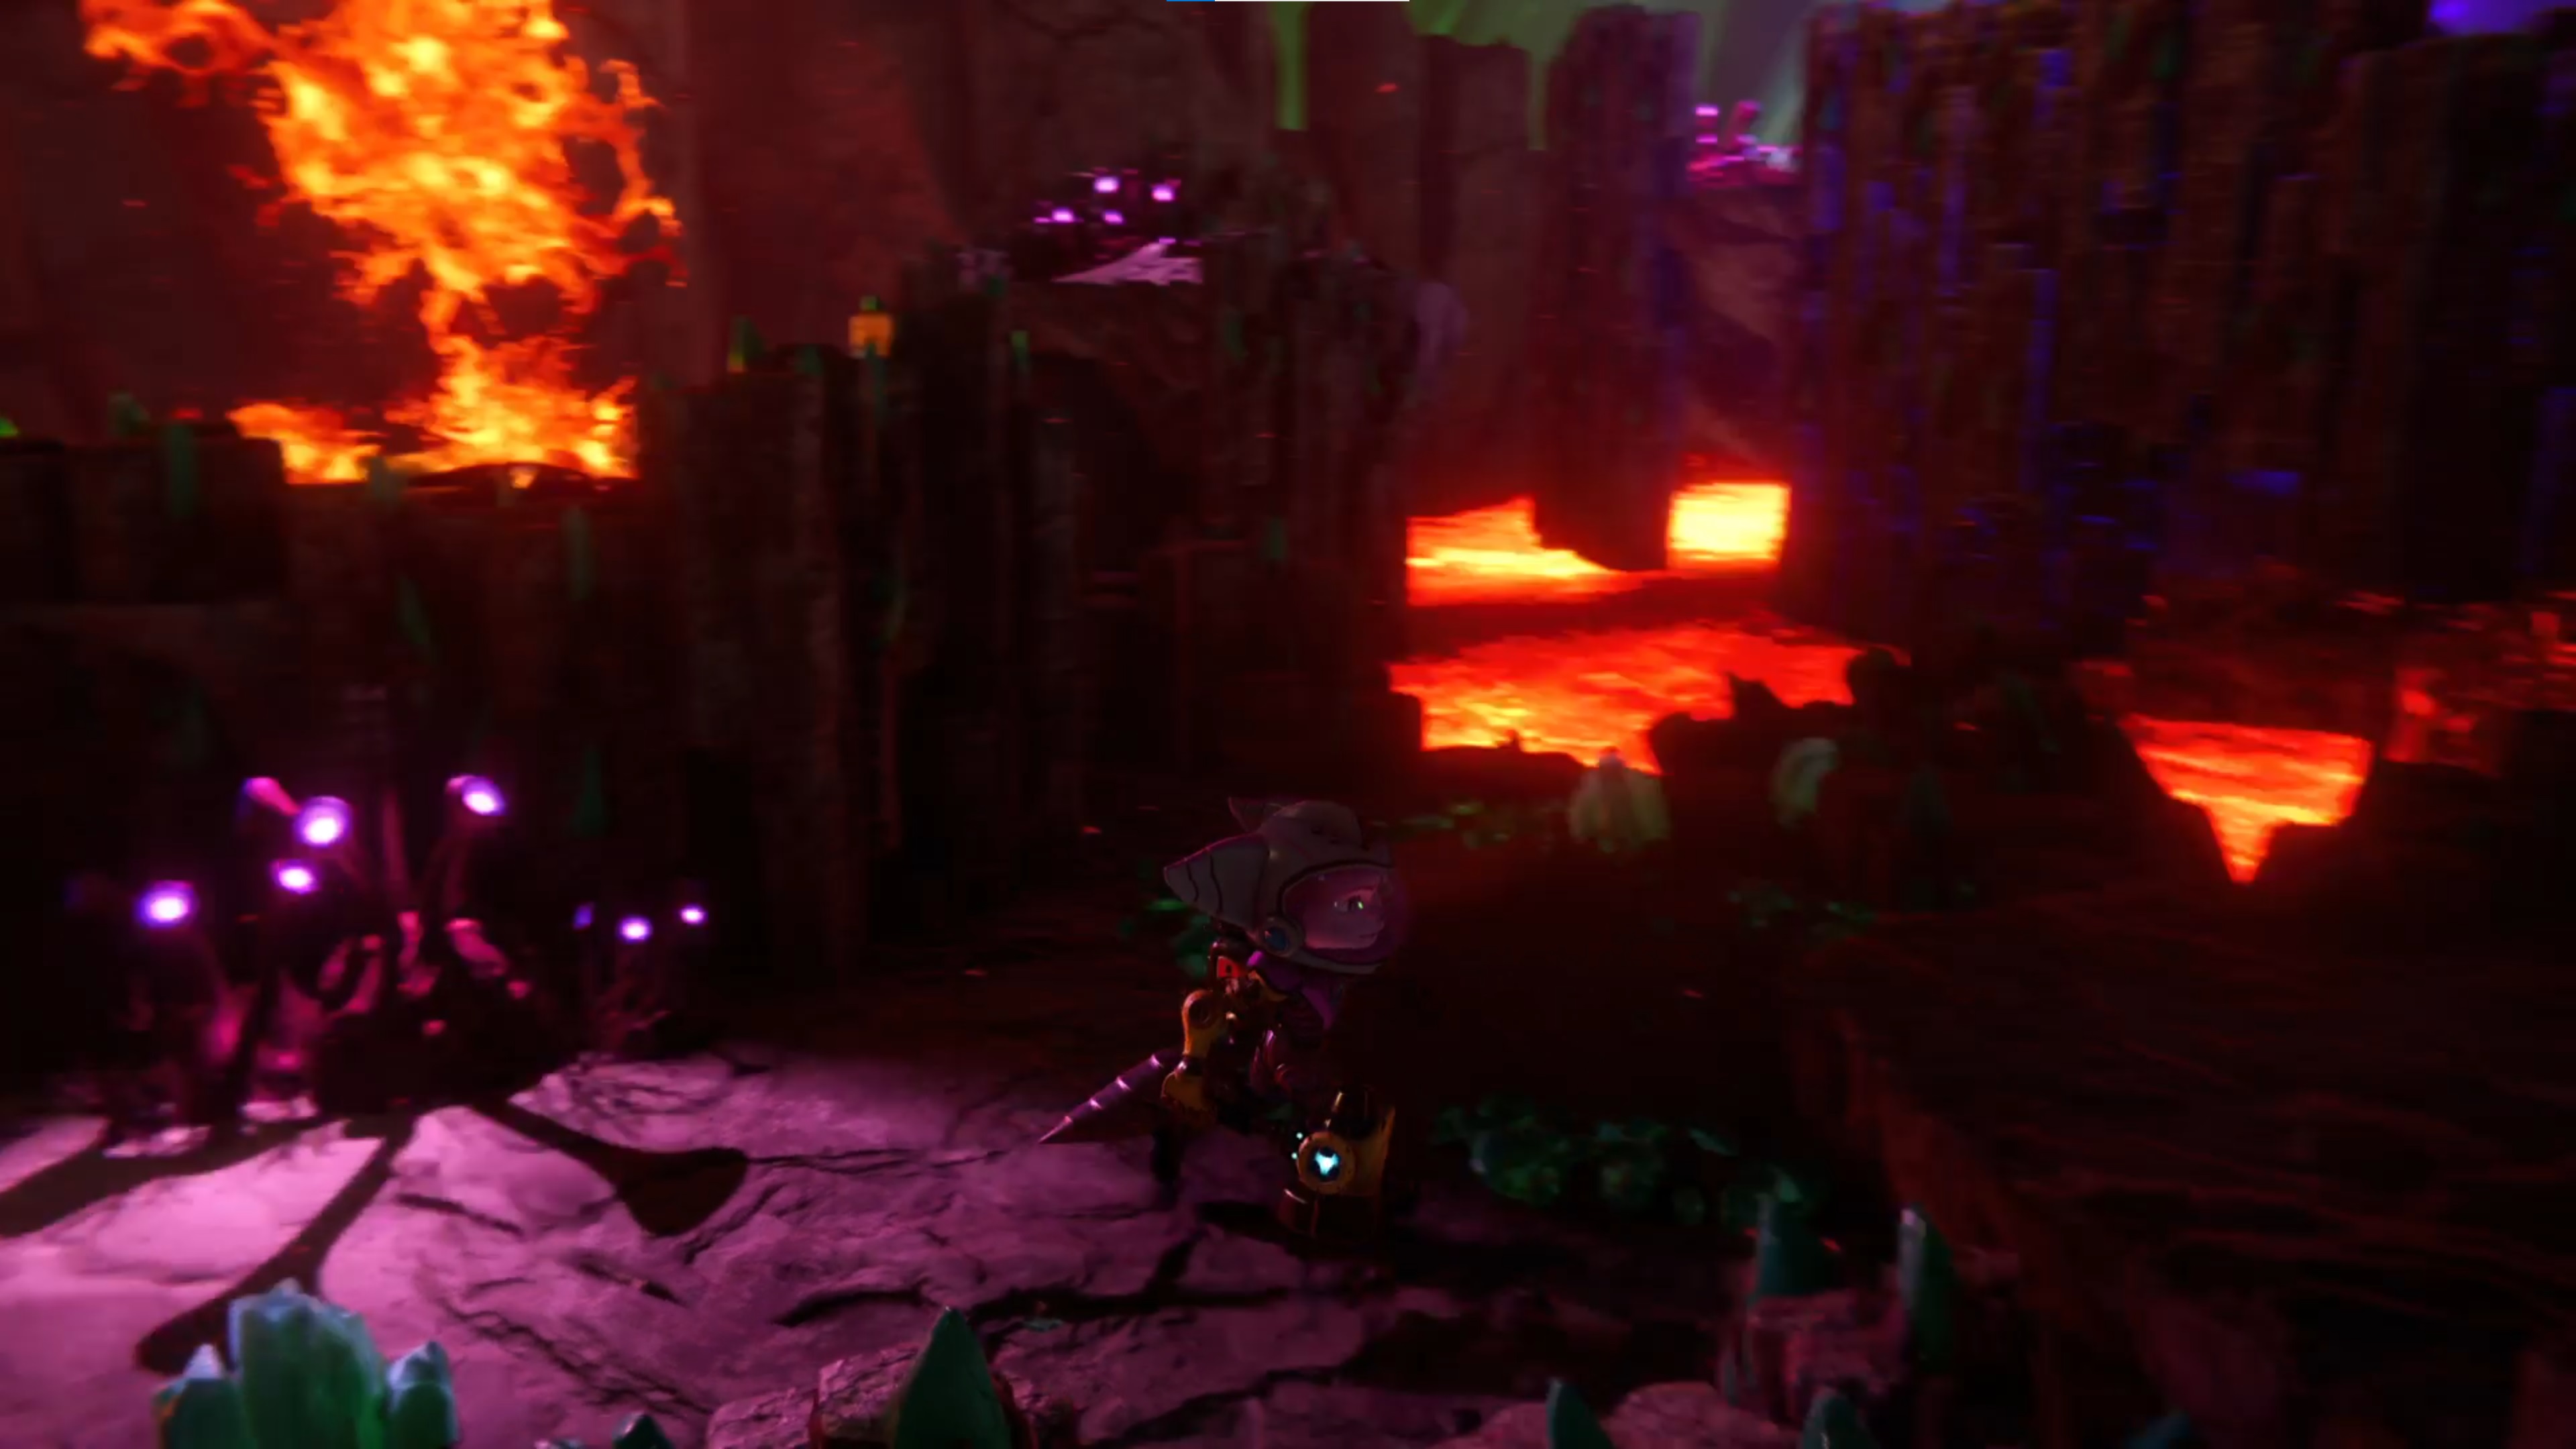
Jump through the cavern you're now in and hit the crystal at the end to change dimension and deal with more Nefarious Troopers. Follow the magnetic path and hit the crystal at the other side to find a path back to the Chief Engineer for Bob.
From here, follow the path round to the left and deal with the Goons-4-Less ahead. Head into the cave they were guarding, which has a few more enemies, along with multiple visible crystals inside. The first one you can see gets... destroyed, so head throuhg the doorway to your right and use that crystal. Go back to the main room and hop through the smashed safety glass to find science bot Jim.
Whack the crystal again to go back through the hole in the glass, then retrace your steps by hutting the same crystal to return to the normal dimension. Jim will follow suit and you're able to leave, although more Goons-4-Less will try to stop you. Go forth and hit the next crystal that was previously encased in a forcefield to stop you from hitting it too early and there'll be more magnetic platforms to traverse.
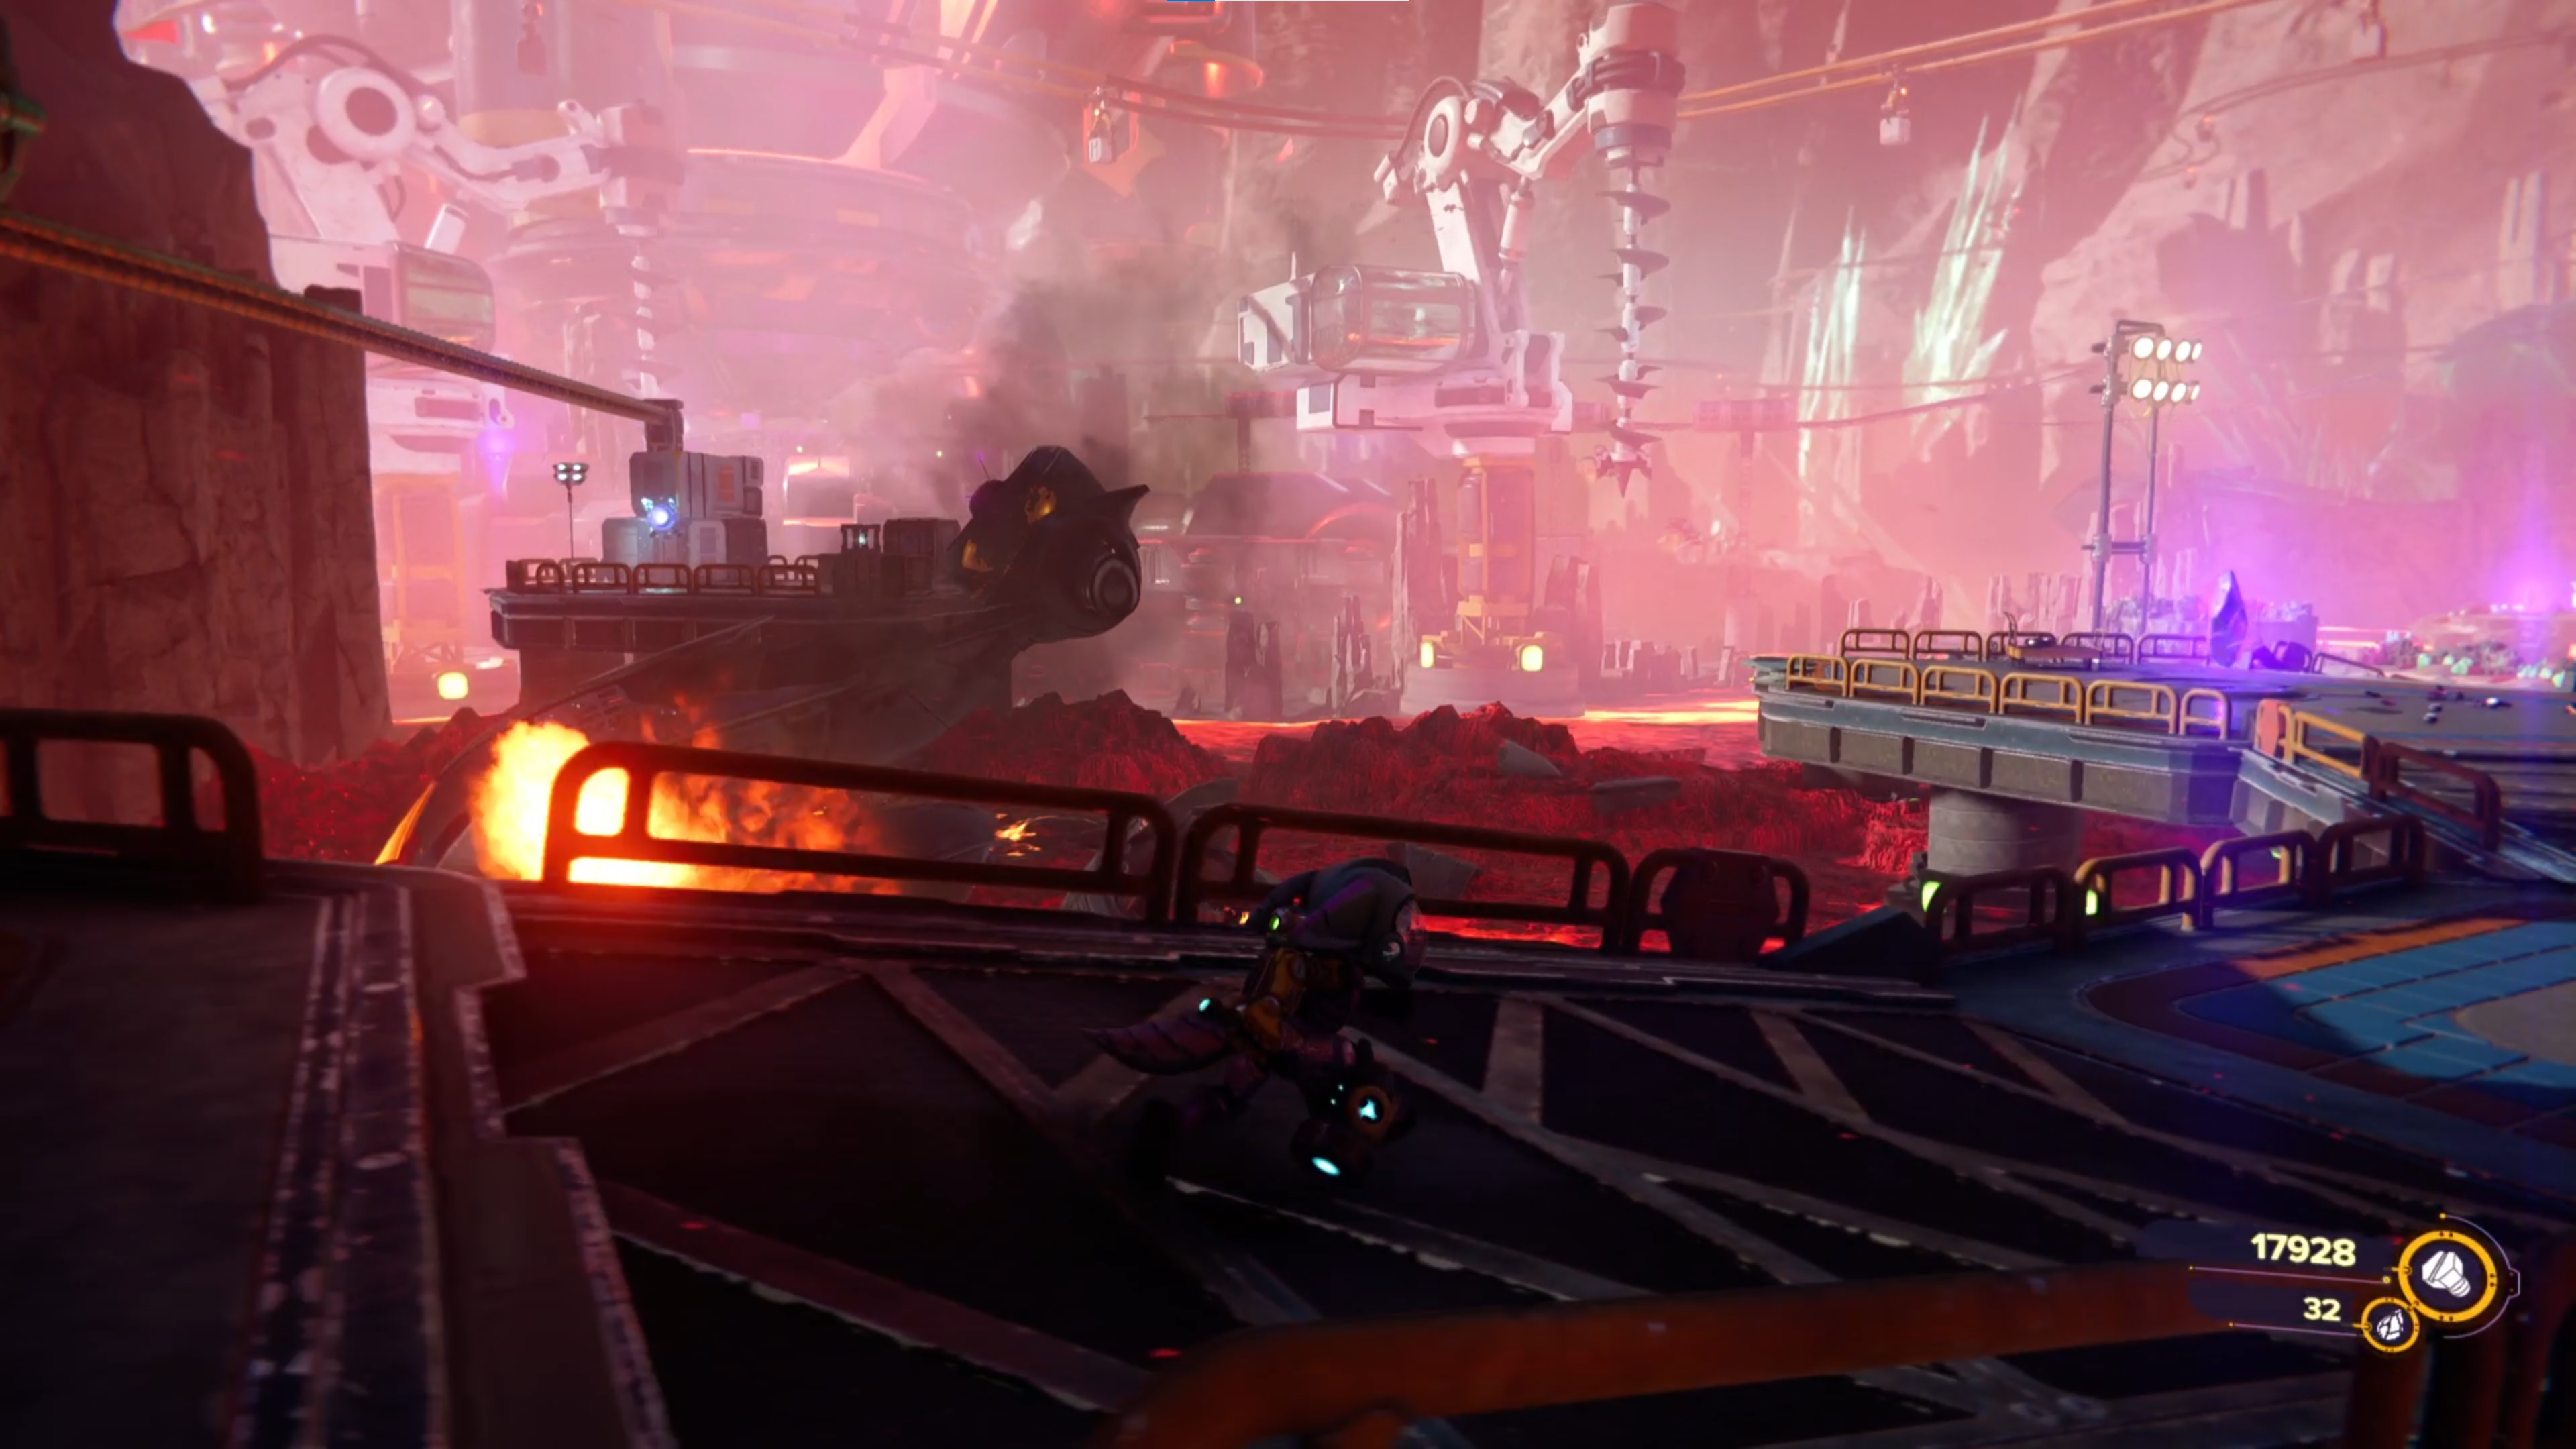
On the next area, there'll be some Goons-4-Less fighting some wasps; interrupt the fun and kill them all then go up to the next set of platforms. Ignore the first crystal and instead run up the ramp to the platform on the left with another crystal hanging in a claw. Use the hammercrank to send it over to the other side, then go back and use the crystal at the bottom to have a path up to where the crystal you moved now is. Go up there, hit the crystal, and bam; you've found science bot Sam.
Return to the Chief Engineer at the Survey Station and an infestation of enemies will start, which is another situation of defending against a bunch of foes until they're all down. A Displaced Juggernaut is the main baddie here, but is similar to the Nefarious Juggernauts so won't be too much of a pain if you employ the same strategy. Once defeated, follow Jim back to the Mining Hub.
Obtaining the Phase Quartz
Head up the north-west ramp to the pulsing anomaly and you can enter it with Clank for another minigame. When complete, turn the hammercrank and jump in the elevator back down the ramp to reach the drill. There are a few enemies at the top, followed by a long rail grind section, but it's all simple stuff, just make sure you're hitting the crystals on the side of the rails.
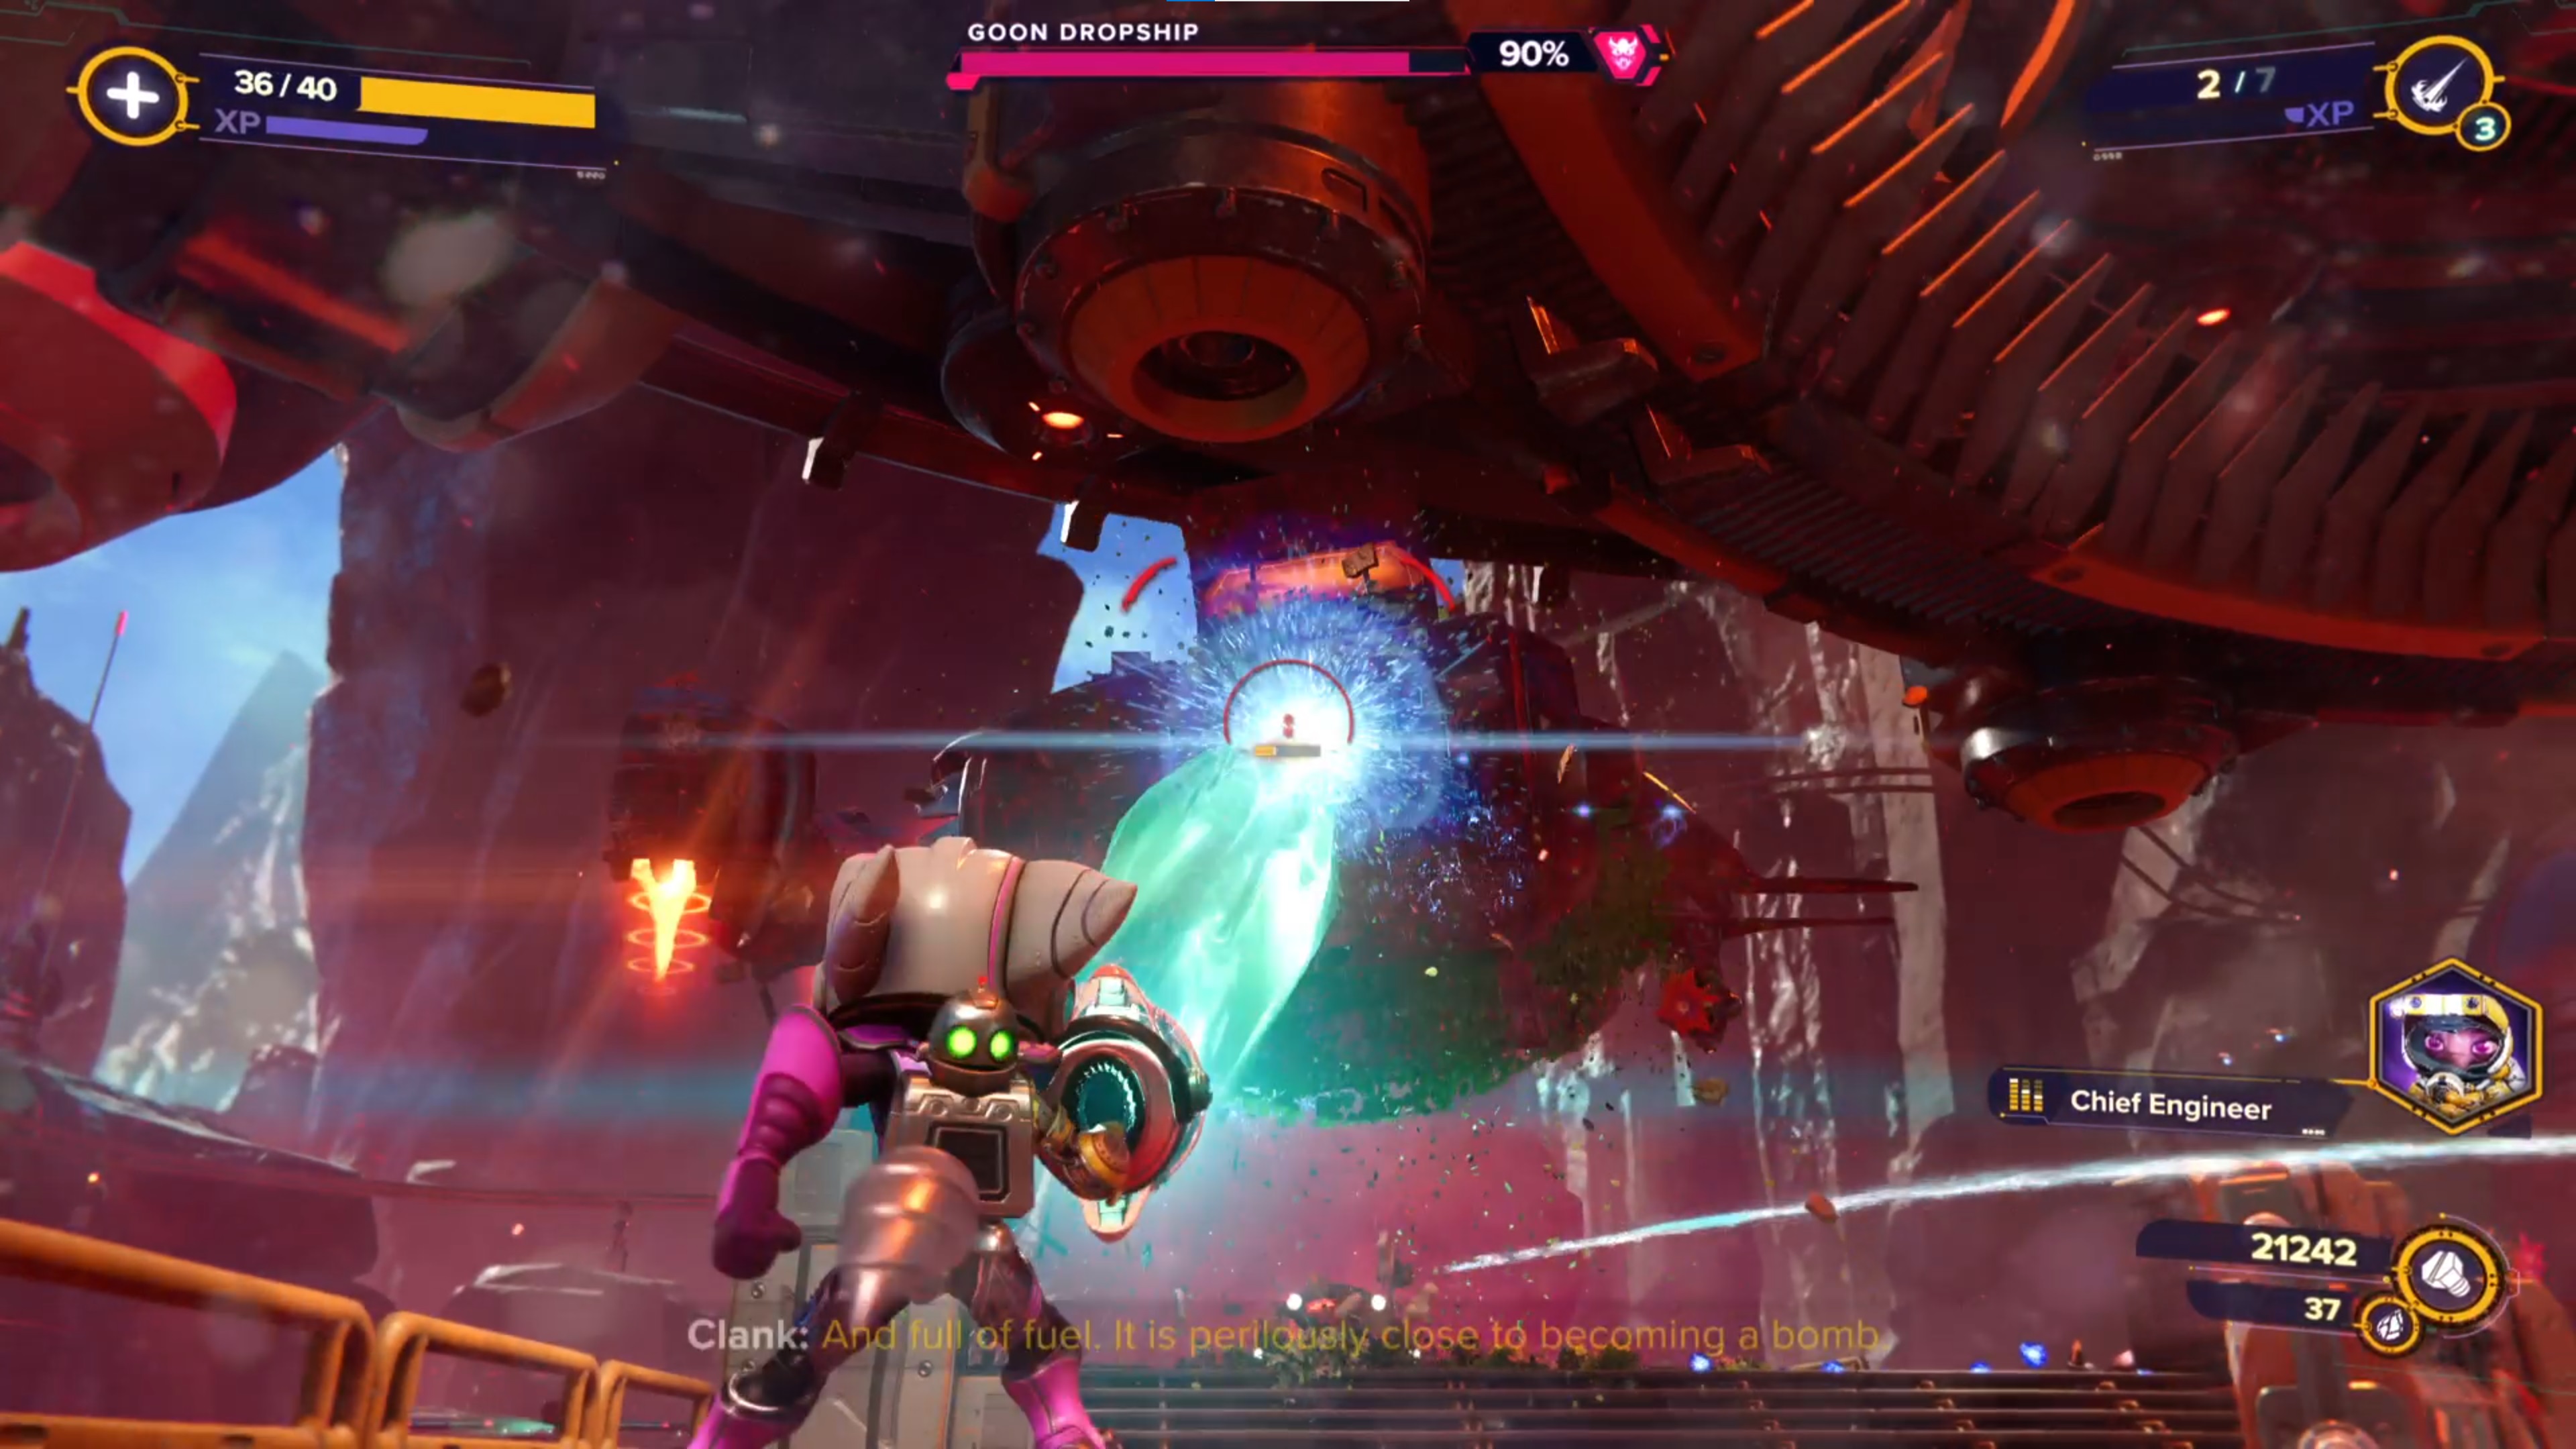
At the top, you'll land by the drill with another hammercrank to turn, which will bring a bunch of enemies into the fray. There are a lot of them so if you're struggling, stay mobile and make sure you pick up all the health and ammo crates dotted around. At one point during the fight, you'll receive a prompt to throw your hammer at the Phase Quartz in the middle of the beam. This will change dimension and you'll have more enemies to fight, but there's a crystal on one of the corner platforms to take you back to the other dimension. Take down the Goon Dropship boss and a cutscene will begin, indicating the end of your time on Blizar Prime.
Current page: Ratchet and Clank Rift Apart walkthrough: Scarstu Debris Field
Prev Page Ratchet and Clank Rift Apart Walkthrough 1 Next Page Ratchet and Clank Rift Apart walkthrough: Torren IV
Give me a game and I will write every "how to" I possibly can or die trying. When I'm not knee-deep in a game to write guides on, you'll find me hurtling round the track in F1, flinging balls on my phone in Pokemon Go, pretending to know what I'm doing in Football Manager, or clicking on heads in Valorant.

 Join The Community


