Ratchet and Clank Rift Apart walkthrough
This complete Ratchet and Clank Rift Apart walkthrough is all you need to beat the game
Weekly digests, tales from the communities you love, and more
You are now subscribed
Your newsletter sign-up was successful
Want to add more newsletters?
Join the club
Get full access to premium articles, exclusive features and a growing list of member rewards.
Acquiring the Hurlshot
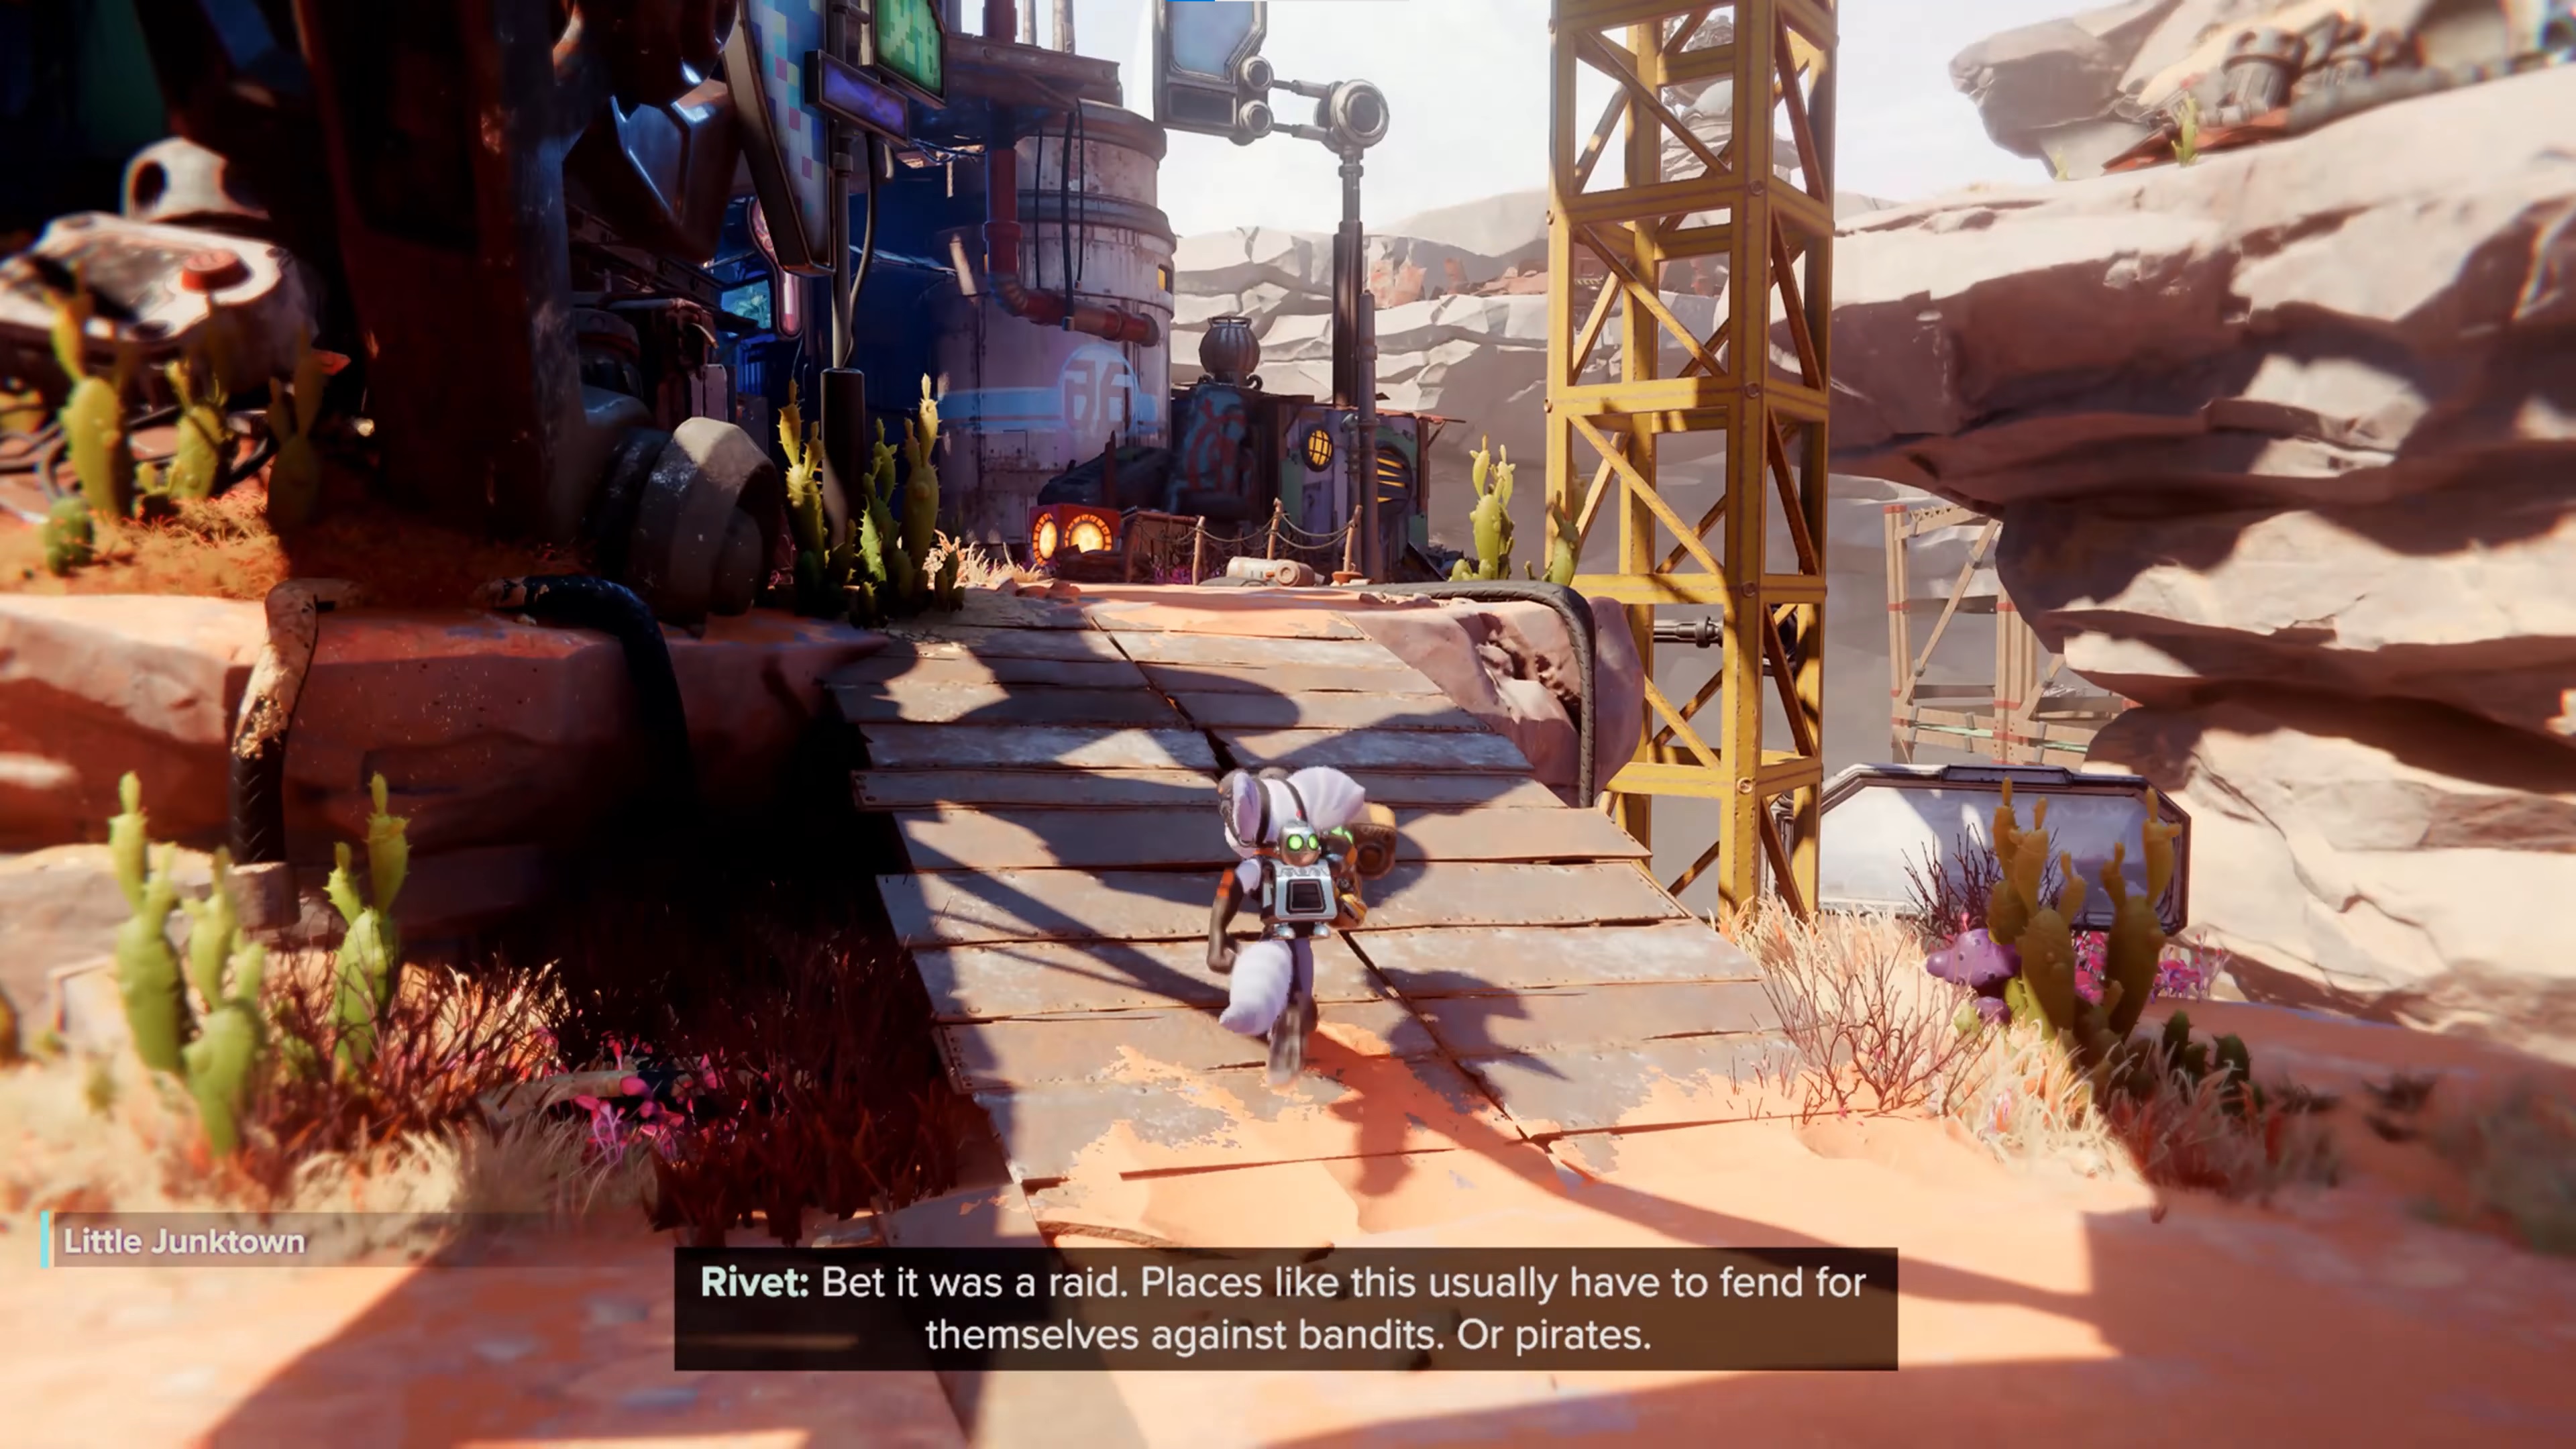
You have one job on Torren IV: find the Fixer. Head forwards from where you land and deal with the small enemies, then check the gold bolt guide to grab the first one on this planet nearby. Look to the left of this small area and swing over to the Little Junktown village, which is also where you'll find the spybot for this planet – our separate guide has the exact location – and the CraiggerBear.
Head forward and a Vullard will interrupt you, while also showing you where the Fixer is. You need to get the Hurlshot first though, so continue forward. There are no branching paths or optional objectives here, everything is quite straightforward. If there are enemies to kill then you're going the right way.
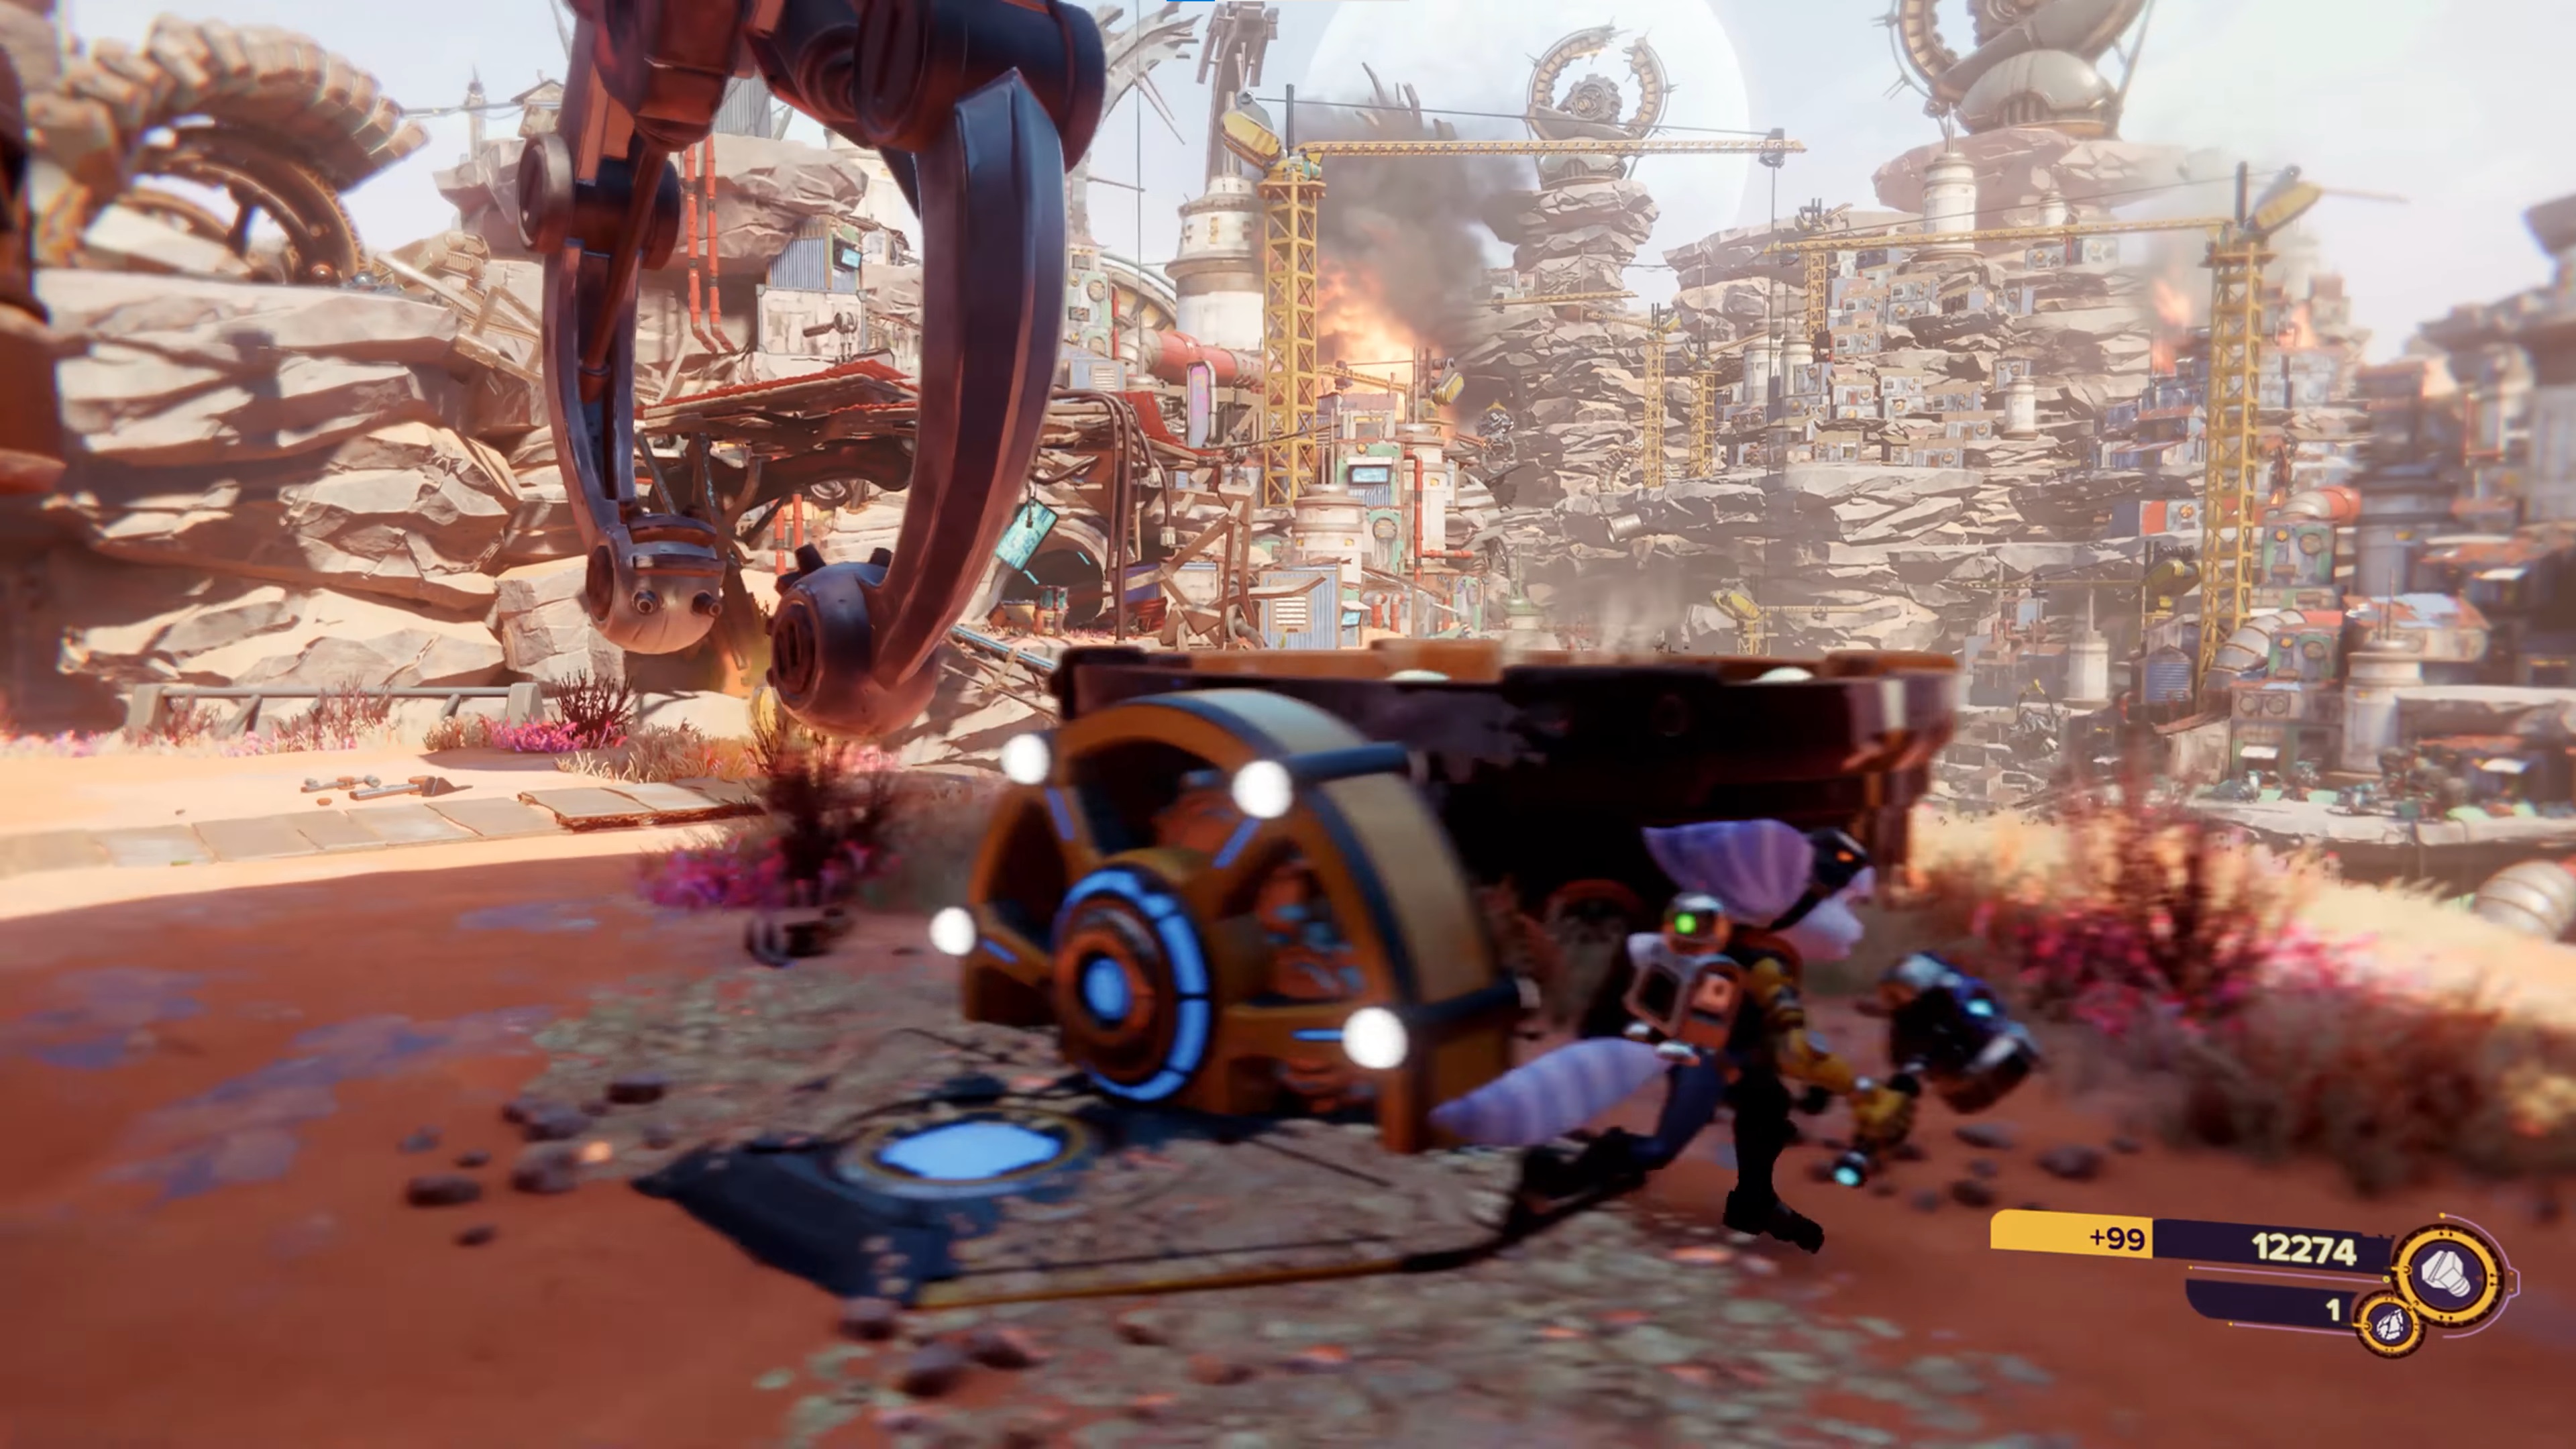
When you reach the grind rail, hop on it and check the gold bolt guide again because the second and final gold bolt for this level is on this section. This grind rail is very long compared to previous ones, but it's all quite simple since you're given plenty of time to dodge obstacles and get out of the way.
Article continues belowWhen you reach the end, Pierre Le Fer will show up to be a nuisance again, setting his pirate pals on you. Shield enemies enter the fray for the first time, so you need to use weapons that don't damage them head-on – explosives are your best option. When all the pirate foes are eliminated, interact with the hammercrank to get the Hurlshot.
Fixing the Fixer
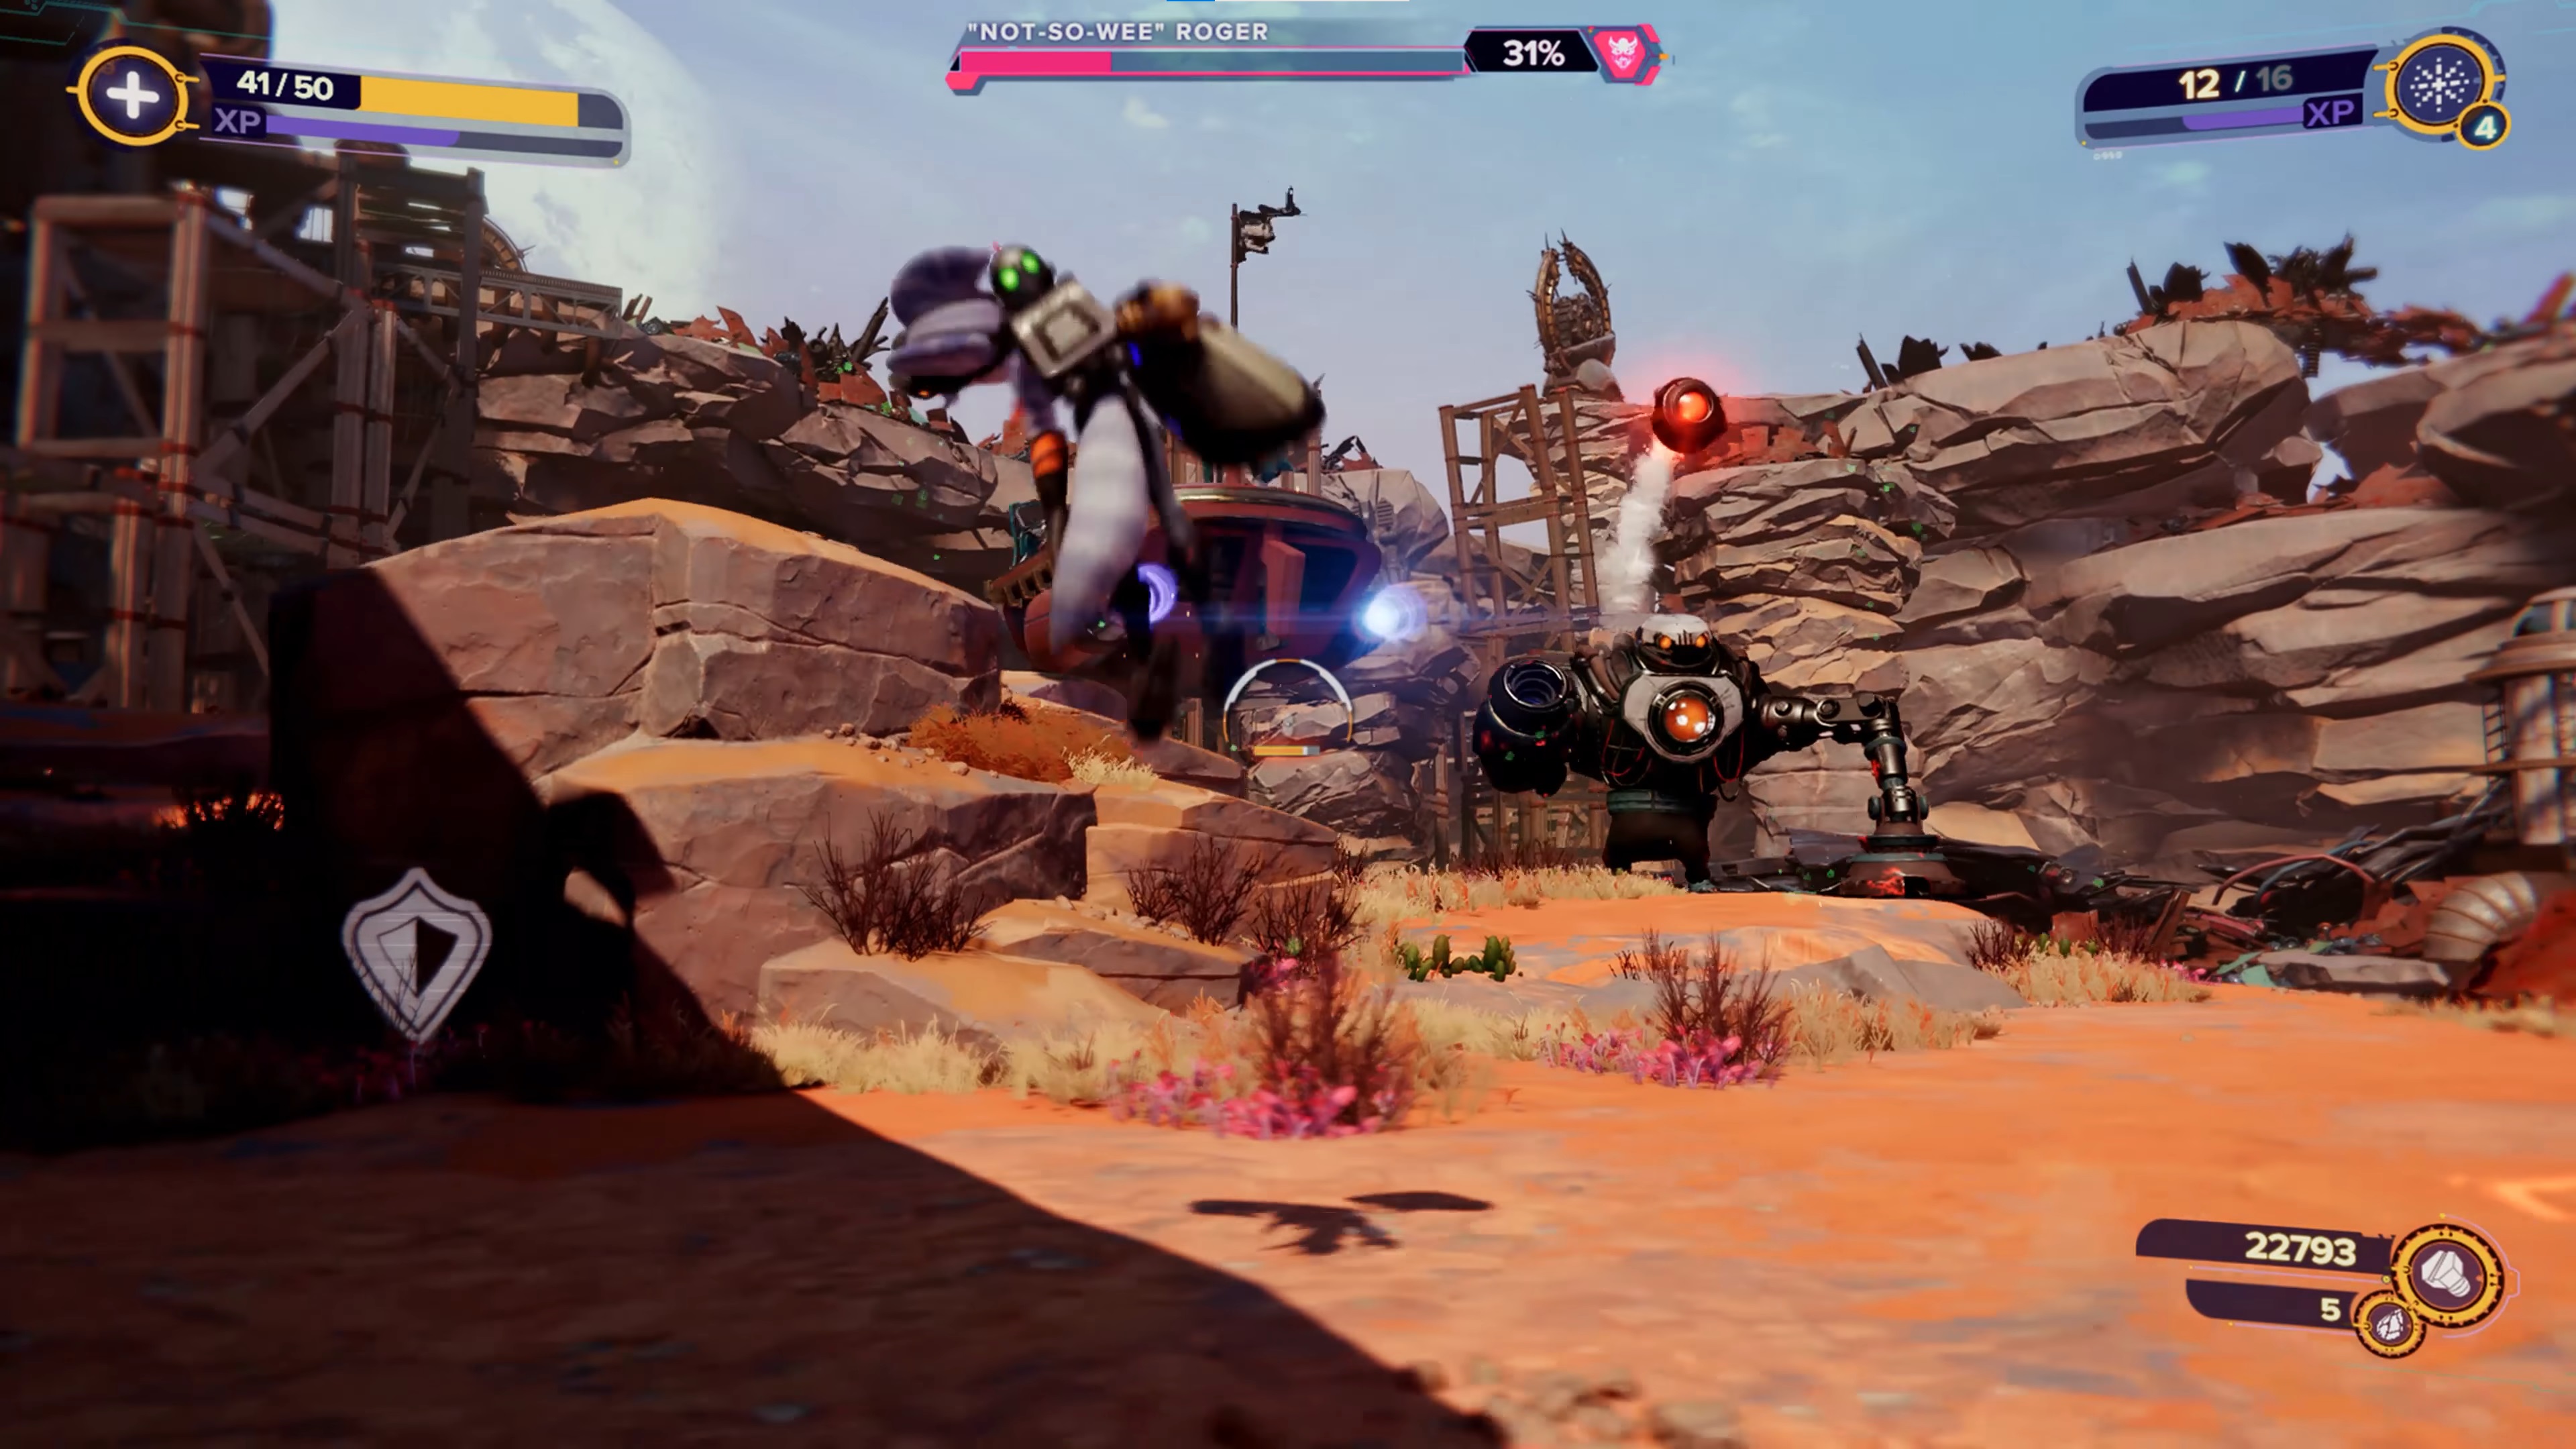
Next on the agenda is fixing the Fixer so it can fix the phase quartz, but first is the quick Hurlshot tutorial that sends you onto a big platform with even more pirate enemies. Take them down as they circle around you on airships, then use the Hurlshot again to land on an even bigger ship. "Wee" Roger will show up but none of his attacks are too threatening; just stay mobile and make sure all the smaller enemies are taken care of before you focus on the big guy.
After the cutscene with Pierre, you'll land back in Little Junktown but now you can use the Hurlshot to land in the Mech Graveyard. Use the next two Hurlshots and surprise surprise, more pirate foes to deal with. Thanks to the big fella on a rock in the distance lobbing bombs at you, standing still is a death sentence, so use the rift tethers around this area to your advantage.
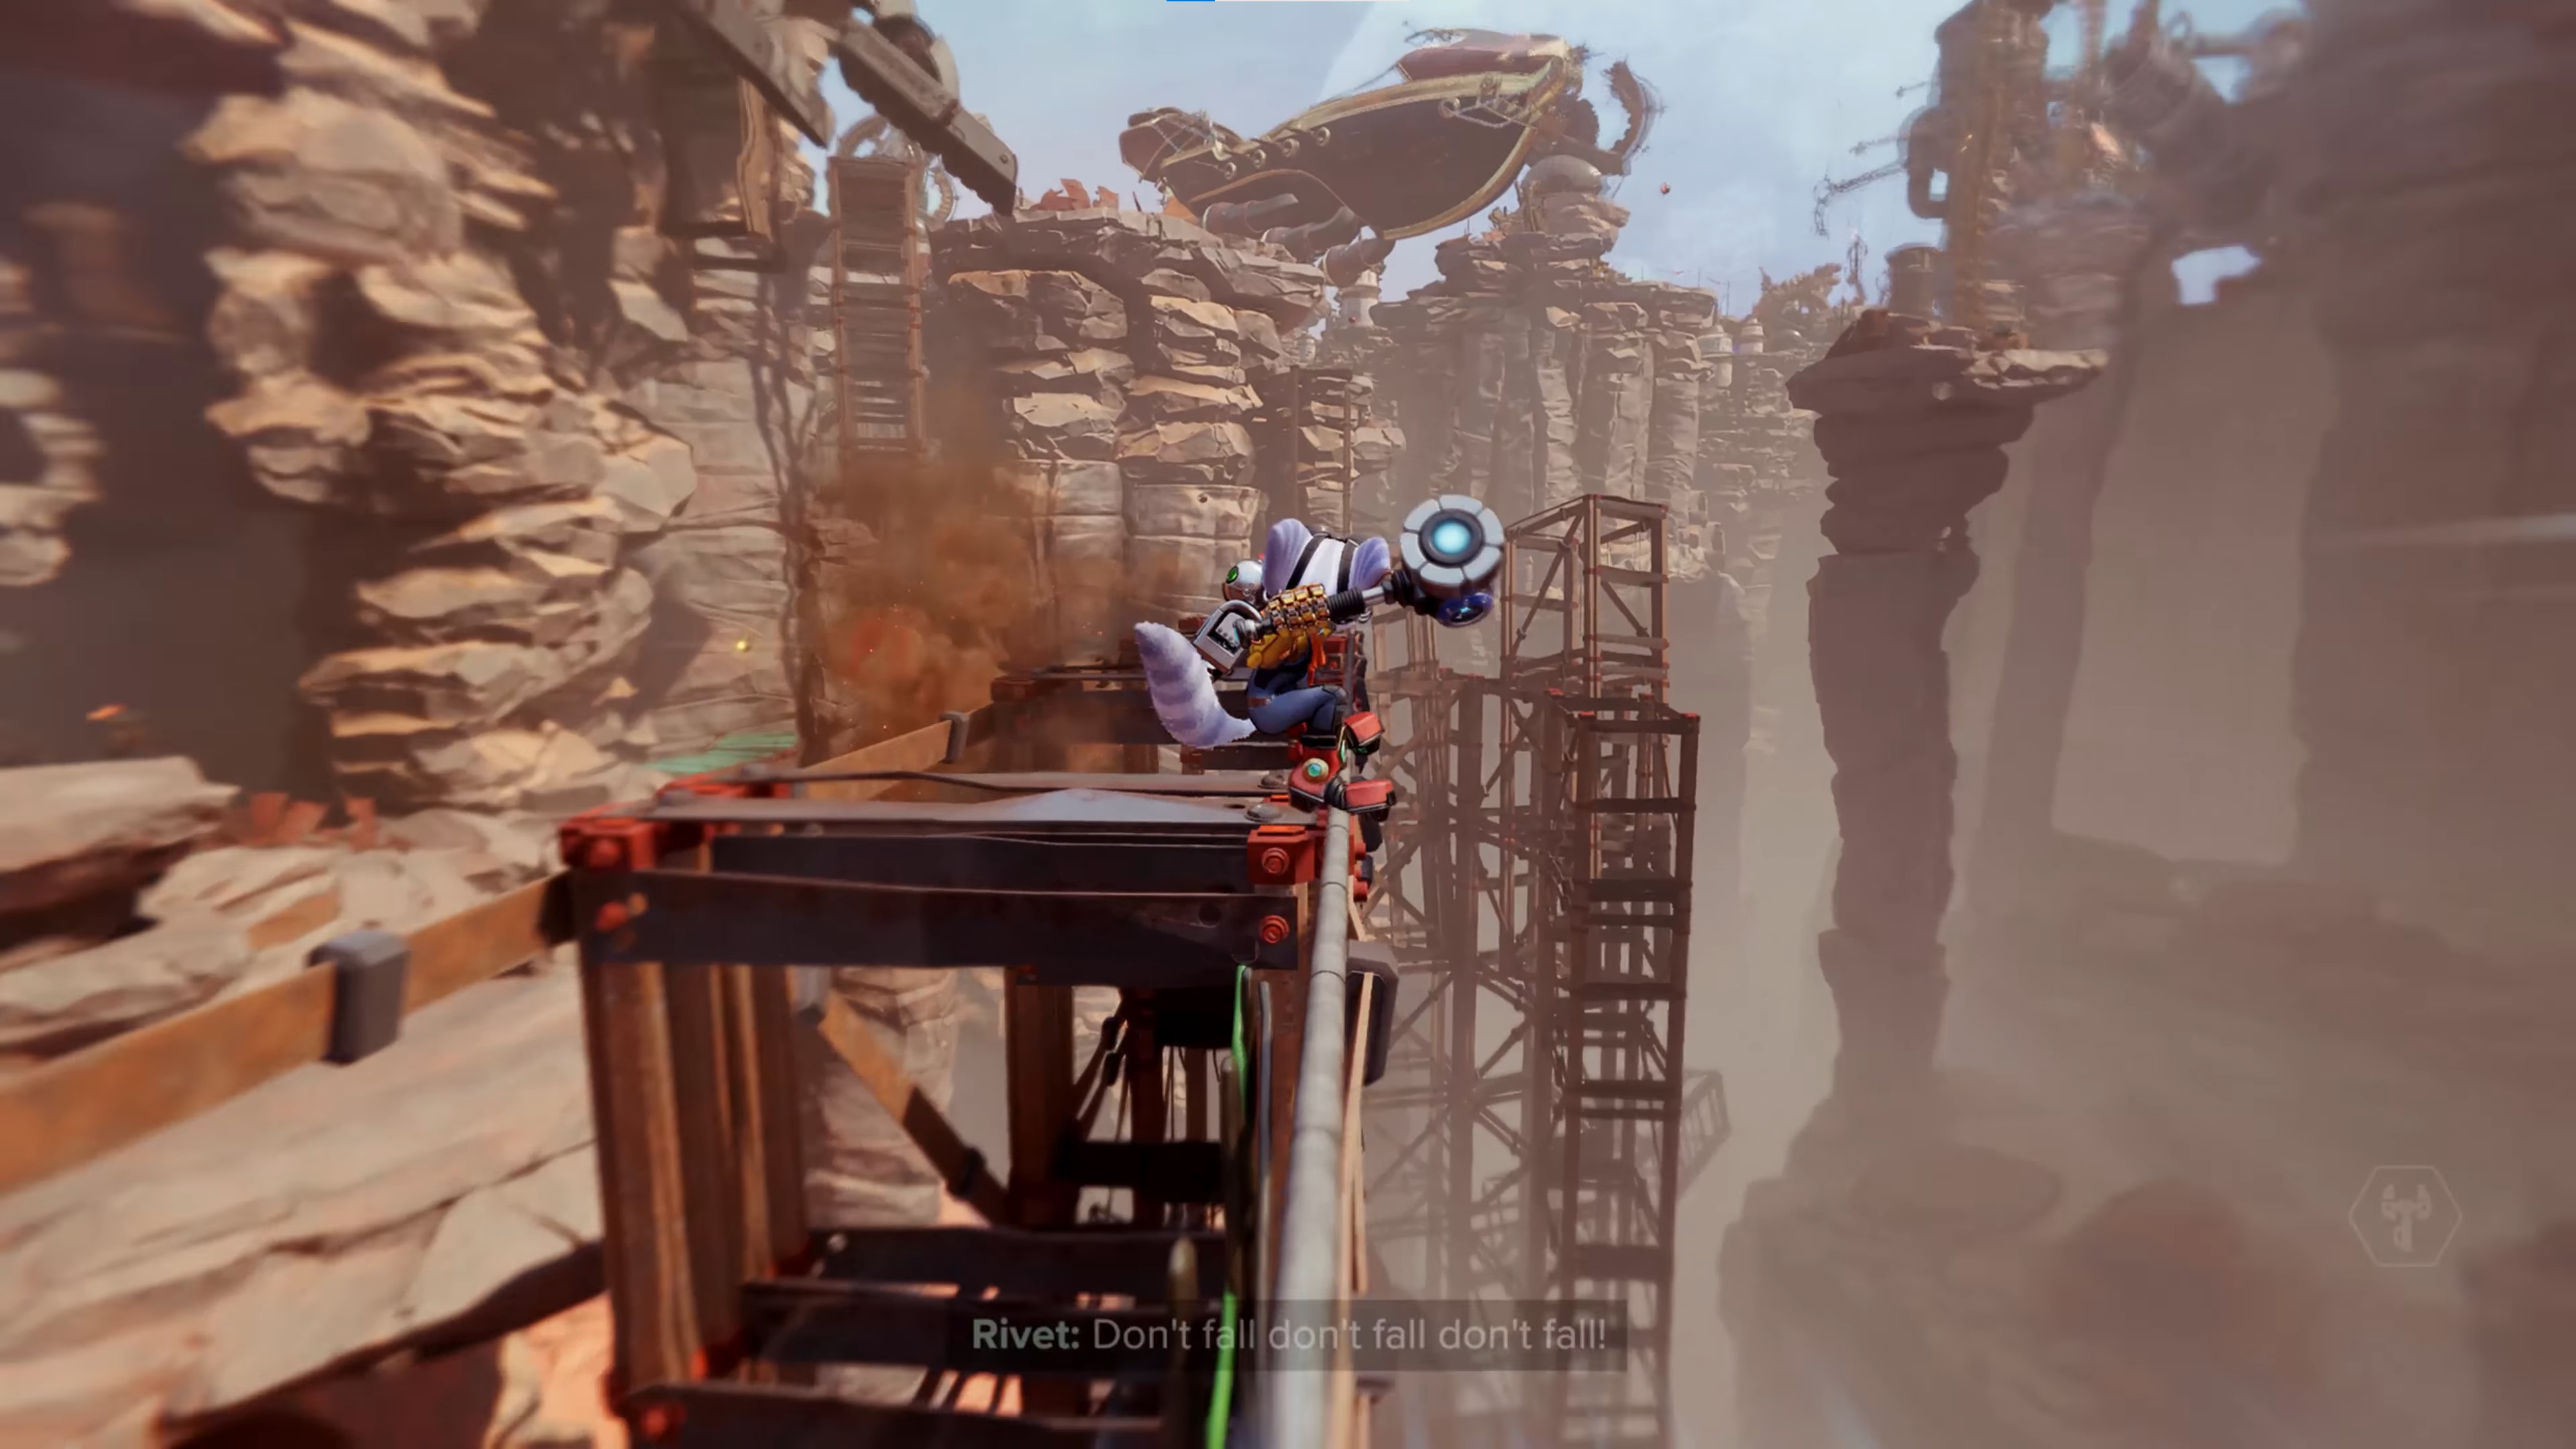
When the weaker enemies are dealt with, head up to where "Not-So-Wee" Roger is causing chaos, and deal with him in the same way you dealt with his smaller-by-name-but-not-by-stature brother. Watch out for the normal pirates that will jump into the fray from another ship though.
Weekly digests, tales from the communities you love, and more
Afterwards, head to the end of the rocky ledge you're on and use the Hurlshot followed by the grind rail. At the end, you'll find the hammercrank to turn on the Fixer. Only problem is, the Fixer isn't happy. This begins another long grind rail with a bunch of jumps, and some very cool cinematic shots. Seriously, if there's a time for photo mode, it's here. When you reach the cutscene with Clank explaining he's fixed, you've got to the end of Torren IV; go back to your ship and it's time for Cordelion.
Exploring Kedaro Station
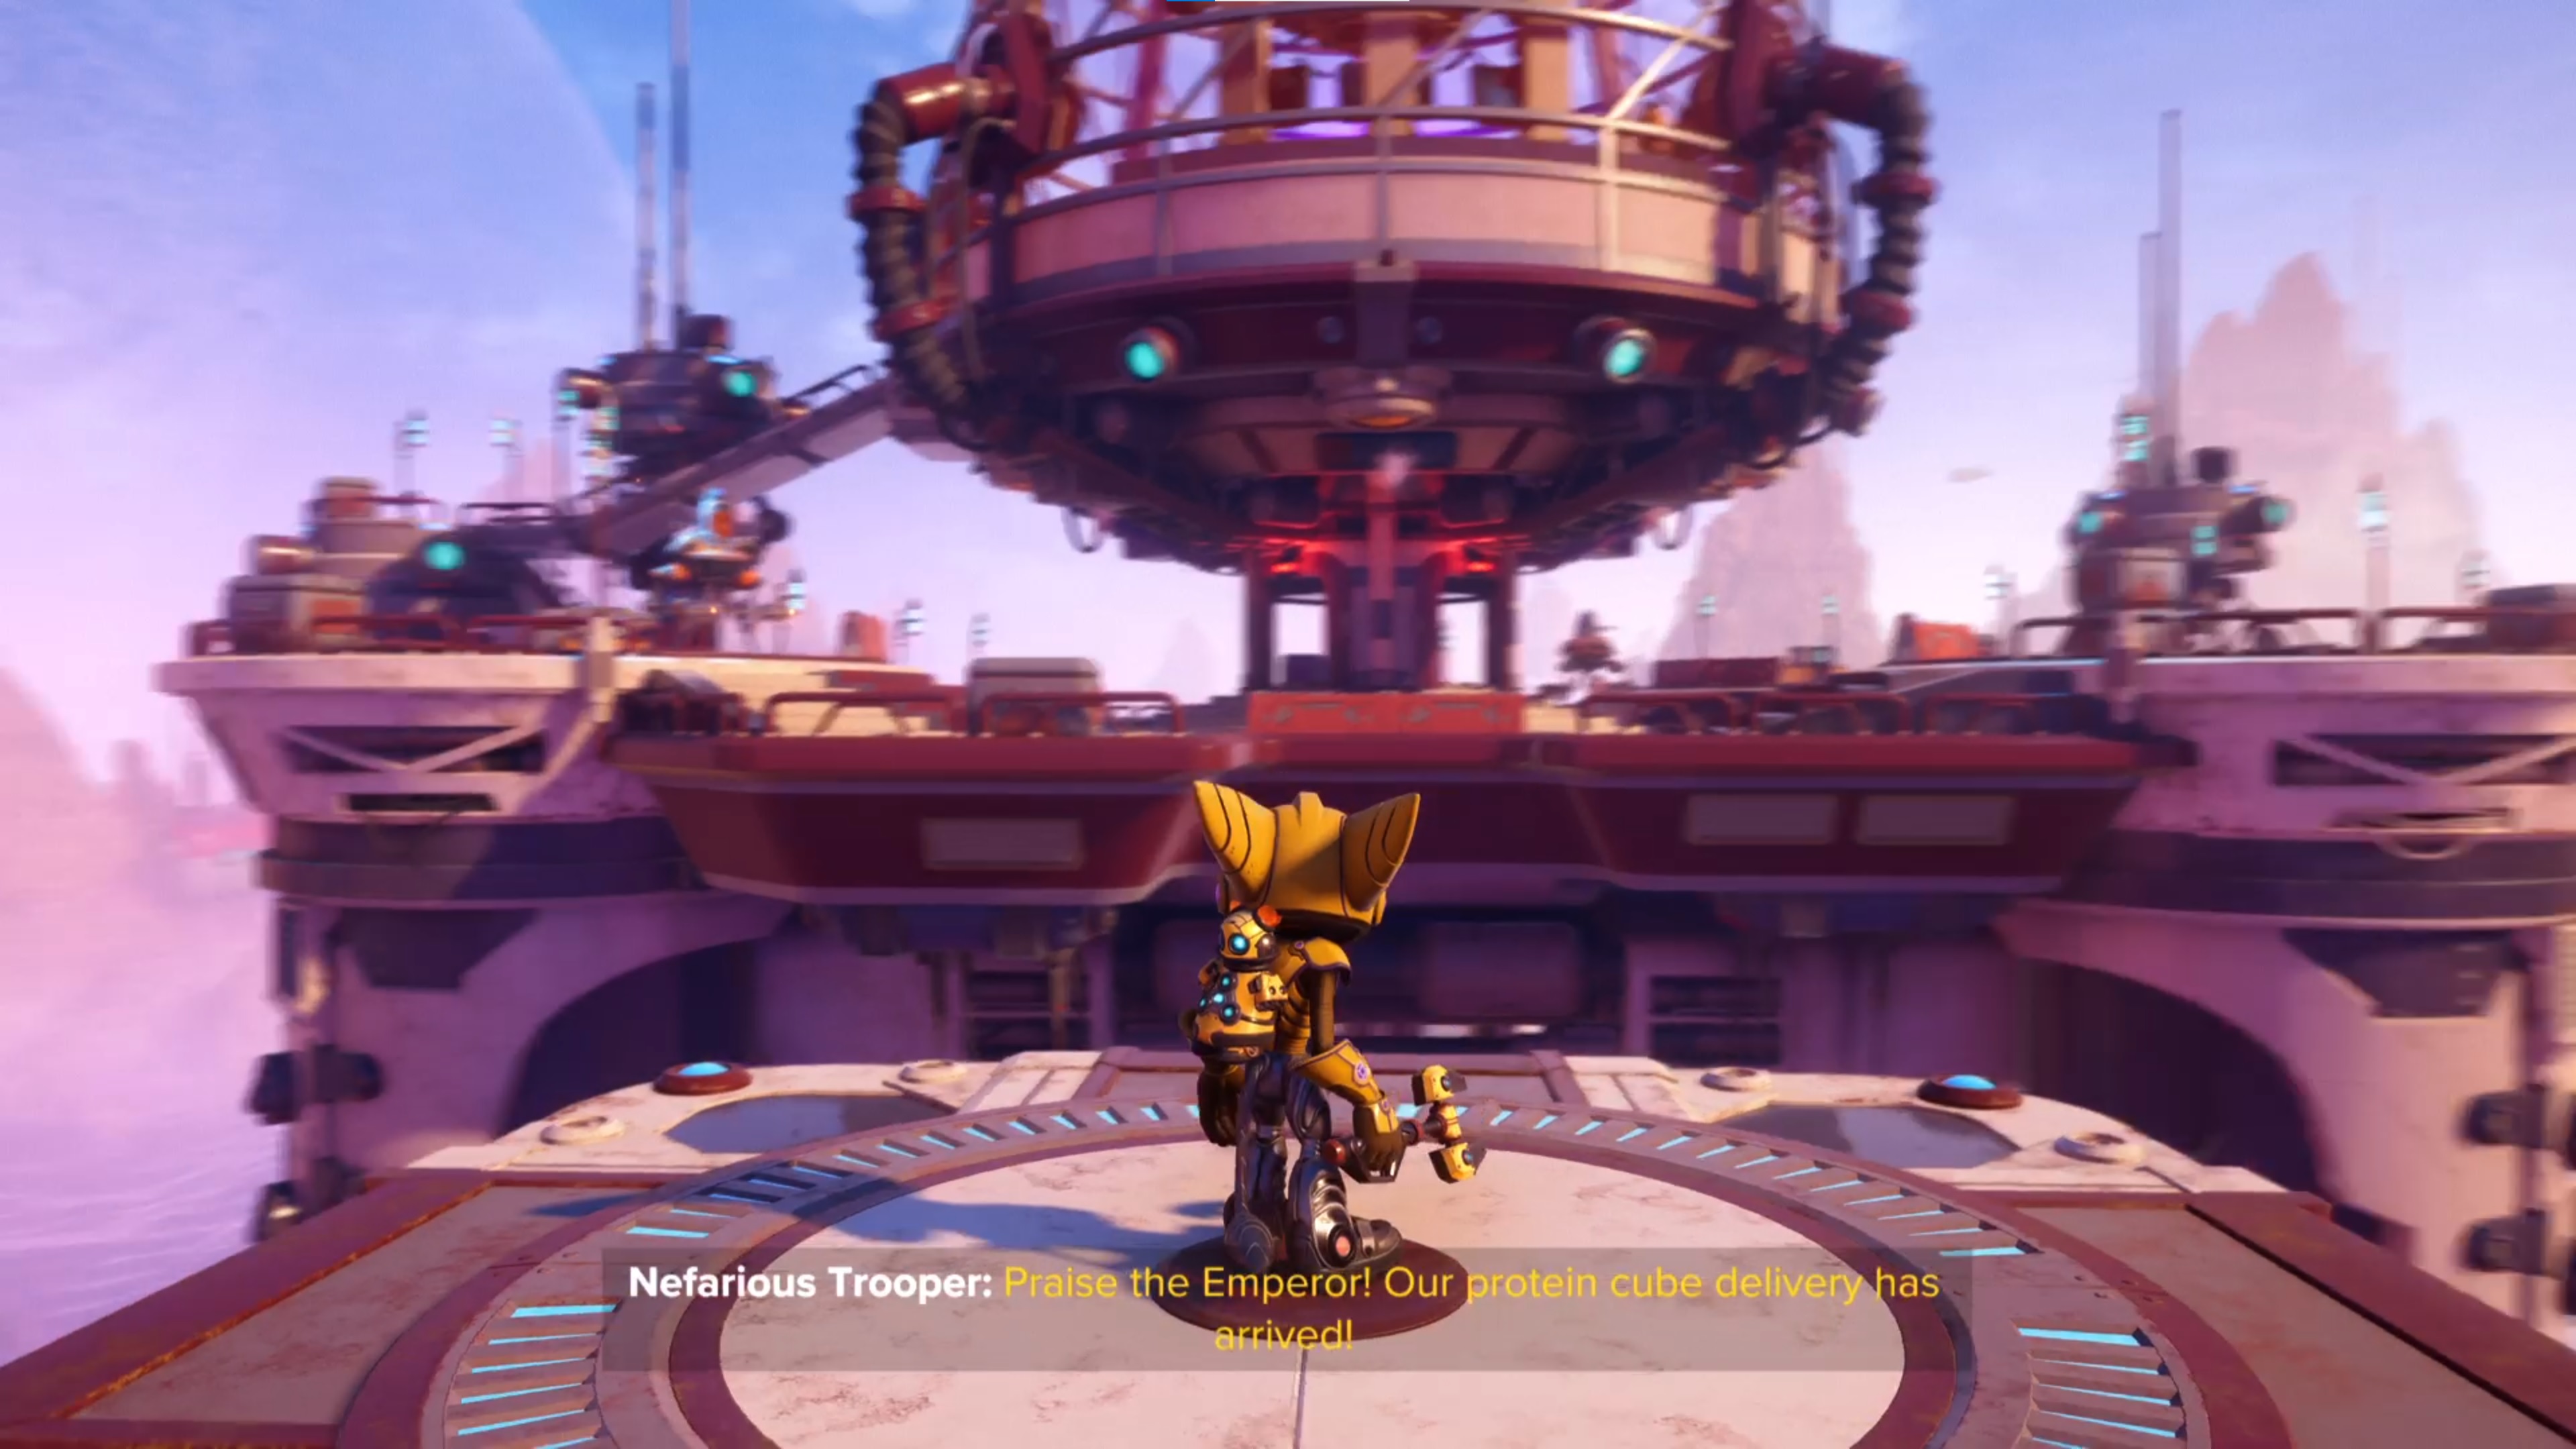
Cordelion is a little different to most of the other planets because it's almost entirely indoors. Take the platform over to the main part of the station and the carnage starts immediately with a bunch of Nefarious Troopers, but once you've seen them off, climb the ramp in the top left corner to find Ms. Zurkon and a crystal, just like on Blizar Prime.
Whack the crystal and head back down the now-icy slope, then check the CraiggerBear guide to find one nearby, along with the gold bolts guide. You can now enter the elevator in the middle and descend into the abandoned station.
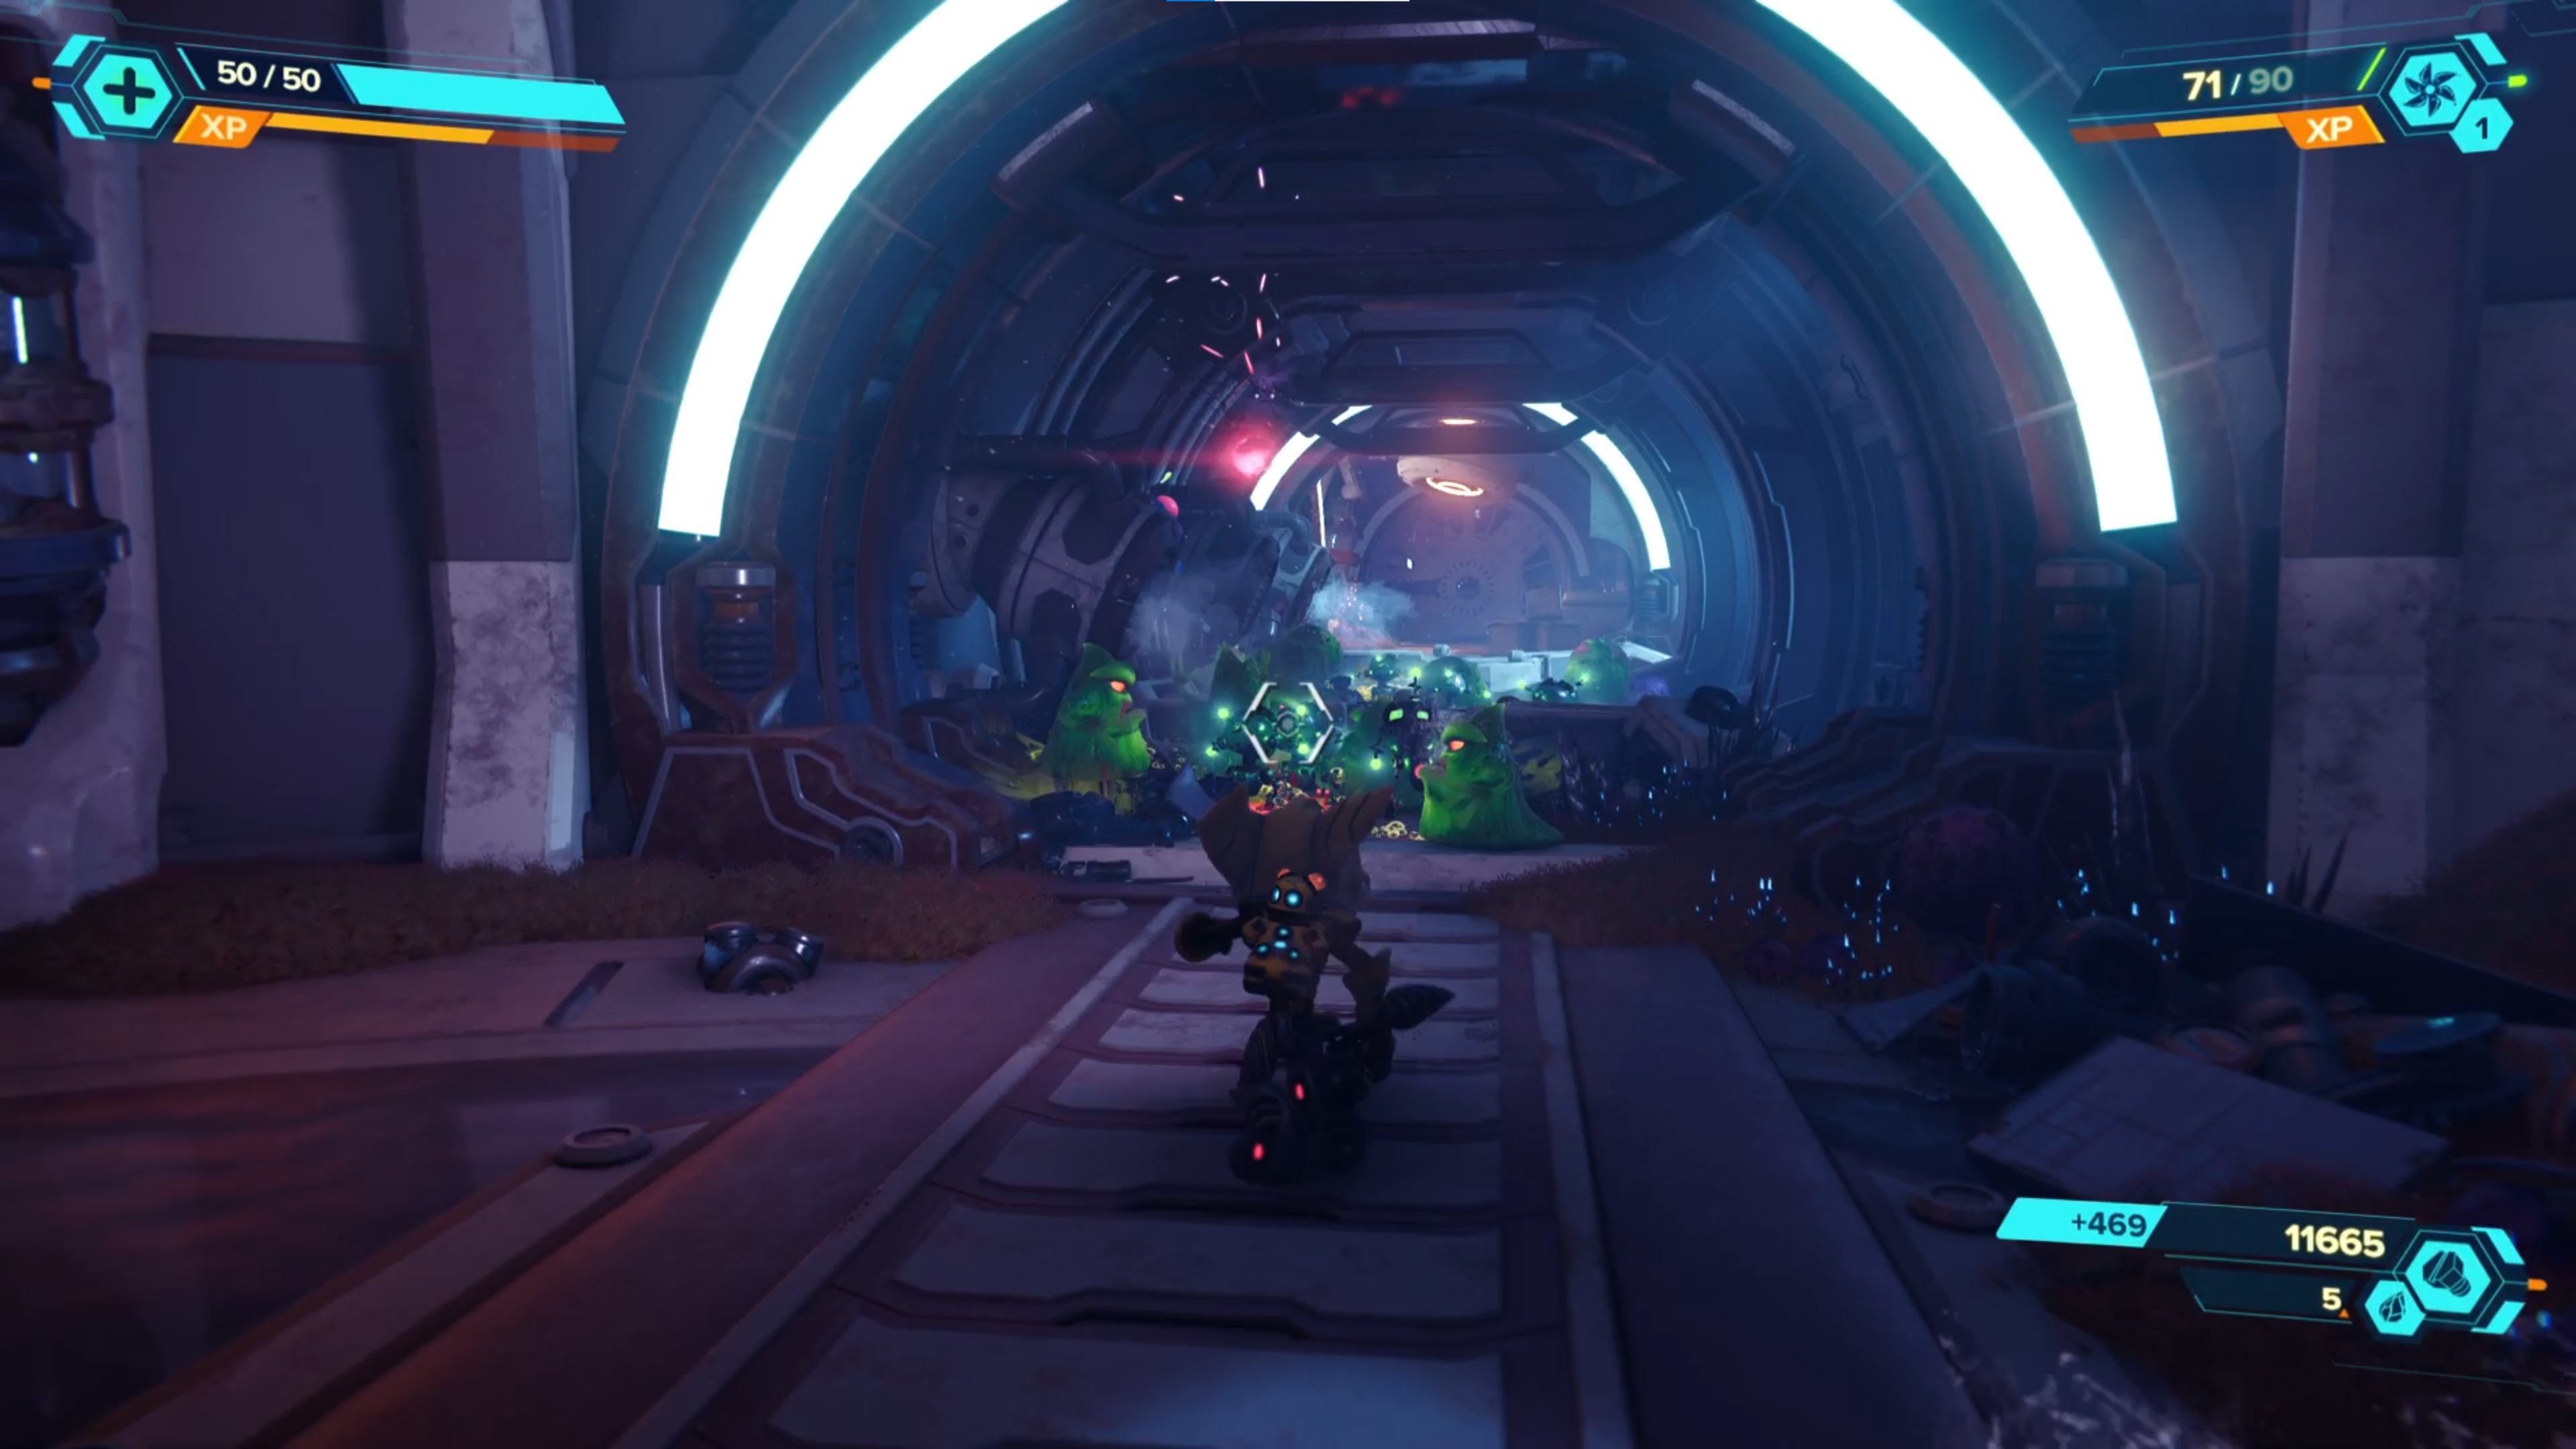
This part of Cordelion is all very linear, but make sure you're exploring each room fully as there is often raritanium and stacks of crates to miss. Progress through the tunnels and you'll find a familiar enemy for anyone who has played previous Ratchet and Clank games – amoeboids. Check the gold bolts guide again for the second one on the planet.
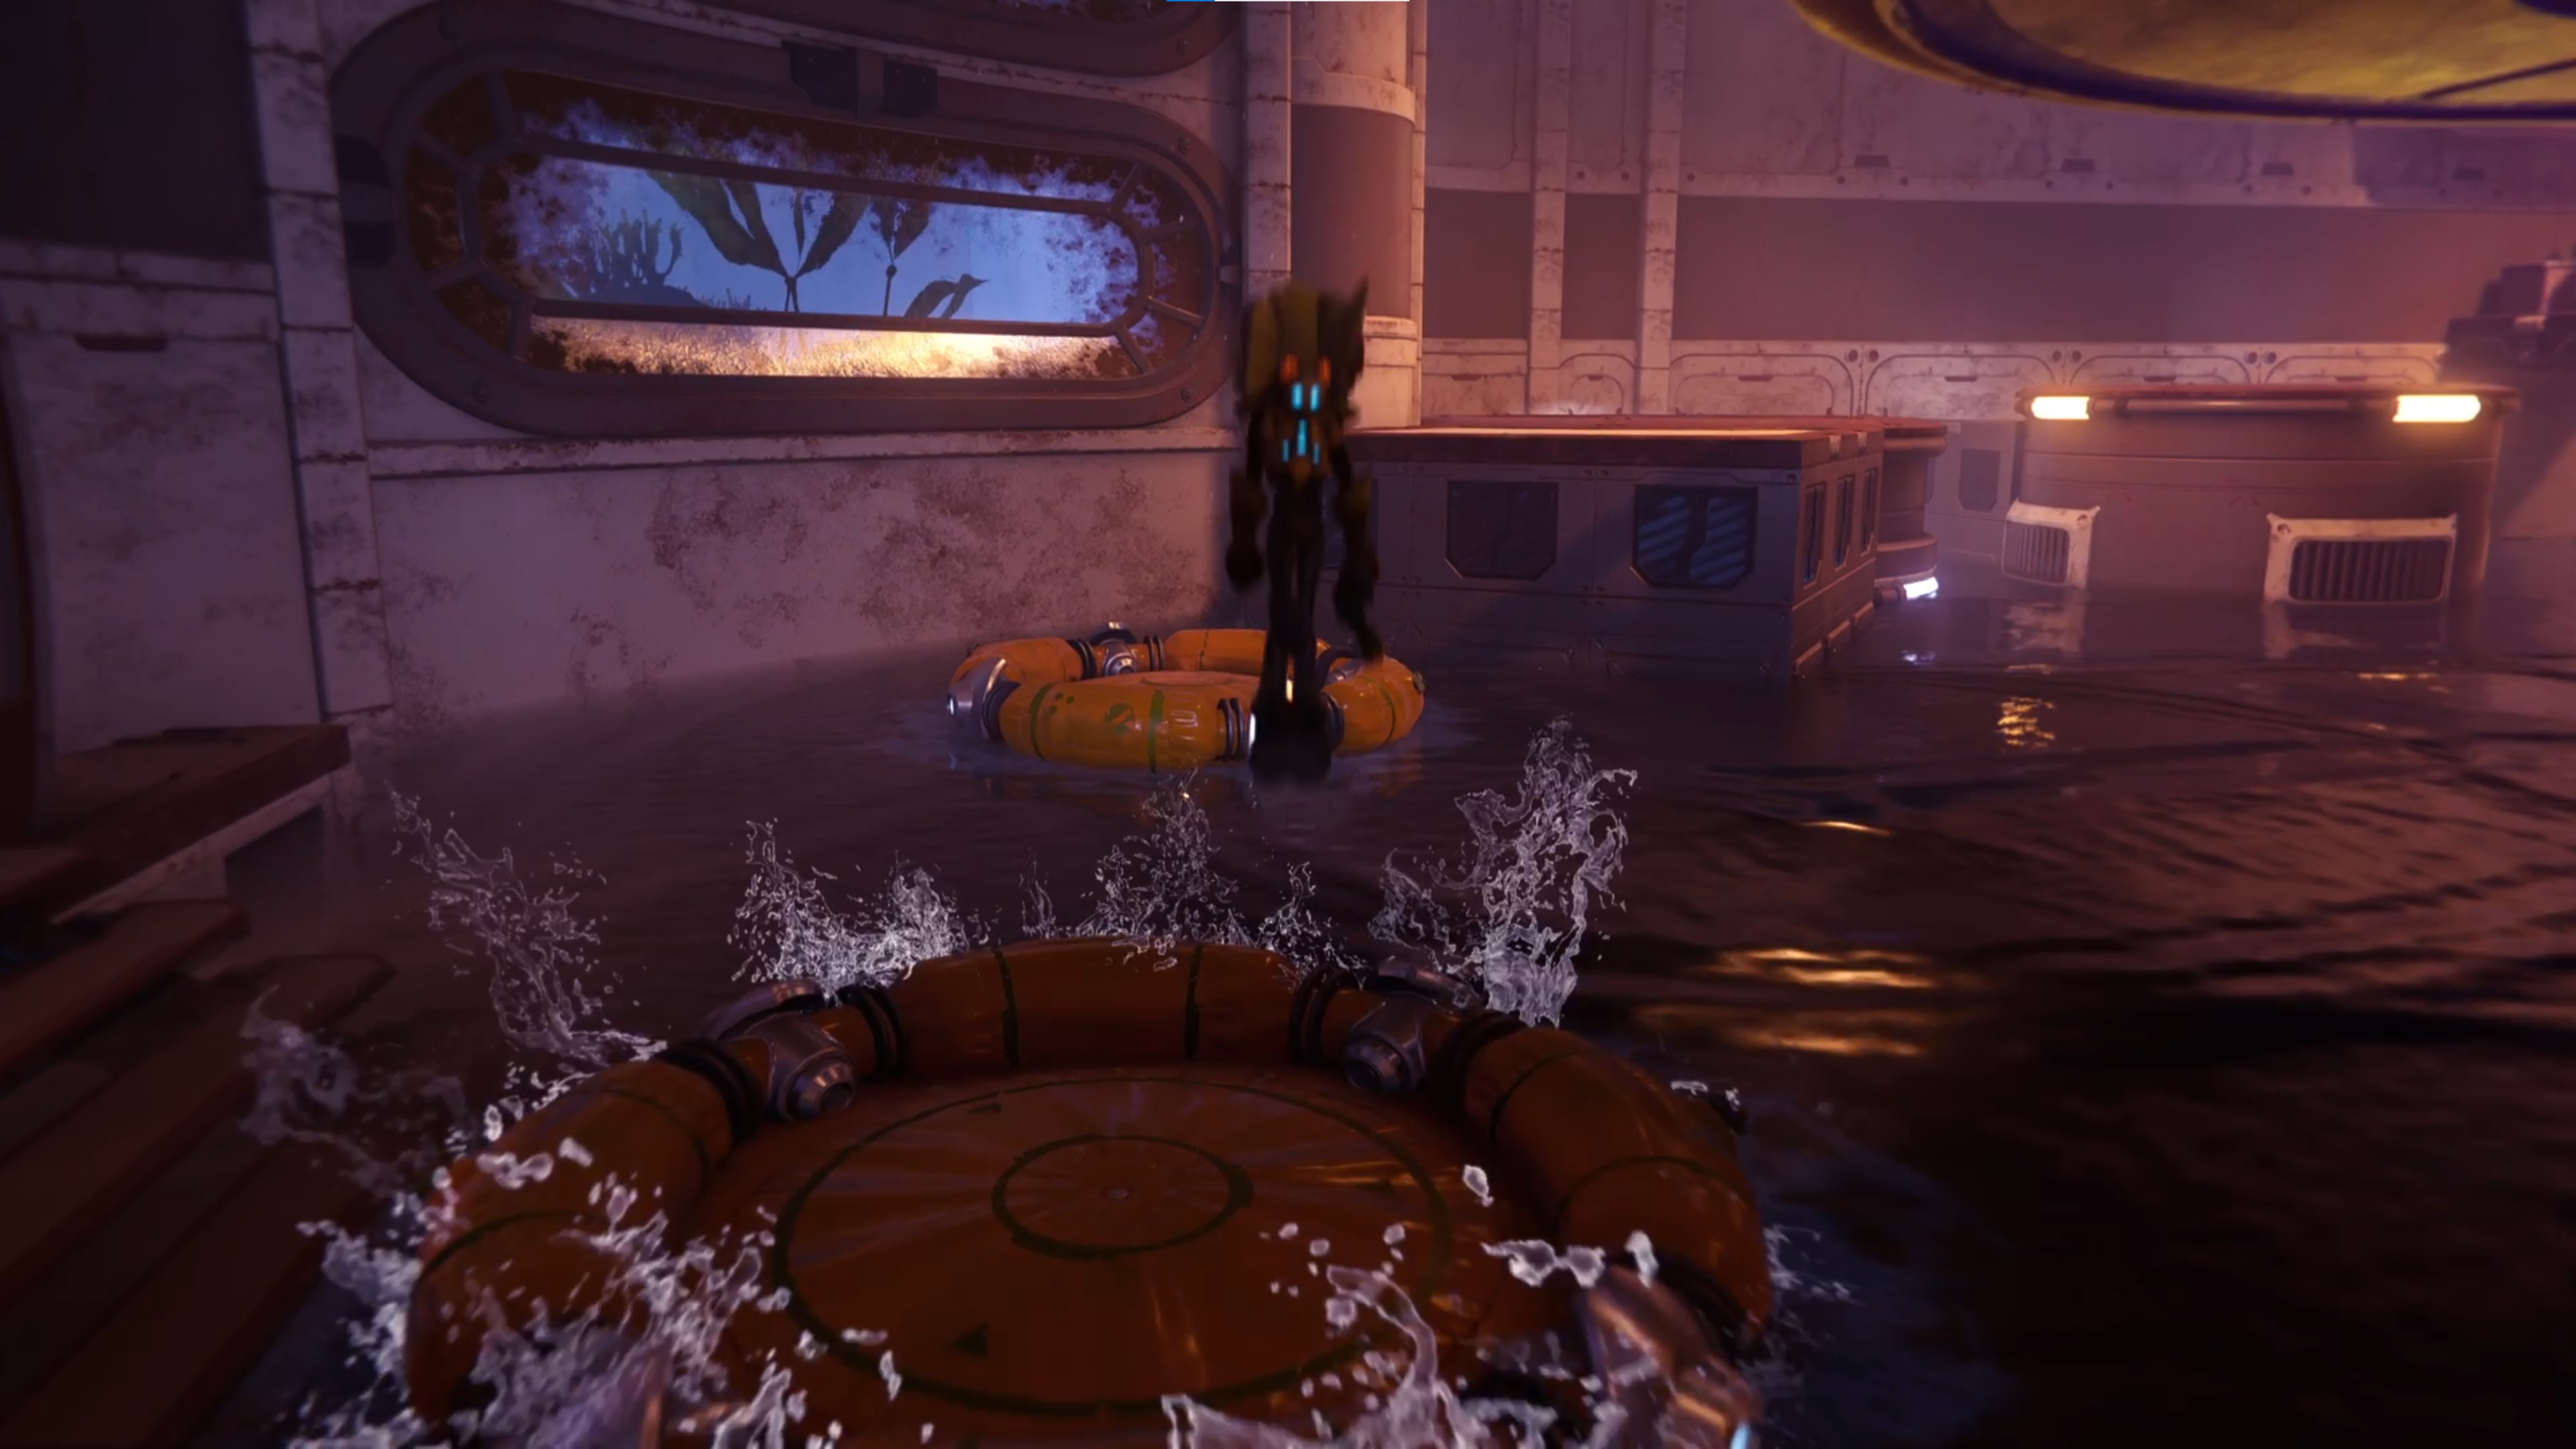
Keep going forward and deal with all the amoeboids, then you'll find some bigger ones in the next room that split into the smaller slimes. Onwards you go until a cutscene starts where you meet Junk Bot, in a room full of bouncy inflatables and furious fish in the water. Bounce across the inflatables then wall run to the other side, followed by a slingshot to the opposite corner to find a terminal to interact with. This will drain the room; follow Junk Bot to continue onwards.
Keep following Junk Bot until another cutscene occurs, where you're introduced to Juice for the first time. Afterwards, Junk Bot will lead you into a room with more bouncy inflatables on the floor, along with some raritanium; cross it and keep following until you enter a larger room, where Junk Bot fiddles with an elevator. Kill the amoeboids then interact with the terminal above where Junk Bot is located and you can hop into the elevator.
This will take you into another water-filled room with fish and inflatables. Bounce your way around to the wall run section behind the elevator and at the end of it will be another crystal. Give it a whack and you're in the dimension where this station is, y'know, actually populated. Head through the only open door and ta-da! You've found the Rubion Forge, along with a much less playful Junk Bot.
Forging the Dimensionator

When the cutscene finishes, check the spybot guide to find the one on this planet, then use the bounce pad to your right. Interact with the computer to forge the Dimensionator. Everything goes to plan and this is the end of the game, well done! Is what I would say if Kit hadn't run it with auxiliary power only... a bunch of Nefarious Troopers enter the room to check out the chaos, so once you've killed them all, head through the door they came from.
In the next room with the Dr. Nefarious hologram, there's not a lot to find, but more enemies will emerge from the tunnel at the other end. Go through the windy tunnel and along with a contained crystal, there'll be more troopers to kill. Kill them all then use the boltcrank, which will bring in a lot more enemies. Kill them all and whack the crystal.
Now you're back in the abandoned dimension. There's only one way to go so continue onwards and Junk Bot explains you need to repair the forge. This is where another Glitch mission comes into play, which is pretty simple other than an ambush near the end.
Meet Juice
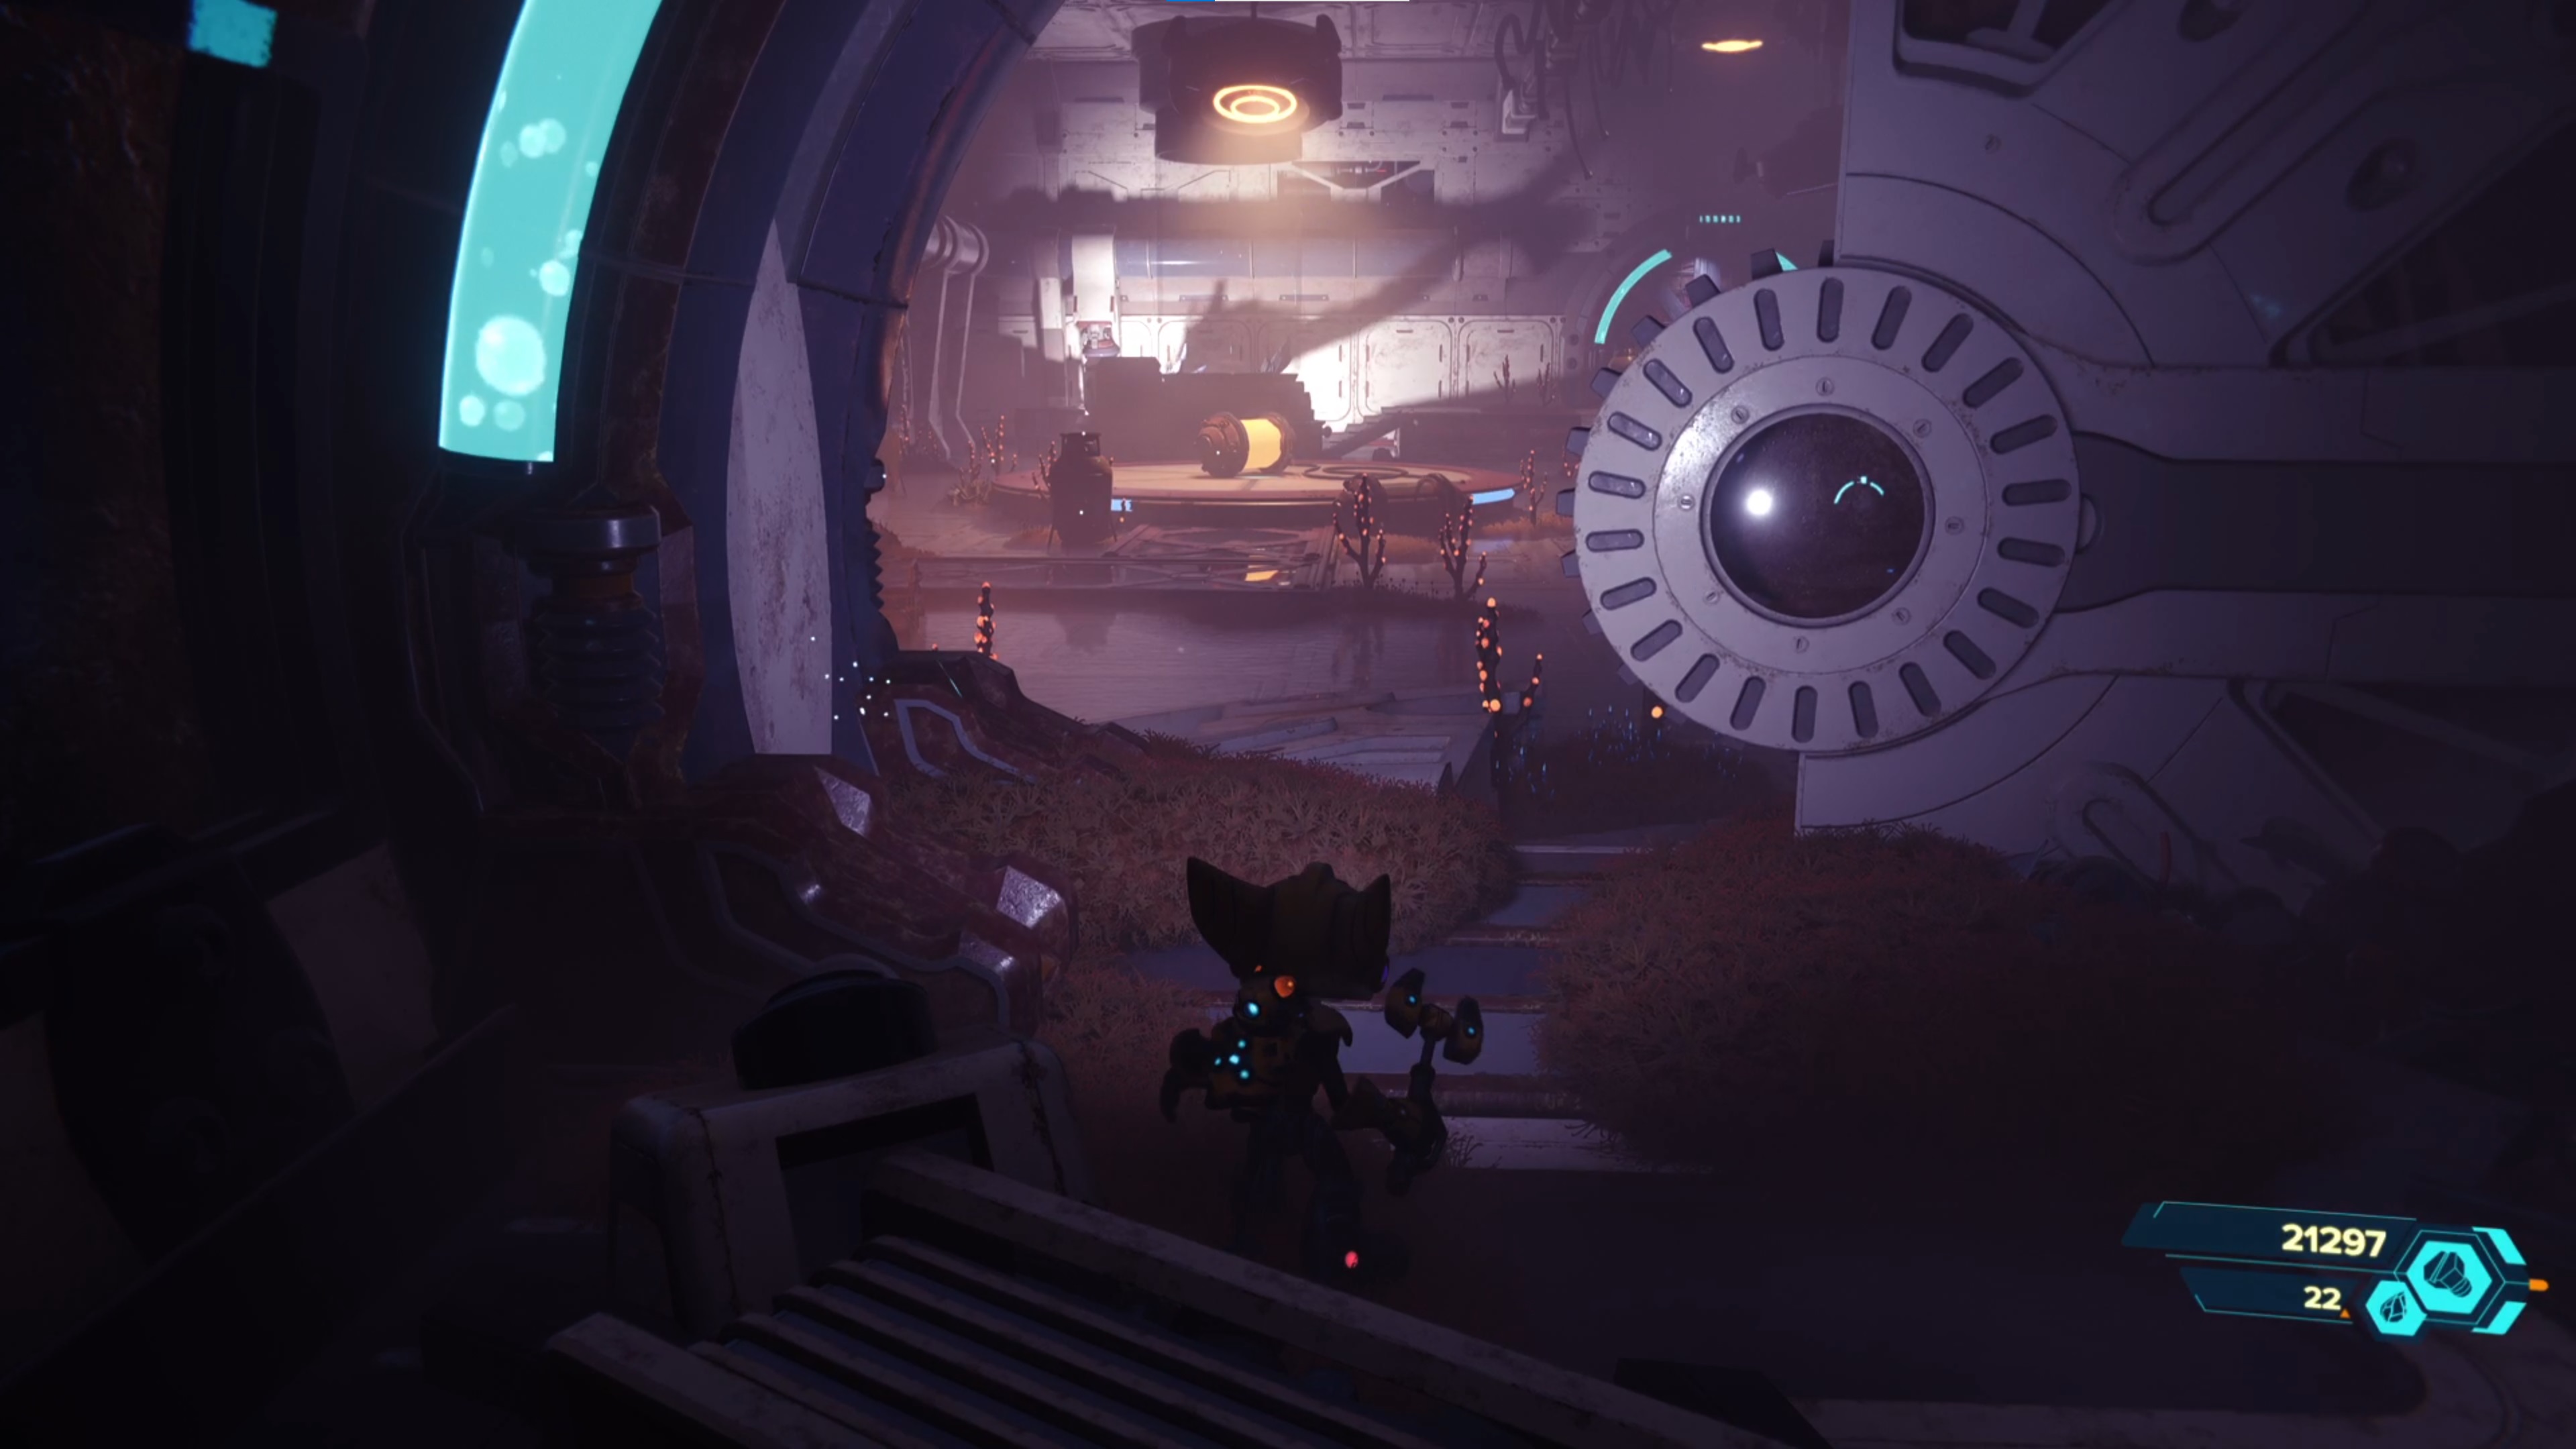
When complete, you need to find a power source. Head down the spiral stairs to the biology division and stand on the pressure plate to open the door. Keep heading along the only path until you head through a tunnel with a visible tail and shadow in the distance. This is where the game gets a bit Alien Isolation-esque – you need to do the next section while Juice stalks you. Shooting the jelly canisters will distract him for a good while though, so pop one open then stand on the pressure plate in the opposite corner from where you entered to open the door.
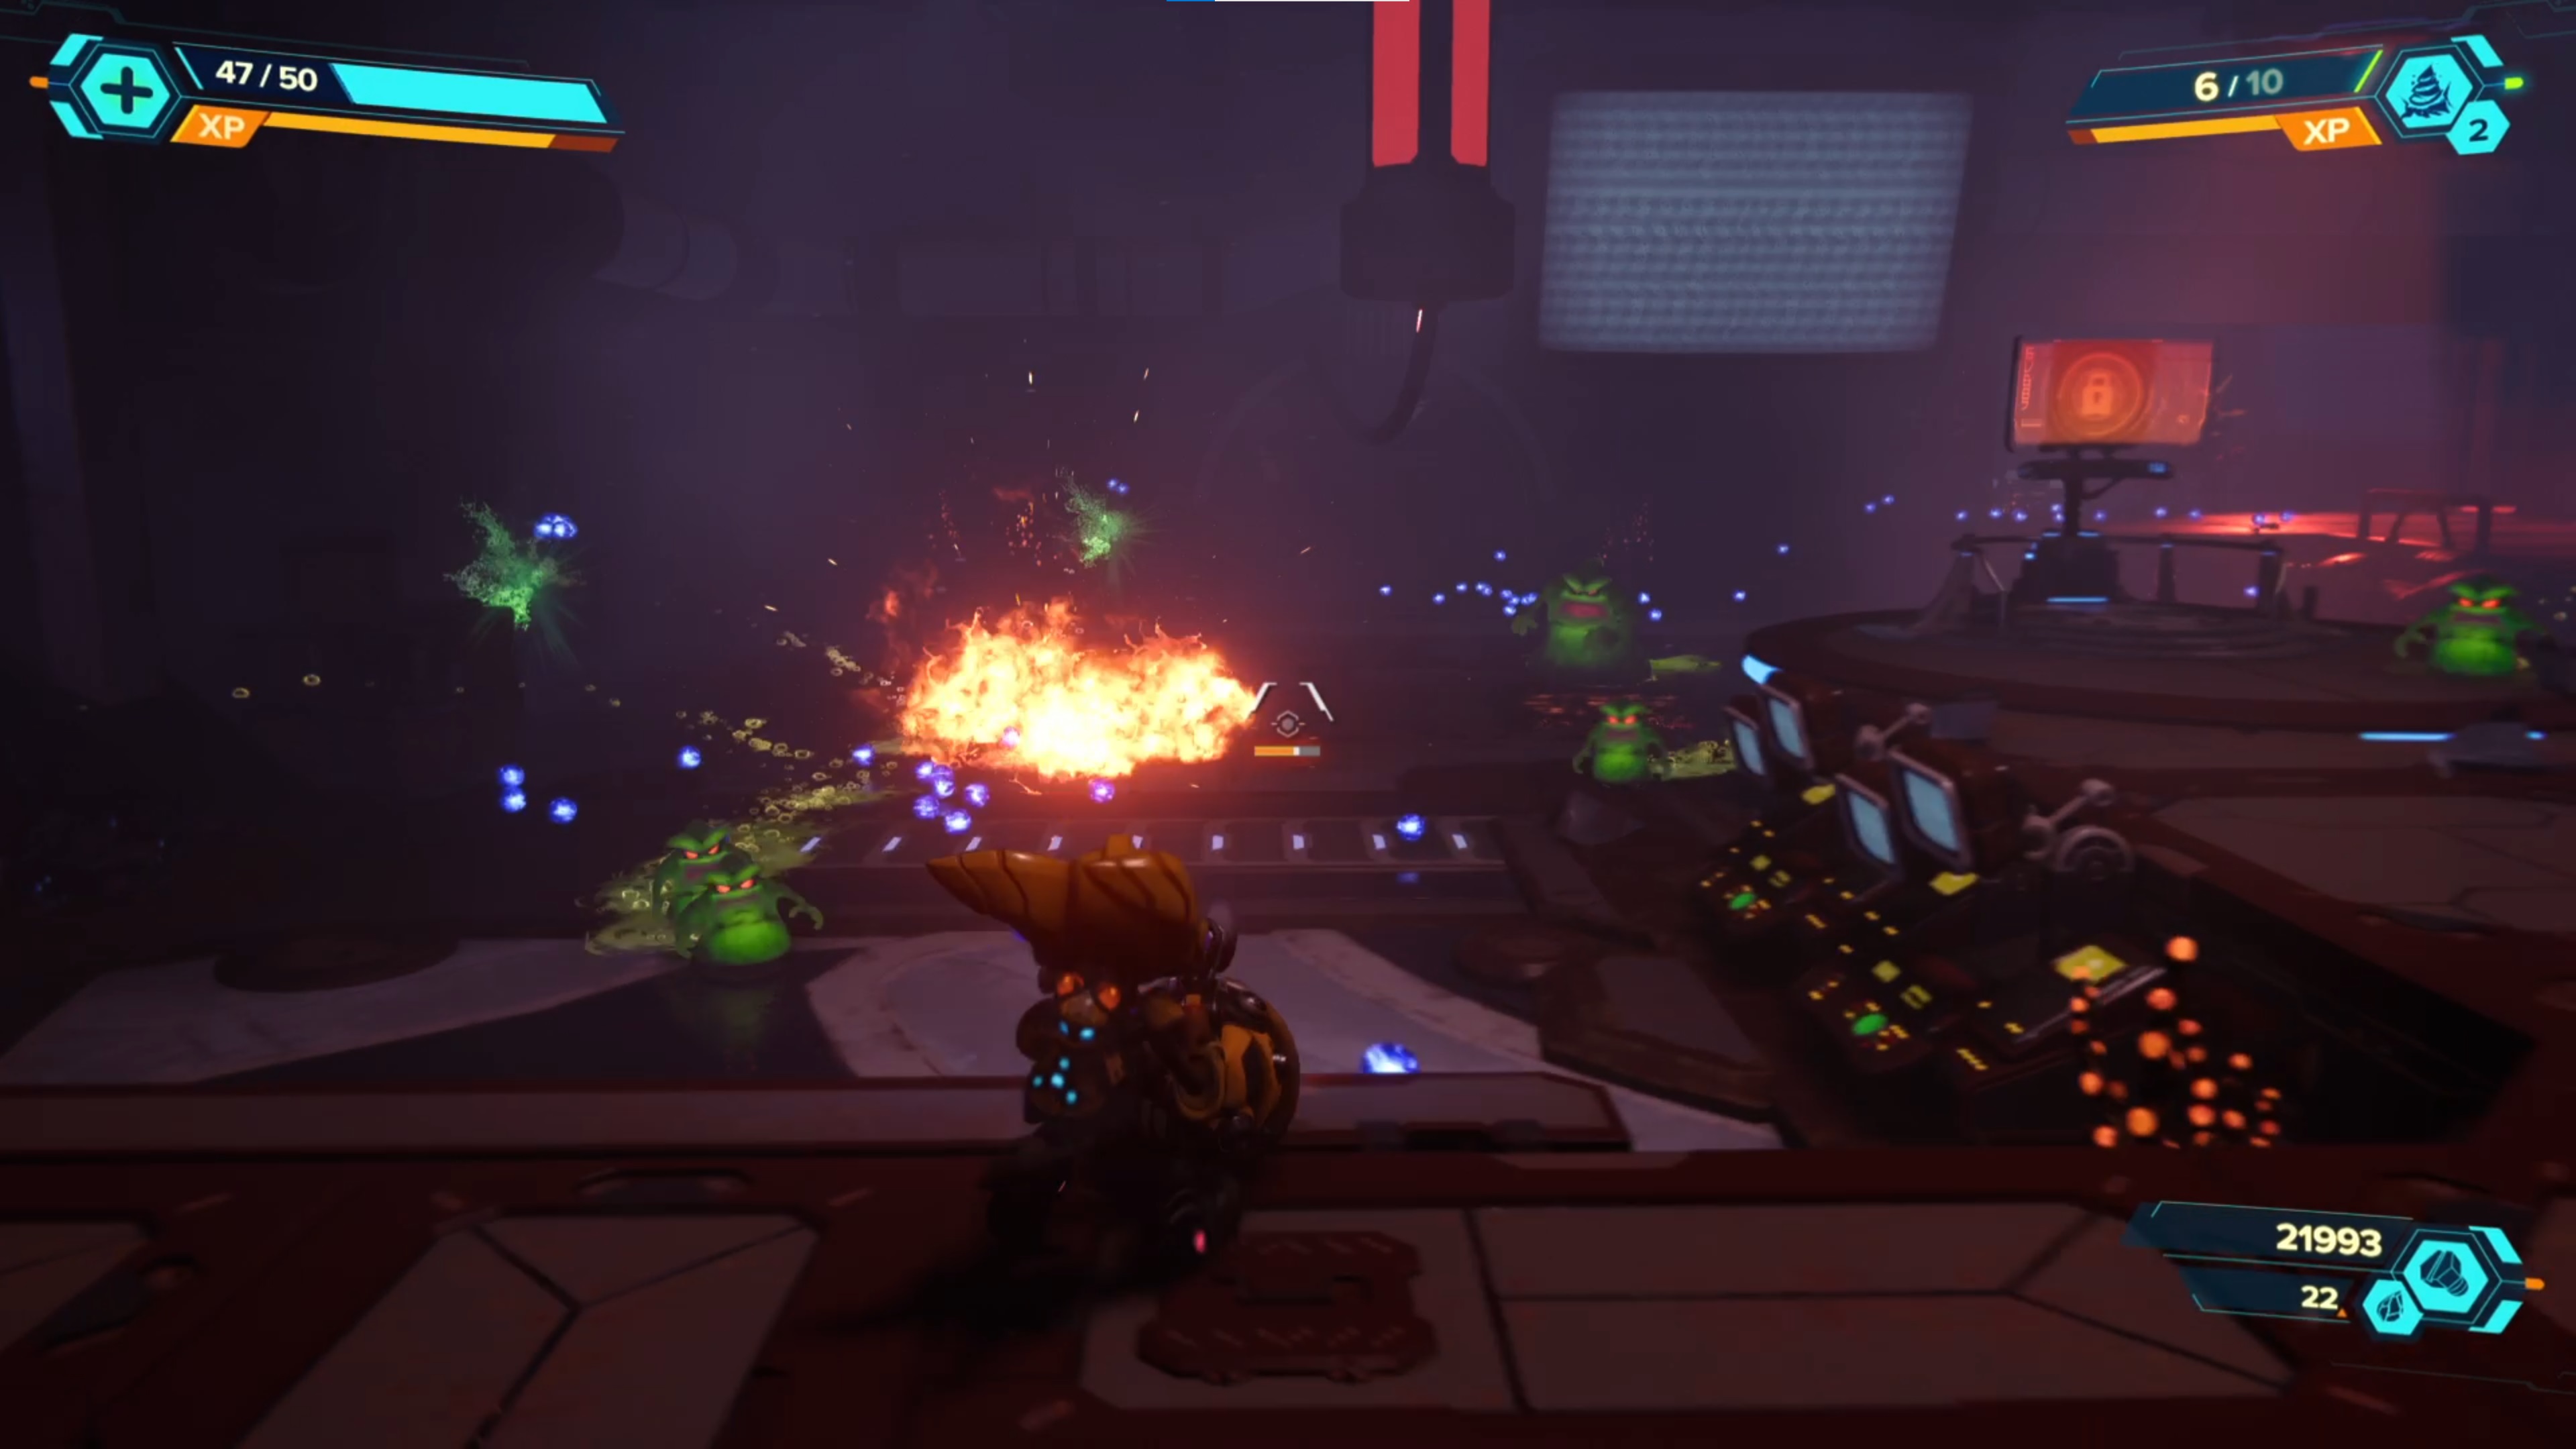
Follow the tunnel to the next room and you'lll find a bunch more jelly canisters but no Juice in sight... but don't worry, he'll be back. Head to the top-right corner of the room and follow the corridor to another pressure plate. Open the door and you'll find a room with a boltcrank you need to turn, along with Juice making his return. There aren't any jelly canisters in here though, so use the rift tethers to dash around the place at speed and lure Juice to one corner of the room. This will give you enough time to dash to the other side and use the boltcrank.
Leave through the way you came in and when you get back to the main room, you'll see Juice drop down in front of you at the other end. Shoot one of the canisters in the middle to lure him away, then when you're stood on the pressure plate at the other side, shoot one of the visible jelly canisters you can see to give yourself some extra time. Go through the door and you'll find a terminal to interact with that causes some amoeboids to drop down from the ceiling.
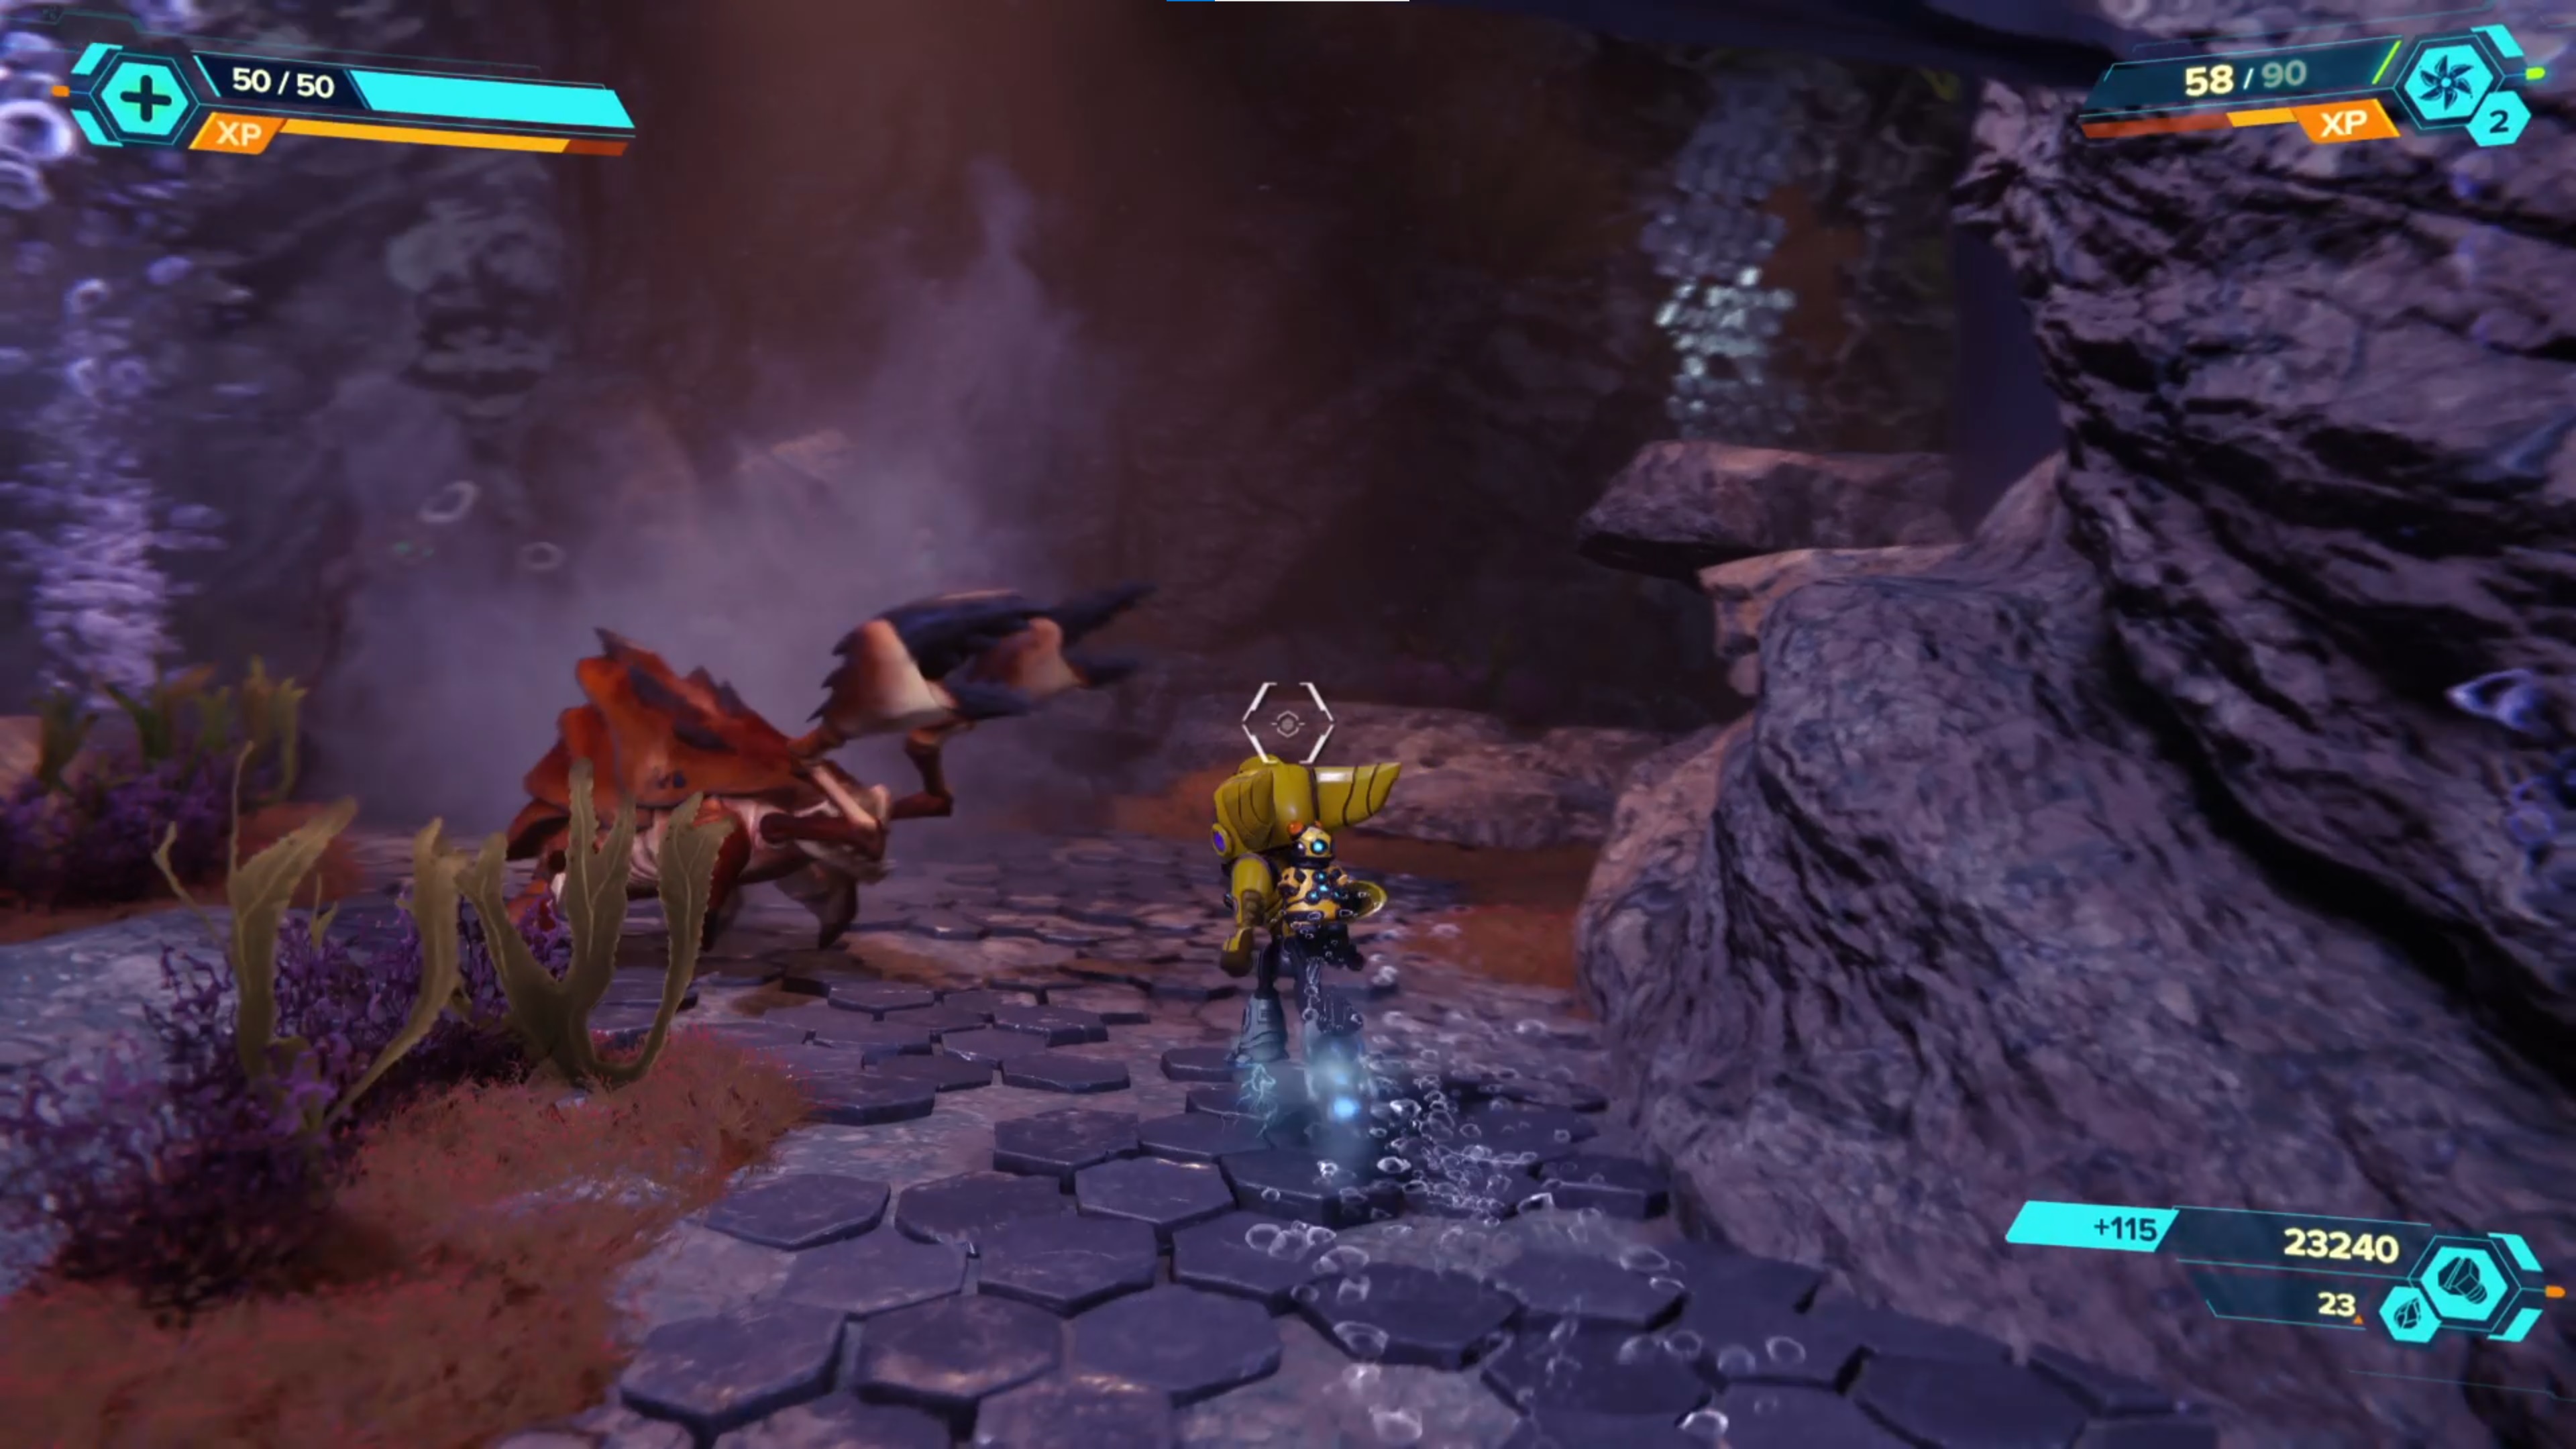
When fighting the amoeboids, you'll see Juice trying to break through the window before backing off. Interact with the terminal when the panic stops and Juice will smash through the window; there are no jelly canisters in here so avoid him as best you can then leave through the window he smashed. Back in the main room, the door at the front will now be open, and it'll automatically close behind you, leaving Juice behind.
Stand on the next pressure plate and the room you're in will become flooded, which commences the underwater section of Cordelion. Despite now being in the open water, this section is still quite linear since you're stuck to the magnetic path. There is a gold bolt to find here though, so check the guide. Otherwise just head forwards, dealing with any enemies on the way, until you re-enter Kedaro Station. Juice will be right in front of you, but just dash past him and whack the crystal to lose him.
Finding the power source
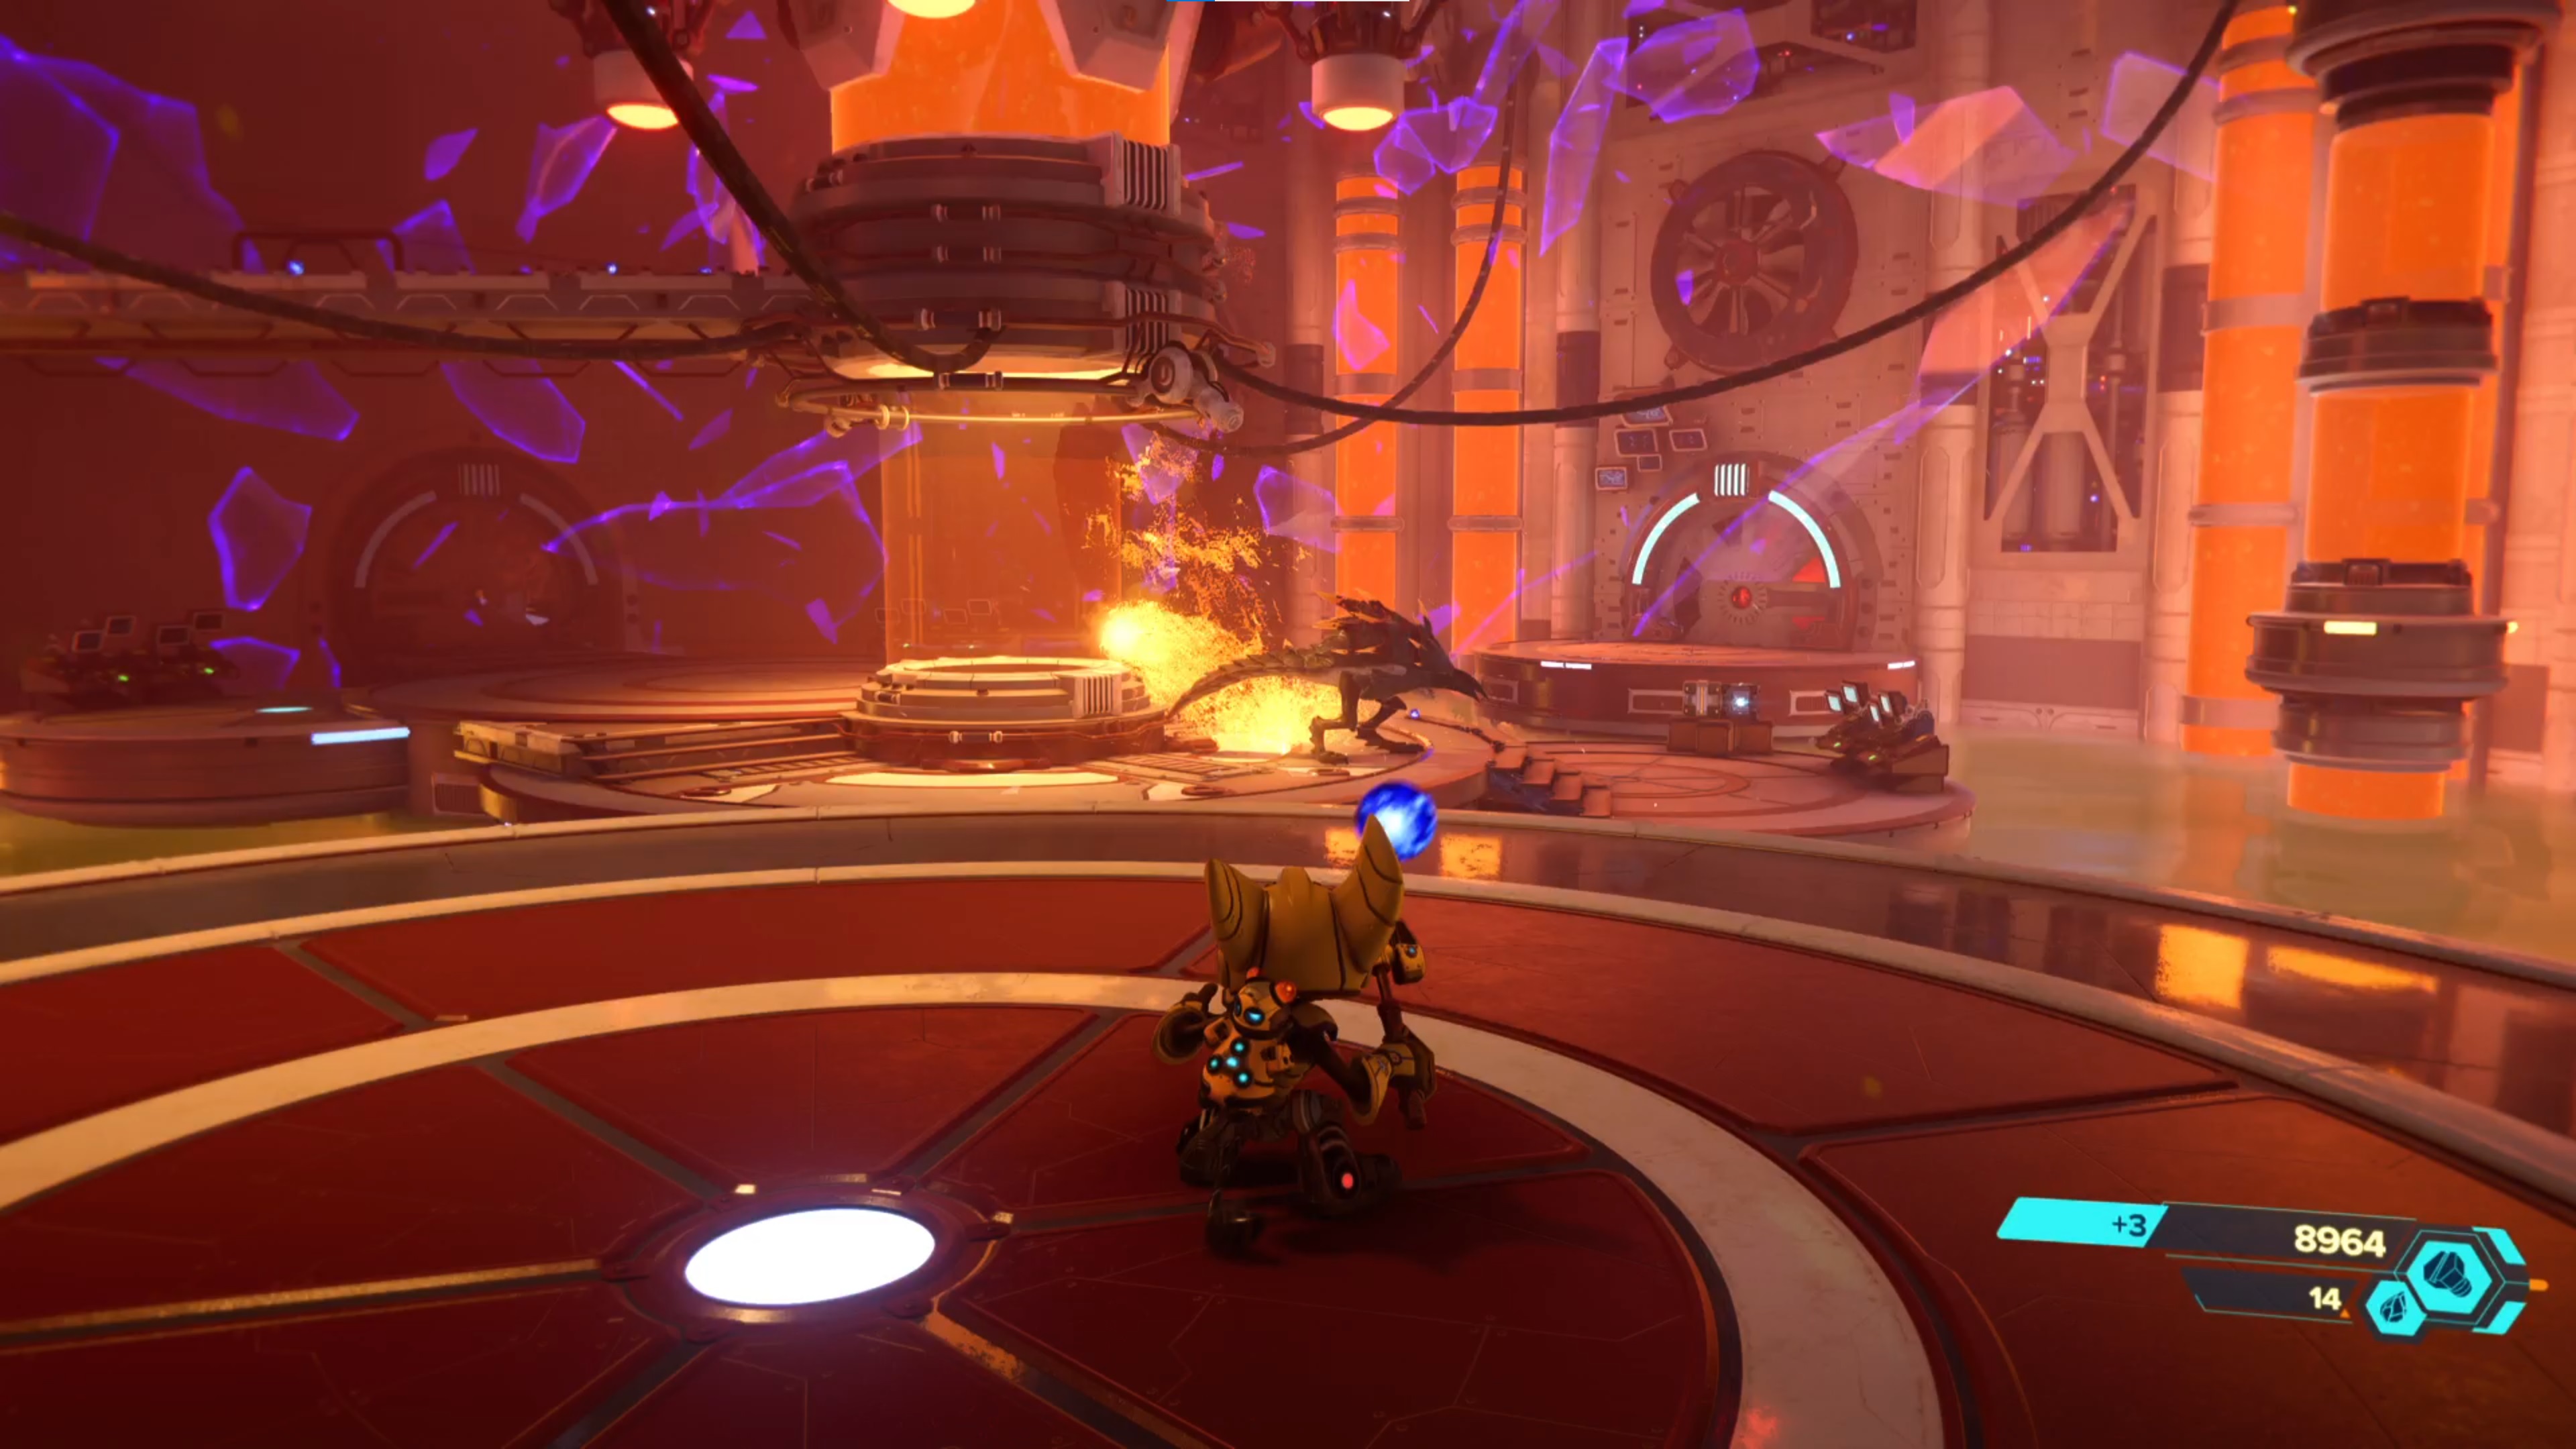
After stocking up on new weapons from Ms. Zurkon, head into the next room and deal with the plethora of Nefarious Troopers hanging around. At the other side of the room, you'll find Juice being tortured inside a huge chamber. Interact with the boltcrank to free him and fight alongside him taking down even more enemies. Three Elite Security Detail bosses will show up which can be a tough fight, so throw down your Topiary Sprinkler, Mr. Fungi, and Glove of Doom to assist you as much as possible.
Follow Juice through to the room the Elite Security Detail came out of and whack the crystal he smashes open in the middle. Climb the stairs in the other dimension and the two Juices will meet each other, with both becoming friendly. They combine their efforts to become the power source, creating the Dimensionator.
This is now the end of Cordelion, but there is one final gold bolt to be found, so make sure you look at the guide before you leave this planet.
Current page: Ratchet and Clank Rift Apart walkthrough: Torren IV
Prev Page Ratchet and Clank Rift Apart walkthrough: Scarstu Debris Field Next Page Ratchet and Clank Rift Apart walkthrough: Ardolis
Give me a game and I will write every "how to" I possibly can or die trying. When I'm not knee-deep in a game to write guides on, you'll find me hurtling round the track in F1, flinging balls on my phone in Pokemon Go, pretending to know what I'm doing in Football Manager, or clicking on heads in Valorant.
 Join The Community


