Ratchet and Clank Rift Apart walkthrough
This complete Ratchet and Clank Rift Apart walkthrough is all you need to beat the game
Returning to Zurkie's
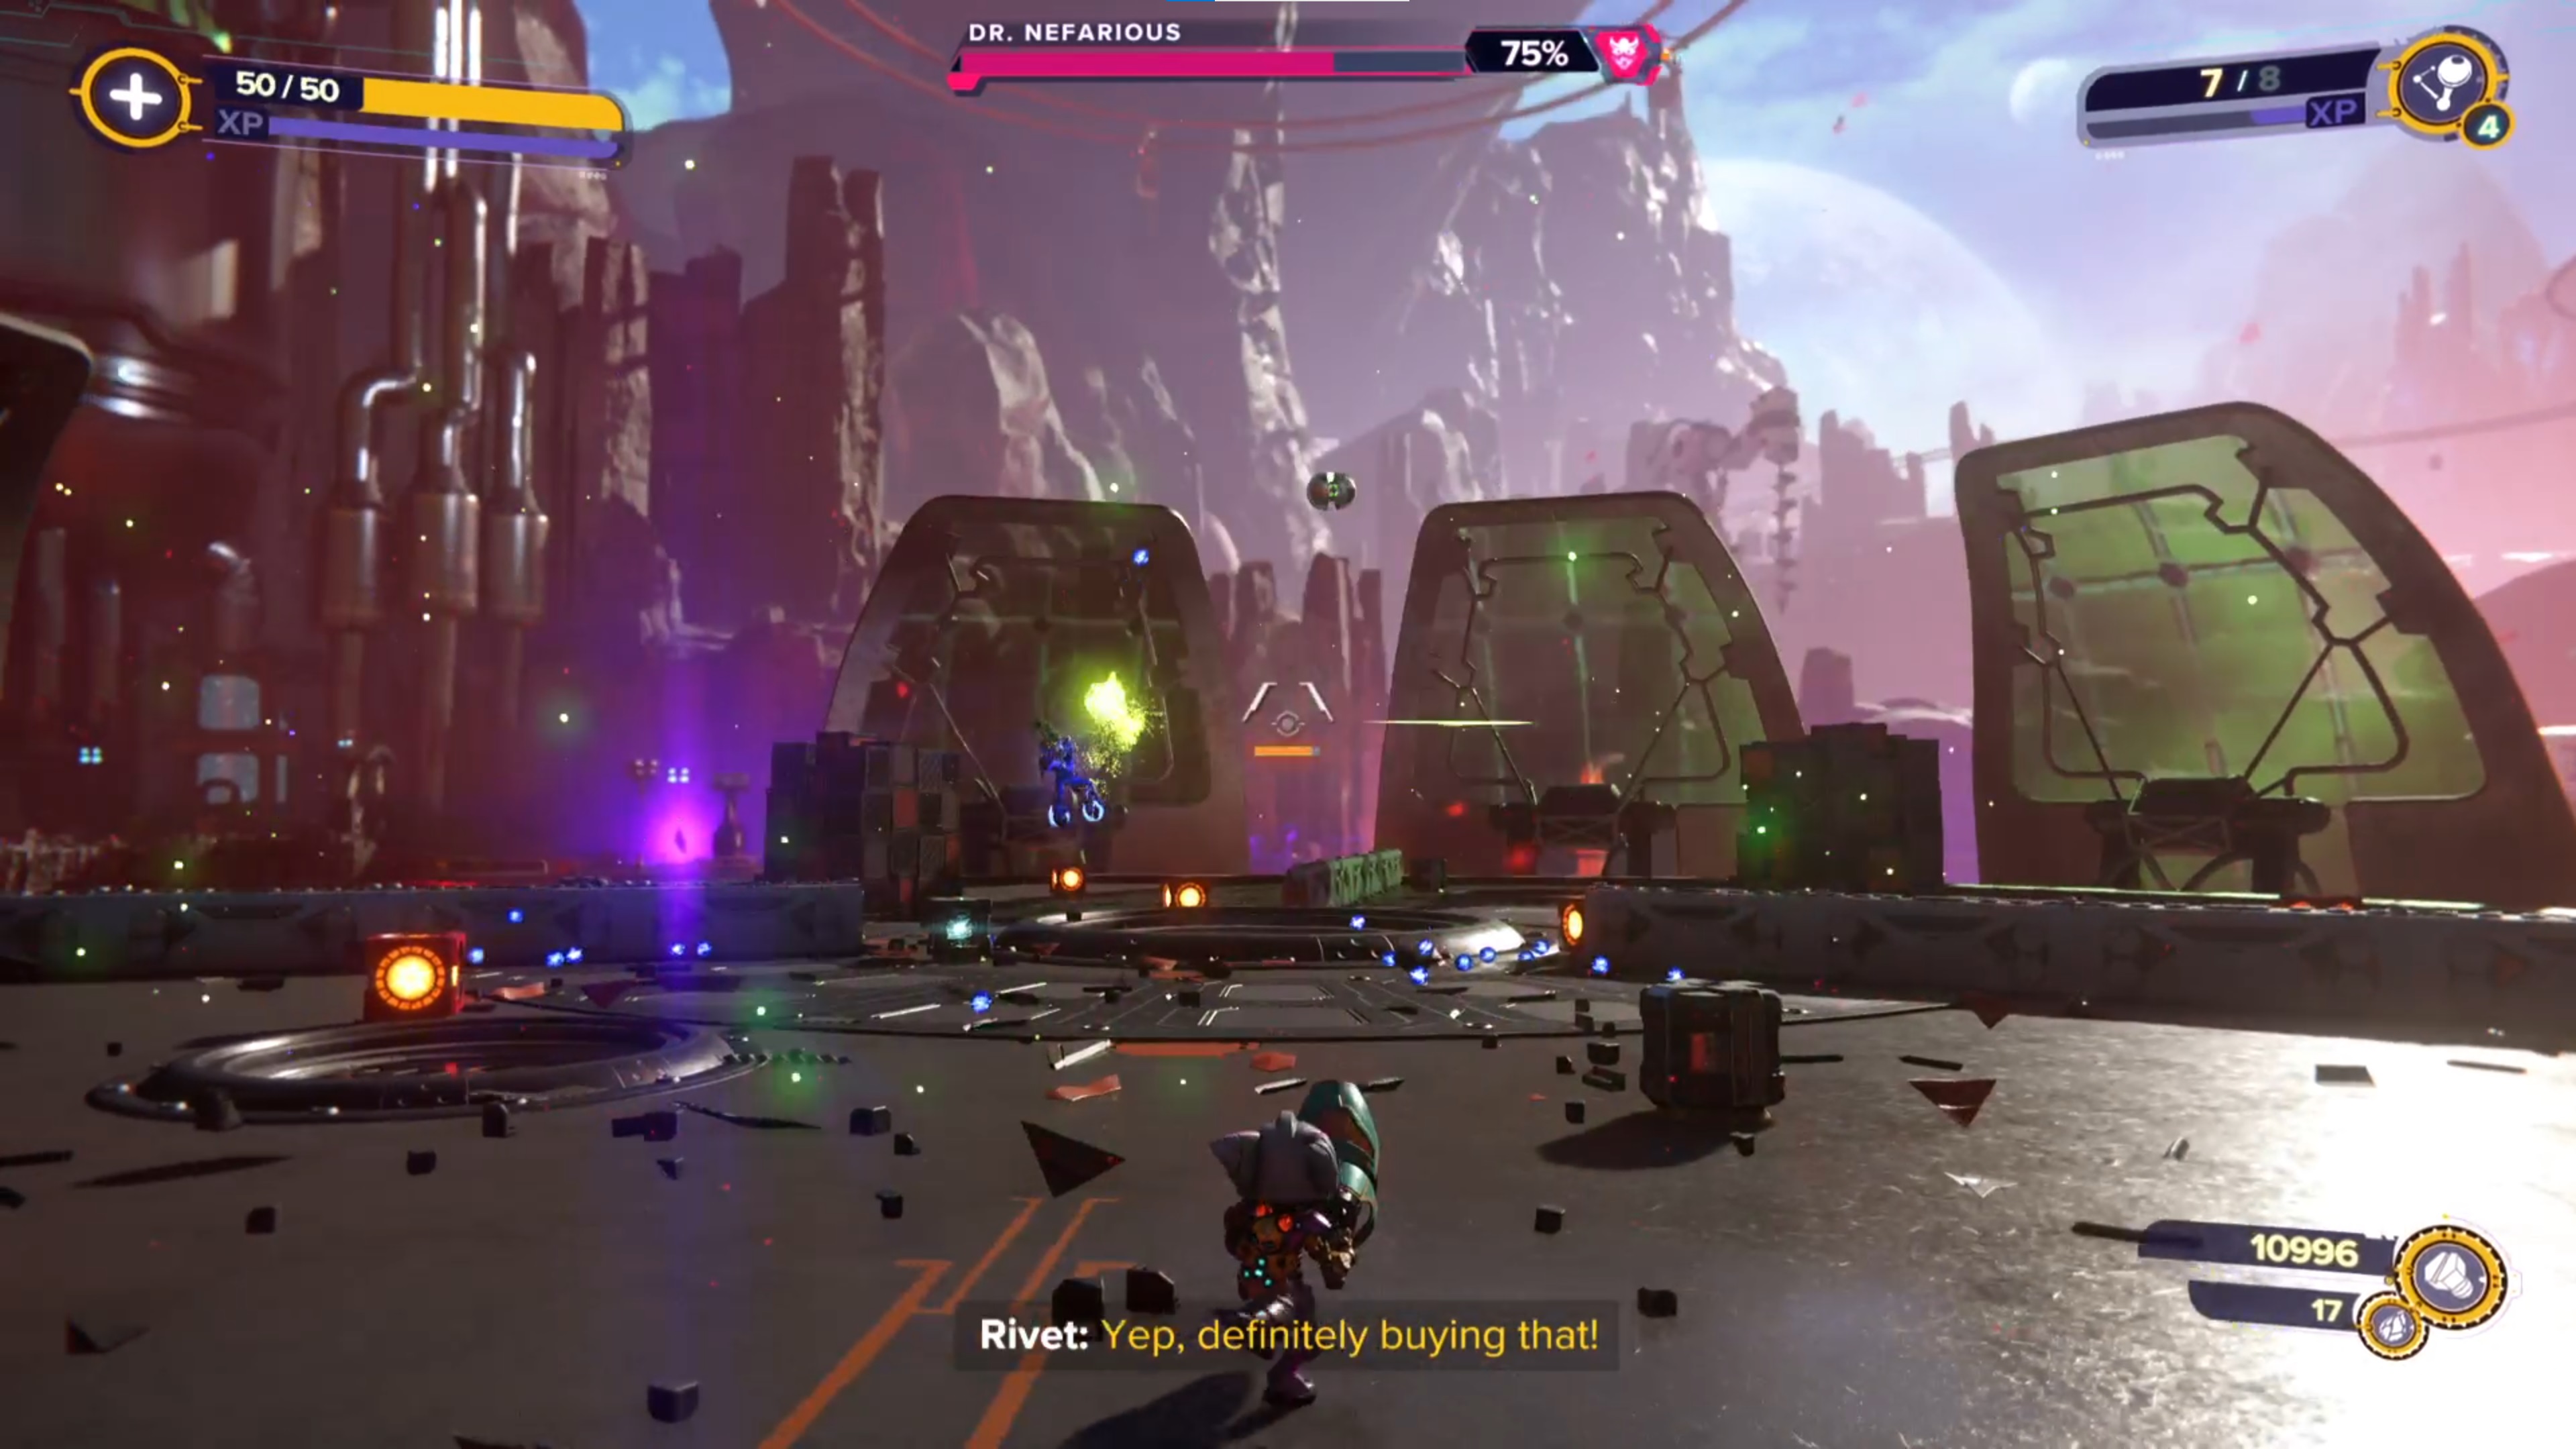
Ardolis is the next planet you'll head to and the main part of this section of the guide, but first up is a return to Zurkie's Gastropub in the Scarstu Debris Field. This is where Ratchet and Rivet meet in person (in Lombax?) for the first time. After an adorable introduction, Dr. Nefarious shows up and takes the Dimensionator, which begins a boss fight against Dr. Nefarious.
His most annoying attack is when he dashes at you and slashes with his big orange sword. The only way to counter this is by paying very close attention to his movements and animations, then the second you see it coming, use the phantom dash. At 80% health, there'll be a short grind rail section, before taking him on in another arena. Make sure you're dodging constantly and use Topiary Sprinkler/Mr. Fungi as a crutch if you need to, then at 50% you'll have a Grunthor to defeat. When the Grunthor is taken down, you'll be fighting Dr. Nefarious again, but at 25% health you'll return to Zurkie's arena to finish the fight off.
Back to Sargasso
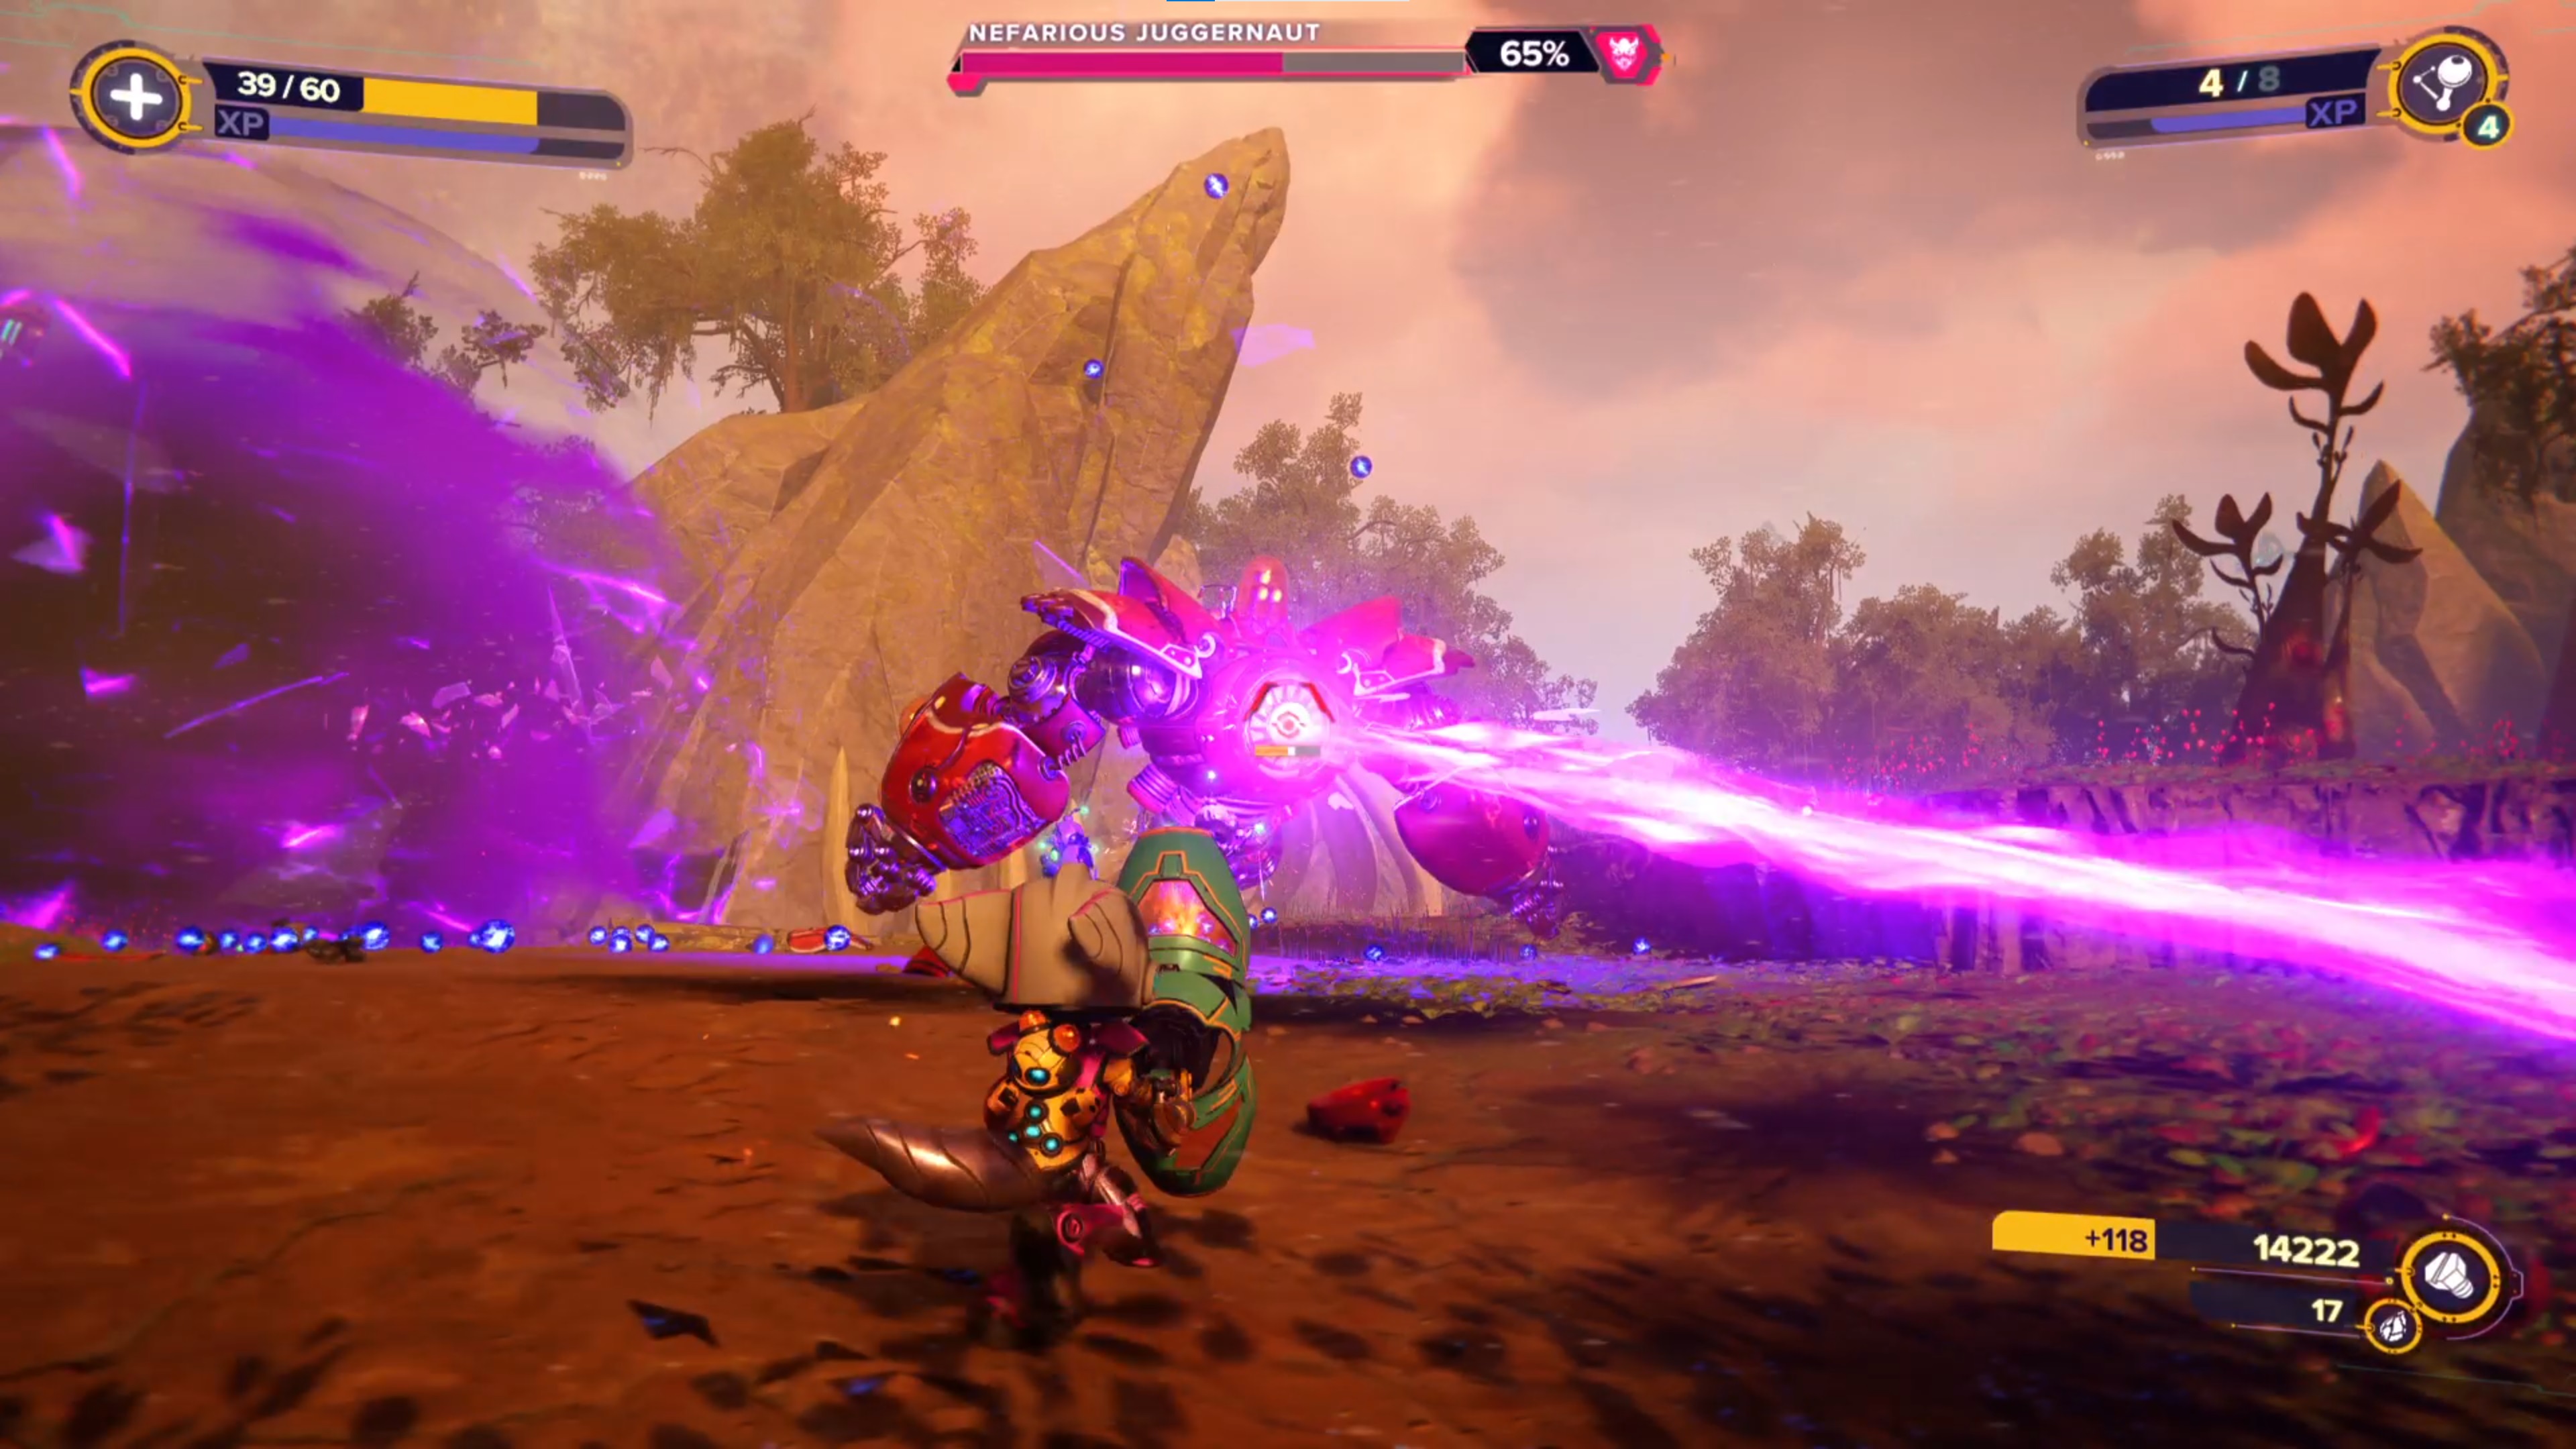
There's another pit stop to make before you can visit Ardolis, and that's a return to Rivet's home planet, Sargasso. As you arrive, you'll see the huge mothership in the sky, and the Morts are struggling. Clear all the Nefarious Troopers in the area then talk to Mort. Cross the wallrun platforms, fight off even more enemies coming through rifts, then progress through the absolute chaos ensuing in front of you. Nefarious Troopers fighting indigenous enemies, including a Grunthor, mean this is a true warzone.
When you eventually make your way through the carnage, a Nefarious Juggernaut will show up, but by this point you've defeated plenty of them so this one won't throw up any surprises. Send Kit into the Dimensional Anomaly and when complete, the Seekerpede will be free for the Morts to utilise.
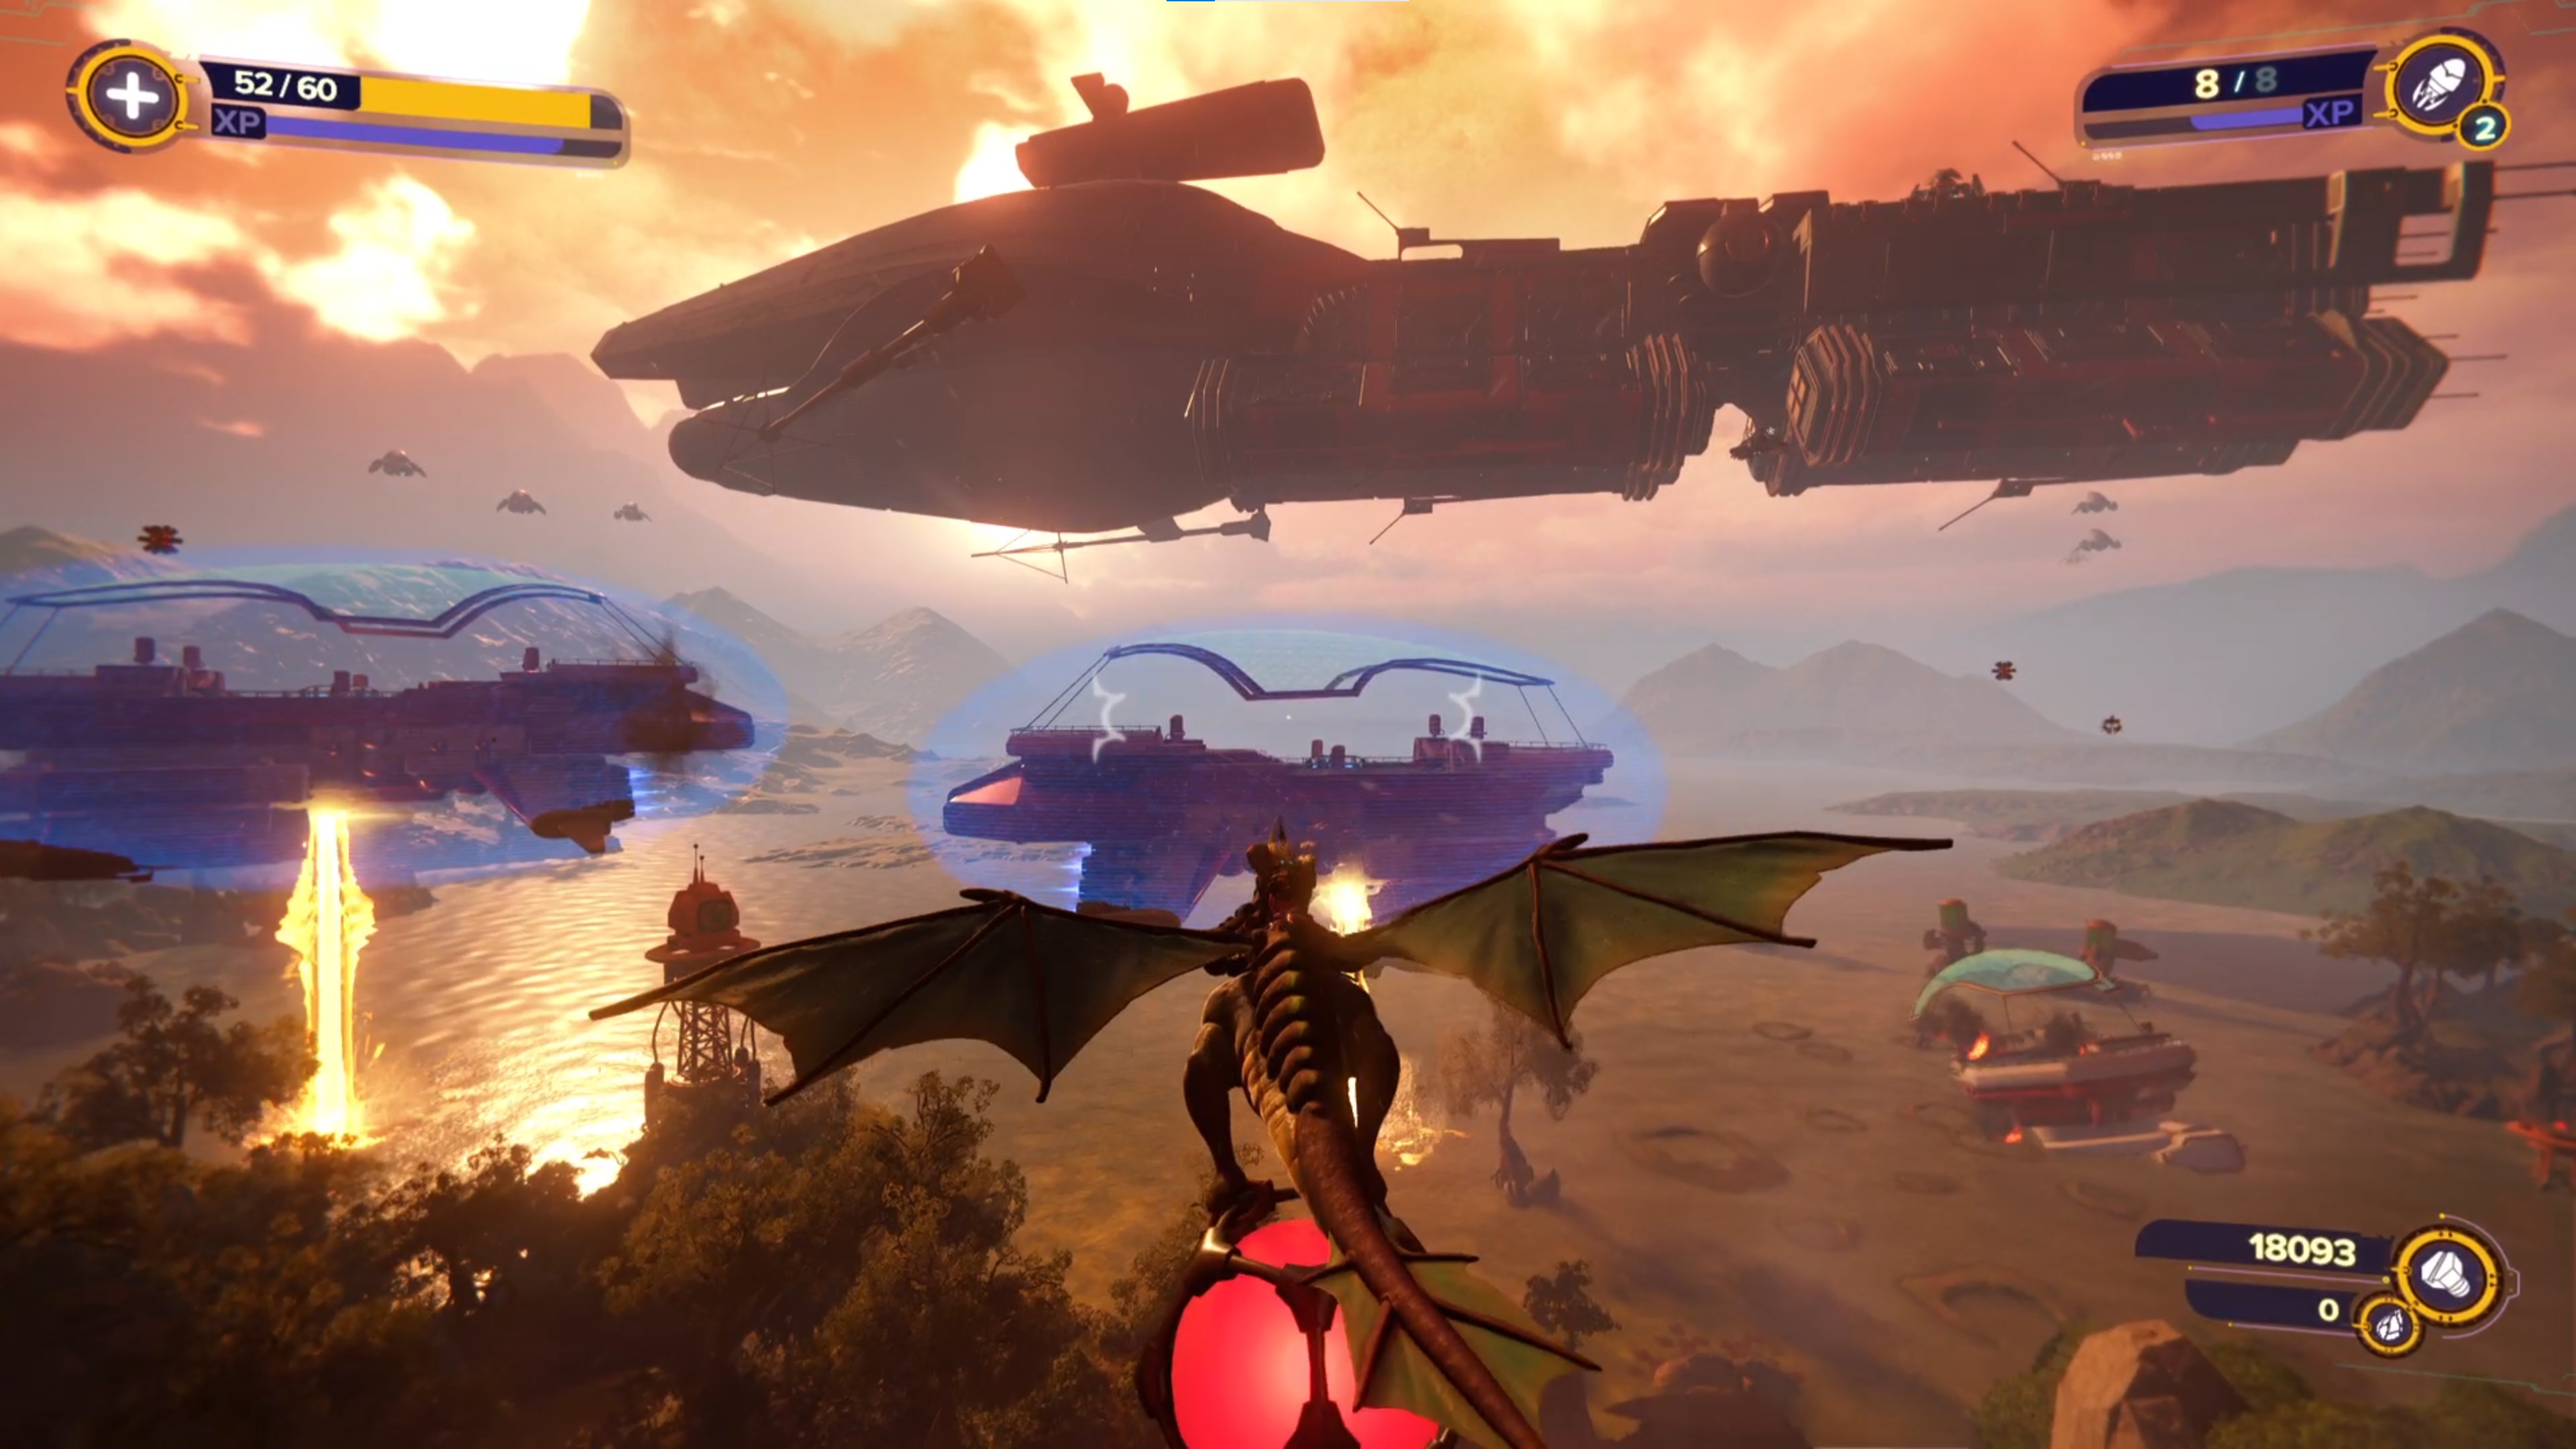
After the cutscene, use the Hurlshot in front of you to land on a short grind rail that takes you up one of the construction platforms. Use the Hurlshot at the top to land on a big airship; deal with the enemies then use the boltcrank between the two holograms to summon Trudi. Hop on her back for a flying section; avoid the mines in the air and fly at the designated ship while shooting the power core to destroy it.
The other ships will put up forcefields, but all you need to do is fly towards and pick up the shining blue bombs on the ground. Bomb in hand, take out each ship forcefield in turn by pressing square. After a somewhat long cutscene, your time on Sargasso comes to a close and you can head to Ardolis finally.
Rescuing Pierre Le Fer
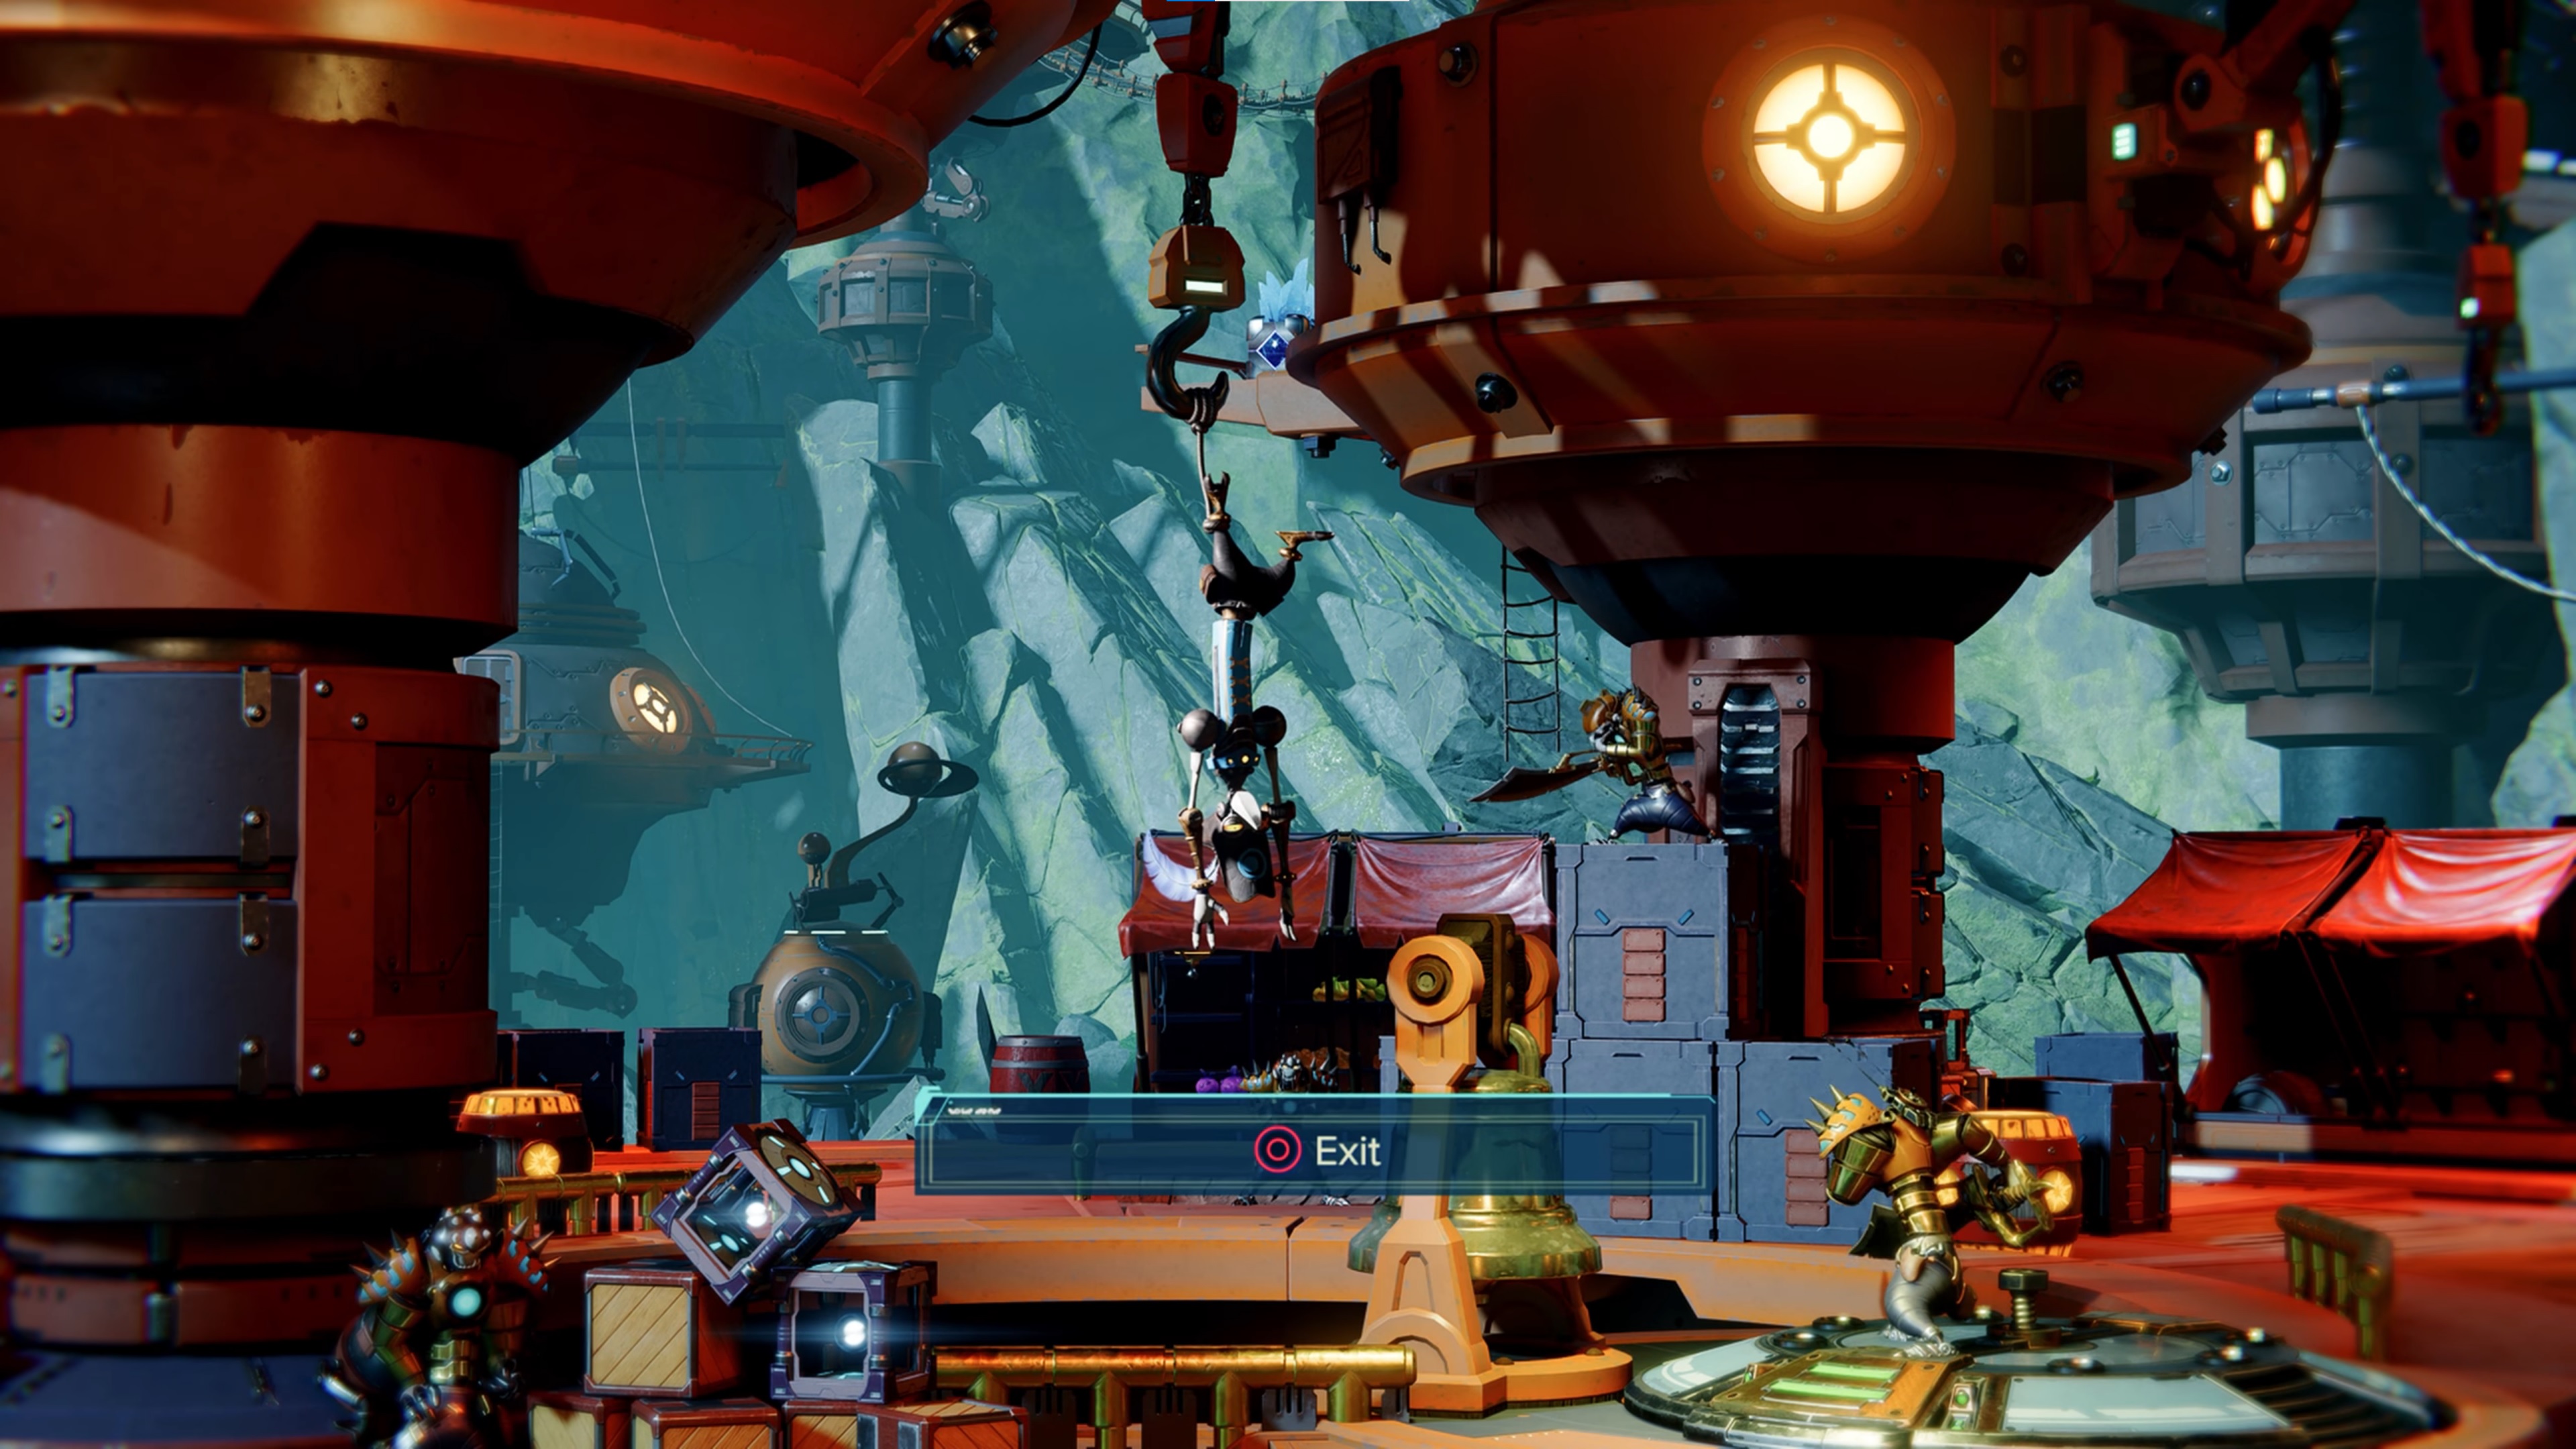
When you arrive on Ardolis, you need to find Pierre Le Fer before he gets executed. This first section is all very linear; after you kill the first trio of pirates and look through the telescope to locate Pierre, head down the slope and across the rocky platforms, seeing off any enemies in your way. Jump over to the cave and across the bridge on the other side to find even more pirates, including a cannon you can fire by hitting it with your wrench, obliterating the enmies on the other side.
After having a brief conversation with the pirates in the cells, go through the door to begin a long fight against a few waves of enemies. After seeing them all off – including the Goons-4-Less that come through a rift – leave through the exit on the ground floor. Check the beach below the area you're now on for a pocket dimension, otherwise boost over to where Pierre is hanging to begin a cutscene.
Completing the Pirate Trials
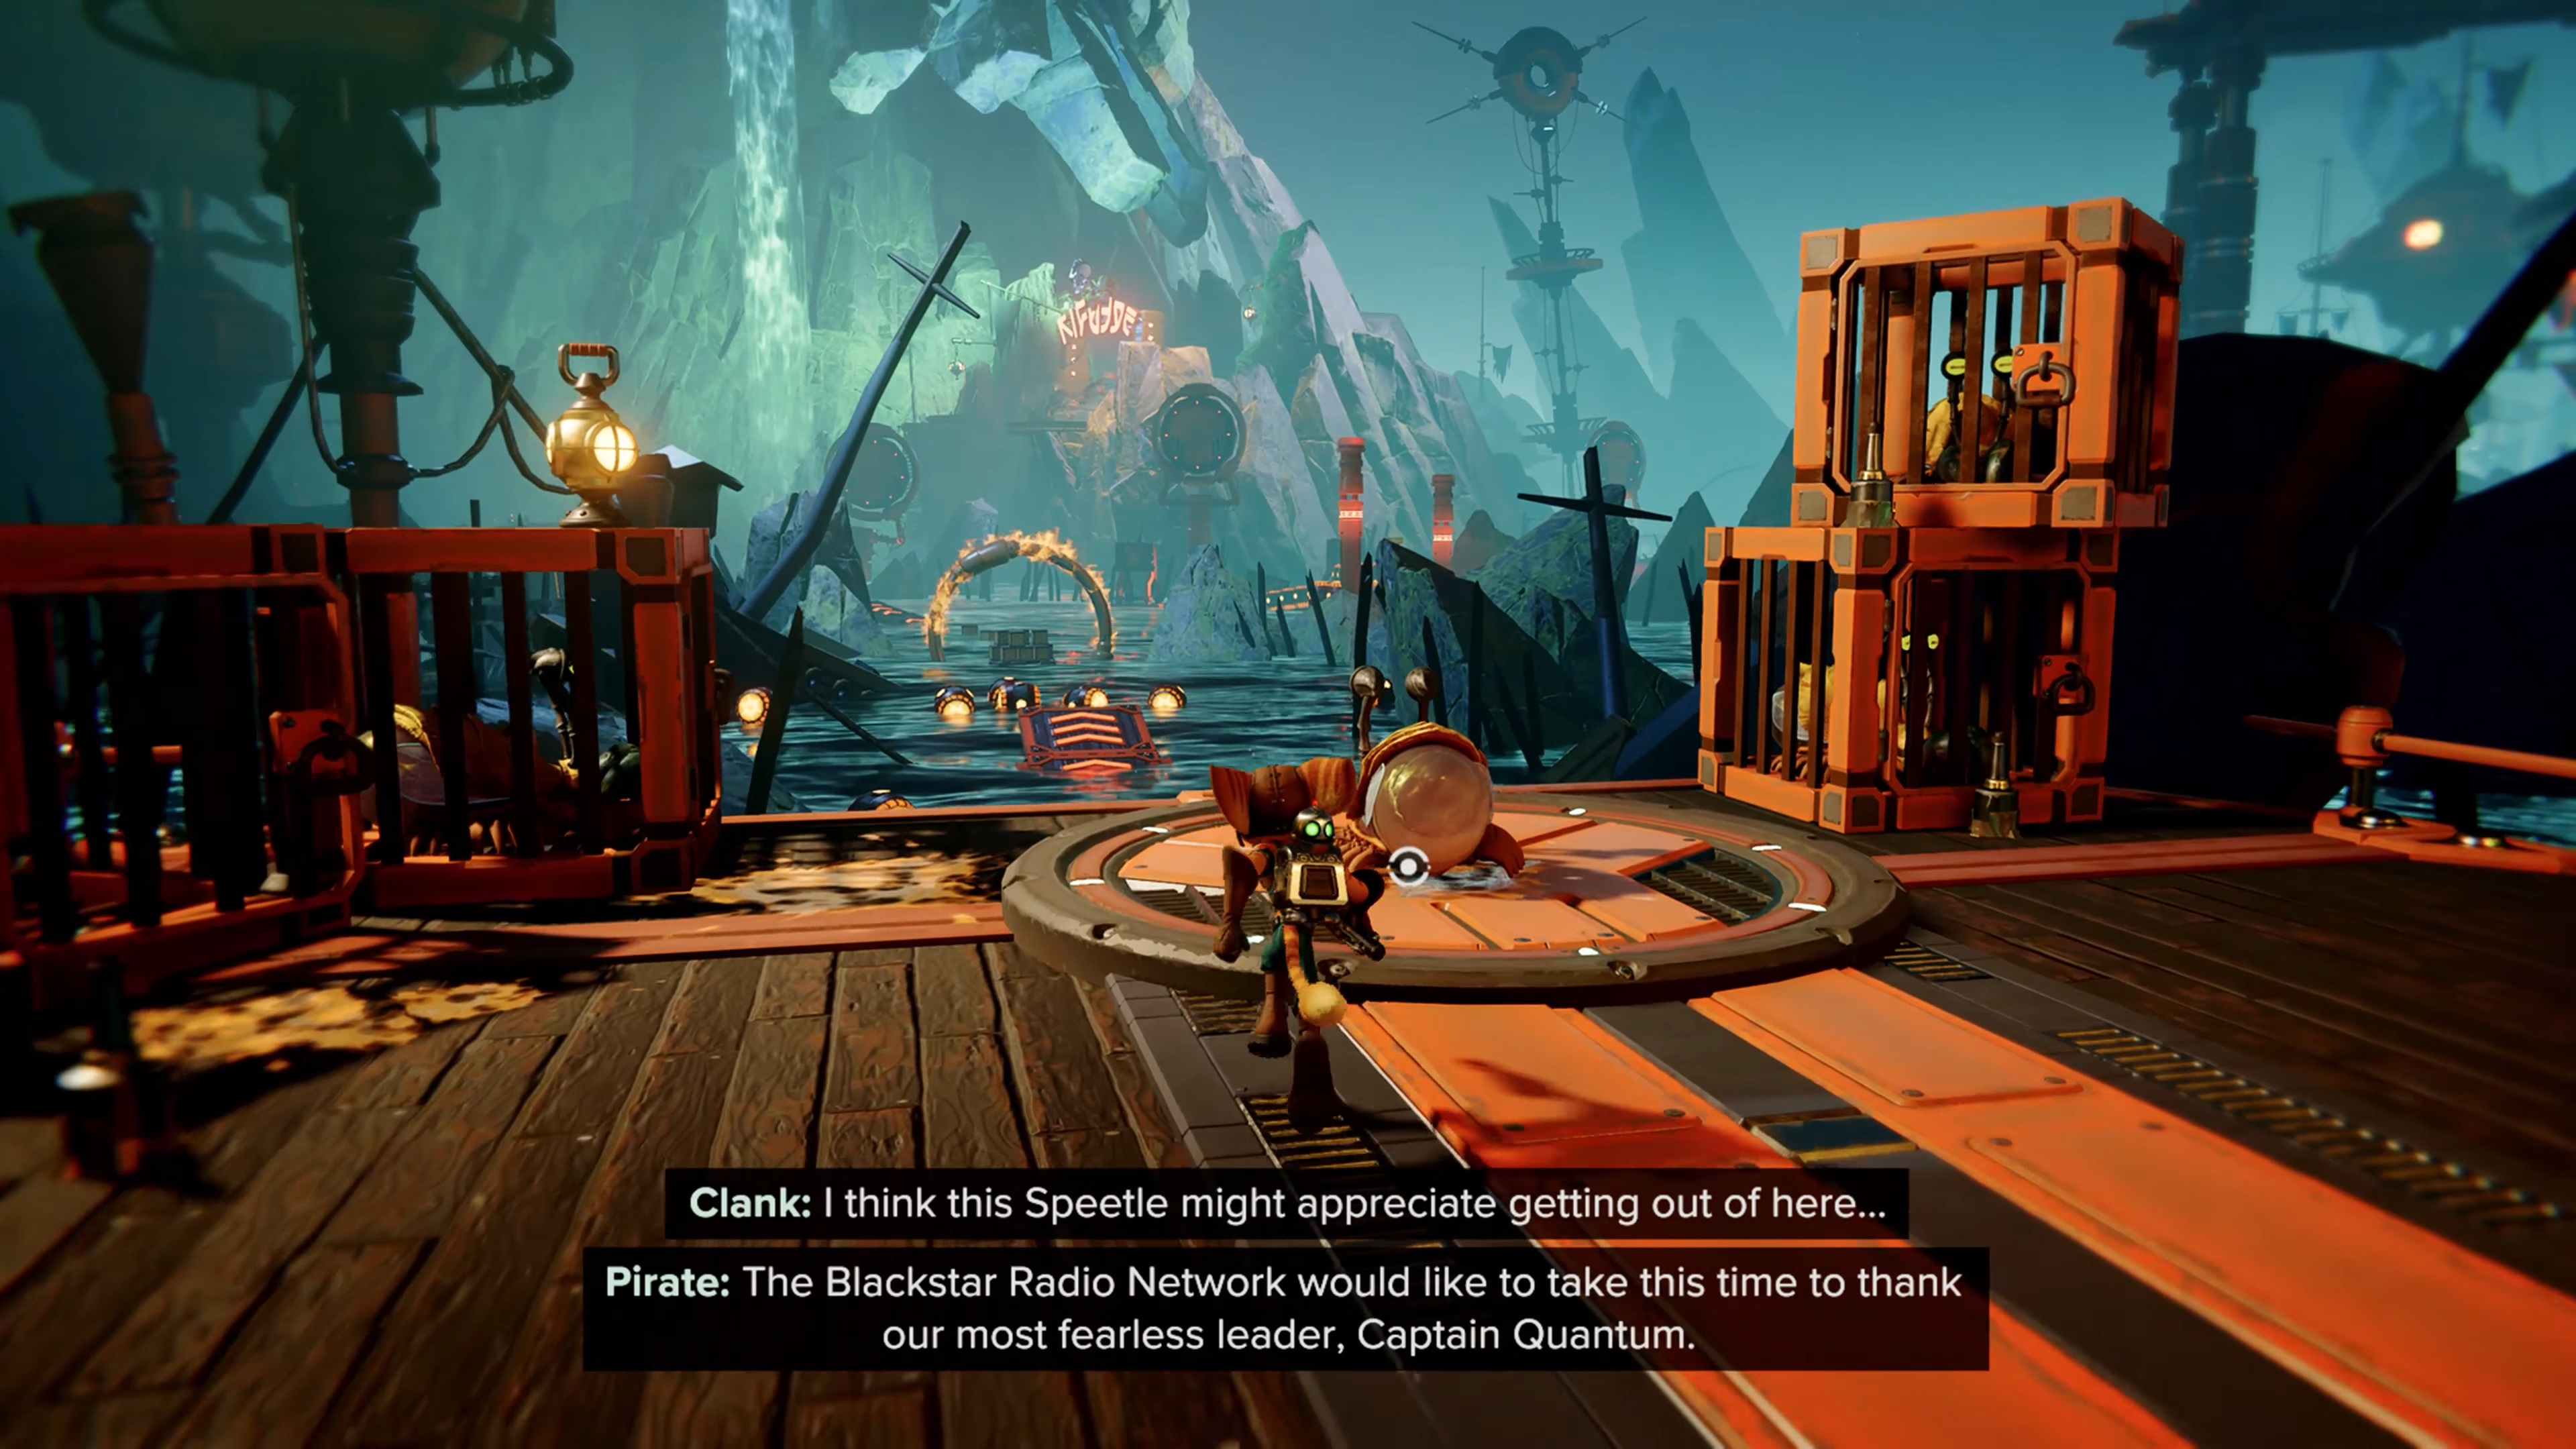
After the cutscene, there'll be another pirate army to defeat before you can turn the boltcrank and save Pierre Le Fer from the tentacle. He tells you that in order to find Captain Quantum, you need to complete the Pirate Trials at Skull Mountain, so that's where you're off to next. Use your hoverboots to boost up the ramp to the side of Pierre, kill the enemies on the island you land on, then swing onto the next platform, called the Poacher's Pier.
Here you'll find a speetle to ride, and this is where it's well worth checking both the gold bolt and spybot guides, because one of each can be accessed while riding the speetle. To find the Pirate Trials, take an immediate left after the first jump with the speetle and you'll land on a small island with a wooden bridge ascending. Kill the small enemies that come through a rift then Hurlshot over to the next area to enter Skull Mountain.
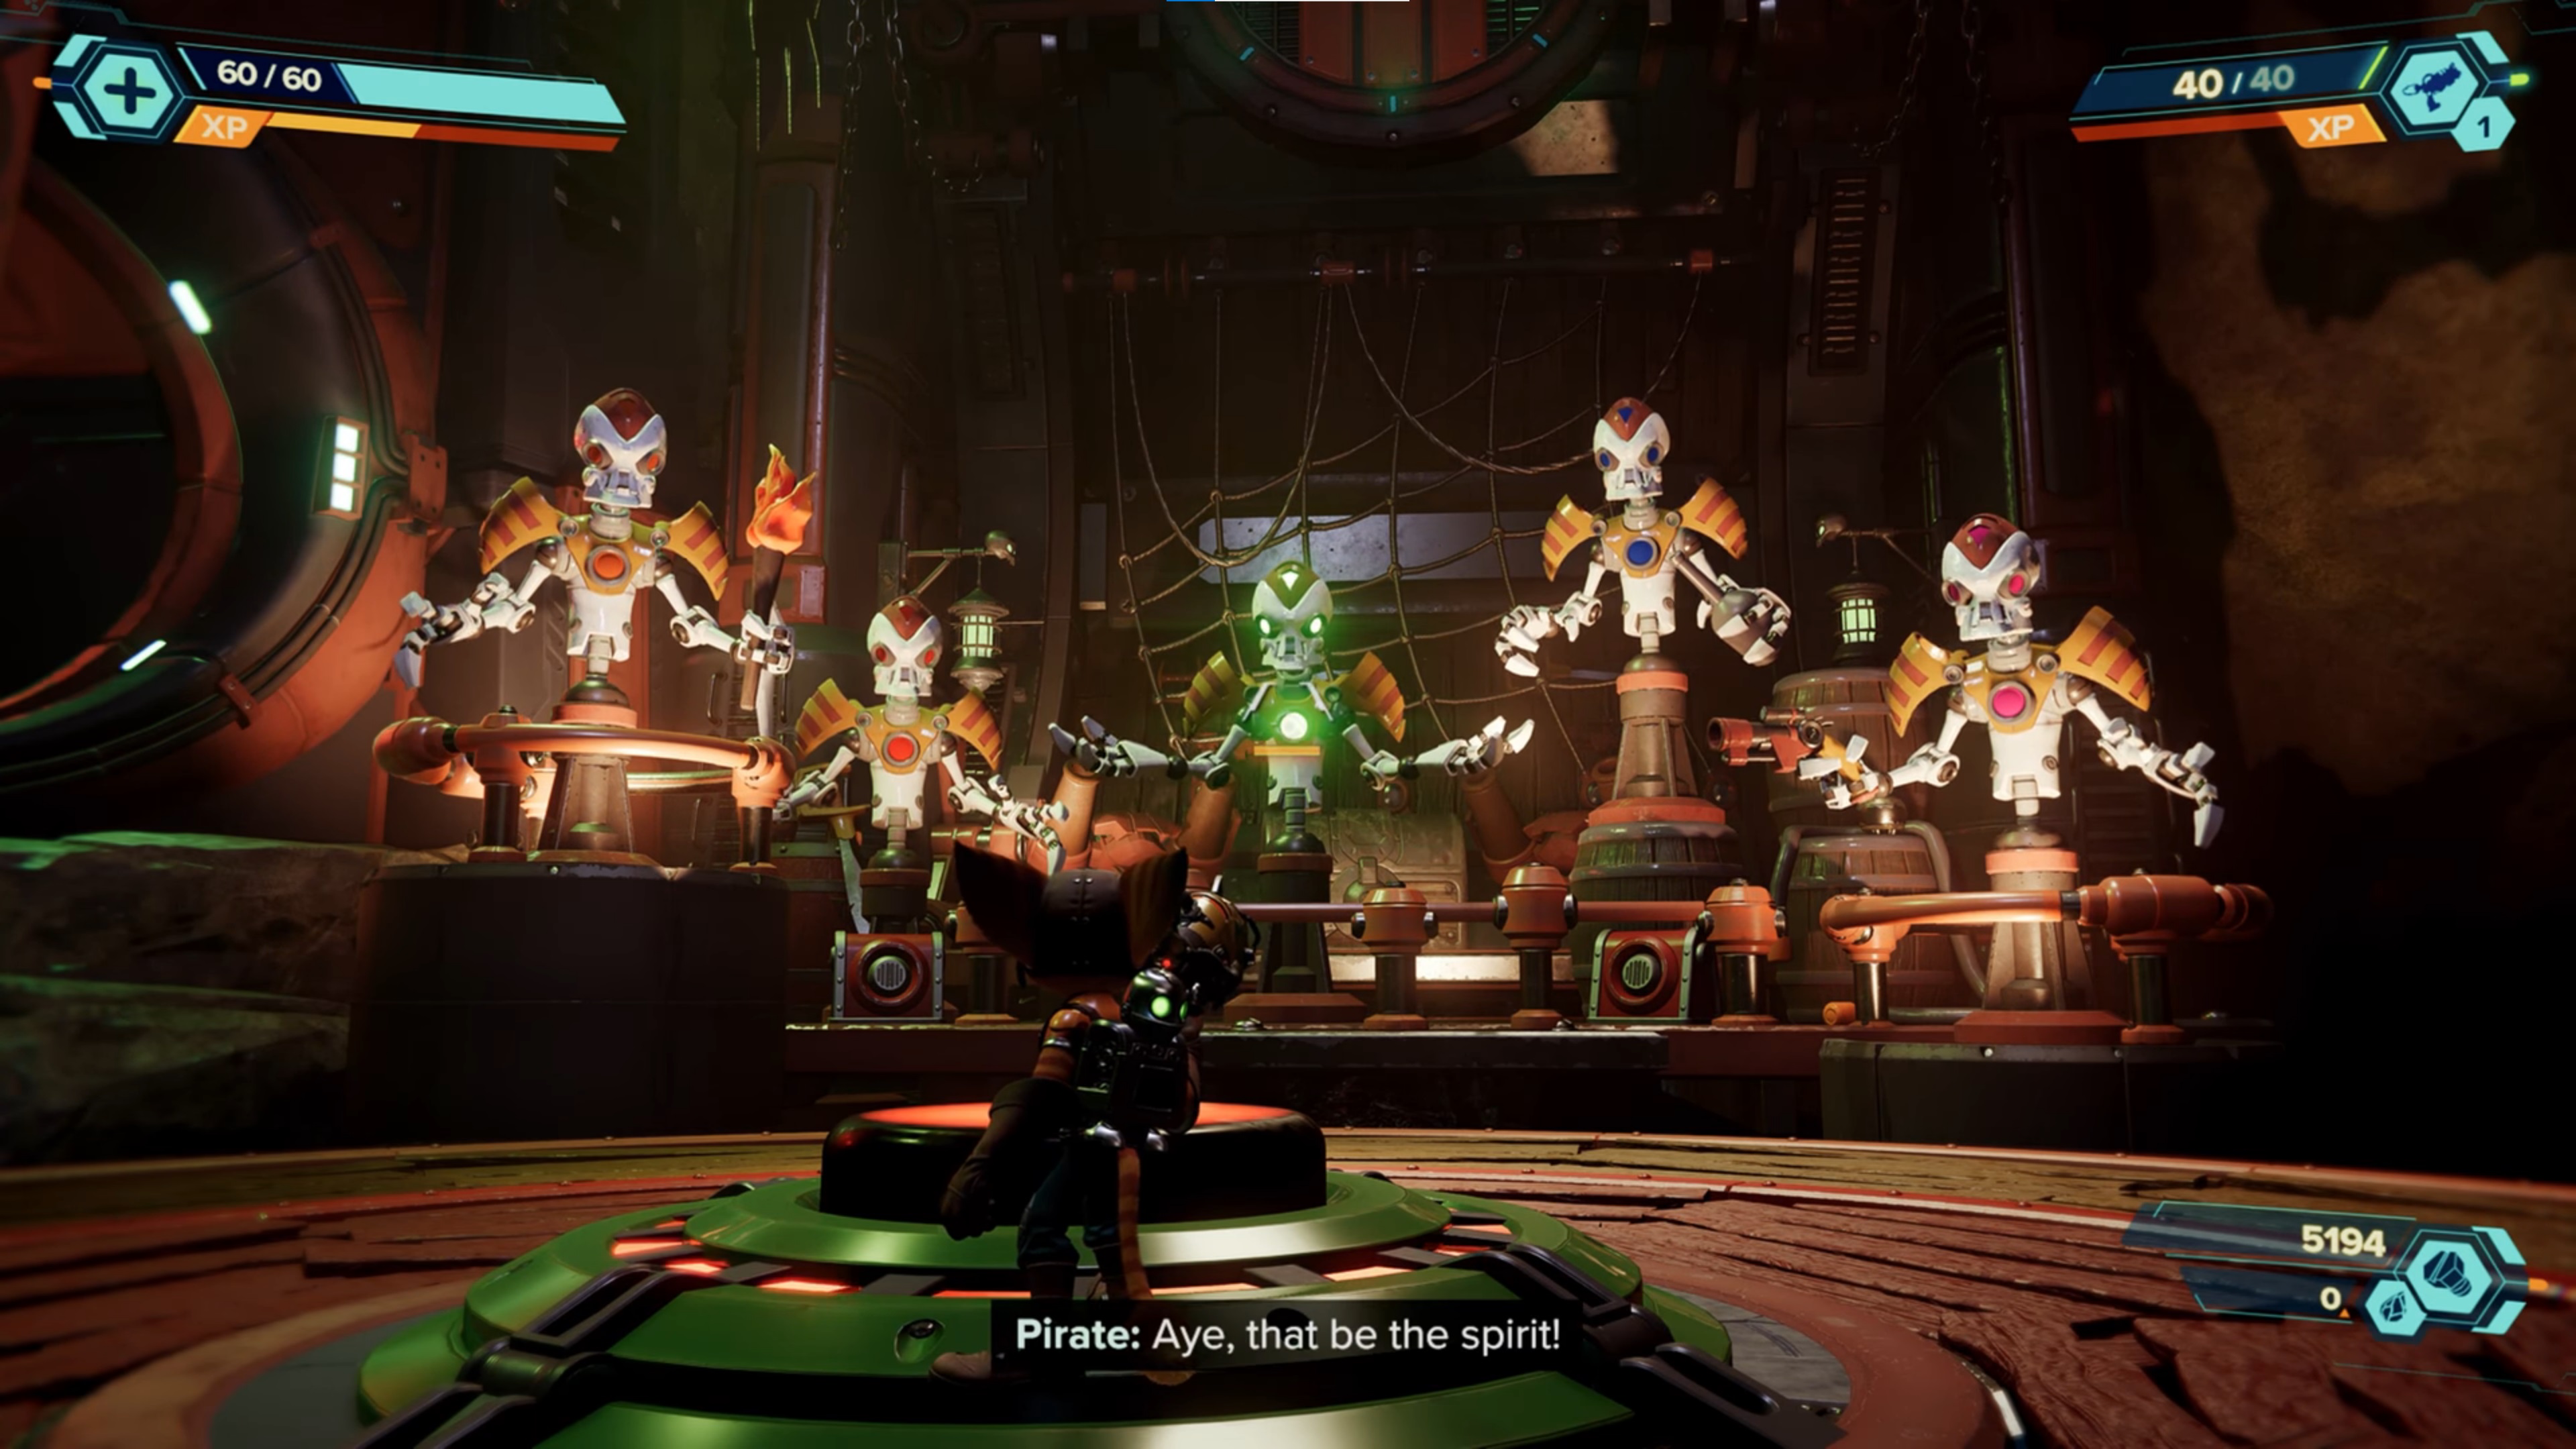
This begins the pirate trials. head through the doorway to your left and slam down on the button in the middle of the room to start the karaoke challenge. This is simple; just pay attention to which pirate sings each note then shoot them in the same order. Here are the solutions for all three lines:
- Red, Orange
- Pink, Orange, Red, Green
- Blue, Orange, Red, Pink, Green
Go up the bridge that is now lowered for you and into the elevator. The second trial, you'll soon find, is out of order, because the Grunthor has unfortunately perished, but there is a glitch mission to complete here for another gold bolt – see the separate guide for more details.
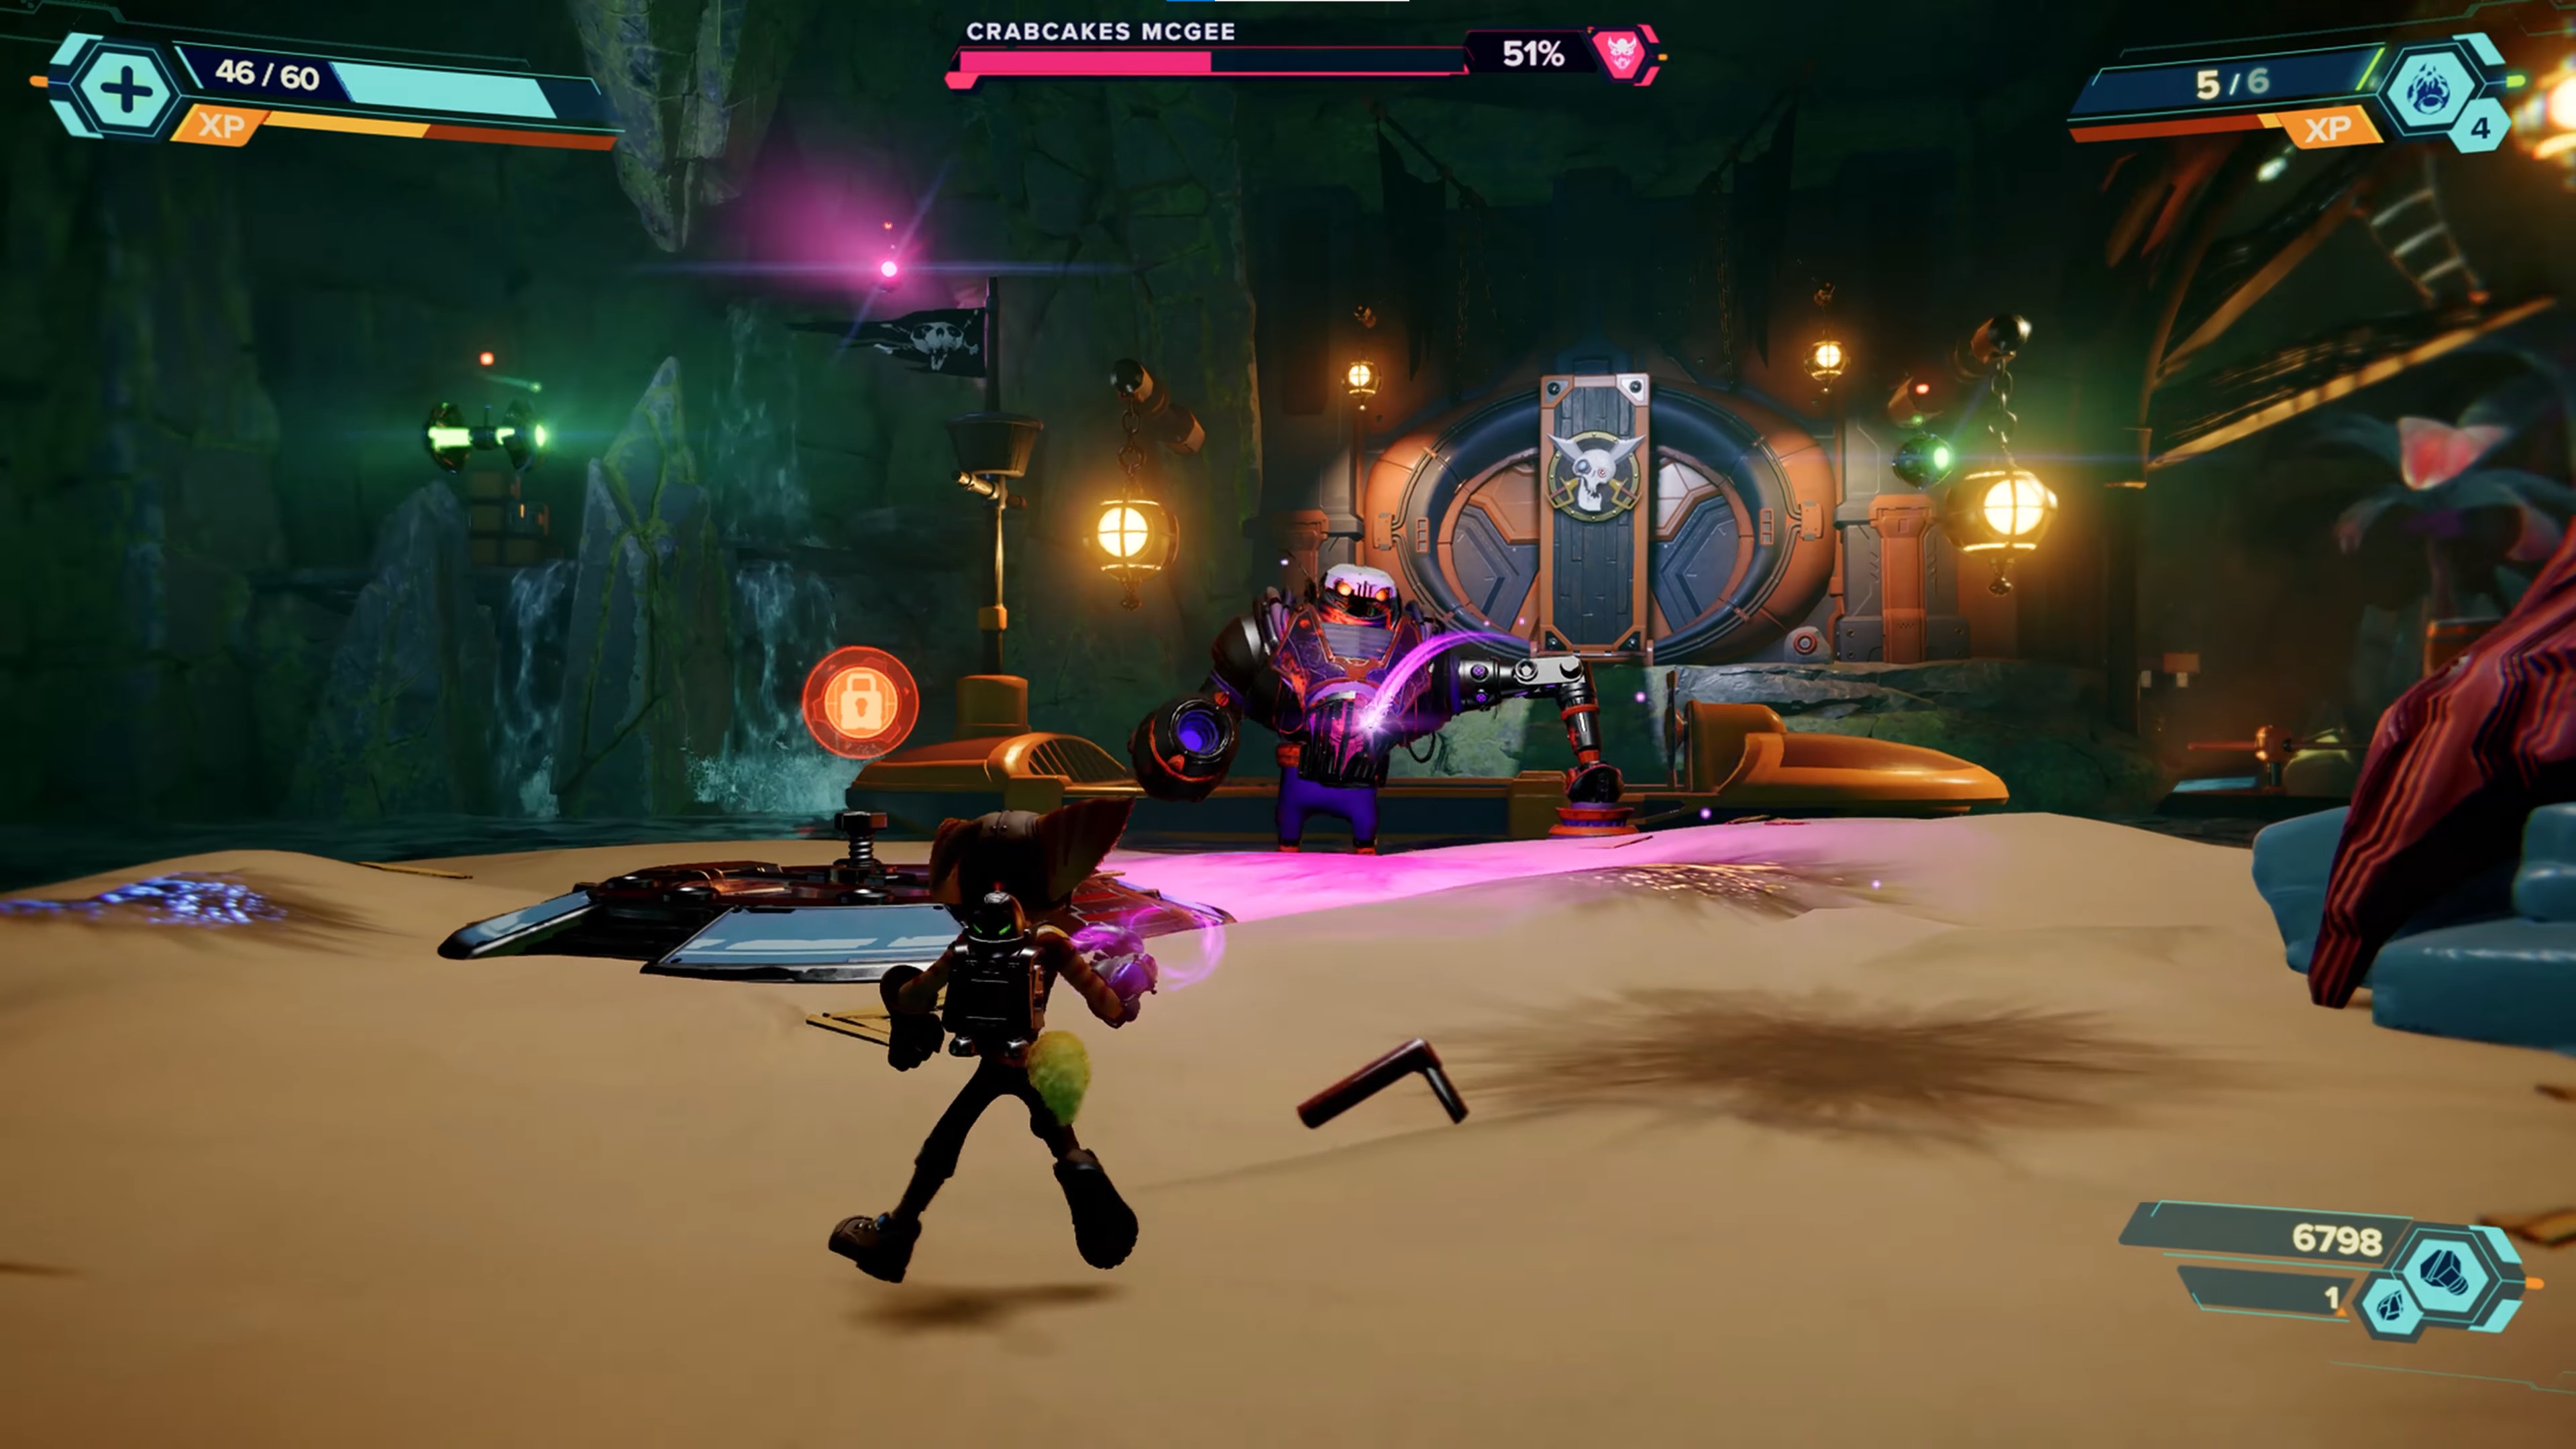
For the third trial, there's just a lot more enemies to take out. Problem is, you're stuck to three boats circling the edge of the watery arena. Take out all the standard enemies and an island will rise in the middle with Crabcakes McGee, another boss, but it's no more difficult than previous bosses like Wee Roger. Stay mobile and dodge its leaps to whittle it down.
Turn the boltcrank in the middle to open the door to the exit, where you'll receive an armor pod. Check the CraiggerBear guide here too to find the one for this planet. Jump into the elevator heading down and you'll be on the Captain's Port, where you need to sprint down the pier as fast as you can to avoid the tentacles.
Meeting Captain Quantum
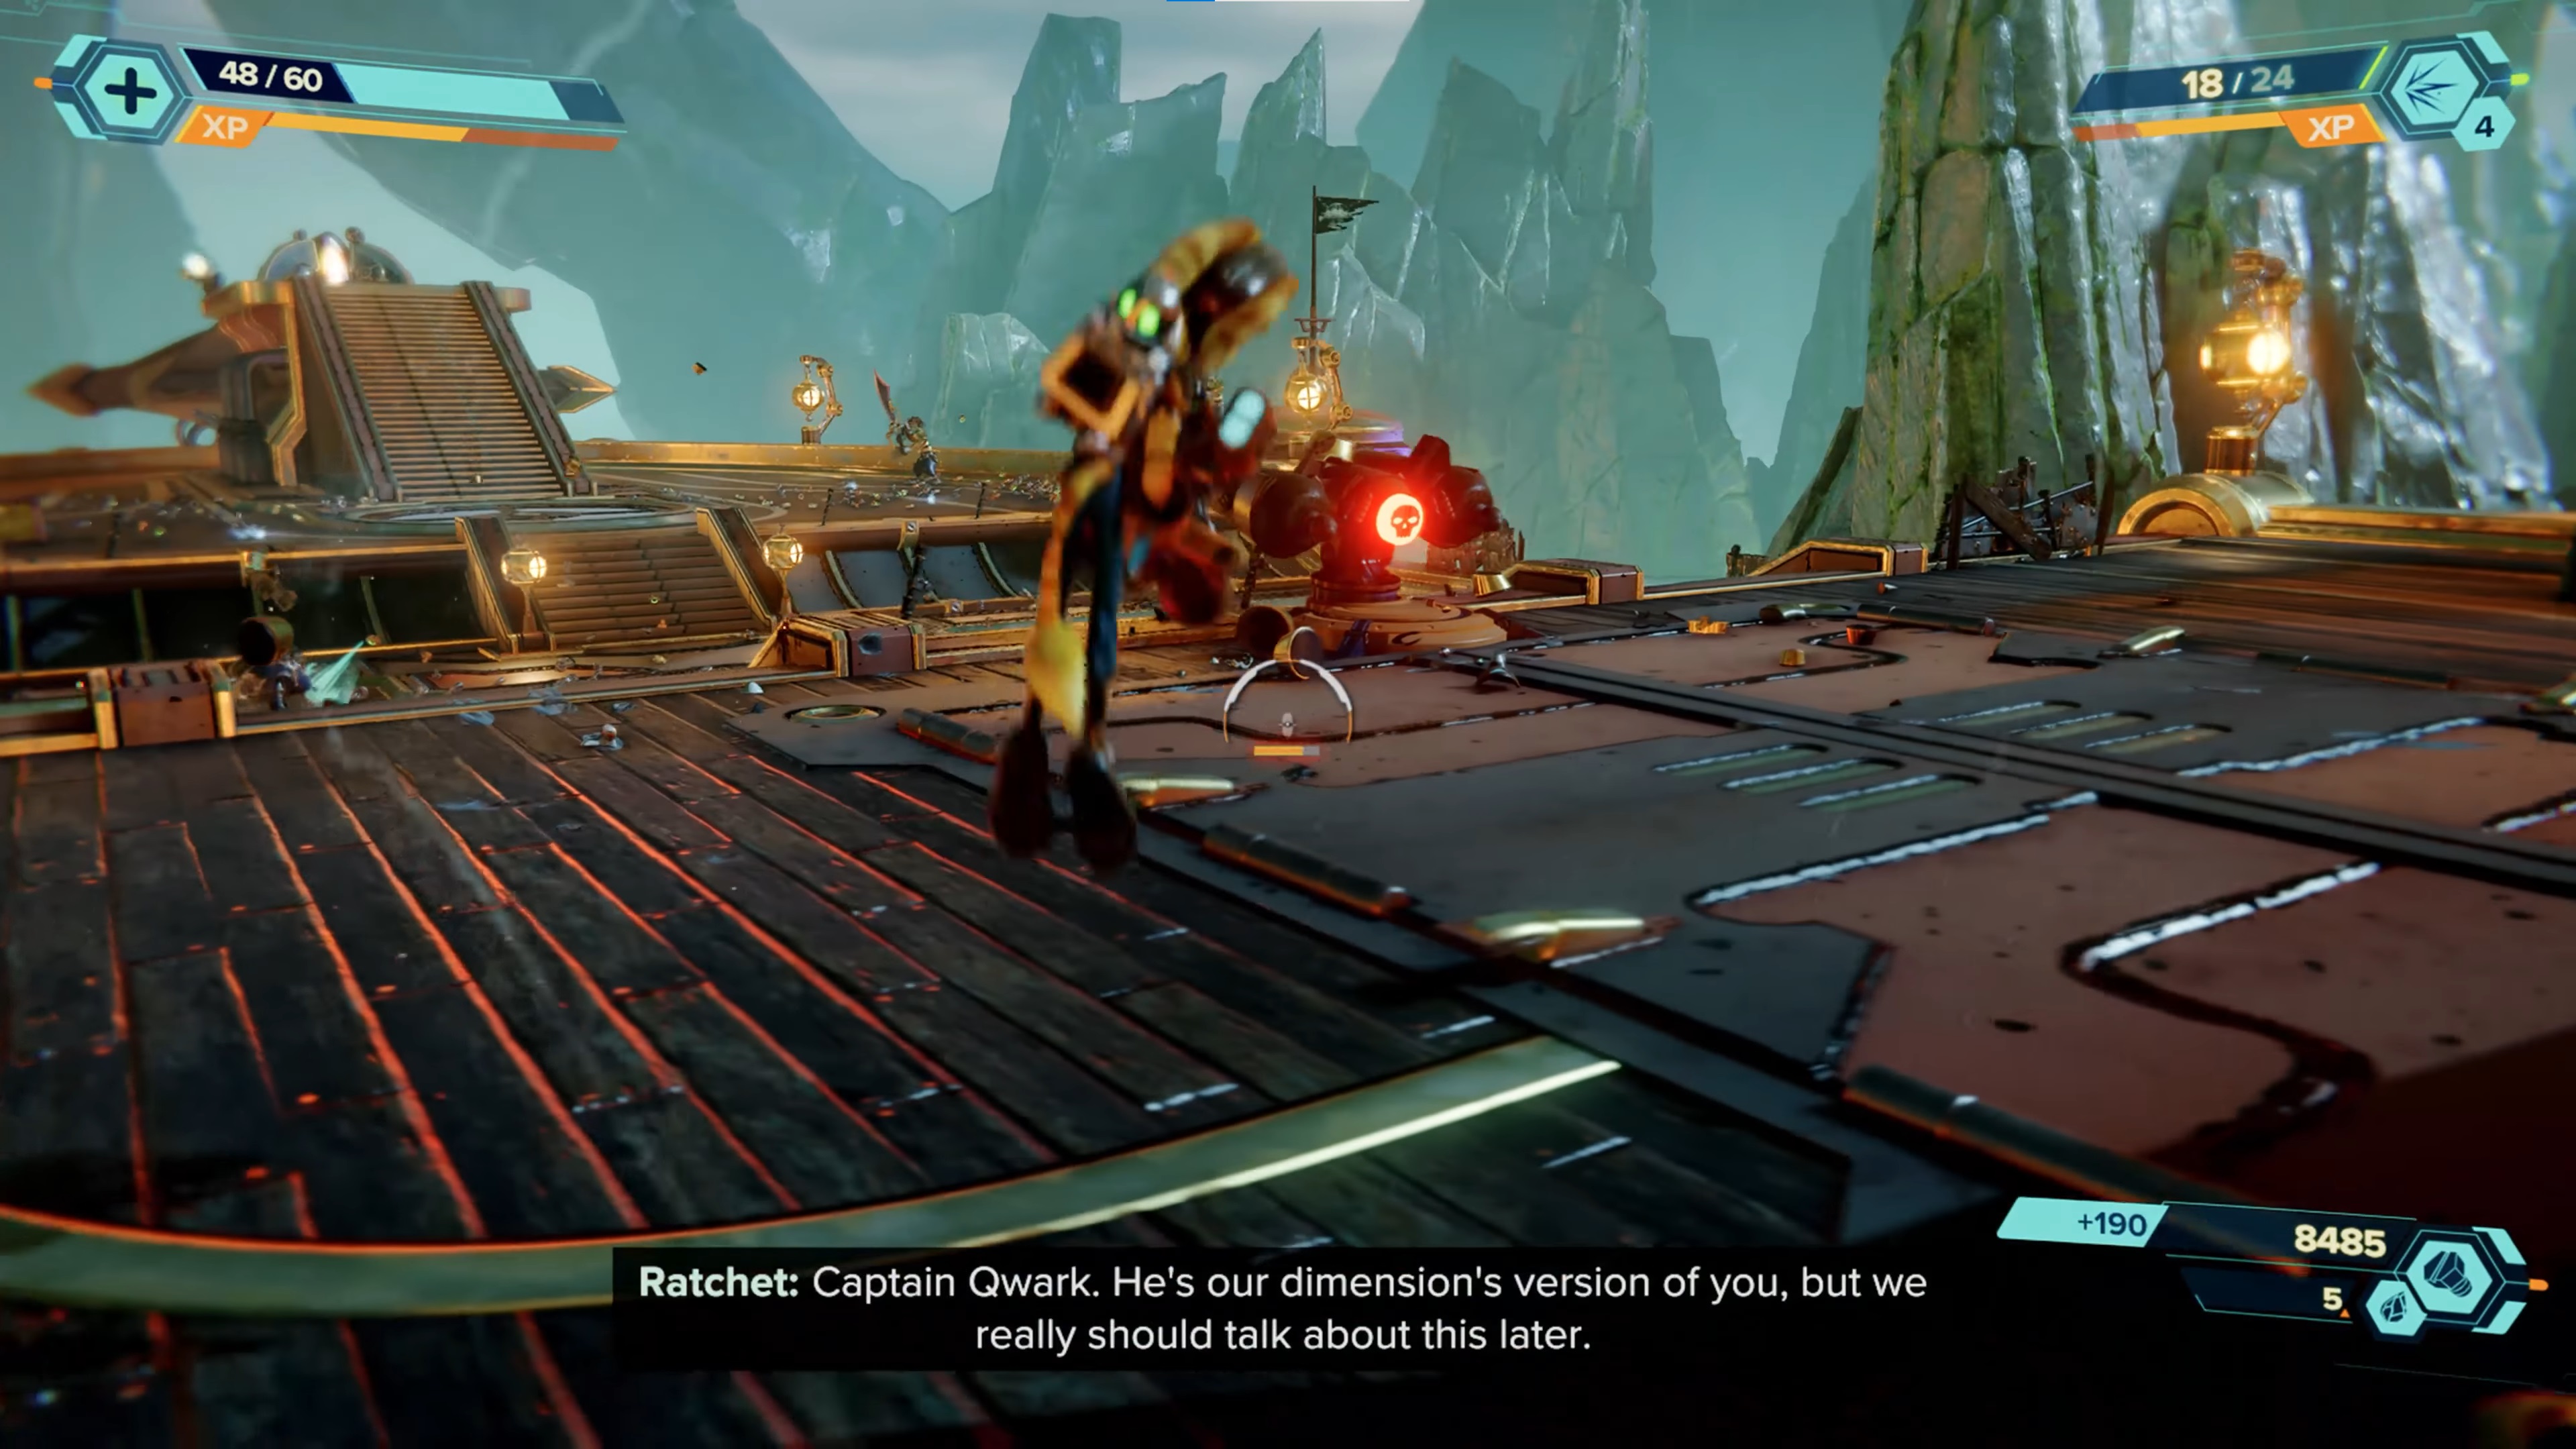
Swing onto the ship and you'll meet Captain Quantum, the alternate-dimension version of Captain Qwark. A long cutscene will ensure, followed by some pirates attacking the ship. They keep advancing for a while but there's a cannon in front of you to use if needed. When they're all defeated and you're in the open sea, go and slam the button at the front of the ship to launch the thrusters.
As you'd probably expect, this causes more enemies to attack. Defeat all the foes on the ship that parks up alongside you, then jump to the opposite side, kill the enemies, and hold L1 to ride on the underside of a smaller ship that flies overhead. Drop off onto the ship firing the tractor beam, clear the enemies there, then turn the bolt crank and jump back onto Captain Quantum's ship.
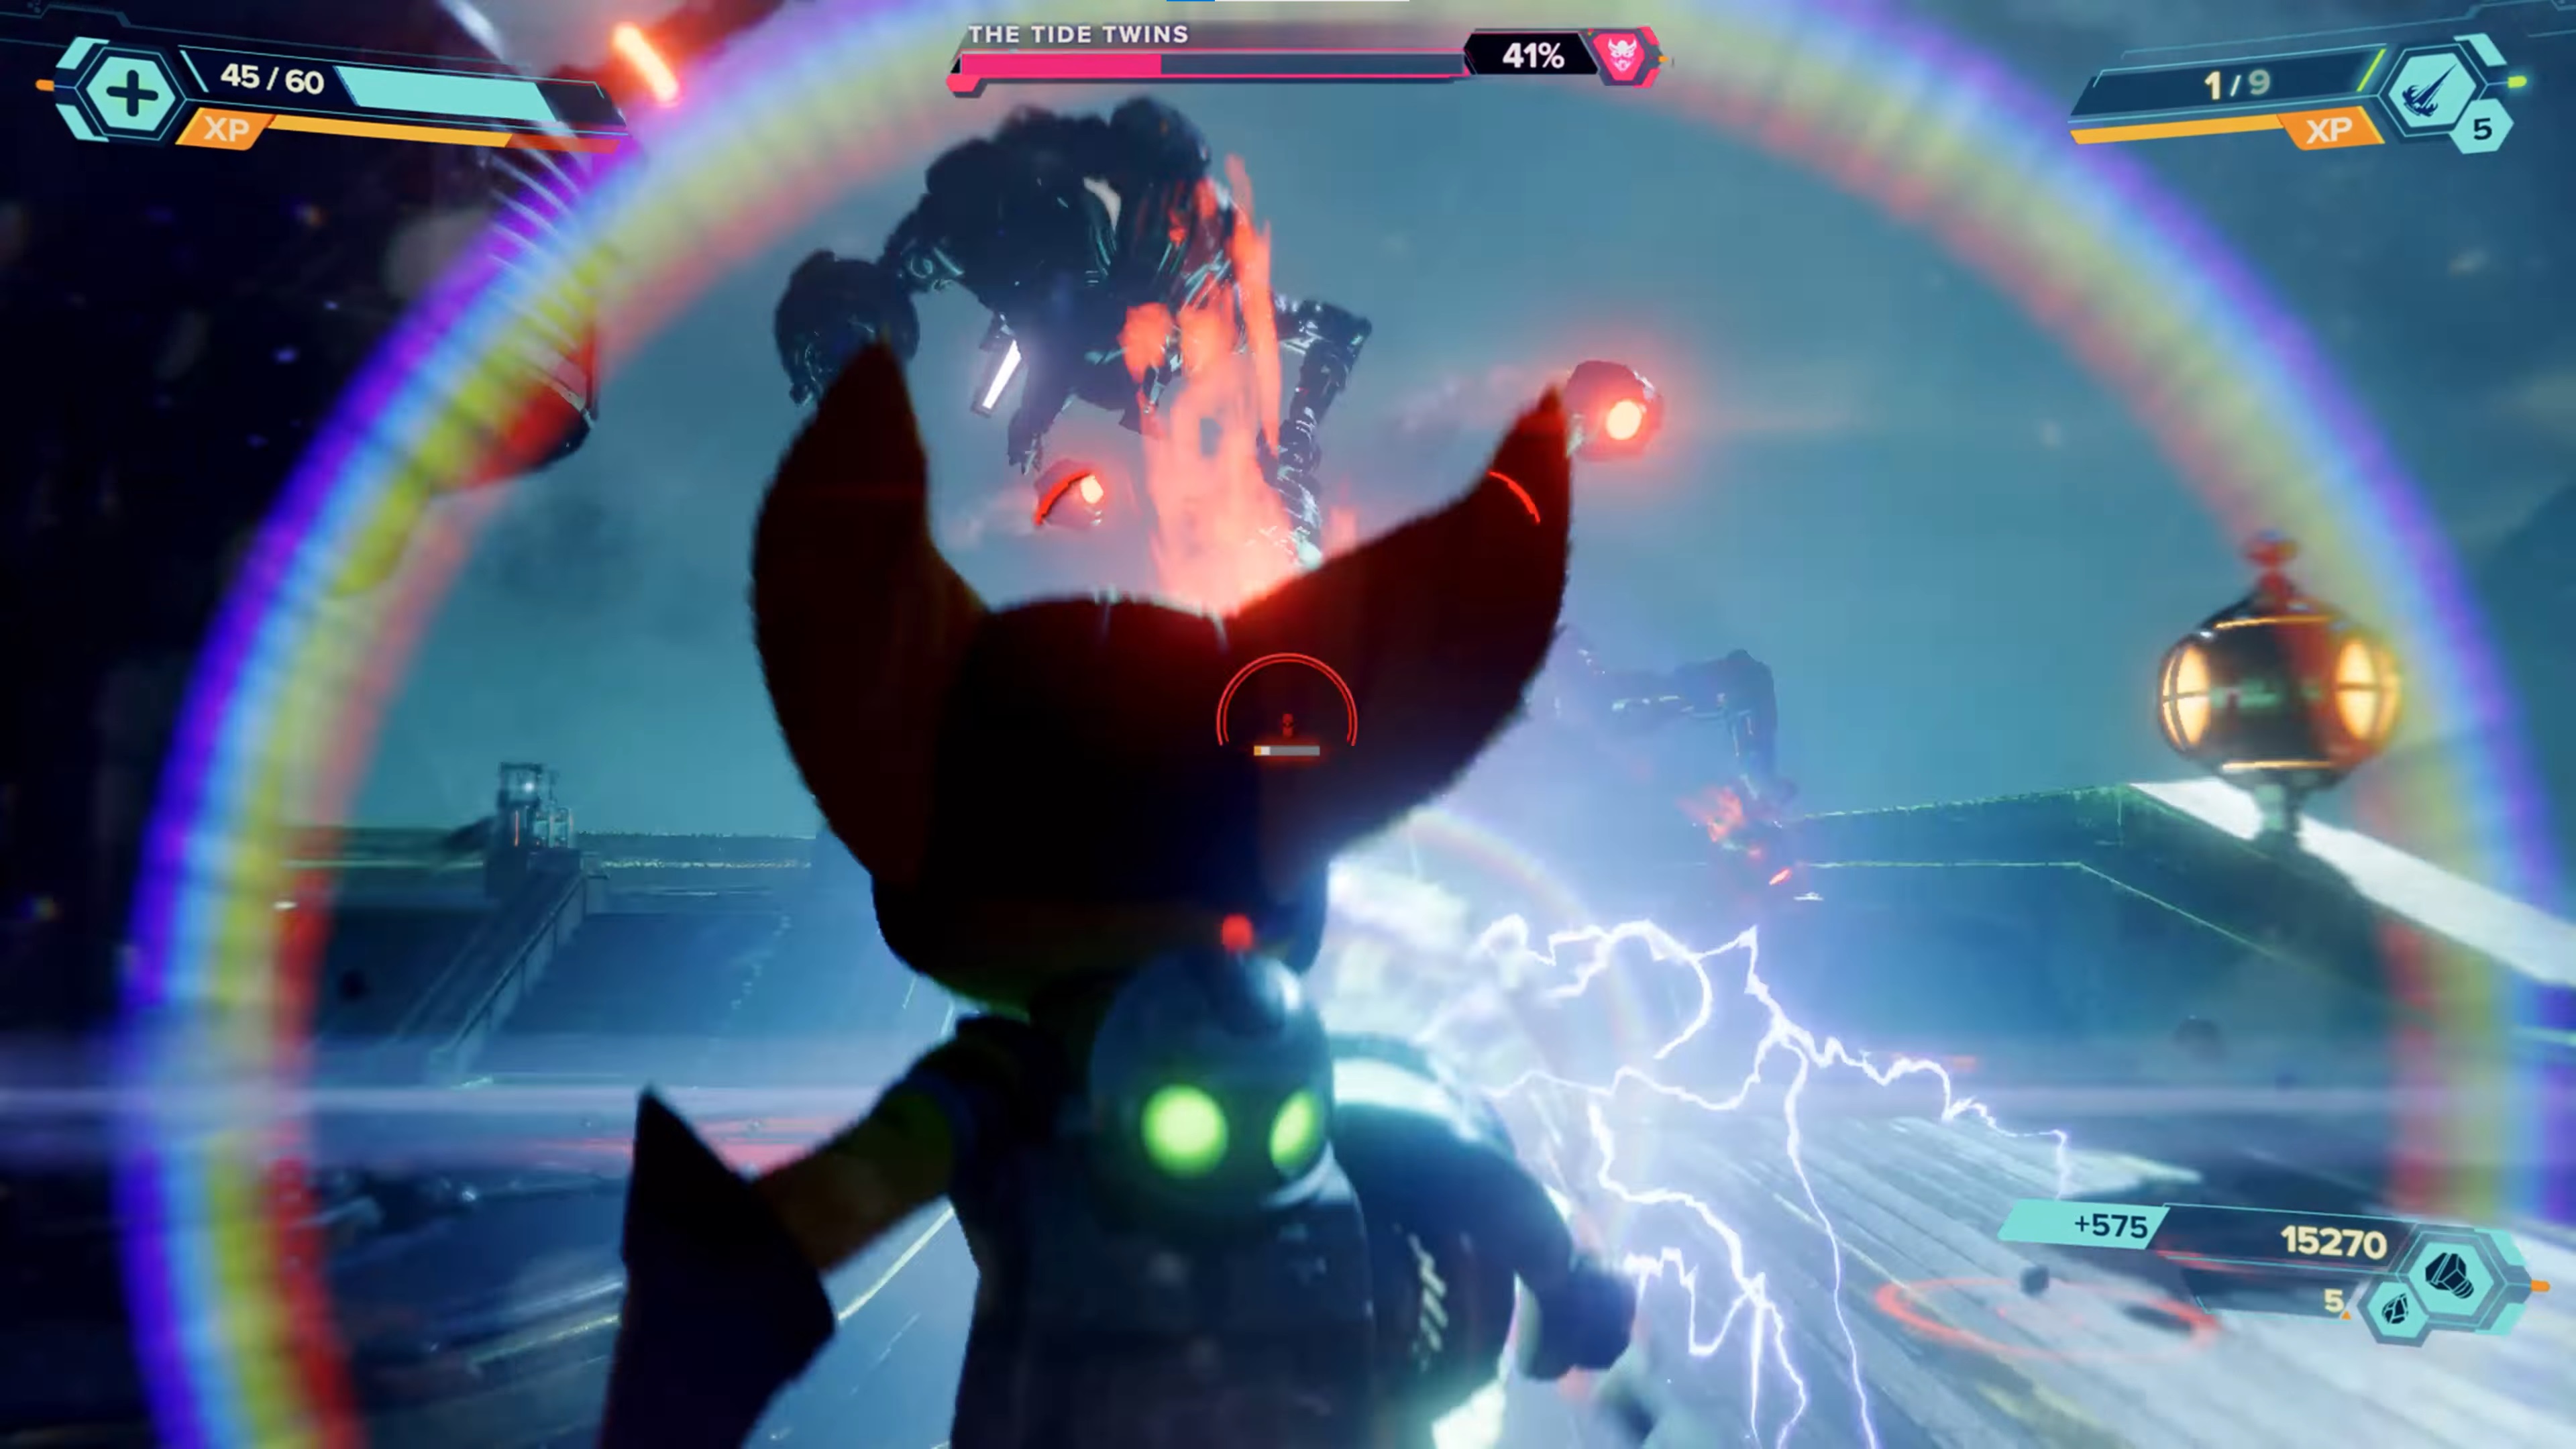
When Captain Quantum runs the ship aground, use the Hurlshot to the left-hand side of the ship to fling yourself onto the Scuttler. You'll be facing off against the Tide Twins here; again, you've defeated similar in Wee Roger, the Elite Security Detail, etc, so employ the same strategies and use the Topiary Sprinkler as much as possible. When they're done and dusted, use the boltcrank then whack the big bell. After the long cutscene, you're at the end of the main part of Ardolis, but there's still the optional treasure hunt to complete.
Hunting for treasure
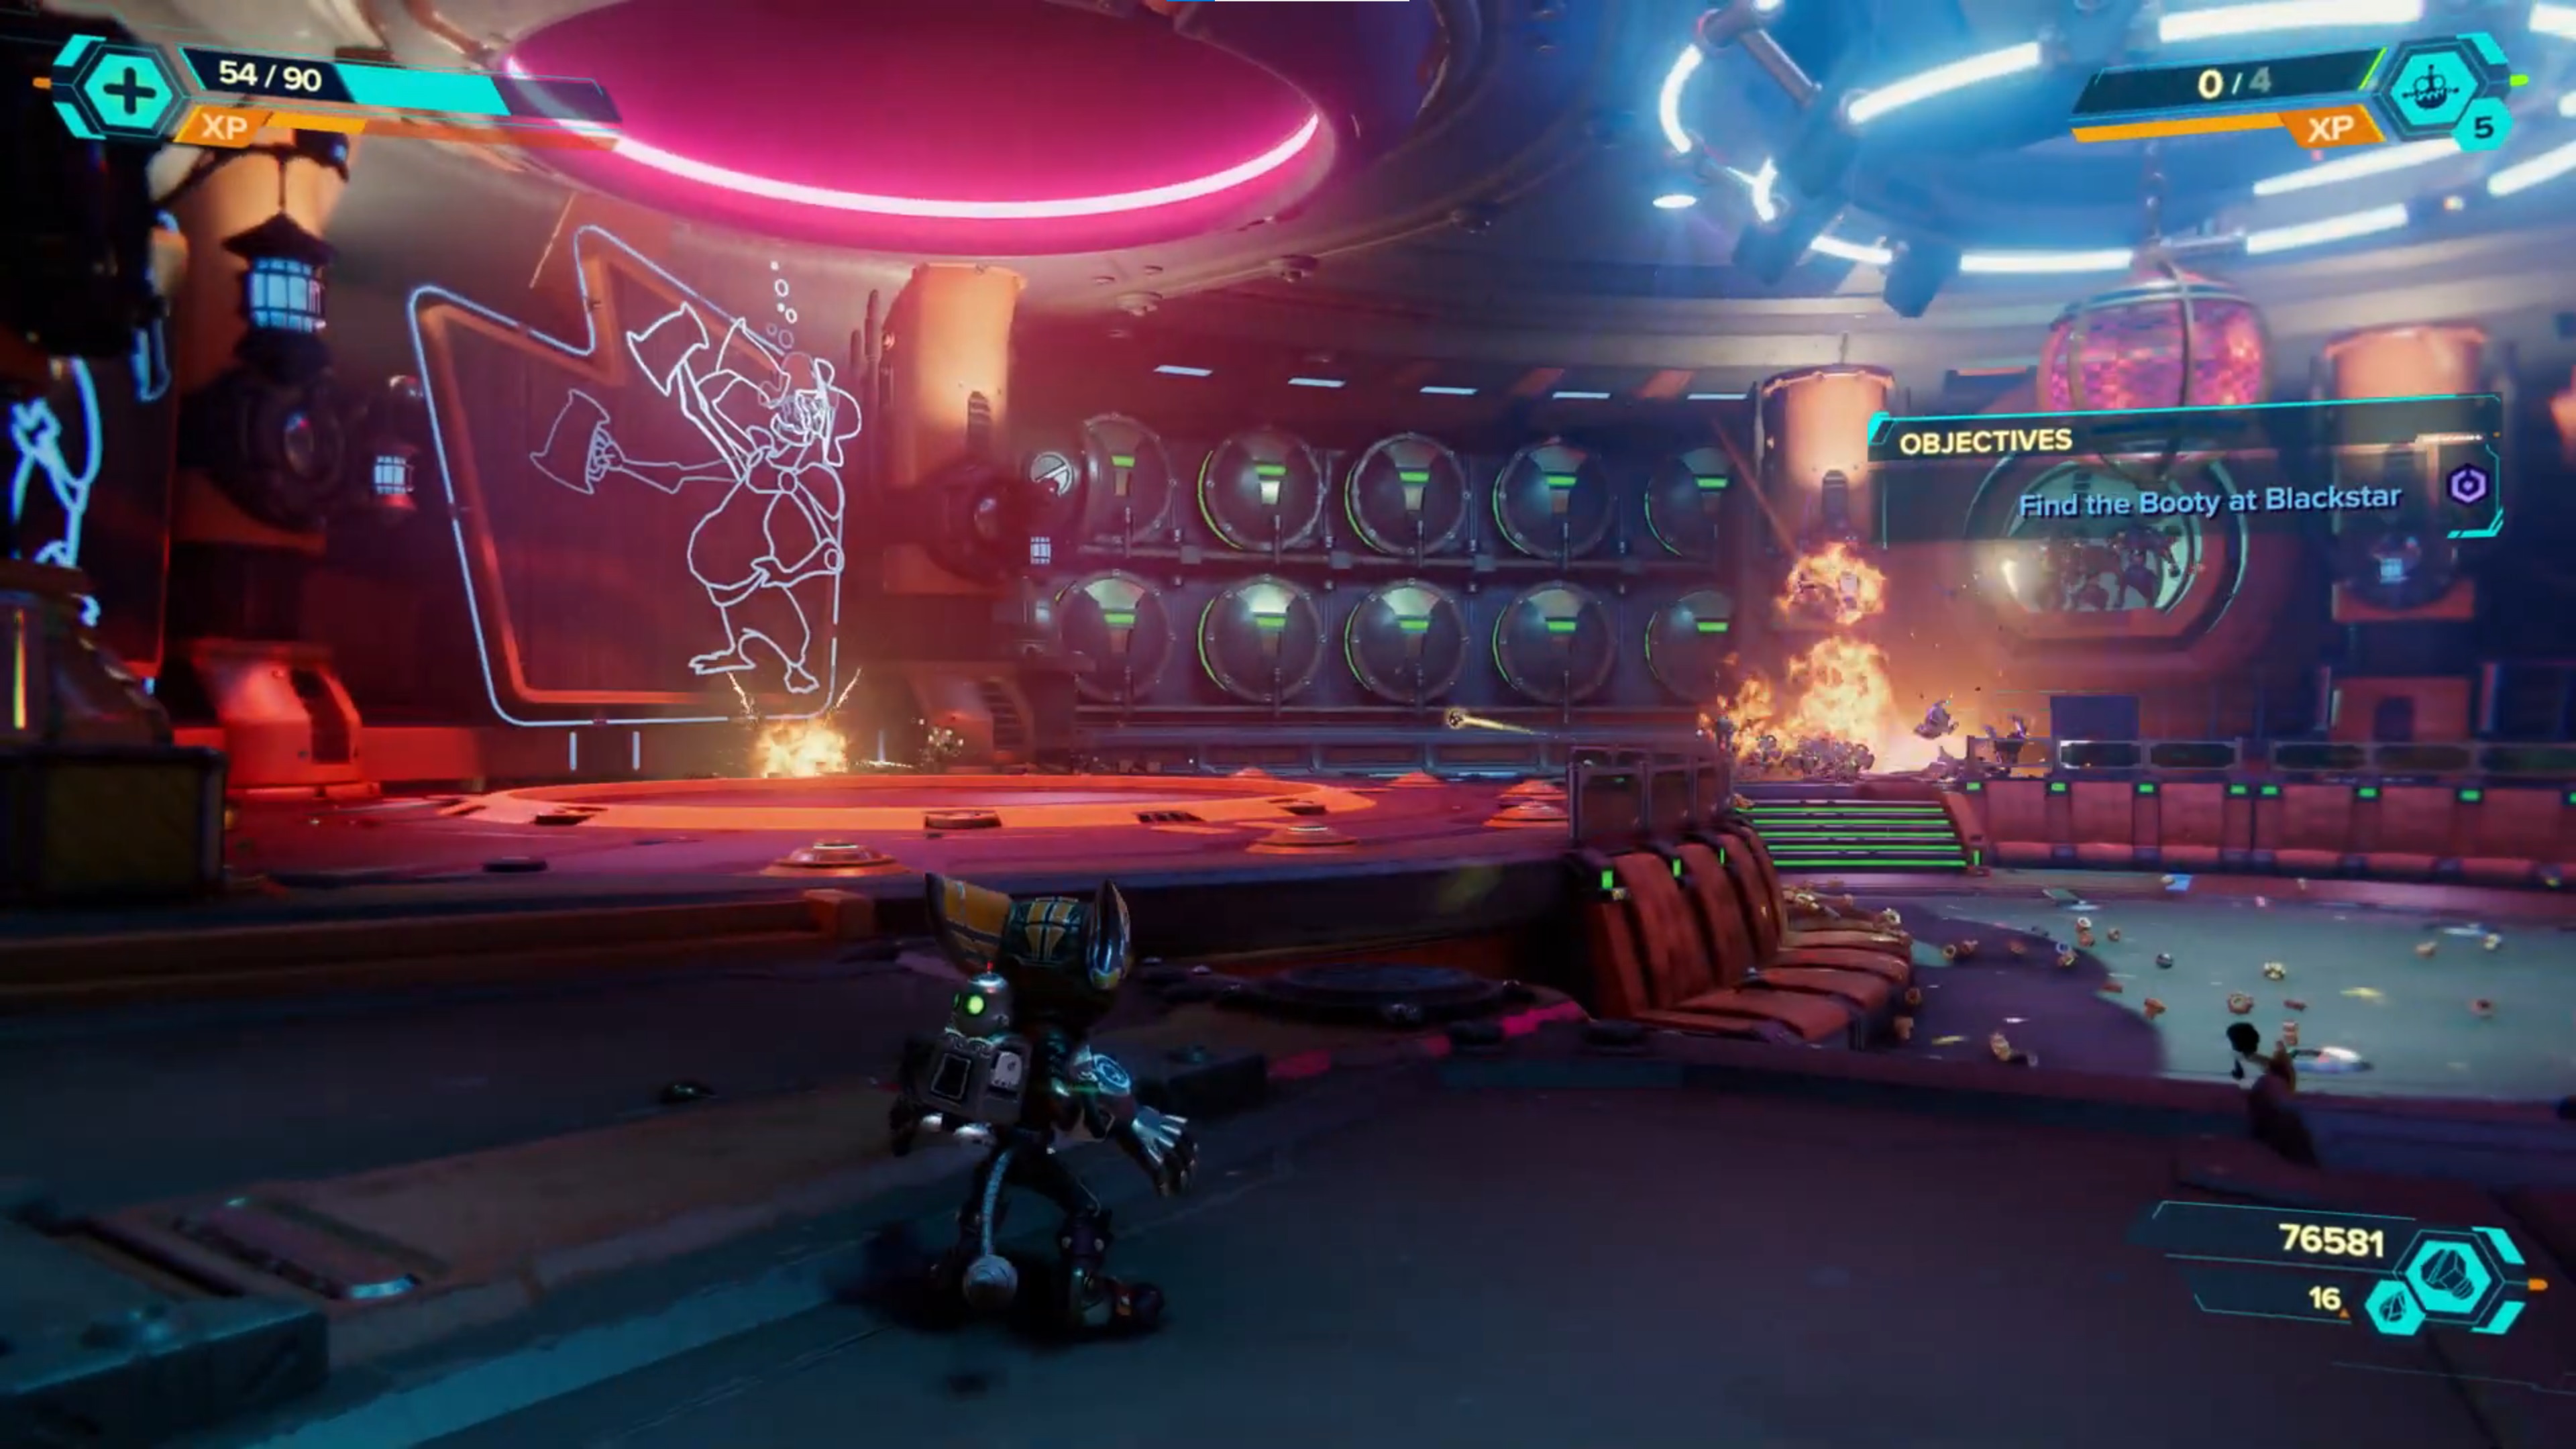
It's easy to find; from the platform Pierre Le Fer is hanging above, rather than going up the boost ramp, swing over the grapple hook then take the elevator on the ship you land on. Swing over to the ship to your right, kill the pirates then enter the Blackstar nightclub. In here will be a lot of pirates to kill but when done, stand on the elevator on the stage and ride it to the top. Kill the few enemies up there then grab the booty out of the chest. The loot is the Map-o-Matic, which highlights the locations of any remaining collectibles on all the planets, like gold bolts, spybots, raritanium, and more.
Getting the Dimensional Map
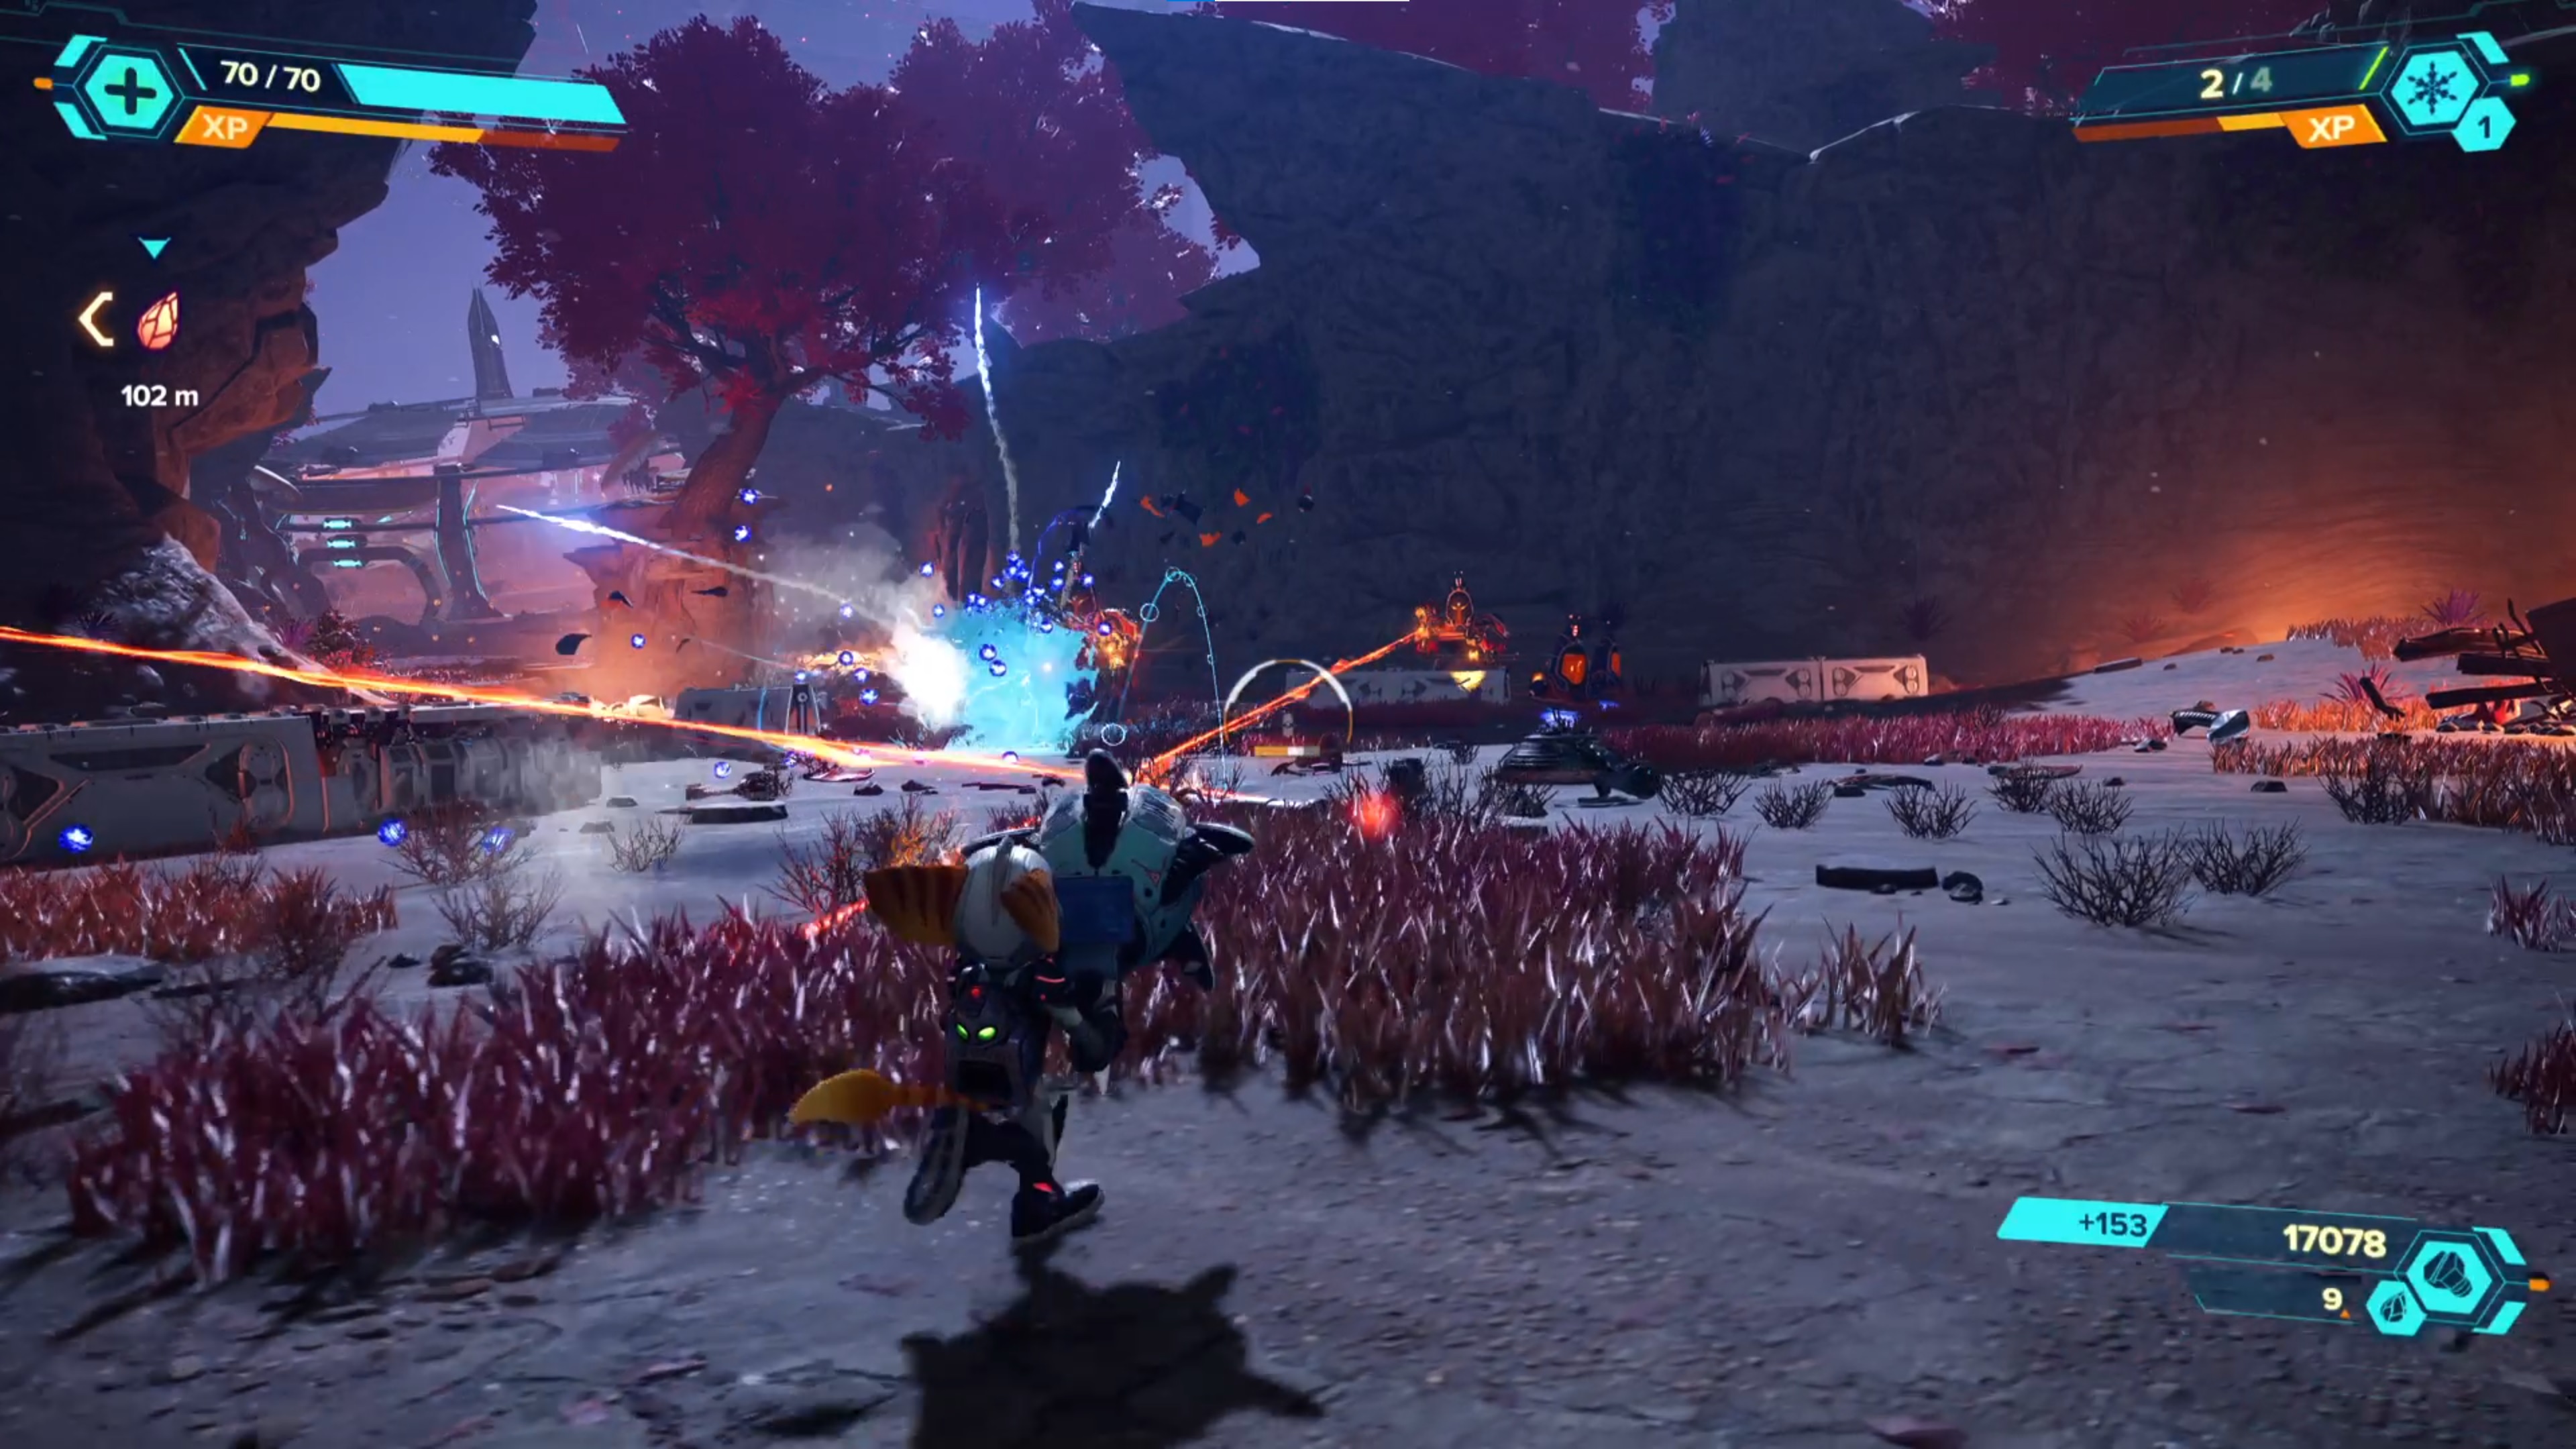
Once you jump back in your ship and fly back to the Scarstu Debris Field, a cutscene will occur which diverts your path back to Savali instead. Only this time, you're limited to a small section of Savali, as you need to race the Emperor to the Dimensional Map.
Defeat all of the Nefarious Troopers right in front of where you land your ship, then move onto the next bunch, at which point you'll be introduced to... Bone Goons. Yep, undead skeletons are an enemy you'll have to fight. They don't pose any more of a threat than the usual foes though, and they'll fight the Nefarious Troopers as well. Once they've all been defeated, head into the rift in the destroyed archives.
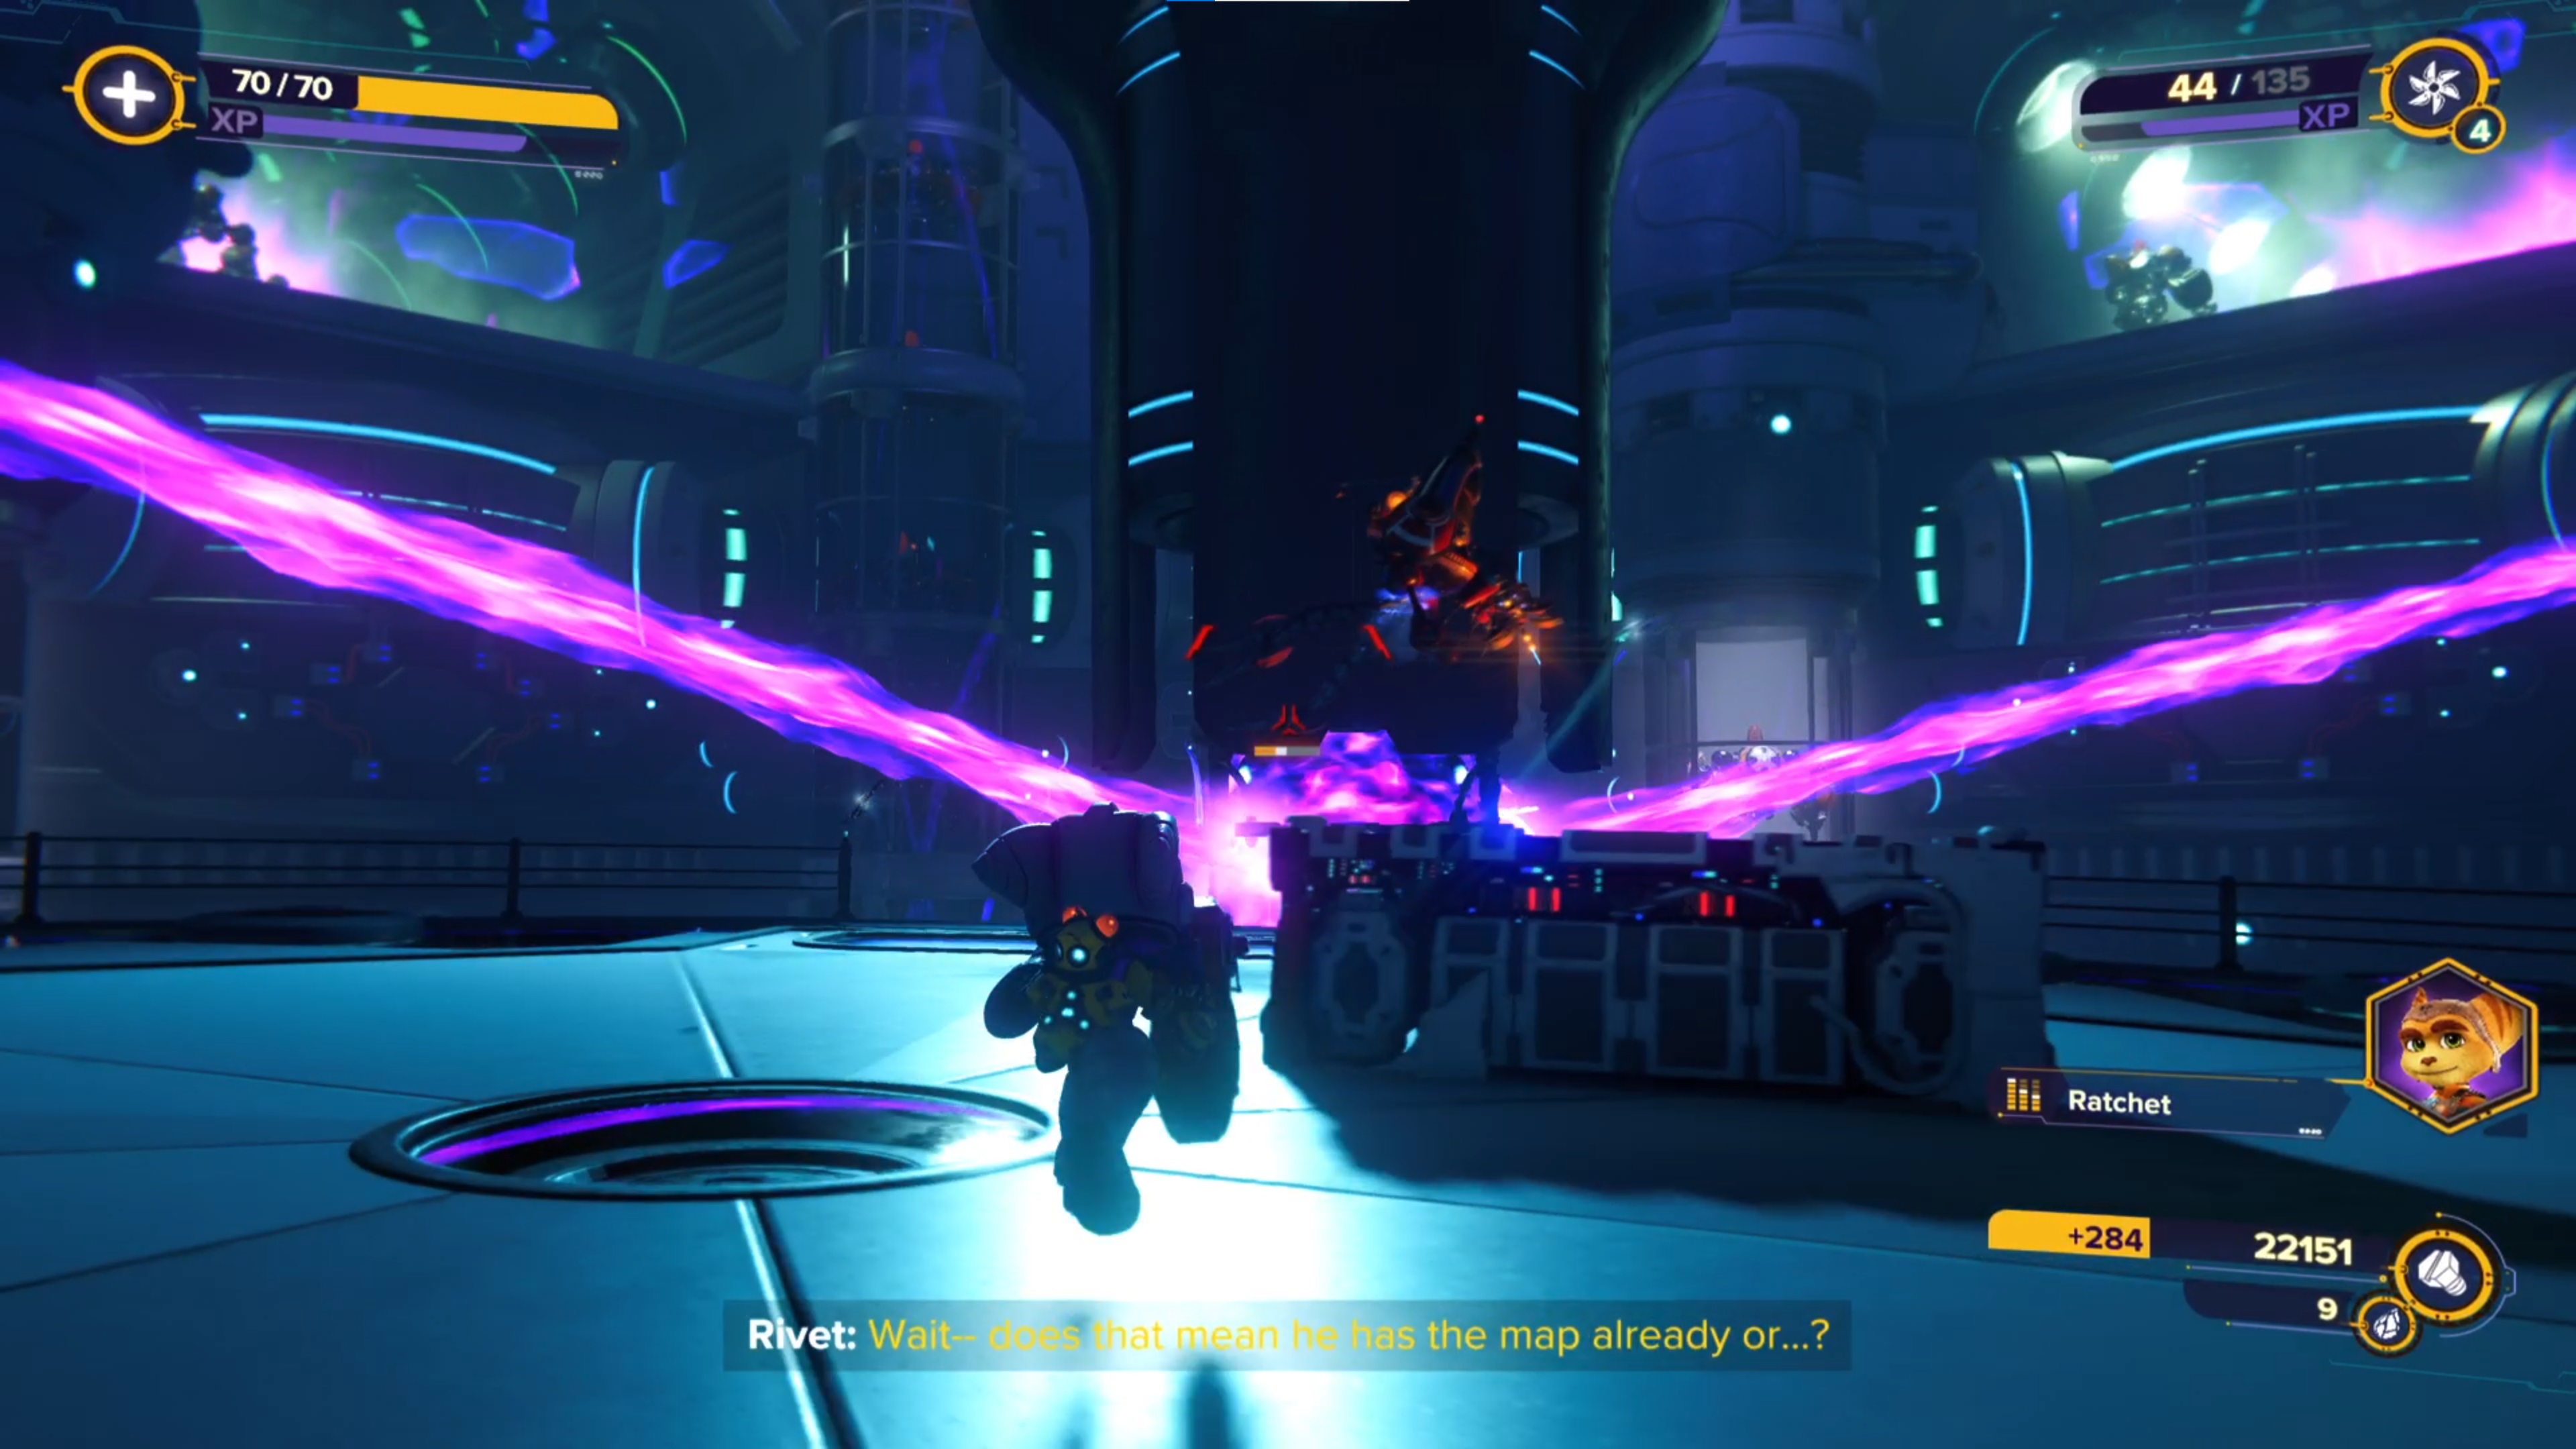
After another cutscene, you'll be playing as Rivet onboard Emperor Nefarious' Flagship. Ride the platform that comes down and kill all the enemies that come aboard, including a Nefarious Juggernaut, then you'll meet Gary at the top.
Now you're back to playing as Ratchet, with all of Savali free to explore again as you need to activate the machinery. Nothing complex here; simply go to the objective markers in order, kill the enemies at the location, and stand on the pressure pad. When you've done the final one, you can jump into the catacombs, at which point you should check the gold bolts guide for the final Savali gold bolt you weren't able to collect earlier.
Turn the boltcrank and you'll be in the ancient aqueducts, with the anomaly in the distance. This is essentially one long, linear Speetle ride; boost all the way and avoid the Bone Goons jumping out of the ground to make it to the other end in one piece. Go through the doors the monks are guarding and prepare yourself for the longest fight of the game yet.
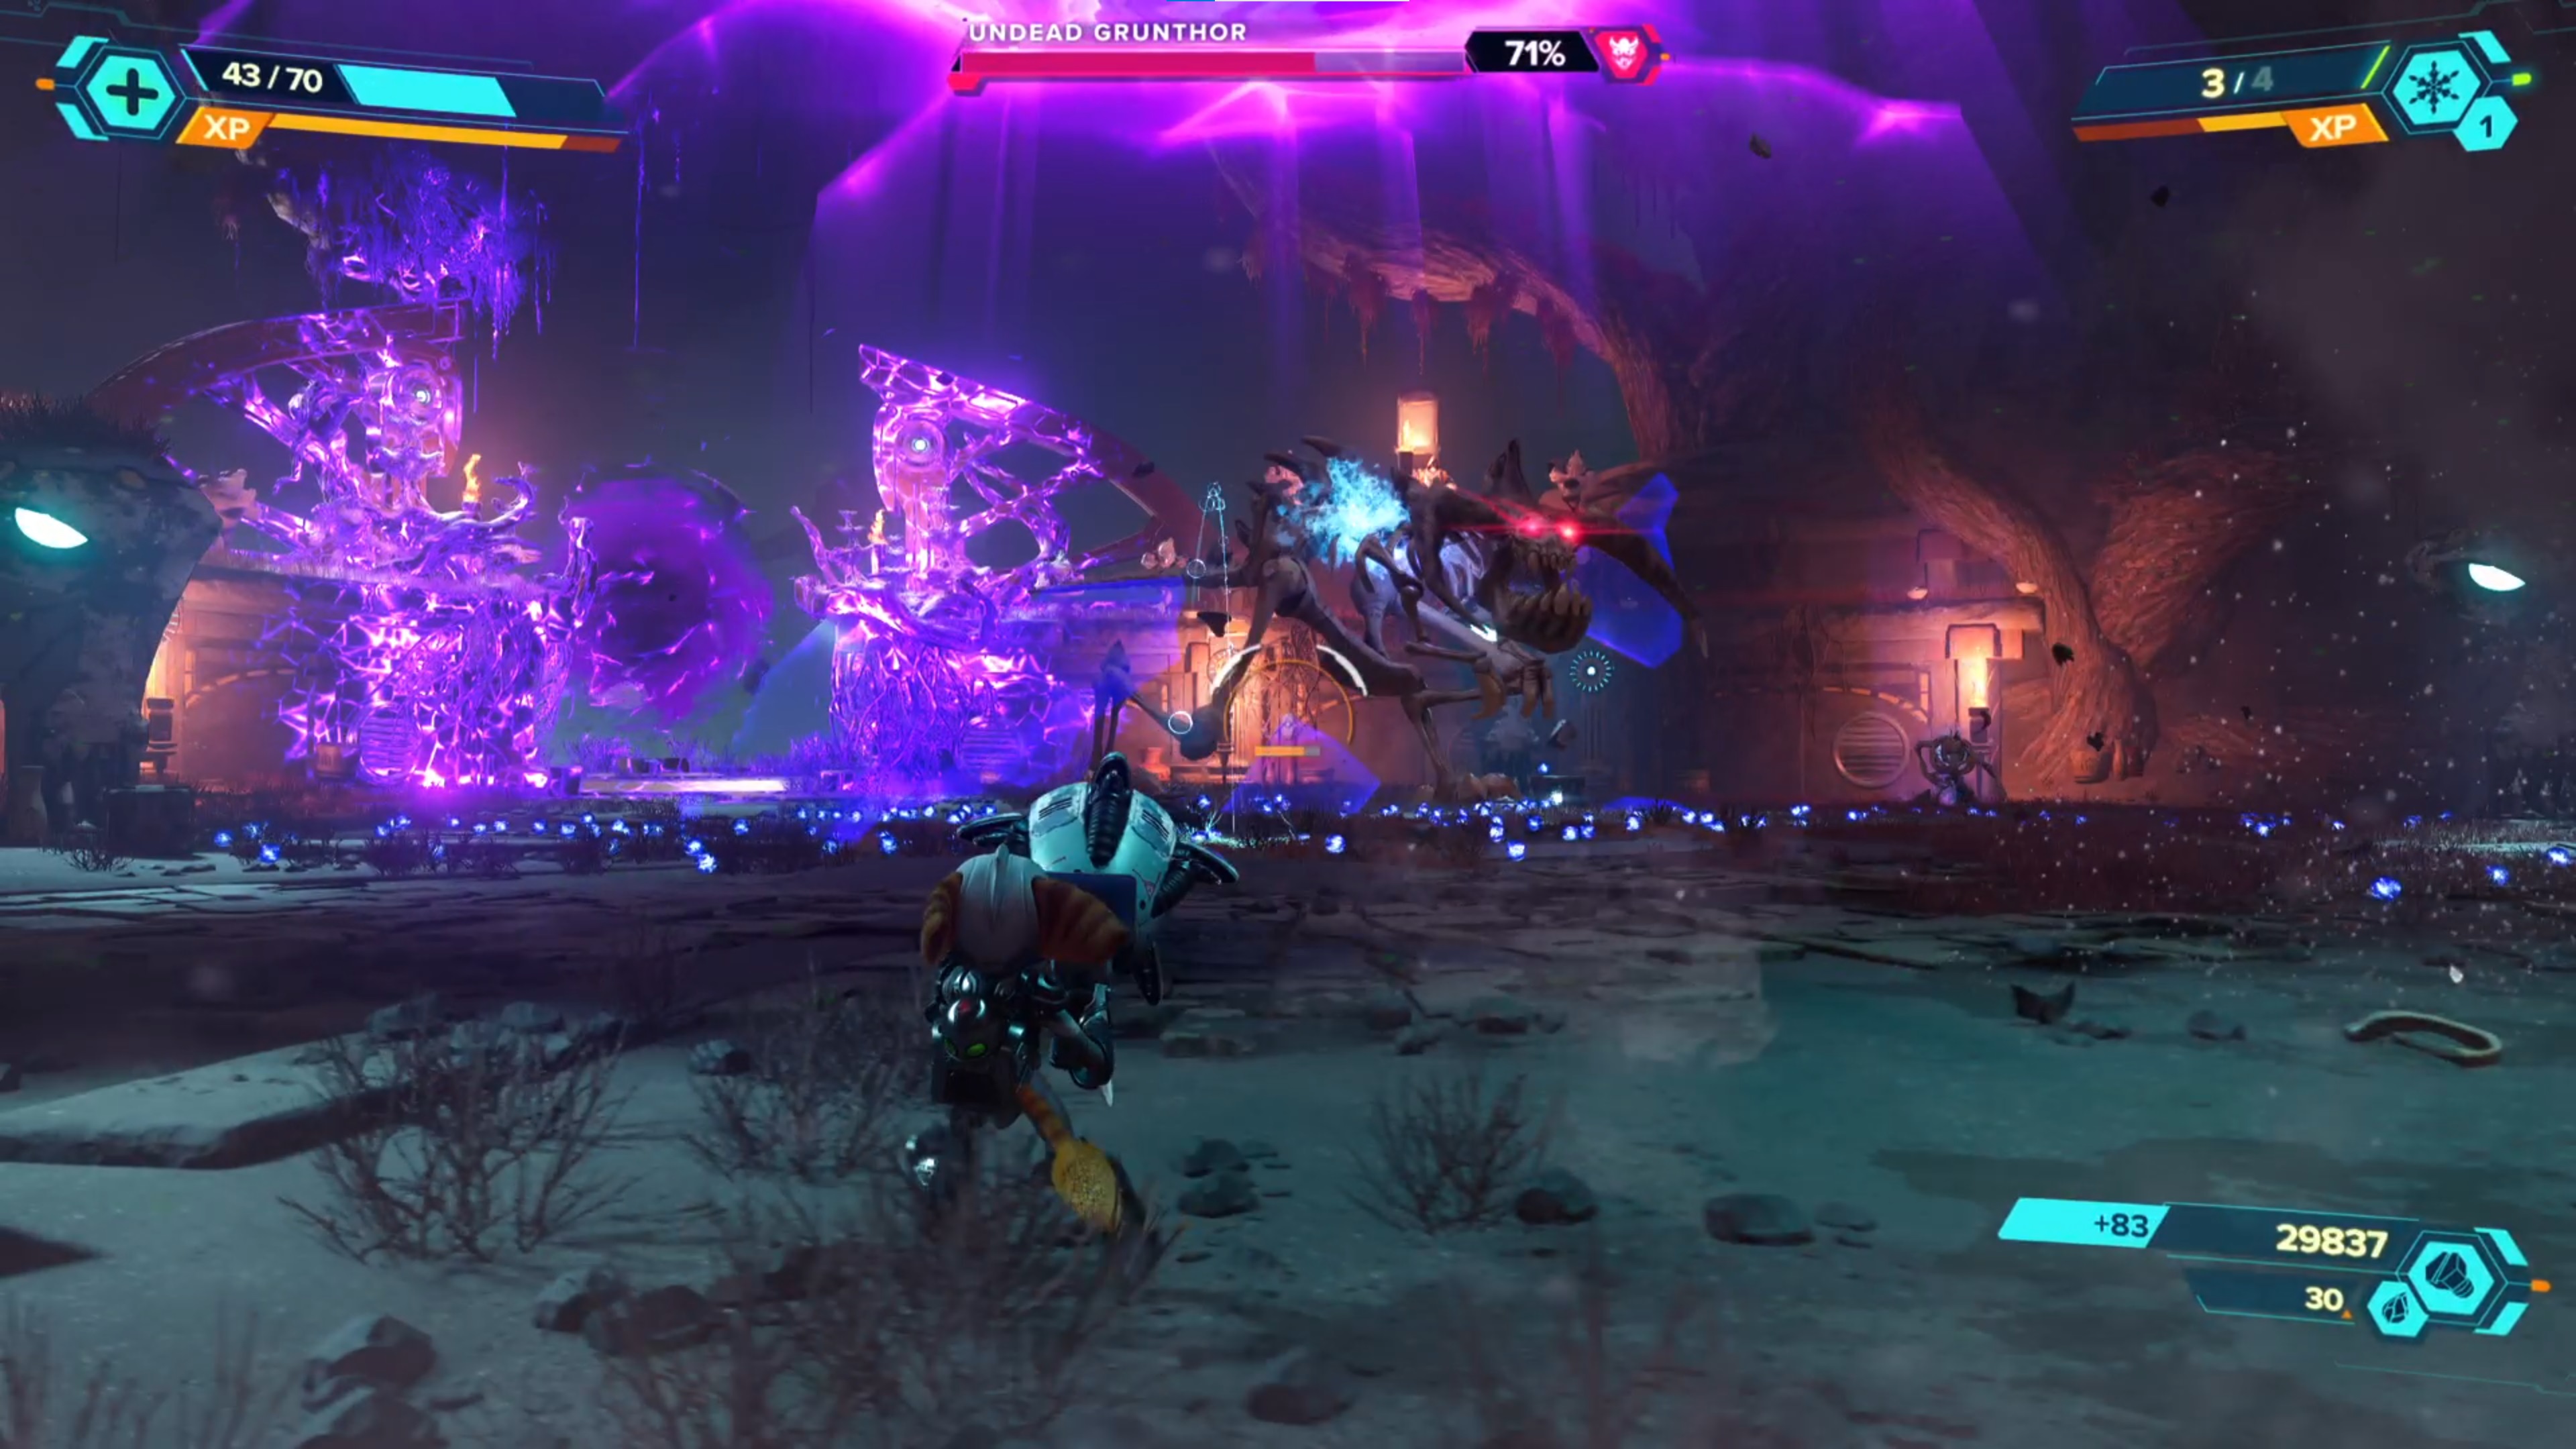
Kicking things off are a bunch of Bone Goons and an Undead Grunthor, so while you've fought these enemies before, the sheer number of foes here can prove to be a tough challenge. Our top tip would be to keep an eye on the Grunthor so you can dodge when it charges or flings a rock at you, but focus on killing the smaller enemies first. That way, you just have the one big target to deal with afterwards.
Once the Grunthor is dead, you just have a Dimensional Anomaly to complete with Clank, before another cutscene happens and you're finally on Viceron.
Finding the others on Viceron
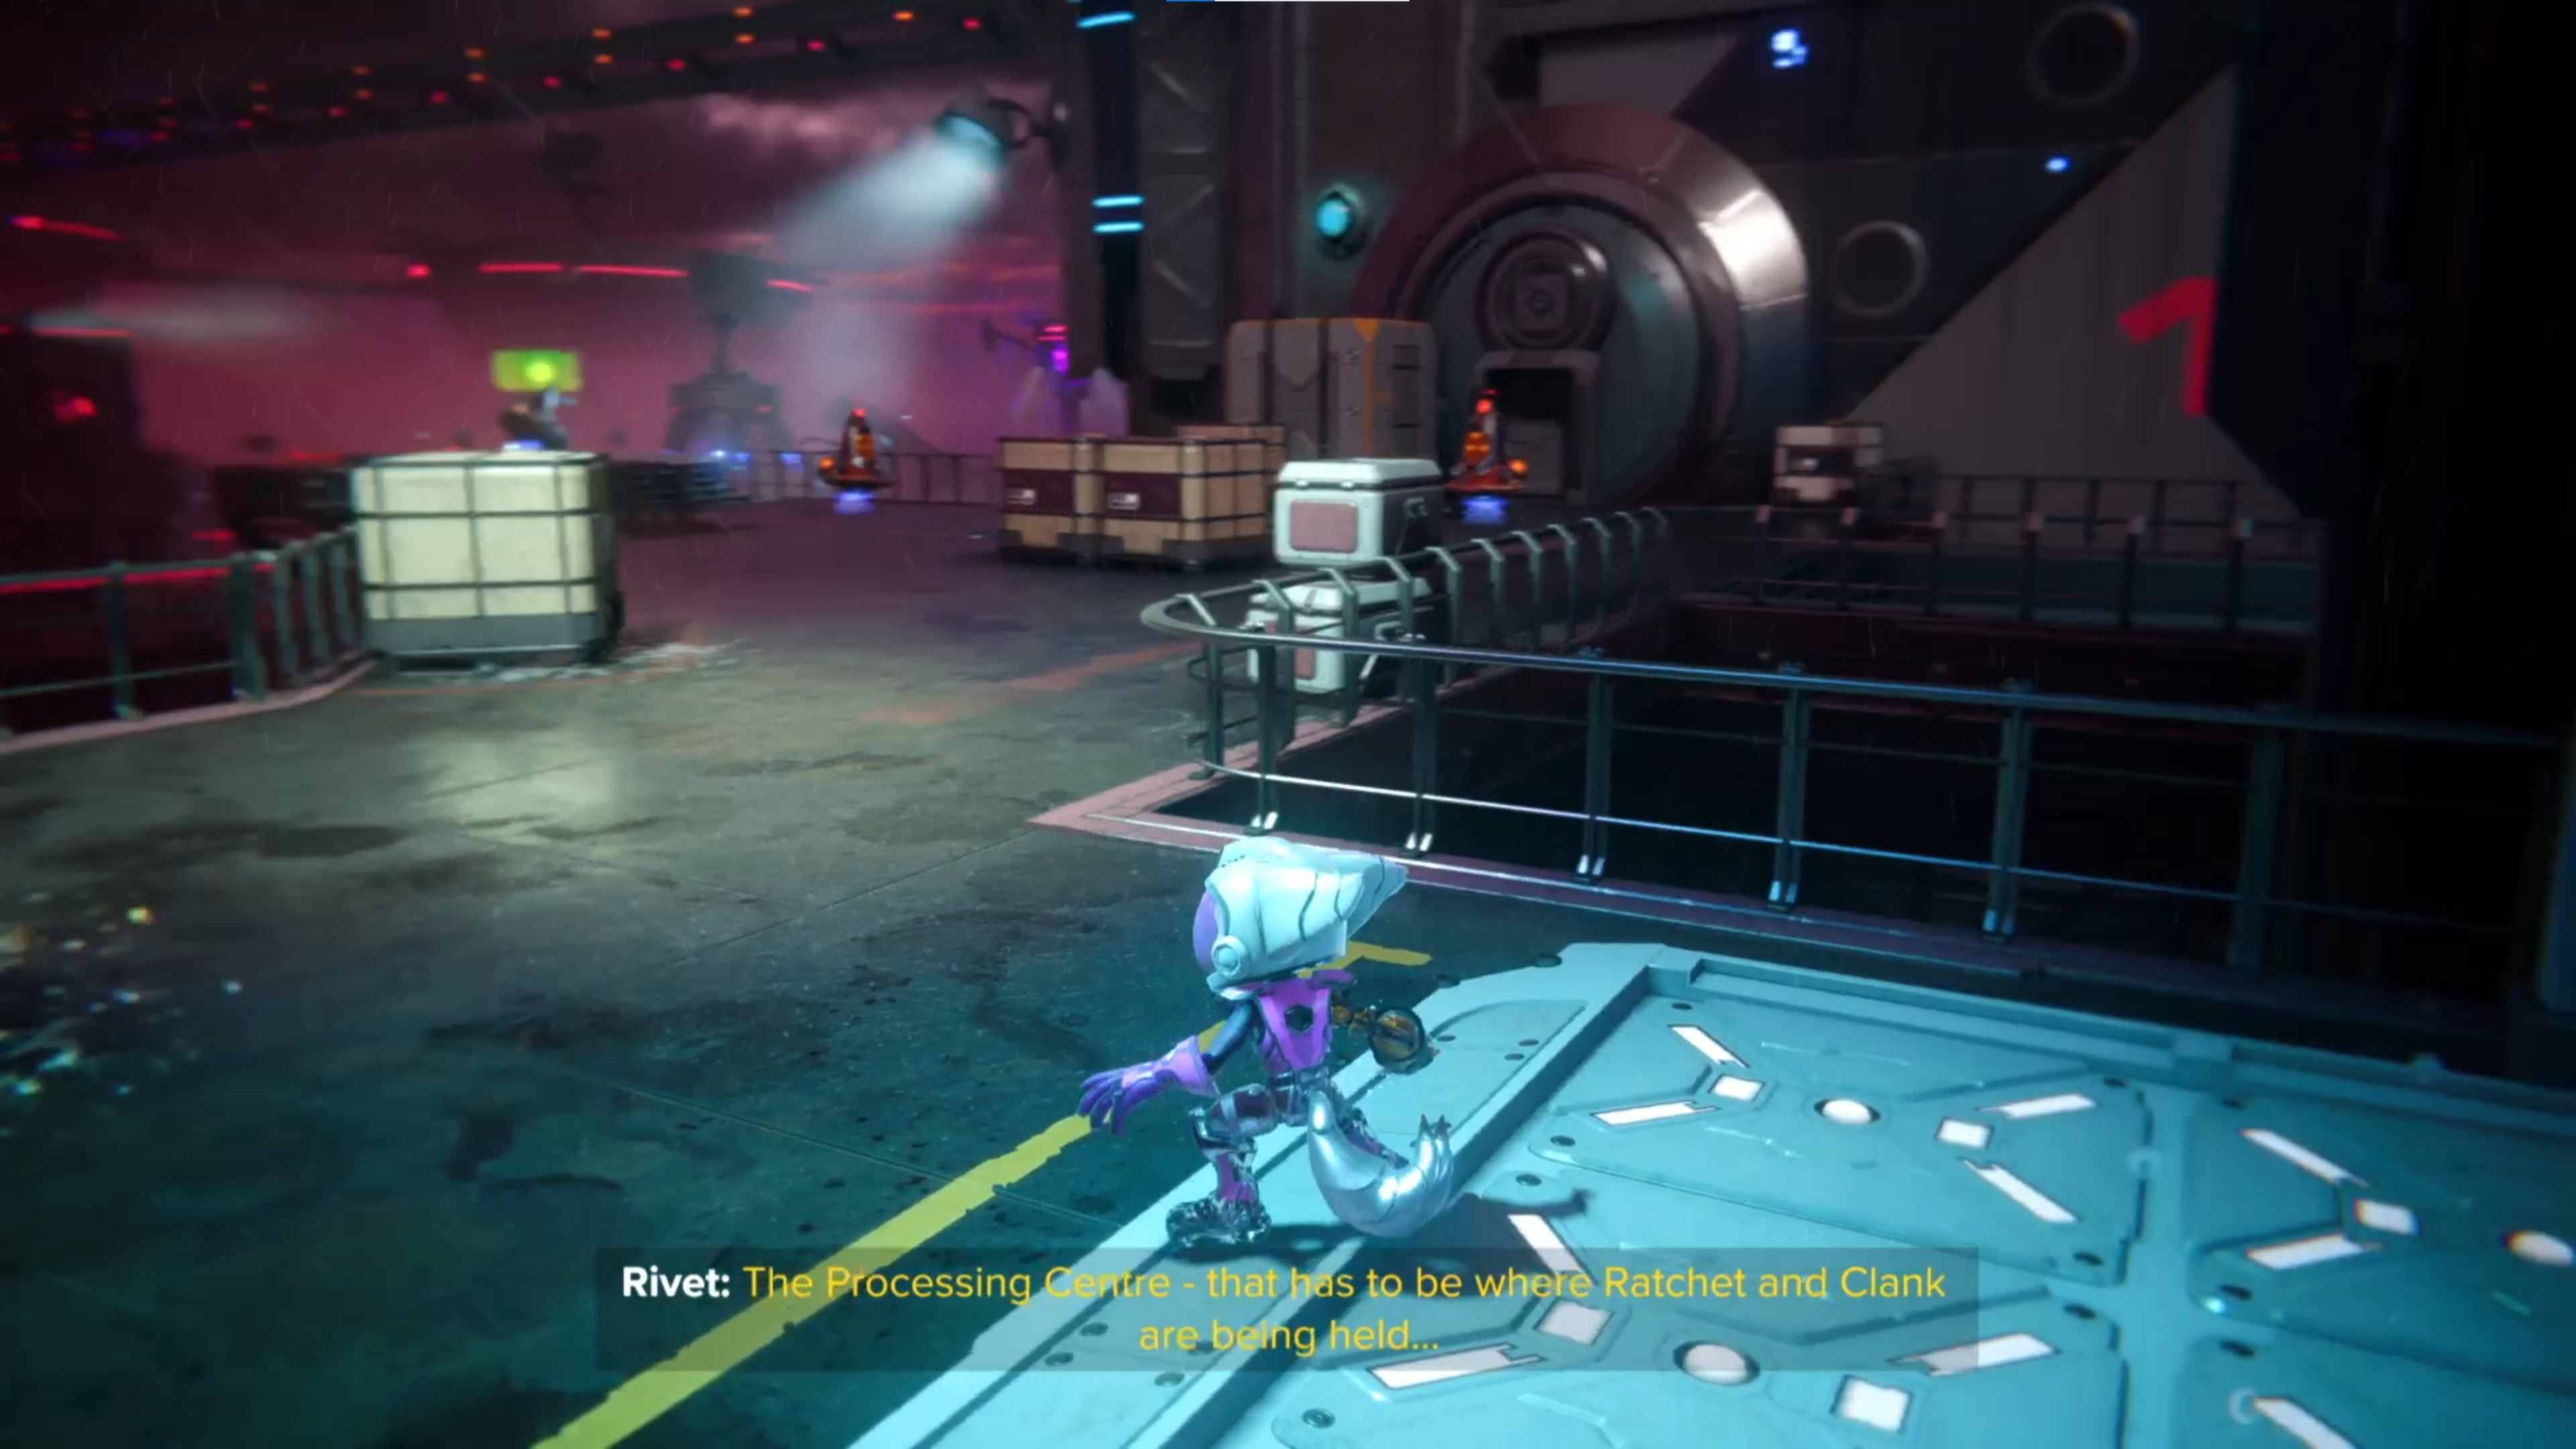
When you get to Viceron, you need to find the rest of the gang – Ratchet, Clank, and Kit. From where you spawn on the cliff edge, just follow the path forwards, grabbing all the raritanium along the way, until you swing across a gap onto a manmade structure. This is the start of Zordoon Prison, with a Ms. Zurkon inside.
Remember at the start of the game when the phantom dash allowed you to bypass doorways with forcefields? You can do that again here, so head through and start clearing the enemies. When they're all defeated, check the gold bolts guide for the first one on Viceron, then when you've obtained it, use the terminal on the landing pad to raise something you can swing across.
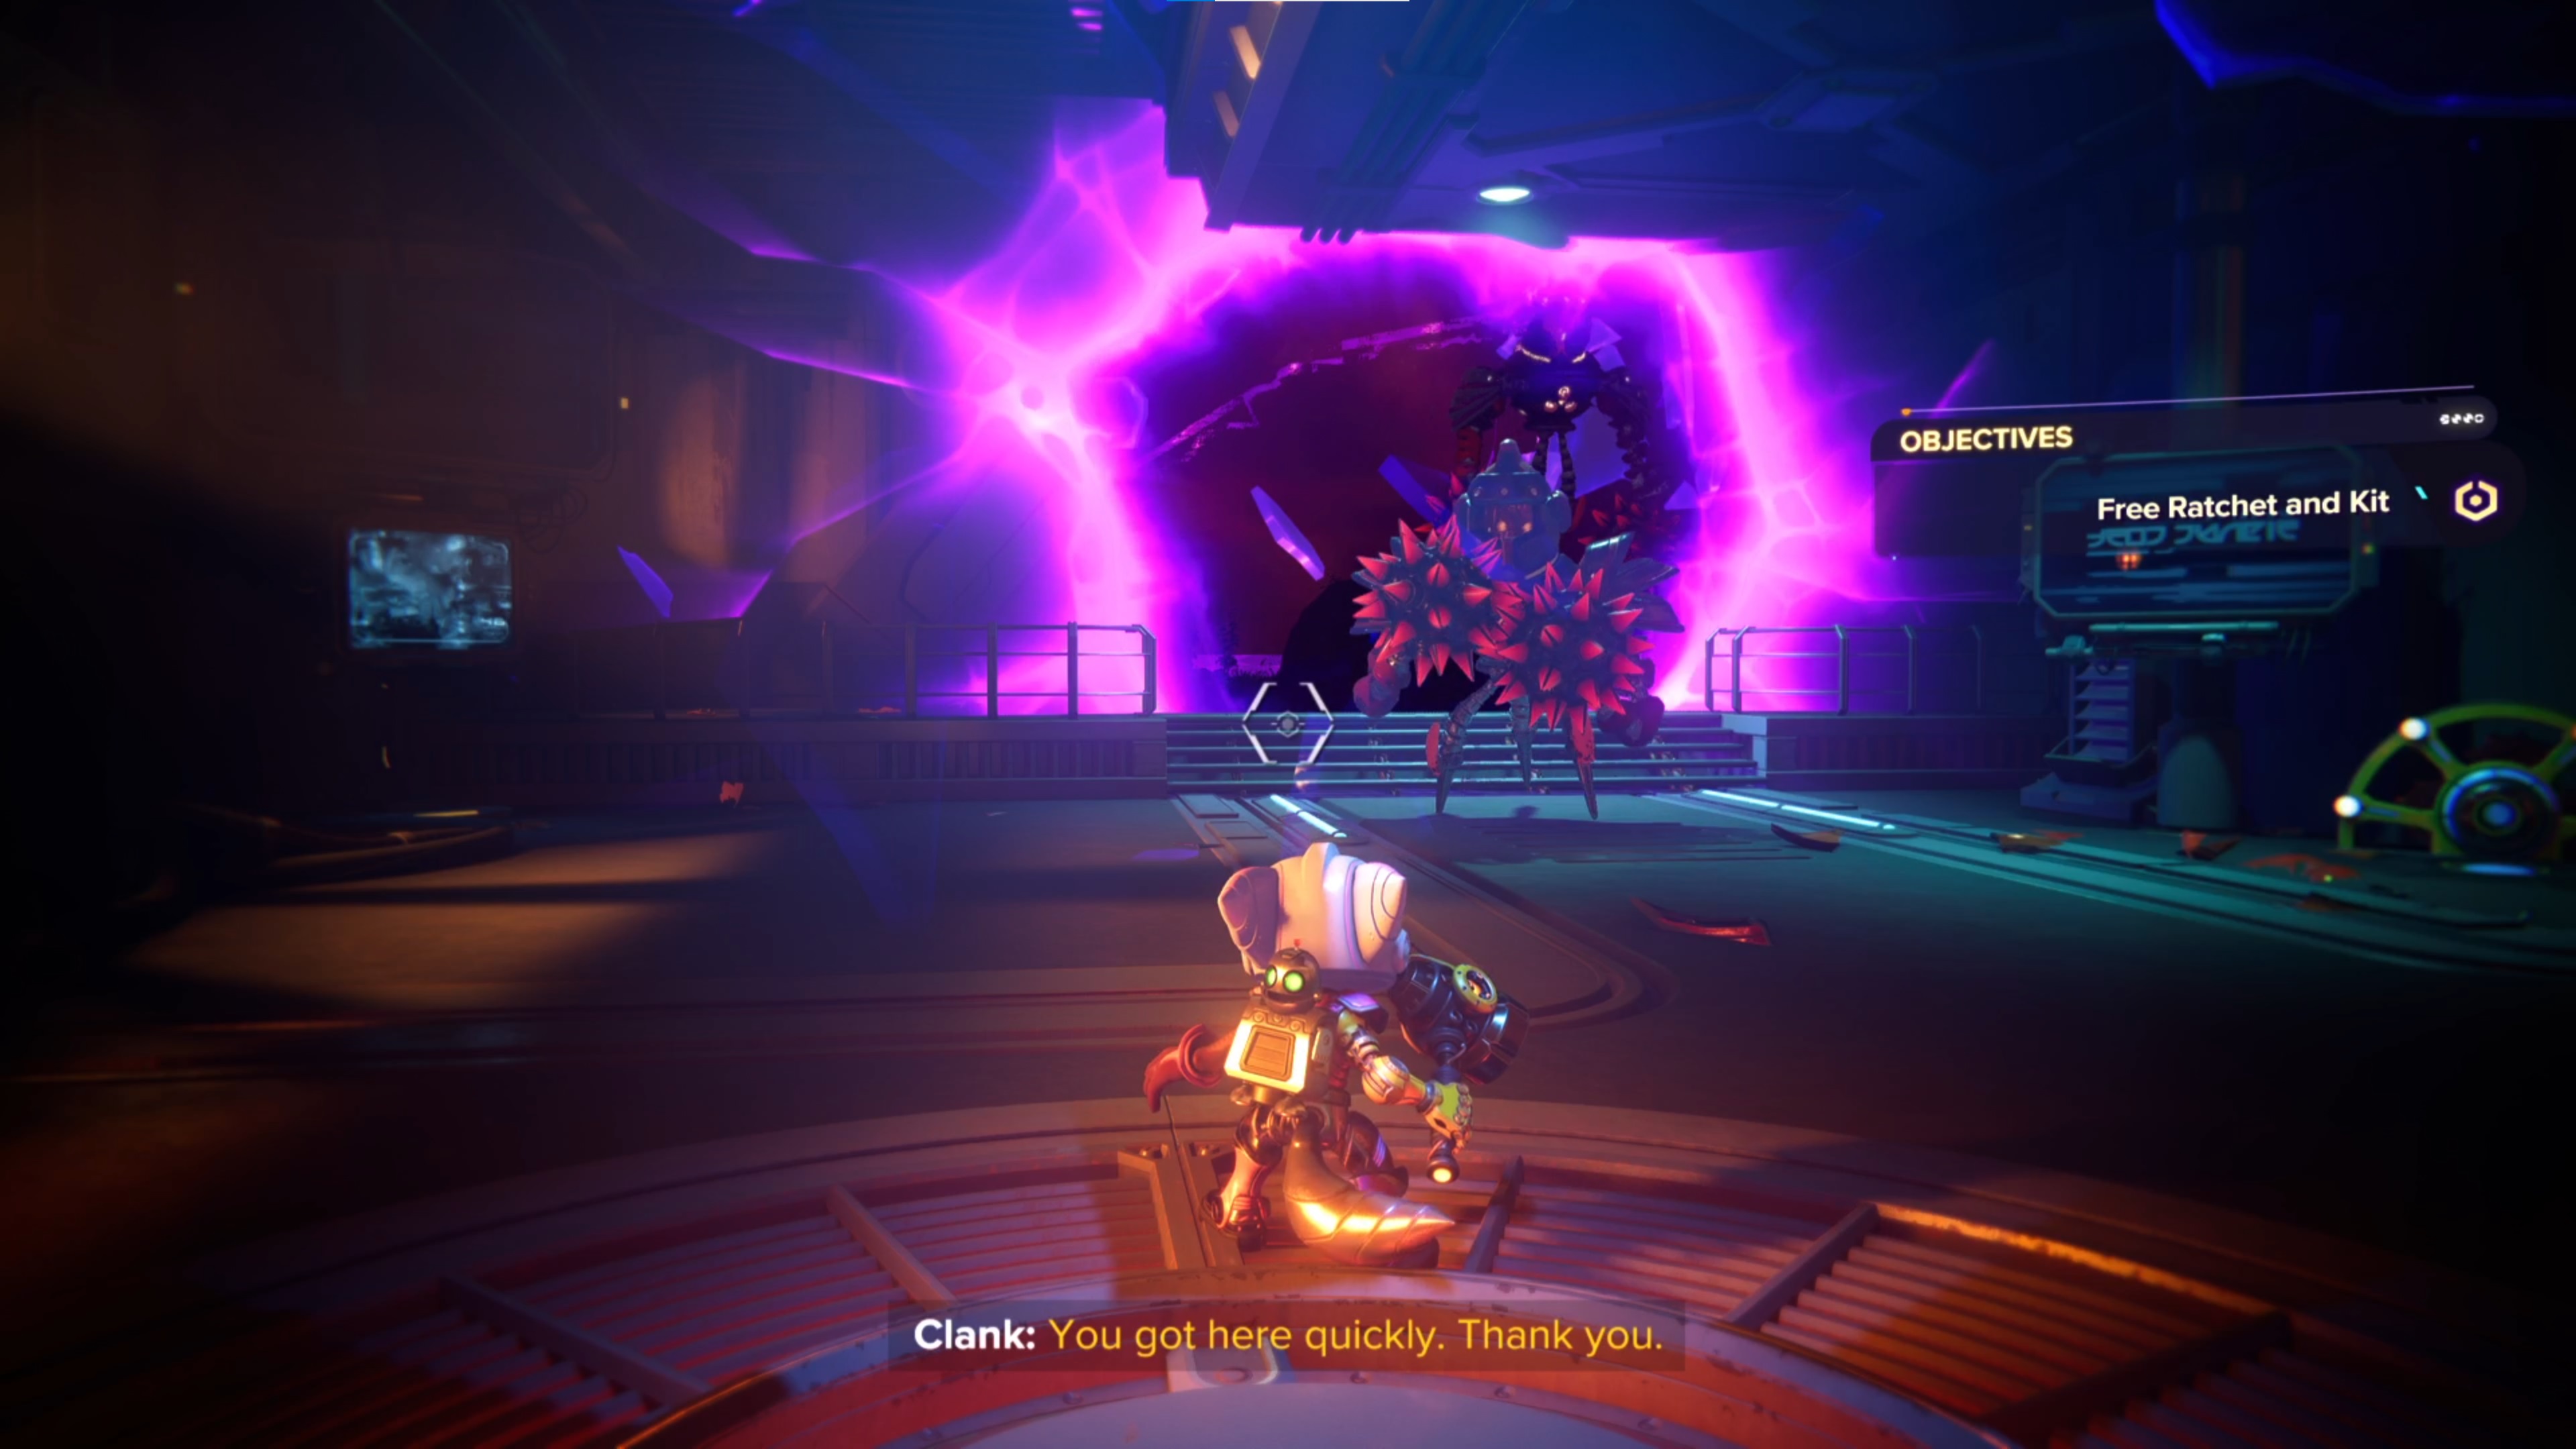
Float down to the next area of the prison, the Processing Center, and clear the enemies again, then bounce on the pink pad and swing to the wallrun section. Melee attack the fan to enter the vents. This area seems like a maze but is actually quite linear; take the first left turn and follow the only way to go until you spot Clank through a grate beneath you. Check the spybot guide for the final spybot of the game too.
After getting the spybot, turn the next corner and you can drop into the Holding Cells. After speaking to some of the captives, turn the corner and kill the enemies then interact with the hammercrank to rescue Clank, along with Phantom, Captain Quantum, and some other friends. Make sure you look at the CraiggerBears guide here to grab the final one of those.
Freeing Ratchet and Kit
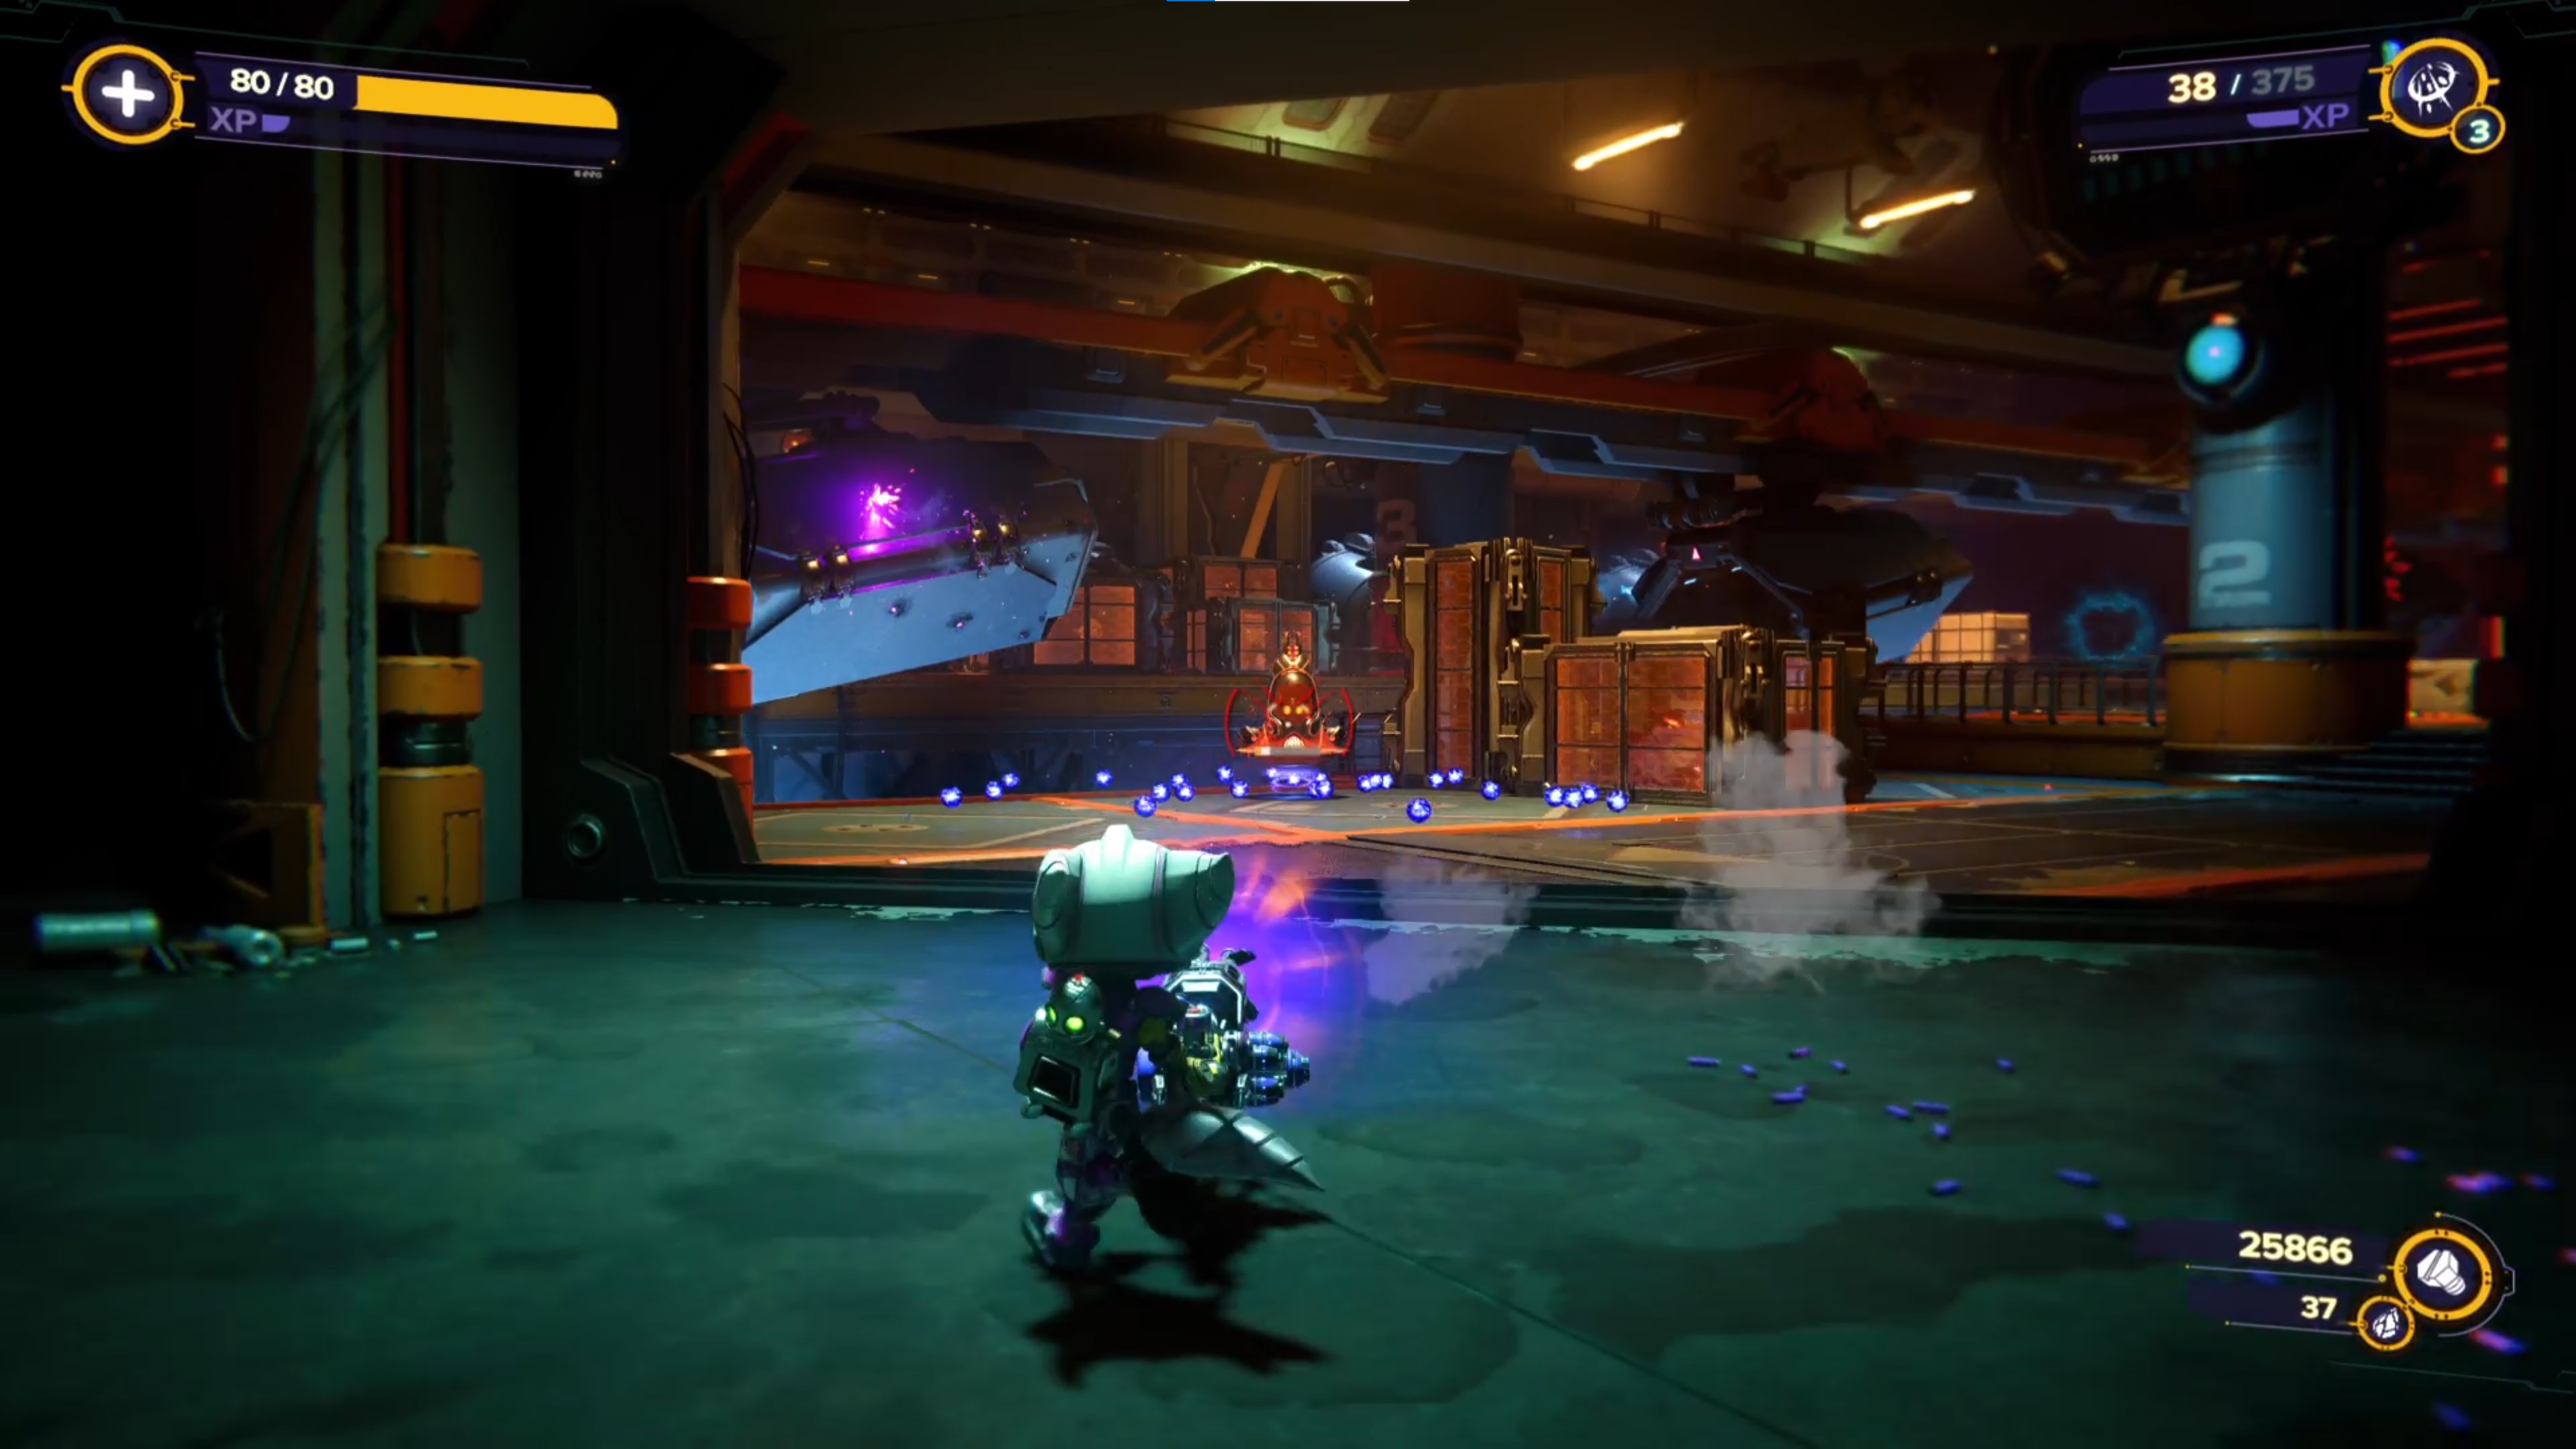
Now you've got Clank back and have disposed of the incoming Nefarious Troopers, go through the next doorway and another enemy will smash the glass to your left. Jump through and you'll spot Ratchet and Kit in a holding cell, being dragged around the prison. Obliterate all the enemies out here then check the gold bolts guide again for the second one on Viceron.
Take a left over the blue bridge to enter the Prisoner Transfer Centre, where you'll find a heck of a lot more enemies. If you're struggling here thanks to how narrow the combat areas can be combined with the long-range weapons of the Nefarious Troopers, hang around the entrance and try to lure a couple of enemies over at a time. When you've seen them all off, exit at the other end, turn the Hammercank, and there'll be another boss fight against the Transfer Manager. Thankfully, it's a clone of the previous boss fights, so you won't have too much difficulty.
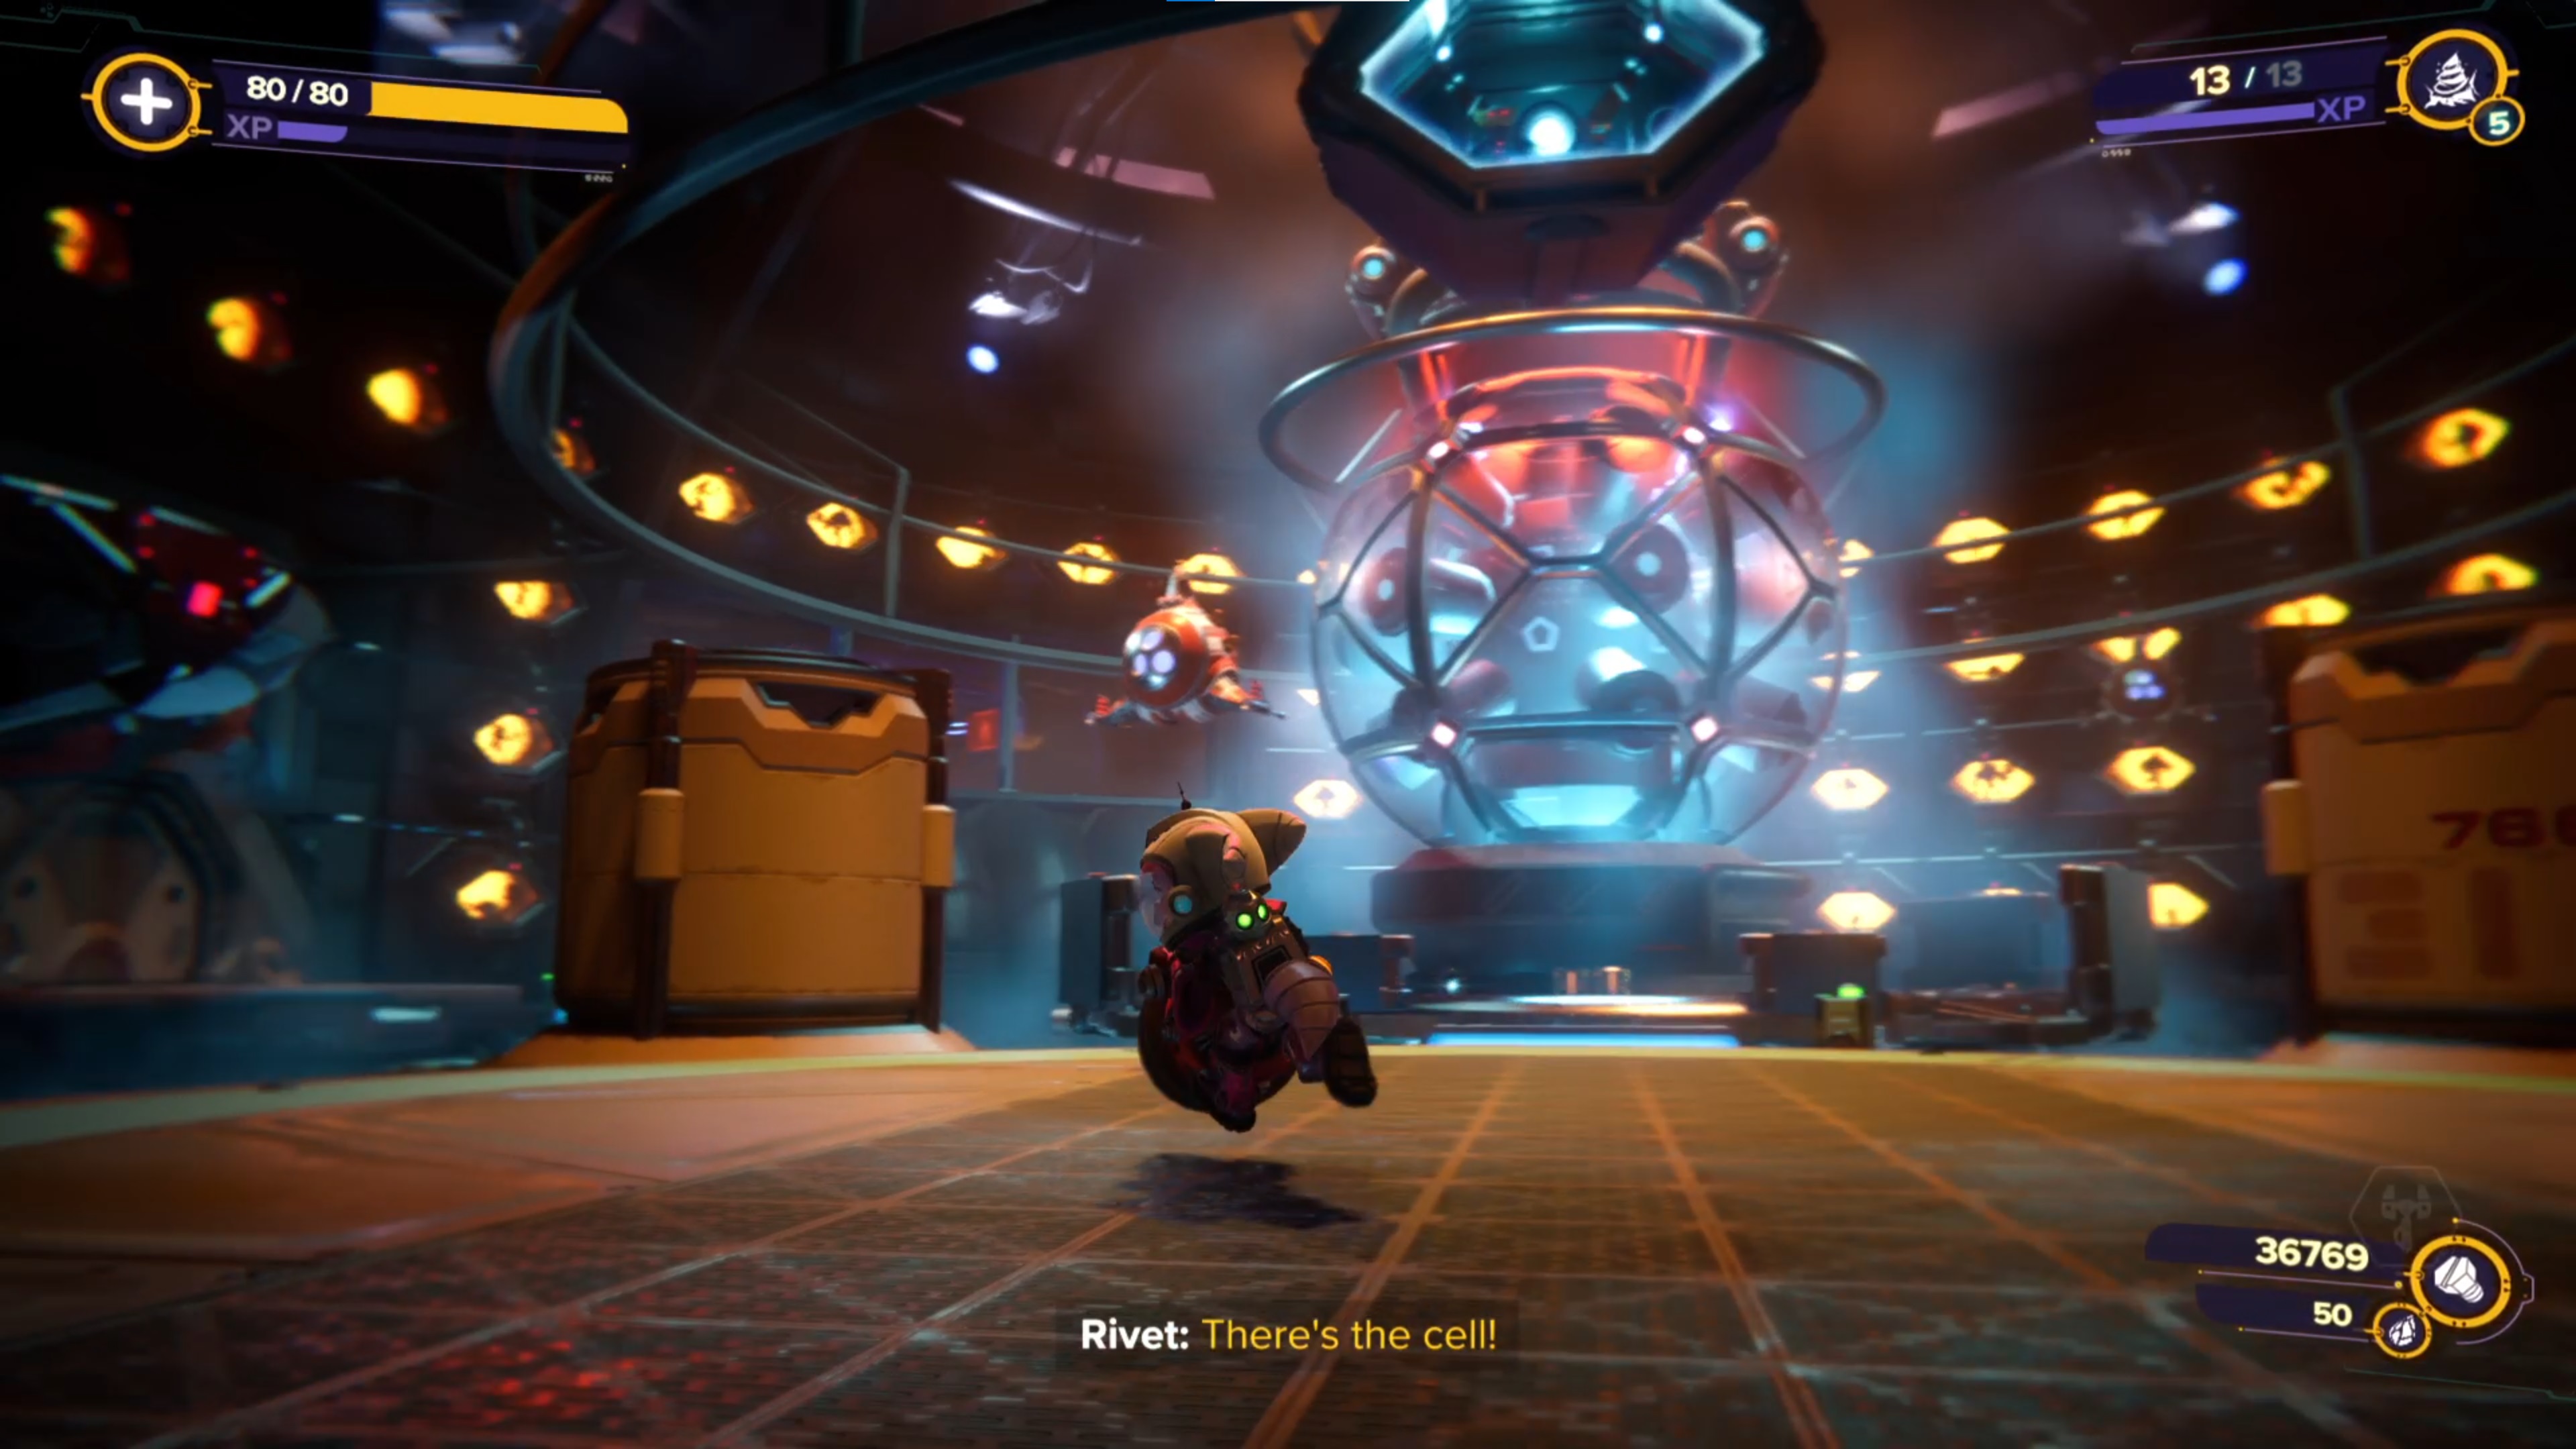
Hang onto Ratchet and Kit's cell with L1 until you reach the South Entrance. Head inside and as expected, there are more Nefarious Troopers – deal with them, cross to the middle, then eliminate the others that join the action. Head out through the western door and you'll be in the VIP West Wing. After a short cutscene, you can explore this area, killing some more enemies and interacting with a lot of the prisoners.
When you've seen everything, go further west and back outside to find a Ms. Zurkon. Head right and you'll find a few floating platforms you can swing and rift tether between. Follow this path all the way to the top corner by the 447-2 marking, enter the vent, and break through into the other side where the Emperor's Assistant is waiting. Interact with the terminal to begin a short cutscene.
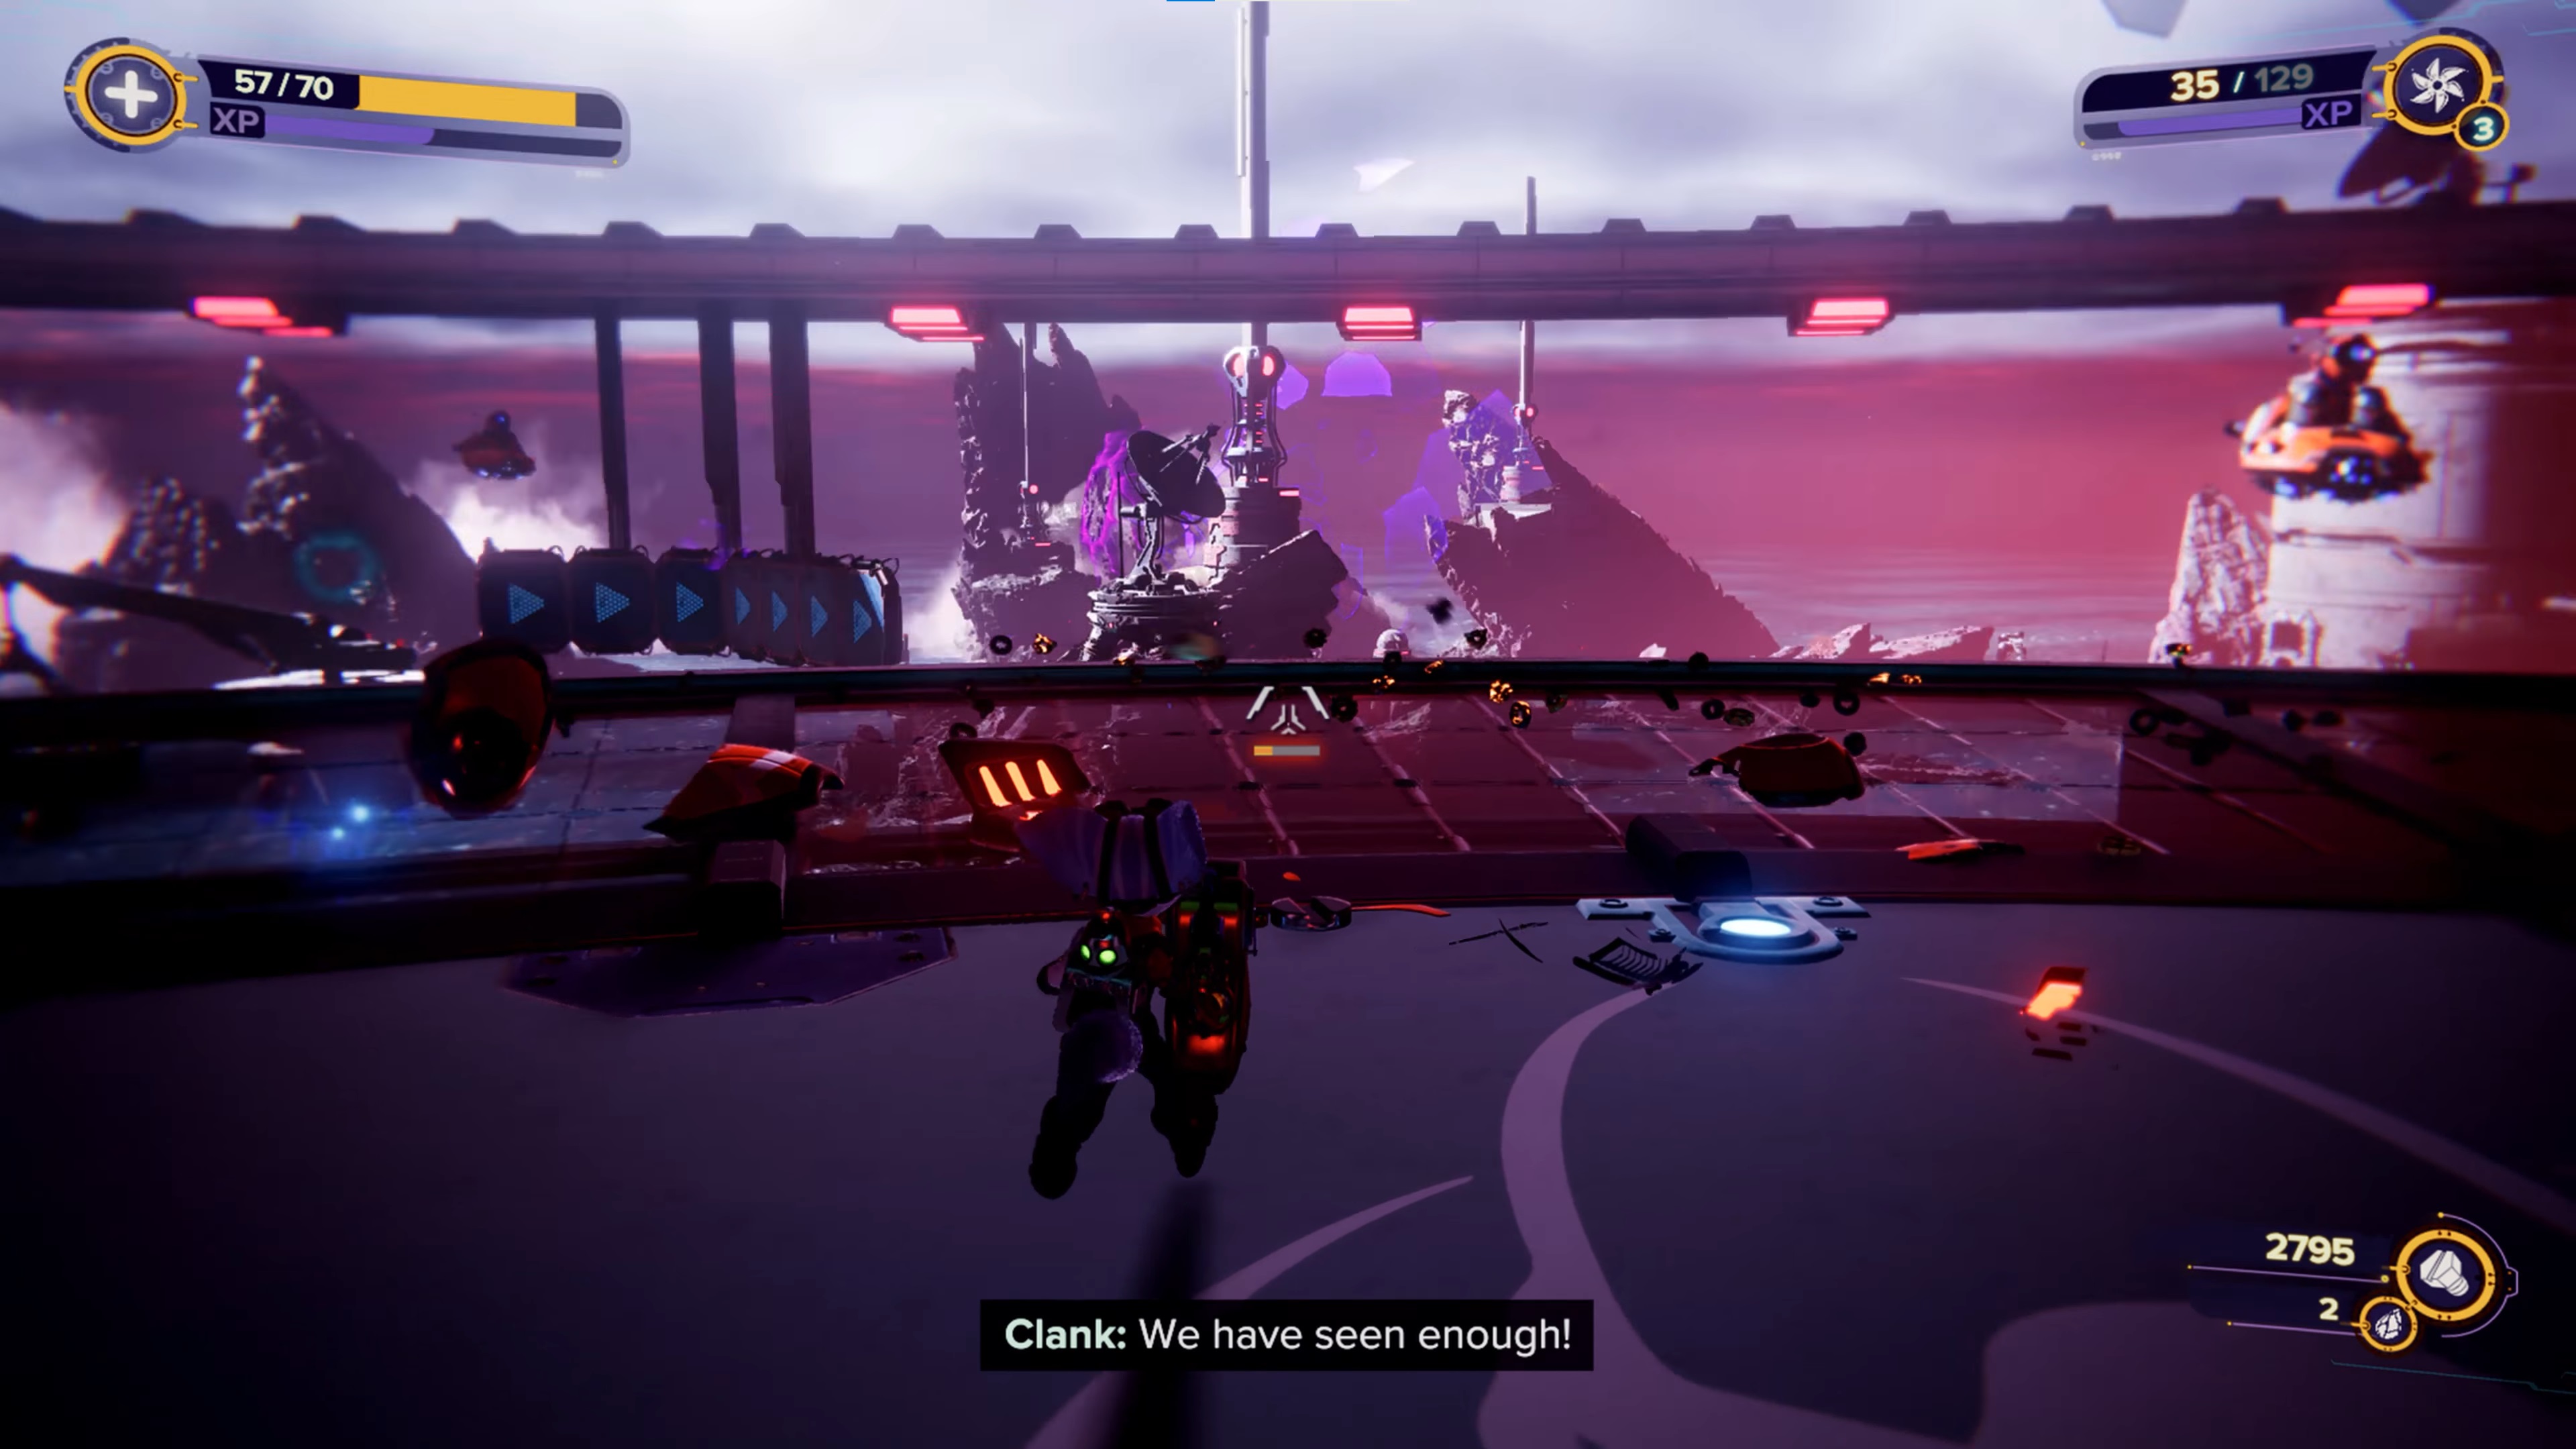
A fight against a bunch of waves of Nefarious Troopers will kick off but there are no bosses here, just a plethora of standard foes. When they're all defeated, jump out of the window at the back of the room and glide down to the next protruding platform, where another trooper will be. Once the red forcefield is down in the next room, you can re-enter the VIP wing where you'll find all the prisoners now on your side, fighting against the Nefarious Troopers. Check the gold bolt guide to find the very last gold bolt in the game here.
Make your way through the chaos back to the big dome room and start using the rift tethers to navigate around, all while dealing with Nefarious Troopers. Keep running past the now-friendly Goons-4-Less and eliminate all the enemies as you head to the northern exit from the room, where you can interact with a terminal to open the next path. In here is another big enemy to kill, but the Goons-4-Less lend a very helping hand.
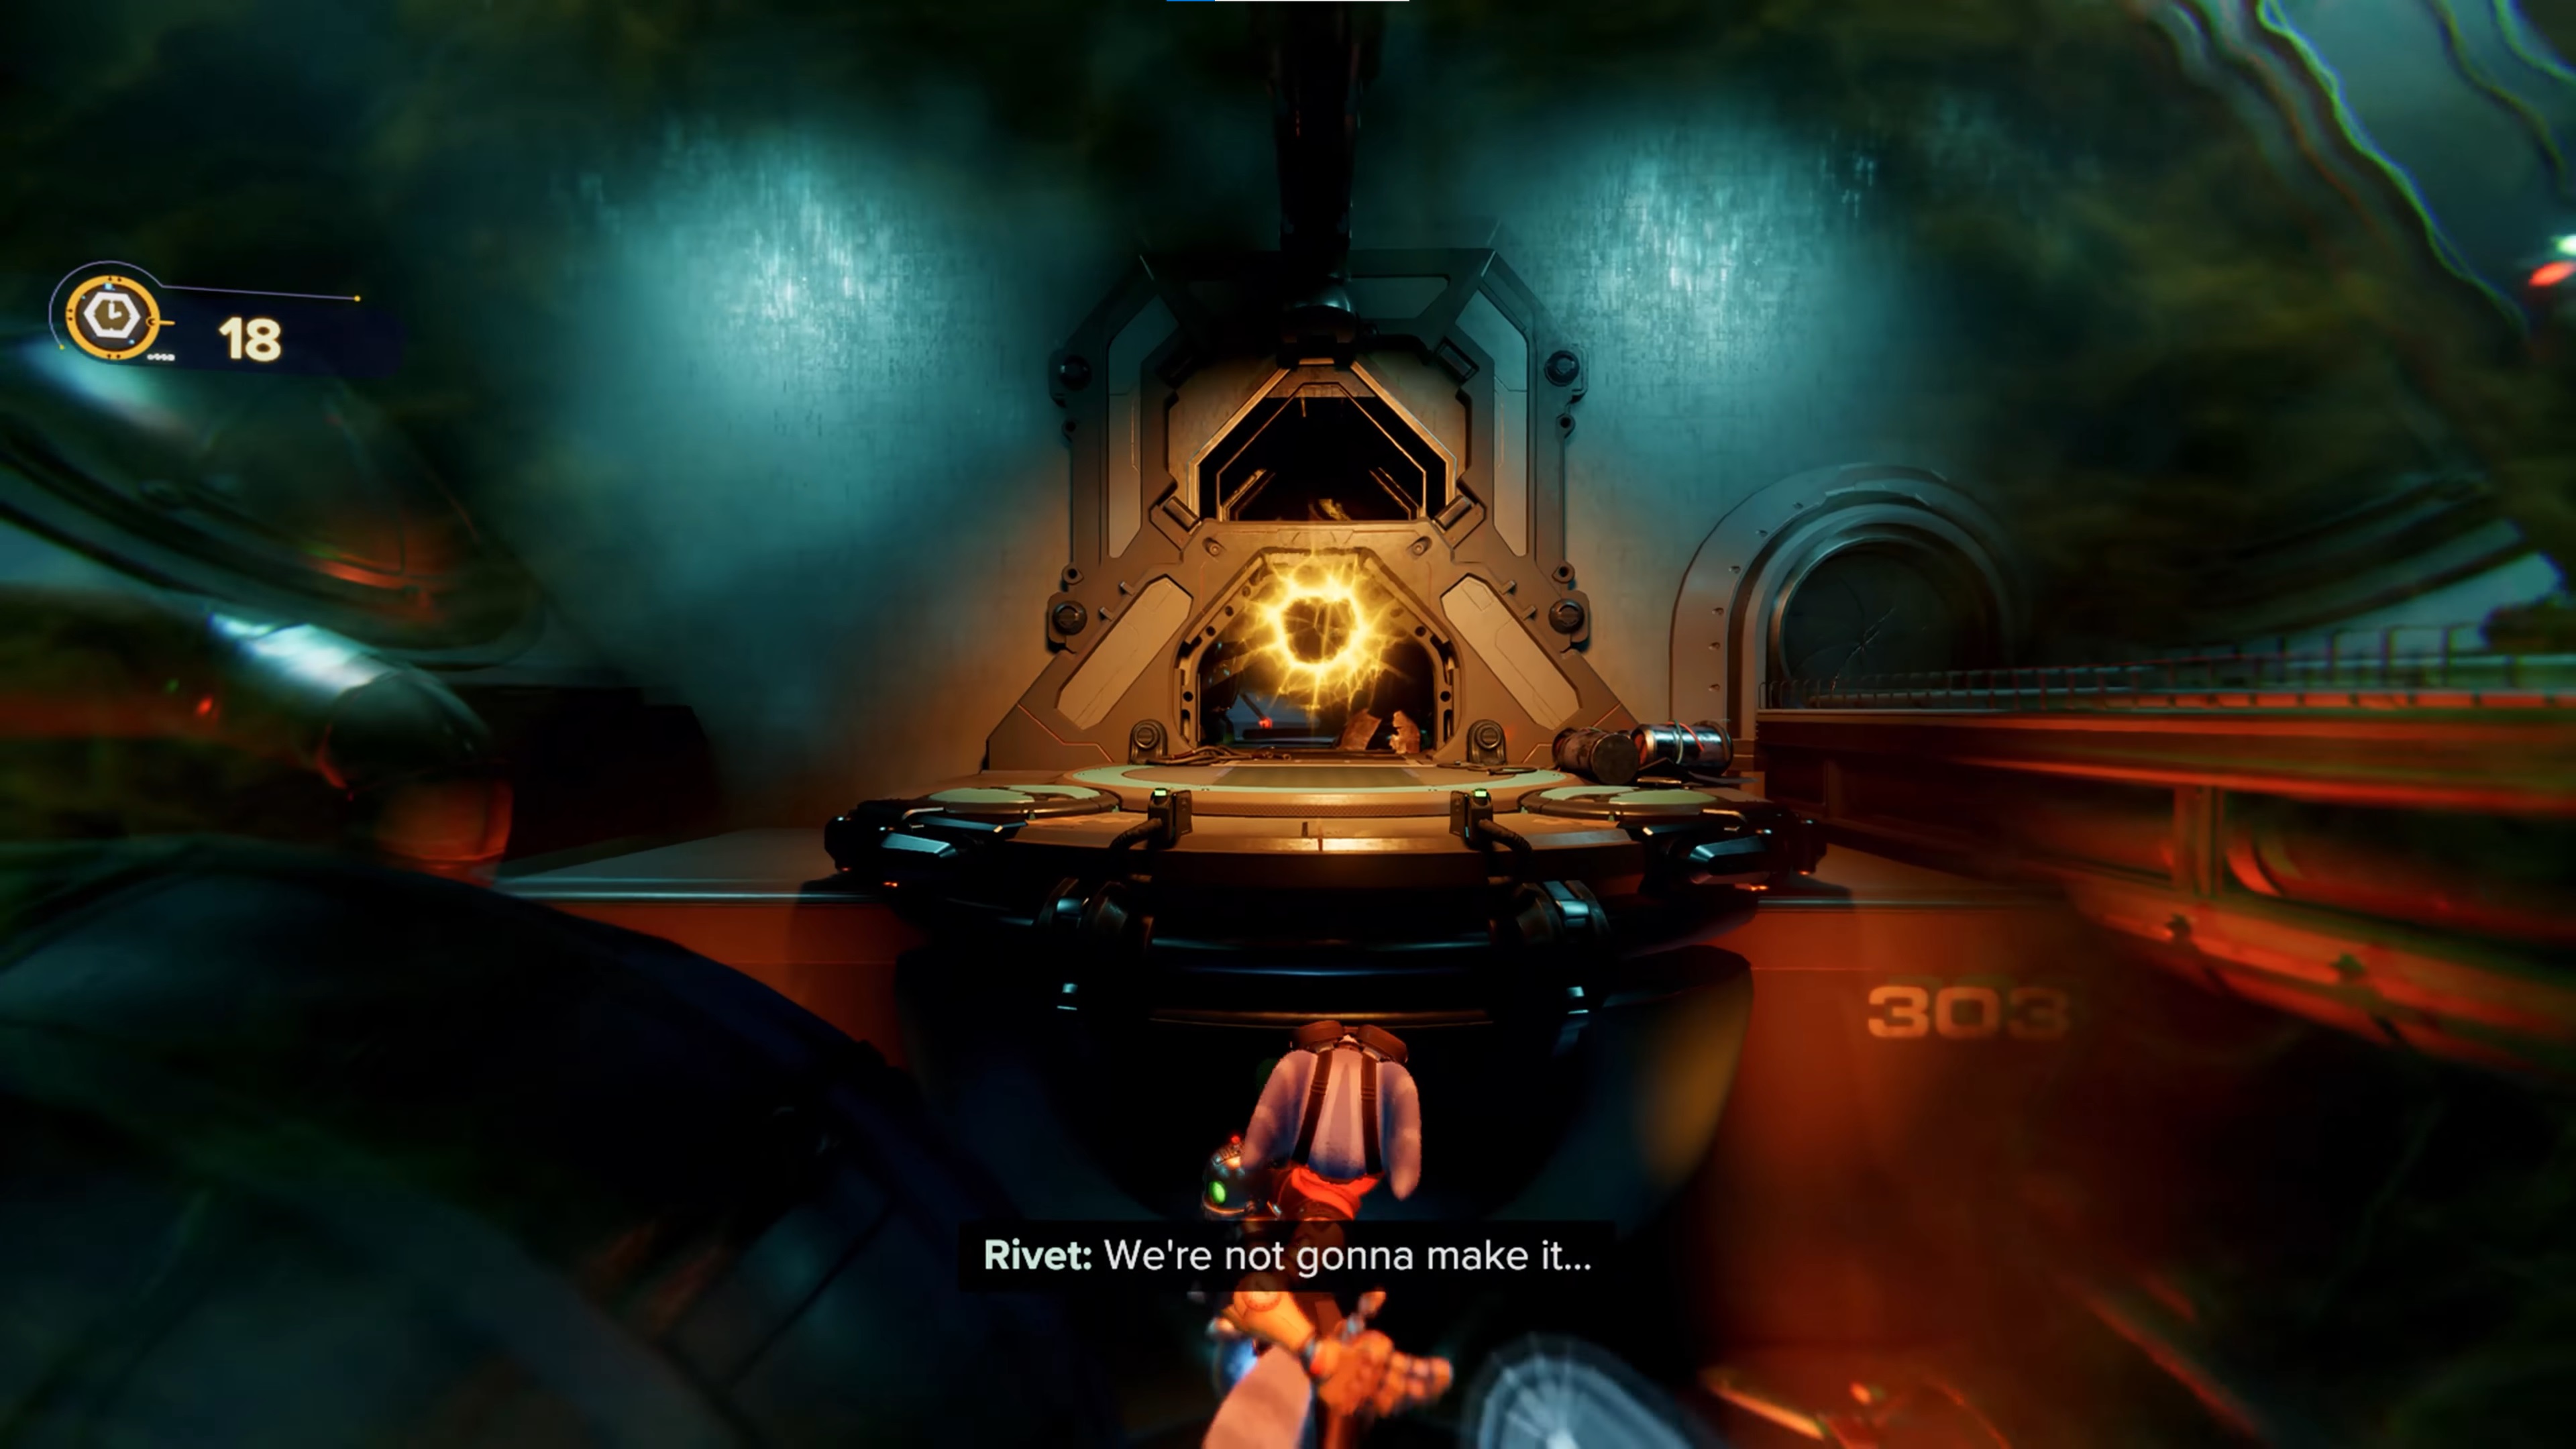
Ratchet and Kit are at the other end in Maximum Security, but you can't save them just yet; instead, when the platform descends, throw your hammer at the two green buttons and boost through the long tunnel with your hoverboots. There's no need to stop and fight any enemies here, you can zoom on past them all. Head up the spiral slope around the Backup Generator and out to the big ramp that launches you over the water.
On this far platform is another long ol' fight against multiple waves of incoming enemies. This area is huge though, with plenty of ammo and health crates around, so spend some time sprinting around stocking up while dodging enemies if you need to. There are also plenty of rift tethers to use if you need to get out of trouble quickly.
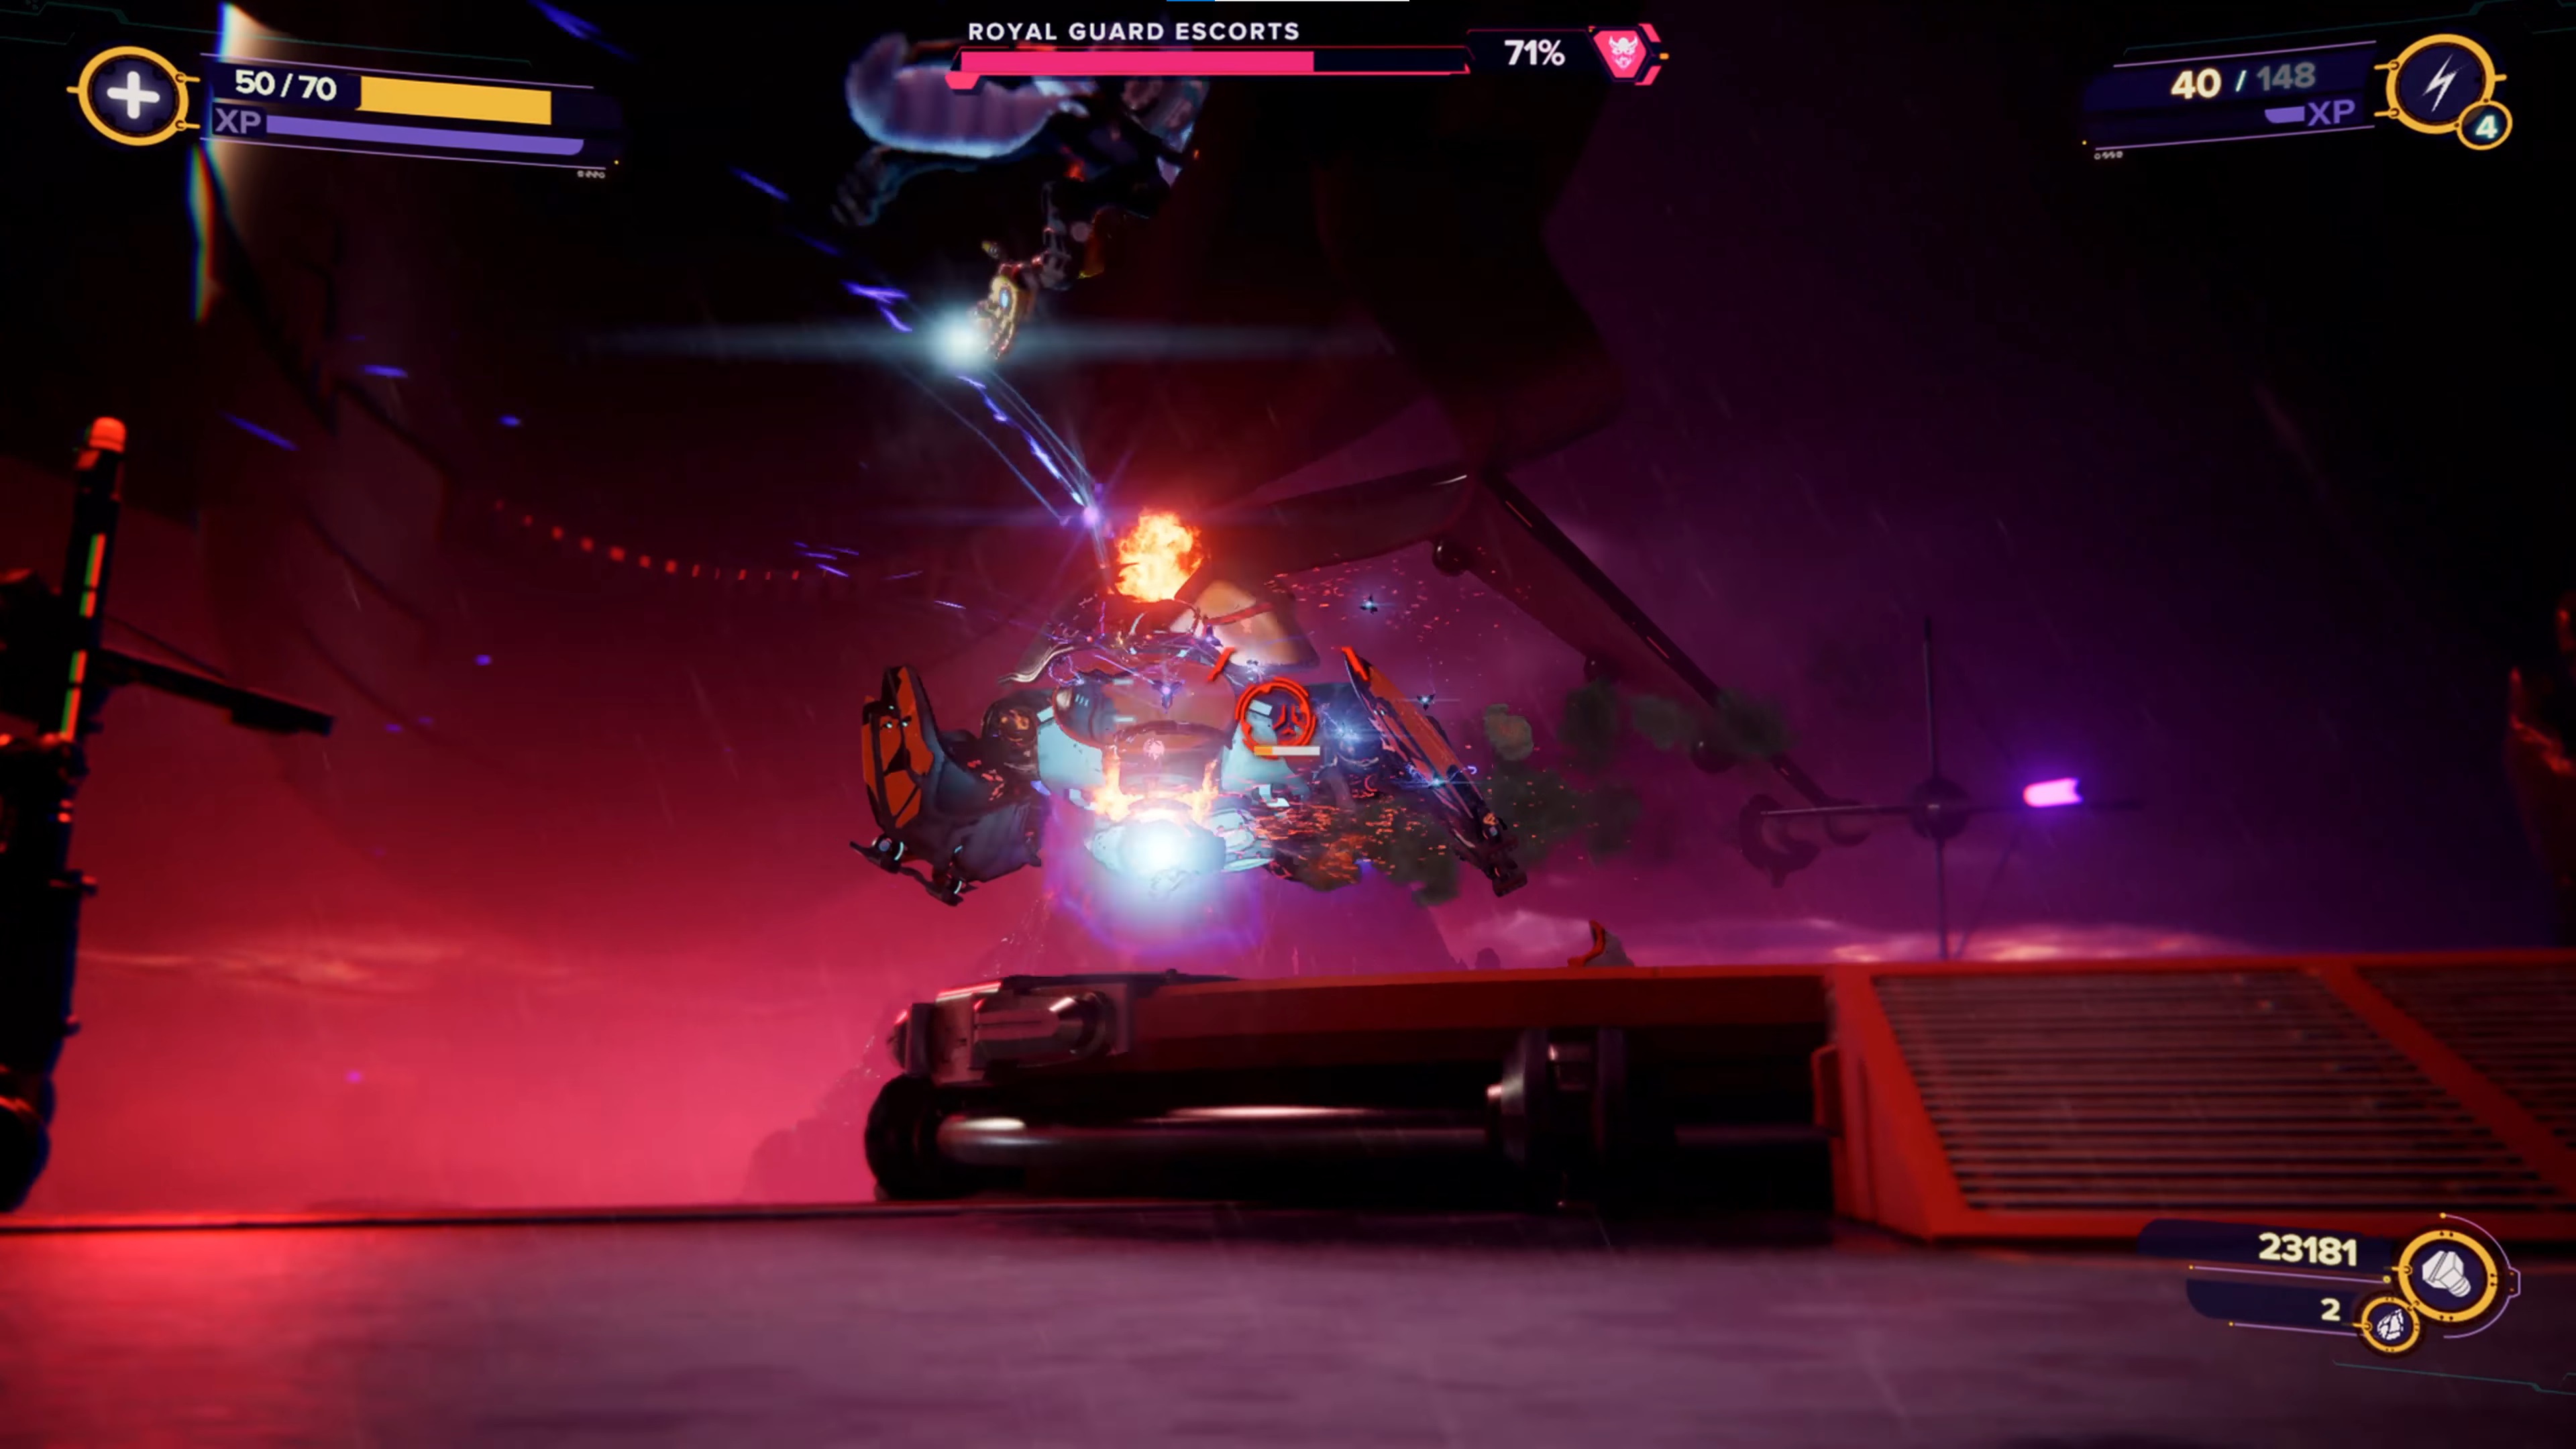
The Royal Guard Escorts can be a pain since a number of weapons are effectively useless on them, but utilise your heavy machinery like the Negatron Collider, Buzz Blades, Blast Pistol and such to do the most damage. When they're down, Ratchet and Kit will finally be saved, while Phantom brings your ship to you. When you return to Zurkie's you can begin the very final mission of Ratchet and Clank Rift Apart by speaking to Captain Quantum at the bar. Make sure you tick off anything you've left outstanding at this point.
Defeating both Dr. and Emperor Nefarious
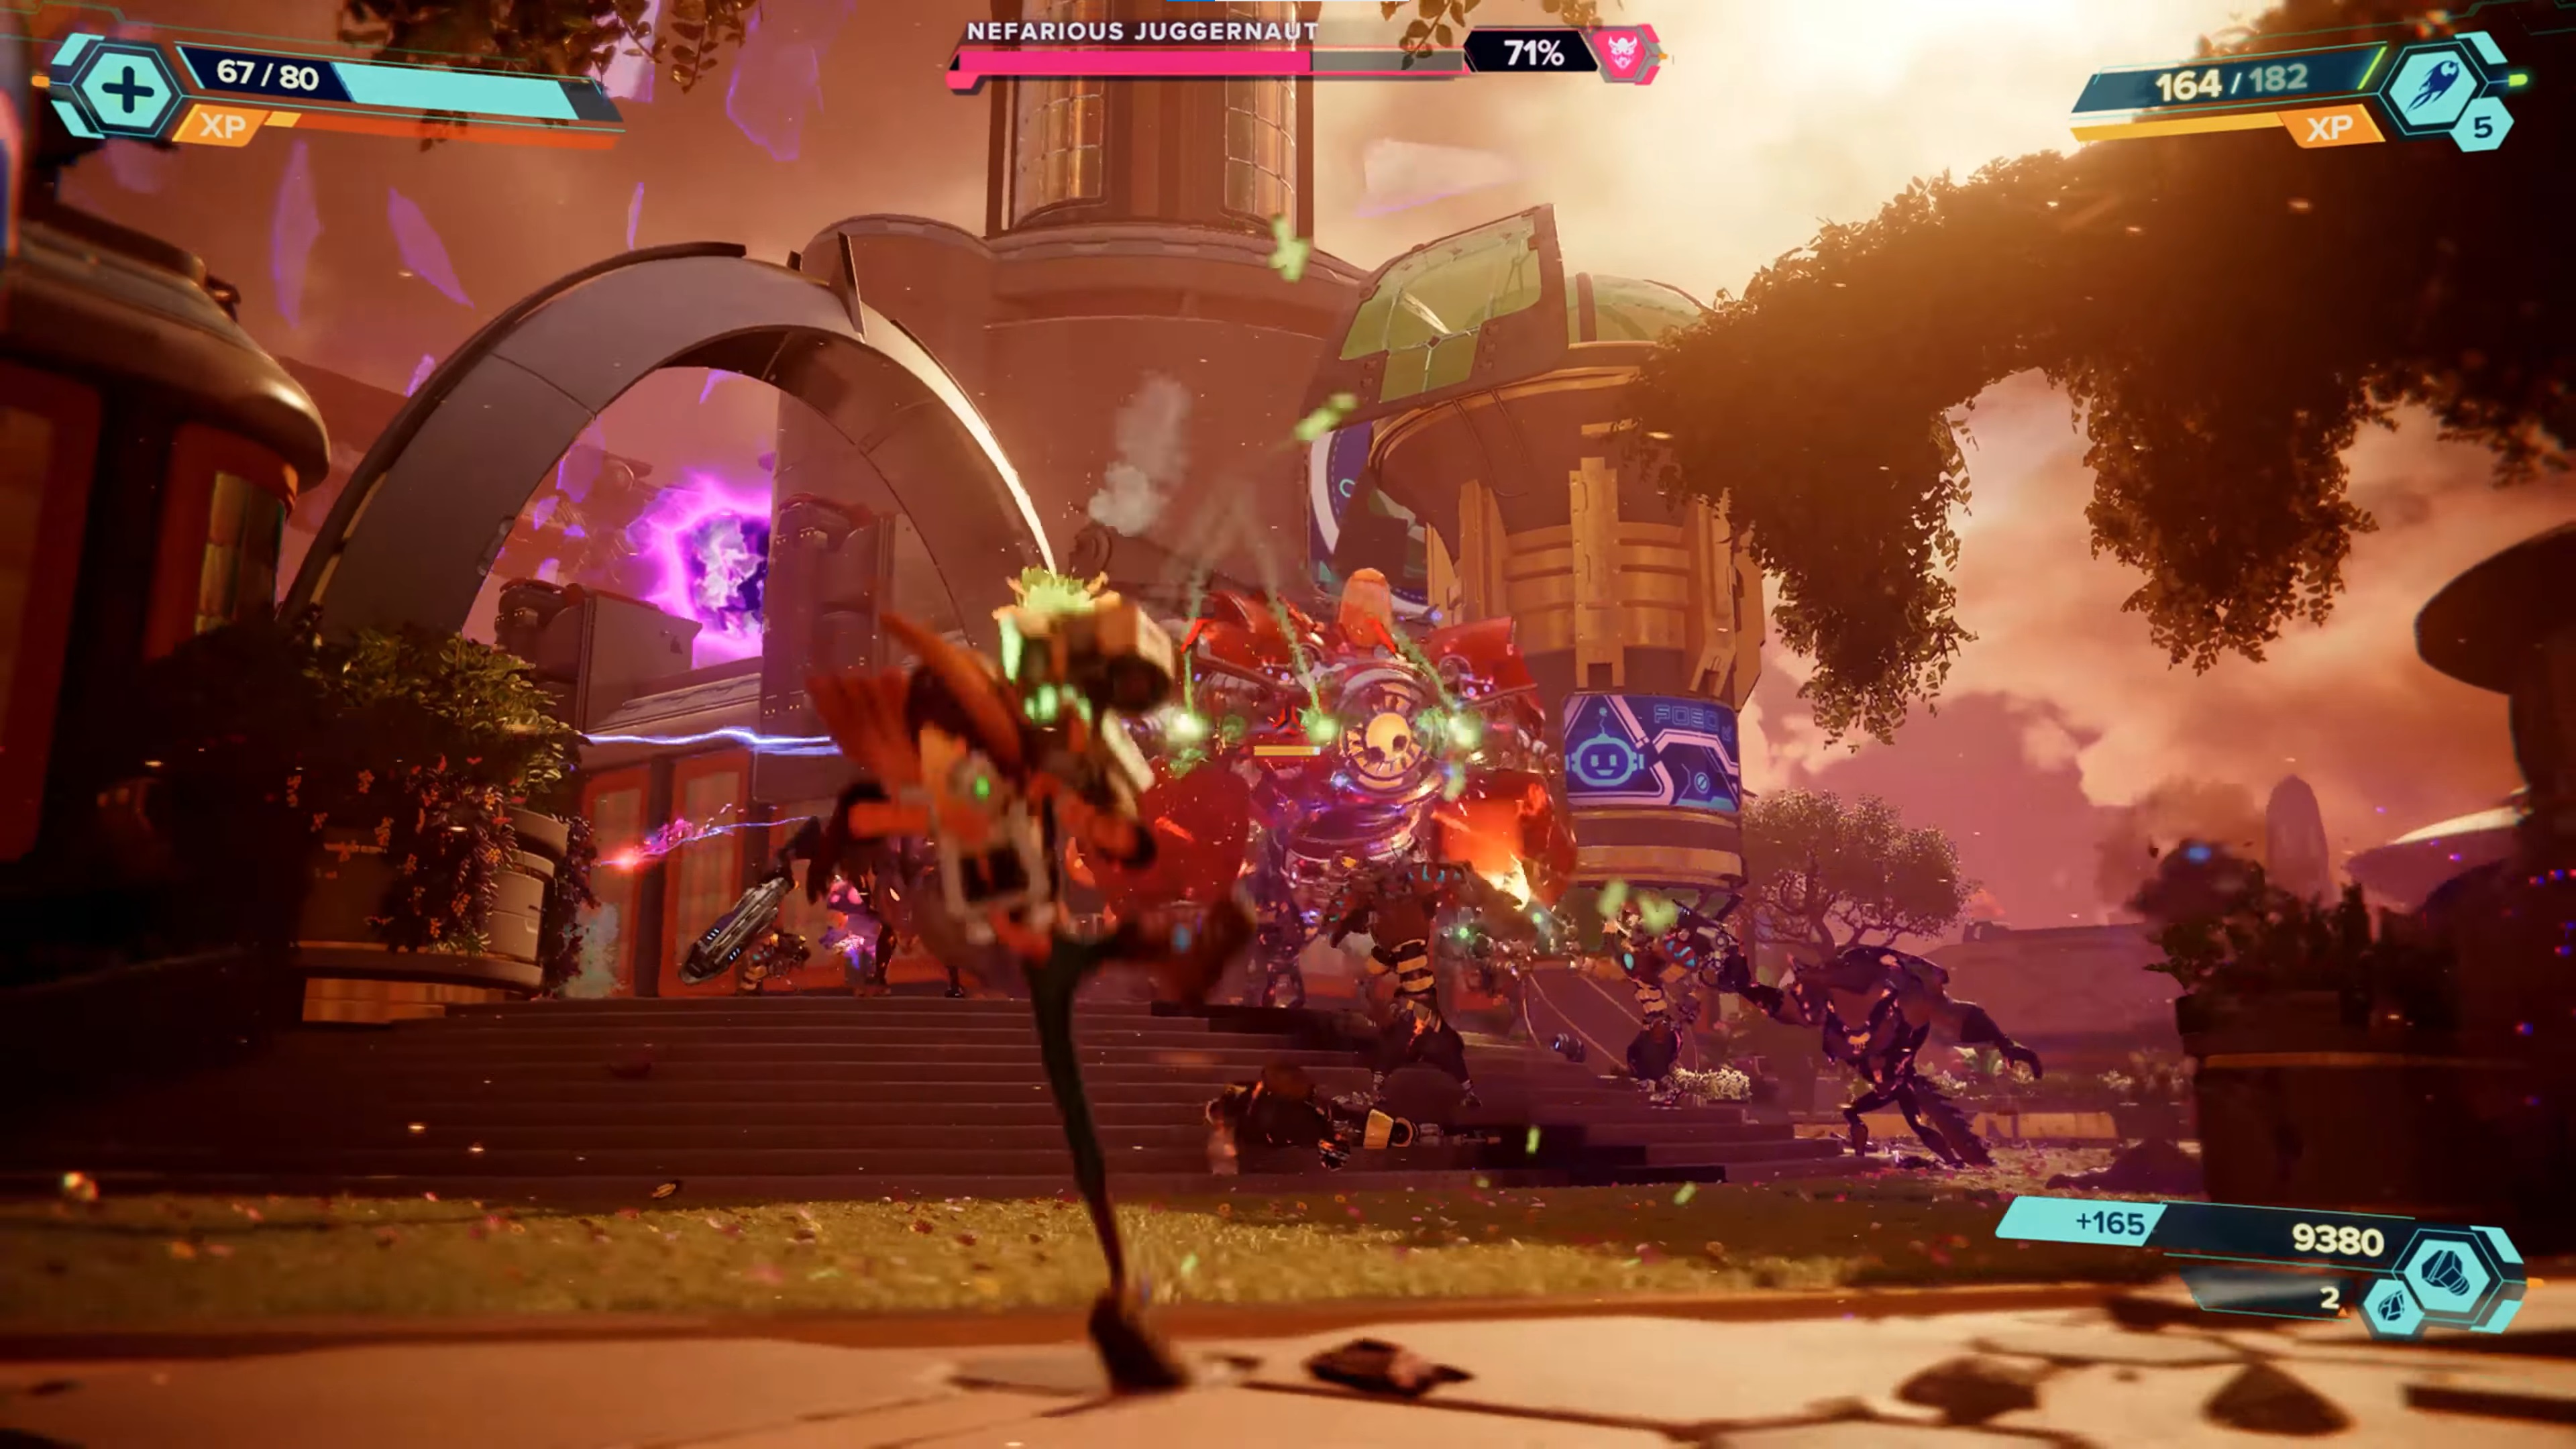
After the cutscene, you'll be back on Megalopolis. Drop down and head forward from where you start to find the Goons-4-Less helping you out once again against the myriad Nefarious Troopers. When the majority are down, another Nefarious Juggernaut will show up to spoil the fun, but doesn't prove to be too difficult especially due to the friends you have fighting alongside you.
Head through the area the Nefarious Juggernaut came from and after defeating the remaining enemies, a short cutscene with both the Nefariouses will happen in the sky. Now you're in charge of Rivet while riding Trudi; shoot fireballs at all the targets until you get thrown off automatically and you're fighting against the Imperial Power Suit.
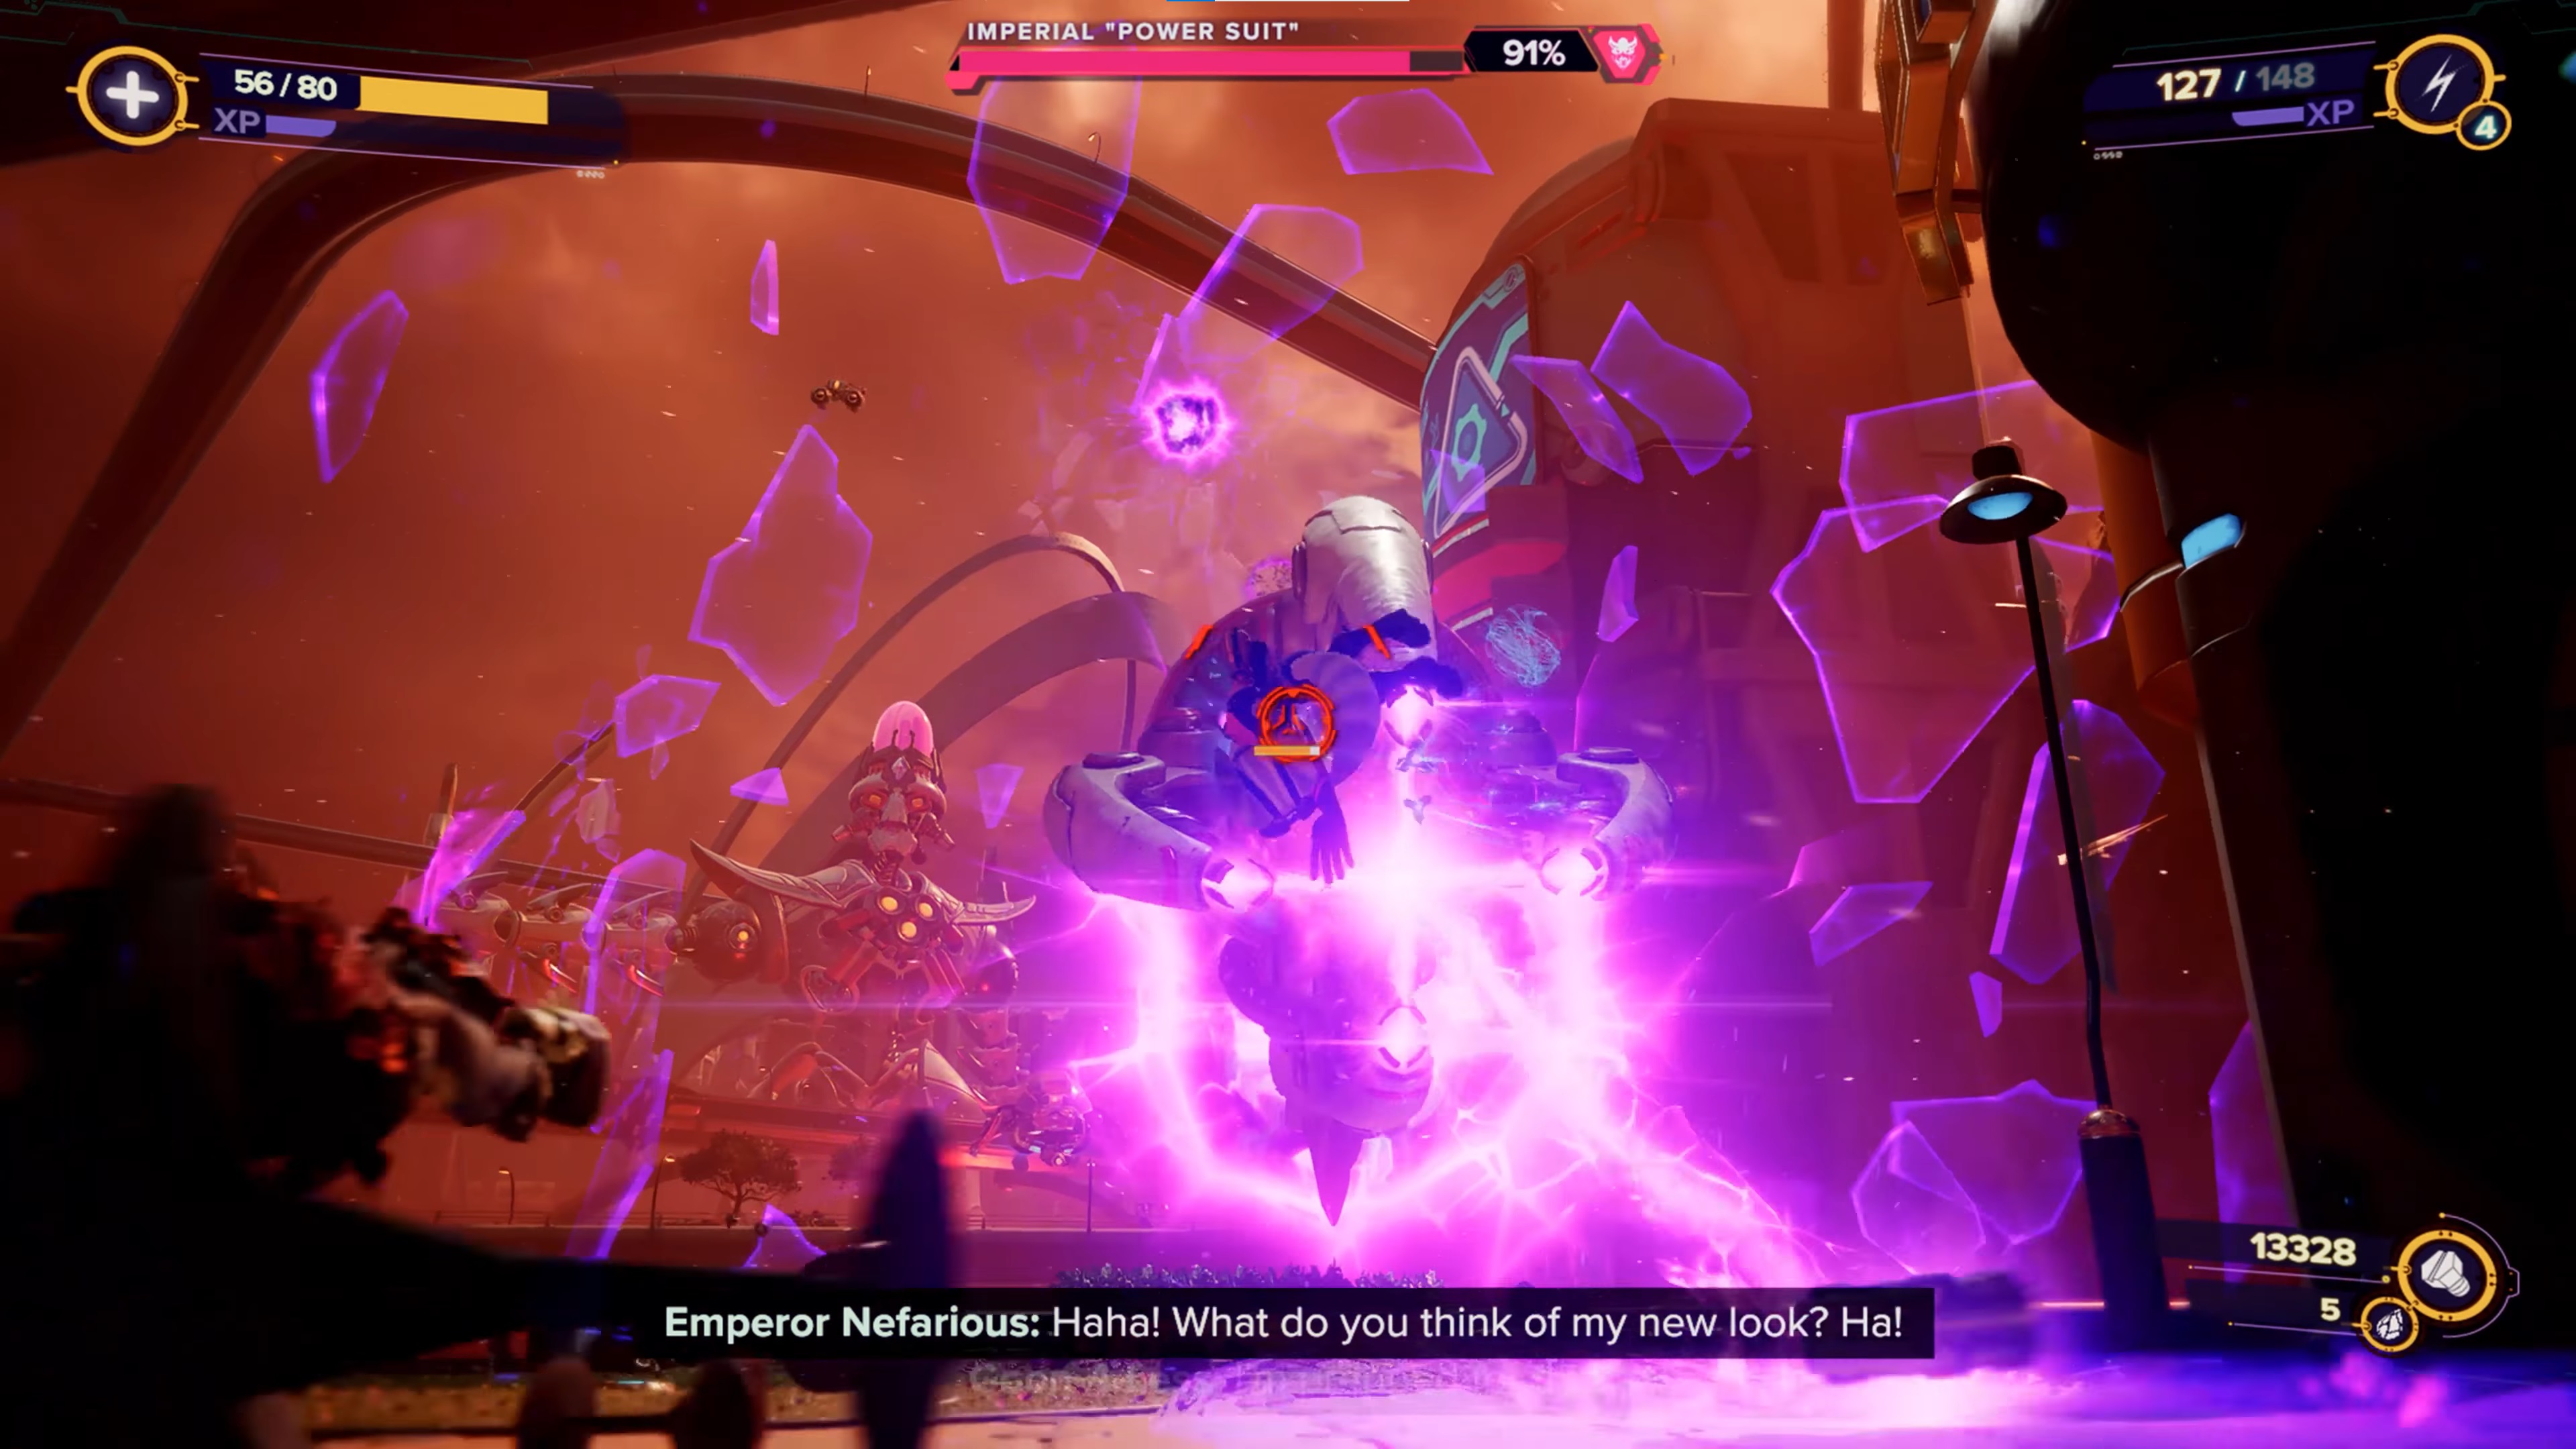
This is a very unique fight, but one that doesn't prove to be too difficult. Whenever Emperor Nefarious sends through the big claw with the orange monitor on, you want to be targeting it with all your firepower, because it's the only way to deal damage to the boss. When smaller enemies come through the rifts, take them out quickly or dodge them and leave them to the Goons-4-Less on the bridge with you.
When you get it down to 75% health, Pierre Le Fer shows up in another cutscene. Now you're playing as Ratchet in a similar situation; when the power suit head comes through the rift, shoot entirely at the two monitors where the eyes would be. Keep dodging the laser beams, let the Goons-4-Less deal with the smaller enemies, and when you get it down to 0% you'll be sent to a small debris field.
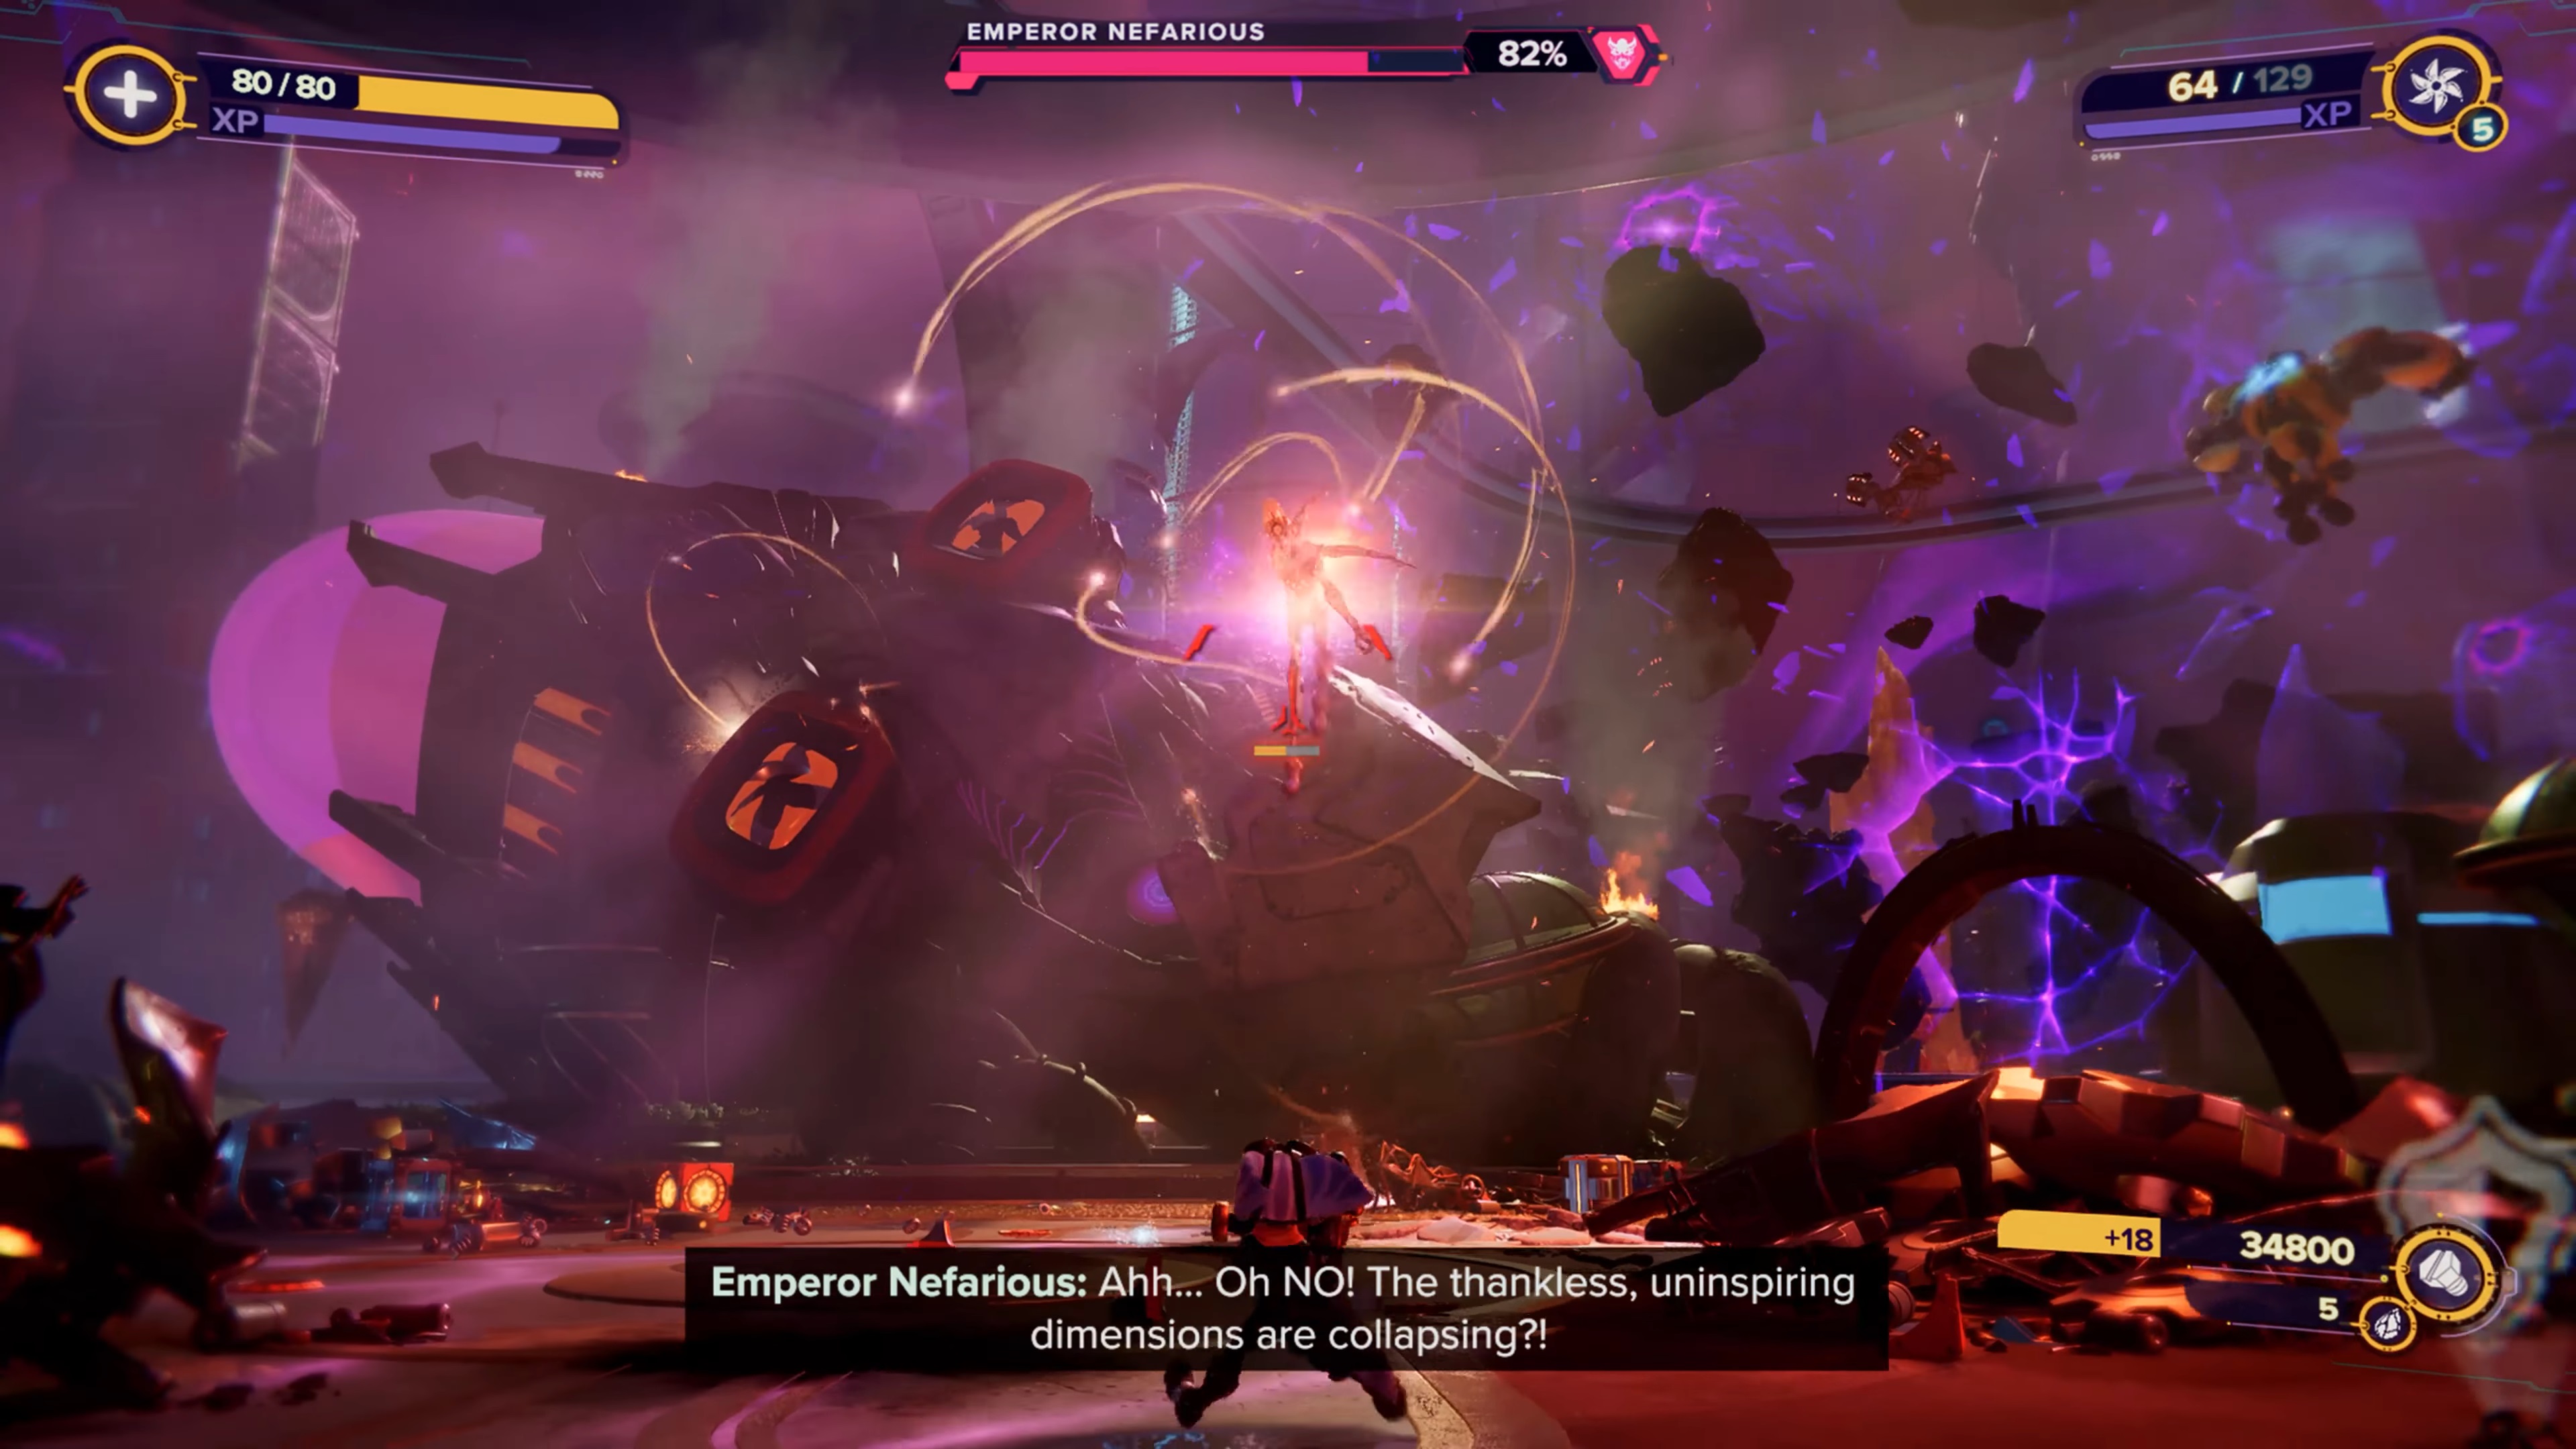
Jump and rift tether across the rocks until Gary shows up and offers you a Hurlshot to send you into the Heart Chamber of the power suit. Focus your shots on the pulsing red domes on the heart in the middle – while killing the smaller enemies – then when the heart is at 0%, start shooting the blue elctrical energy that replaces it. Make sure to jump over the rotating beam.
When this boss fight is complete, after the next cutscene, you're fighting against Emperor Nefarious one-on-one in the Midtown Atrium. Like the previous time you fought him, his quick dash to melee attack is brutal, as his is laser beam that follows you, but just make sure you have your eyes on him at all times so nothing can catch you by surprise.
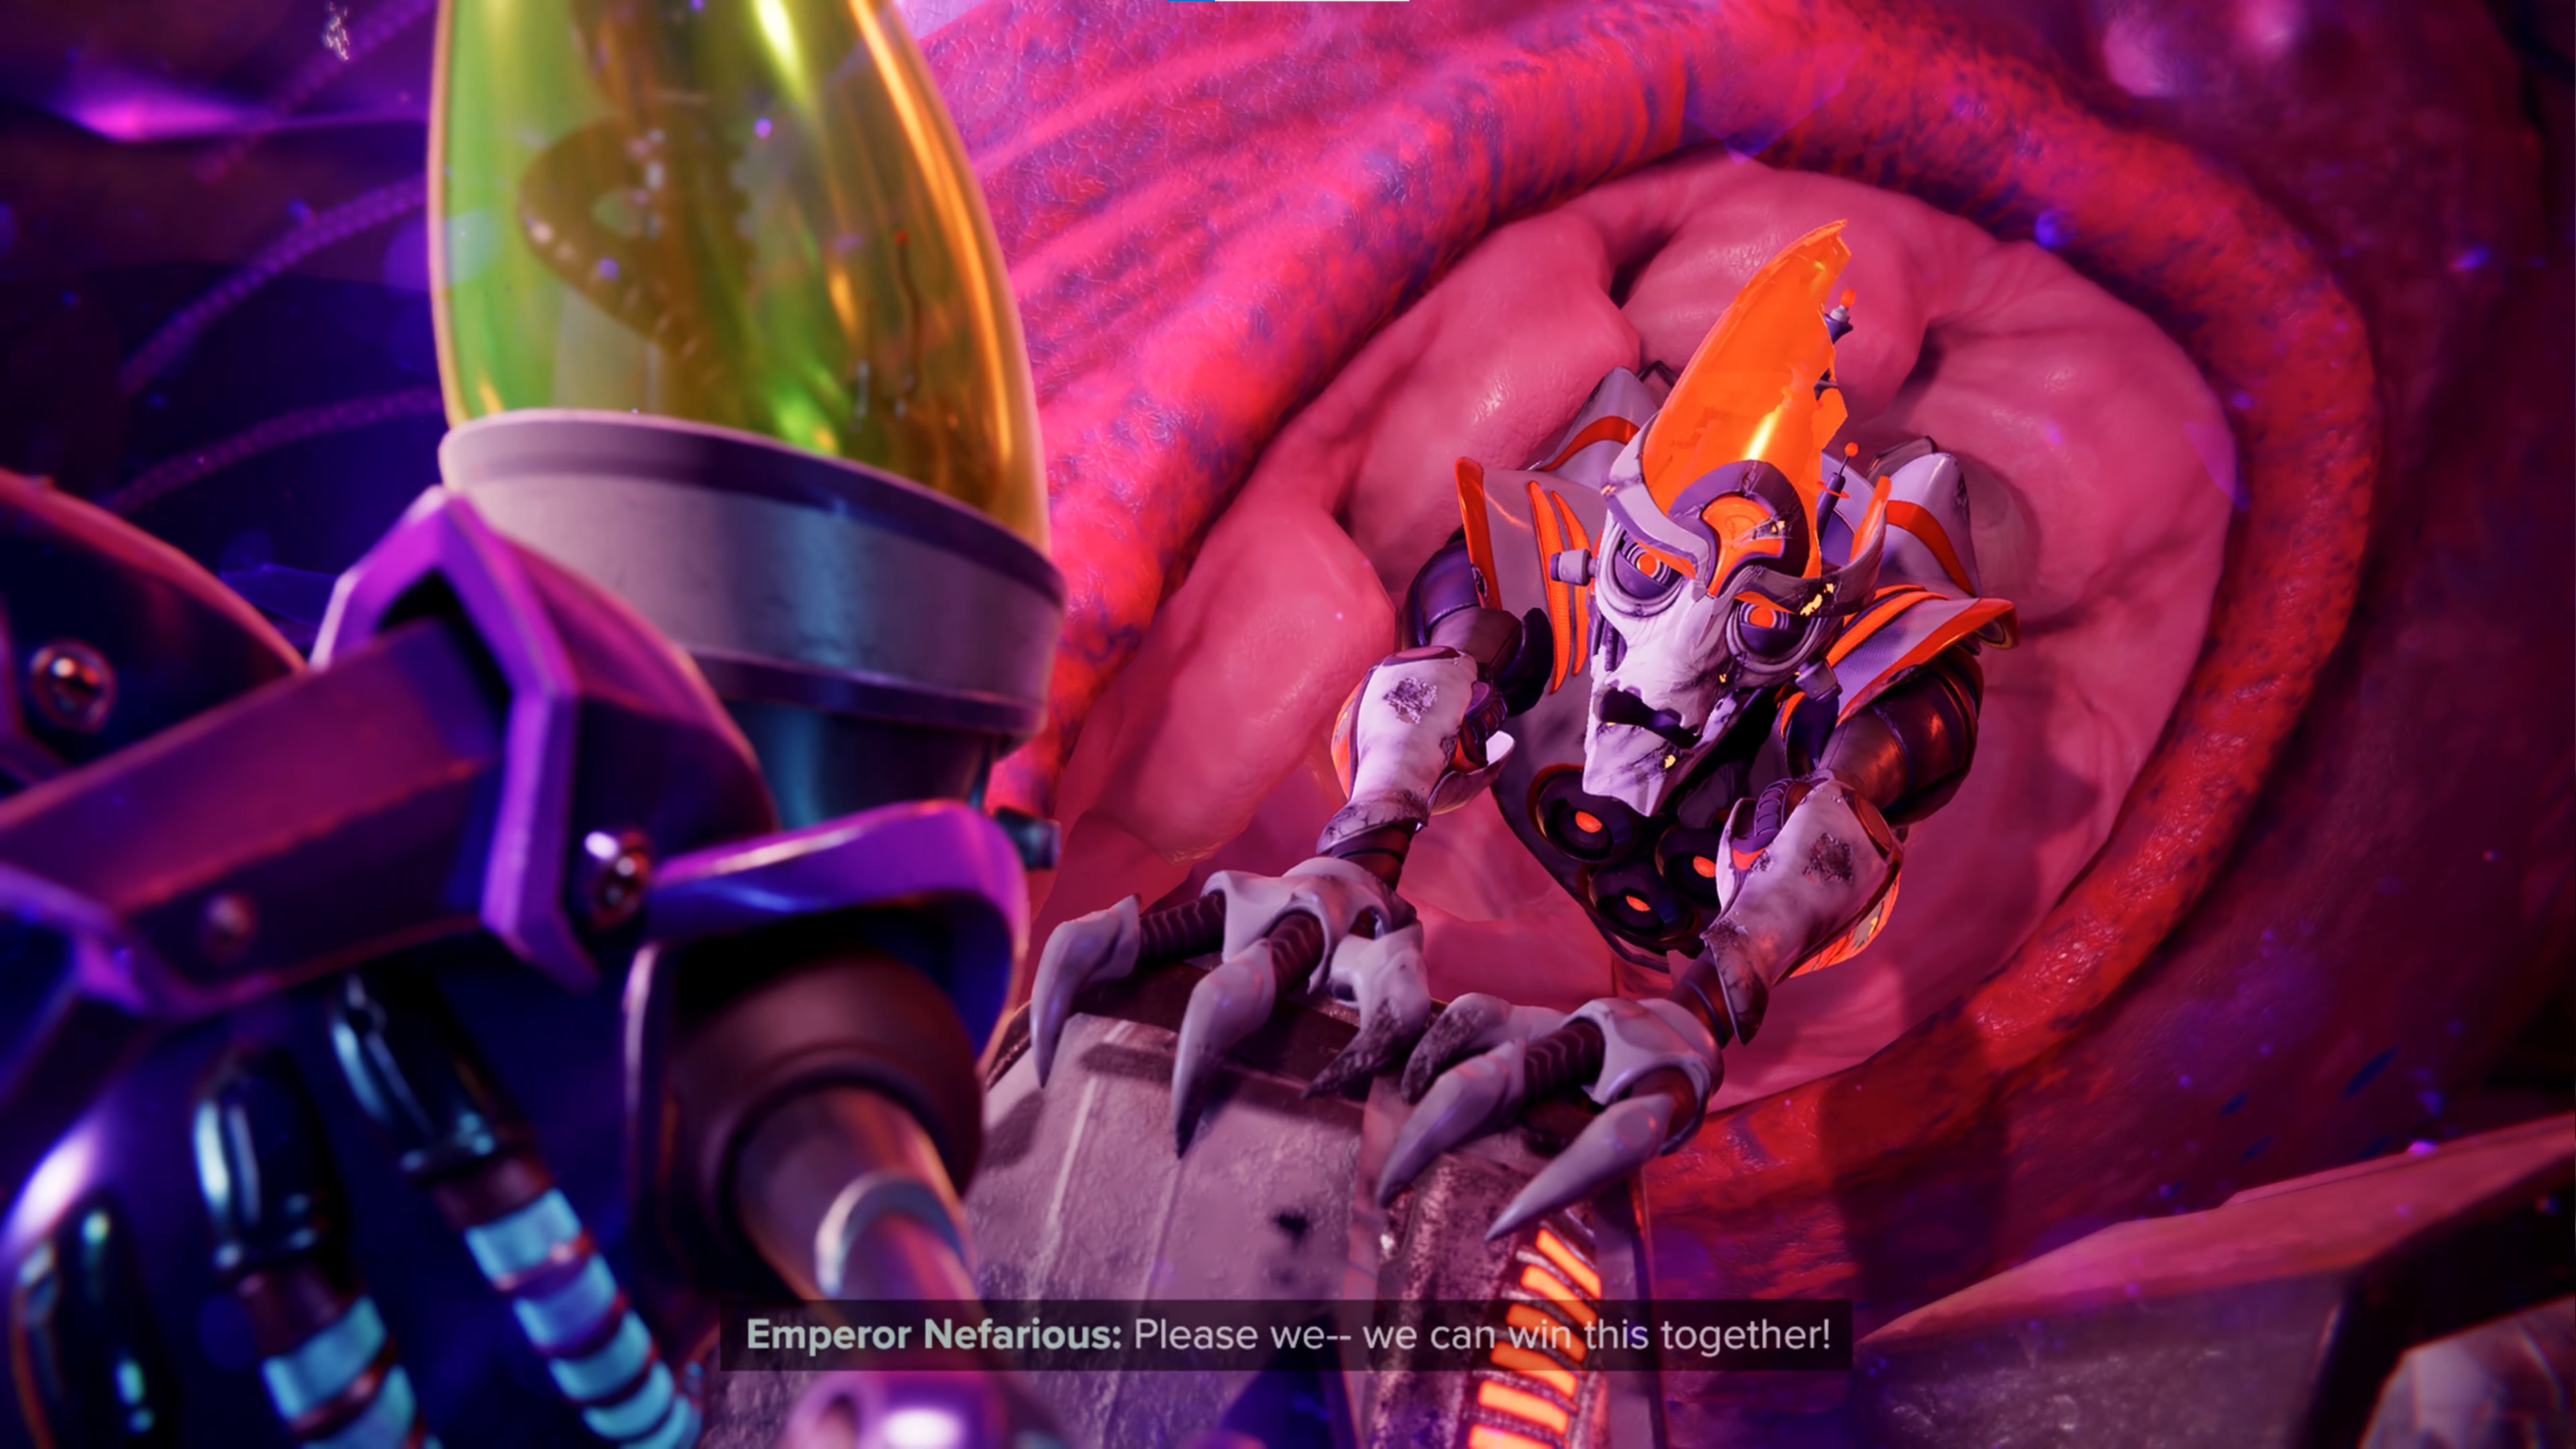
At 55% health some Nefarious Troopers will enter the fight so switch your focus to them for a moment, before Emperor Nefarious returns and the fight against him continues. This happens again at 25%. When you've whittled him down all the way, jump on Kit's hand.
This is the end of the game! Congratulations, you have completed Ratchet and Clank A Rift Apart. You've now unlocked Challenge Mode which gives you the opportunity to play through the game again, level up all your weapons to omega status, and even pick up a couple of new ones. Alternatively, you can reload your previous save right before the final mission to tick off anything else you have left to do. Thanks for reading this walkthrough, and good luck in Challenge Mode!
Current page: Ratchet and Clank Rift Apart walkthrough: Ardolis
Prev Page Ratchet and Clank Rift Apart walkthrough: Torren IVWeekly digests, tales from the communities you love, and more
Give me a game and I will write every "how to" I possibly can or die trying. When I'm not knee-deep in a game to write guides on, you'll find me hurtling round the track in F1, flinging balls on my phone in Pokemon Go, pretending to know what I'm doing in Football Manager, or clicking on heads in Valorant.
