
 Join The Community


Knowing how to record gameplay on PC and consoles means you can preserve evidence of your best gaming moments, and show off these highlights to others to prove they really happened. While most modern platforms have some sort of internal recording happening automatically in the background, it's not always clear how you access this or capture that exact moment of success. That's why we're here to explain everything you need to know, whether you're recording gameplay on PS5, Xbox, Nintendo Switch, or PC.
Once you know how to record you gameplay, submit your best gaming clips and be in with the chance of winning $100 Amazon vouchers EVERY MONTH through GamesRadar+ Replay.
Internal PS5 recording
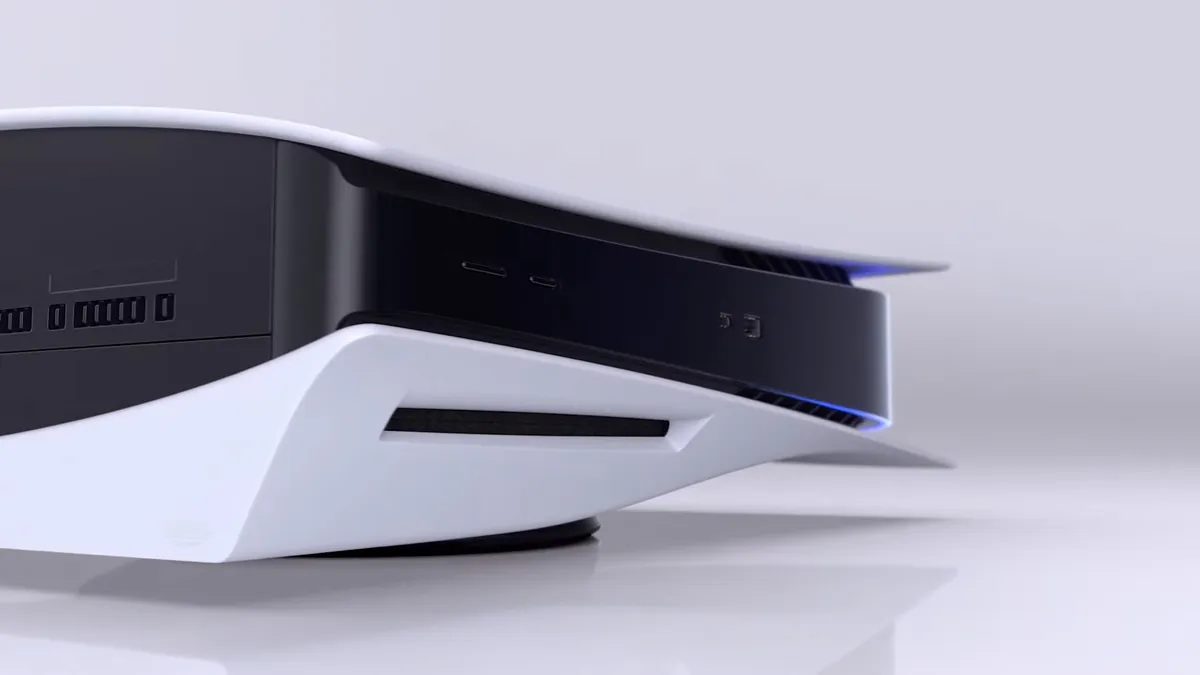
The internal capture on PS5 is very easy to use, as it's always running in the background and holds up to an hour of your most recent gameplay. To access this, tap the Share button on your controller to bring up the create controls and then hit the Save Recent Gameplay button, where you'll be given a selection of video clip lengths to choose from, up to 60 minutes. You can also tap the Share button twice to automatically save a recent gameplay clip, which defaults to 3 minutes but can be changed in the settings.
If you're planning to export your video clips then we highly recommend you adjust your PS5 capture settings by going to Settings > Captures and Broadcasts > Captures > Video Clip Format and changing the File Type to Most Compatible (MP4) so they can easily be used elsewhere. Clips can be trimmed in the PS5 Media Gallery, then either copied to a USB Drive or uploaded to the PlayStation App on your phone if you've connected it to your PSN account.

Internal Xbox recording
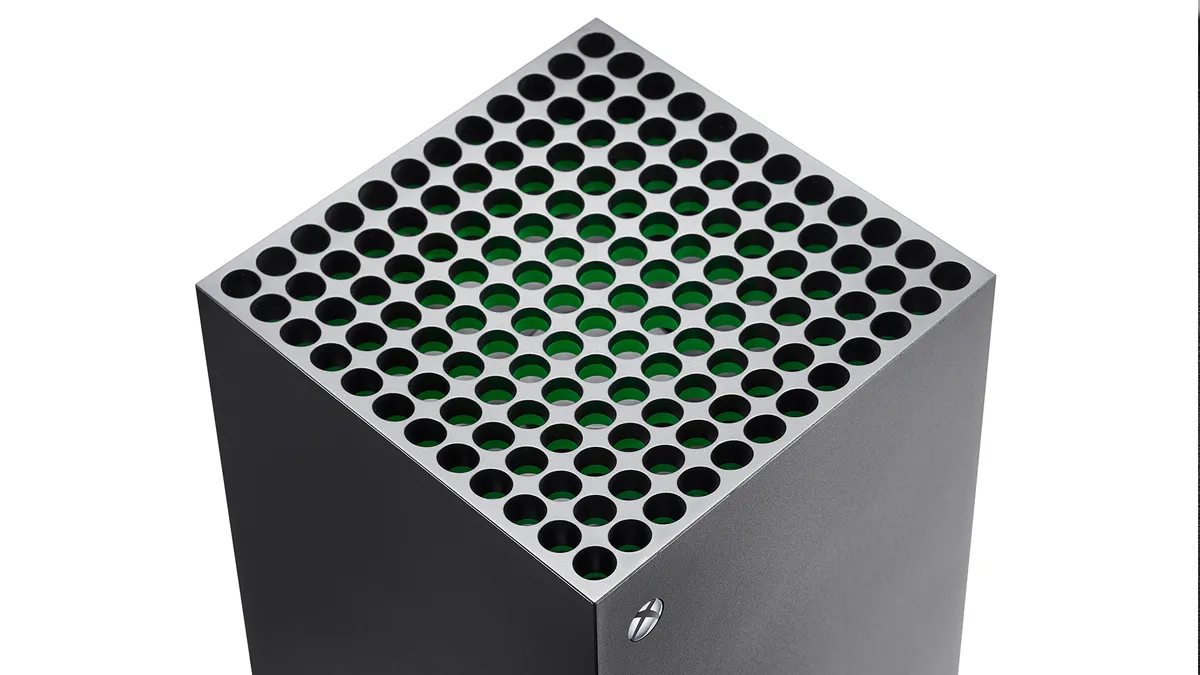
Likewise, Xbox capture is also continuously running in the background, although it is slightly less flexible. To save a clip of something that has just happened, press the Xbox button to open the guide and then hit the X button to save the last 30 seconds of gameplay, or press the View button to choose a duration and save up to the last 2 minutes of footage. You can also start a manual recording by pressing the Xbox button then selecting Capture & share > Start recording, which depending on your settings will run for up to 10 minutes using internal storage or 1 hour when capturing to external storage.
If you have a newer controller, then you can use the Xbox Share button to save your gameplay footage. The default option is holding the button to record a clip, but this can be changed in the settings menu. Footage that you capture will be automatically uploaded to the Xbox network, which you can then view and manage using the Xbox mobile app.
Internal Nintendo Switch recording
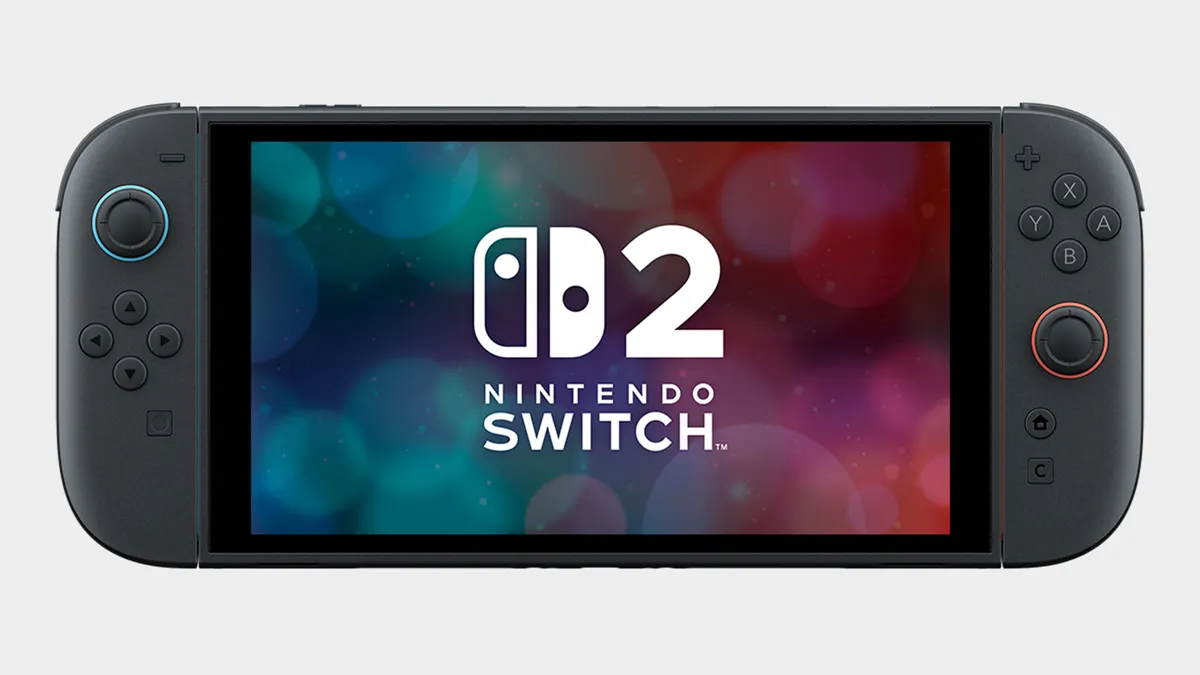
Your options when it comes to internal Nintendo Switch and Switch 2 recordings are somewhat limited, as all you can do is press and hold the Capture Button (small square button) on the left Joy-Con to save the last 30 seconds of gameplay. This can be viewed and edited in the Album, and then transferred to your phone by the Switch App or to your computer via a USB-C cable. For longer recordings, see the instructions below on external capture devices.
Internal PC recording

An internal recording option many players use on PC is ShadowPlay, which can be accessed by downloading the NVIDIA App to your machine. Once installed, all you need to do is hit Alt+Z while playing to bring up the share overlay, which gives you access to options for saving previous or upcoming gameplay videos. There are also keyboard shortcuts to toggle manual recording on or off and save the previous 5 minutes of recorded video, so you don't need to leave the action to preserve your highlights.

If you do a lot of your PC gaming through Valve's platform, then there's also a built-in Steam Game Recording system you can use to capture and share your gameplay footage. To check the settings, go to Steam > Settings > Game Recording or open the Overlay and select the Game Recording tab, where you can choose to have always on background recording of up to 120 minutes or record on demand only when you turn it on. This system is also fully functional on Steam Deck, and you can easily transfer clips between devices or export them elsewhere via the Overlay.
External recording using a capture device

If you have access to a PC or laptop that can record from an external device, then this is an excellent solution for capturing gameplay from consoles without having to worry about internal restrictions. Recording directly to your computer also means you have the footage exactly where you need it, so you don't need to mess around with any transfers to extract it from your console first.
Devices such as the Elgato HD60 series are perfect for this, and if you don't want to push the boat out then older models can be picked up reasonably cheaply. Do note that this capture set up can introduce latency, so you may need a HDMI splitter to divide the signal between your television/monitor for live gameplay and the capture device for recording. You'll also need to ensure your console has HDCP (High-bandwidth Digital Content Protection) turned on, which prevents you from recording copyright protected material from streaming services.
© GamesRadar+. Not to be reproduced without permission.

