Here's the Outer Worlds 2 Order Initiate Scavenger Hunt puzzle solution
Here's how to solve the observatory Scavenger Hunt puzzle in Outer Worlds 2

Weekly digests, tales from the communities you love, and more
You are now subscribed
Your newsletter sign-up was successful
Want to add more newsletters?
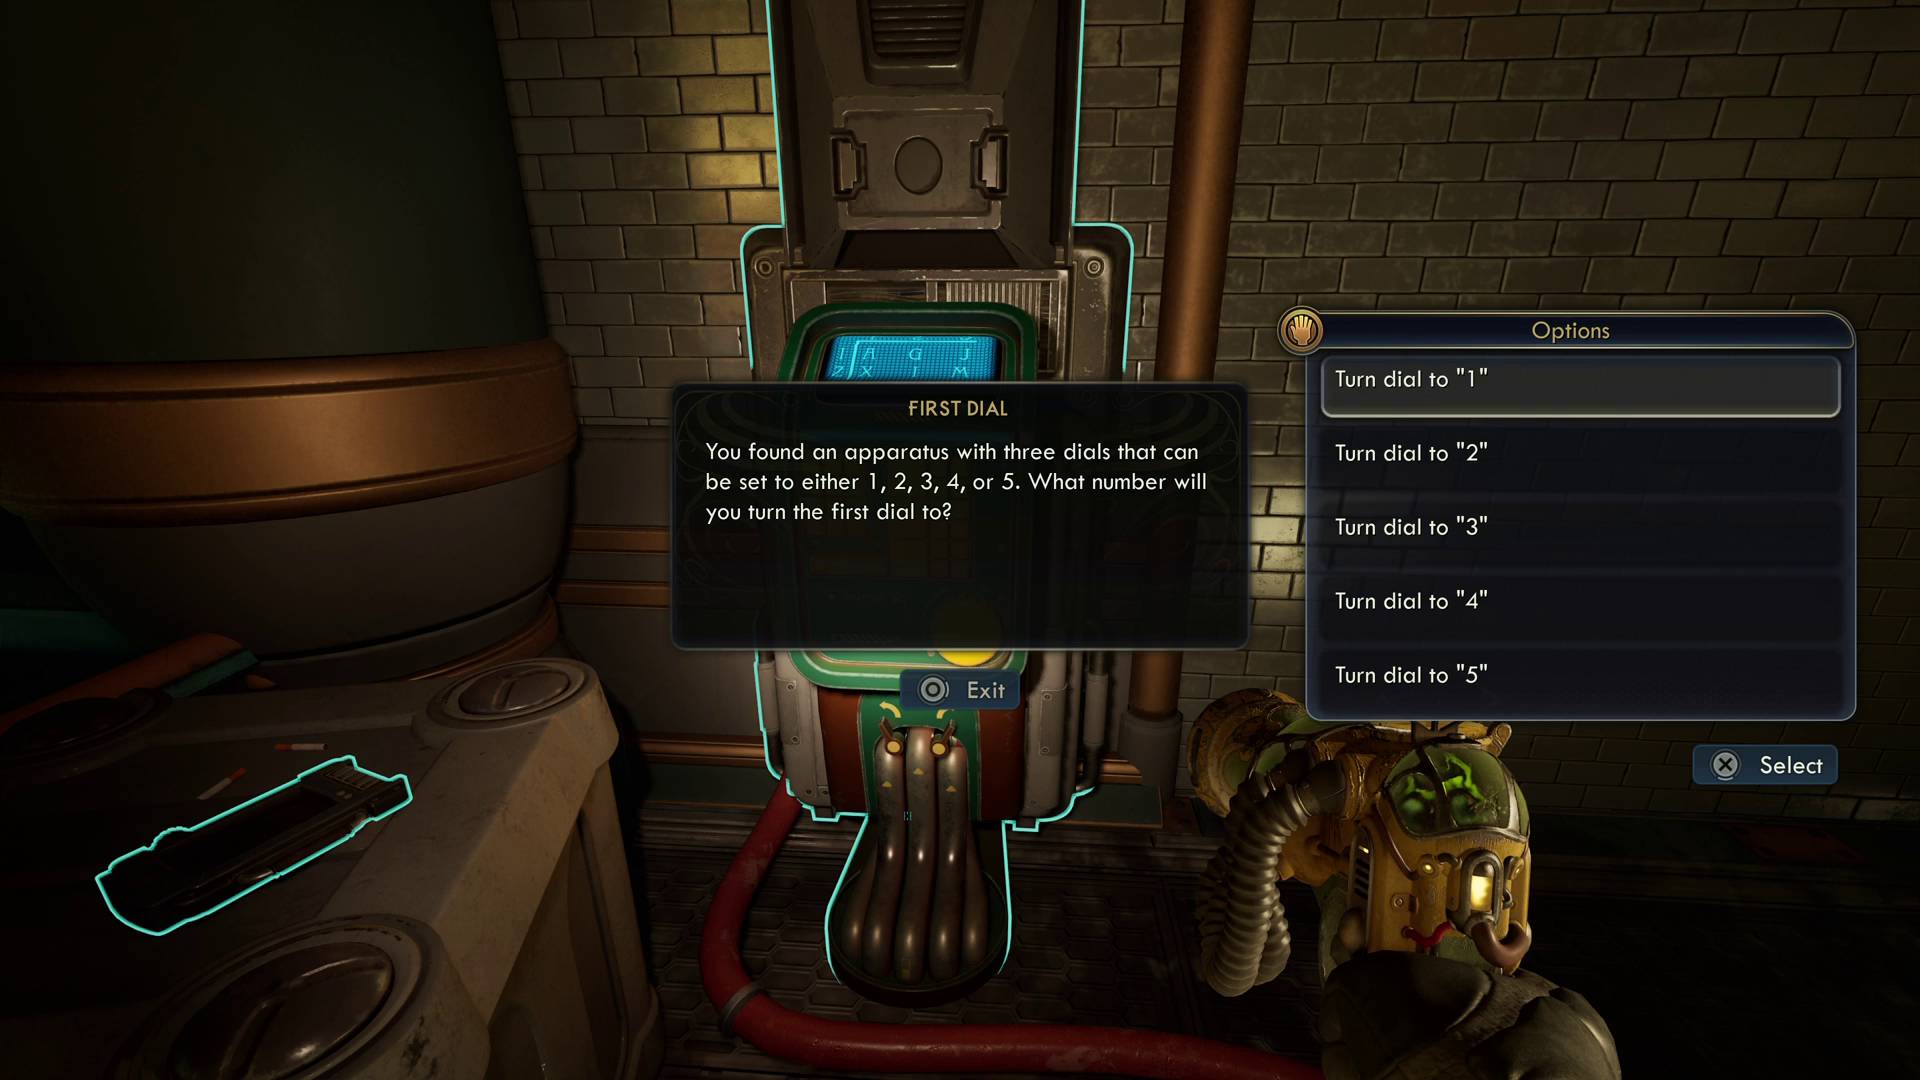
The Outer Worlds 2 Order Initiate Scavenger Hunt puzzle is a challenge using the orrery you can find as you enter the observatory to confront Seer Wiley. You can find it to the side when you go in and it's worth completing for a decent amount of goodies as a prize. It will ask you three questions about astrology, which have single digit answers between one and five to enter into some dials.
To find the answers to these questions, you can head out into the main courtyard and use the orrey, a moving map of the planetary system. But if you don’t have the time to do this, or you’re struggling to find the answers, don’t worry - I’ve got you covered with all of the answers down below.
How to solve the Outer Worlds 2 Scavenger Hunt puzzle

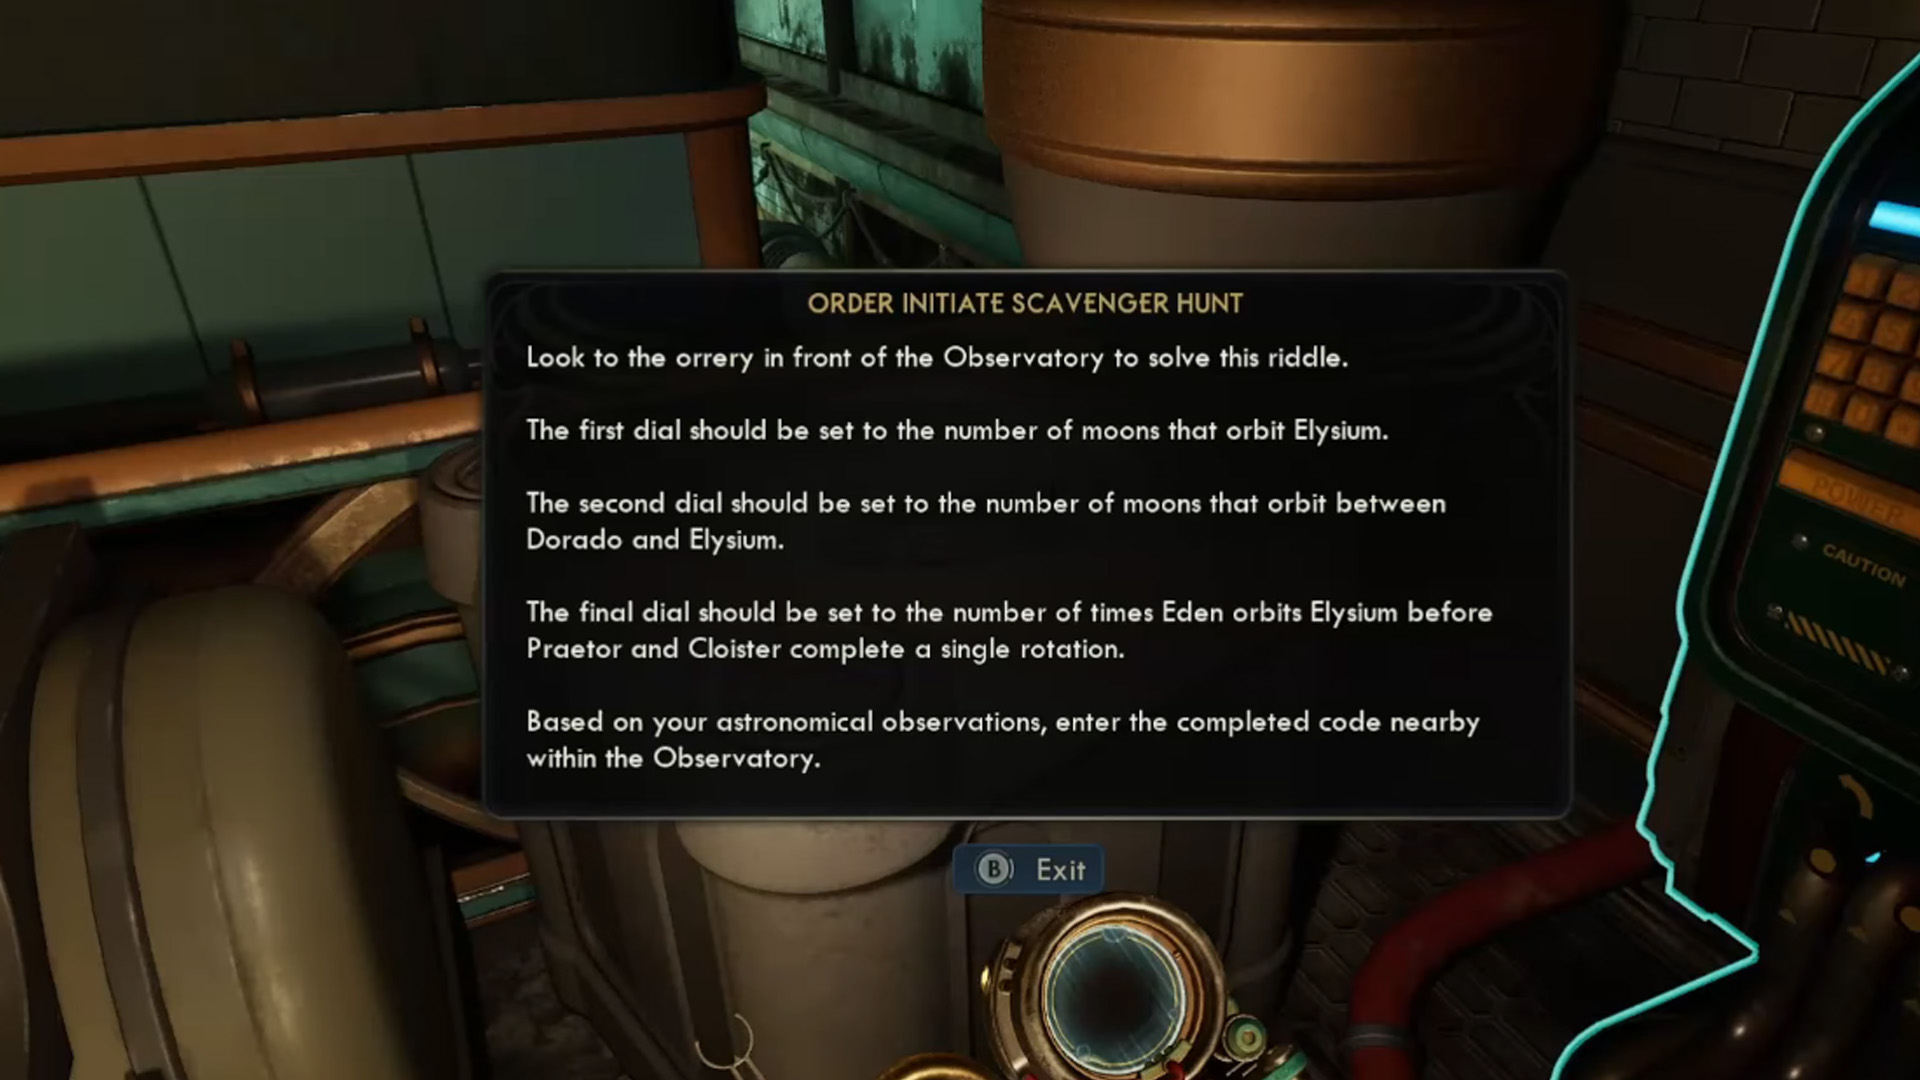
To solve the Outer Worlds 2 Scavenger Hunt puzzle you'll need to rotate three dials to specific positions based on information about the planets and moons on the orrery. Specifically, the answers are these:
Dial one answer: Four
The answer to the first dial is the number of moons that orbit Elysium. You can head outside and look at the orrery in the courtyard which will show four moons orbiting a grey central planet which is representing Elysium.
Dial two answer: One
The answer to the second dial is the number of moons which are orbiting between Dorado and Elysium. Heading back outside to the courtyard will show the orrery representing one small green moon which is orbiting between Elysium and Dorado (the yellowish coloured planet which is on the side).
Dial three answer: Four
The answer to the third and final dial is the number of times Eden orbit Elysium before Praetor and Cloister complete one rotation. Heading back out to the courtyard one last time, you can have a look at the orrery which will show Eden (the small green moon) orbit Elysium four times before Praetor and Cloister (the two spinning planets) make one full rotation.
Once you have entered this code into the dials, you’ll find the wall next to the dial opening. If you input the dials wrong, then don’t panic as they will reset and allow you to try again. When the wall opens, you’ll find a safe which contains a load of loot including:
Tossball Card: Feargus Urquhart (+1% damage)
1,360 bits
After grabbing these goodies you can continue into the main observatory to continue on with the main quest.
© GamesRadar+. Not to be reproduced without permission.
Weekly digests, tales from the communities you love, and more

A former Hardware Editor at GamesRadar+, now freelance writer, Jasmine is an avid lover of all the games everyone else dares to call terrible. She's sunk thousands of hours (and dollars) into League of Legends and Overwatch 2 and enjoys multiplayer games that allow her to relax after her days of writing at a range of sites, including EsportsInsider and PCGN.
You must confirm your public display name before commenting
Please logout and then login again, you will then be prompted to enter your display name.
