Pokemon Sword and Shield complete guide and walkthrough to become the Champion of Galar
All the Pokemon Sword and Shield guides you'll need for your playthrough
Circhester
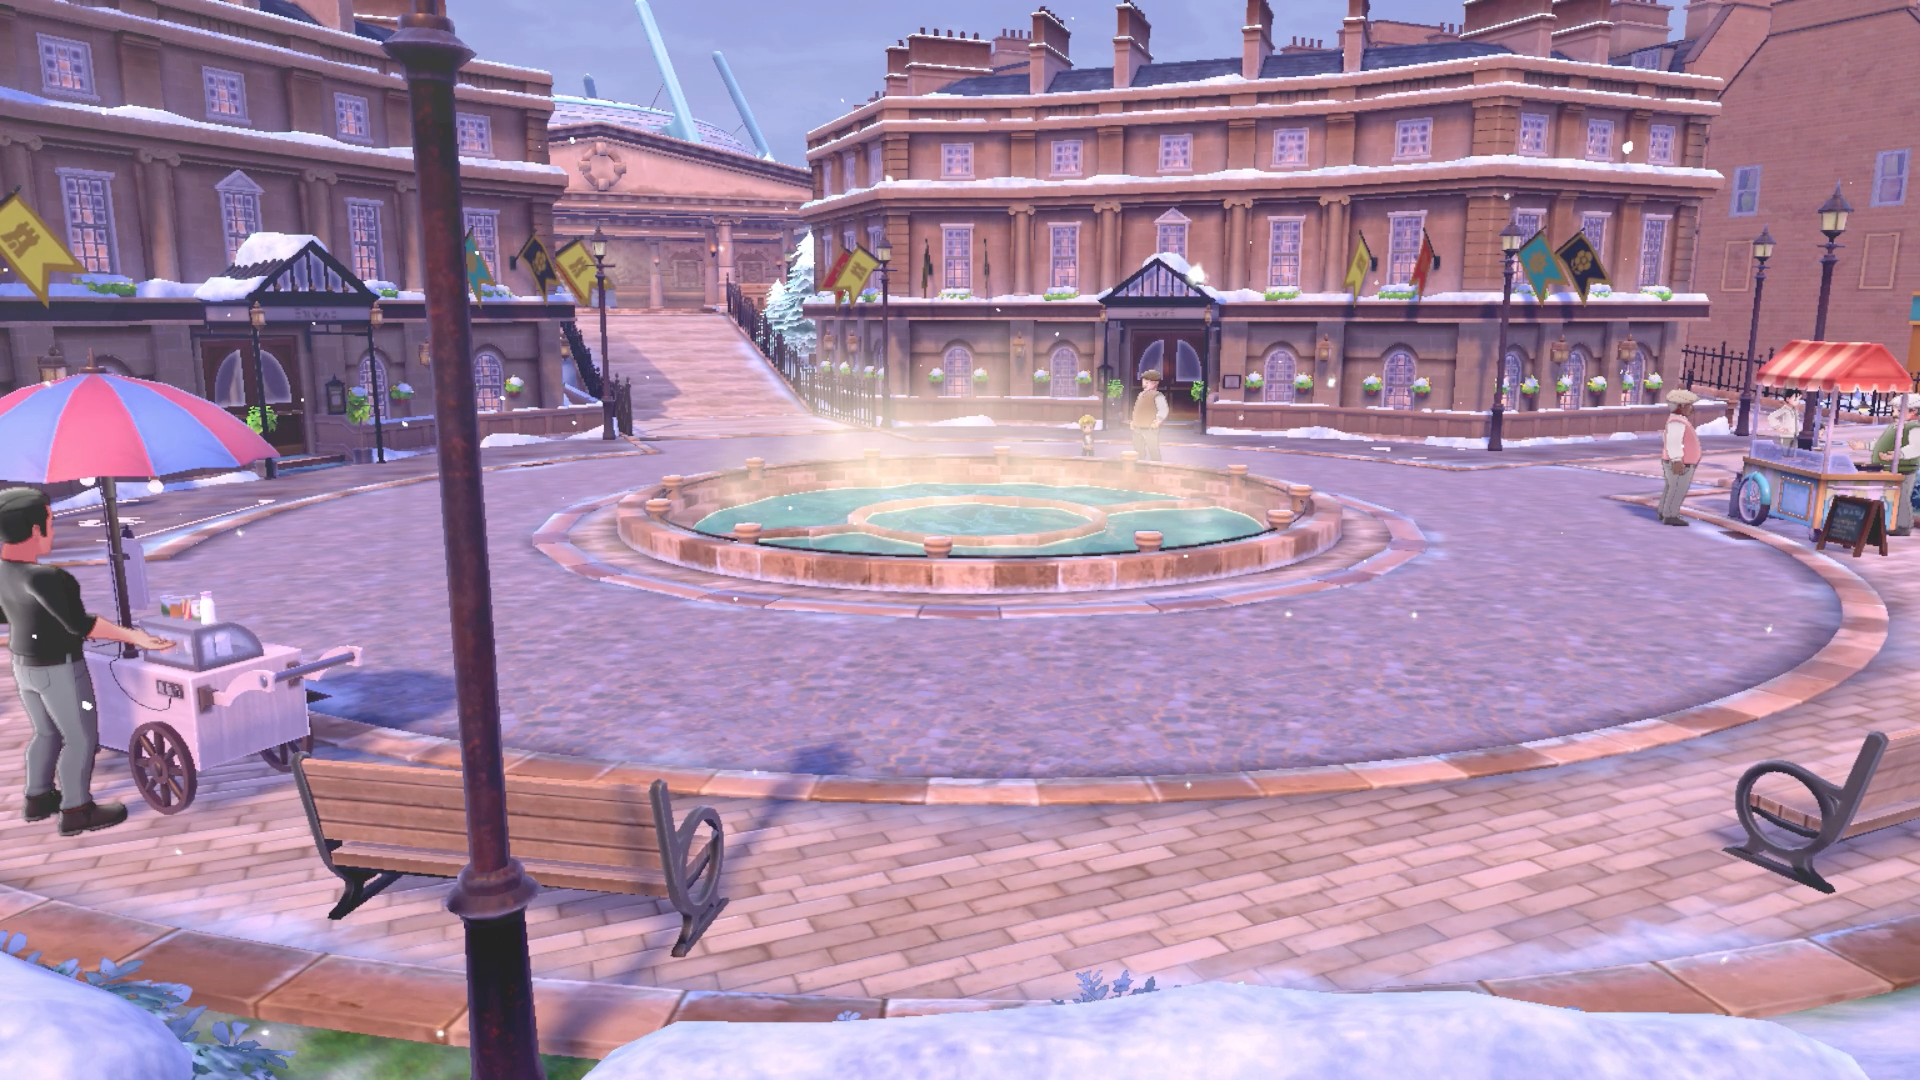
Items: Circhester
| Items | Visible | Hidden |
|---|---|---|
| Full Heal x3 | Row 0 - Cell 1 | Y |
| Lemonade | Row 1 - Cell 1 | Y |
| Poke Doll | Row 2 - Cell 1 | Y |
| Snowball | Row 3 - Cell 1 | Y |
| TM51 Icicle Spear | Y | Row 4 - Cell 2 |
| X Sp. Atk x2 | Row 5 - Cell 1 | Y |
Kick proceedings off in Circhester by healing up your party at the Pokemon Center on your left, then leave and enter the first house on the left down the road going north. Speak to the man inside and he'll give you either TM27 Icy Wind or TM48 Rock Tomb depending on which version of the game you're playing. None of the other houses have anything to give you and we'll visit the restaurant at the top later, so now walk along the eastern path to the fountain.
Enter the double doors in the north-west corner of the circle, then enter the elevator. In the first door on the left, you'll find a police officer who wants you to return when you're the Galar Champion. Remember this location, because you'll be back later. In the end room on the left, you'll find the Director who'll give you the Catching Charm, and tell you to return once you've completed the Pokedex.
Go back down the elevator and cross the circle to the double doors in the north-east corner, as this is the second section of the hotel. Again, go into the elevator and in the first door on the left, you'll find four people; three suspects and Detective Howses. It's your job to find out who the culprit is regarding the basket full of eaten berries, which look oddly like apples.
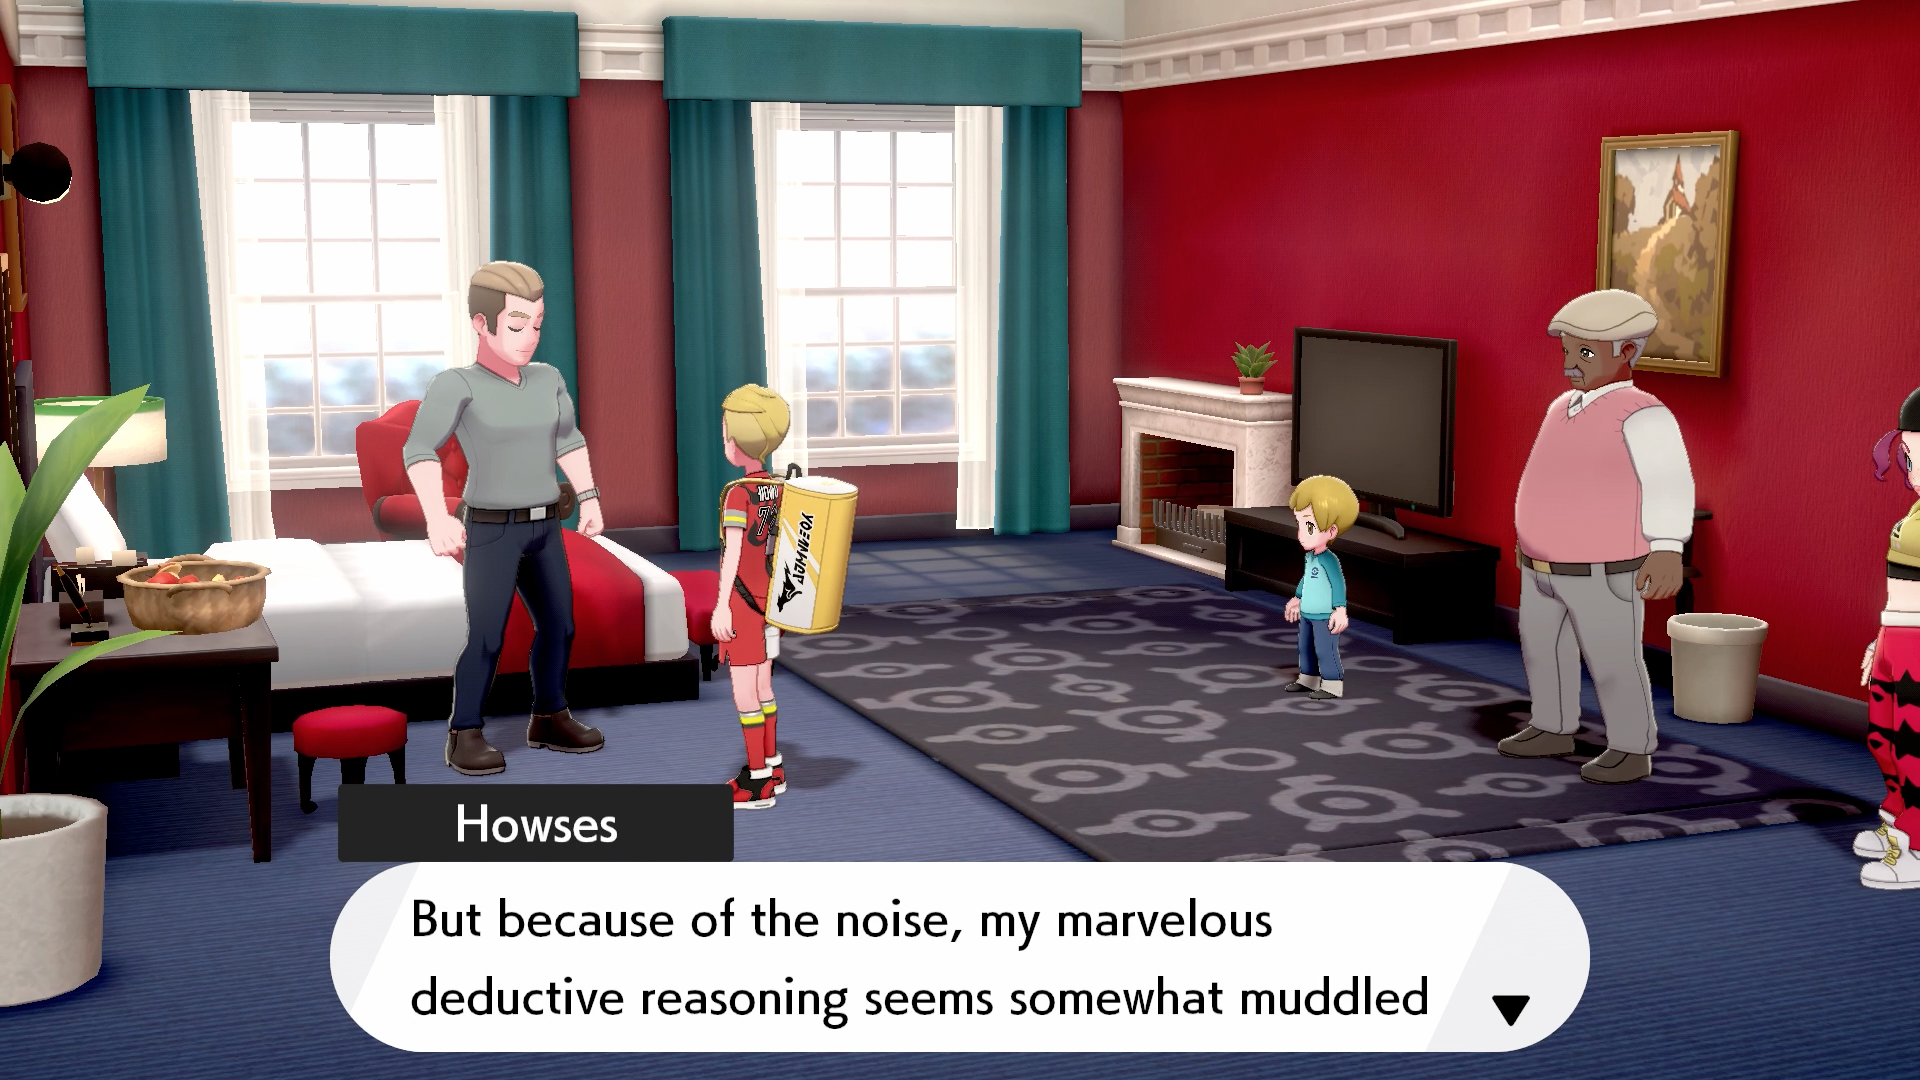
Speak to each of the three suspects to get their statements, then a Skwovet will come scurrying out from behind the bed. With berry juice all around its mouth, it's obvious who the culprit is. Tell Howses that he's wrong for accusing the dancer and select Skwovet as the one responsible, and you'll be given a Wide Lens as thanks for cracking the case.
Head back down the corridor and enter the first door on the right to find a woman who'll give you TM16 Screech. Leave and go into the next room to get TM47 Fake Tears in the room with loads of Pikachus. Head back down the elevator and leave the hotel now as you've done all there is to do at this time.
The south road leads to Route 9 but you don't want to go there yet, so head up the road on the eastern side of the town and go down the staurs on your left. Interact with the second snowman before the two bins to find a Poke Doll. Go down the opposite stairs and interact with the same snowman on the otherside to find a Snowball.
Enter the bathing area in the middle and on the left side is TM51 Icicle Spear, with a can of Lemonade on the opposite side. Speak to the man in the pink sweater to teach one of your Pokemon the Dragon-type move Draco Meteor. Now you're ready to take on Circhester Gym, which is either the Ice-type or the Fighting-type Gym, depending on your game.
Circhester Gym
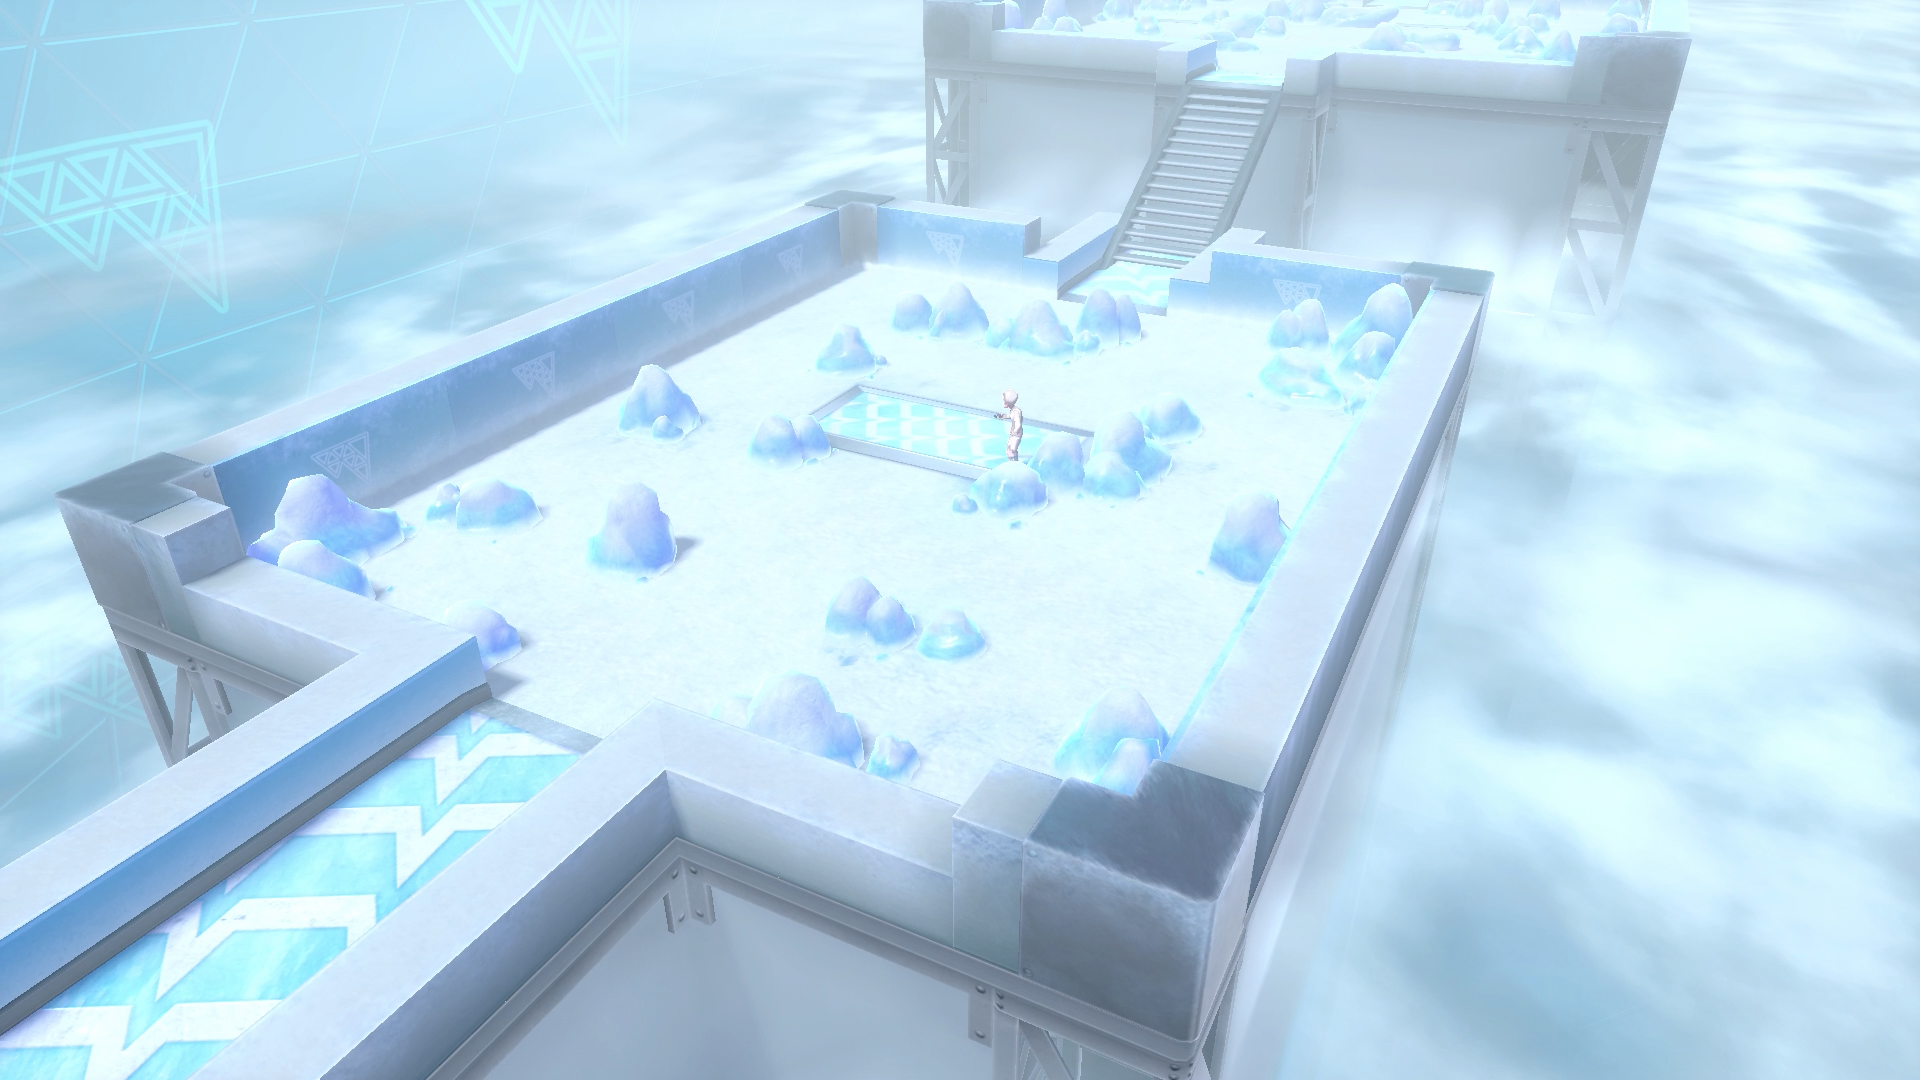
Go inside Circhester Gym for the first time and Hop will greet you by the entrance, giving you either Gordie's or Melony's league card, who's the gym leader here. Speak to Ball Guy to get a Moon Ball, then prepare for the gym.
If you're playing Sword, Rock-type Pokemon are generally weak to Ground-type, Fighting-type, and Water-type moves. Stock up on Pokemon that know these types of moves and you should be fine, because none of the trainers here are particularly tough.
Ice is weak to four different types; Rock, Fire, Fighting, and Steel. Most Ice-type Pokemon you'll face deal a lot of damage but don't have loads of HP, so stack up on Pokemon like Boldore and Gurdurr — both of which you can find on Route 8 — and you shouldn't have much trouble.
The mission is all about navigating a treacherous environment full of traps. You're given a Trap Detector to hold while you walk, which informs you via Joy-con vibrations when you're facing a pitfall. You need to reach the end of the mission by walking the correct path, and we've got the complete solution below, along with the trainers you'll have to face:
Note: To understand the directions, imagine the area is an enormous grid.
Area One
Go forward twice.
Go right three times until you hit the rock.
Go forward three times.
Go left three times.
Go forward three times.
Fight the trainer.
Gym Trainer Lewis (Shield)
| Pokemon | Level | Type |
|---|---|---|
| Snom | 38 | Ice/Bug |
Leave the platform to the left.
Go left three times.
Go forward three times.
Go right until you hit the rock.
Leave the area.
Area Two
Go forward five.
Go left until you hit the rock.
Go forward twice.
Go left once.
Go up until you hit the rock.
Go right once.
Move onto the platform and battle the trainer.
Gym Trainer Liana (Shield)
| Pokemon | Level | Type |
|---|---|---|
| Cloyster | 38 | Water/Ice |
Leave the platform at the top but only go one space.
Go right twice until you're one space from the next platform.
Go forward once.
Go right onto the platform.
Battle the next trainer.
Gym Trainer Alexander (Shield)
| Pokemon | Level | Type |
|---|---|---|
| Beartic | 39 | Ice |
Leave the platform to the right.
Go up until you're parallel with the trainer on your left.
Go right until you hit the wall.
Go forward until you hit the rock.
Go left until you hit another rock.
Go forward one.
Go left until you reach the end.
Area Three
Enter the shrouded area on the left-hand side.
Go forward three times.
Go left twice.
Go forward once.
Go left once.
Go forward until you hit the rock.
Go right once.
Go onto the platform to the very top and battle the trainer.
Gym Trainer Micah (Shield)
| Pokemon | Level | Type |
|---|---|---|
| Avalugg | 39 | Ice |
Leave the platform to the right by the trainer.
Go right until you hit the wall.
Go forward three times.
Go left twice.
Go forward once.
Go left once.
Go forward twice.
Go left once.
Go forward twice.
Go right once.
Go forward until you reach the next platform.
Leave to the left and go forward around the rocks, then leave the area.
Gym Leader Gordie (Sword)
| Pokemon | Level | Type |
|---|---|---|
| Barbaracle | 40 | Rock/Water |
| Shuckle | 40 | Bug/Rock |
| Stonjourner | 41 | Rock |
| Coalossal | 42 | Rock/Fire |
Gym Leader Melony
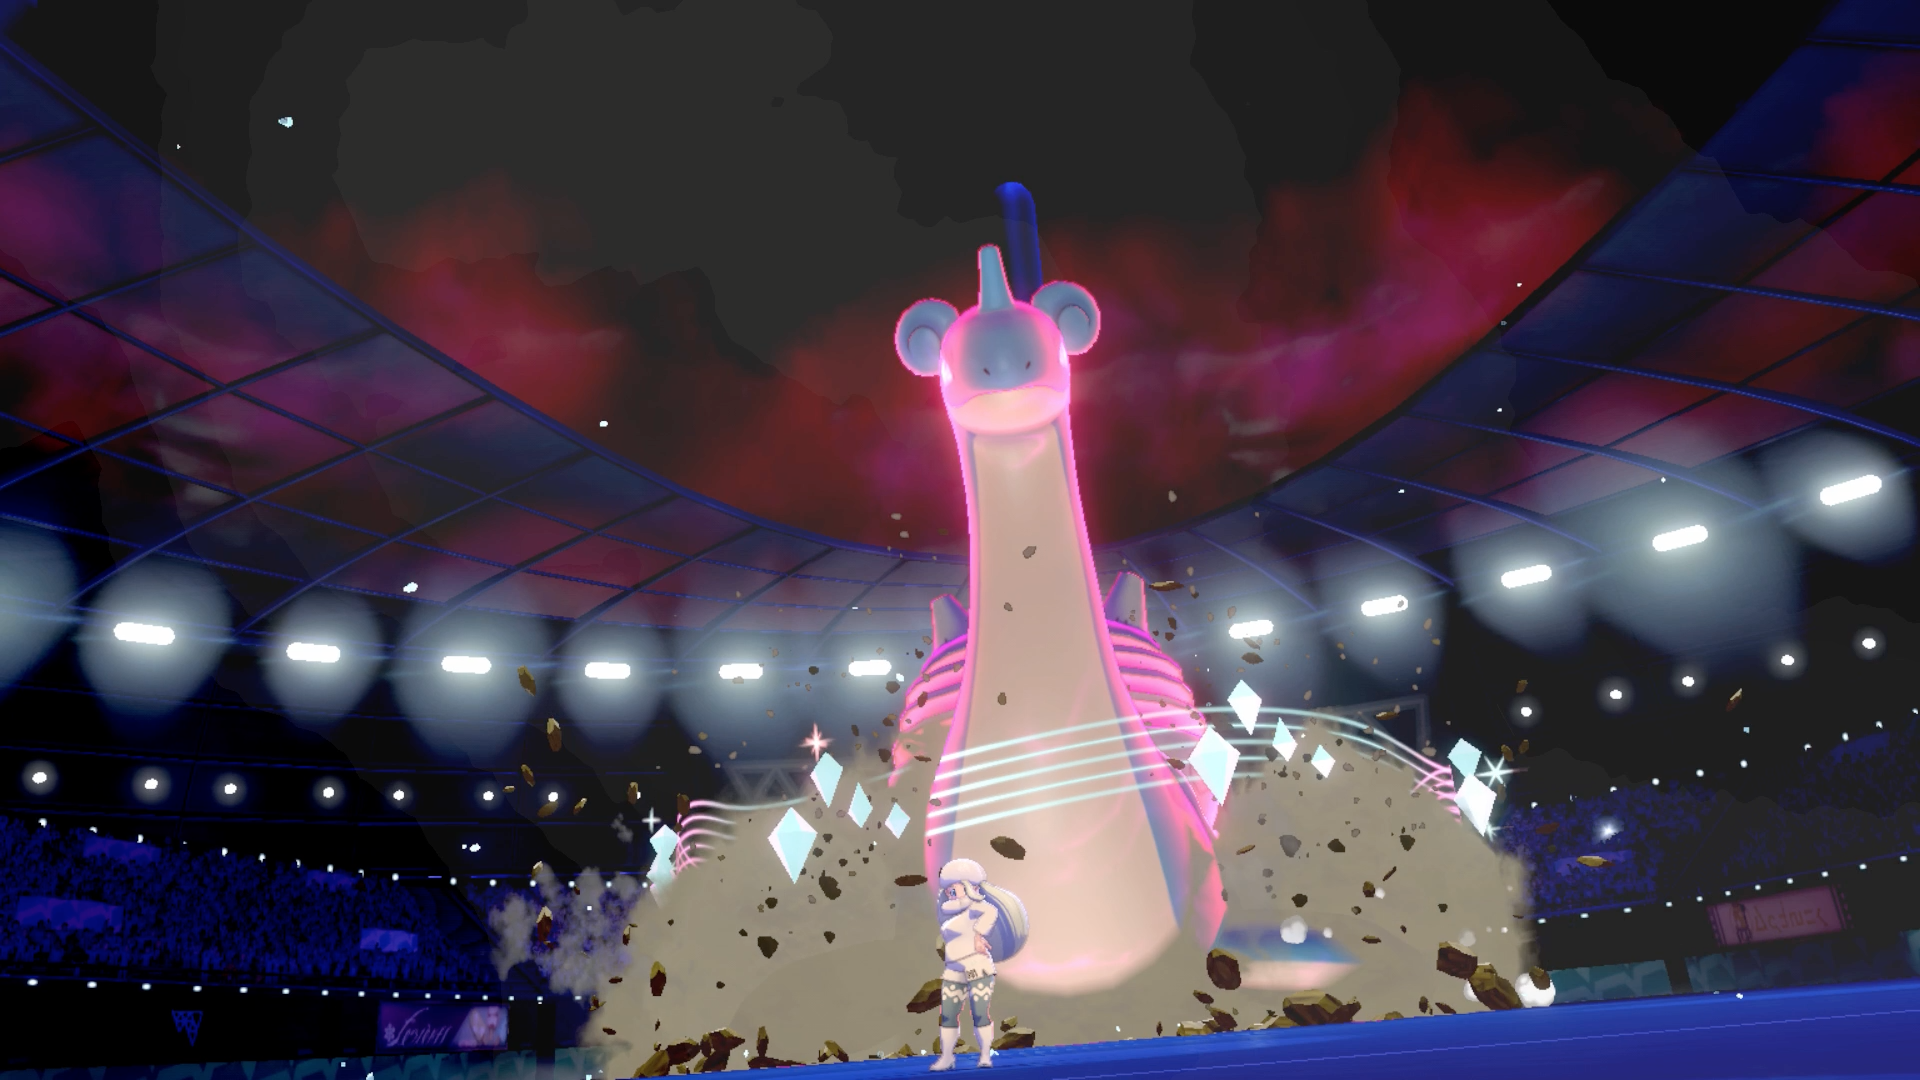
If you've got some decent Ice-type counters then this battle will be a cakewalk, with her final Pokemon, Lapras, being the only notable hurdle because it being Water-type means Fire-types aren't super effective. As per usual, absorb its gigantamax formed by having some fodder Pokemon you don't mind fainting, then when it returns to normal size, chuck out your best fighters.
| Pokemon | Level | Type |
|---|---|---|
| Frosmoth | 40 | Ice/Bug |
| Darmanitan | 40 | ice |
| Eiscue | 41 | Ice |
| Lapras | 42 | Water/Ice |
After defeating Gordie/Melony, they give you either TM48 Rock Tomb or TM27 Icy Wind and the ability to catch Pokemon up to level 50. Leave the gym and Sonia will greet you, telling you to hurry on down to the Bob's Your Uncle restaurant. That's the one I mentioned earlier, so head down the left-hand side road and enter the restaurant to begin a cutscene with Sonia and Hop.
When it's over, leave the restaurant and another cutscene will start, followed by a battle against Hop. Don't worry about healing your Pokemon because Sonia will do it for you.
Hop
| Pokemon | Level | Type |
|---|---|---|
| Dubwool | 40 | Normal |
| Corviknight | 40 | Flying/Steel |
| Snorlax | 39 | Normal |
| Pincurchin | 39 | Electric |
| Inteleon/Rillaboom/Cinderace | 41 | Water/Grass/Fire |
When you've taken down Hop for the umpteenth time, your next destination is Route 9.
Pokemon Sword and Shield walkthrough: Postwick and Route 1
Pokemon Sword and Shield walkthrough: Wedgehurst and Route 2
Pokemon Sword and Shield walkthrough: Wild Area and Motostoke
Pokemon Sword and Shield walkthrough: Route 3, Galar Mine, and Route 4
Pokemon Sword and Shield walkthrough: Turffield, Turffield Gym, and Route 5
Pokemon Sword and Shield walkthrough: Hulbury and Hulbury Gym
Pokemon Sword and Shield walkthrough: Galar Mine No.2 and Motostoke Gym
Pokemon Sword and Shield walkthrough: Hammerlocke and Route 6
Pokemon Sword and Shield walkthrough: Stow-on-Side and Stow-on-Side Gym
Pokemon Sword and Shield walkthrough: Glimwood Tangle
Pokemon Sword and Shield walkthrough: Ballonlea and Ballonlea Gym
Pokemon Sword and Shield walkthrough: Route 7 and Route 8
Pokemon Sword and Shield walkthrough: Circhester and Circhester Gym
Pokemon Sword and Shield walkthrough: Route 9
Pokemon Sword and Shield walkthrough: Spikemuth Gym
Pokemon Sword and Shield walkthrough: Hammerlocke Gym
Pokemon Sword and Shield walkthrough: Route 10 and Wyndon
Pokemon Sword and Shield walkthrough: Wyndon Gym and Rose Tower
Pokemon Sword and Shield walkthrough: Wyndon Gym Finals and Slumbering Weald
Pokemon Sword and Shield walkthrough: Energy Plant and Champion Battle
Pokemon Sword and Shield walkthrough: Zacian and Zamazenta
Pokemon Sword and Shield walkthrough: Post-game activities
Current page: Pokemon Sword and Shield walkthrough: Circhester and Circhester Gym
Prev Page Pokemon Sword and Shield walkthrough: Route 7 and Route 8 Next Page Pokemon Sword and Shield walkthrough: Route 9Weekly digests, tales from the communities you love, and more
Give me a game and I will write every "how to" I possibly can or die trying. When I'm not knee-deep in a game to write guides on, you'll find me hurtling round the track in F1, flinging balls on my phone in Pokemon Go, pretending to know what I'm doing in Football Manager, or clicking on heads in Valorant.
- Leon HurleyManaging editor for guides
- Sam LoveridgeBrand Director, GamesRadar+
