
 Join The Community


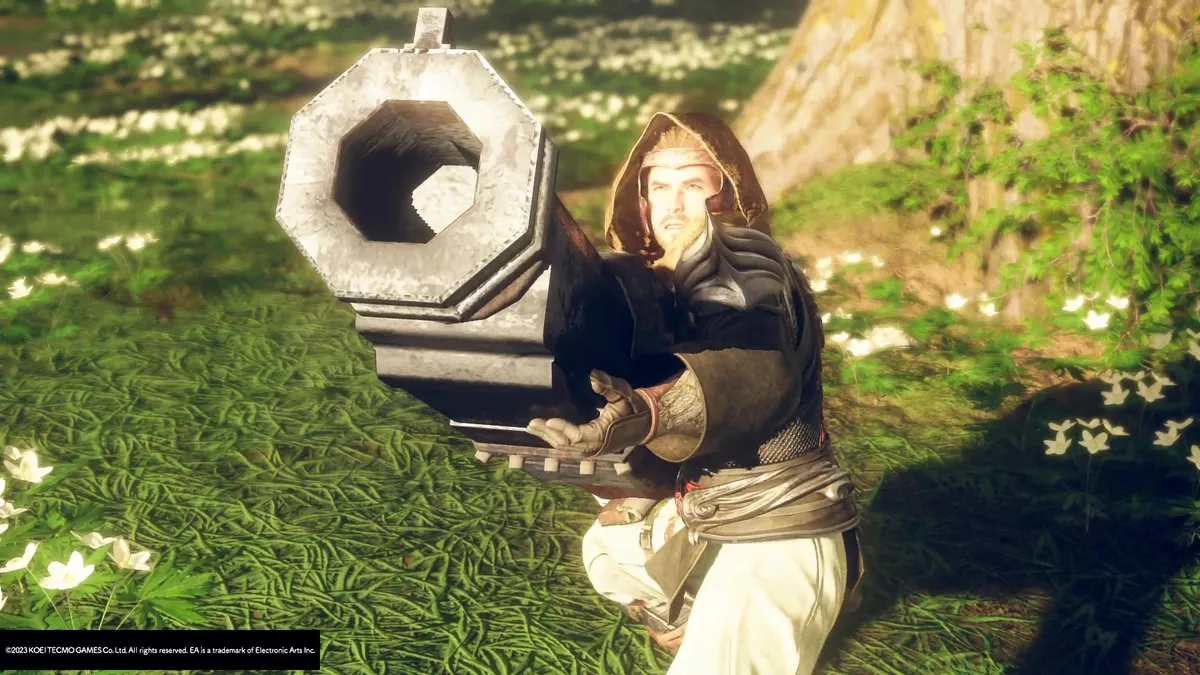
The Wild Hearts Nodachi is a bigger alternative to the katana, used for slower, heavier combos and a special charge attack that devastates foes. The Nodachi isn't a bad choice for beginner's weapon, as though it takes a little time to get used to its slow speed and stamina drain, it's relatively simple and can do a lot of damage on every hit that lands - especially the bigger ones. We'll take you through this comprehensive Wild Hearts Nodachi weapon guide, where firepower is more important than speed.
How to use the Wild Hearts Nodachi

The Nodachi in Wild Hearts, as mentioned, is a lot like a slower, heavier version of the Wild Hearts Katana. On a basic level it's simply about the slashing, making it one of the easier Wild Hearts weapons for beginners, but there's more under the hood for those willing to learn. Its Charged Iai attack is one of the most powerful moves in the whole game, and you can actually charge it while doing other attacks, at the cost of it charging more slowly and risking stamina loss. This is also one of those weapons where its slow nature means that Karakuri structures will be very necessary for movement, as you'll be very easy pickings for enemies without it.
Nodachi moveset and attacks
The Nodachi's basic moveset includes the following techniques and attacks:

- Square/X: Downward slash (faster attack)
- Triangle/Y: Horizontal slash (slower attack)
- R2/RT: Iai Slash (attack that scales to charge with stamina consumption)
- Hold down R2/RT: Charges Iai Slash weapon gauge rapidly (consumes stamina until released)
- Hold down R2/RT + any movement/attacks: Charges Iai Slash weapon gauge slowly (consumes stamina until released)
Clearly the important element here is the charged attacks, which is what does the most damage. Let's talk about Iai stances.
Nodachi Weapon gauge, charge attacks and Iai Stances explained
Wild Hearts is fairly bad at explaining this, but to put it bluntly, by holding down R2/RT, you can charge up the Nodachi's most powerful Iai slash attack, which scales in damage as to how much you charged it up. If you can fill the little blue gauge on the bottom left, it'll be devastating.
There's more to it though. Charging the Iai Slash - what the game calls a "Stance" - fills the gauge, but burns stamina. If you run out of stamina mid-charge, the whole thing is cancelled and your character is briefly staggered, forcing you to charge it again.
However, you can move around while charging it, even attack enemies! While holding down the charge button, you can still run, dodge and attack - at the cost of the weapon gauge charging more slowly than it would normally, yet stamina loss remains the same. So if you just stand still and don't do anything, the Nodachi charges up incredibly fast. But if you're running, attack and dodging while holding down the button, you'll probably burn through your stamina before you can max out the gauge and get your strongest attack. It's a balancing act - use those skills if you have to, but not if you can avoid it.
Finally, the point at which you release the charged attack itself will vary what form it takes. Here's some examples:
- Standard Iai Slash: Horizontal swing
- Half-charged Iai Slash: Larger diagonal upswing
- Fully-charged Iai Slash: Upswing, followed by massive ground-smash
- Iai Slash jumping off crate or bulwark: Dropping ground-smash
- Iai Slash jumping off spring: Massive horizontal spin attack
Nodachi tips and tricks
The Nodachi is clearly a more complex weapon than its size would lead you to believe, so here's a few things to remember when using it.
- The Nodachi is slow. Stamina consumption will be constant with all the Iai slashing, so have Threads ready for an escape at any point.
- Don't expect every Iai slash to be fully charged. Kemono will rarely let you reach that point, and a half-charged slash is still very damaging.
- If an enemy is stunned or on its back, immediately run over and start charging! It's the best chance you'll get for obscene damage.
- Momentum on your Triangle/Y slashes means you tend to get pulled around a lot. Keep your placement in mind before you send yourself sailing into danger.

