All Uncharted The Lost Legacy collectibles and locations, including treasures, lock boxes and more
Find all the Treasures, Photo Opportunities, Lock Boxes, and Optional Conversations
Weekly digests, tales from the communities you love, and more
You are now subscribed
Your newsletter sign-up was successful
Want to add more newsletters?
Join the club
Get full access to premium articles, exclusive features and a growing list of member rewards.
Chapter 2 - Infiltration
5 Treasures, 1 Photo Opportunity
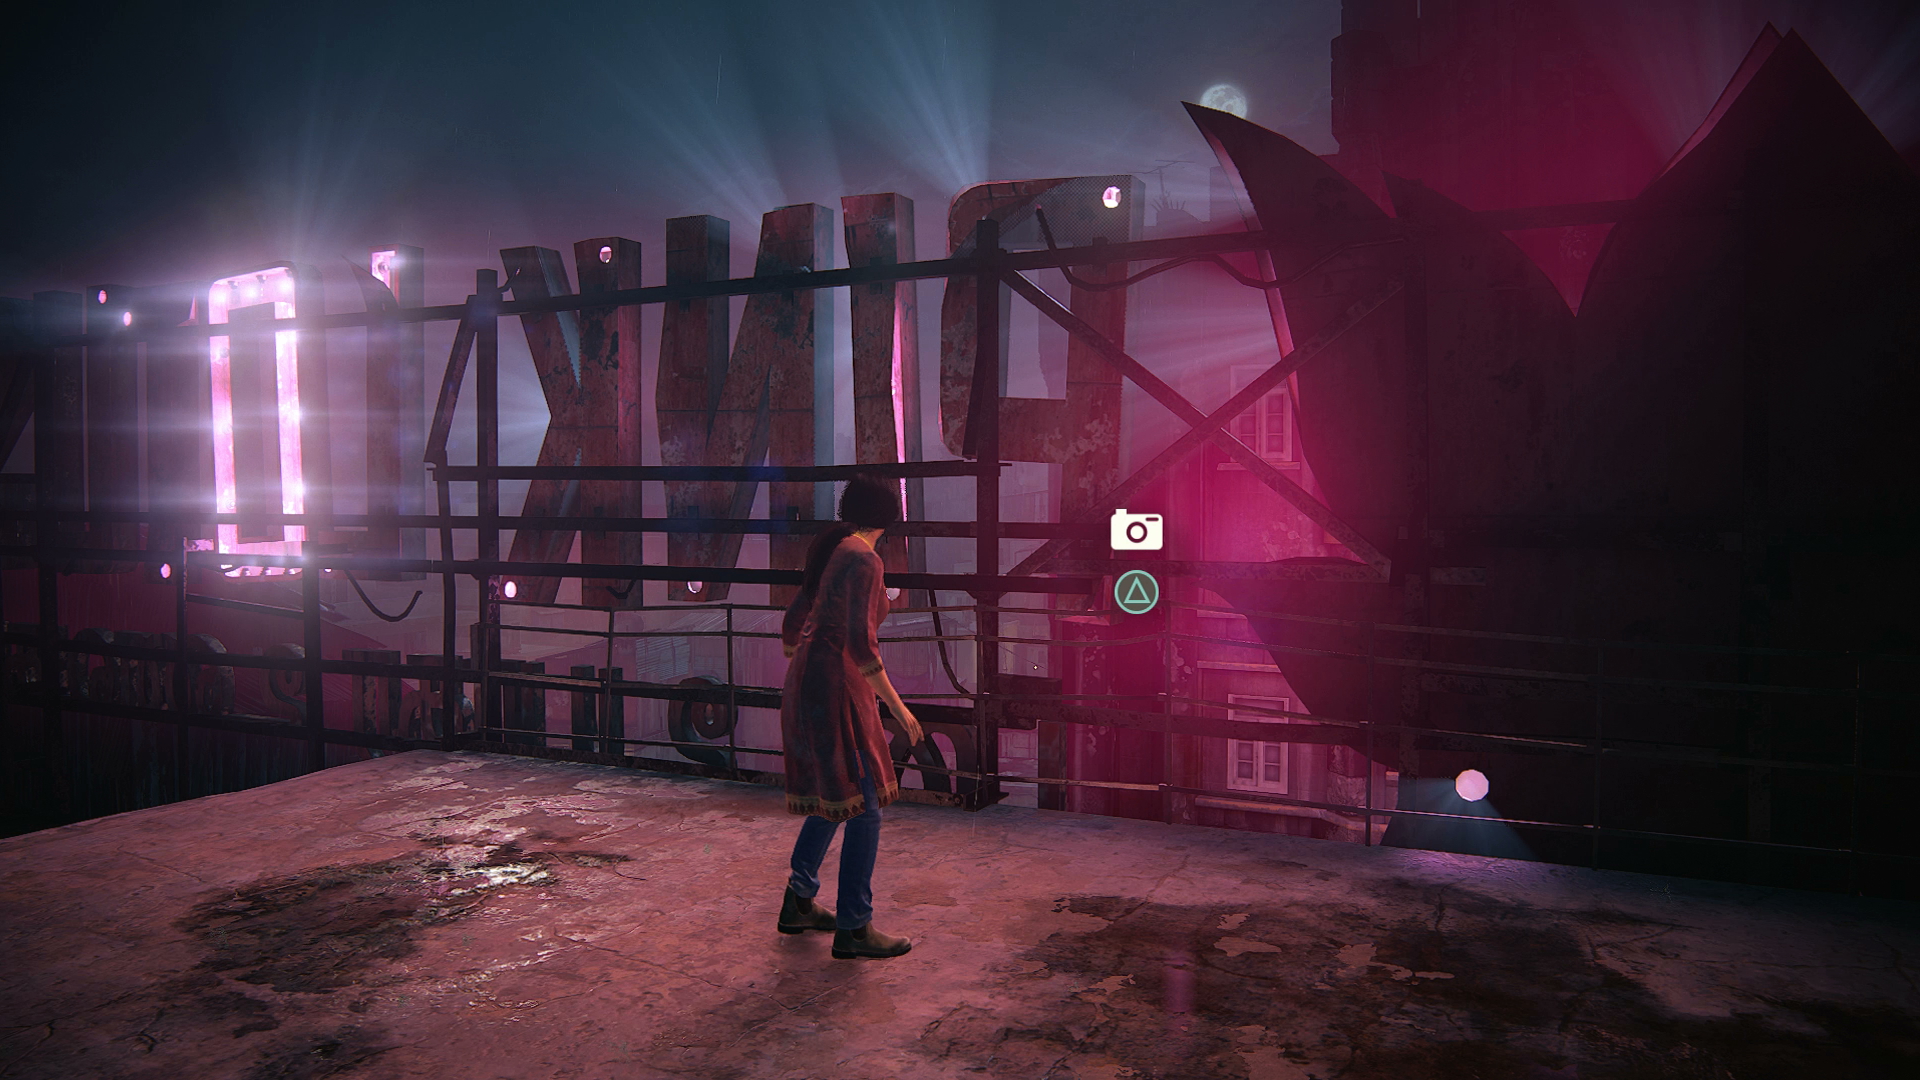
Photo Opportunity 2
As soon as the chapter starts, follow the prompt to grab this photo.
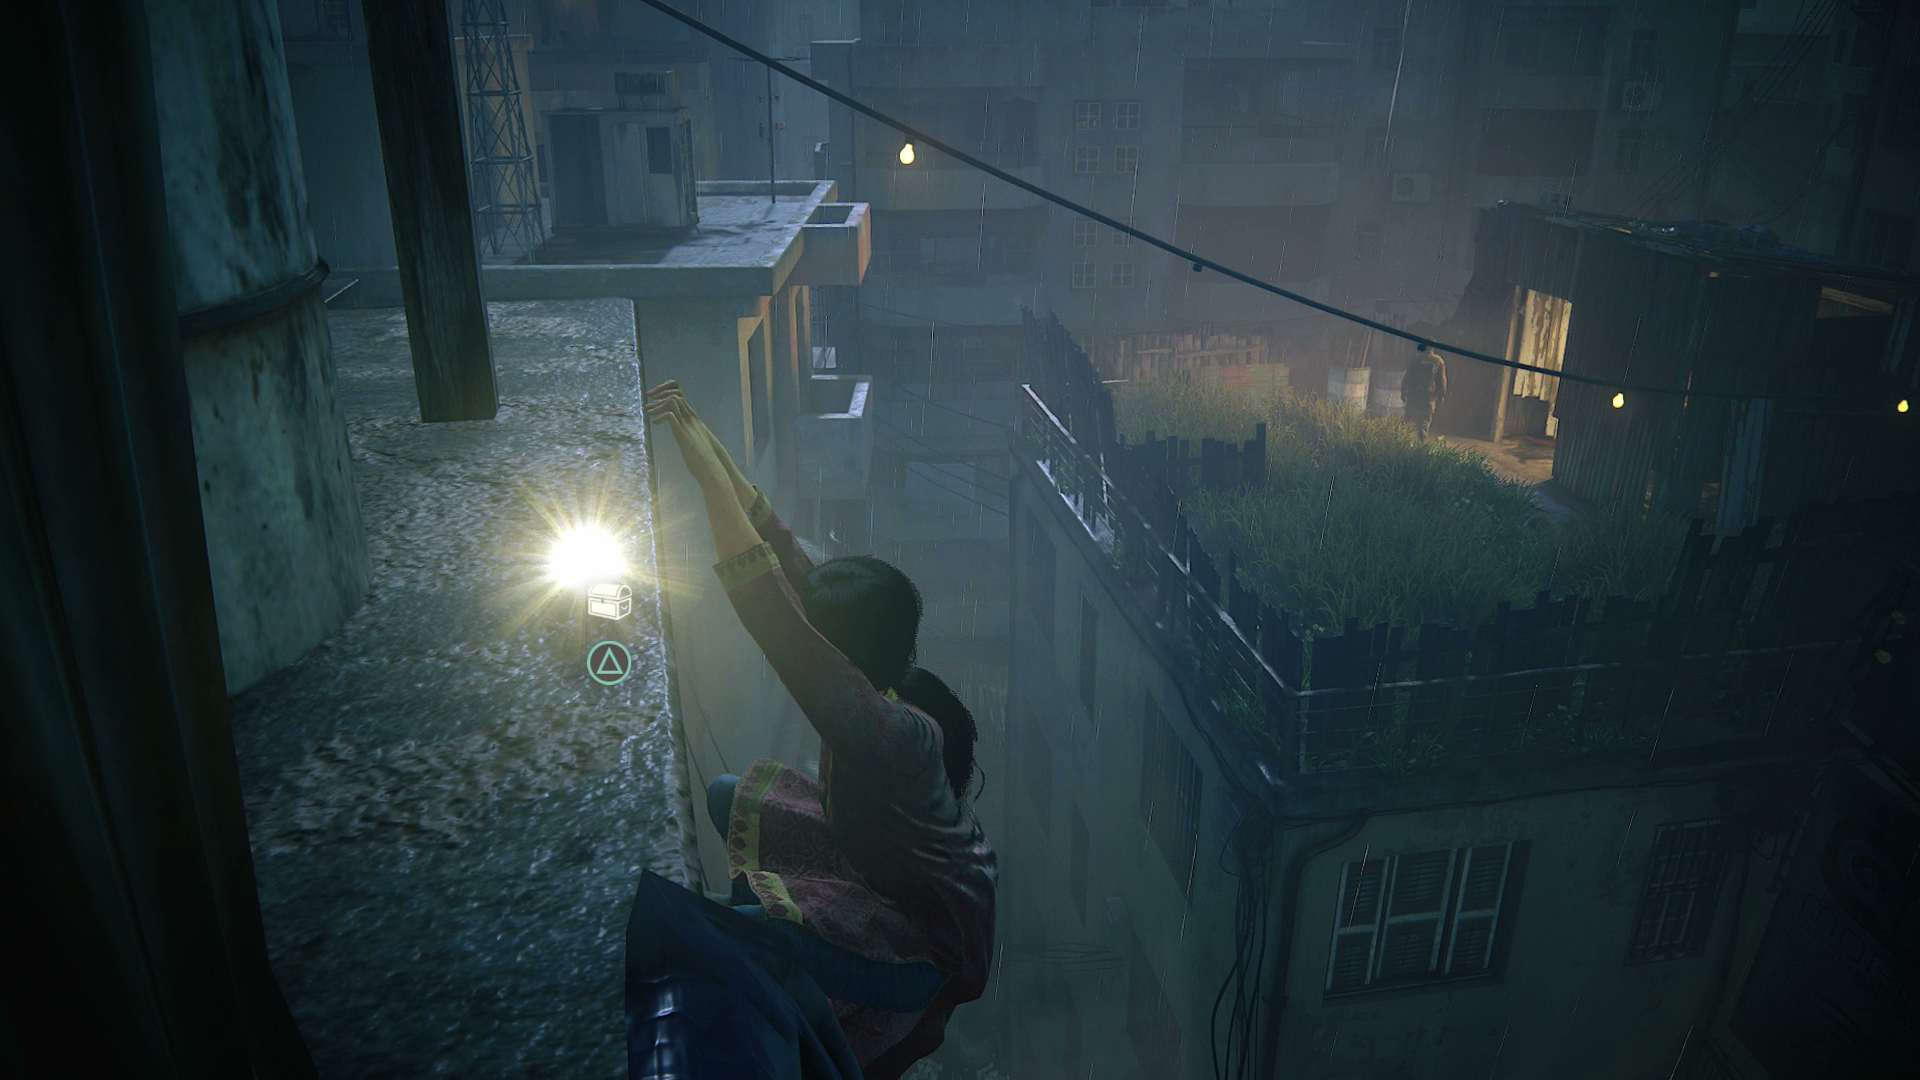
Treasure 3 - Bullet Whistle
When you reach the first zipline, shimmy around the platform to the right before you slide down the wire.
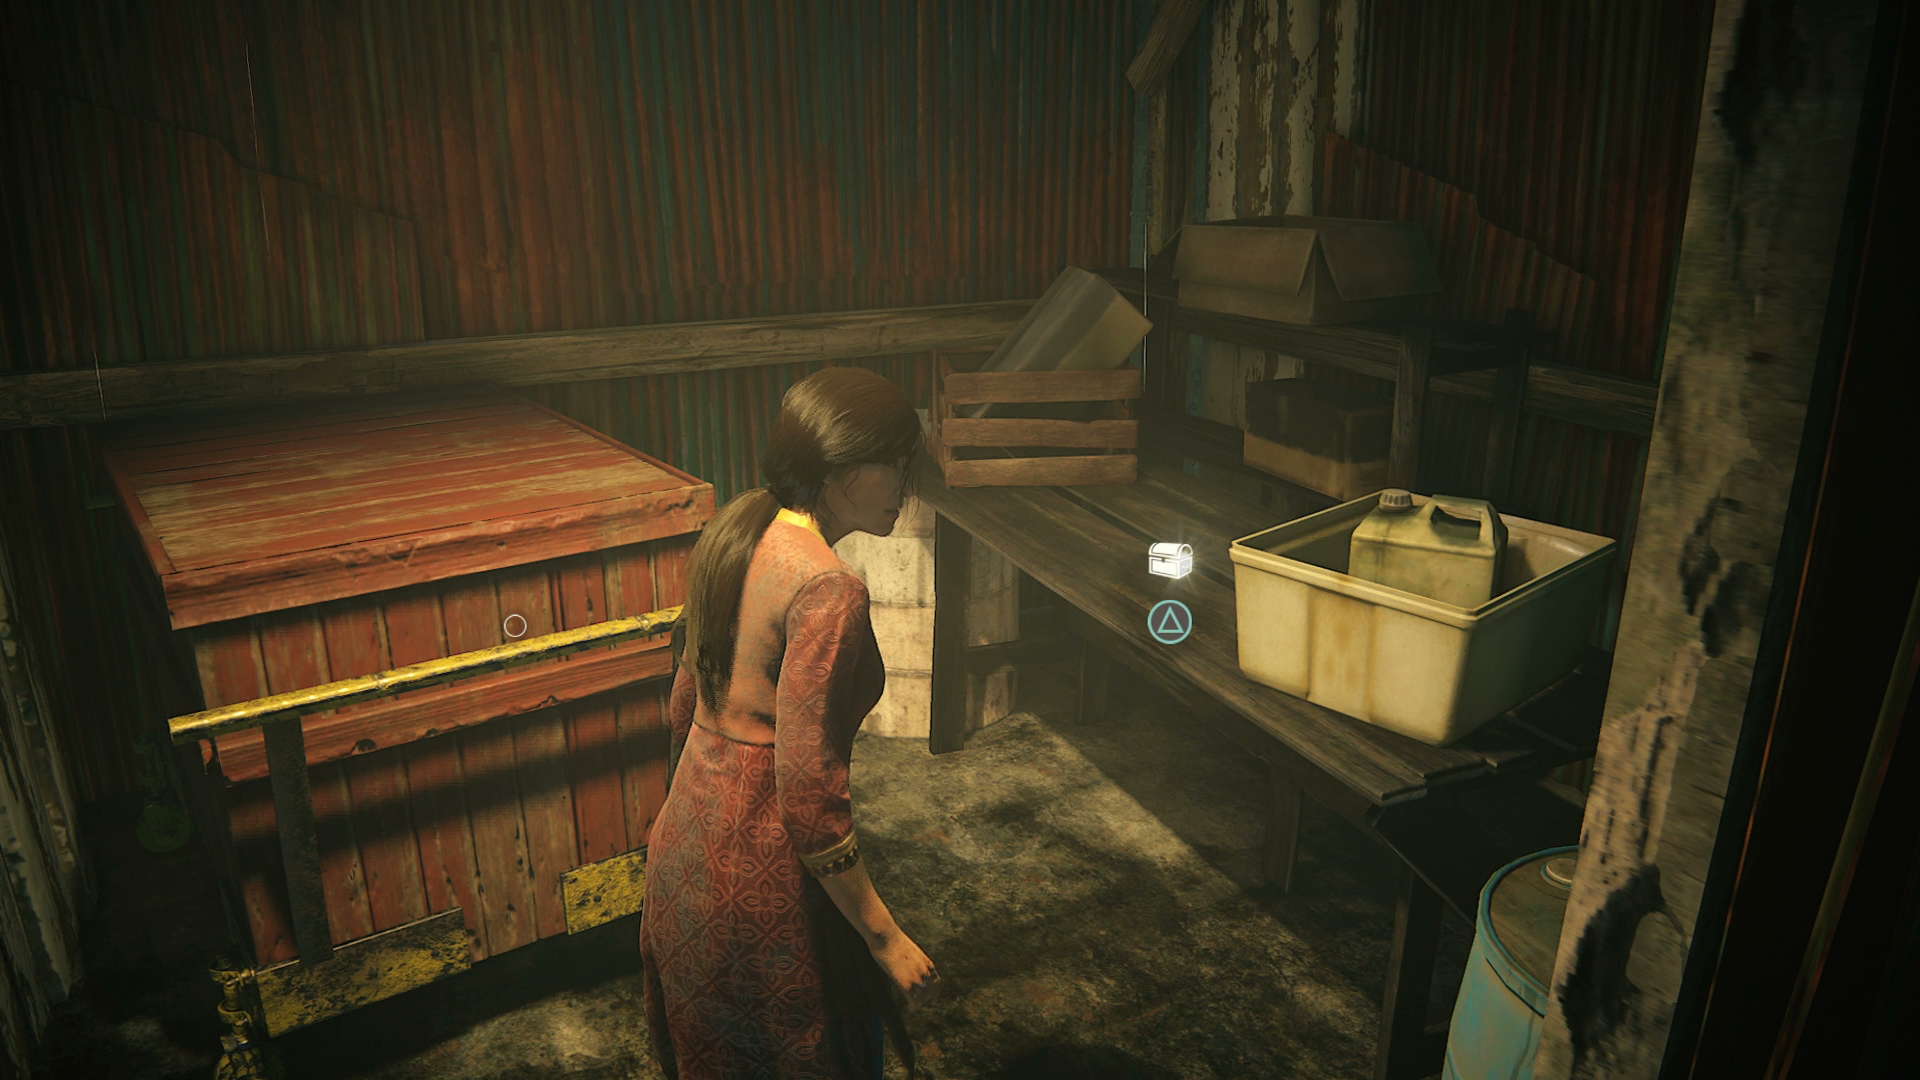
Treasure 4 - Military Service Lighter
After sliding down the zipline and taking out the guard, look in the shack with the movable crate.
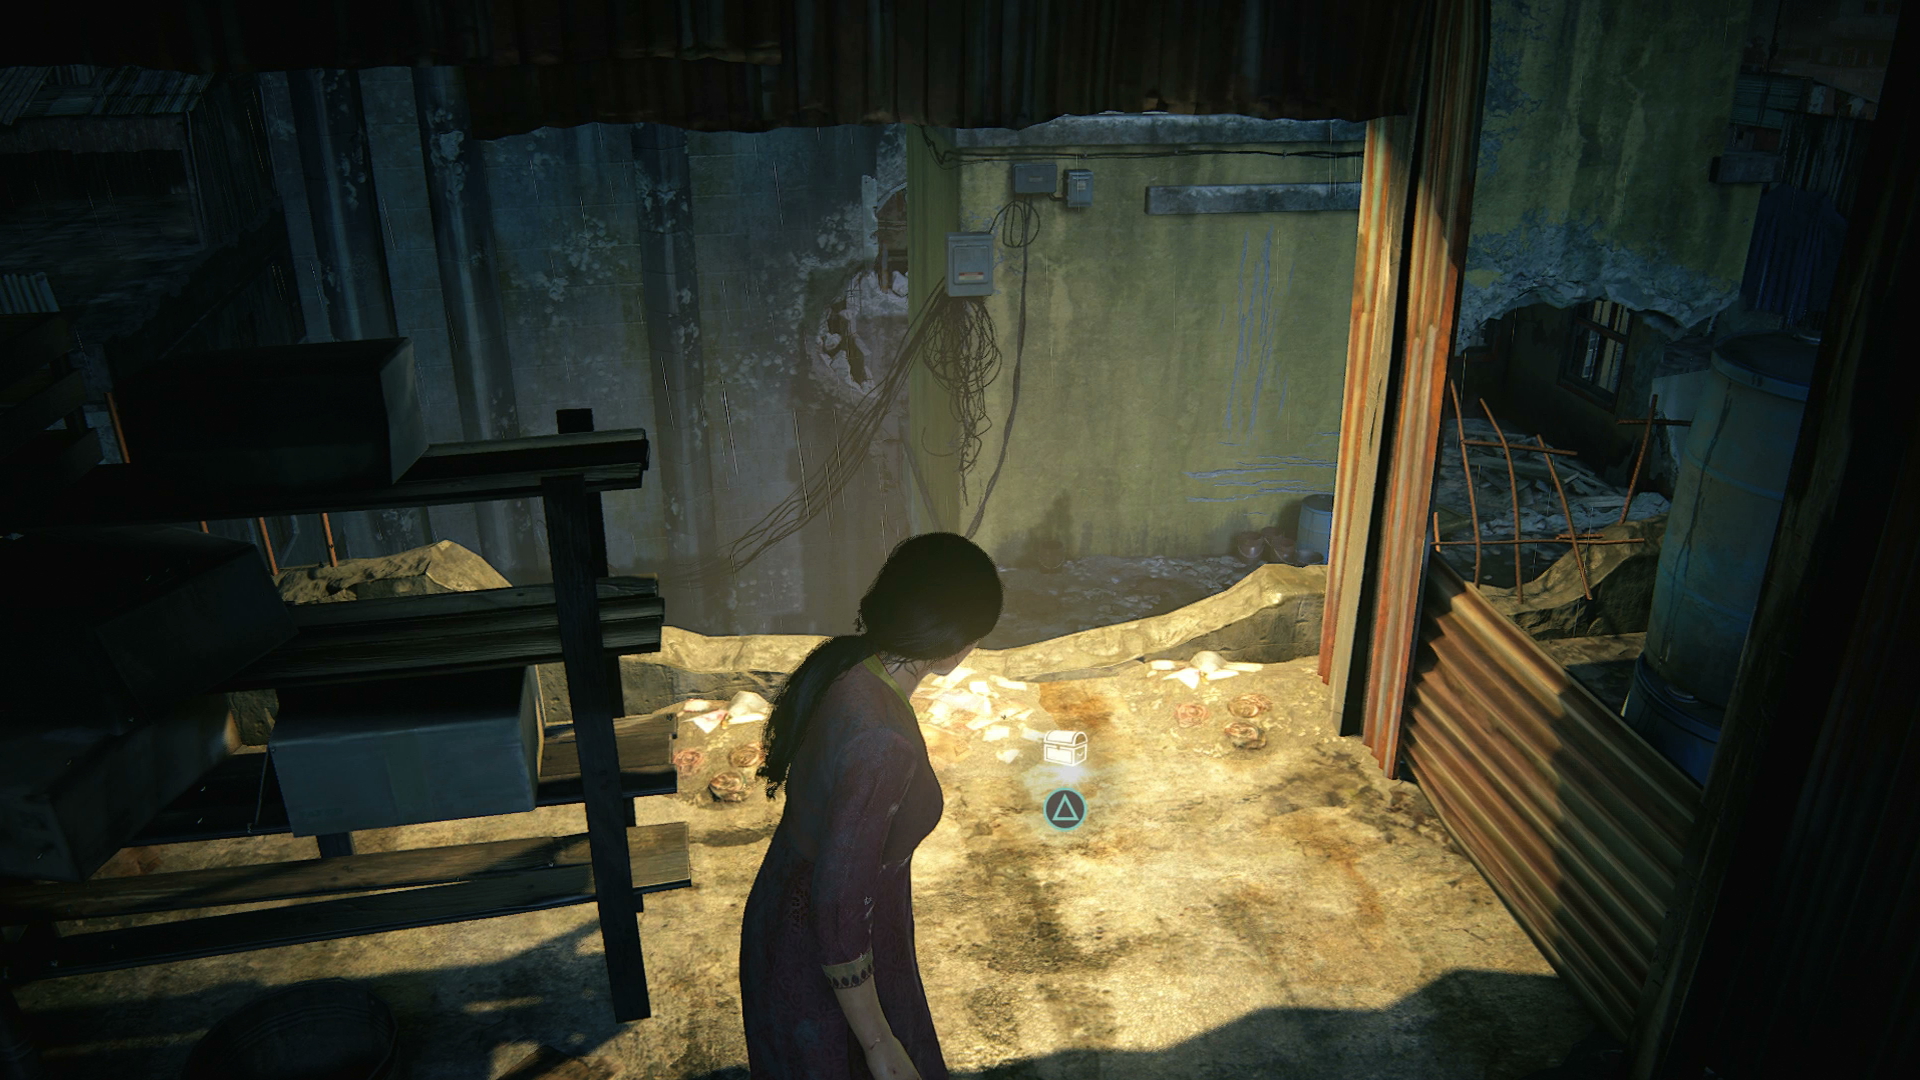
Treasure 5 - Utility Spork
Once you move the crate in the next rooftop shack, go back and look on the floor where it was.
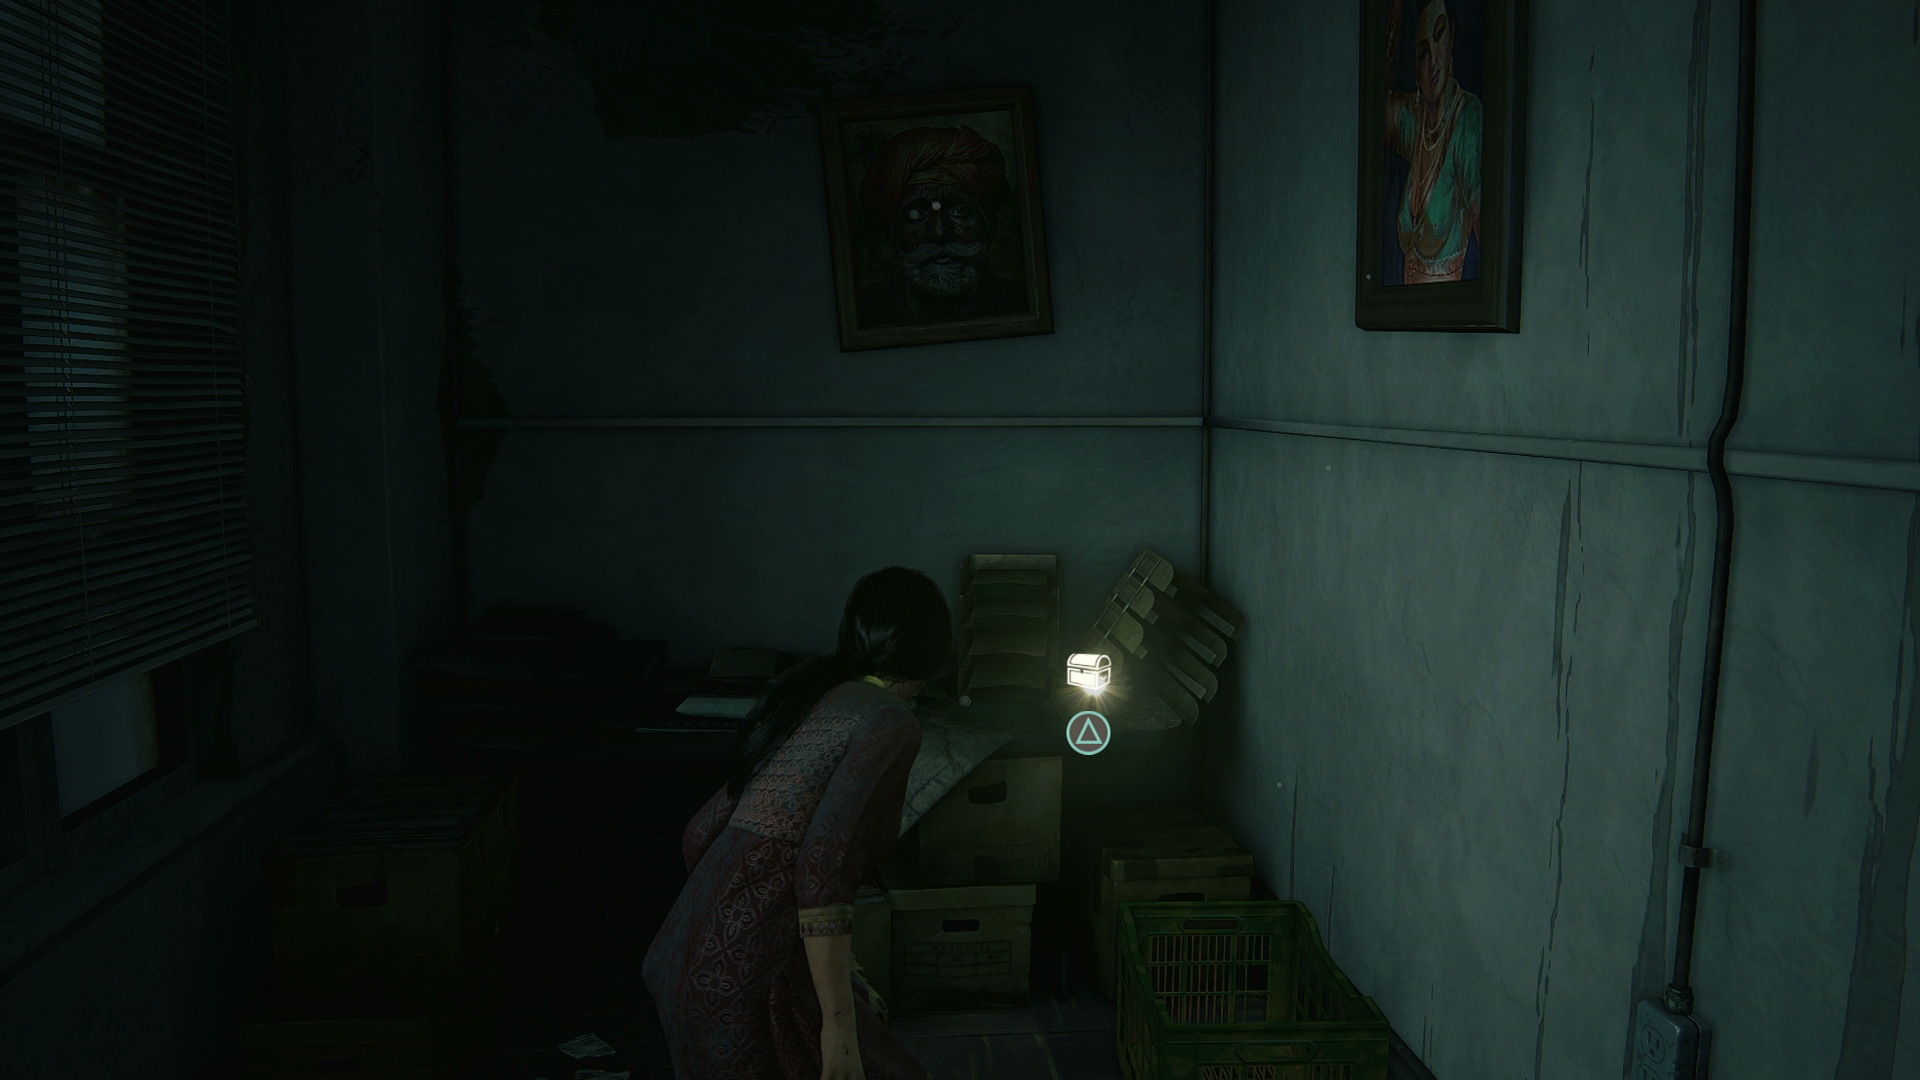
Treasure 6 - Travelling Inkwell
After breaking the floor with the crate and jumping over to the opposite building, climb inside then go down the left hand corridor in the room you arrive in.
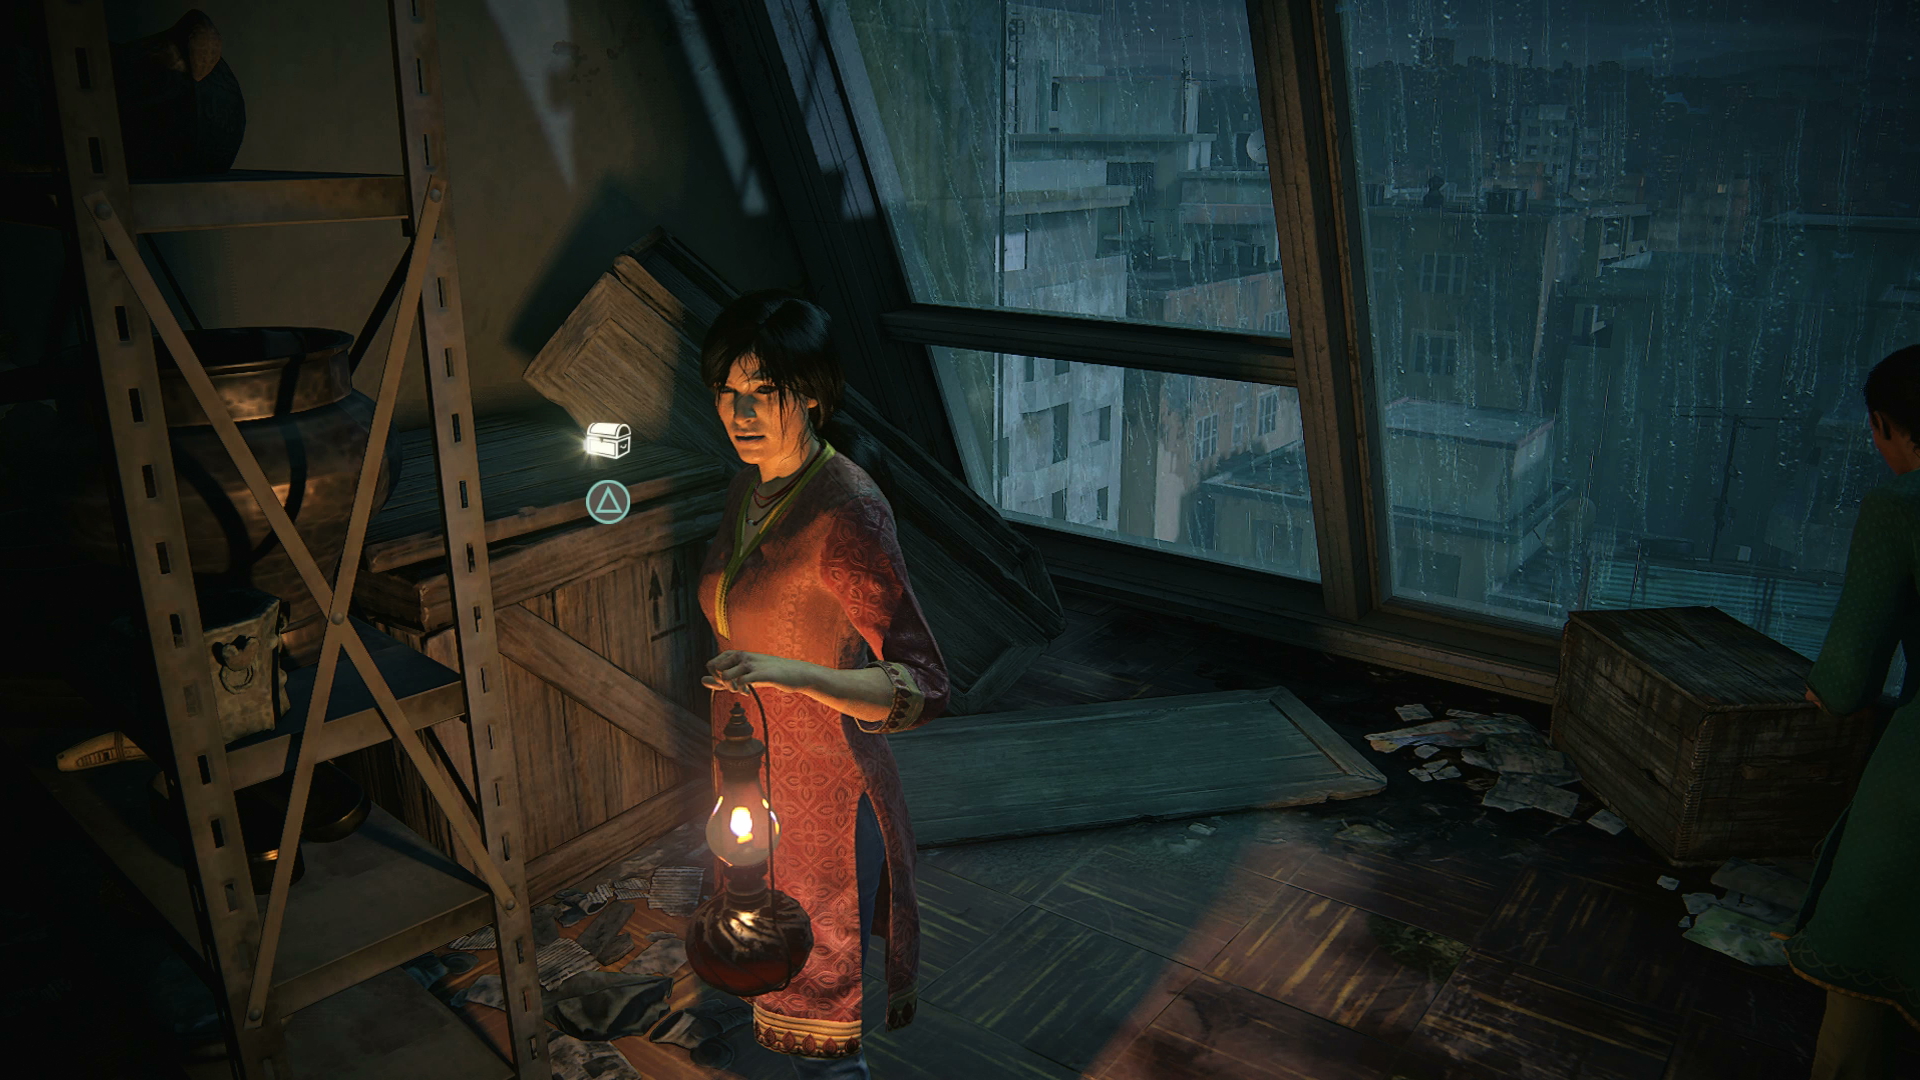
Treasure 7 - Tactical Compass
When you and Nadine break into the storeroom at the top of the building, head to the large sloping windows and look on the crate behind some shelves.
Weekly digests, tales from the communities you love, and more
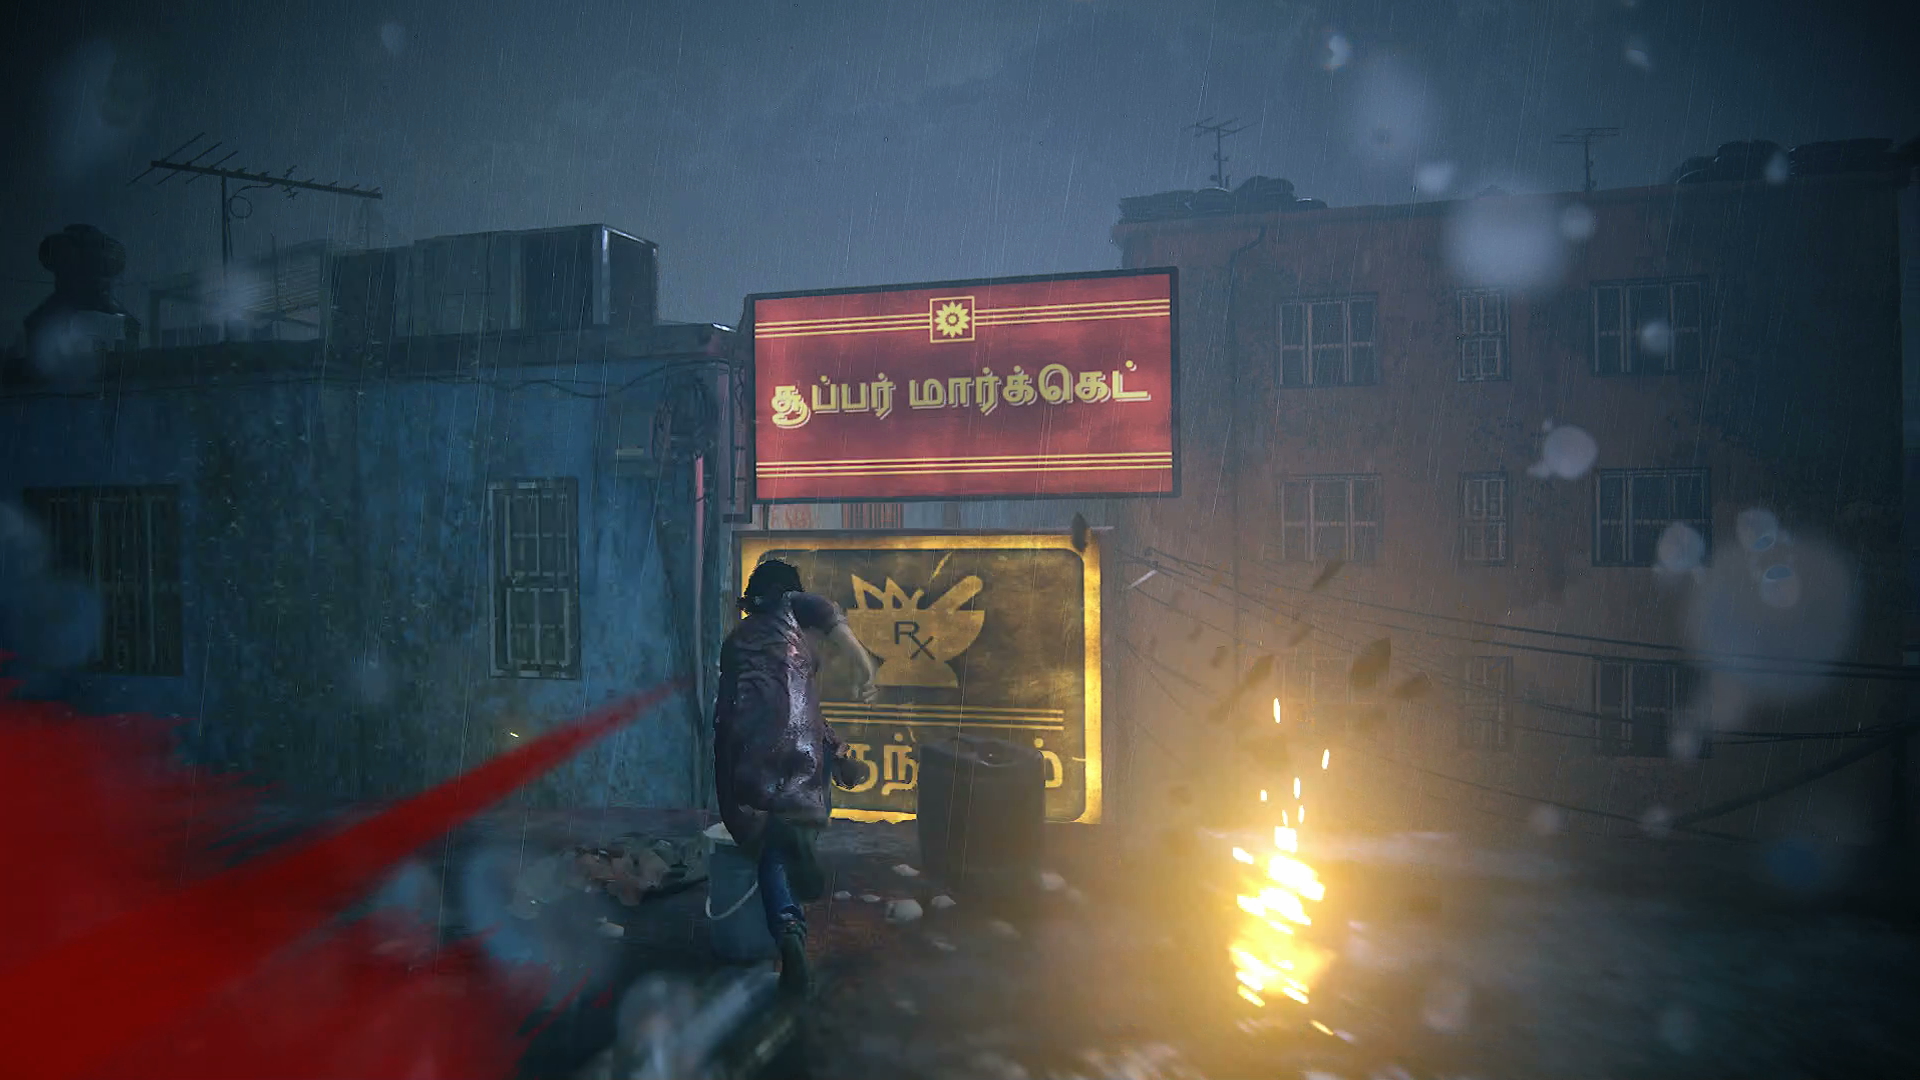
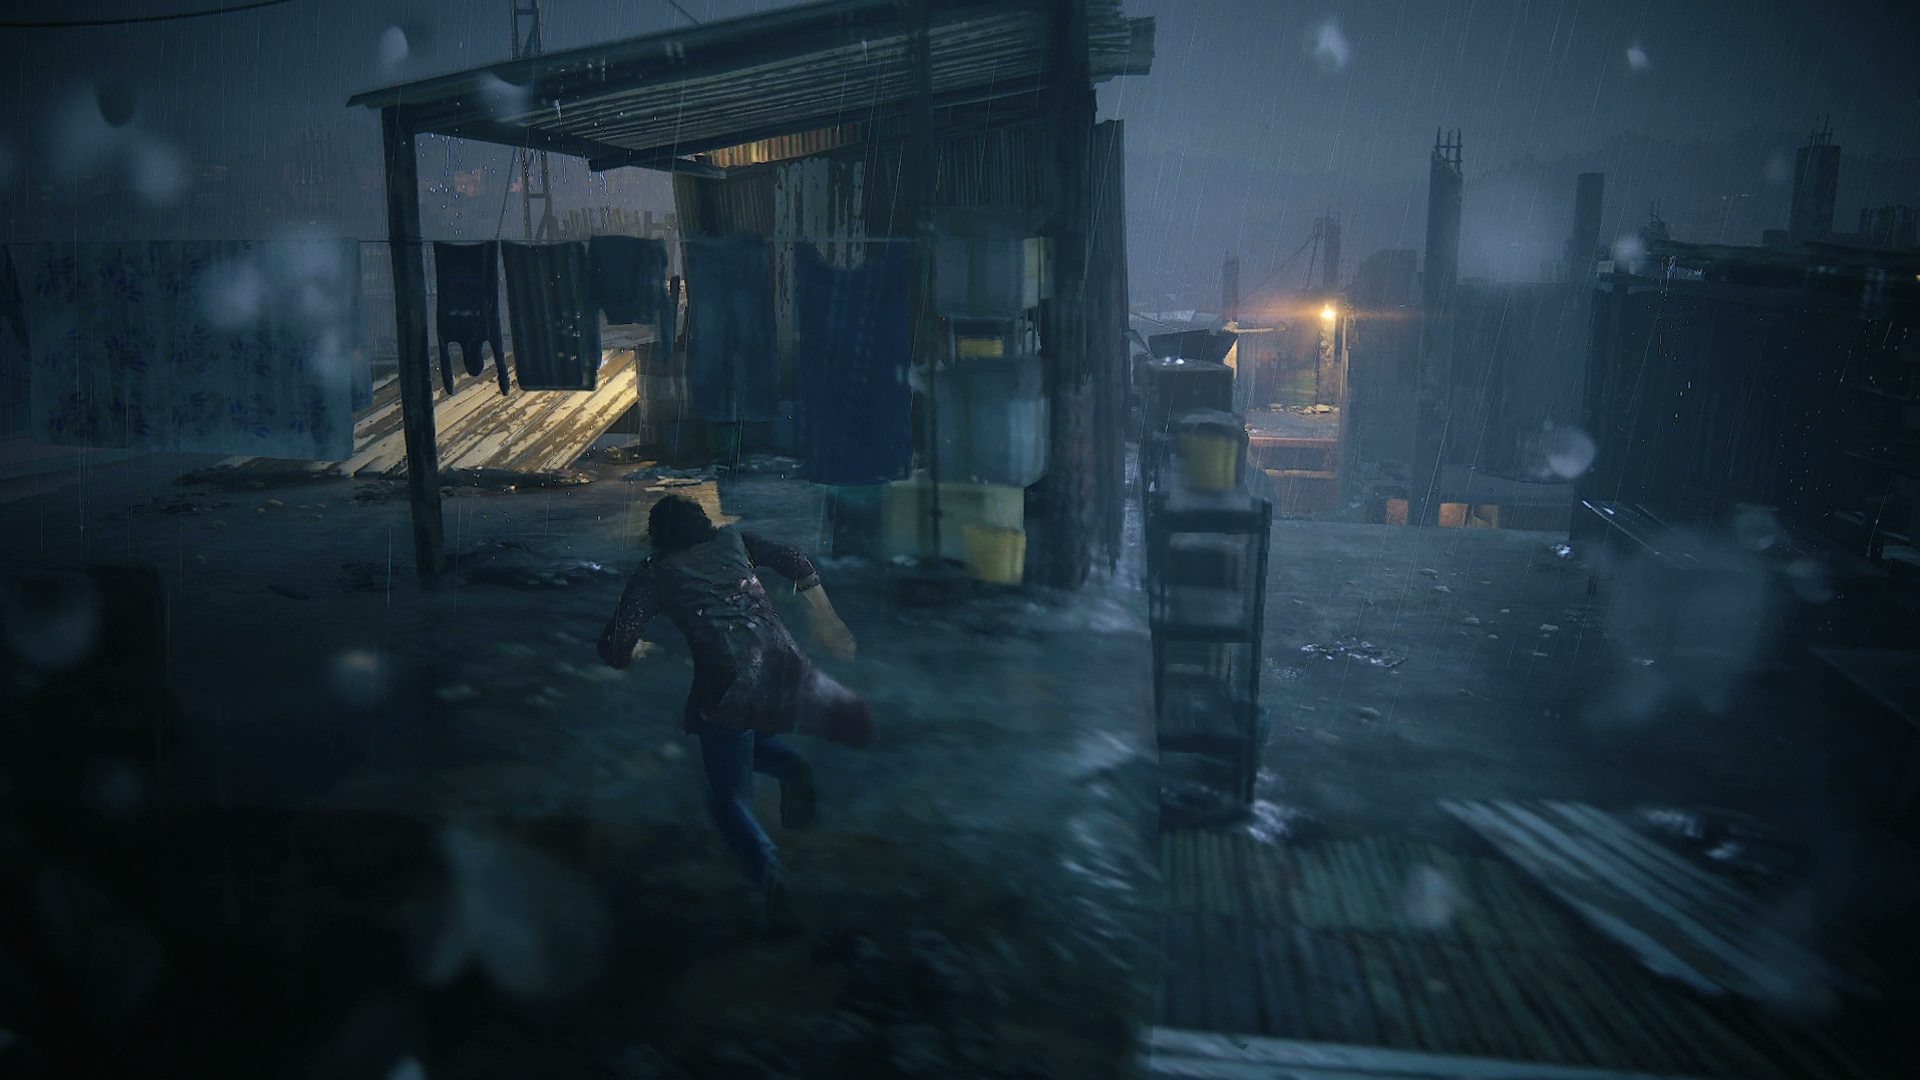
Hidden Trophy - Drop Me a Line
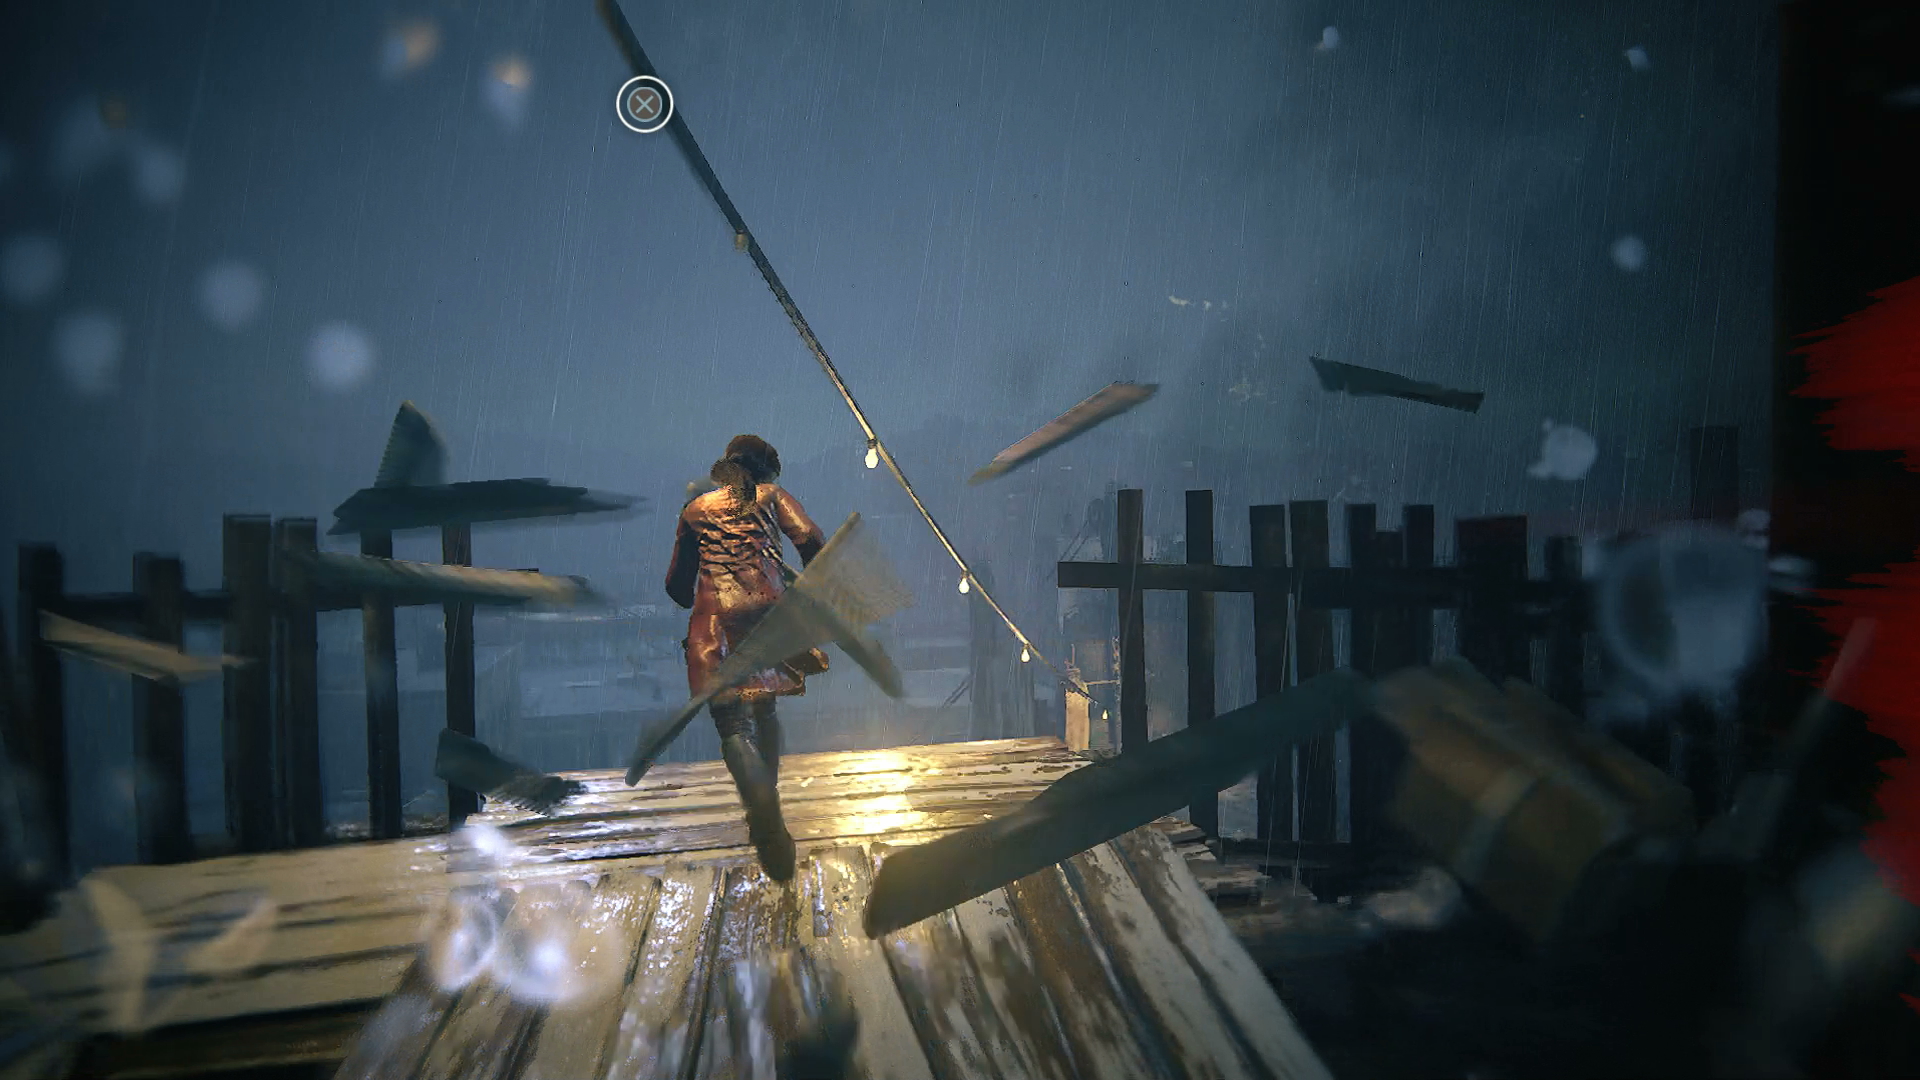
To unlock this hidden trophy you need to use all the zip-lines in the city. There are four in total - you should have used one earlier, and two more should be found automatically during the escape sequence. This leaves one more to collect, which can be found just after the fist fight with three enemies. Make sure you go straight ahead when you land on the next rooftop and jump to the neon signs, then on the next rooftop take the left-hand route through the clotheslines to find the zip-line. When you slide down the final line to end the chapter the trophy will unlock.
Next: Chapter 3 - Homecoming

Iain originally joined Future in 2012 to write guides for CVG, PSM3, and Xbox World, before moving on to join GamesRadar in 2013 as Guides Editor. His words have also appeared in OPM, OXM, PC Gamer, GamesMaster, and SFX. He is better known to many as ‘Mr Trophy’, due to his slightly unhealthy obsession with amassing intangible PlayStation silverware, and he now has over 1,000 Platinum pots weighing down the shelves of his virtual award cabinet. He does not care for Xbox Achievements.
 Join The Community


