The 7 best Red Dead Redemption 2 Strangers missions
From taming lions to boar hunting with a one-legged war vet
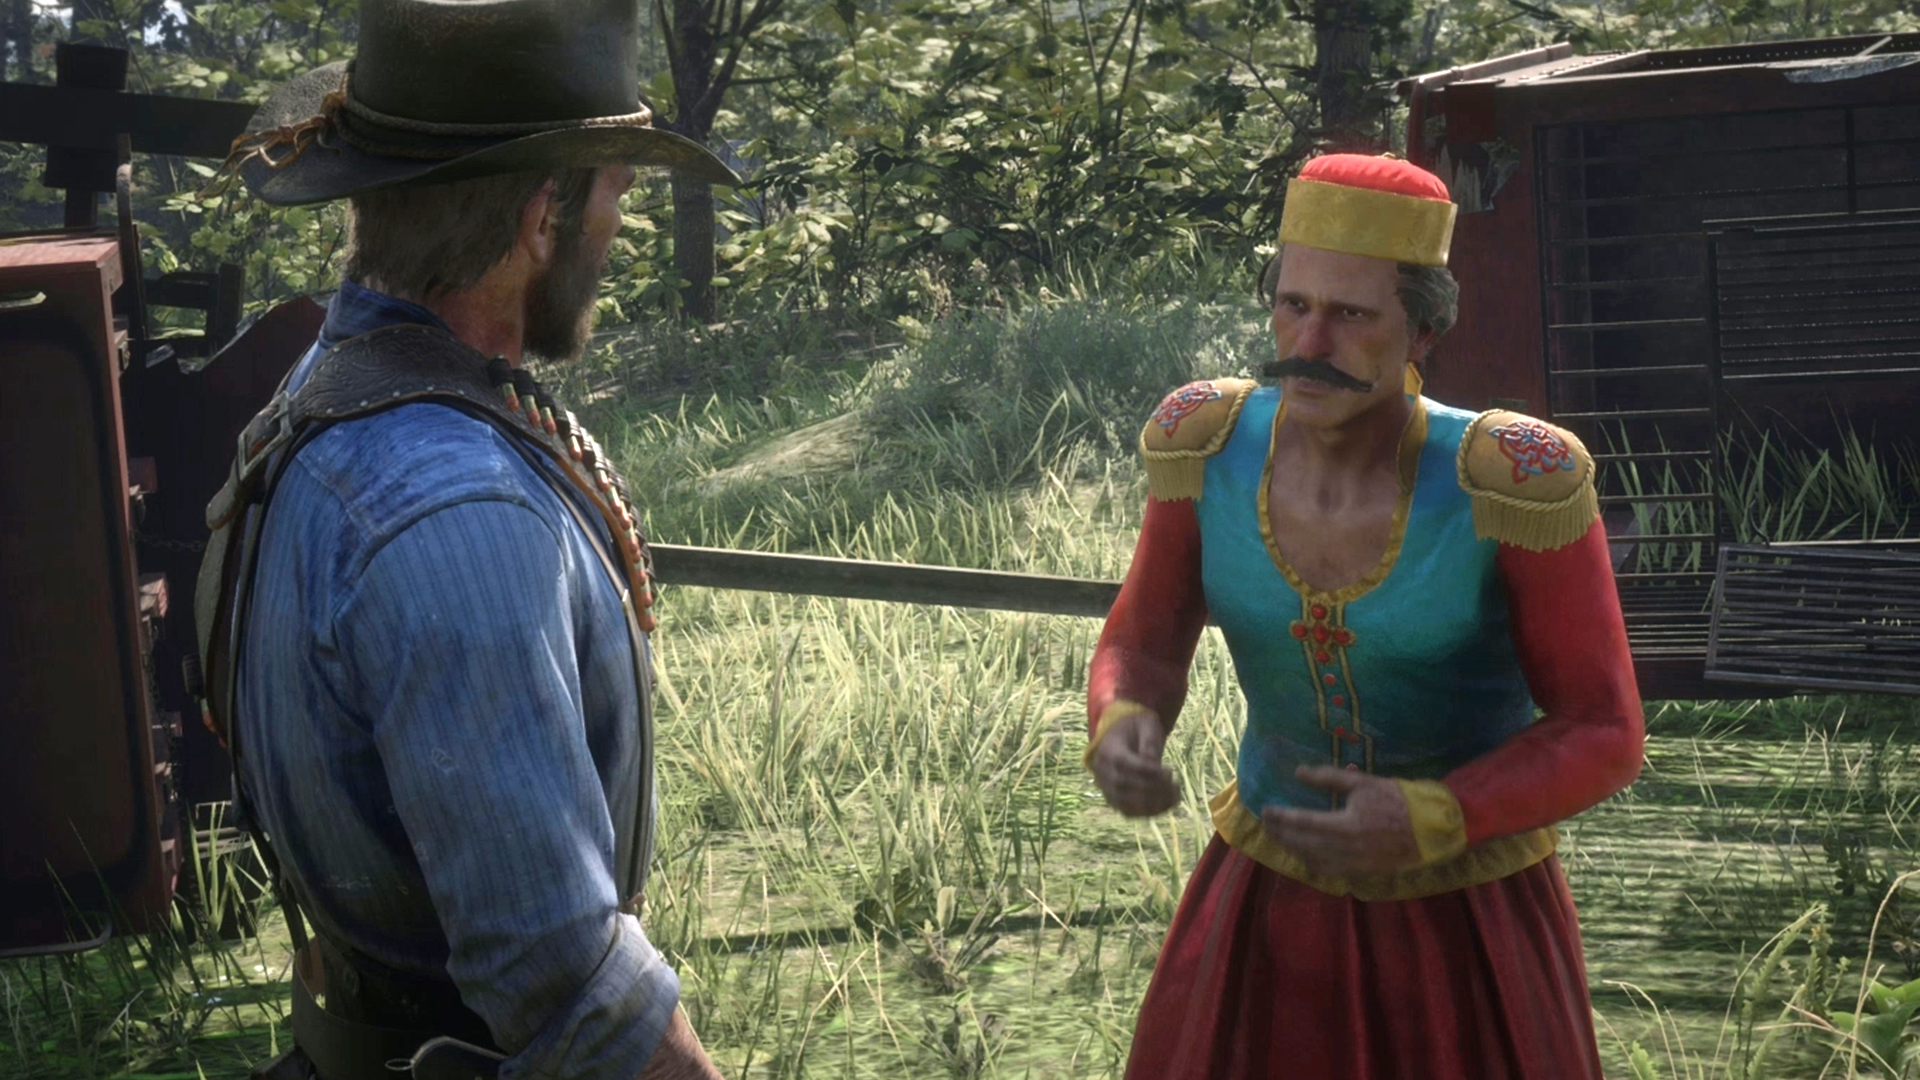
The best Red Dead Redemption 2 Strangers are a band of oddballs and kooks, so meeting them can significantly brighten up your day and send you off on all sorts of crazy adventures. Helping them with their quandaries and seeing how things pan out can give you plenty of stories to tell in Red Dead Redemption 2, as well as providing unique experiences you're not likely to forget and won't find anywhere else in the Old West. Make sure you offer your aid to any of these folk you encounter while on your travels, as you don't want to miss the intriguing and often humorous paths they lead you down.
These side quests don't have any effect on your progress through the story, but if you're aiming for that elusive Red Dead Redemption 2 100% completion accolade then you'll have to track them down at some time anyway, so you might as well catch up with them on your journey. There are 16 of them in total to find, but we've picked out the seven best Red Dead Redemption 2 Strangers missions for you here, from taming lions to boar hunting with a one-legged war vet, so you can enjoy the most rewarding interactions.
Warning – there are obviously potential spoilers for the various Red Dead Redemption 2 Strangers missions here, so only read on if you're willing to have key moments in these quests spelled out for you.
Article continues below 
Ready? Ok, here we go.
7. He's British, of Course
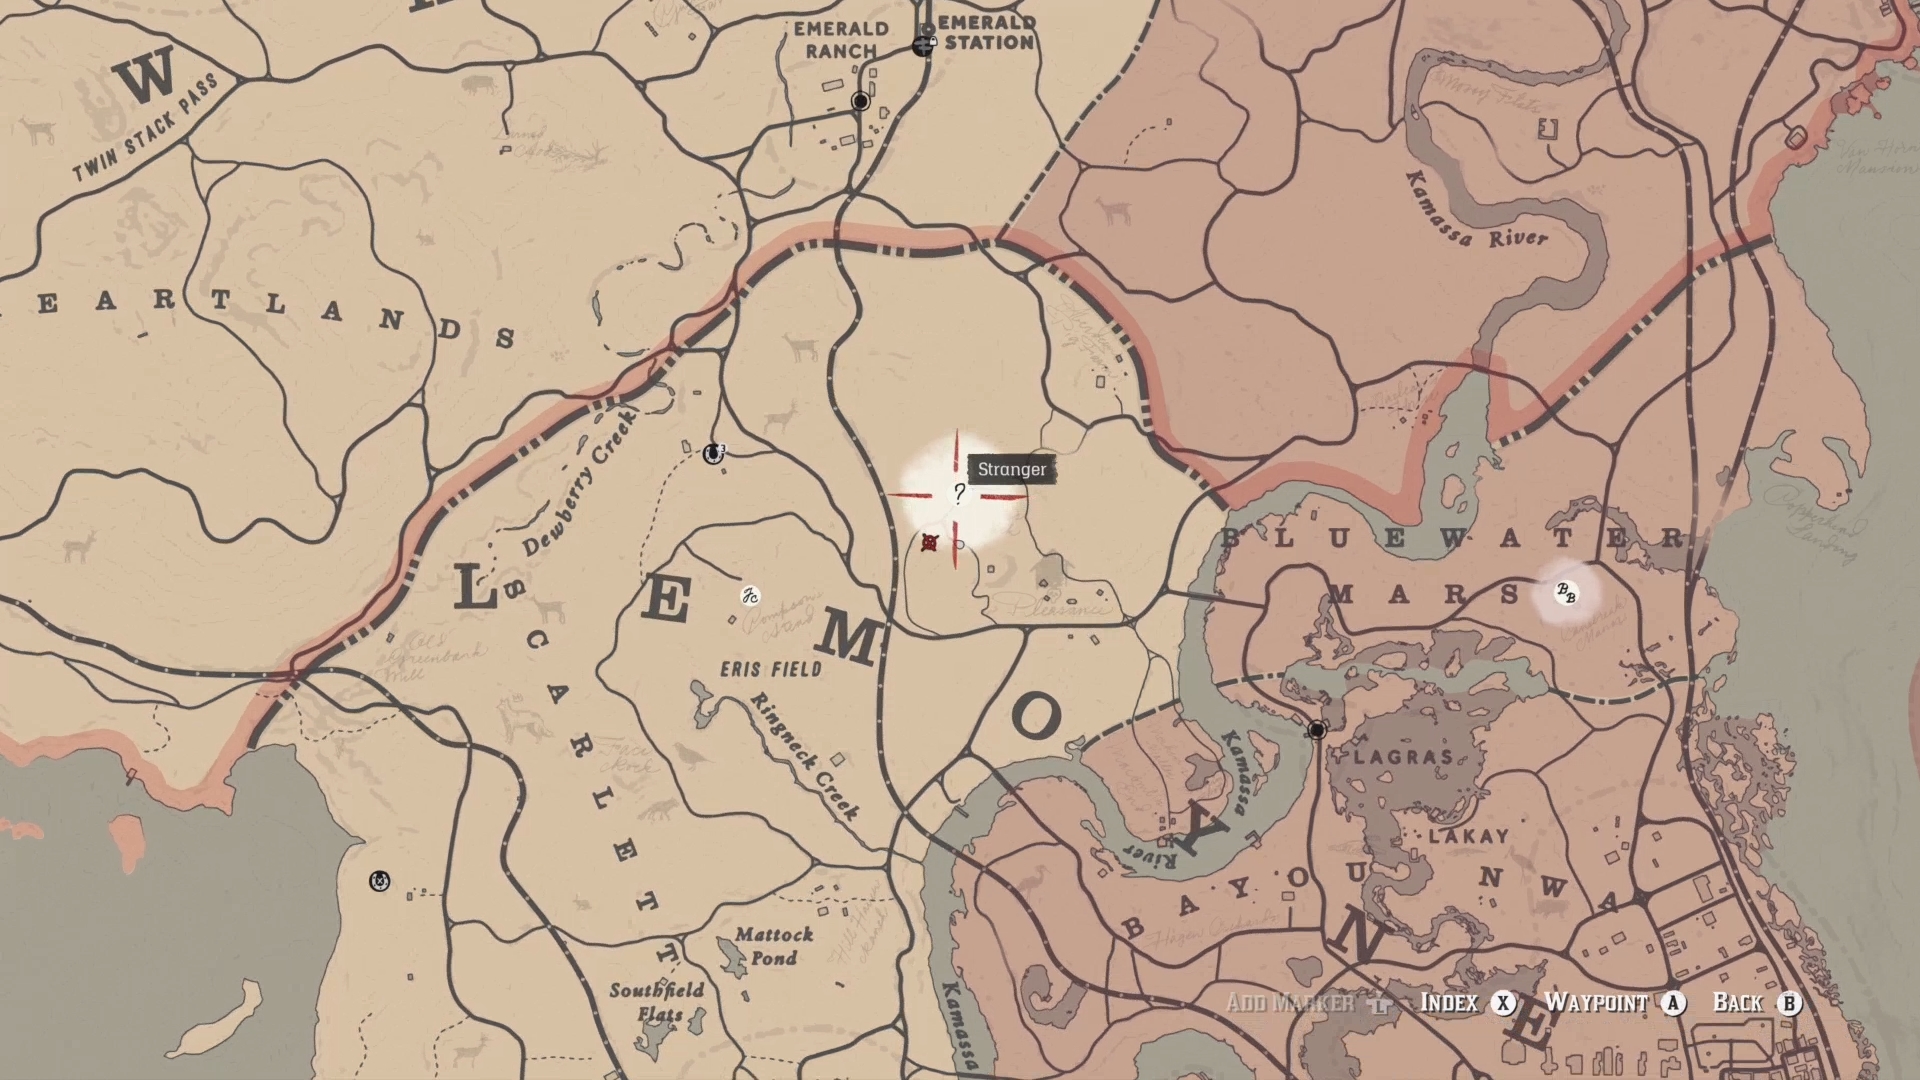
Red Dead Redemption 2 has an eclectic array of animals, but the critters you encounter in this mission are probably the last you’d ever expect to run into in the Old West.
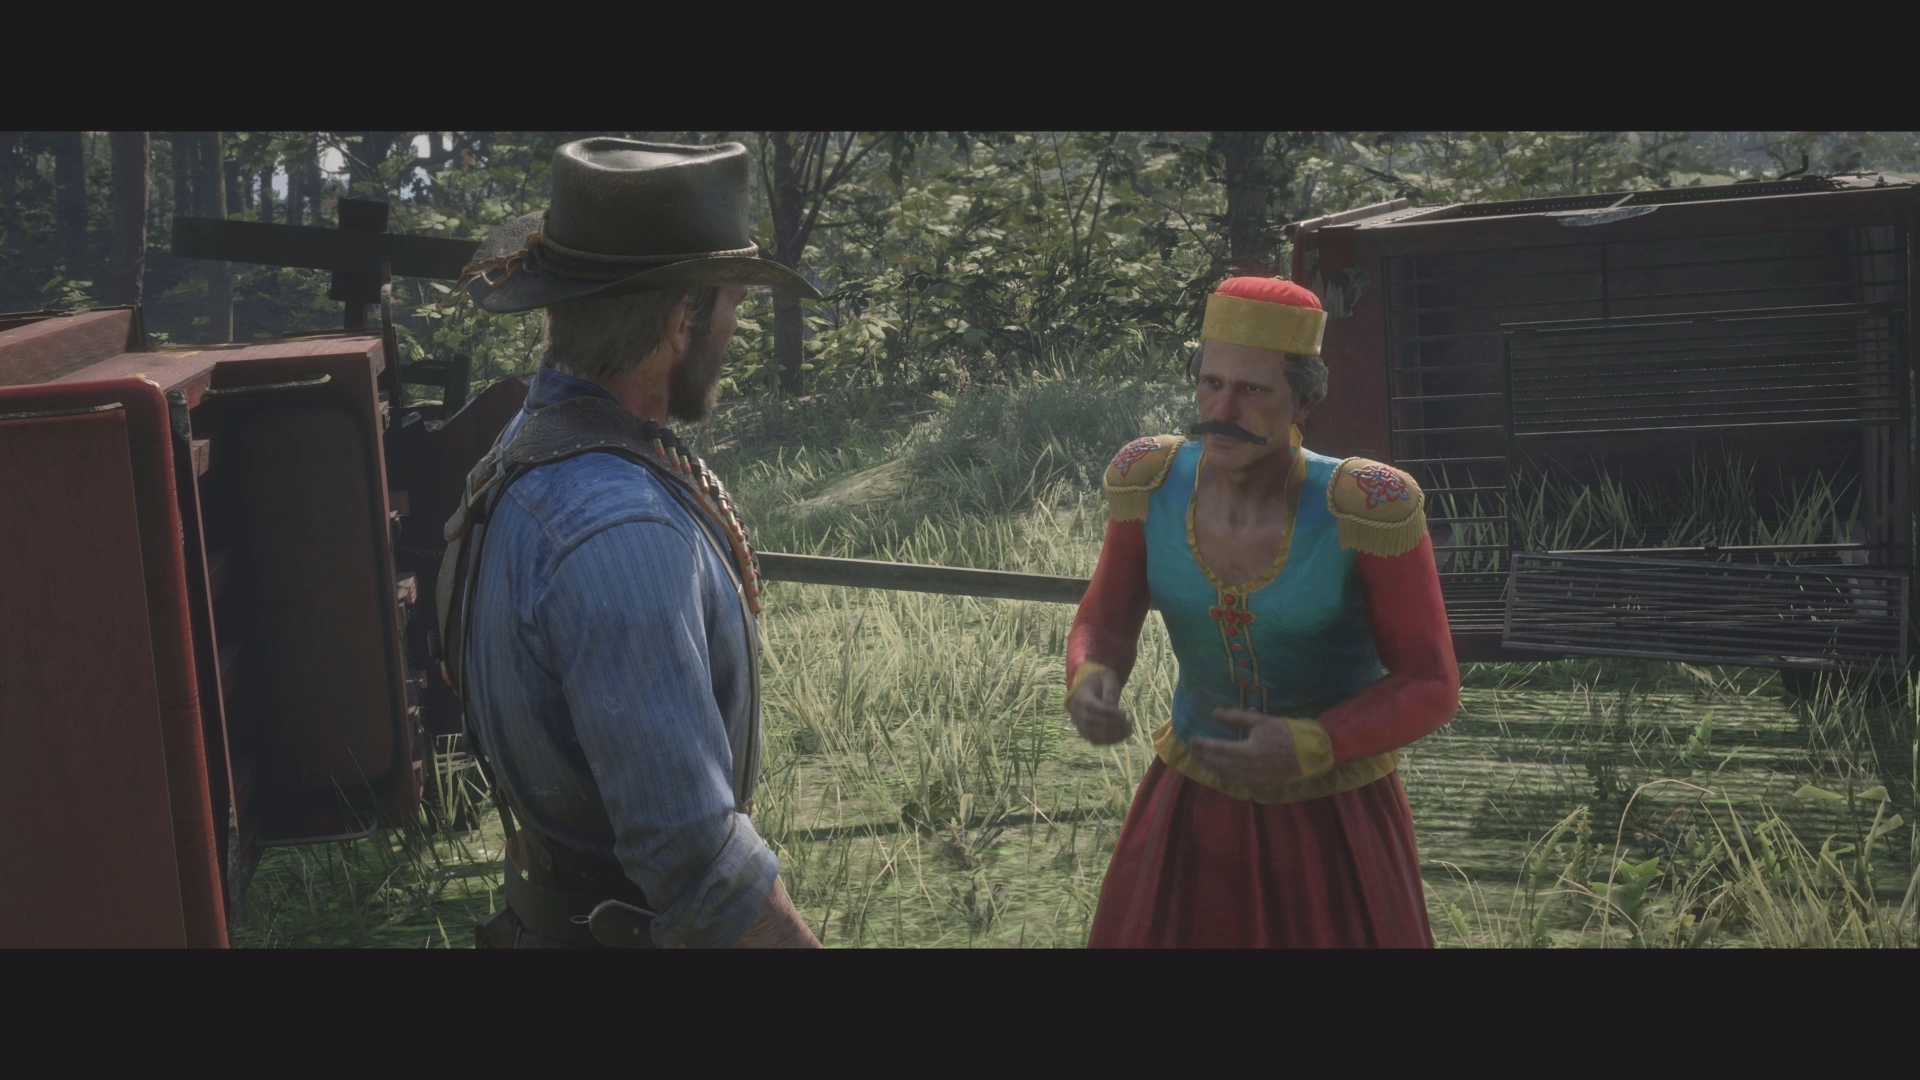
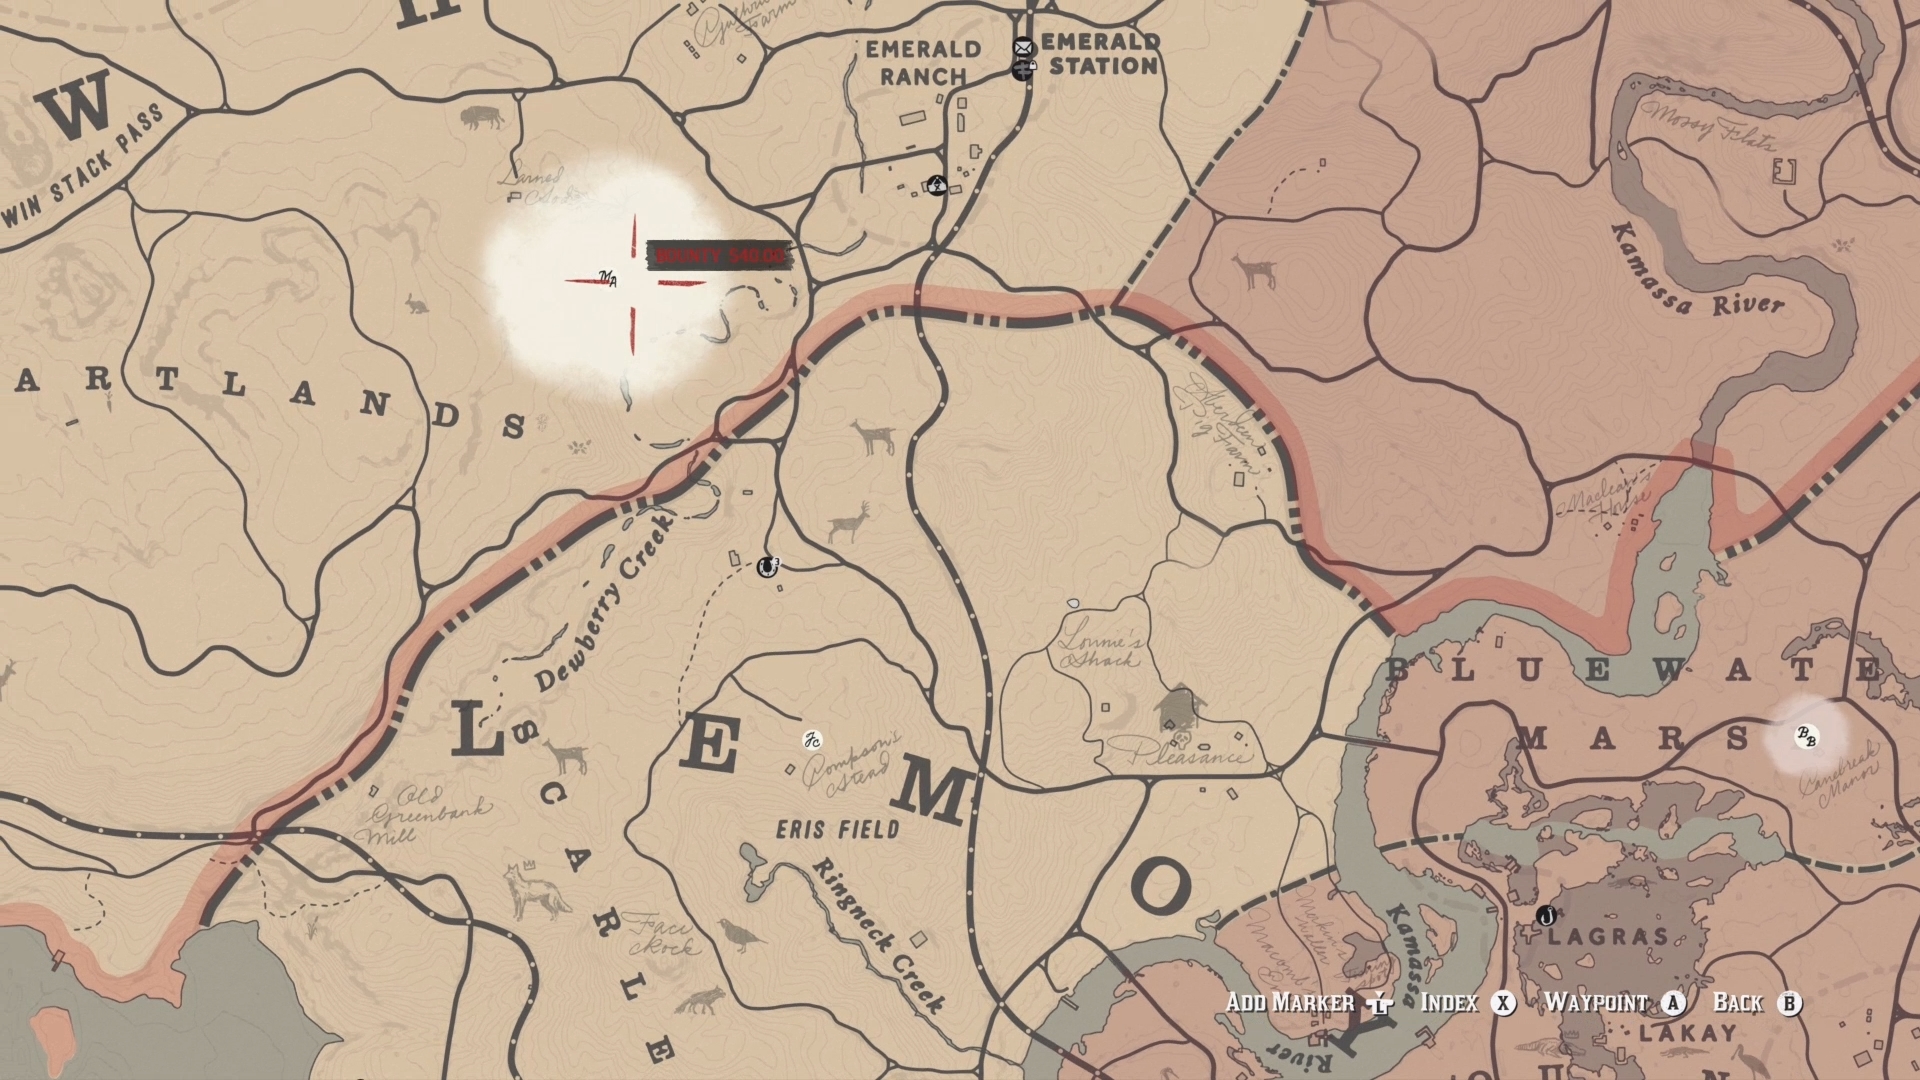
This quest is available from the beginning of chapter three, and you can start it by riding to the marker just west of Bluewater Marsh in Lemoyne. Here, you find some circus performers post-caravan crash. Worse, said accident has resulted in several of the party’s exotic circus acts escaping; a lion, a tiger, and a zebra… oh my!
First, you must capture the stripey horse, which can be found grazing a little to the northwest of the crash. Once you spot it munching grass under a tree, break out Arthur’s binoculars to discover it’s actually a mule with stripes painted on, not a zebra. Those dirty liars.
Weekly digests, tales from the communities you love, and more
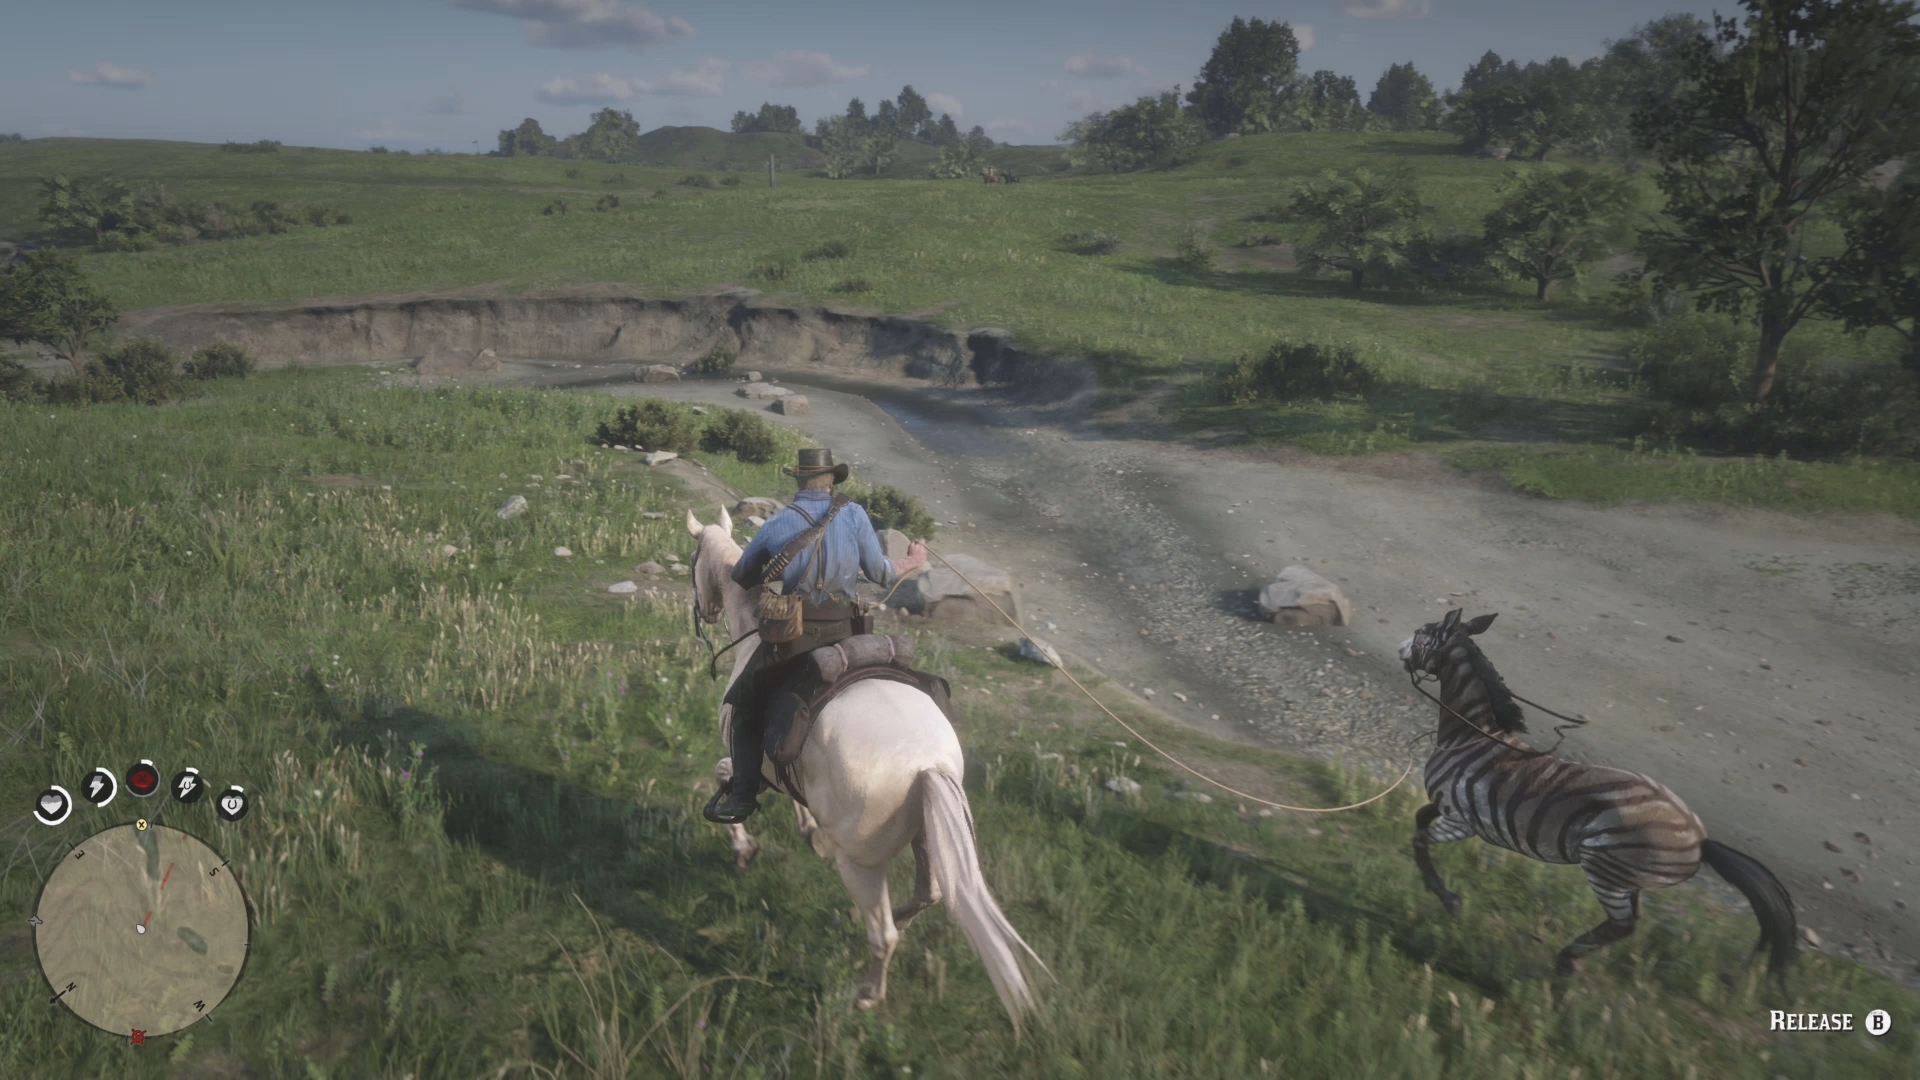
Lasso the ‘glamorous African herbivore’, then lead it back to the caravan.
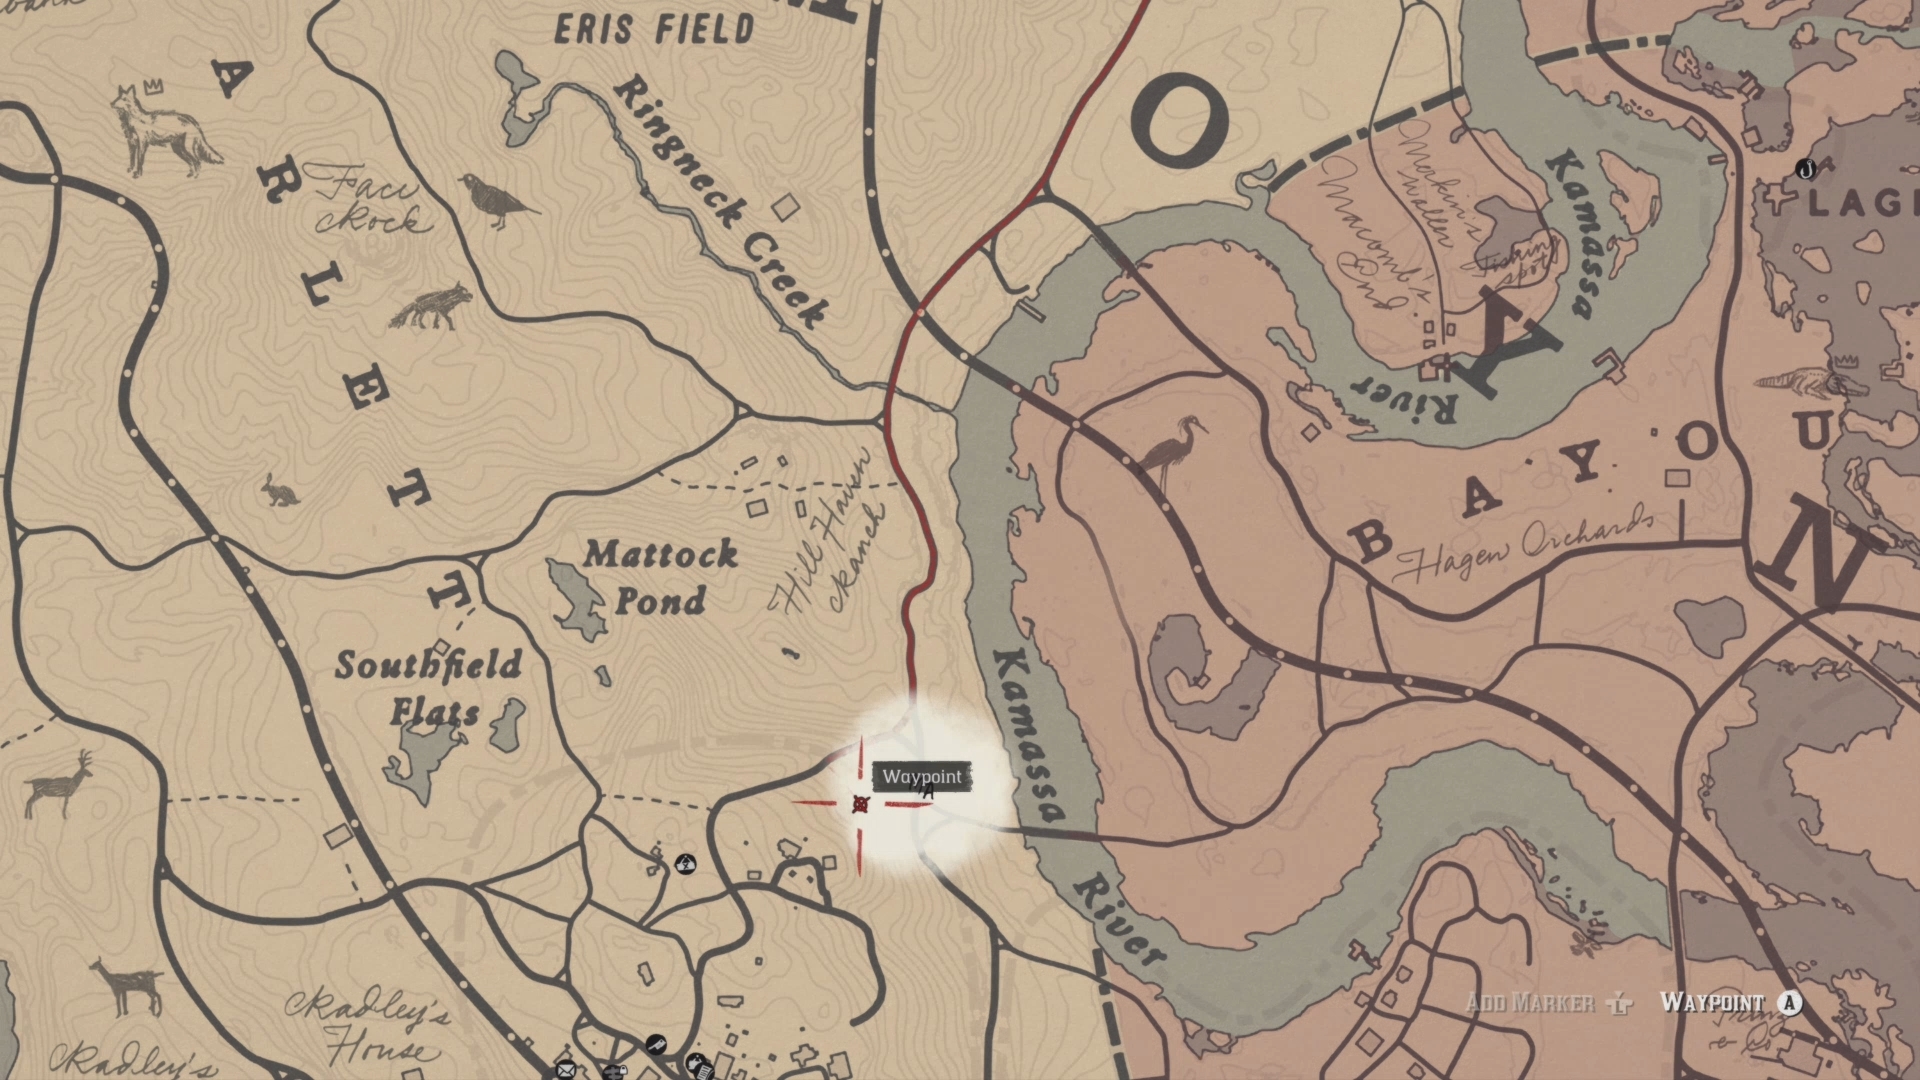
Next, it’s time to fetch the, ahem, ‘lion’ and ‘tiger’. Once Arthur has finished chatting to Margaret, travel to the marker, then enter into Eagle Eye vision to track the trail of Simba’s cousin. After a short search you come across the corpse of the mighty predator… which turns out to be a dead labrador with a fake mane stuck onto it. Let’s hope all dogs really do go to heaven. Place the poor doggo into the back of the nearby caged wagon, and the ‘tiger’ soons shows up… Of course, it’s not actually a tiger; no, it’s a cougar with yet more stripes painted on. Once kitty is in the wagon, close the doors and drive back to the caravan.
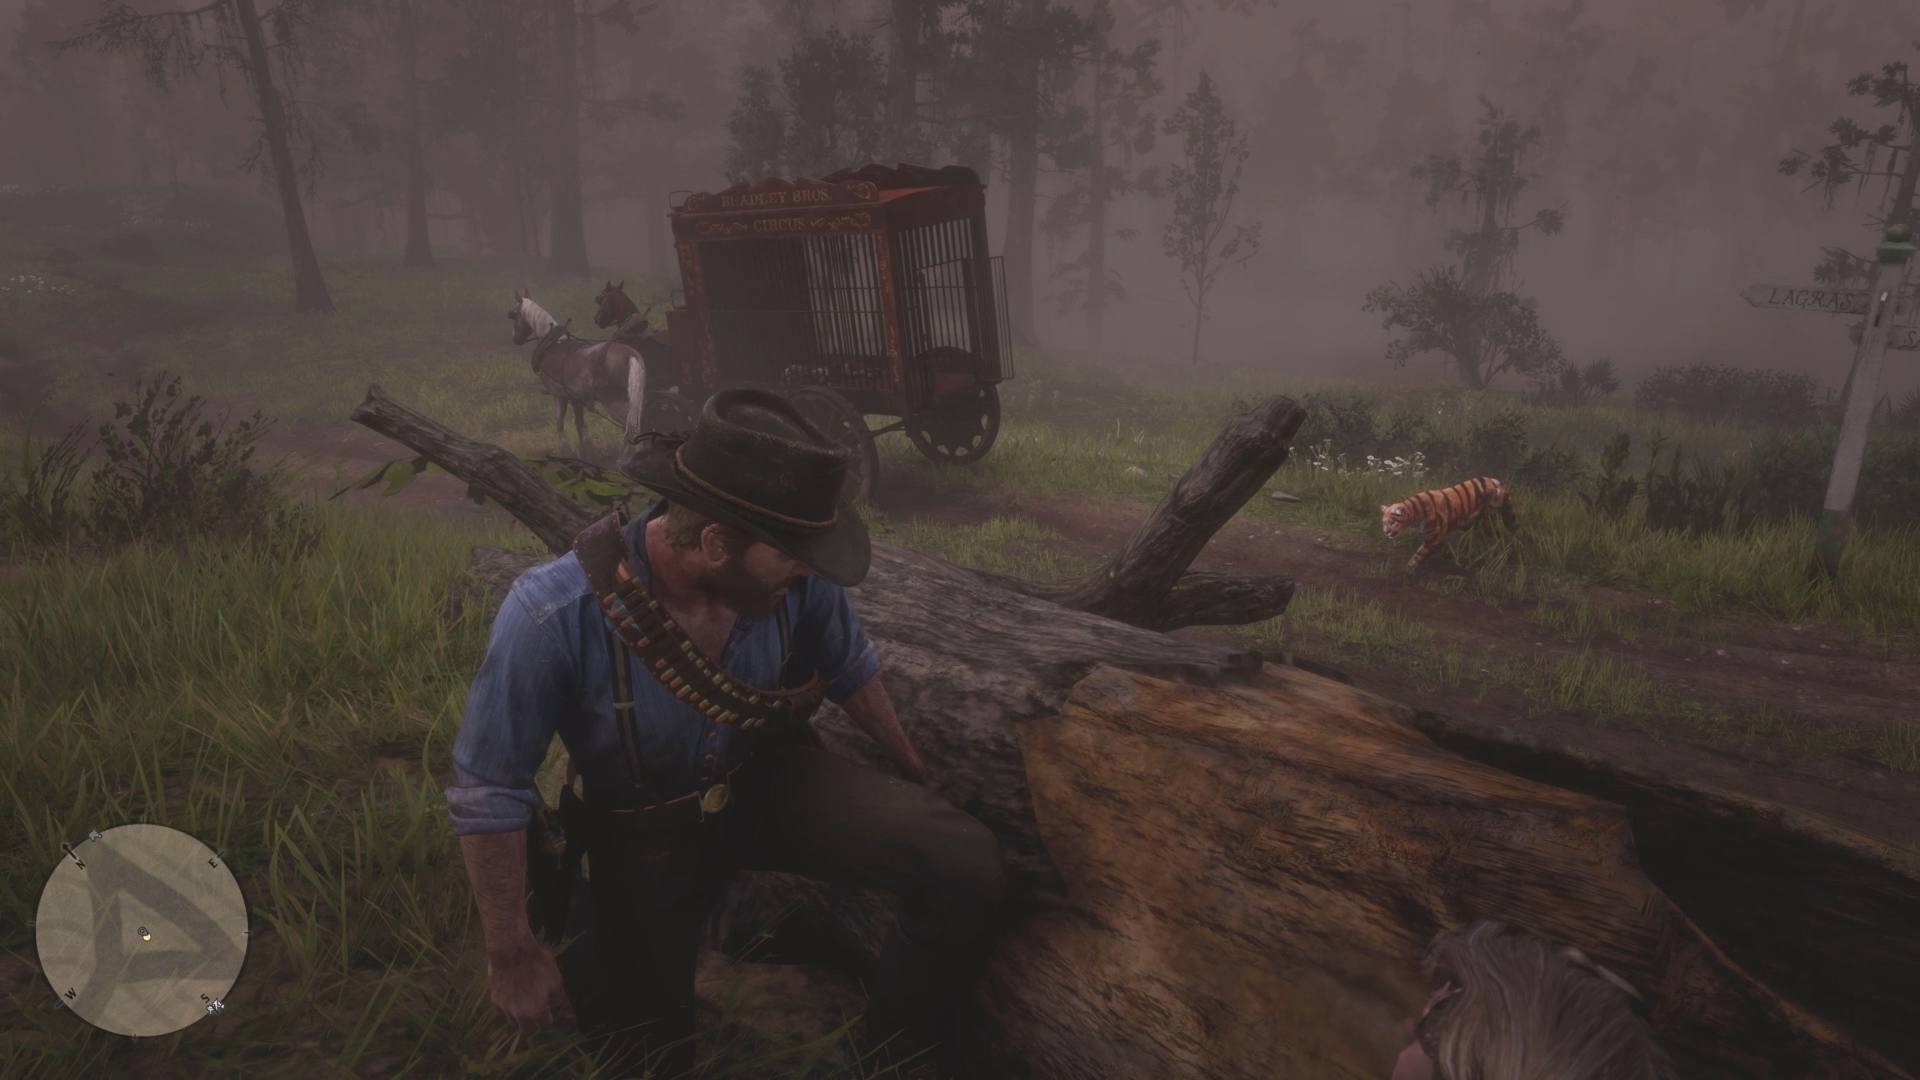
Following another sob story from Margaret, Morgan travels to a barn at the nearby Emerald Ranch to capture a creature that really is a lion, honest!
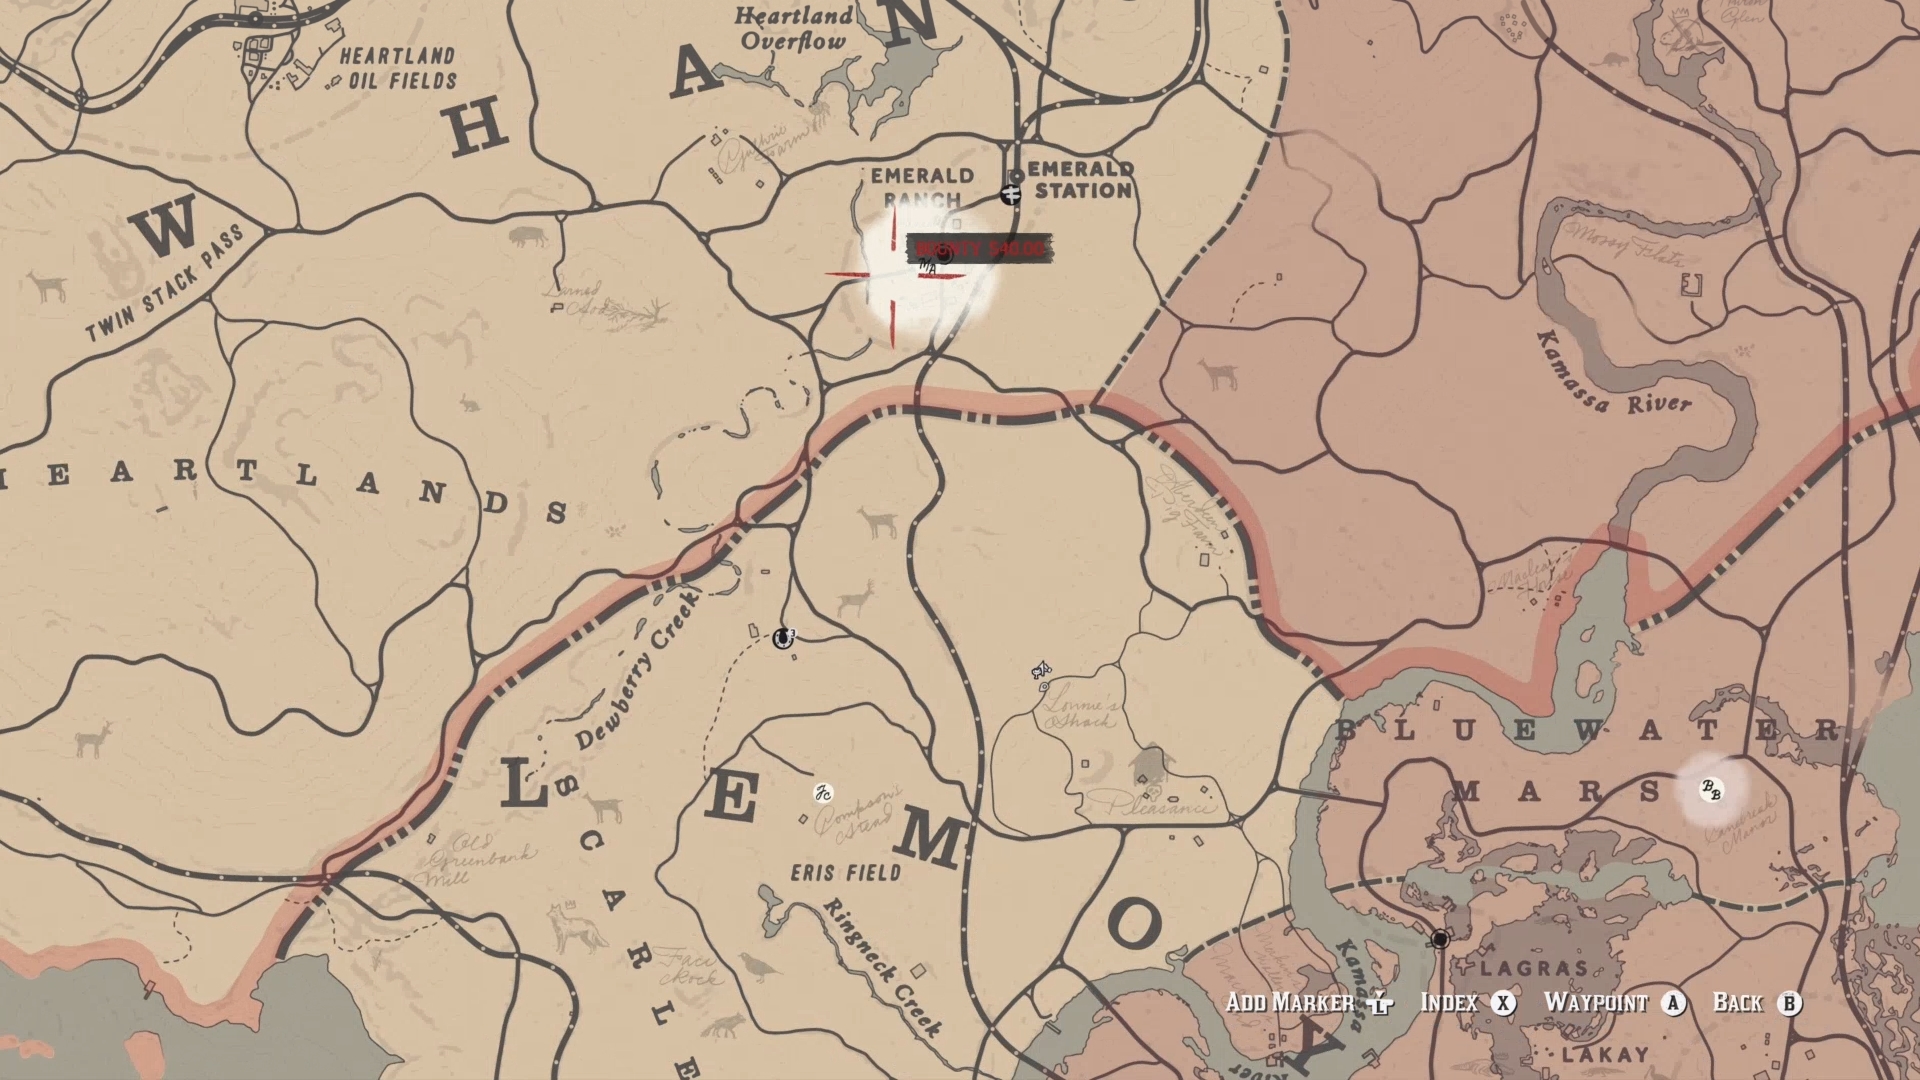
Once you investigate the barn, head back outside to discover a freshly slain corpse, and amazingly, and actual (seriously miffed) male lion. Enter into Dead Eye and kill the beast with headshots to conclude this whole devious, if entertaining, escapade.
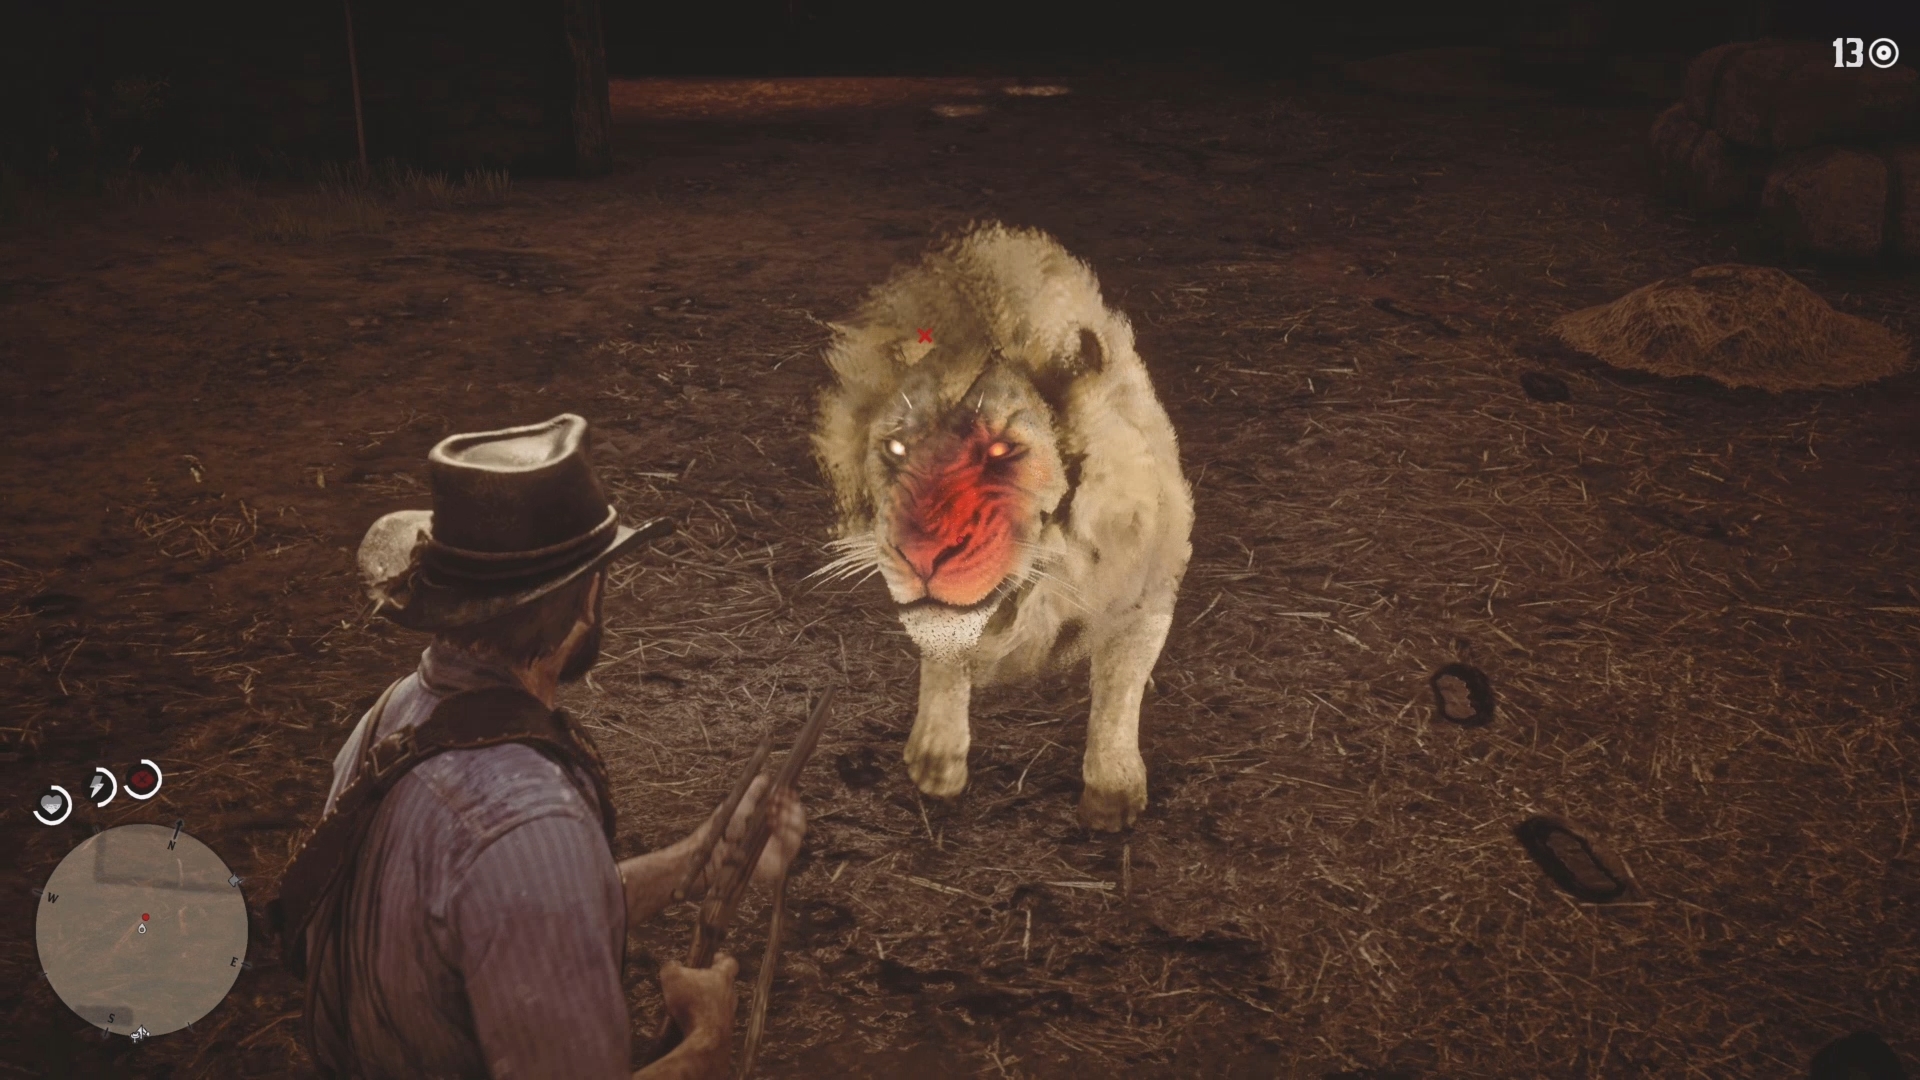
To finish off the quest, go back to the caravan one final time where Arthur demands payment from Margaret. For all your creature-capturing troubles, Morgan is rewarded a gem that can be sold at a fence for a princely $250. Still, that poor doggo. Damn.
6. The Smell of Grease Paint
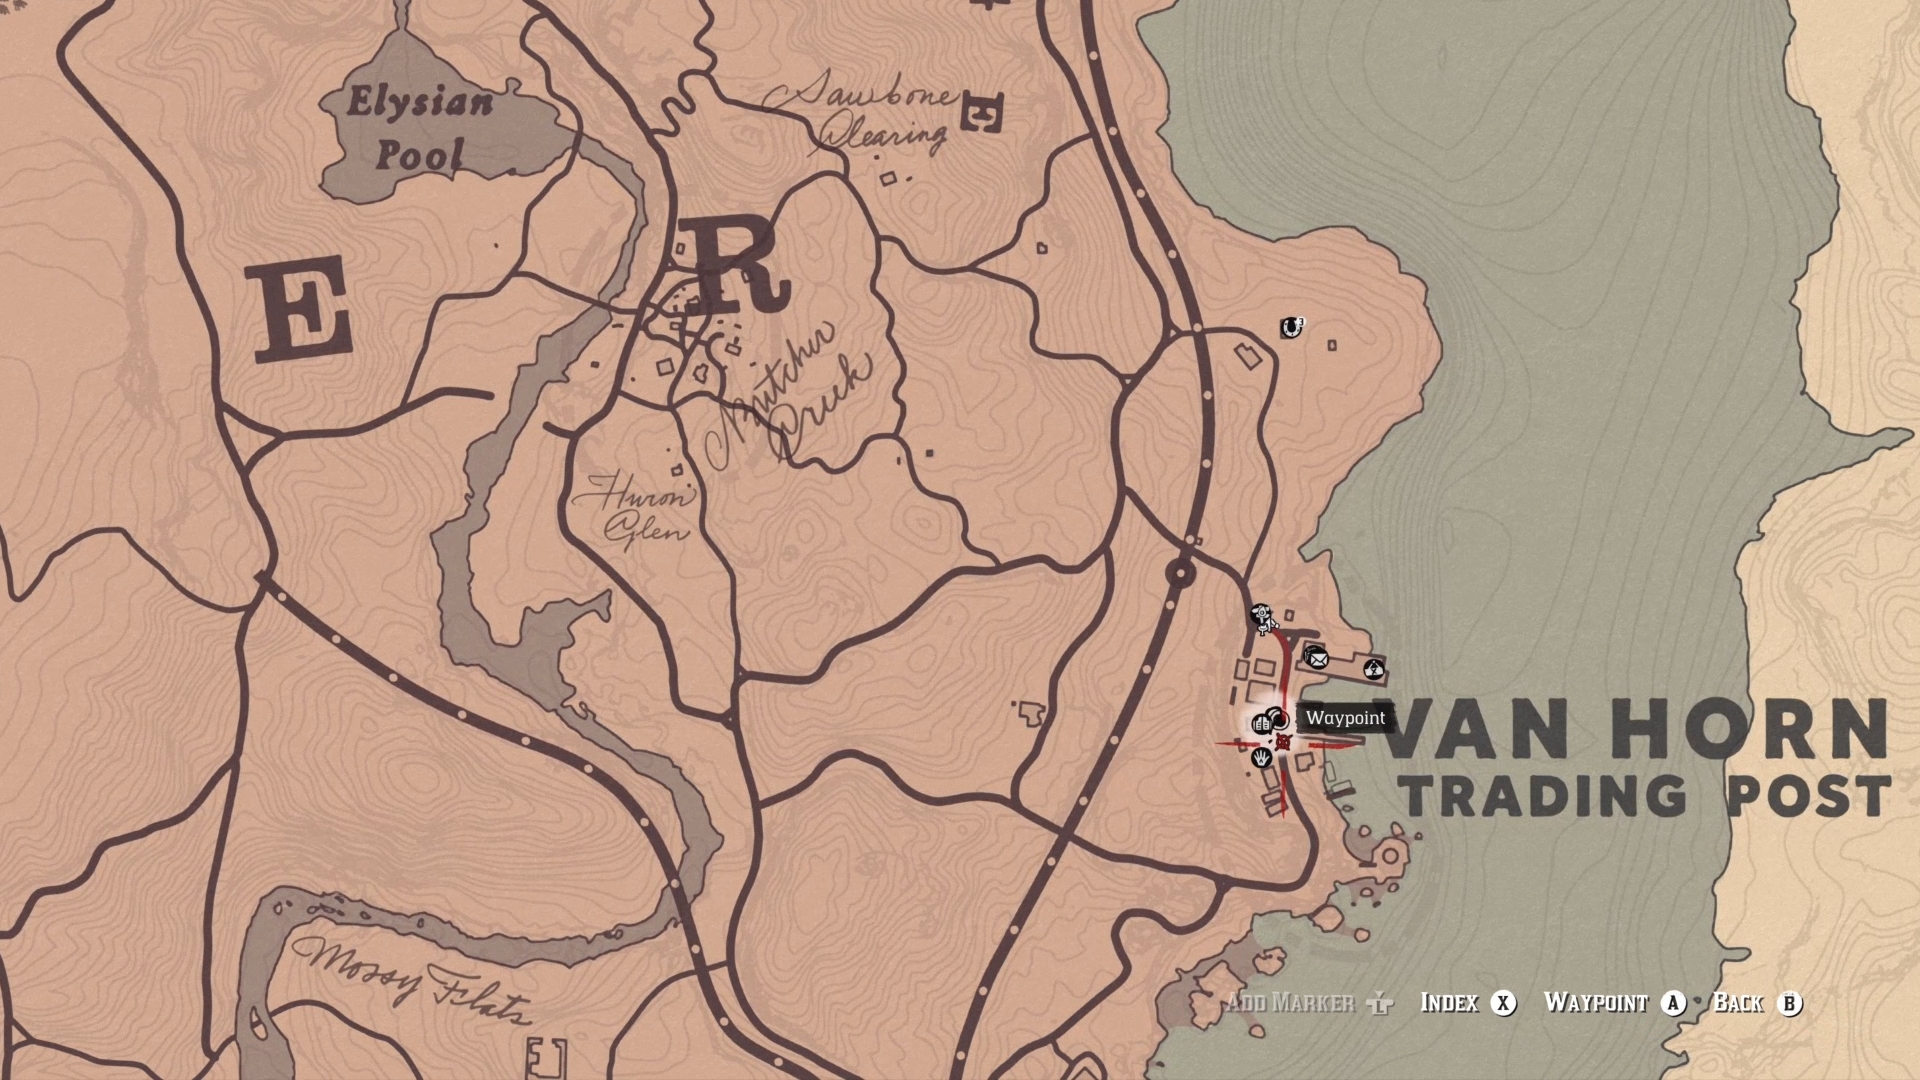
One the silliest (and strangely sweetest) Stranger missions in the game - a story of reuniting a ragtag family of theatre performers. And, Arthur can access this quest from chapter two onwards. To trigger this tale of dim-witted giants and impish, disappearing conjurers, simply saunter over to the saloon at Van Horn Trading Post at the easternmost point of the map.
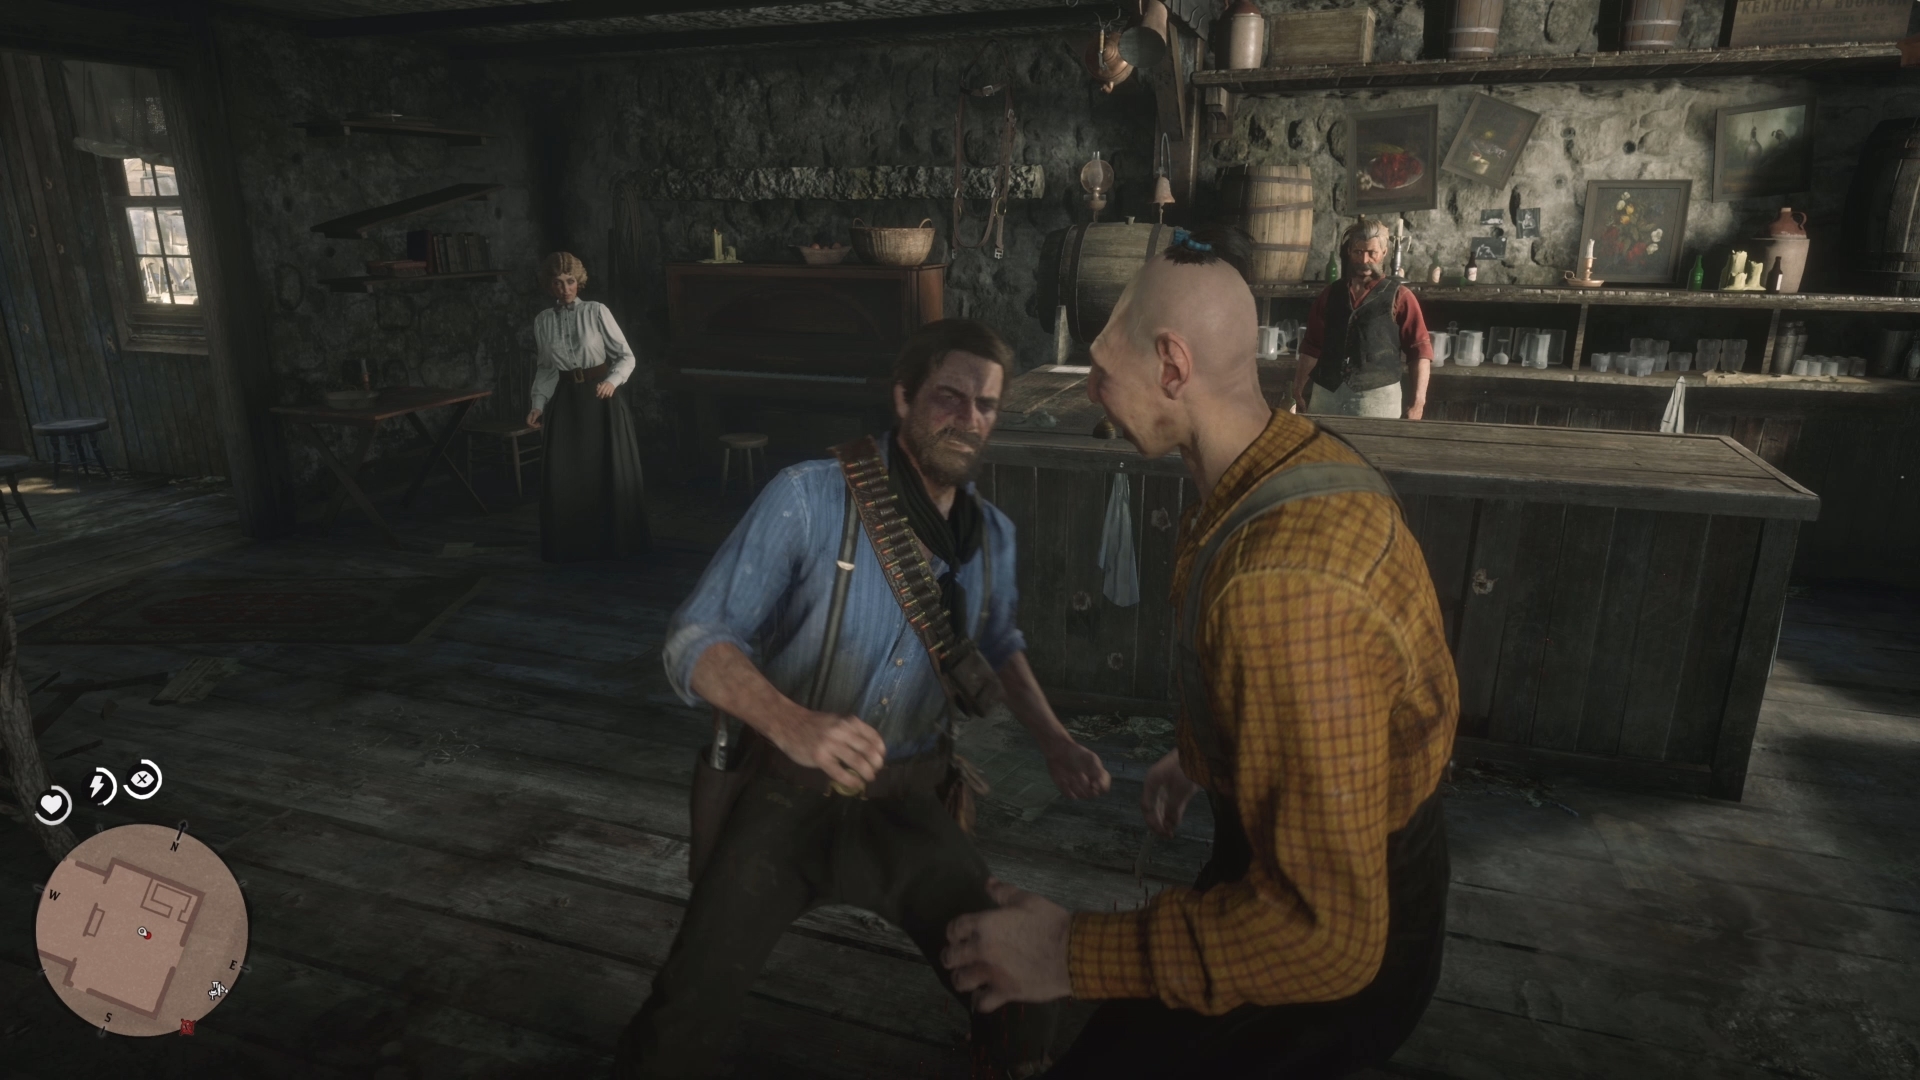
Once you enter the bar Arthur encounters two bickering members of a travelling sideshow: the matriarchal Miss Marjorie, and big ol’ Bertram – basically RDR2’s gargoyle-faced take on Lennie from Of Mice and Men. After a brief cutscene, Arthur needs to fight and subdue Bertram. Beat some sense into the gentle giant to complete the first act of this two part quest.
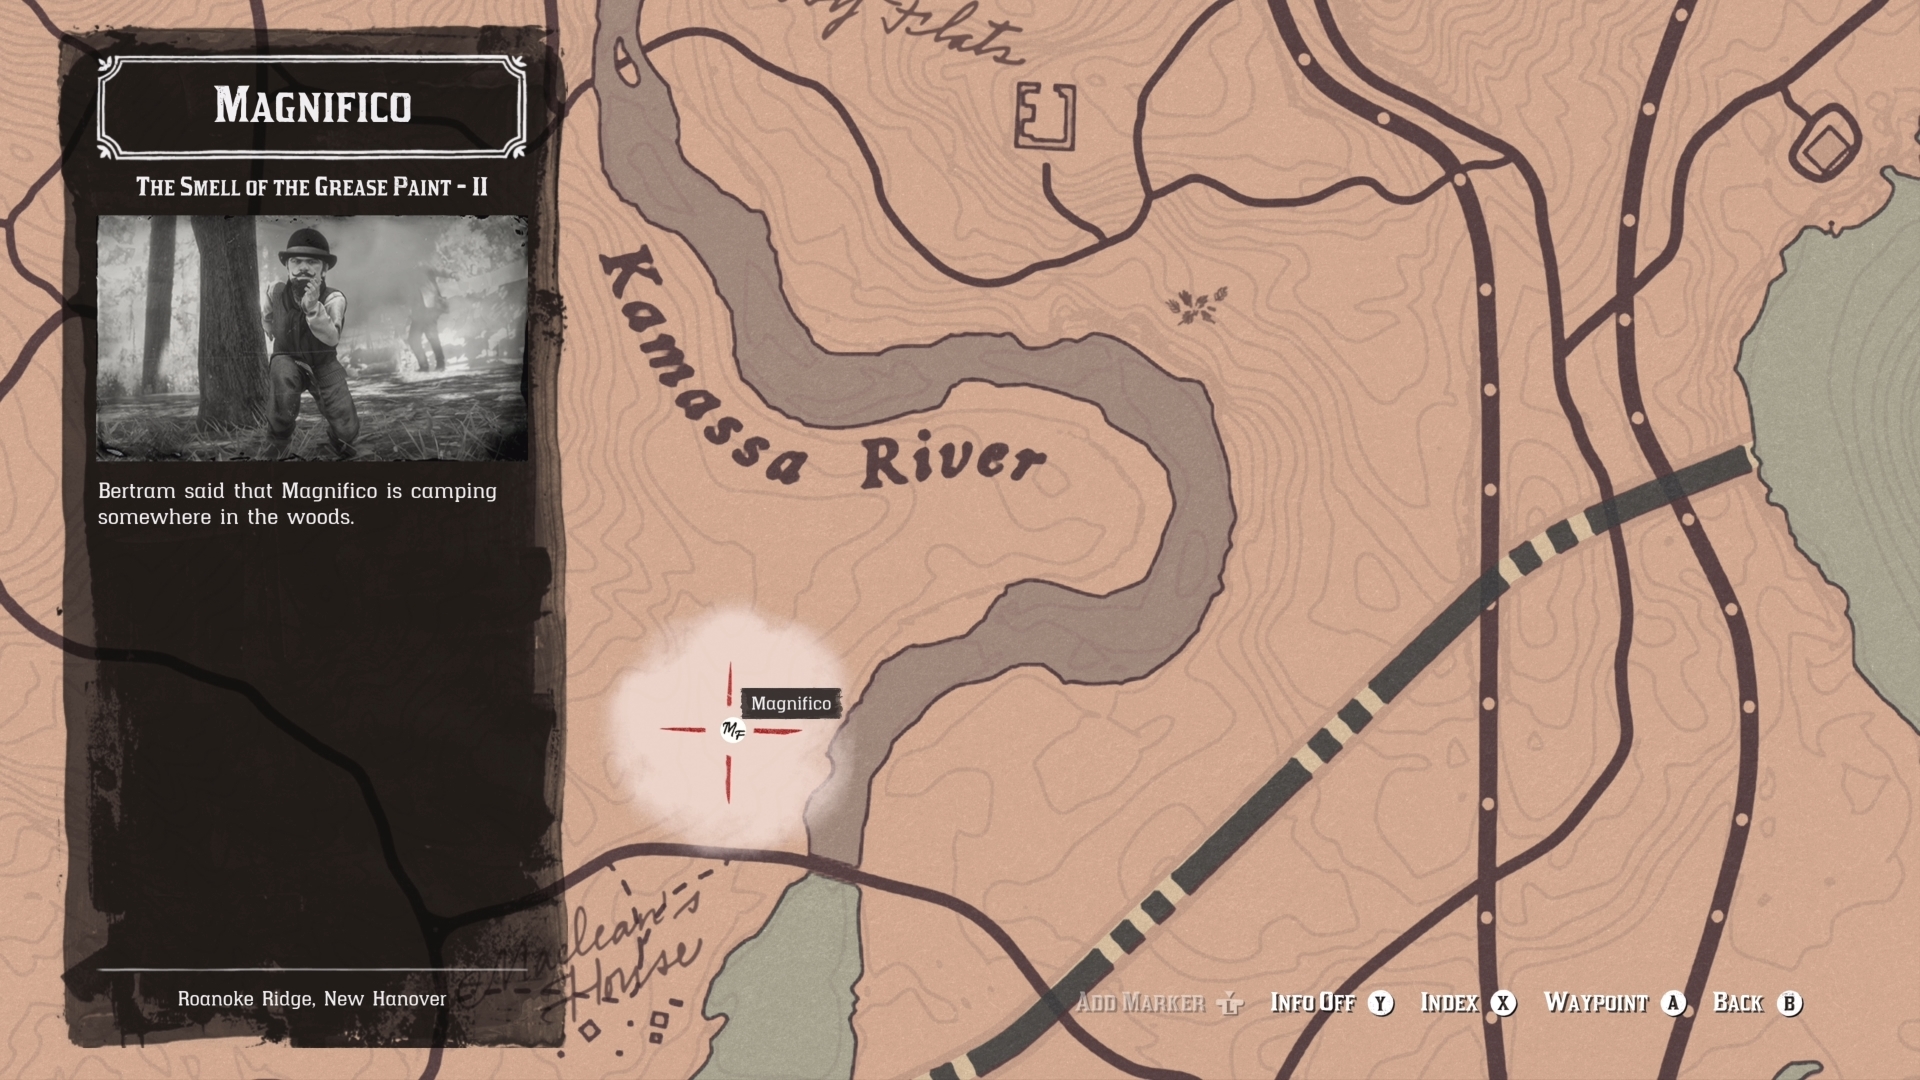
To trigger the second act, follow the mission marker to the southwest labelled ‘MF’. When you reach this spot on the banks of the Kamassa River, Morgan meets Magnifico. This mischievous little magician is tired of the travelling sideshow lifestyle, and makes a run for it as soon as Arthur tries to bring him in.
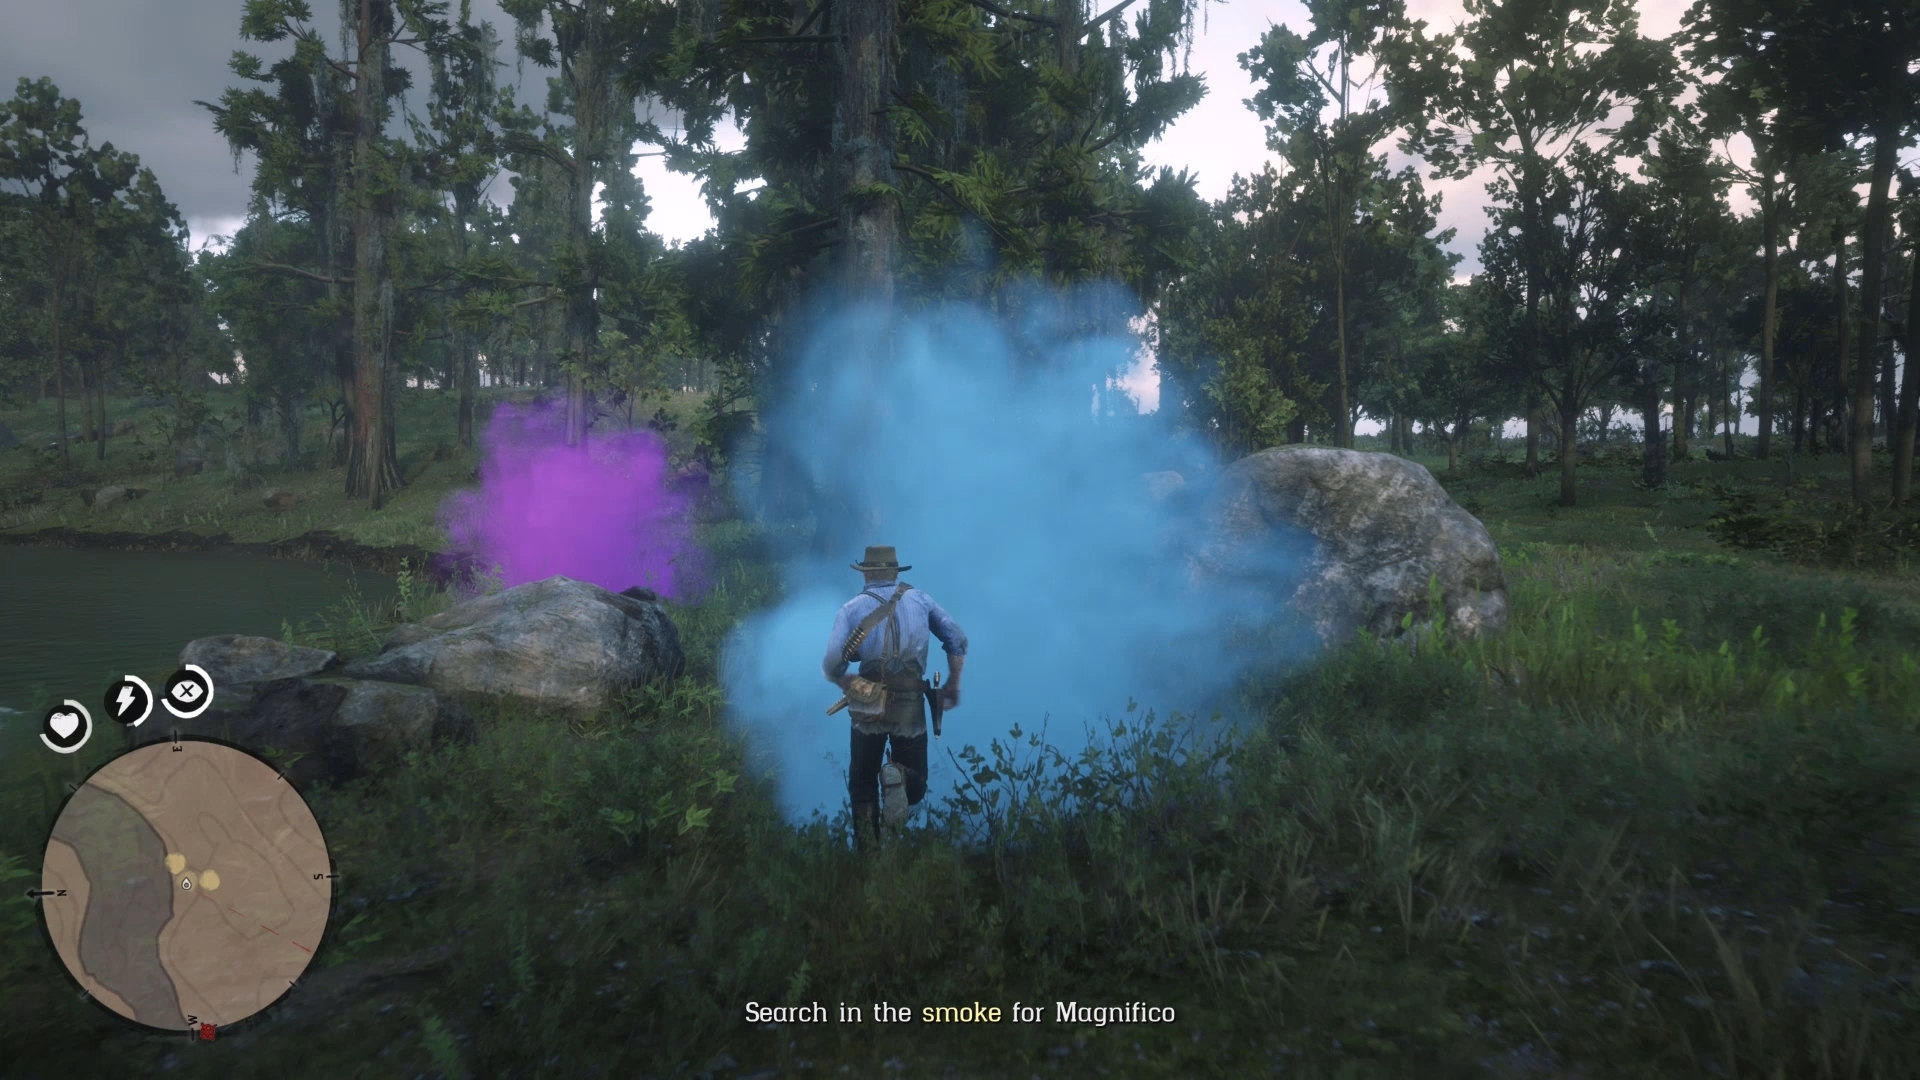
Give chase, and your outlaw must contend with the various brightly coloured clouds of smoke Magnifico leaves in his wake to throw you off the scent. Just follow the yellow points of interest on your map and you should have no problem catching up to him. The only semi confounding bit is when he seemingly disappears, though after a little investigation, you can quickly find him perching in a nearby tree. Once the diminutive figure legs it for the final time, a train promptly pops up to stop his escape.
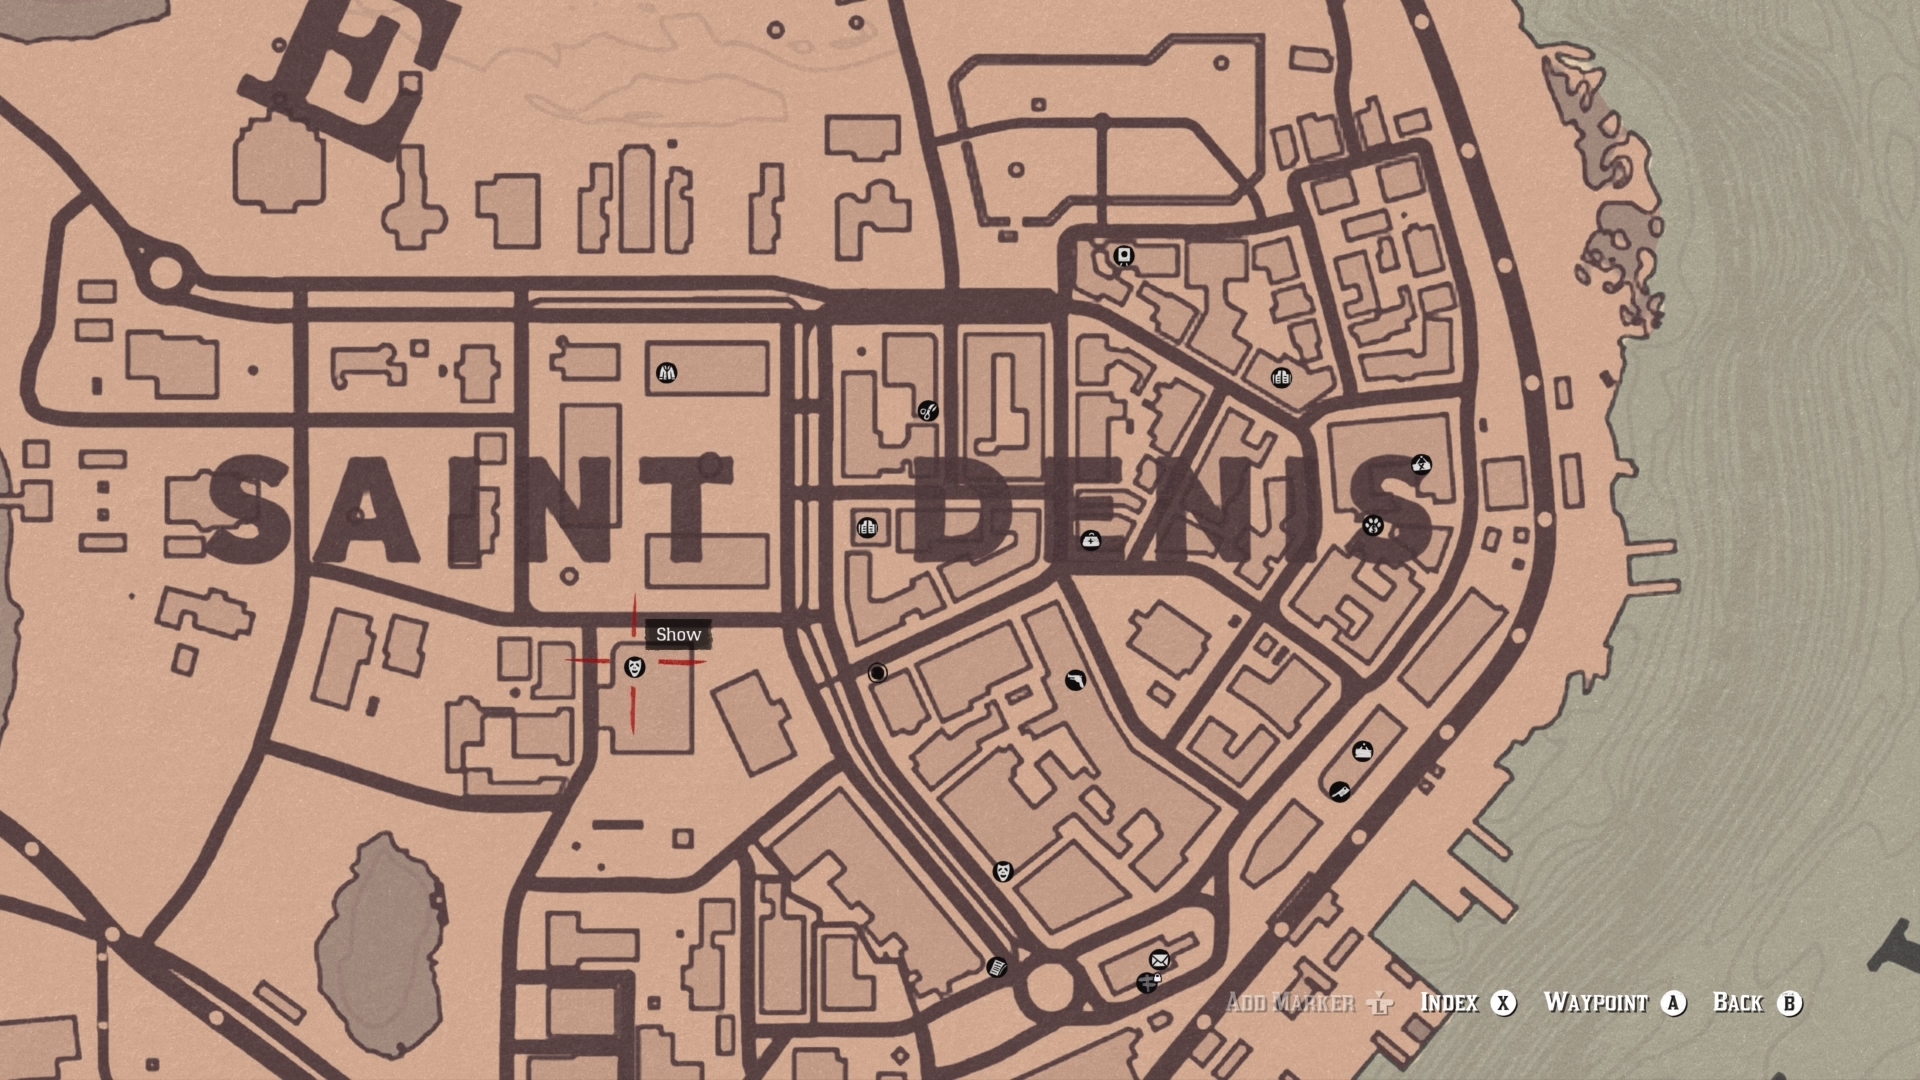
Just follow the yellow points of interest on your map and you should have no problem catching up to him. The only semi confounding bit is when he seemingly disappears, though after a little investigation, you can quickly find him perching in a nearby tree. Once the diminutive figure legs it for the final time, a train promptly pops up to stop his escape. After this, Magnifico is reunited with Bertram and Miss Marjorie. The latter thanks you for reuniting her family, then invites Arthur to watch their show at Saint Denis’ Vaudeville Theatre.
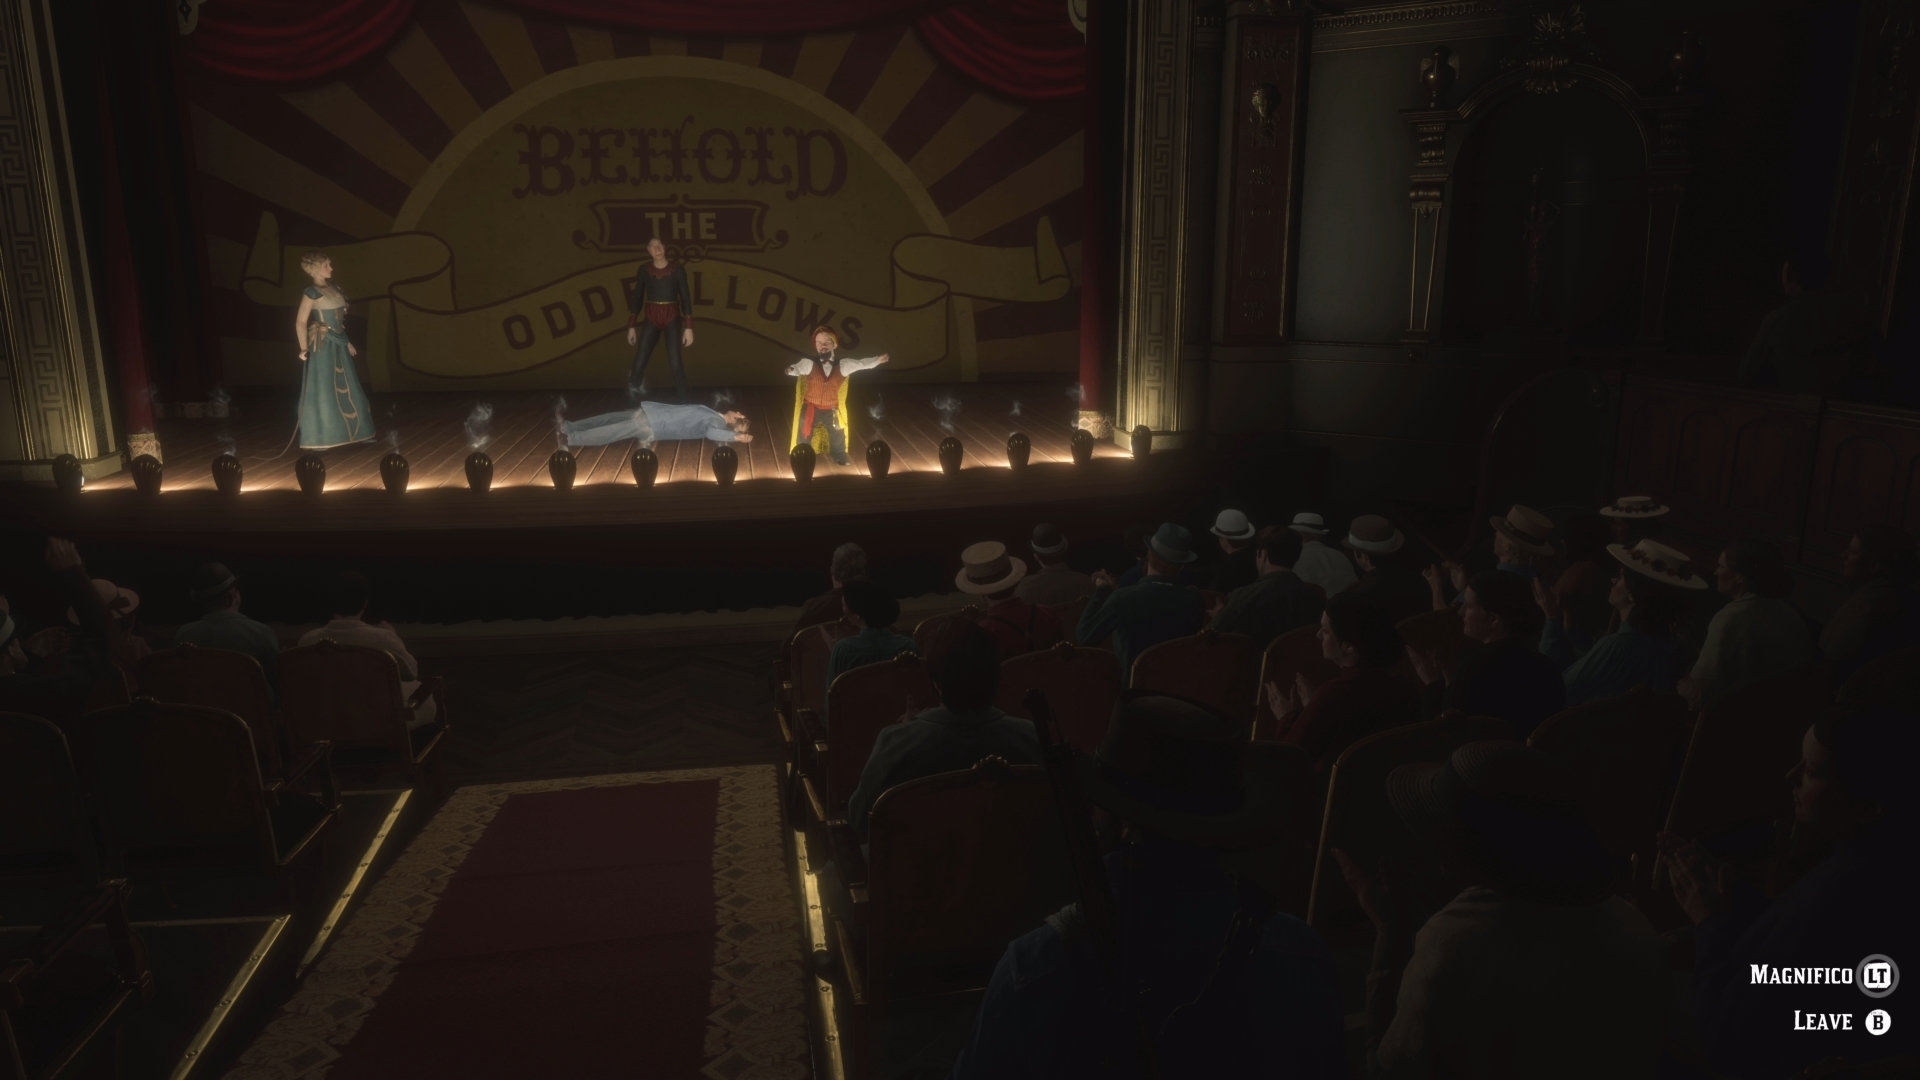
Ride to the theatre, speak to the chap at the ticket office, then go and watch the trio’s brilliantly daft performance. Once the show is over, go back to the ticket office, and you’ll find a $40 reward along with a thank you note from Marjorie. Who said show business doesn’t pay?
5. The Wisdom of the Elders

A bizarre, twisting story of hillbilly superstition and an unscrupulous oil interest, this Stranger mission spawns after you complete the “Fleeting Joy” story quest in chapter five. Head west from the Van Horn Trading Post towards the Kamassa River to find a bridge with a sick fellow underneath.
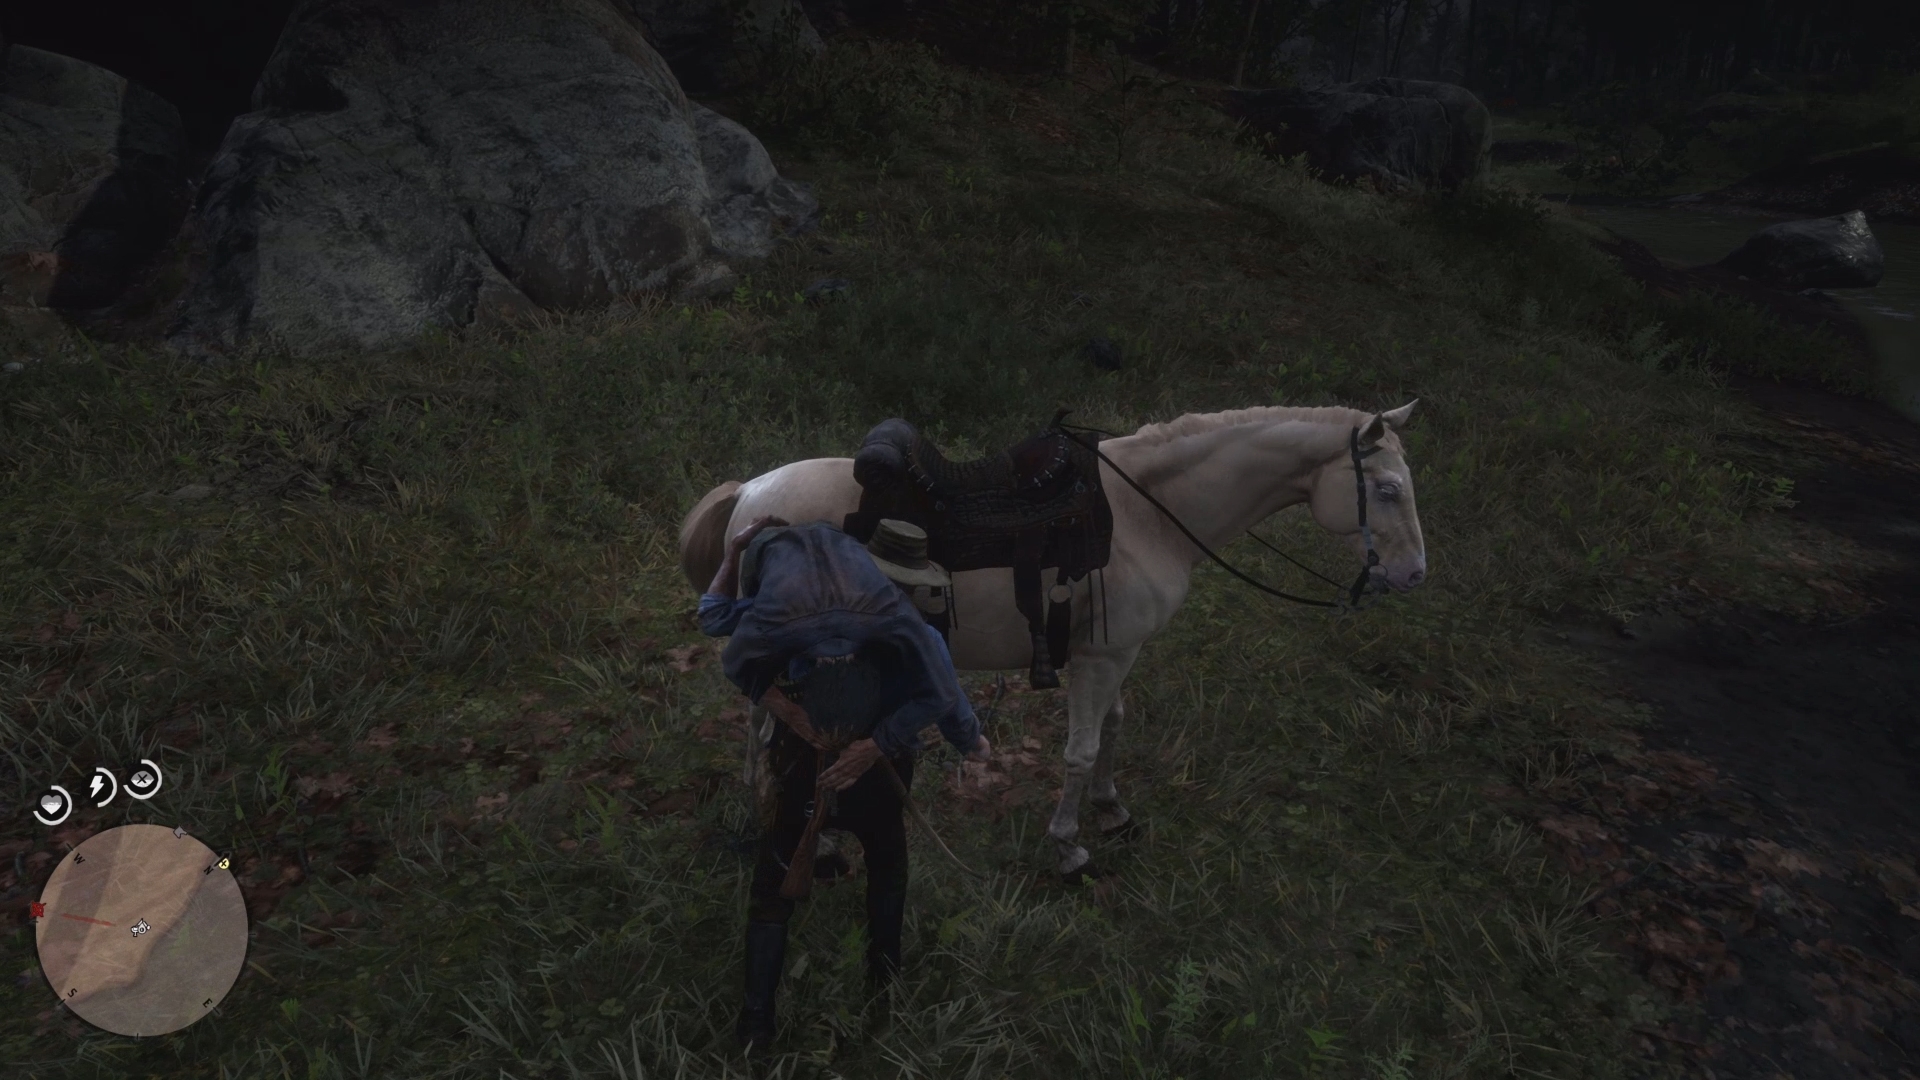
Pick the poor chap up, then give him a ride back to the backwater village of Butcher Creek to finish the first step of this four act mission.
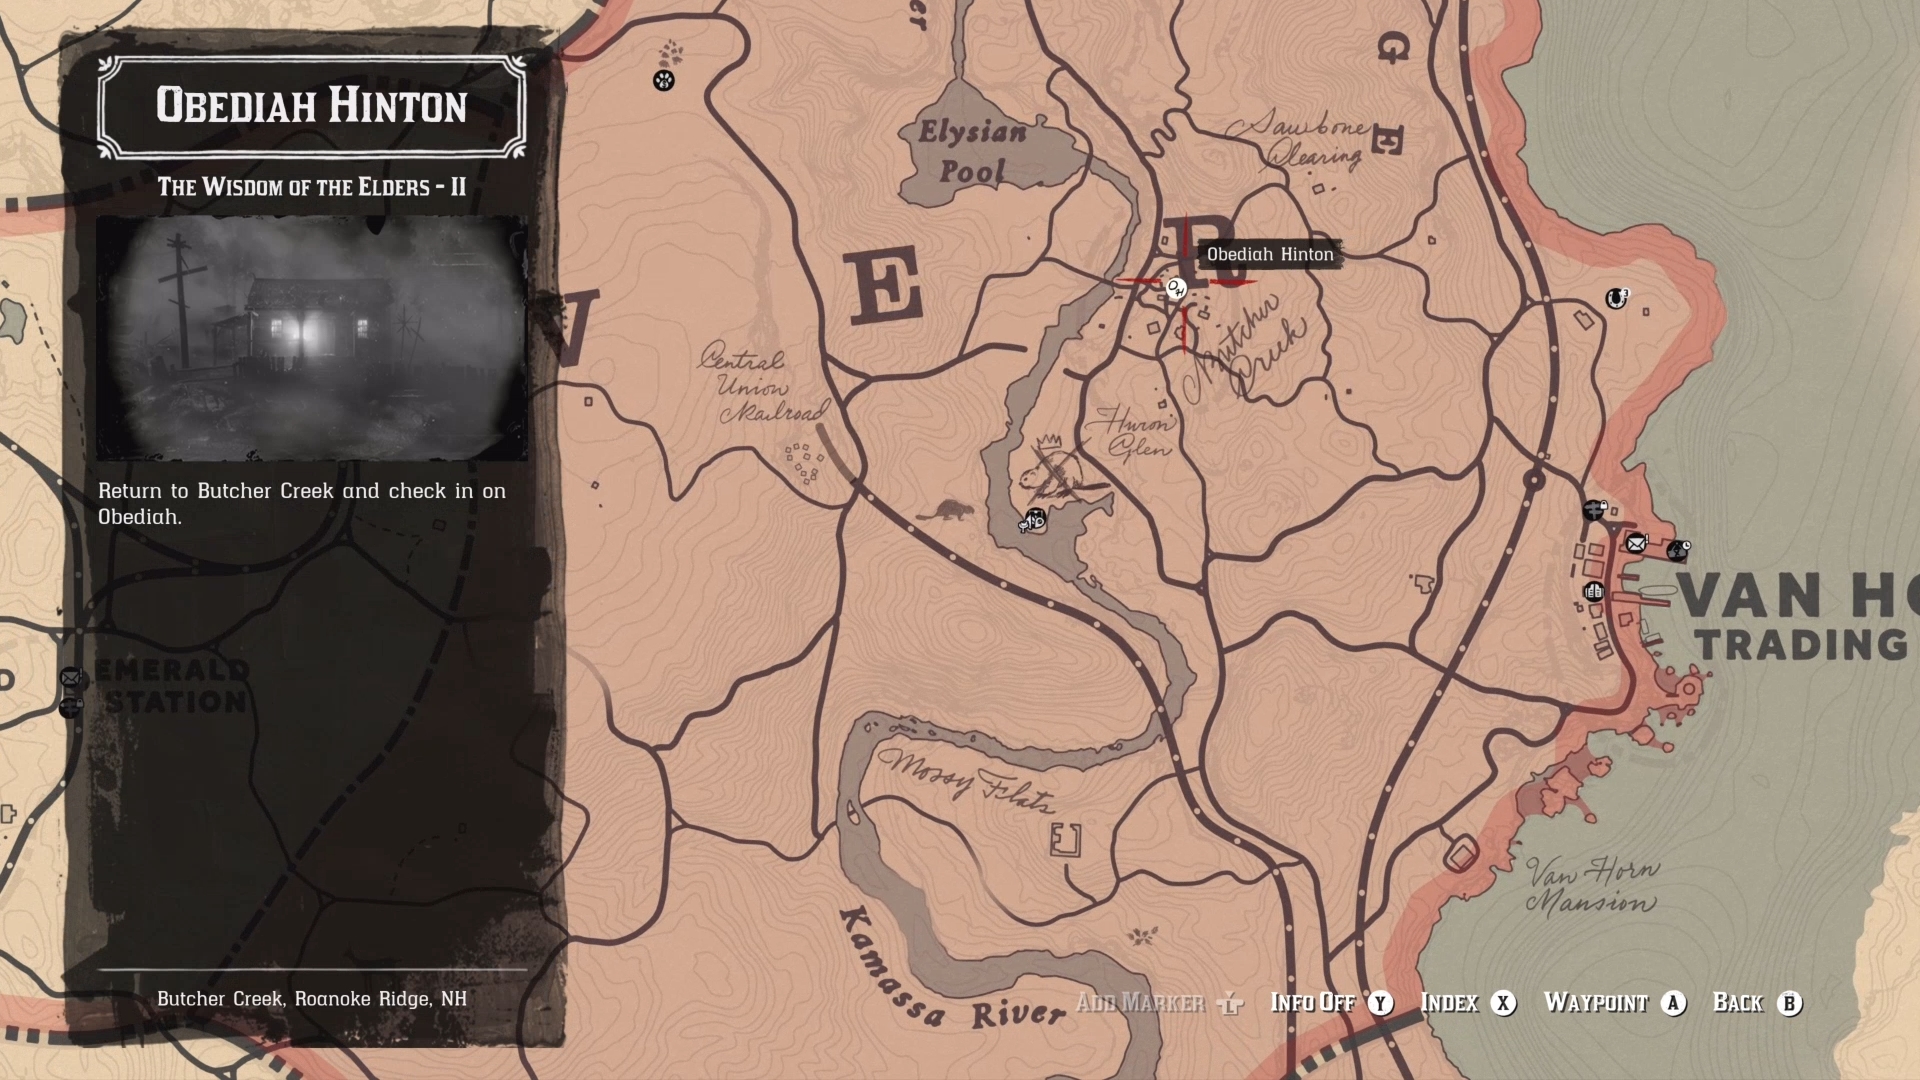
Sleep for 24 hours, then return to Butcher Creek to kick off the next part of the quest.
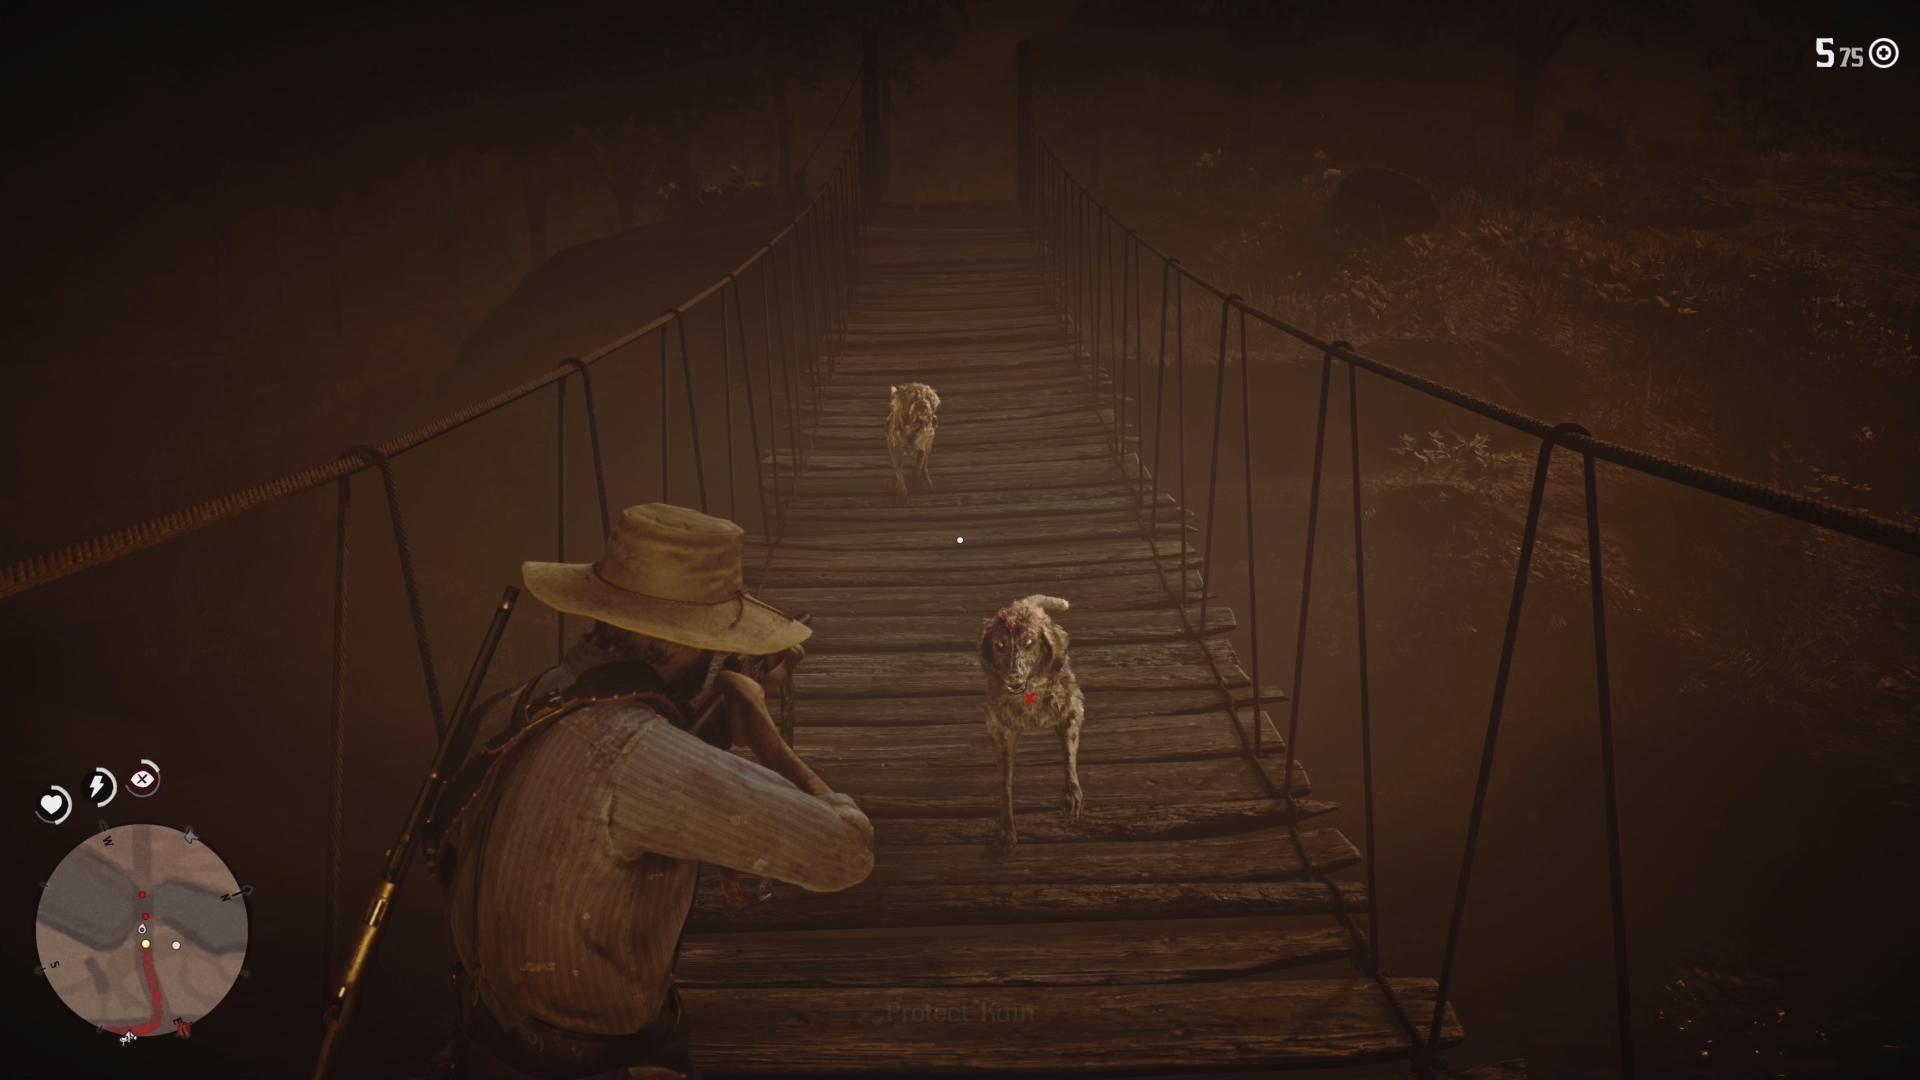
The following step is pretty simple, though you definitely want a full Dead Eye meter to take out a gang of rabid dogs that the locals view as demons. Put all these seemingly possessed pooches down to complete this quest step.
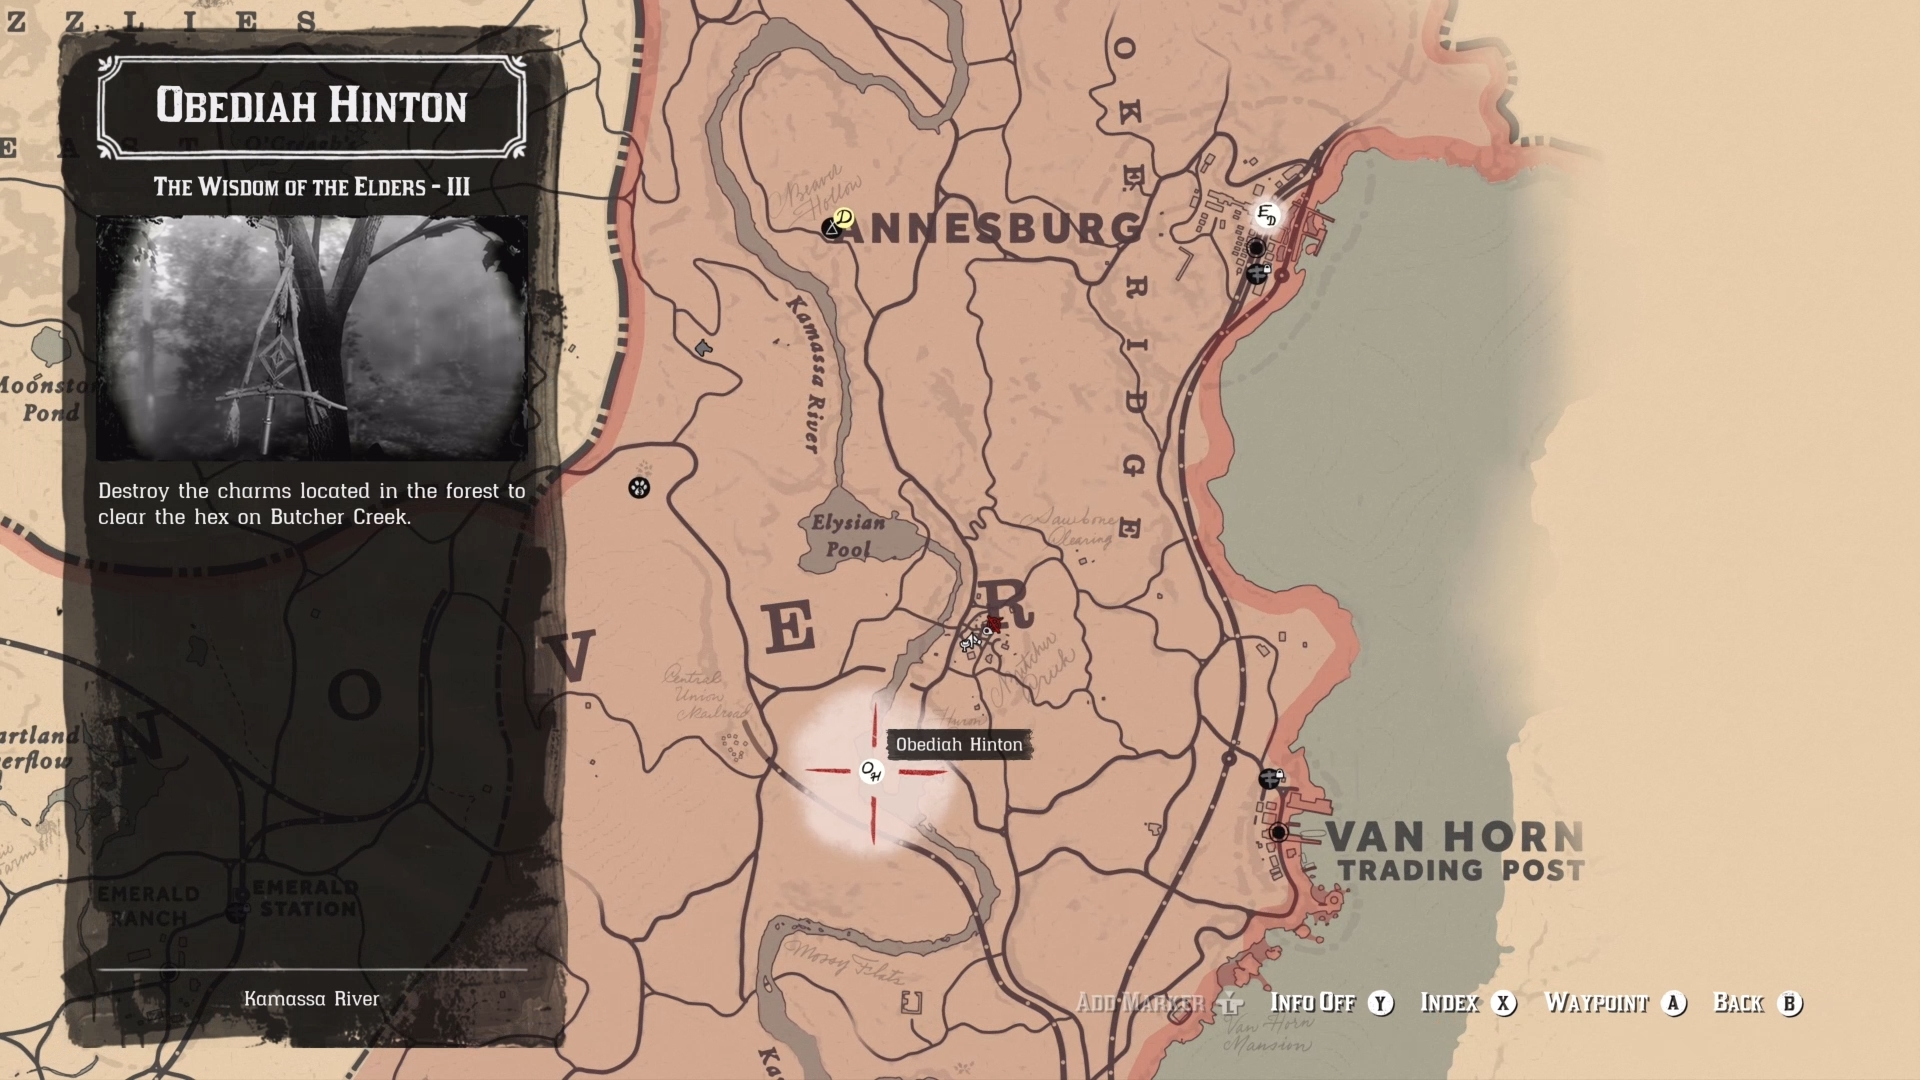
Once another in-game day passes, return to Butcher Creek, where Arthur finds a silver-tongued Native American putting the fear of God into the slow-witted yokels with tales of curses. After the cutscene, travel to the objective marker to the south that lies on the banks of Kamassa River.
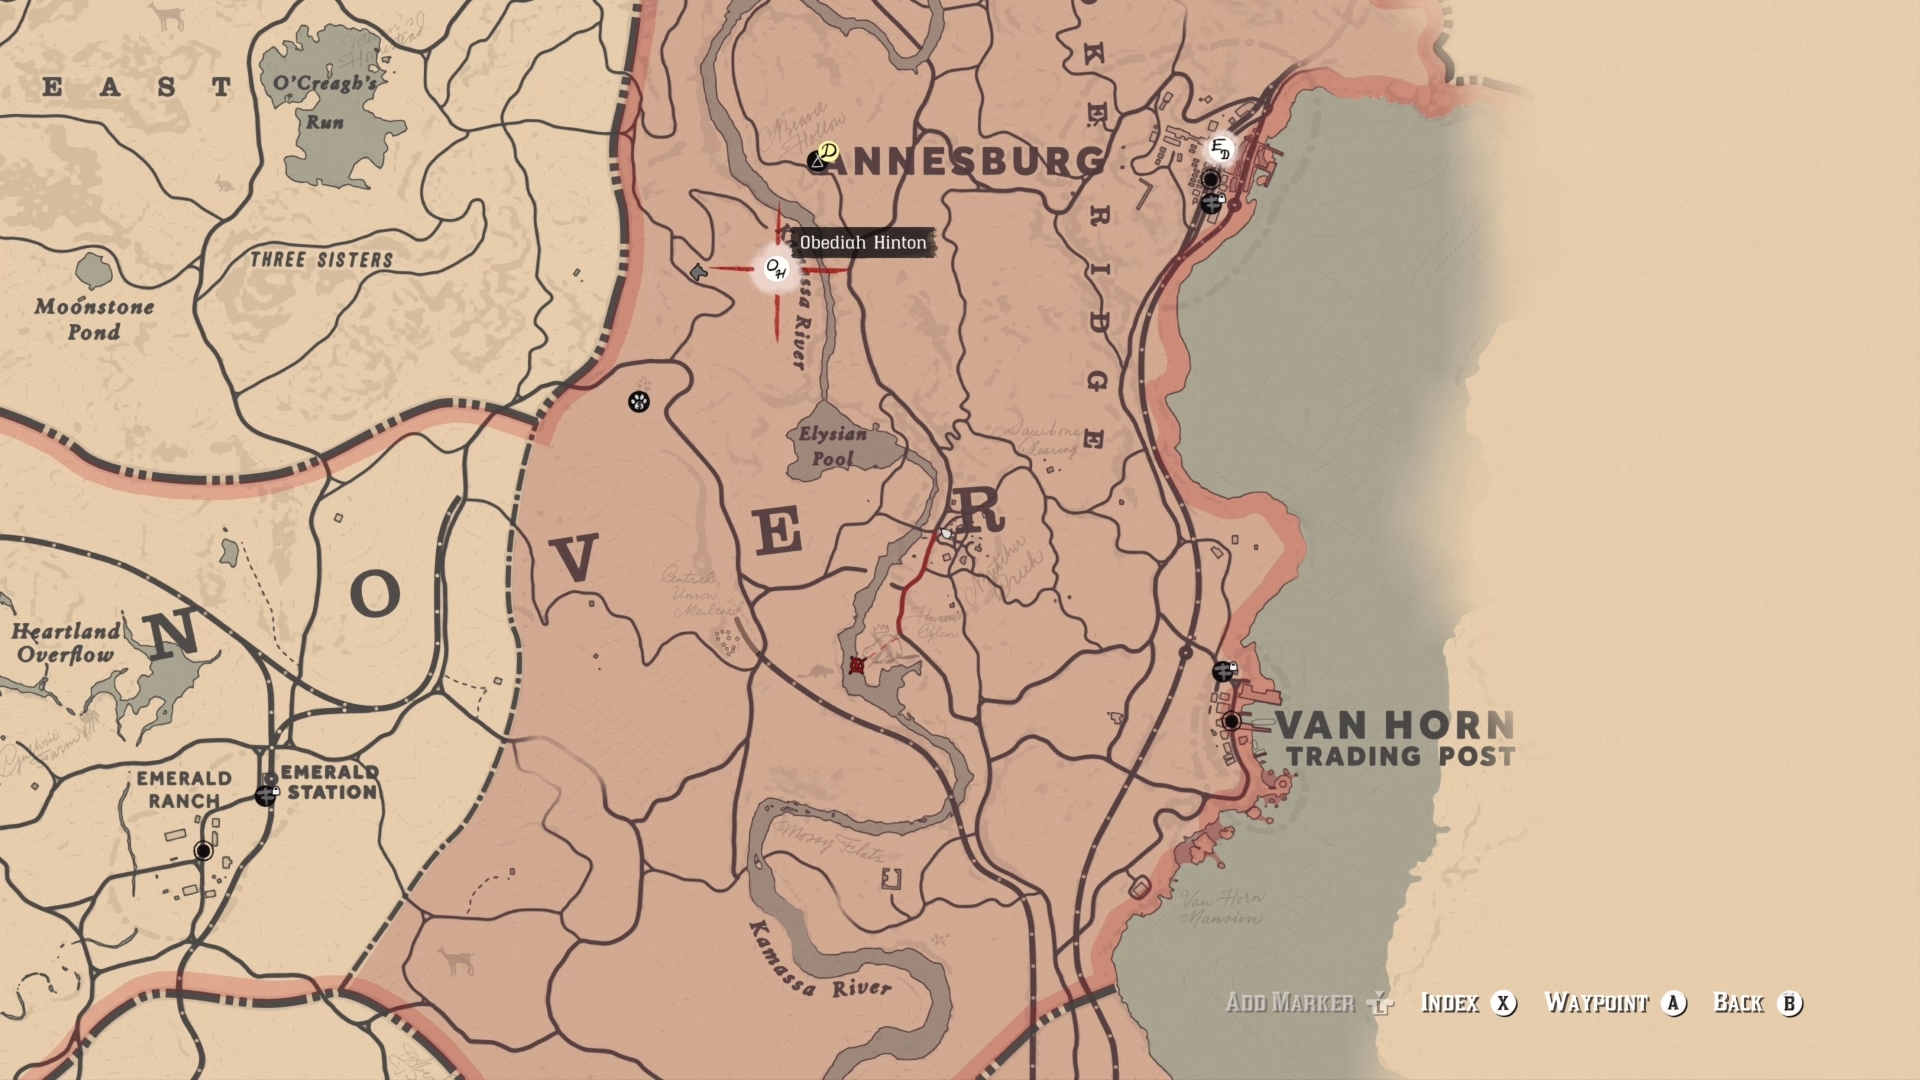
Here, you must find and destroy 13 supposedly cursed artefacts that can all be found hanging in nearby trees. Follow the red dots on your radar, use Eagle Vision to highlights these objects, then shoot them to pieces.
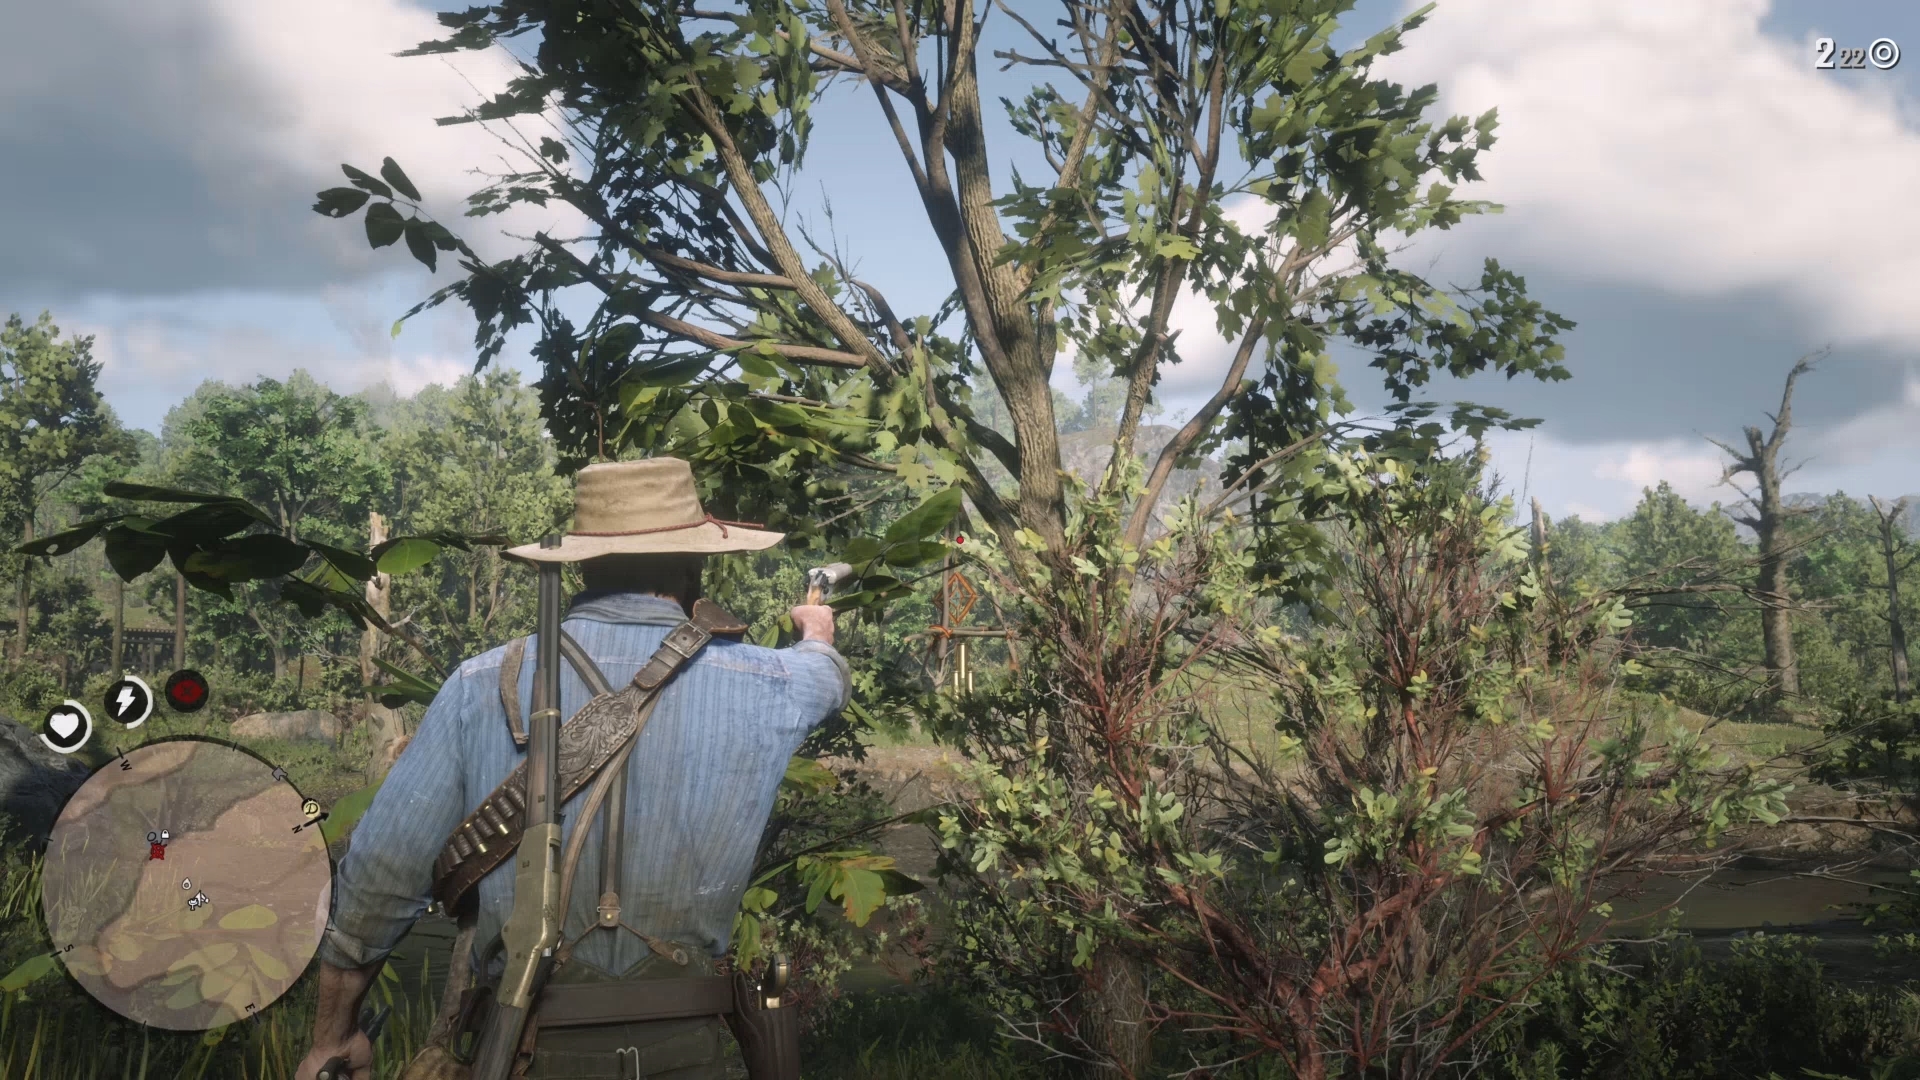
Return to Obediah at Butcher Creek to complete this step.
The fourth and final act of this mission can be accessed once another 24 hours pass. Return to Butcher Creek once again where stories of the local curse are still running rampant. After a fretful chat with Obediah as the shaman continues to pump nonsense into his ears, follow the marker north to a nearby mine.
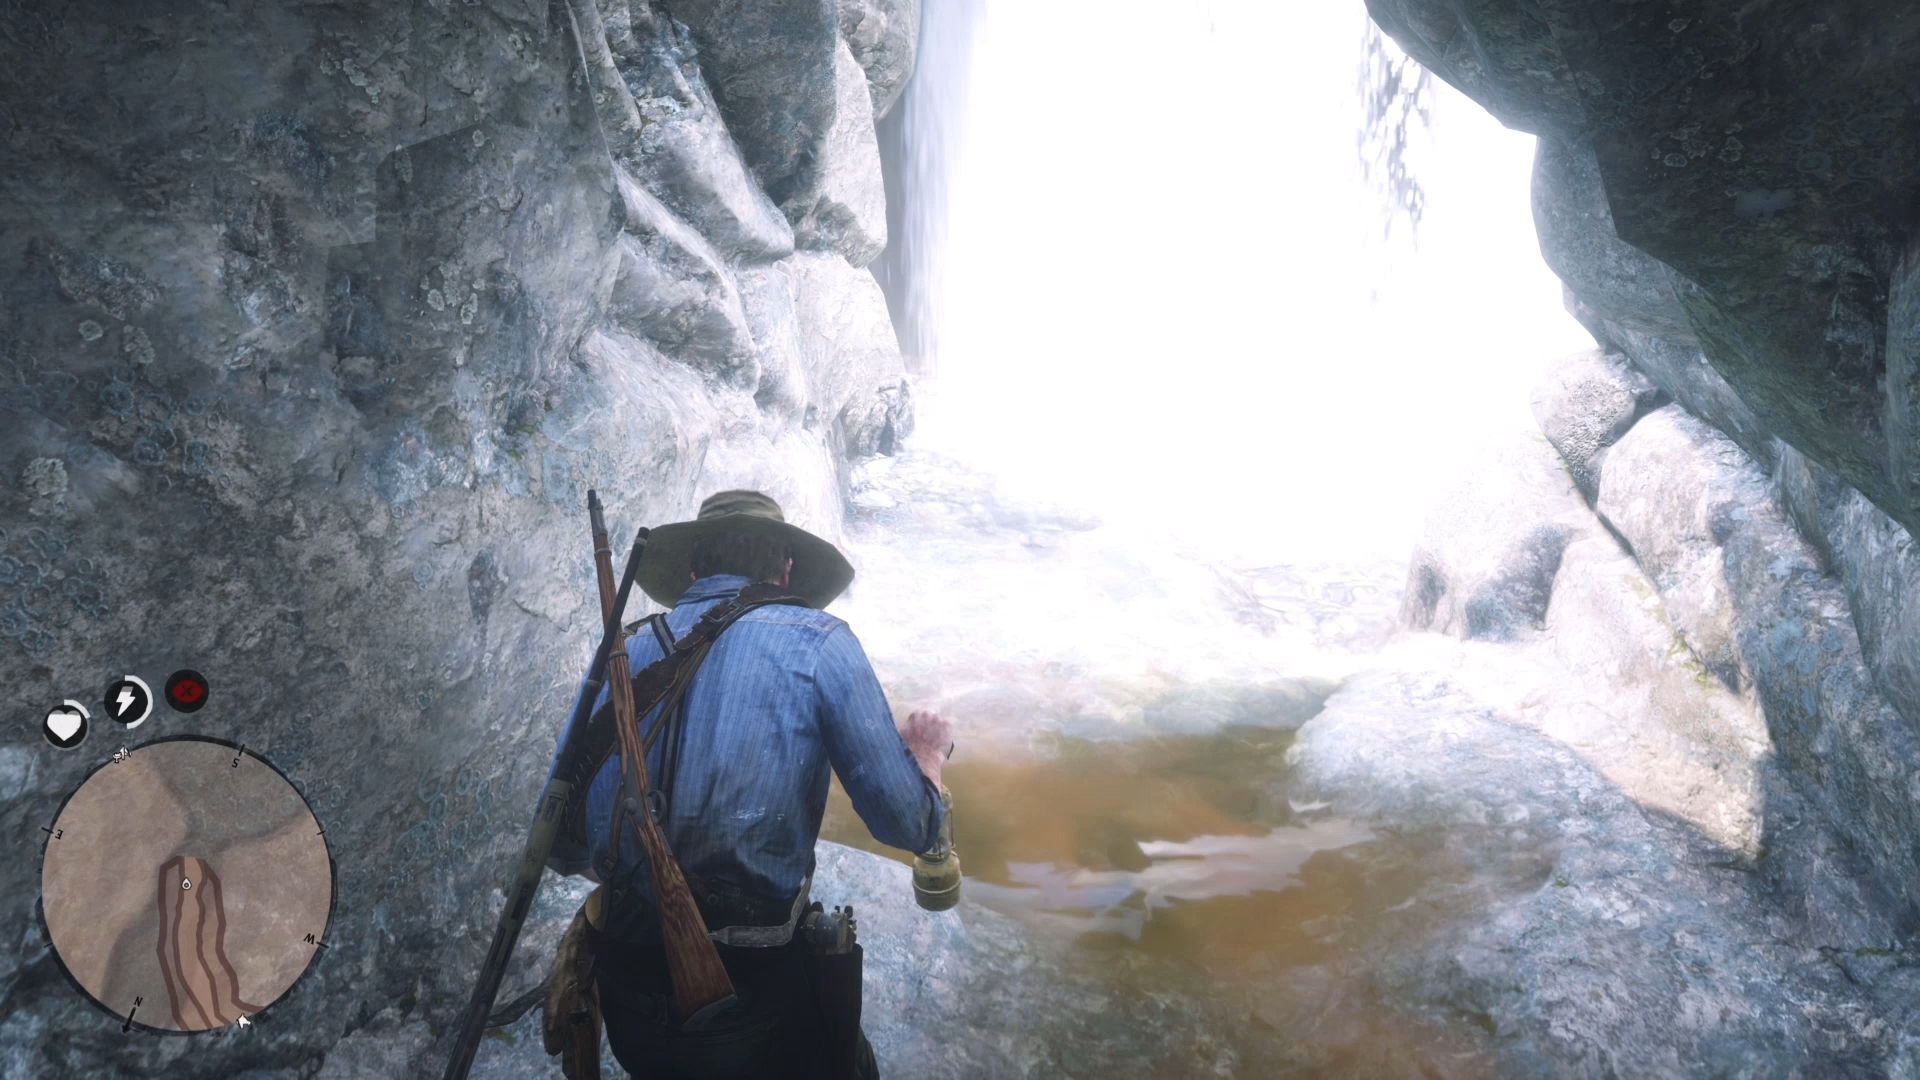
Once inside, Arthur discovers the caves are full of polluted water, which has been running into the river and driving all locals who drink from it nuts. Follow the glowing orange stream to navigate out of the mine, then return to Butcher Creek.
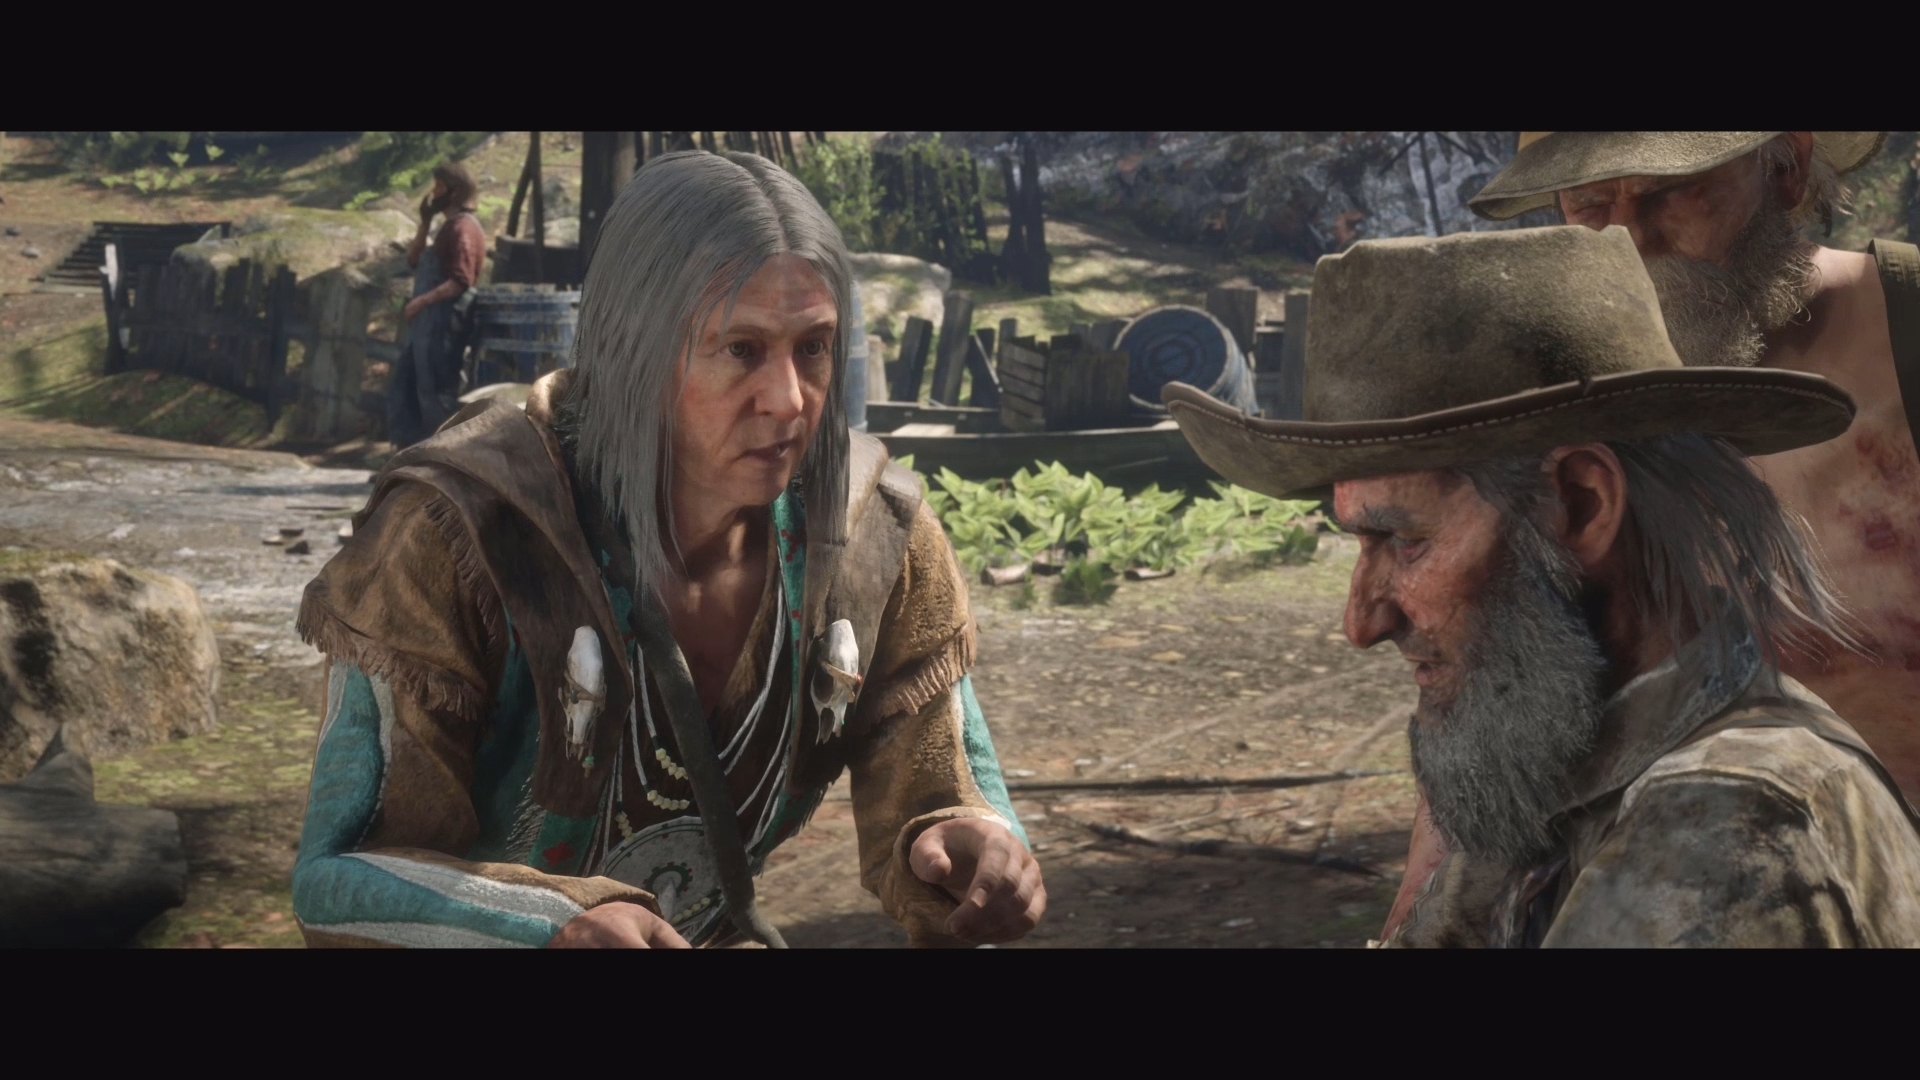
The mission ends with the oil company’s scheme promptly foiled, even if Obediah and chums still believe in cursed devil dogs.
4. The Veteran
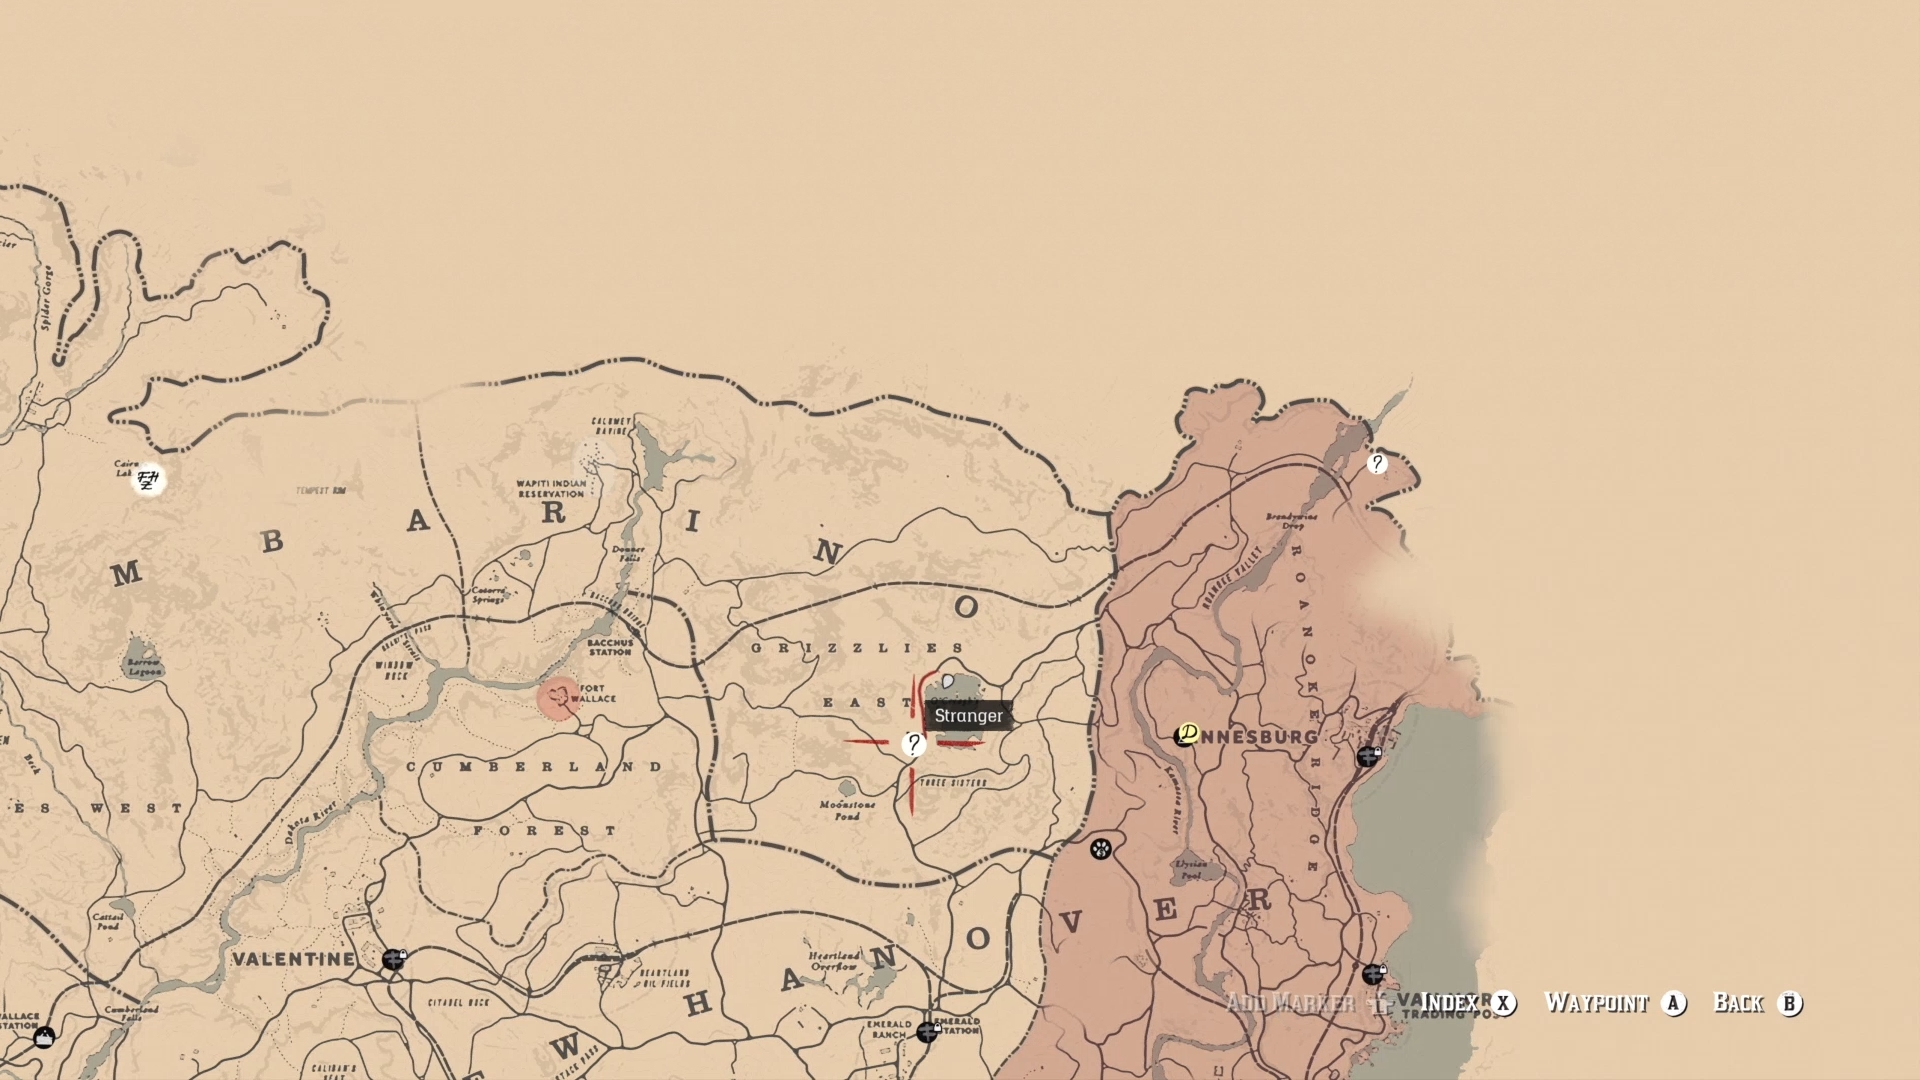
A touching mission where Arthur makes a new pal in the form of a one-legged – you guessed it – war veteran. You can find Hamish Sinclair on the banks of O’ Creagh’s Run, to the west of Annesburg. After a brief chat, Hamish asks Morgan to fetch his horse, Buell.
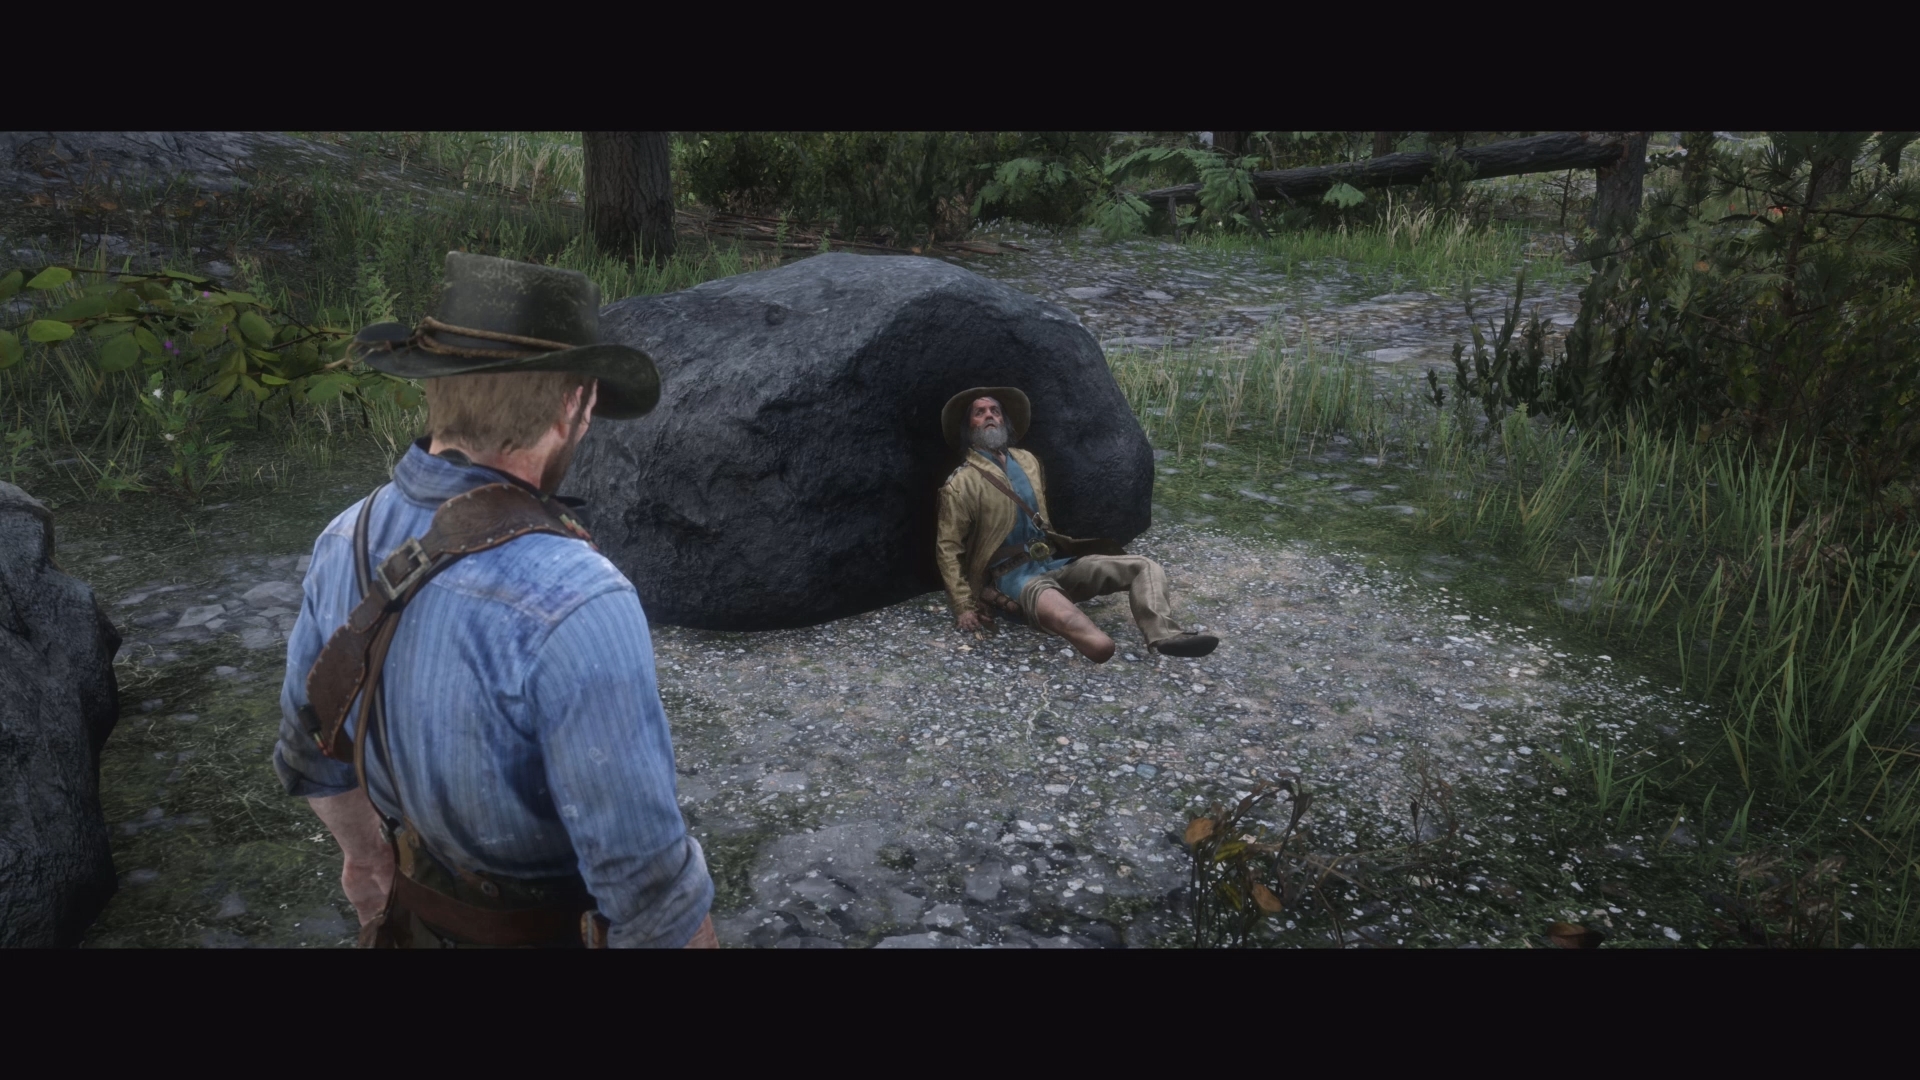
The cankaterous steed threw Sinclair off, then ran away… with the veteran’s prosthetic stowed in one of the beast’s saddlebags. Follow the nearby point of interest to find the horse drinking by the lake. Calm Buell down, then lead the cranky mount back to his owner to complete the first act of this four chapter Stranger mission.
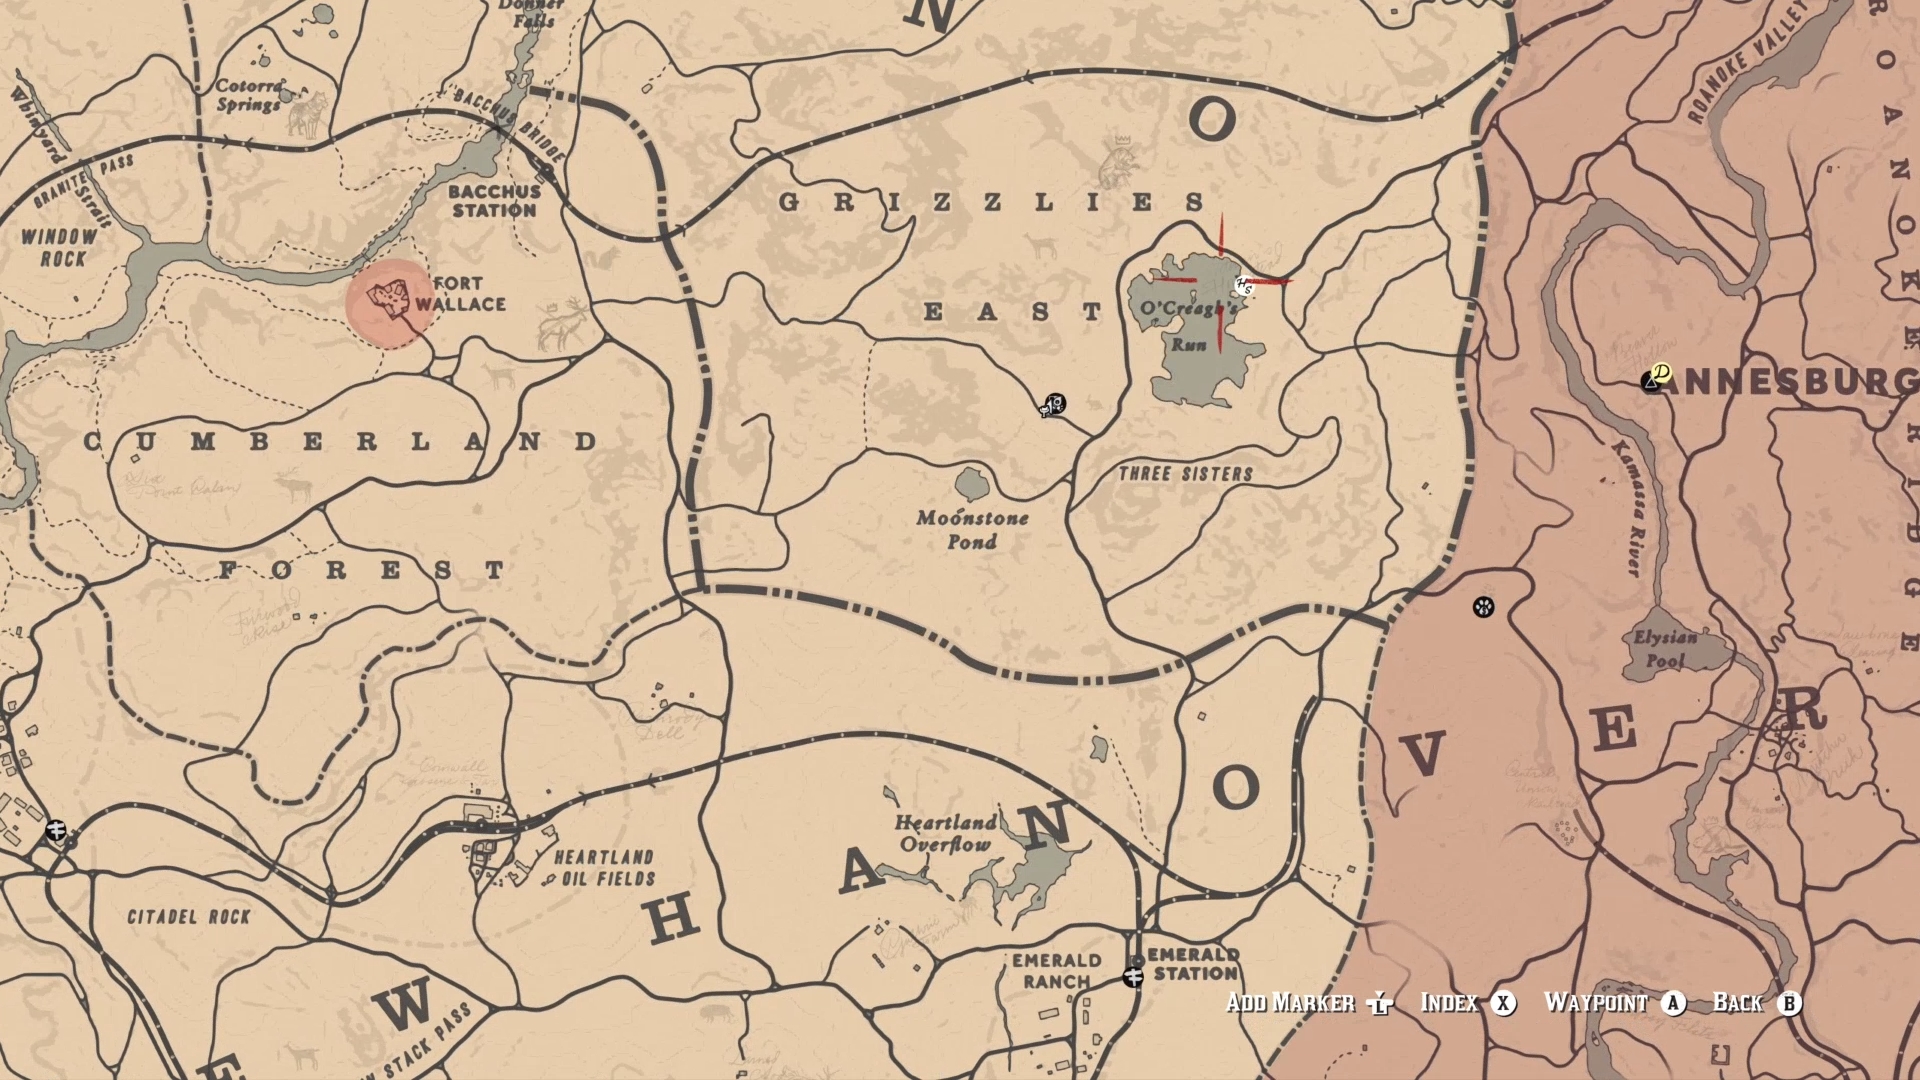
To start the second part of this quest, let 24 in-game hours pass by sleeping a couple of times at a portable camp. Once a day has passed, visit Hamish at his cabin by O’ Creagh’s Run. In this act, Sinclair teaches Arthur to hunt a legendary fish from the nearby lake. The following fishy fun times are pretty straight forward, just make sure to follow Hamish’s advice when reeling in the massive pike during the last part of the mission. Once you catch the ferocious fish, the second chapter of this quest finishes.
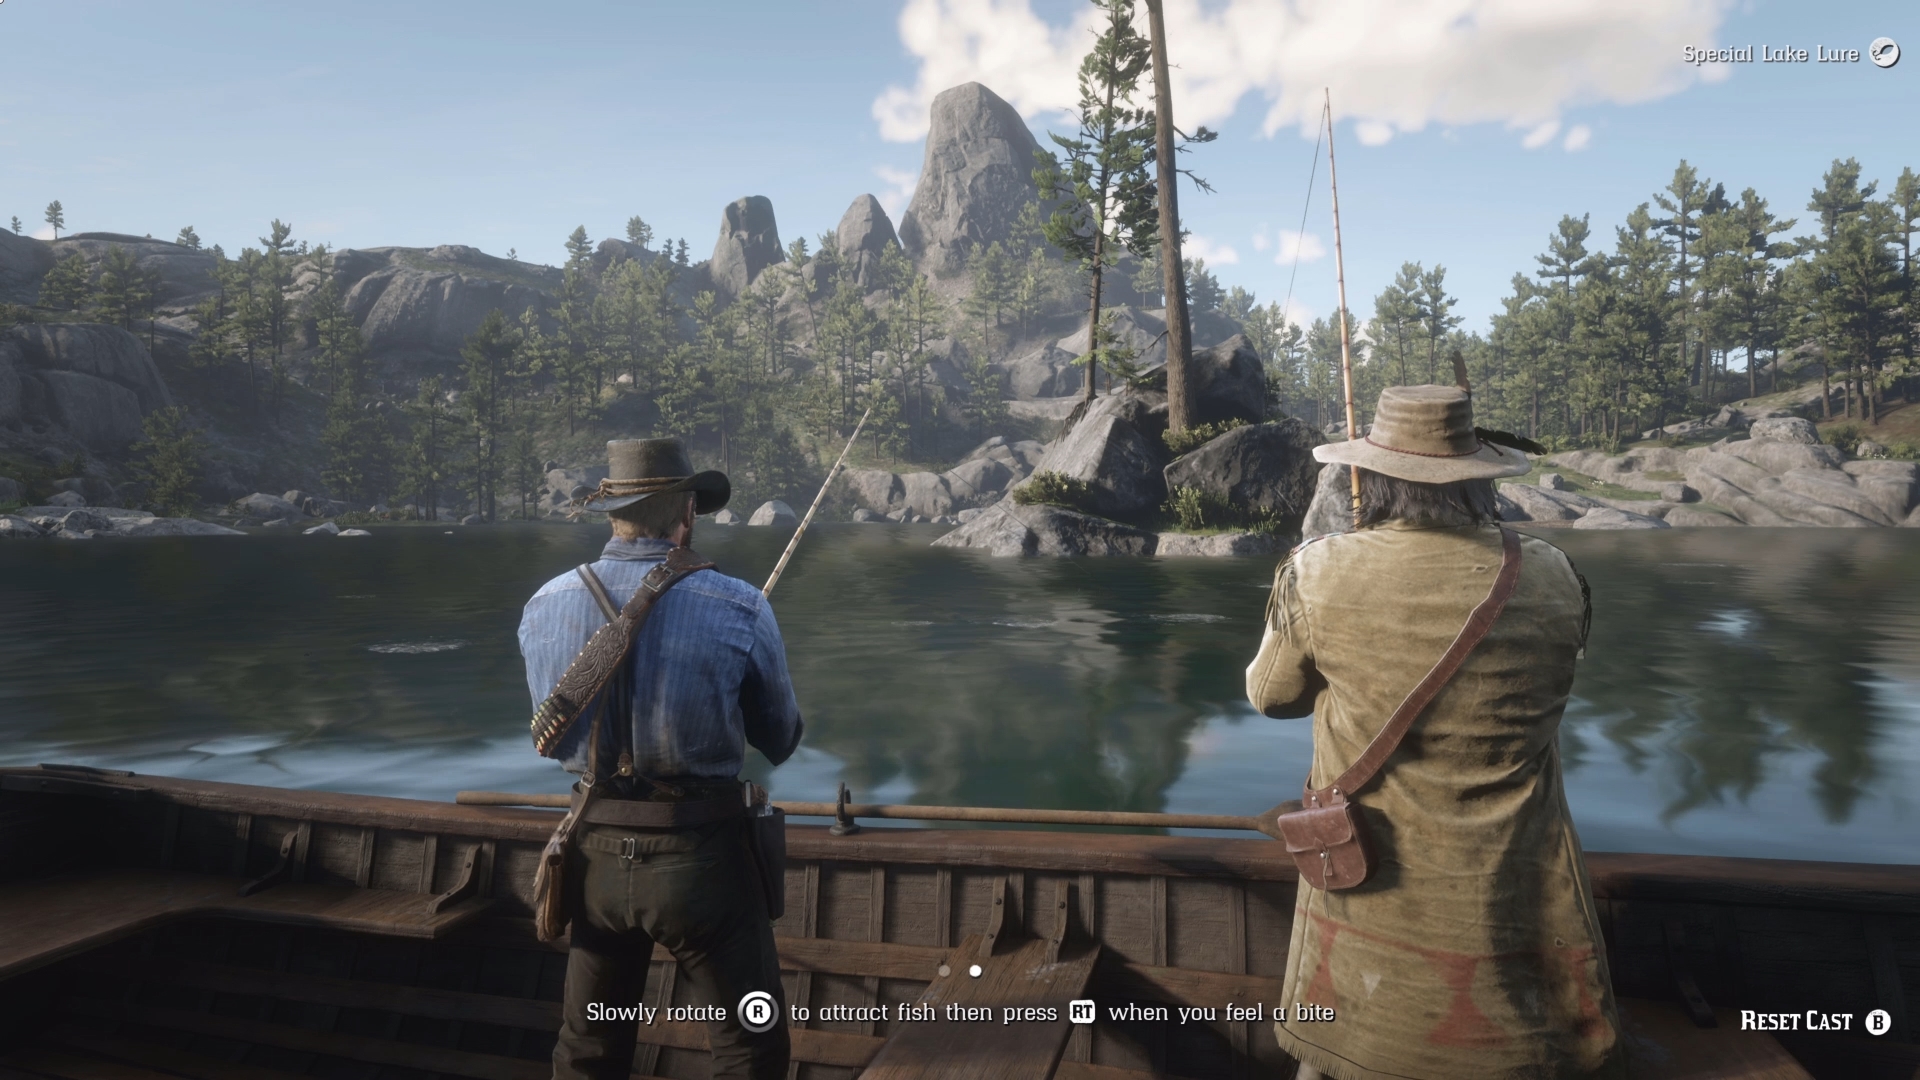
Let another in-game day pass then head back to Hamish’s cabin to start the third part of the mission. After a touching chat where the pair swap old war stories, Morgan and Sinclair head out to hunt a wolf that’s been terrorising the nearby woods. Follow Hamish up into the hills, then let him take the lead as he tracks wolfy through the forest.
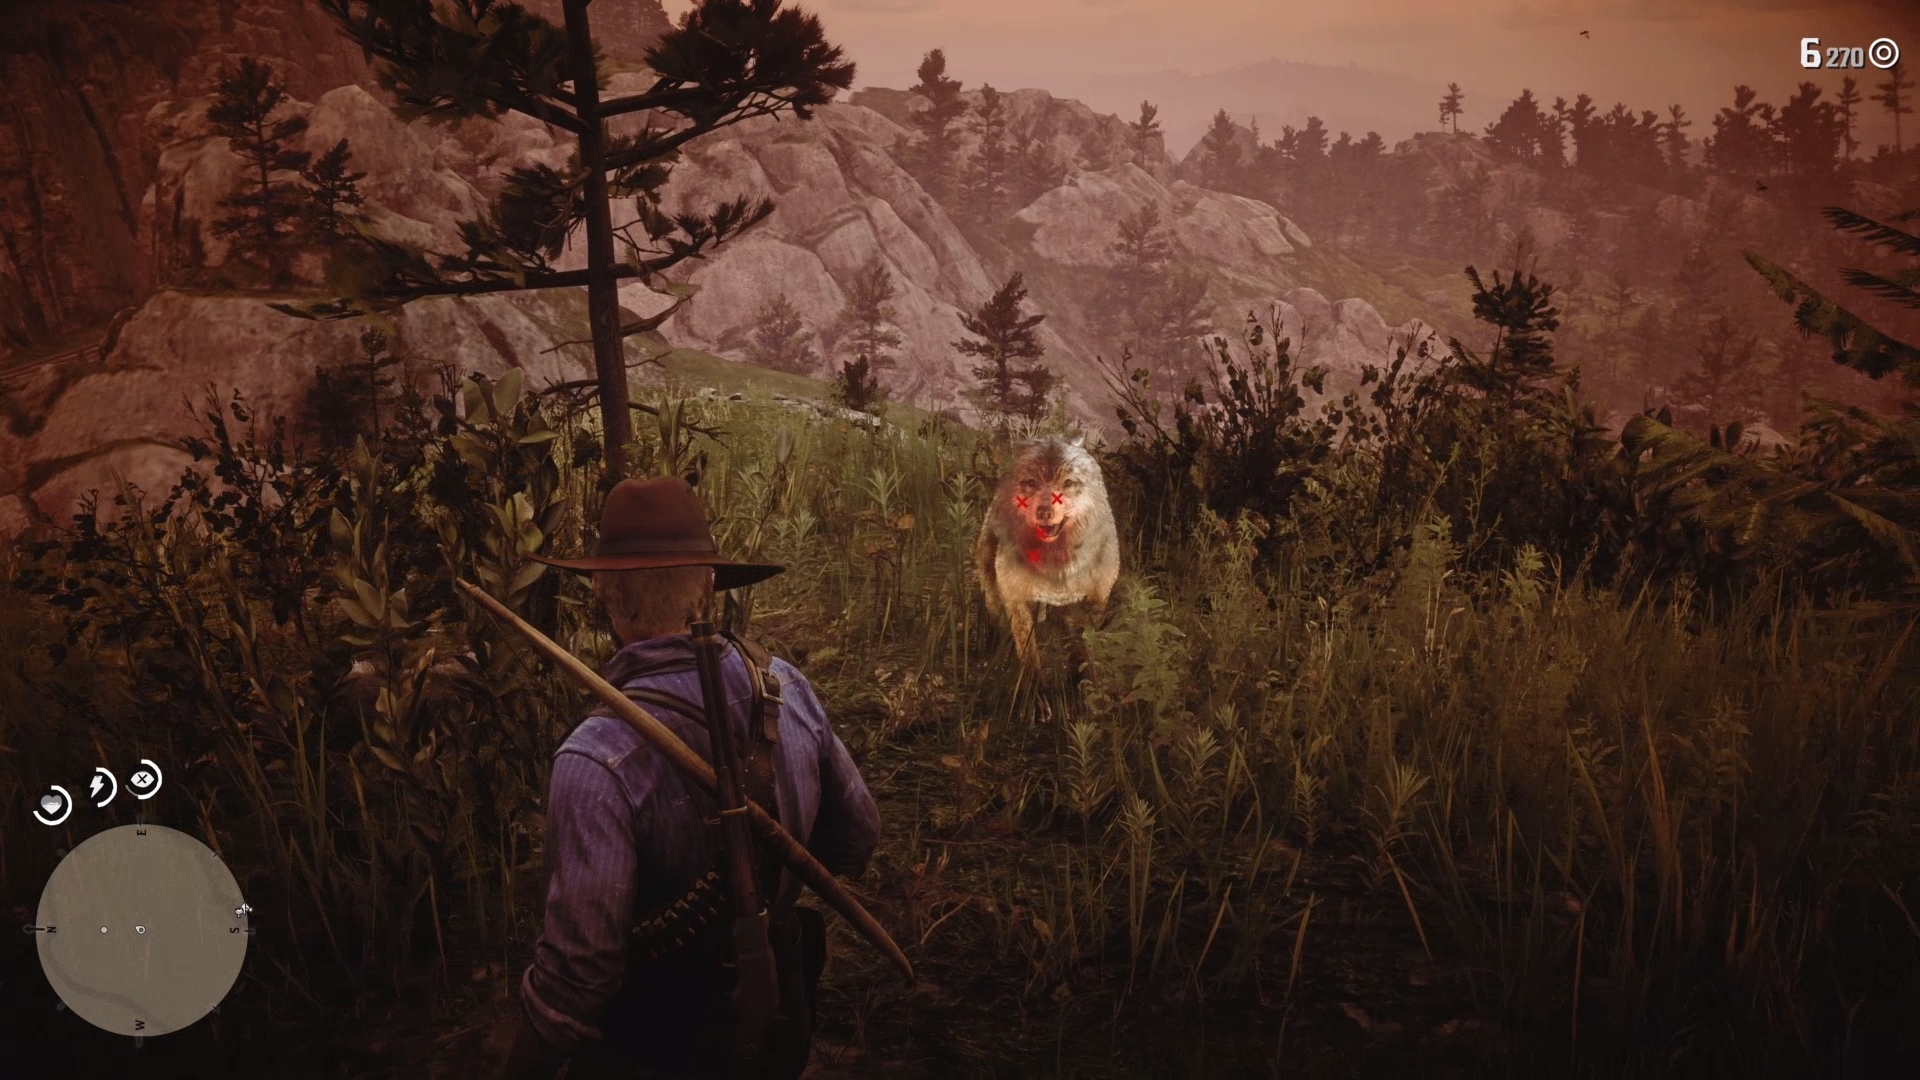
Once you find the beast, make sure your Dead Eye is topped up, because the critter has lead you into an ambush, meaning you have to quickly shoot several of her pack. Once you put down the very bad boys, a final wolf charges you. Complete the QTE, then blast the beast in the face to mission this part of the quest.
As ever, let 24 in-game hours pass before taking on the final part of this mission. Go and visit Hamish’s cabin one last time. The pair of you reminisce about your past hunts, before Sinclair spots a ridiculously big boar rummaging around his property. Follow Hamish into the hills as he chases the boar, then use Eagle Eye to track down the boar’s trail after you split up. Soon after, you have to chase down the beast as it attempts to gore your beardy pal.
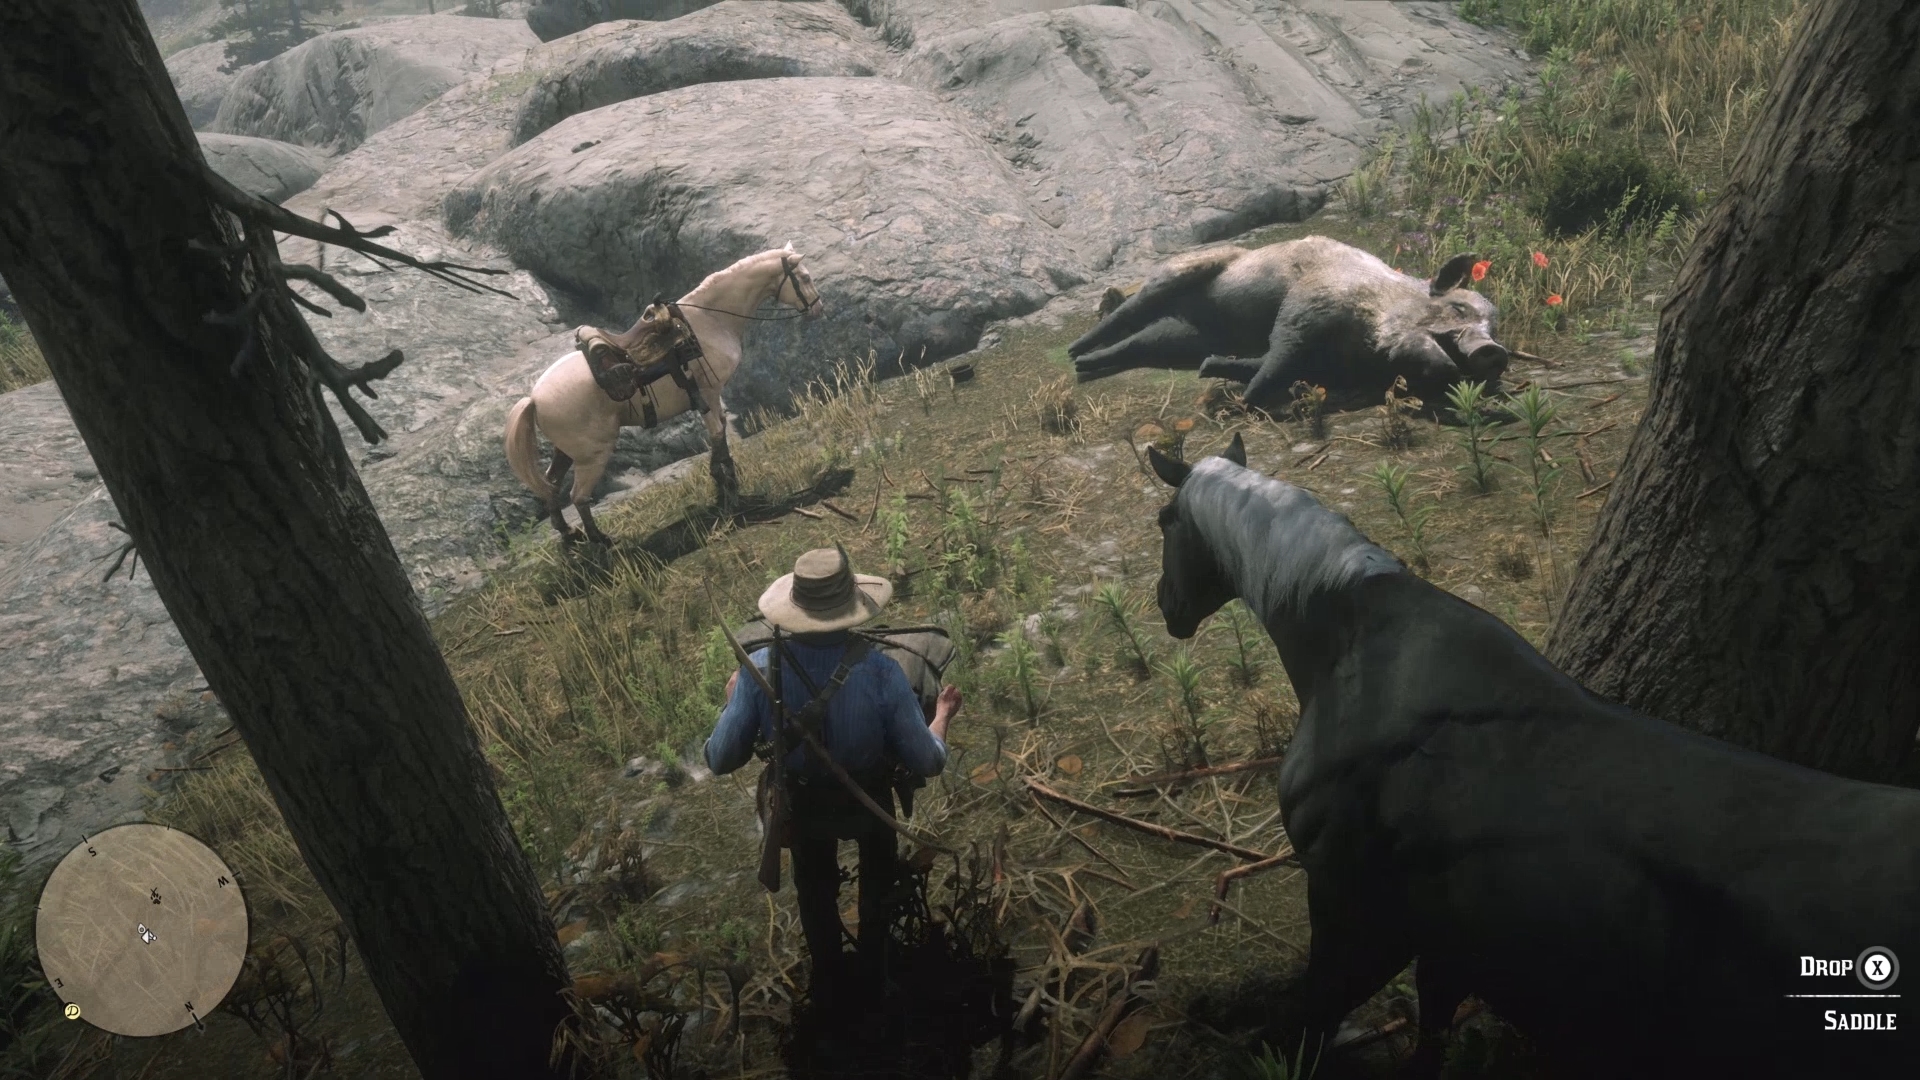
Sadly the dastardly pig mortally wounds Hamish before Arthur can intervene. Use Dead Eye and a powerful gun to down the boar, then go back to Hamish, who, with his dying words, gives you his horse. Good night sweet one-legged prince. *sniff*
3. The American Inferno, Burnt Out
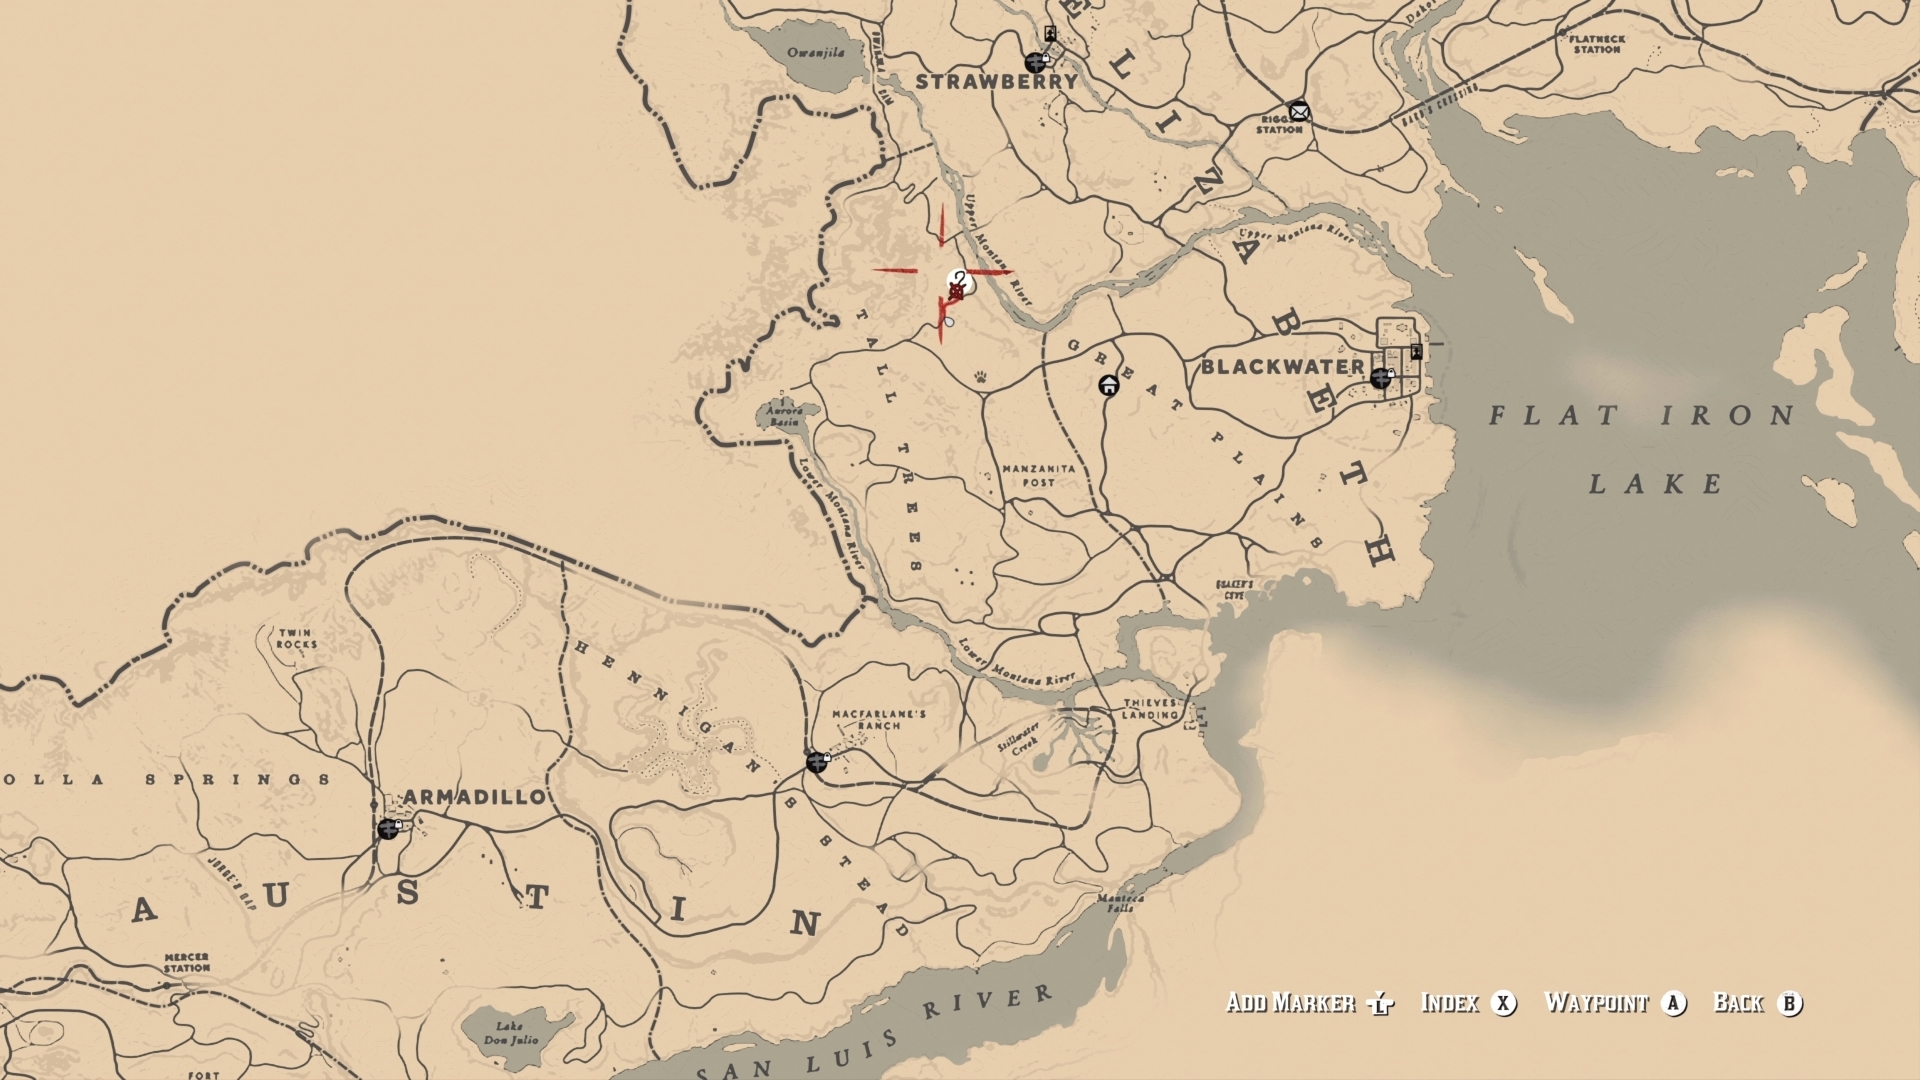
This Stranger mission is well worth playing, but also super spoilery if you’ve not reached RDR2’s epilogue. Hopefully you heeded the spoiler warning at the top before venturing this far down...
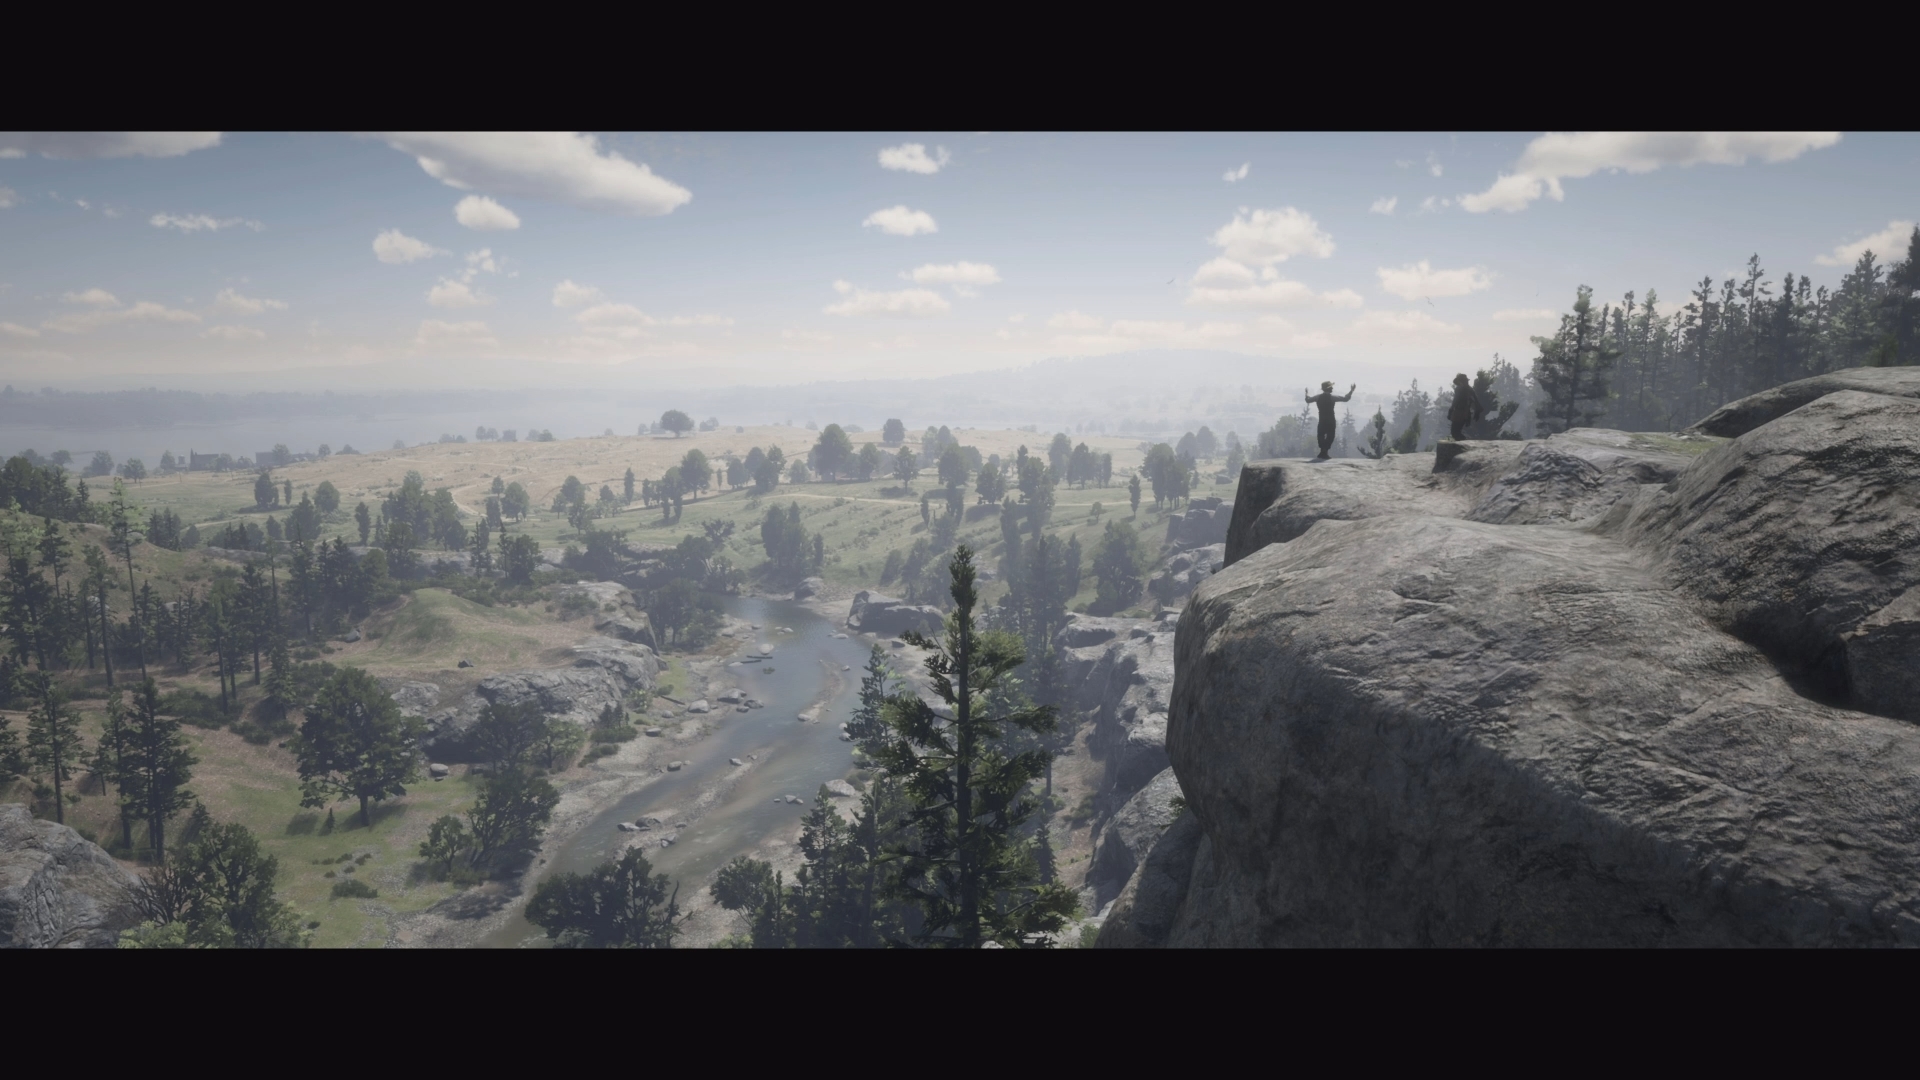
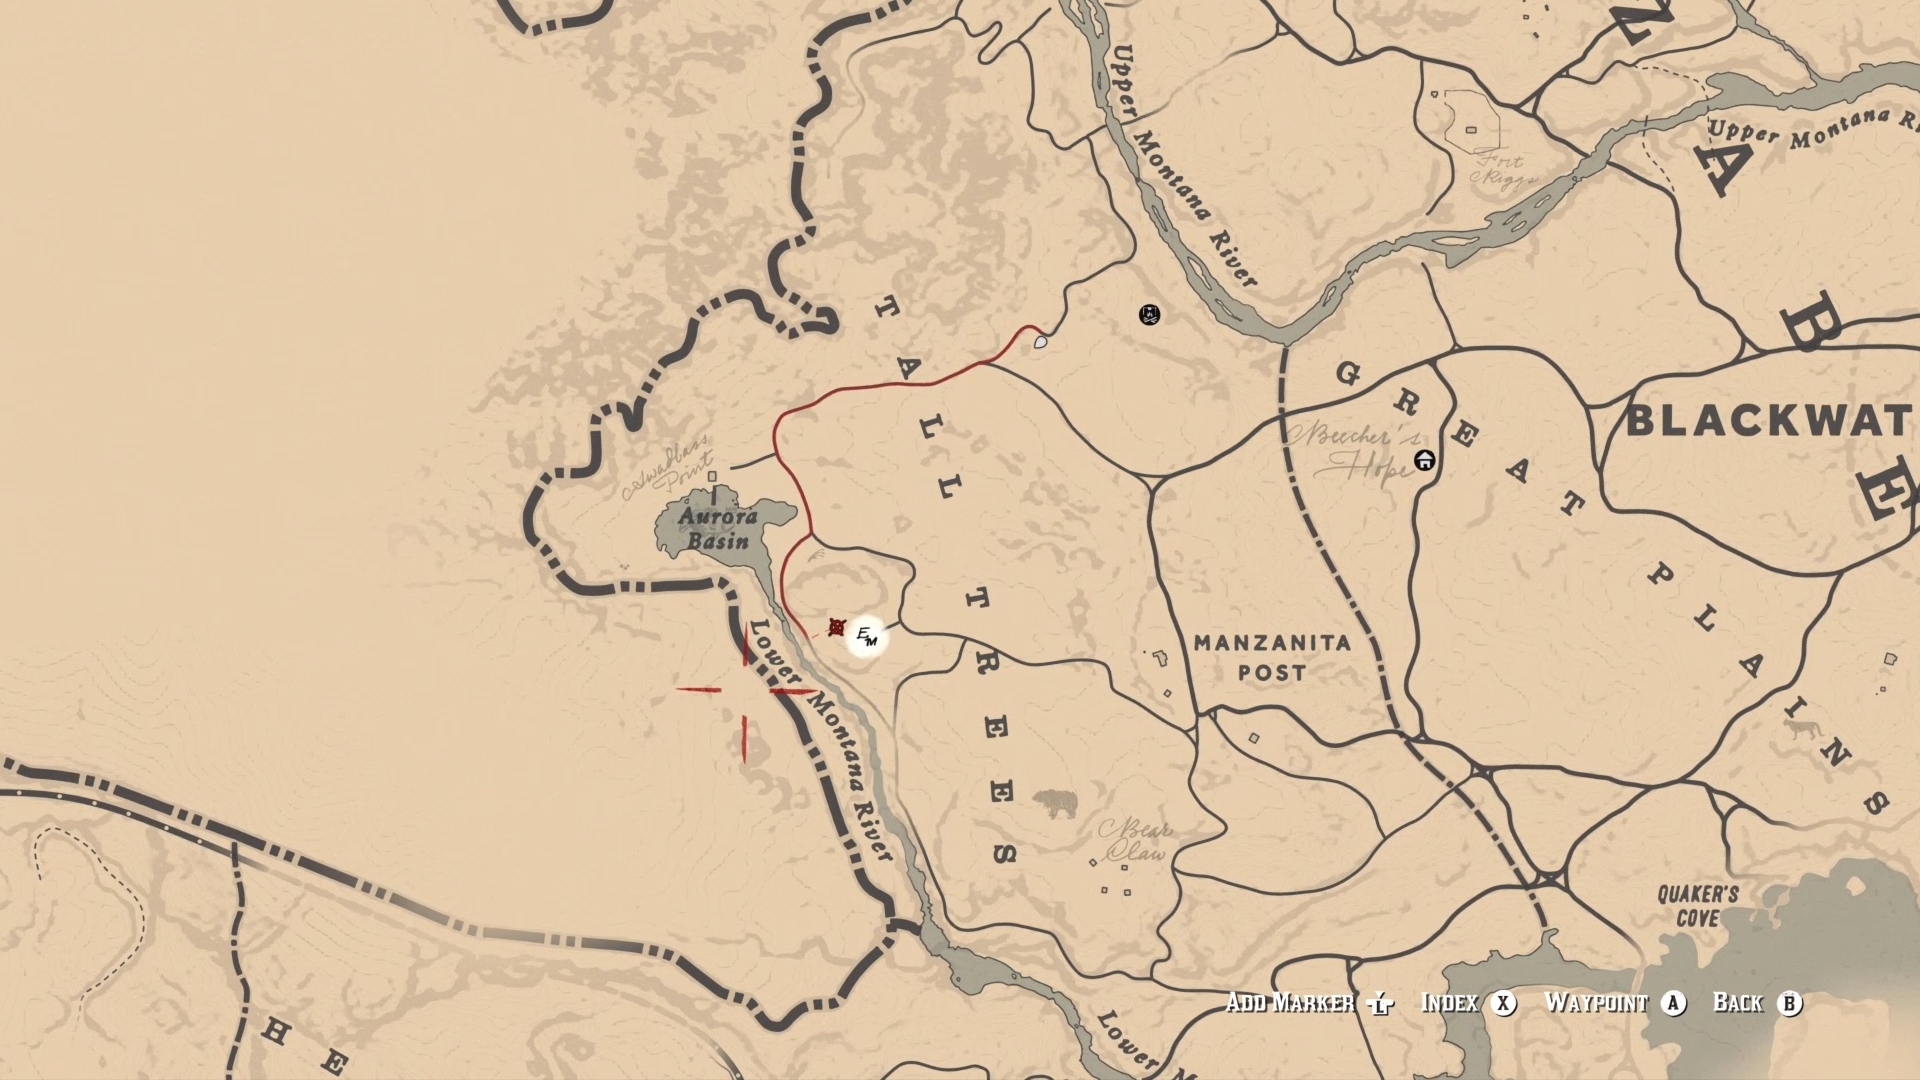
The strange story of an burnt out, ruinously obsessive writer involves a certain returning outlaw. You can only access this quest upon starting the epilogue; once you have, head to a rocky outcrop in Tall Trees near the Upper Montana River. Here, you meet Evelyn Miller: a famous author who’s suffering from a horrible case of writer’s block. Let the chatty cutscene play out to finish the first quest step.
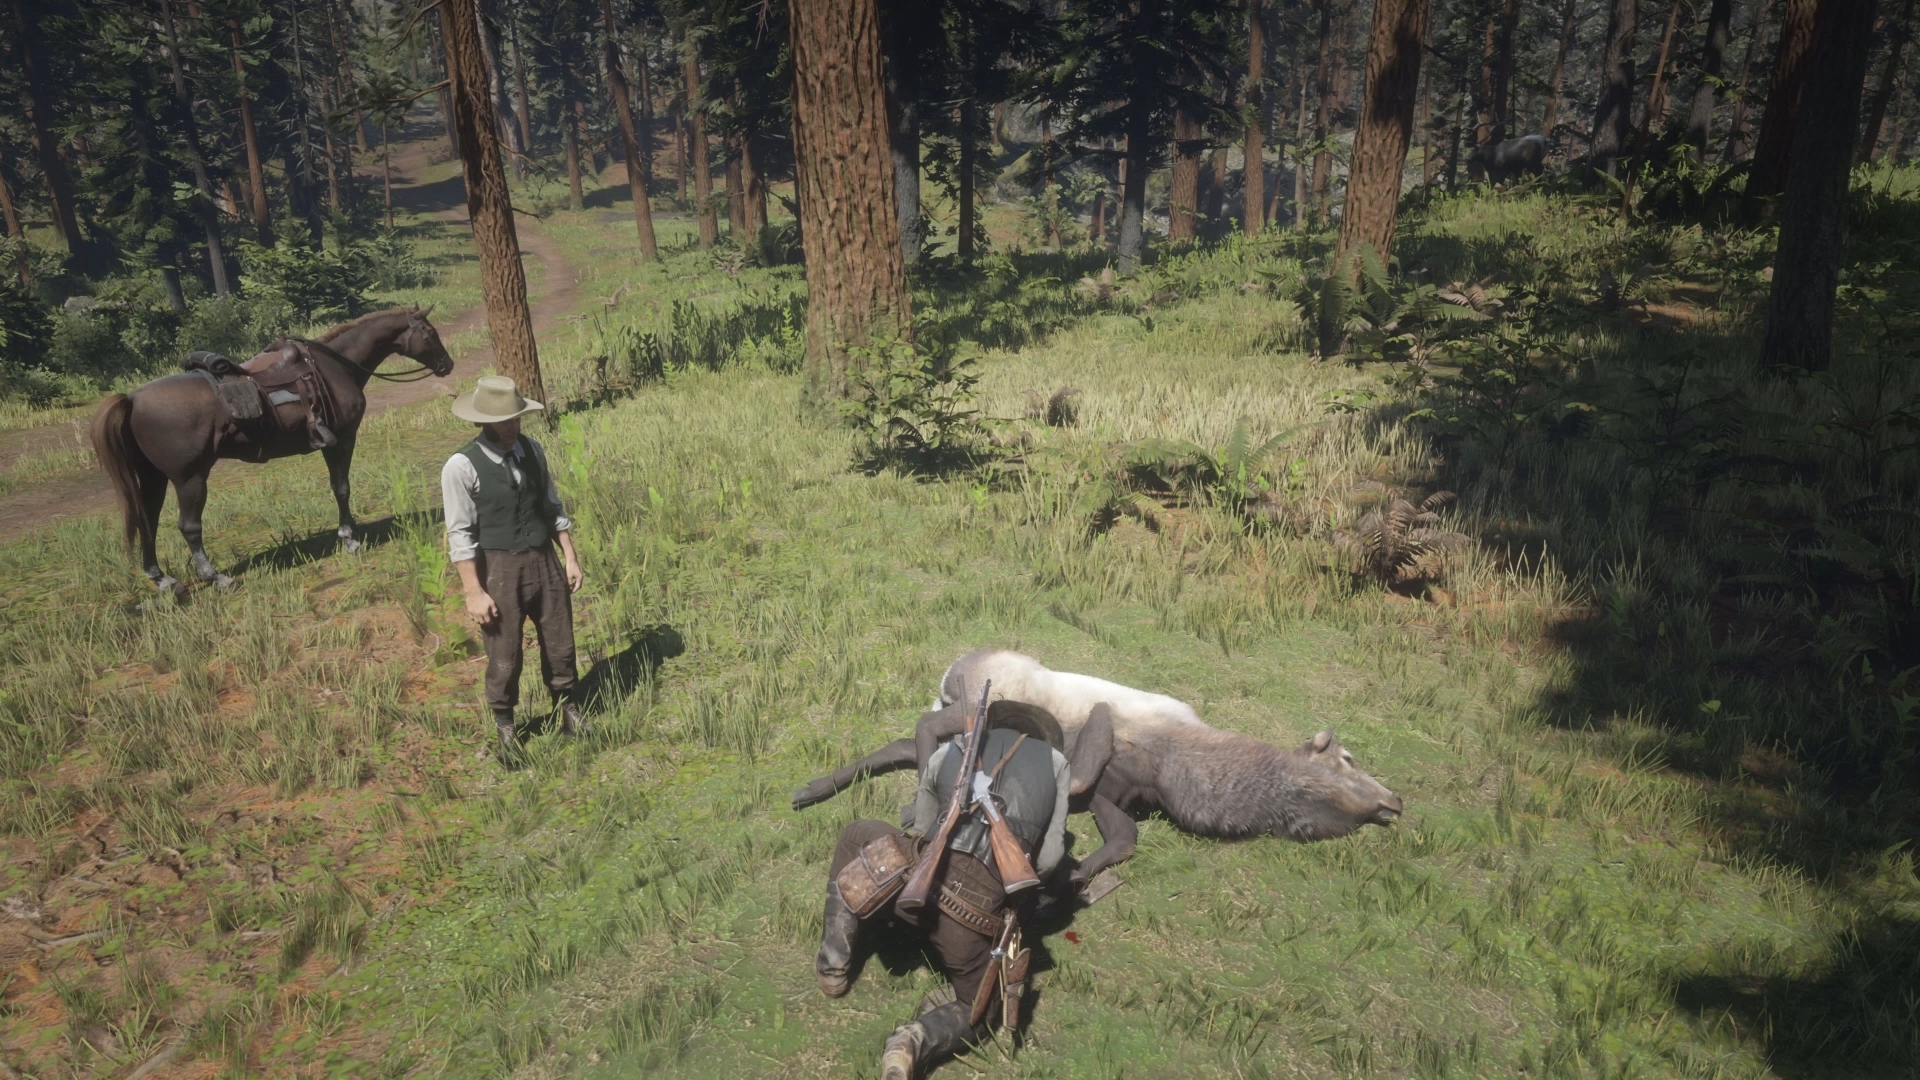
Let 48 hours pass, then ride to Miller’s cabin in Tanner’s Reach between the hours of 6am and 6pm. The two of you then go on a little woodland excursion to Manzanita Outpost that involves saving a poor deer from a hunter’s trap, then beating the ugly off two unfriendly mountain men. Once you lay a cowboy smackdown on the pair, this part of the mission wraps up.
When another couple of in-game days pass, visit Miller’s cabin again, where you find the writer in such an obsessive state, he won’t eat or drink. Drop some food from your satchel at his front door, then leave the tortured scribe to his own devices.
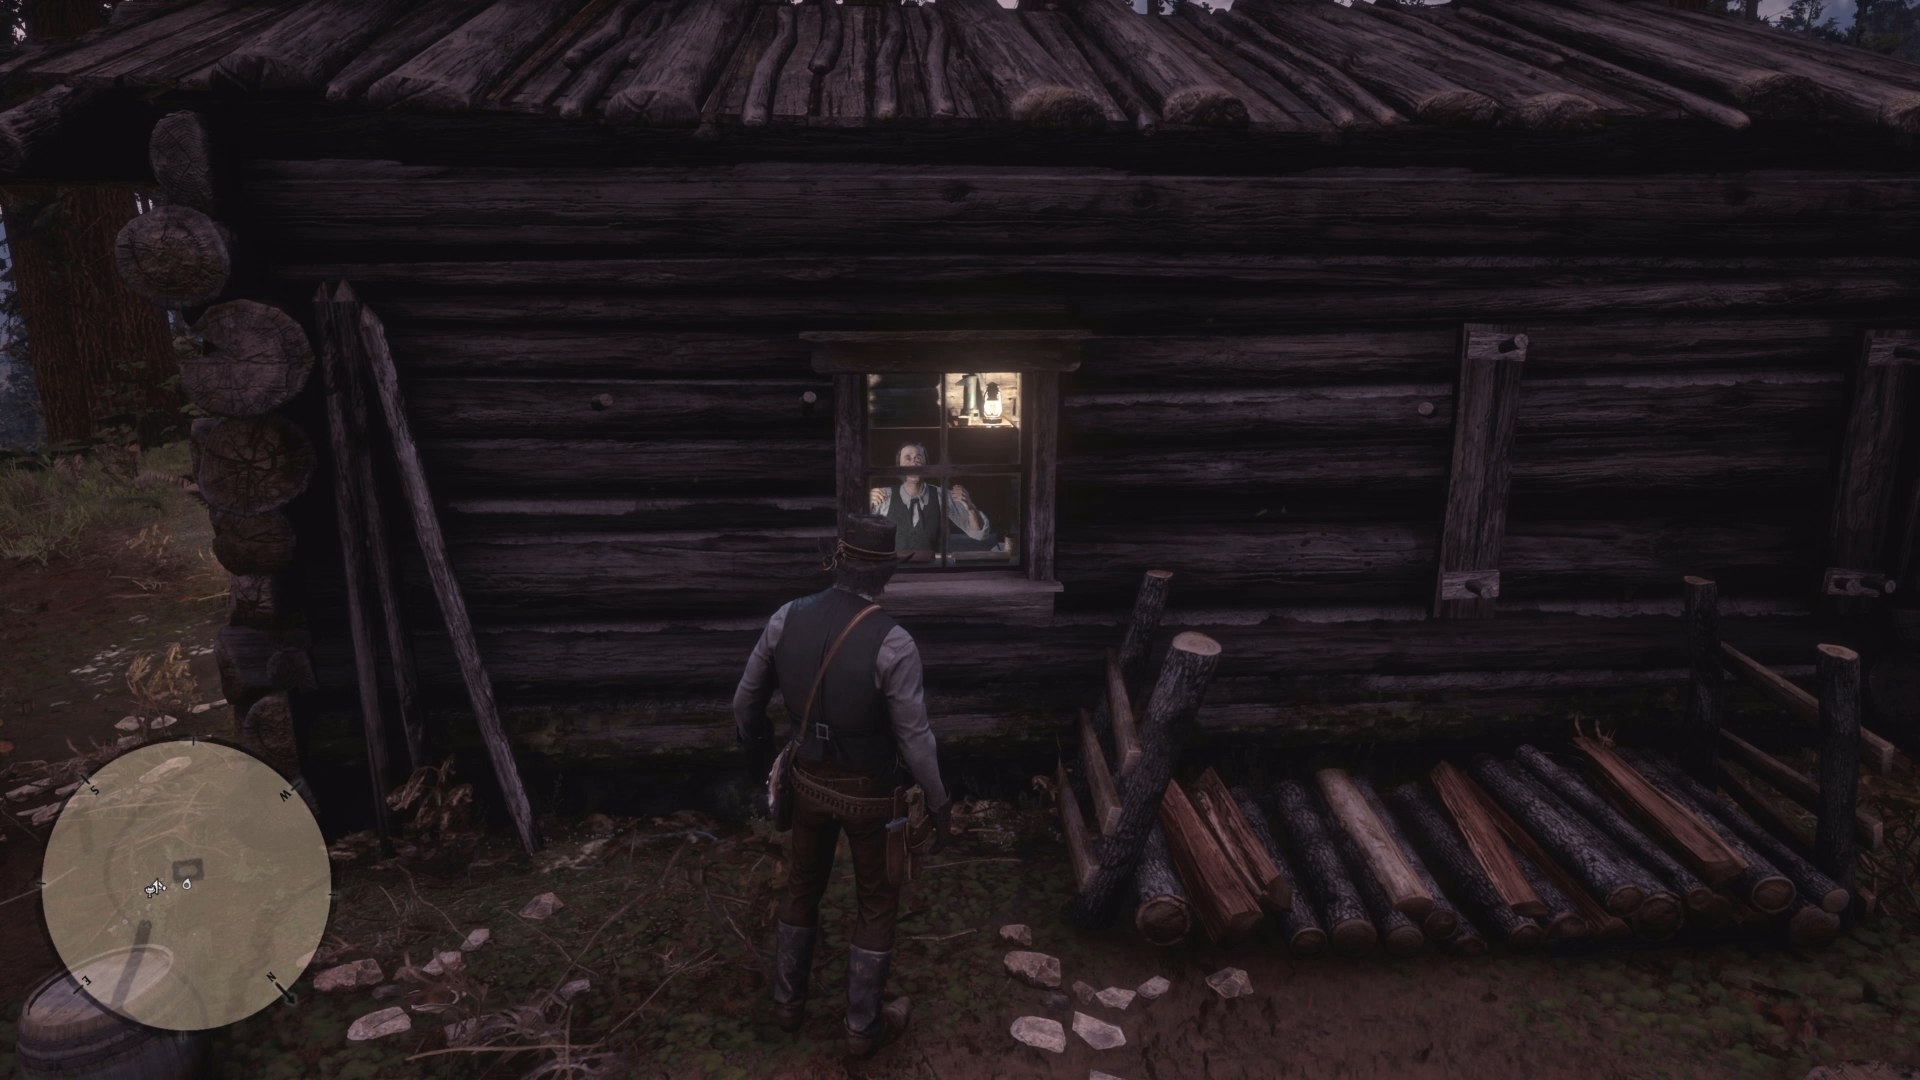
Return two days later and Evelyn is in an even more wretched state, having clearly sworn off all food and water for days. Leave another food parcel at his door, then hit the trail for two more days.
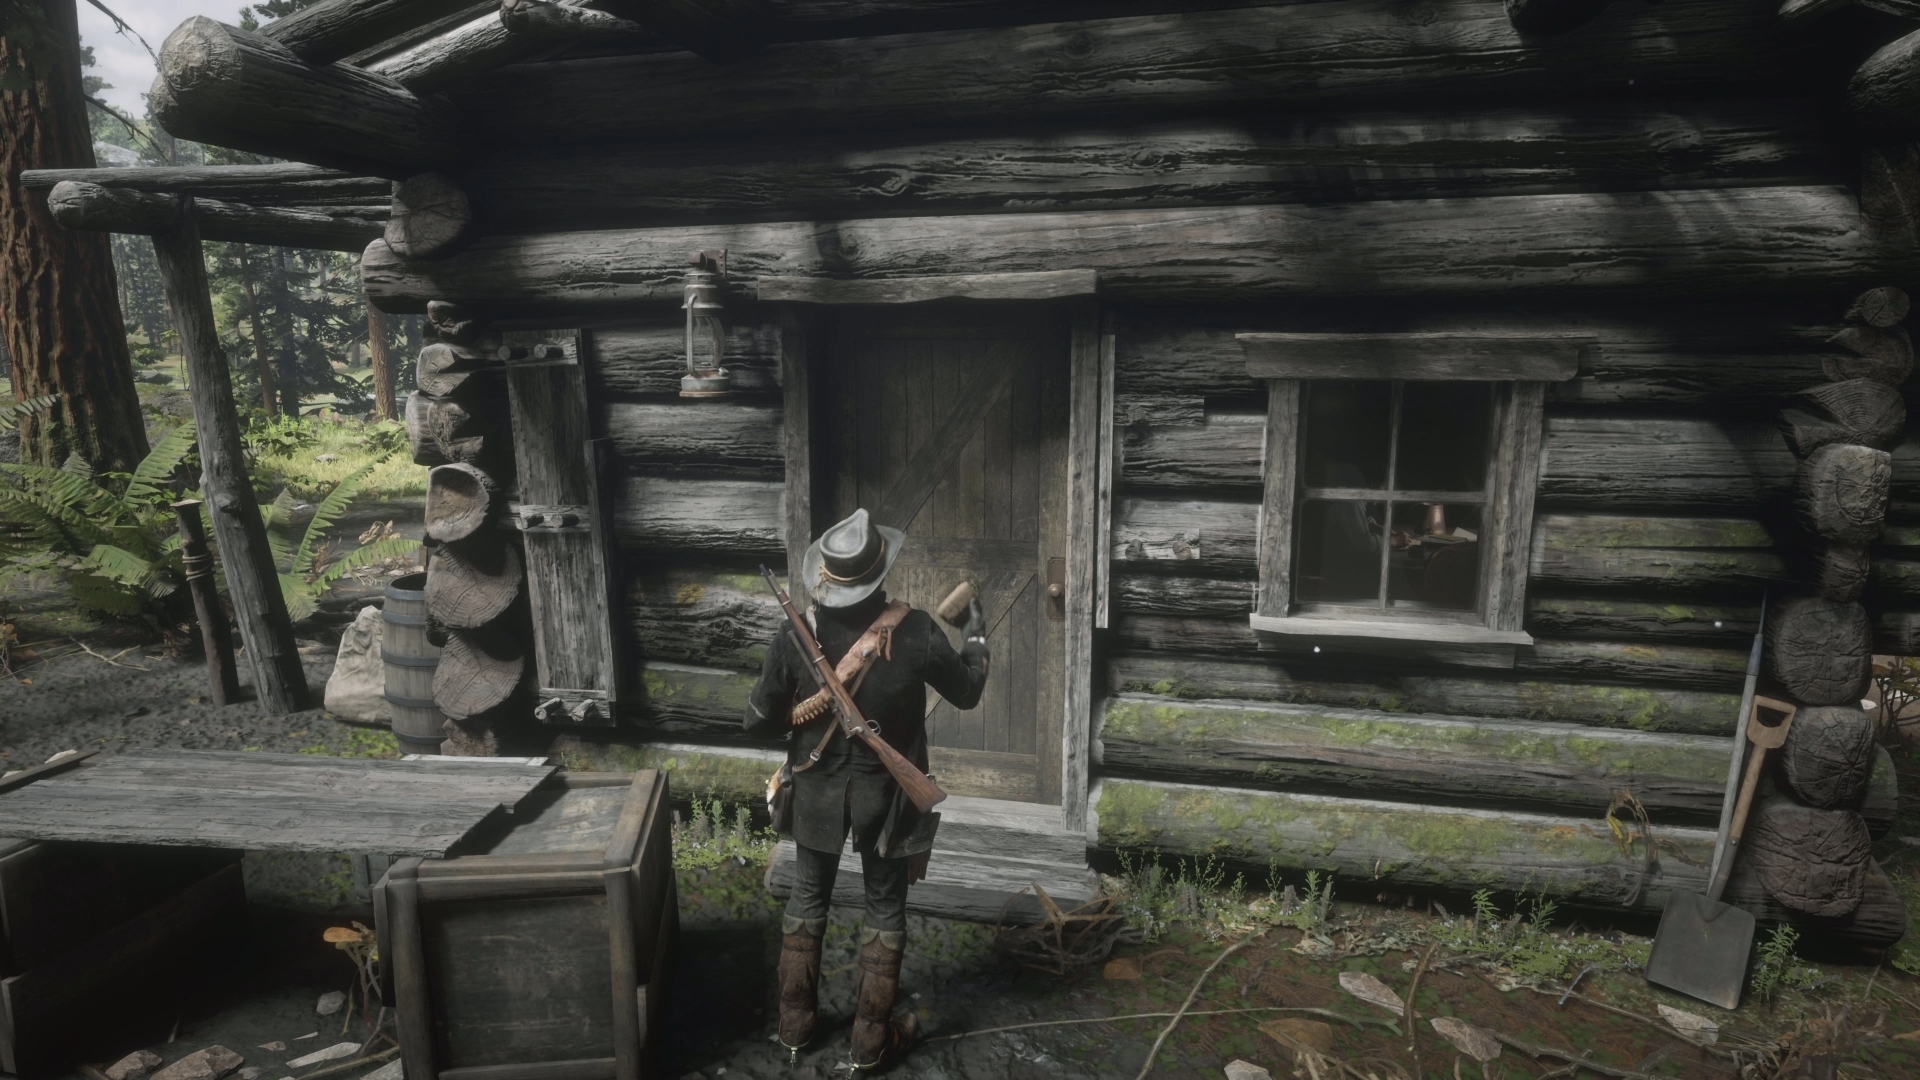
Come back one final time with your regular Wild West fast food delivery and you’ll find a dead, emaciated Miller lying on the floor of his cabin. Pick up the note from his desk, take the pocket watch he gifts you in the letter, then proceed to set the cabin ablaze by taking your lighter to its curtains.
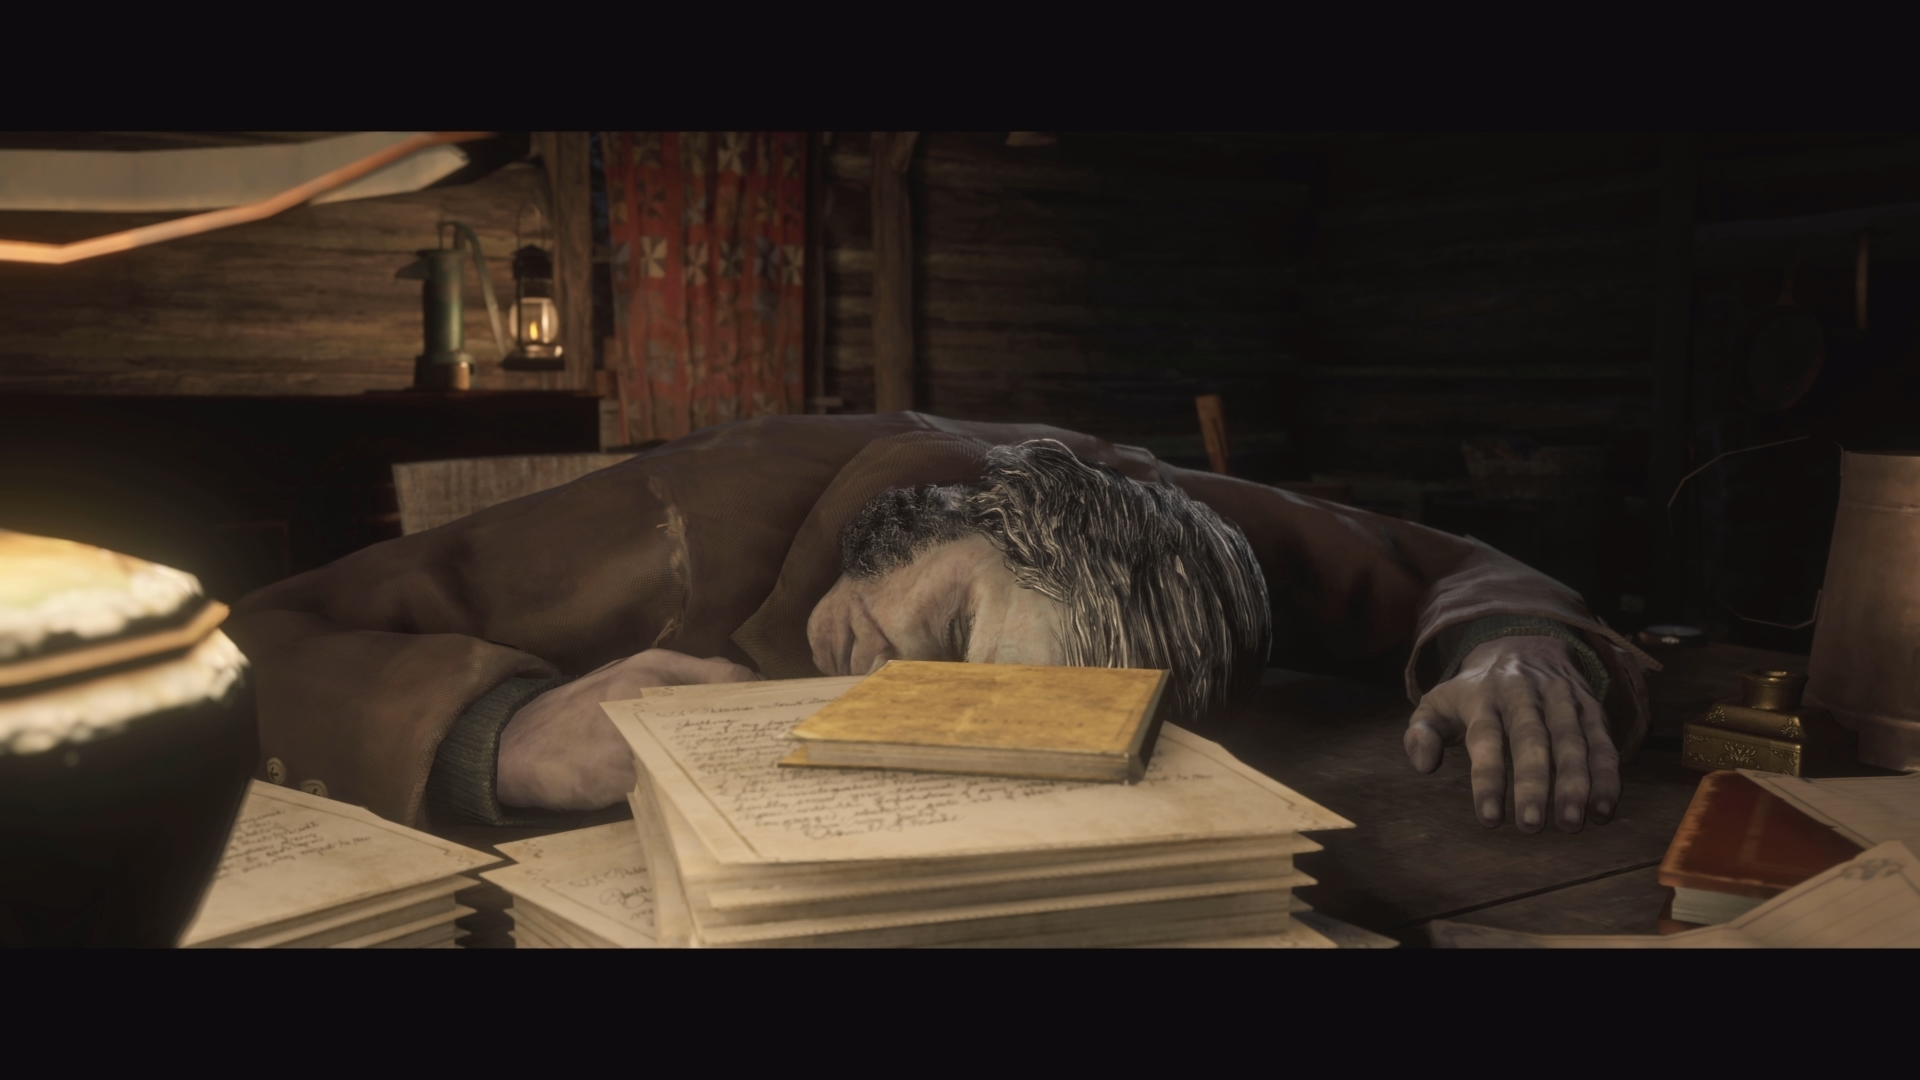
Now that’s what we call one seriously burnt out writer. RIP, Evelyn.
2. Arcadia for Amateurs
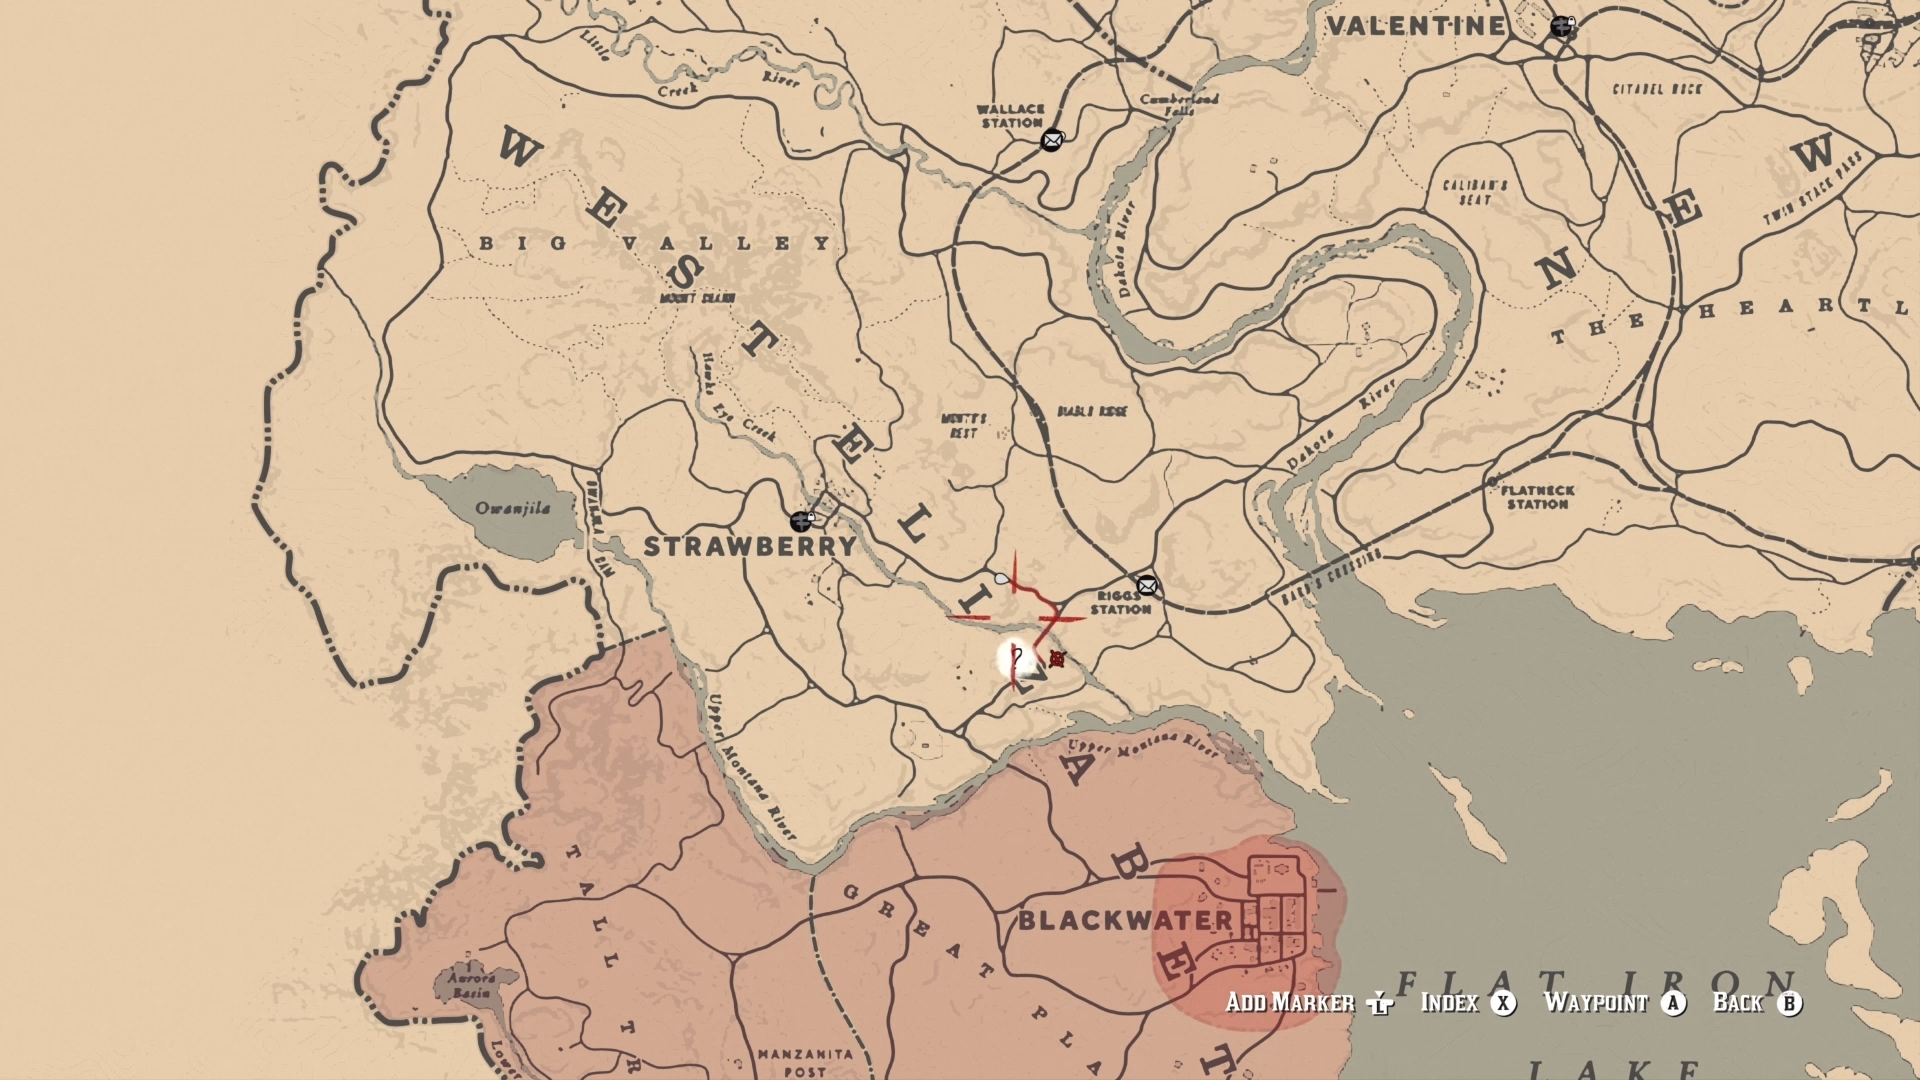
This epic five part, photography-focused side mission sees Arthur become chums with wildlife enthusiast Albert Mason, and can be accessed from chapter two onwards. To trigger the first part of this map-hopping quest, visit the Stranger marker just west of Riggs Station, not far from the town of Strawberry.
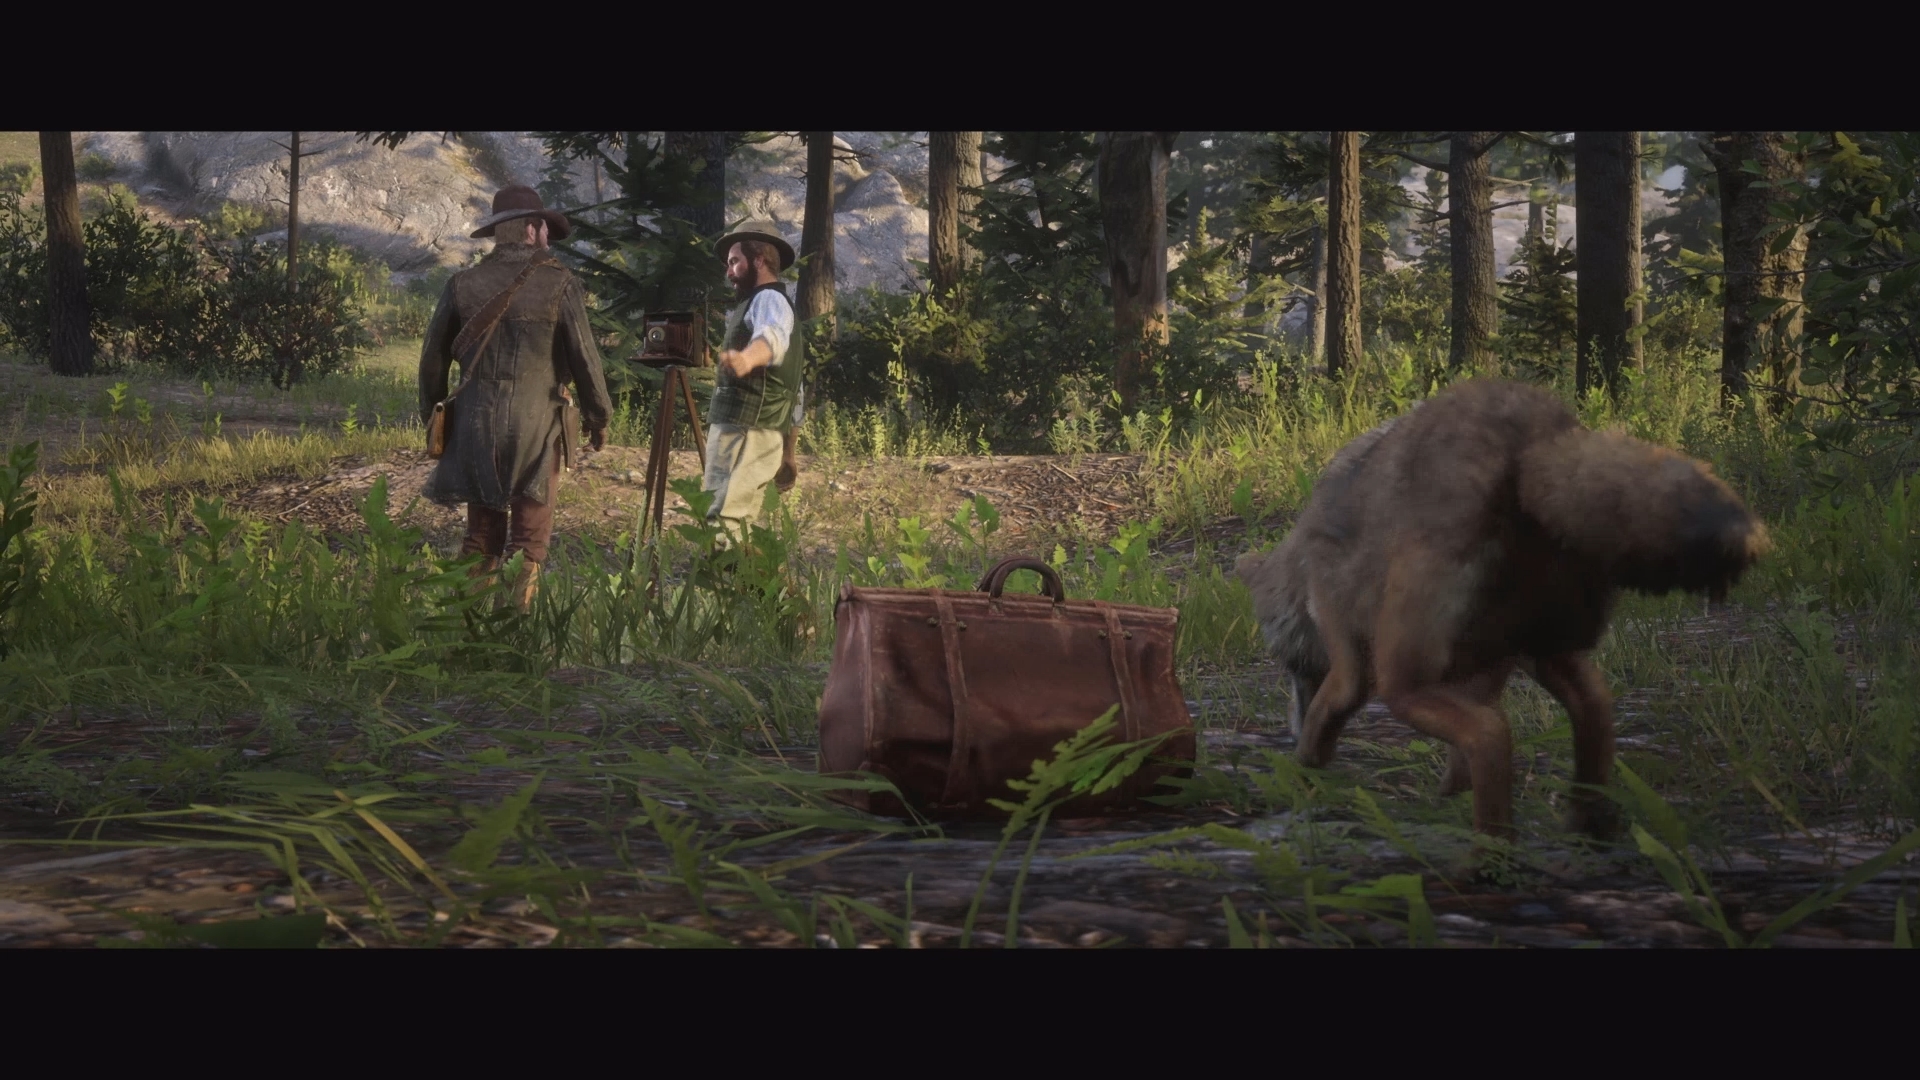
After a brief chinwag with Mason, chase down the coyote who has stolen his bag. You can either shoot the varmint, or merely shout at it a couple of times before it drops Albert’s belongings. Return the bag to Mason to finish the first part of this story.
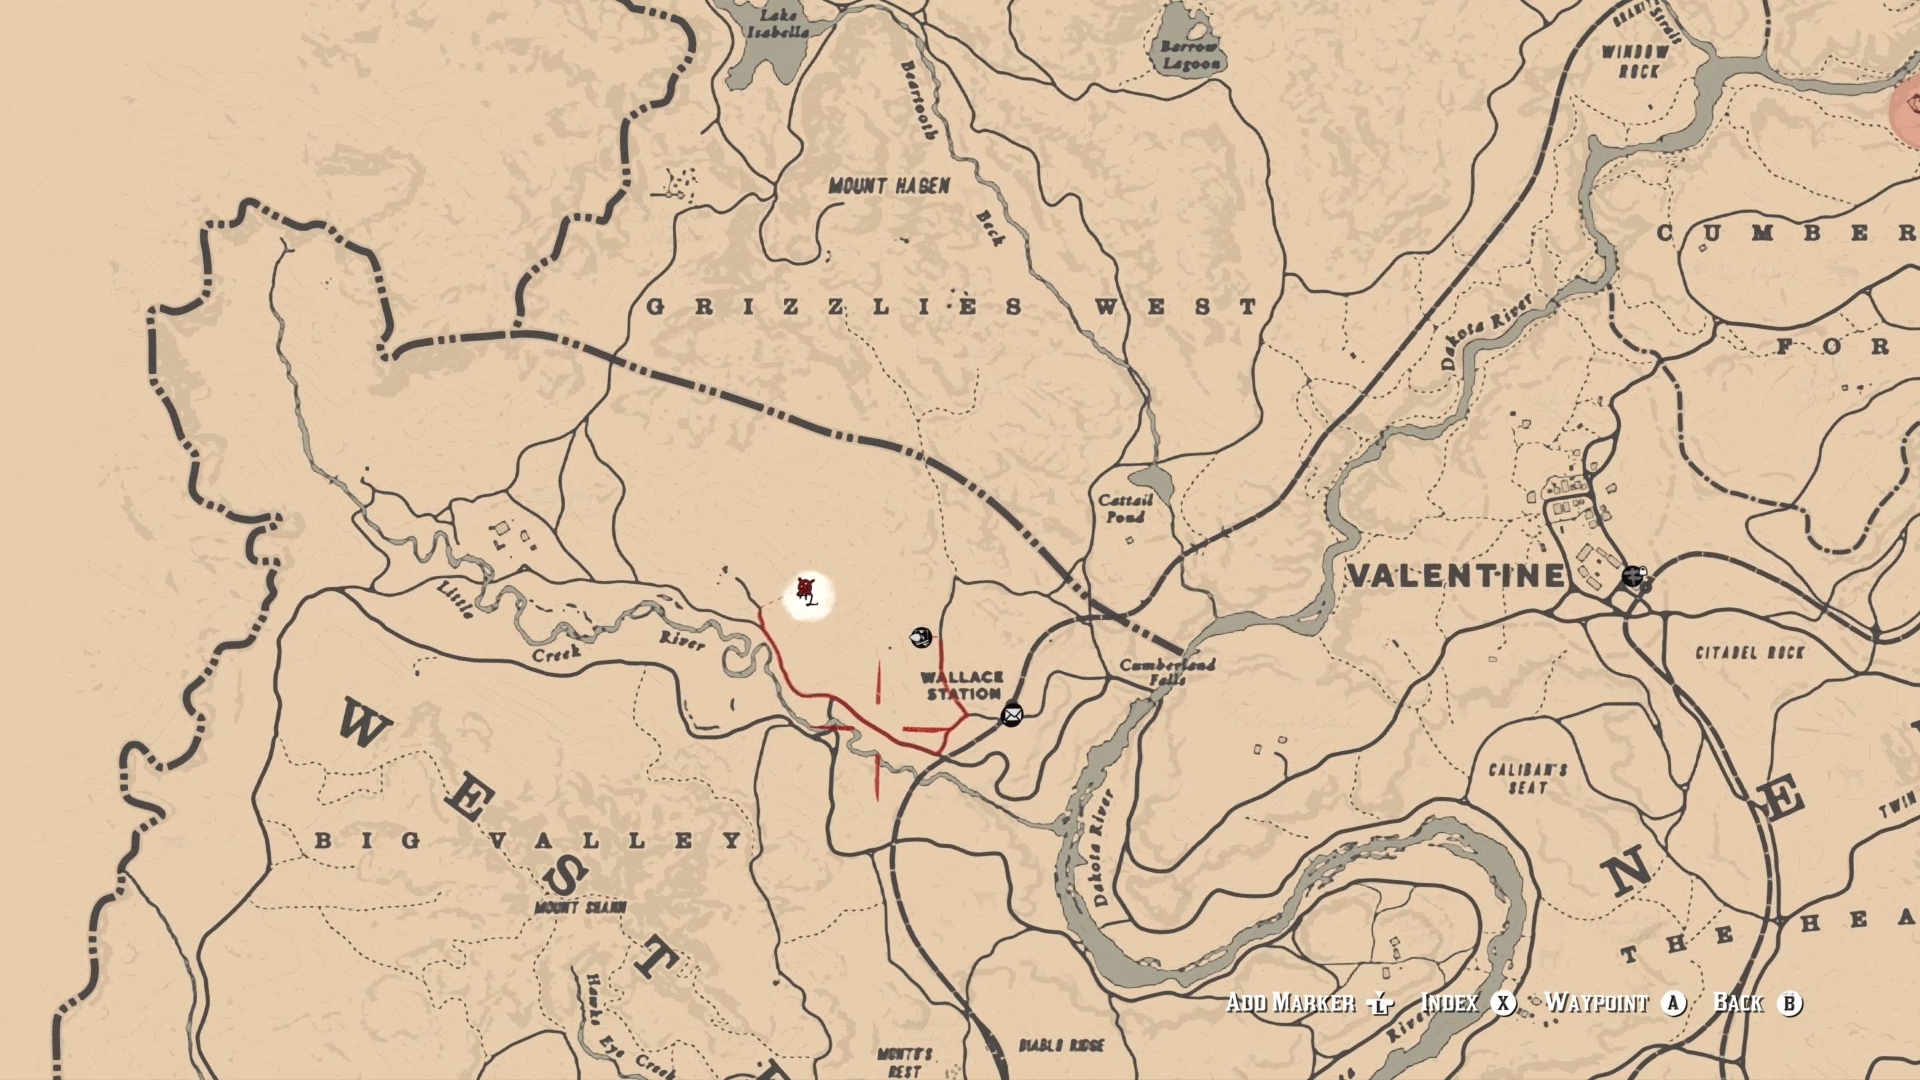
Let two in-game days pass, and you can find the budding photographer to the northwest of Wallace Station, a little west of Valentine. This chapter involves getting a shot of some ravenous wolves that aren’t exactly thrilled to have their photo taken.
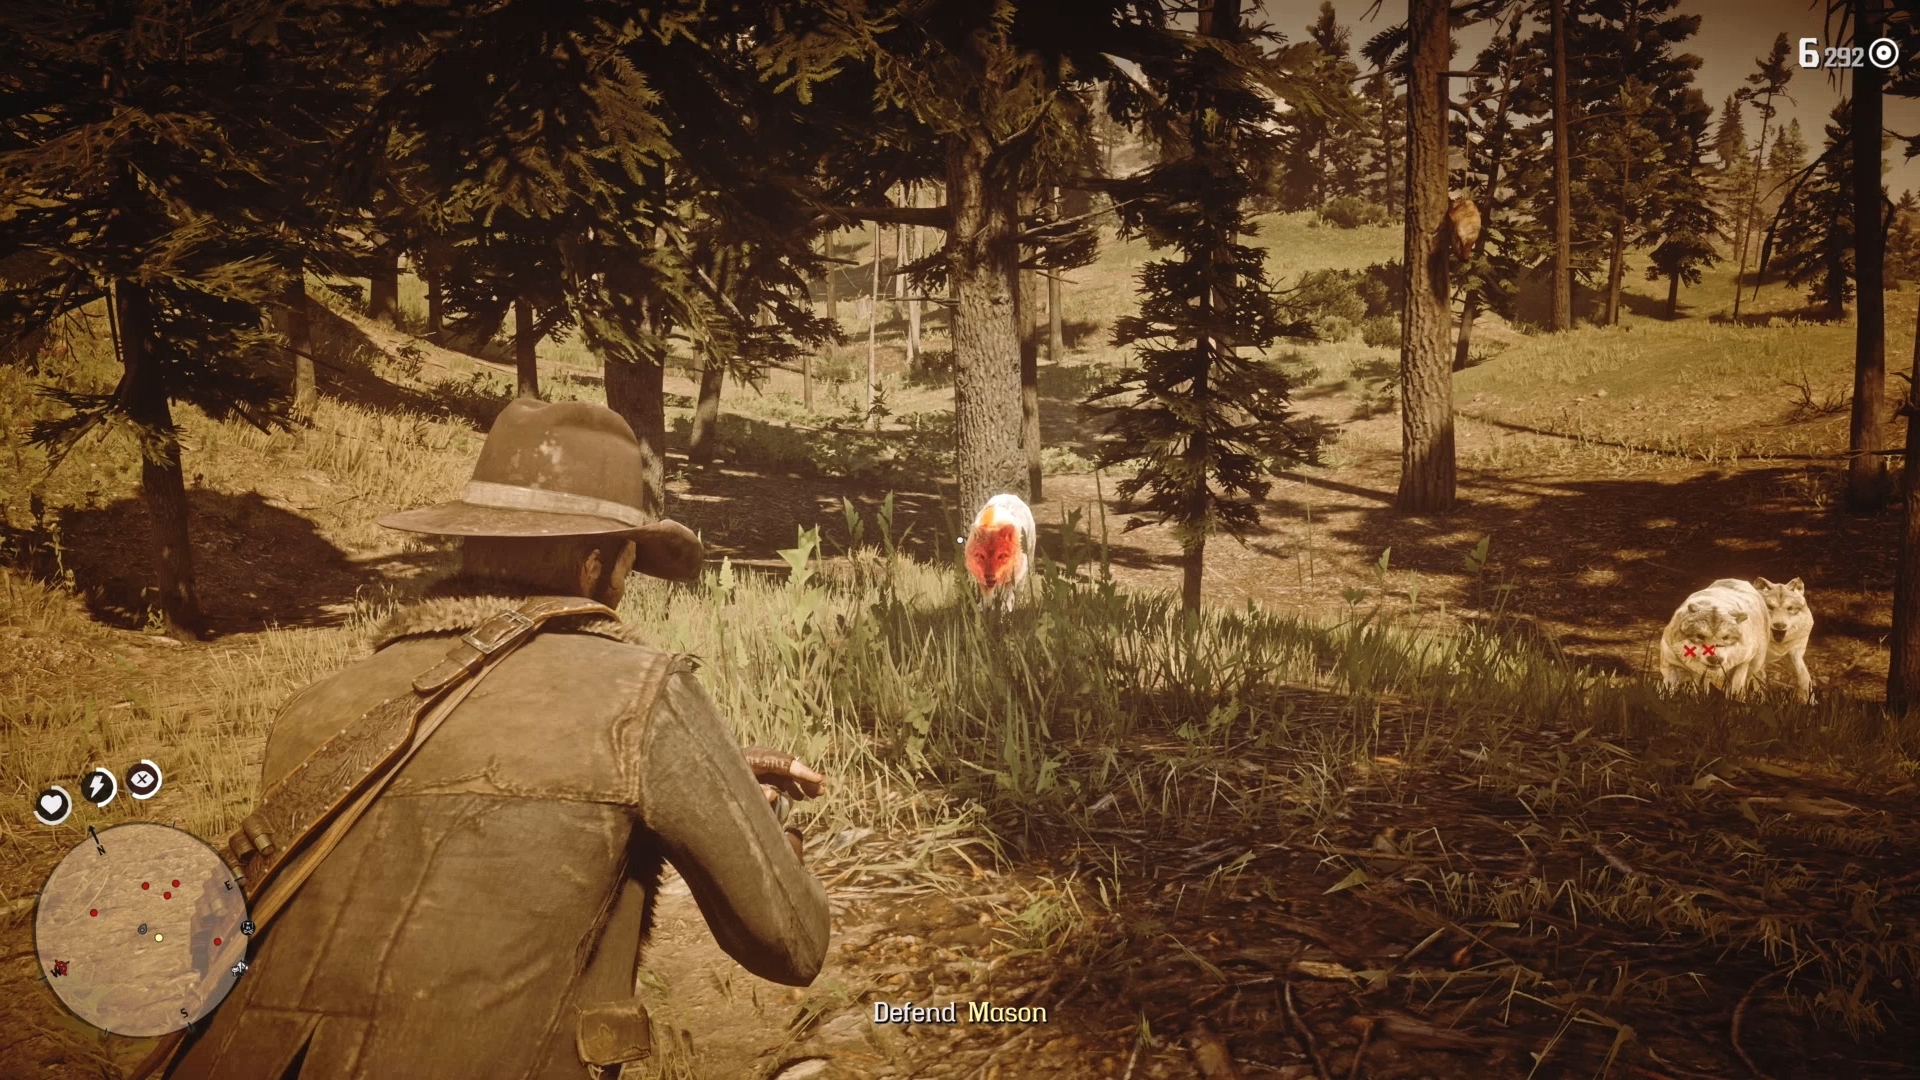
After the pack goes postal on Arthur and Albert, protect your snap-happy pal by killing the wolves – you want a full Dead Eye meter going into this stage of the side mission. With the predators bested, you’re ready to tackle the next part of the quest.
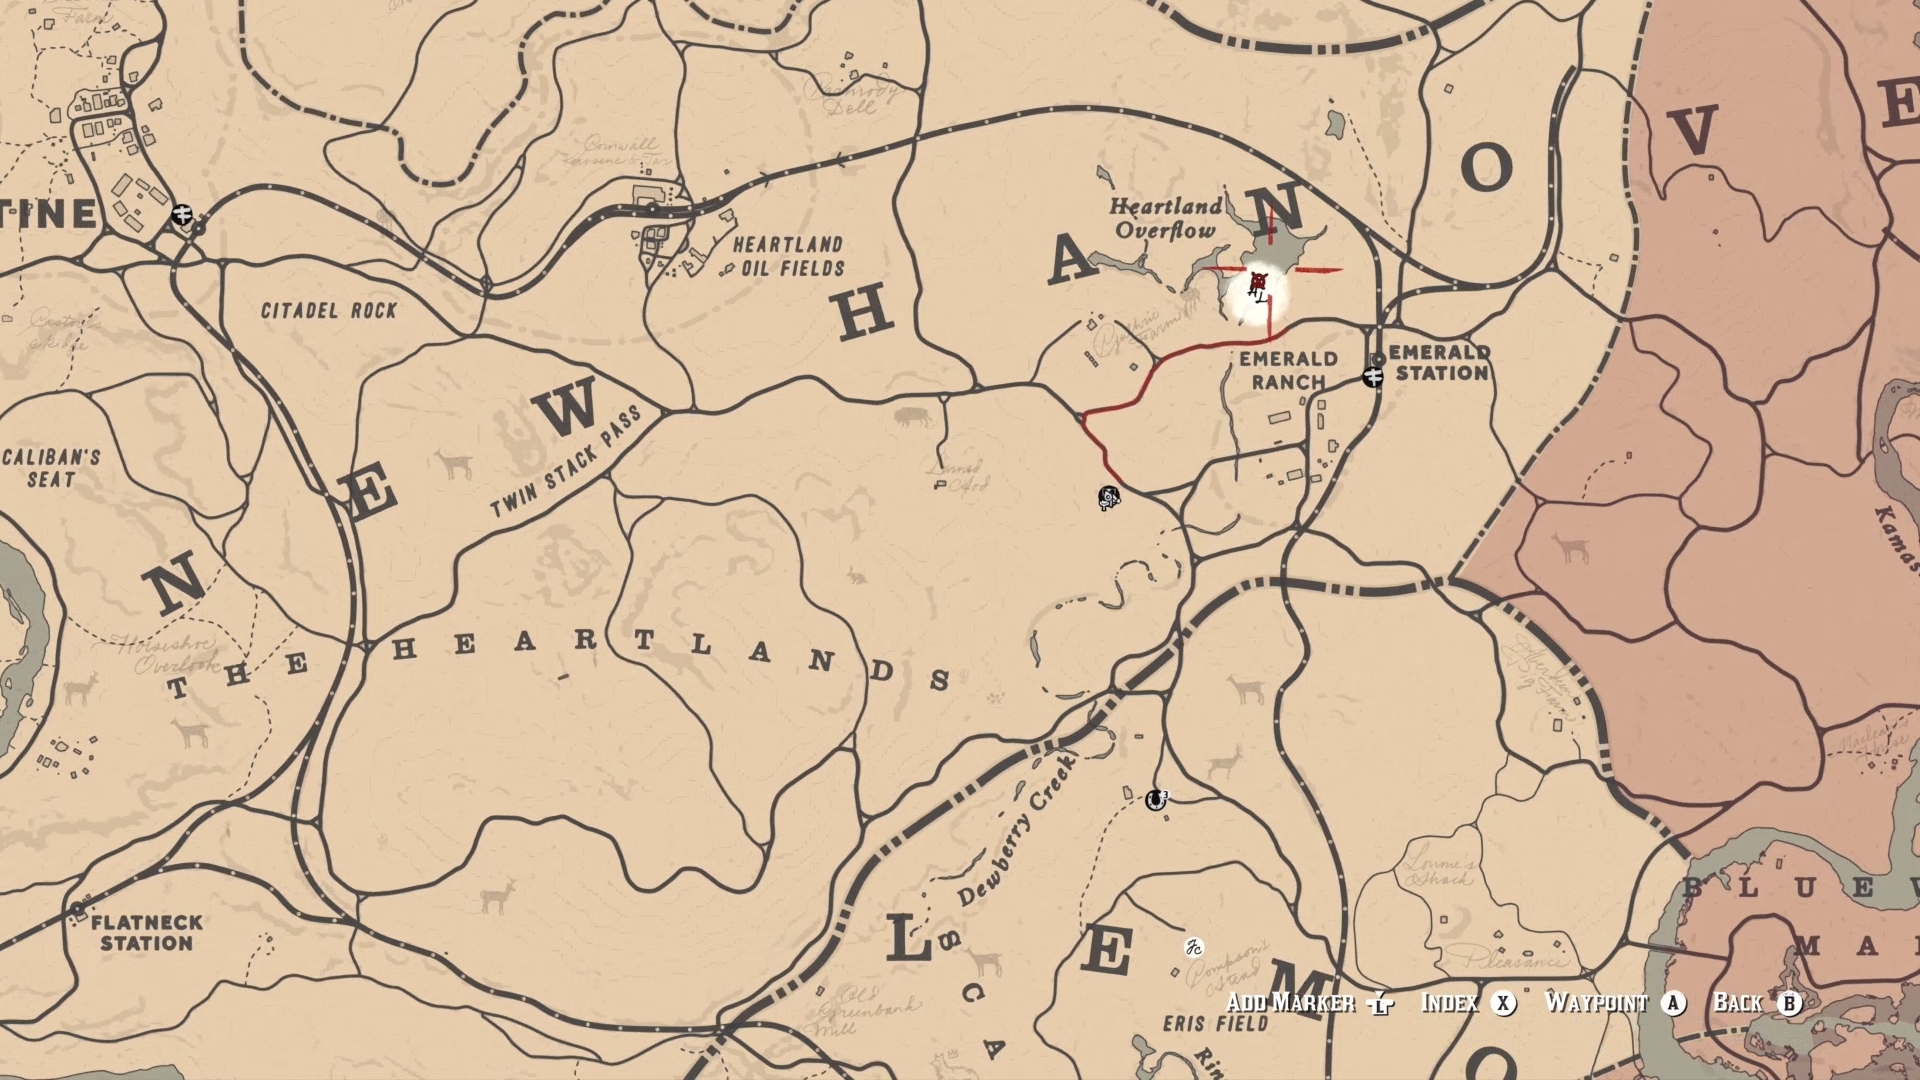
Sleep for another 48 hours, and you can find Mason in a valley just north of Emerald Ranch. After a quick chat, ride after the wild horses Albert asks you to herd.
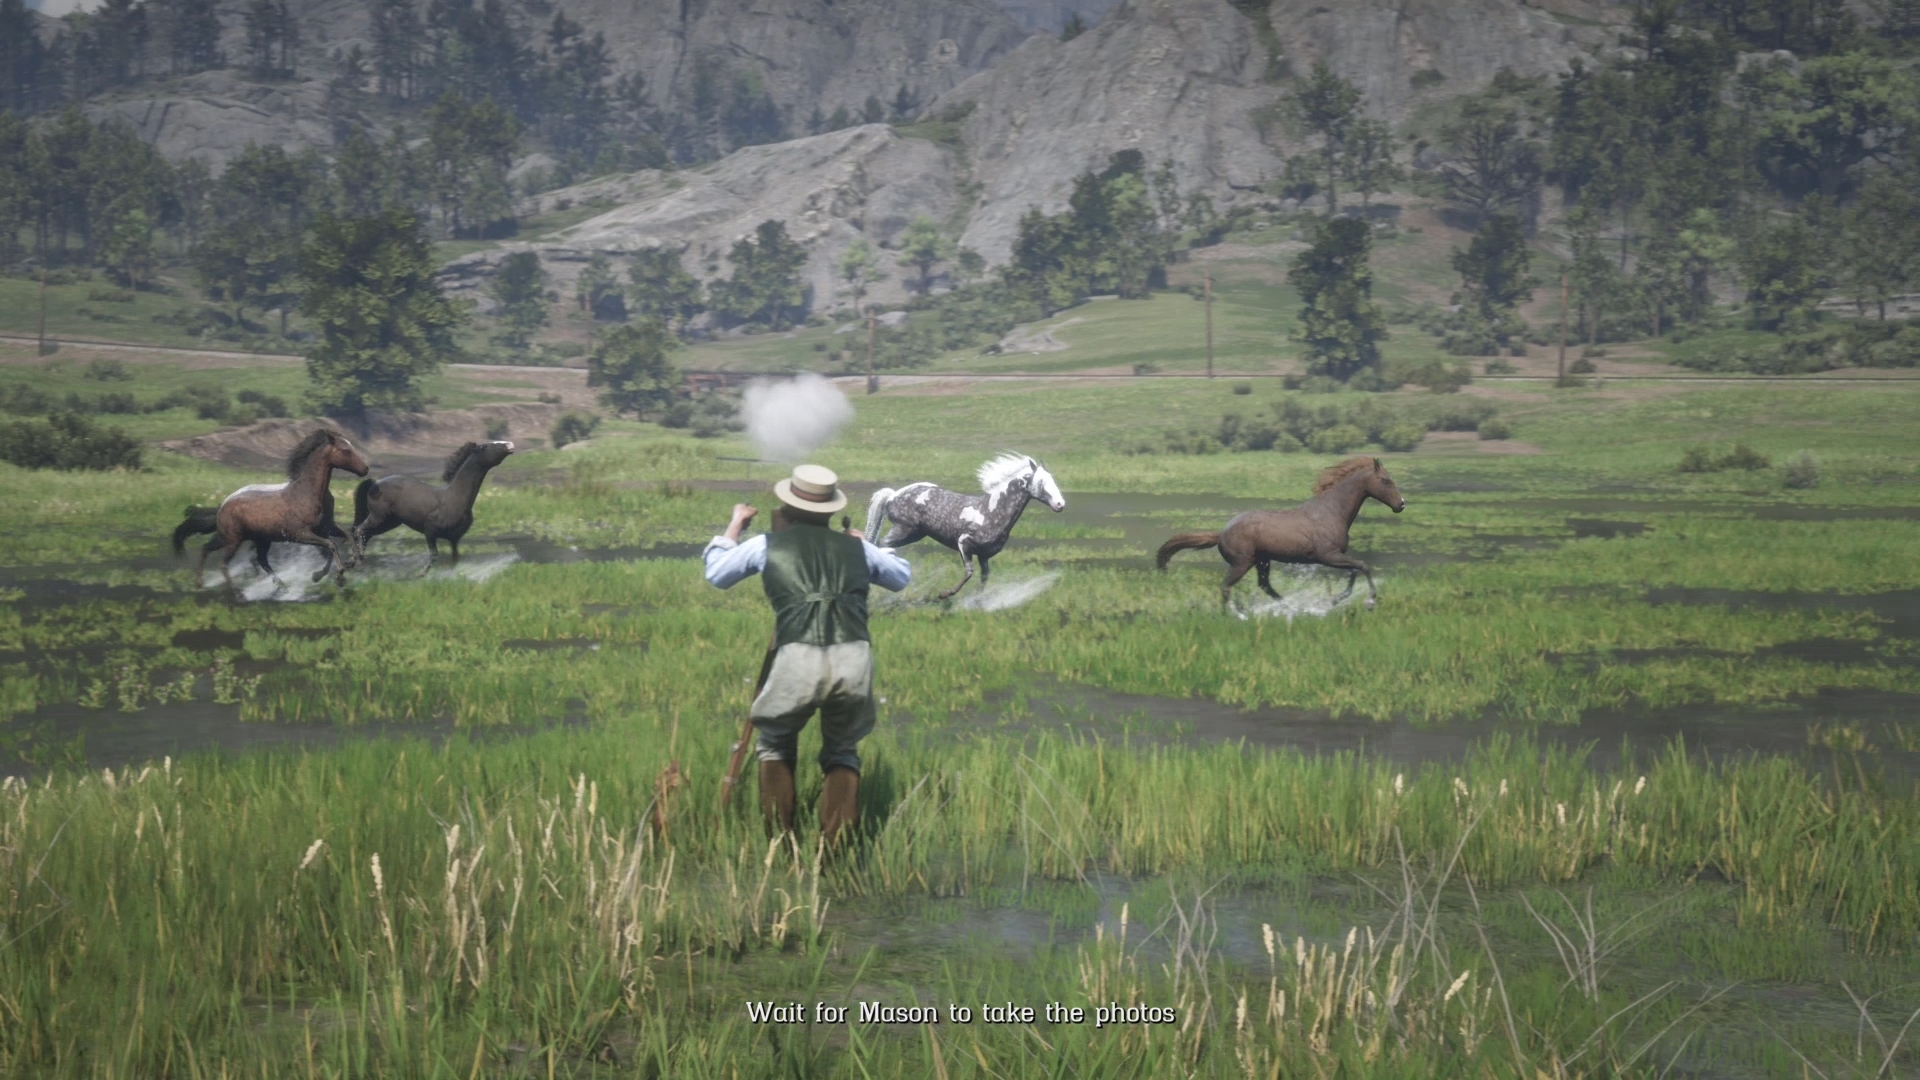
Once you catch up with them, direct the horses back to the photographer, whereby he takes some epic snaps of the galloping stallions.
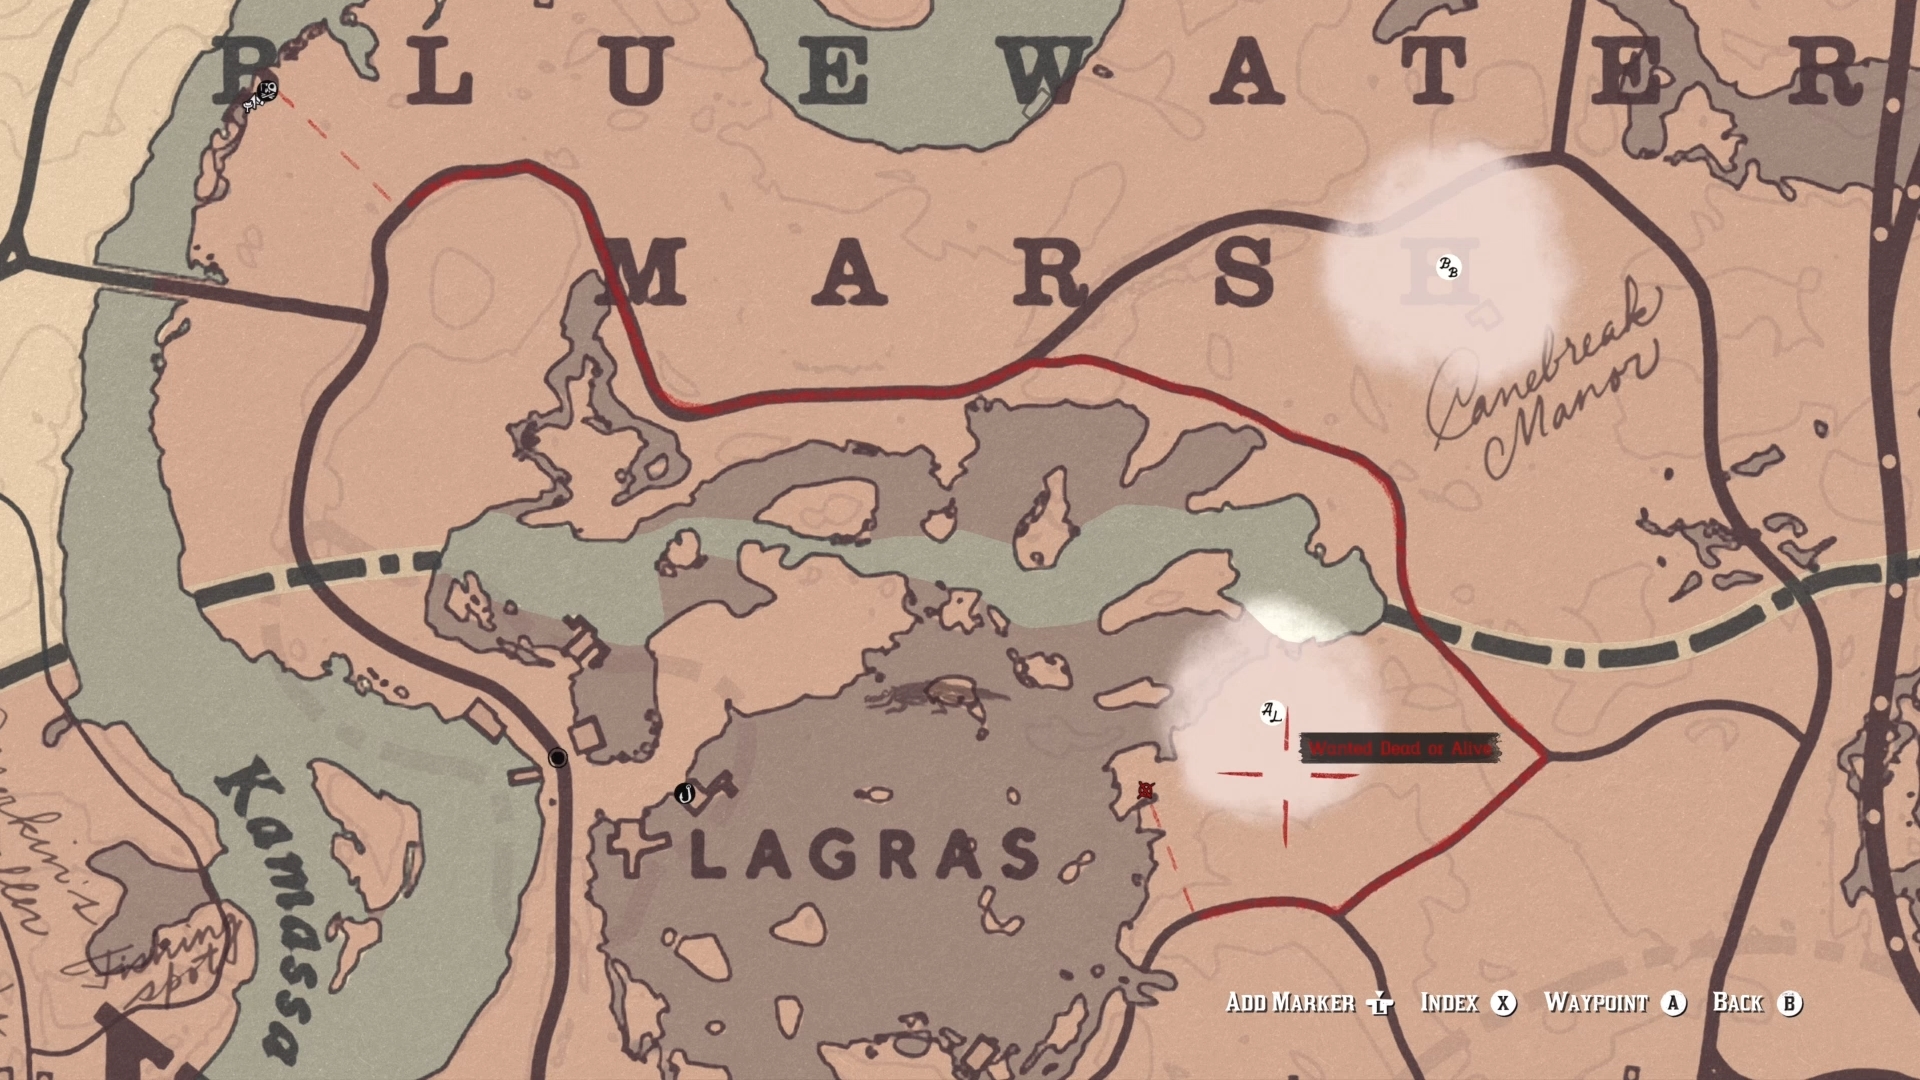
Once another couple of in-game days pass, you can find Mason in the swamps of Lagras, in the heart of Lemoyne's Bayou Nwa. This time, Albert wants to photo some gators, so get in the paddle boat and row to each of the three nearby markers.
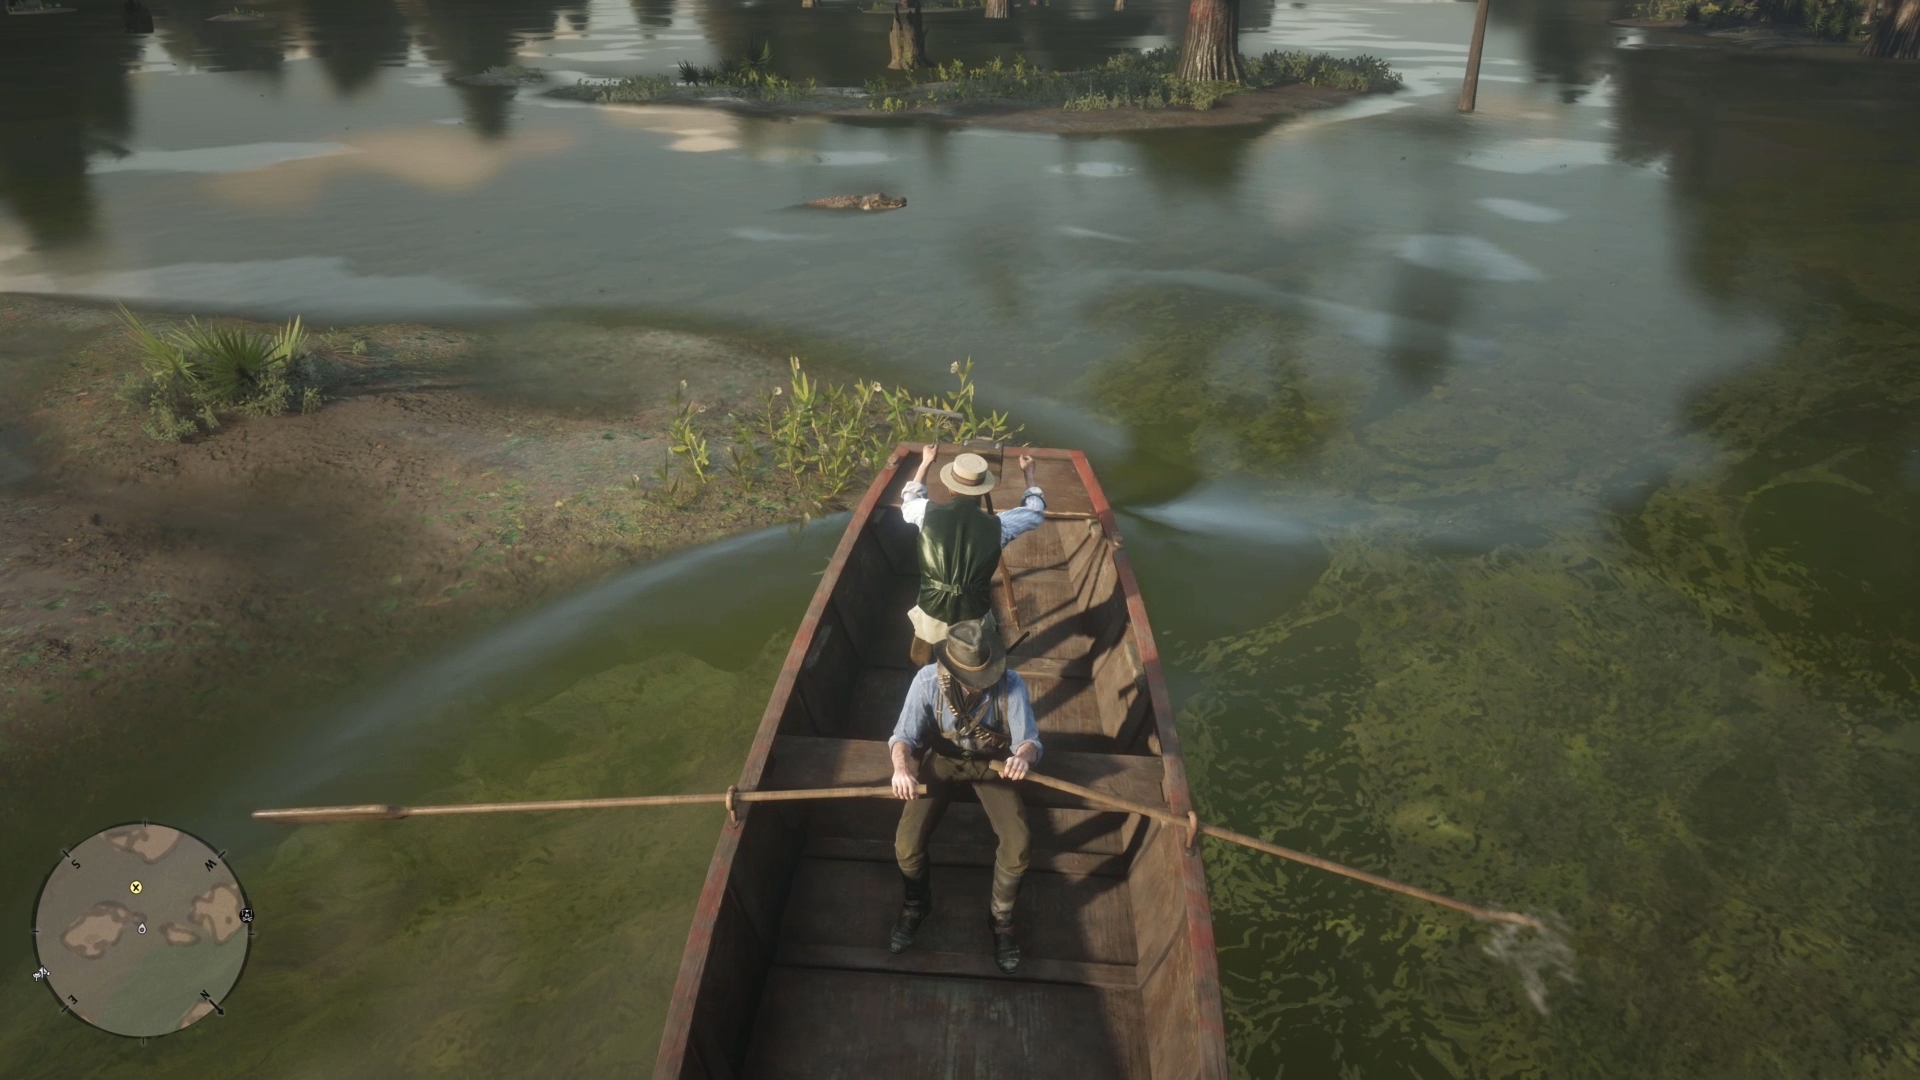
The only shot that may give you trouble is when Mason asks you to get out of the boat to lure an alligator into shot, so just make sure you run back to said boat asap as soon as the reptile starts charging. Row Albert back to shore to end the fourth act of the mission.
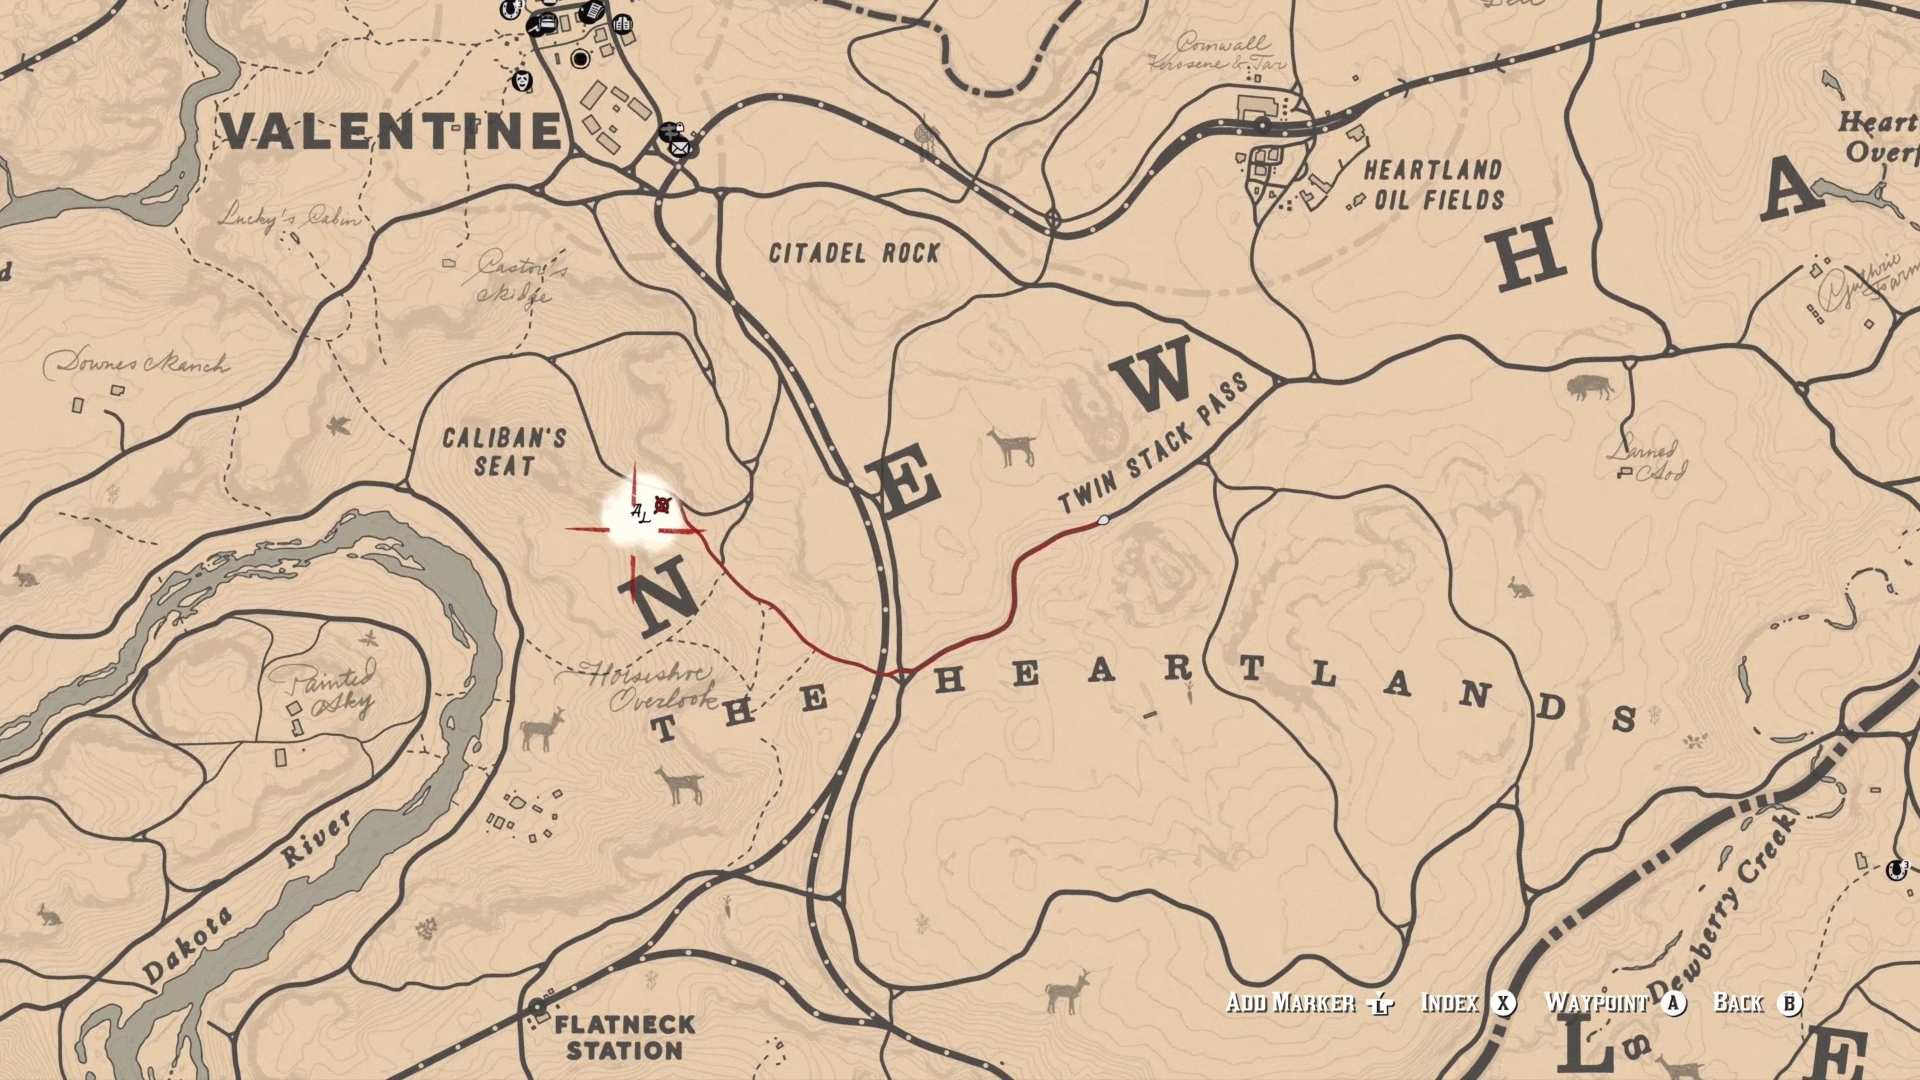
The final part of this quest pops up once you let another two days pass. Ride to Horseshoe Overlook in the east of the Heartlands to find Mason trying to capture a shot of nearby eagles… while standing precariously close to an extremely high ledge.
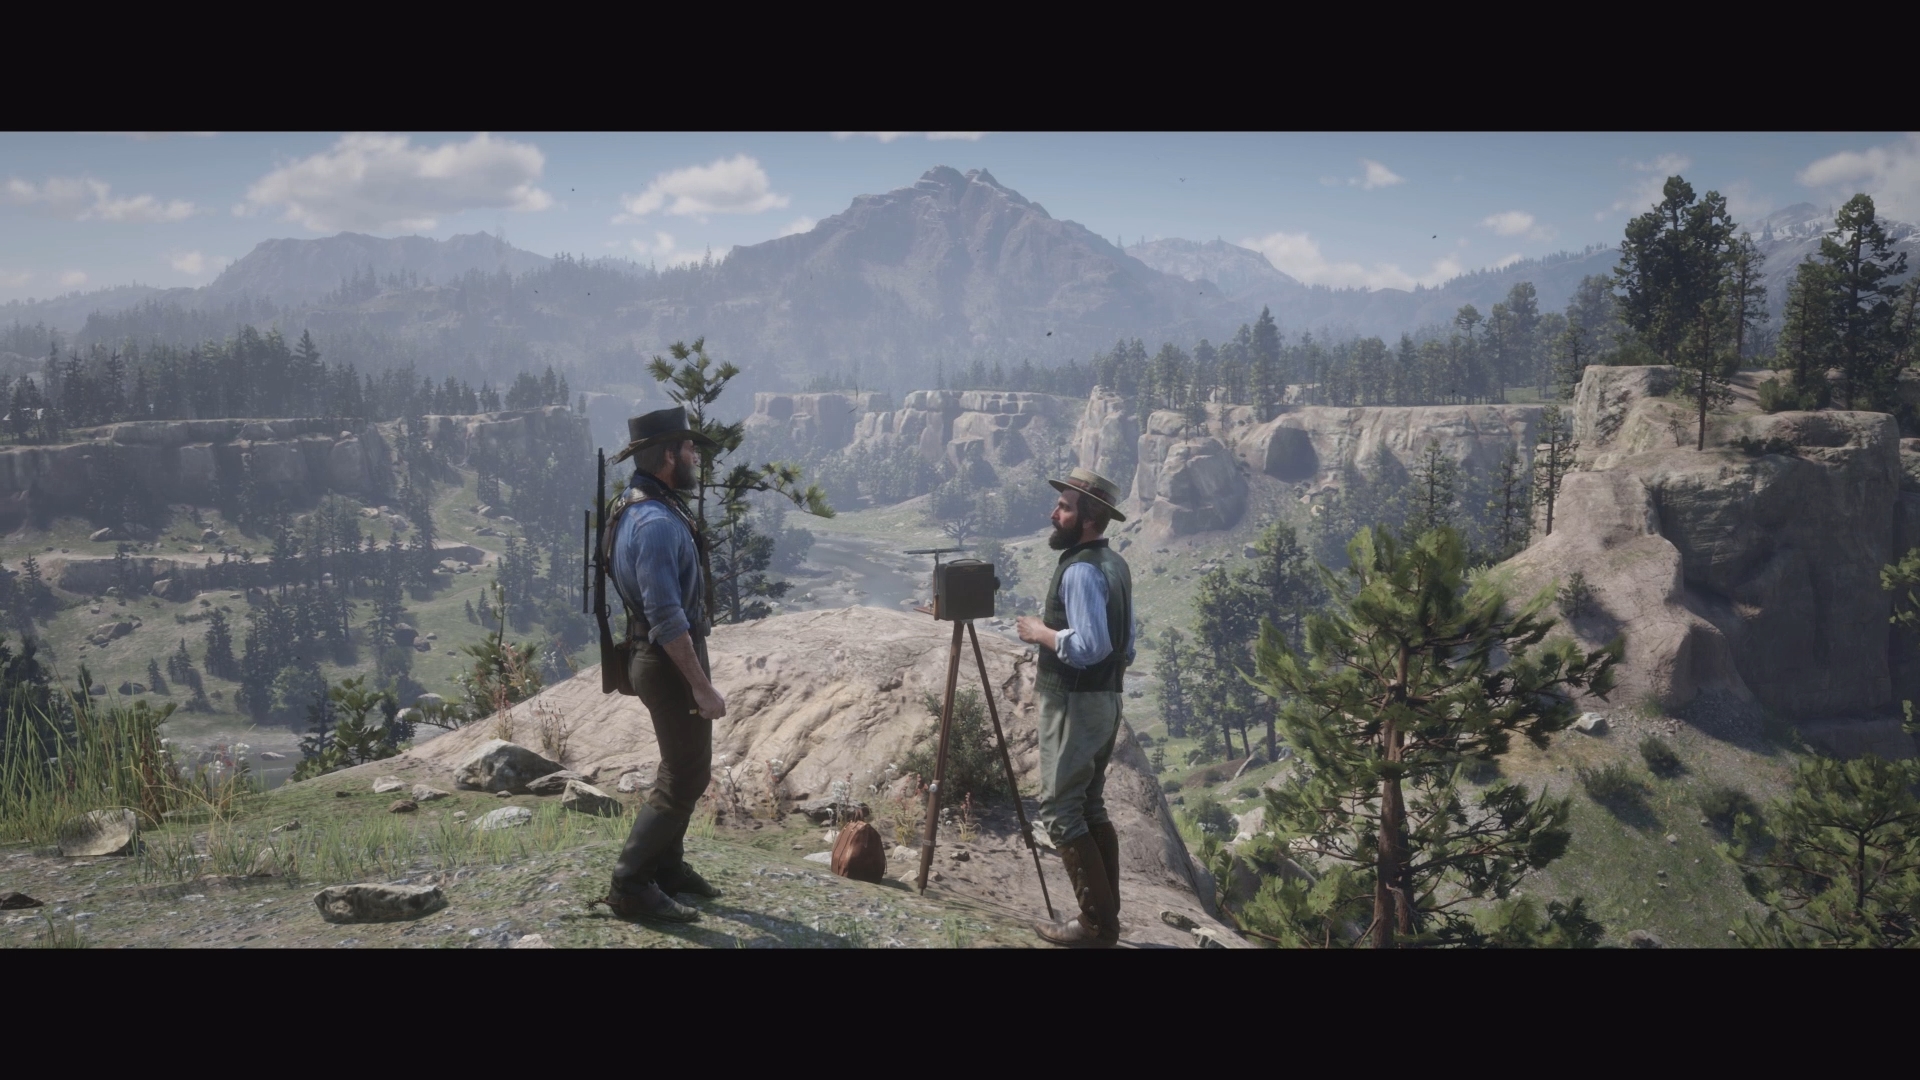
This last part is cutscene-only, so you can’t actually fail it. Just watch Arthur save Albert’s bacon, before the outlaw and photographer part ways for good.
1. A Bright Bouncing Boy
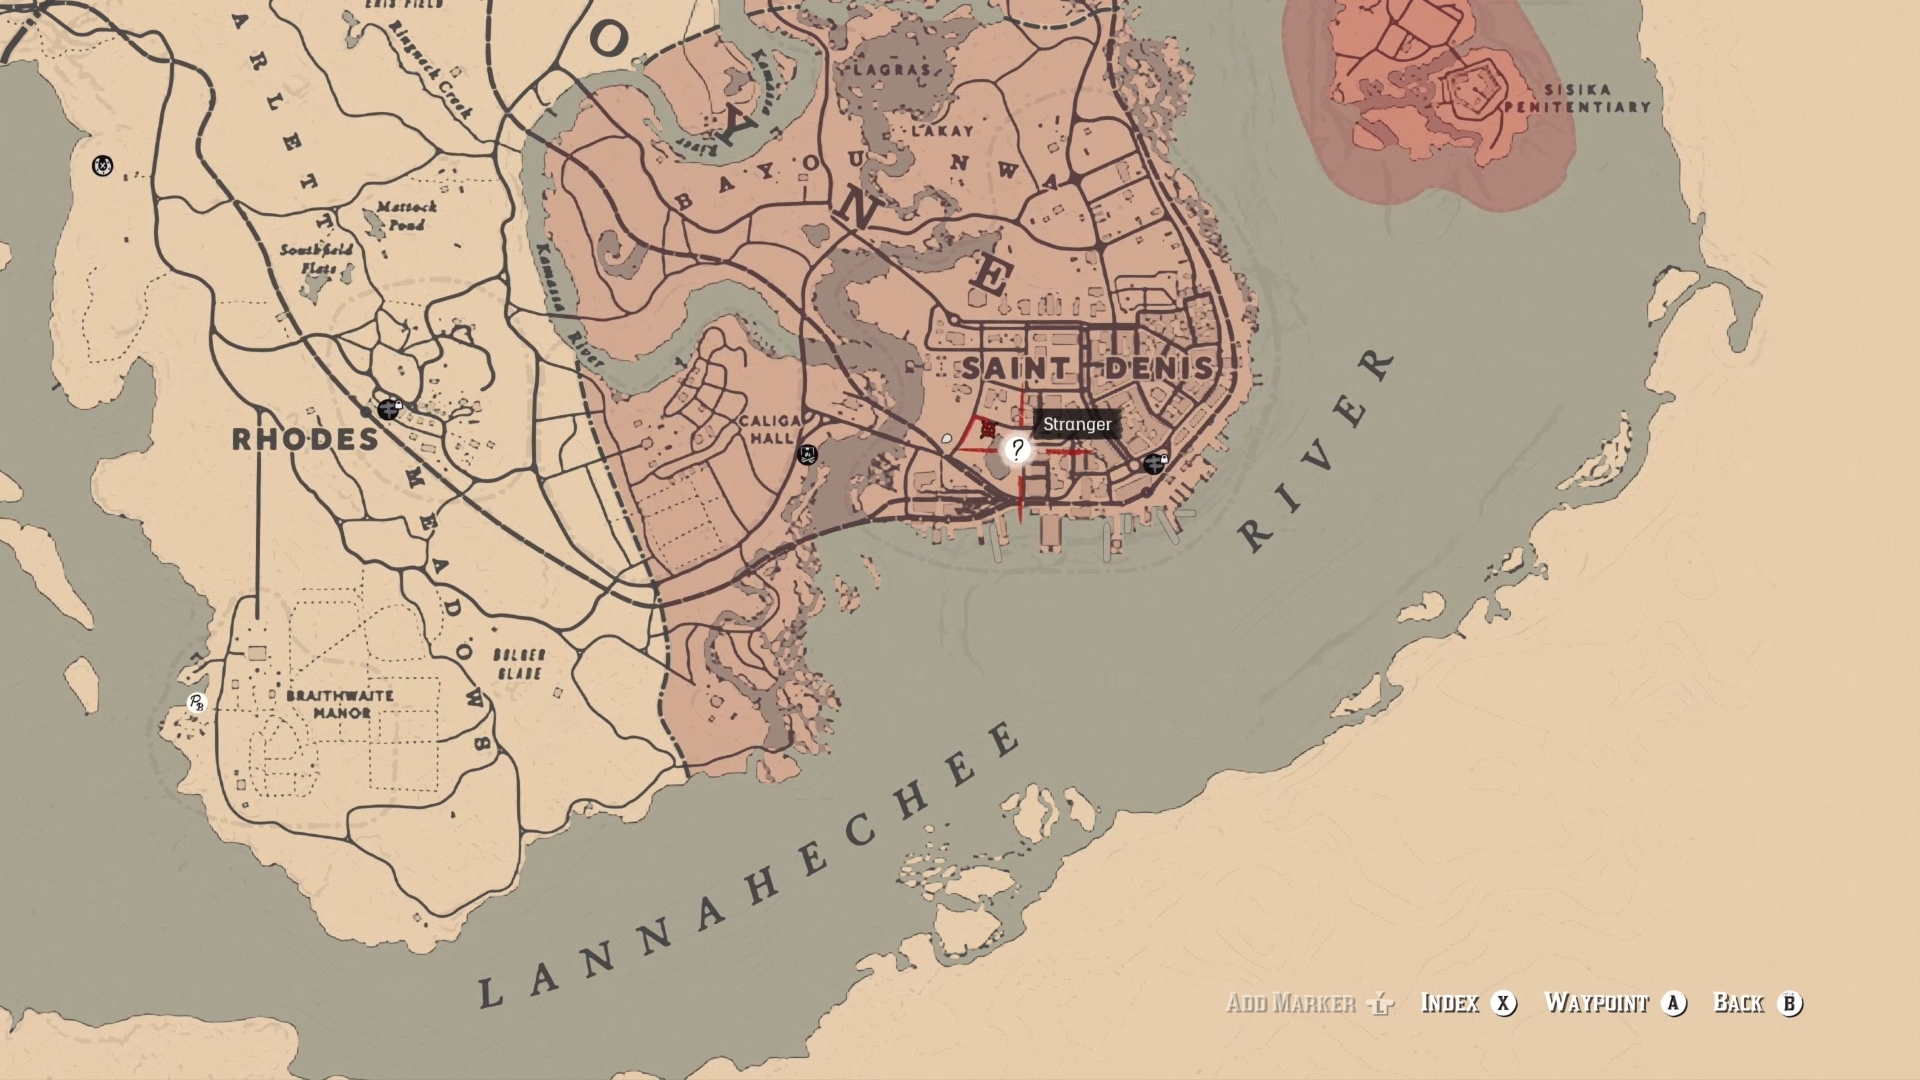
Probably the coolest, least expected Stranger quest in the game. Complete chapter four’s “The Joys of Civilisation” to access this madcap story of this inventor and the bionic boy he always wanted. First, travel to the park in the southwest of Saint Denis where you can find a Russian scientist by the name of Marko Dragic.
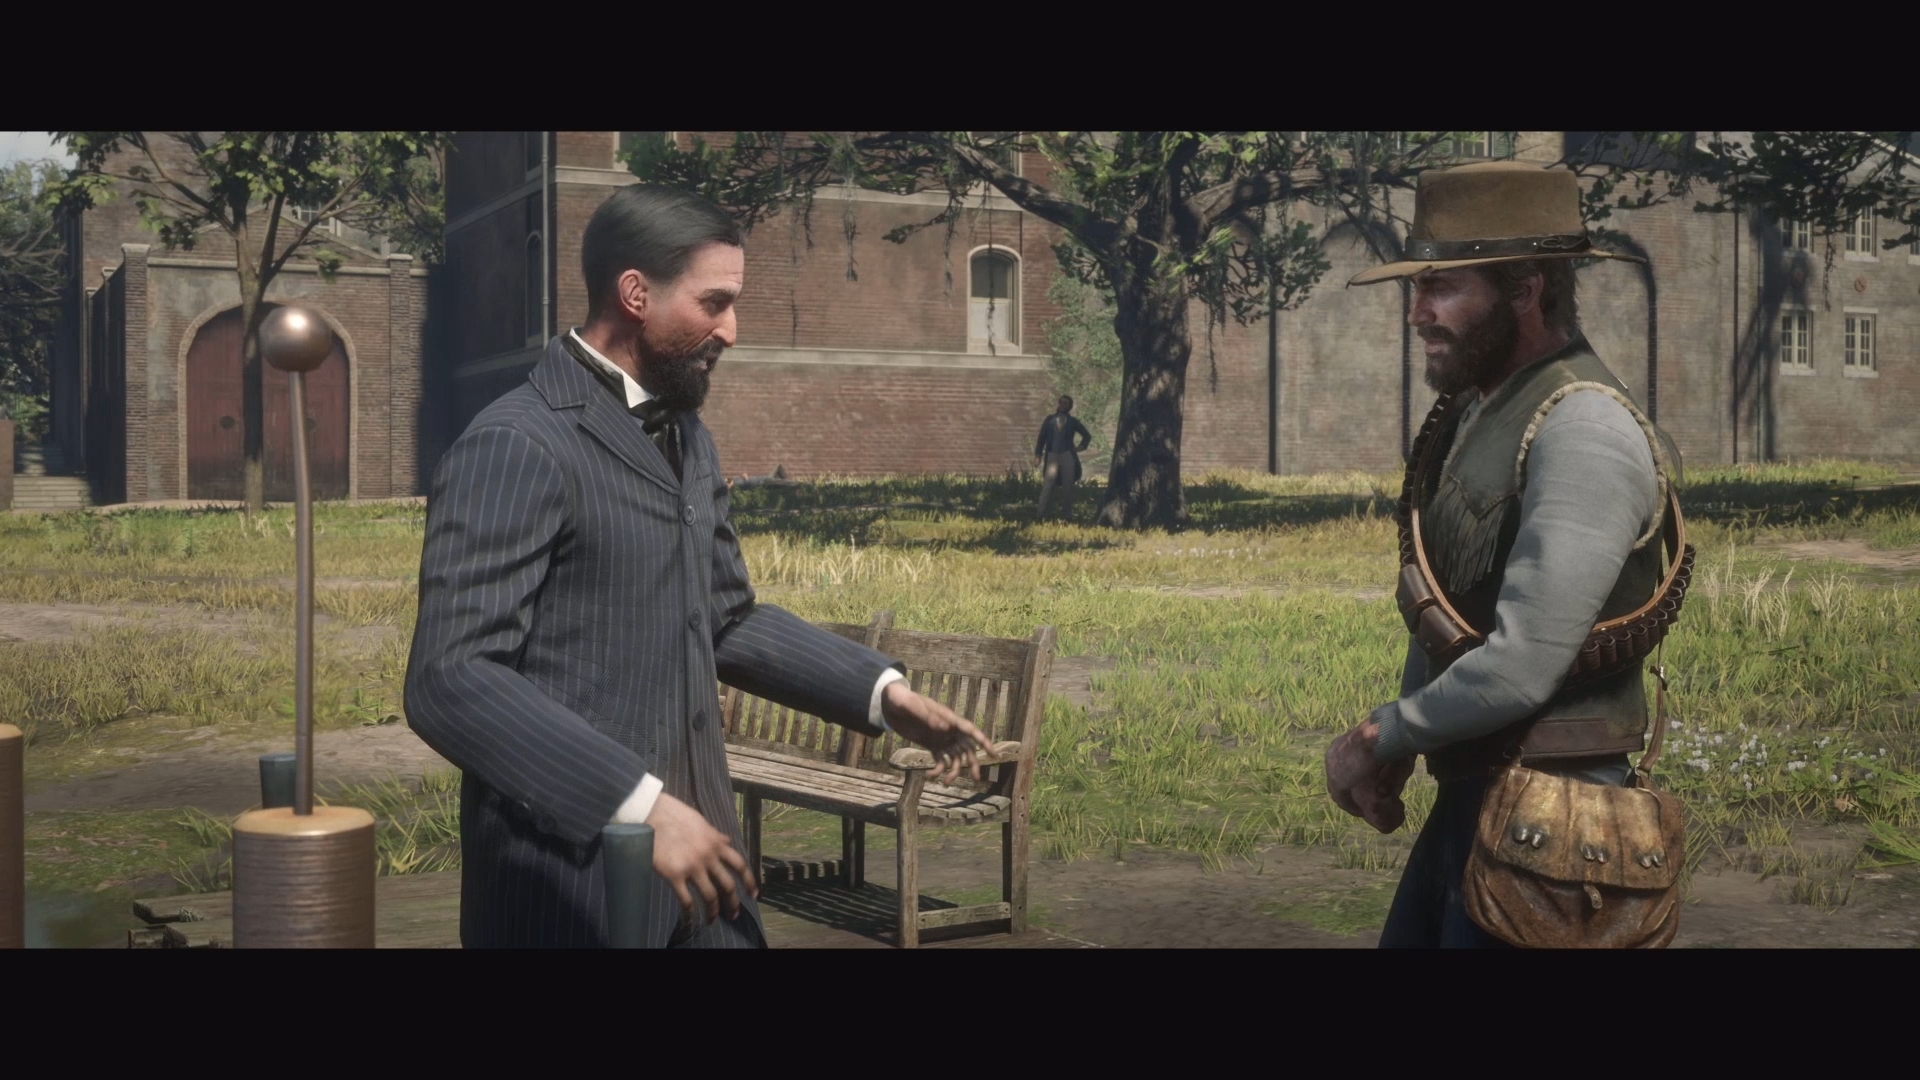
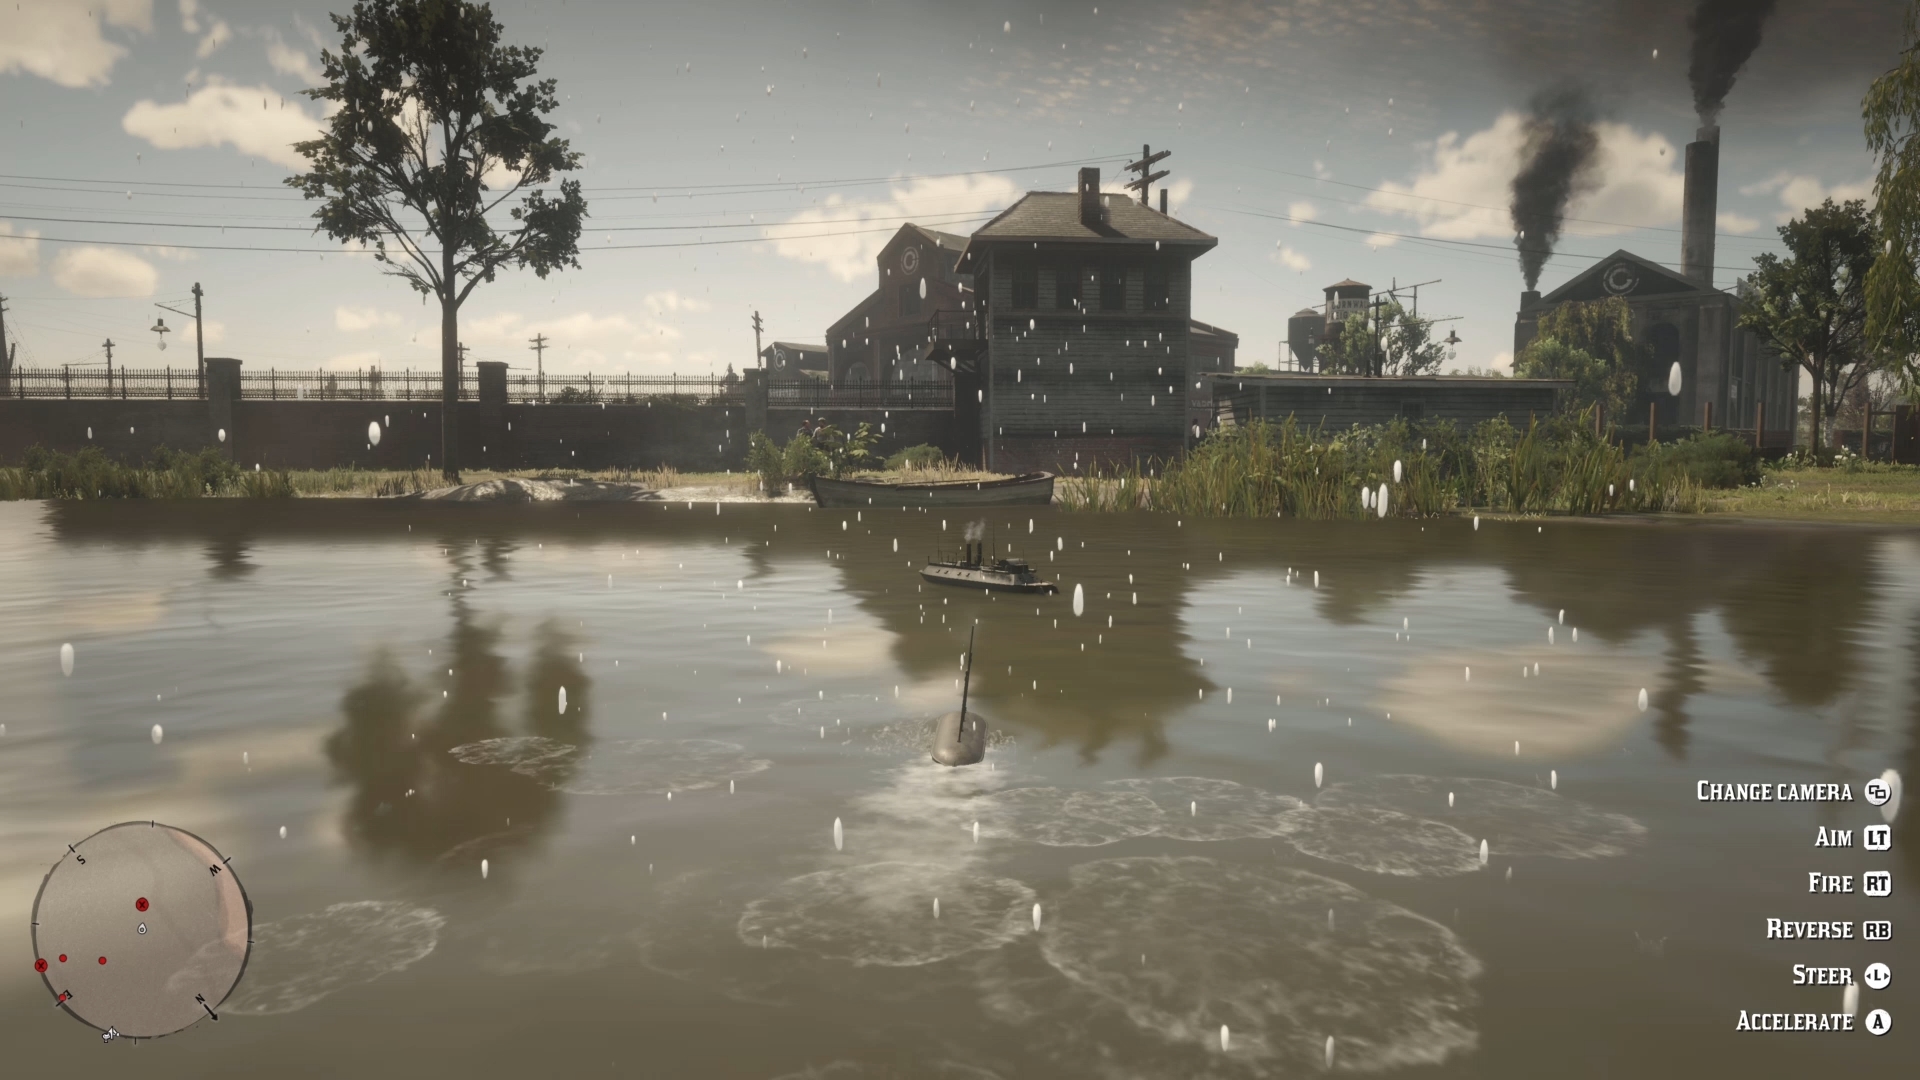
The initial part of this two act quest sees Arthur messing around with a toy boat, in what feels like a cute tip of the hat to Zero’s mini plane escapades in GTA: San Andreas. Blow up battleships while avoiding mines, then sink the subsequent three sail boats to complete this step.
Once 24 hours pass, travel to the northeast tip of the map. Here, a little north of Brandywine Drop, you can find Dragic’s stereotypical mad scientist lab.
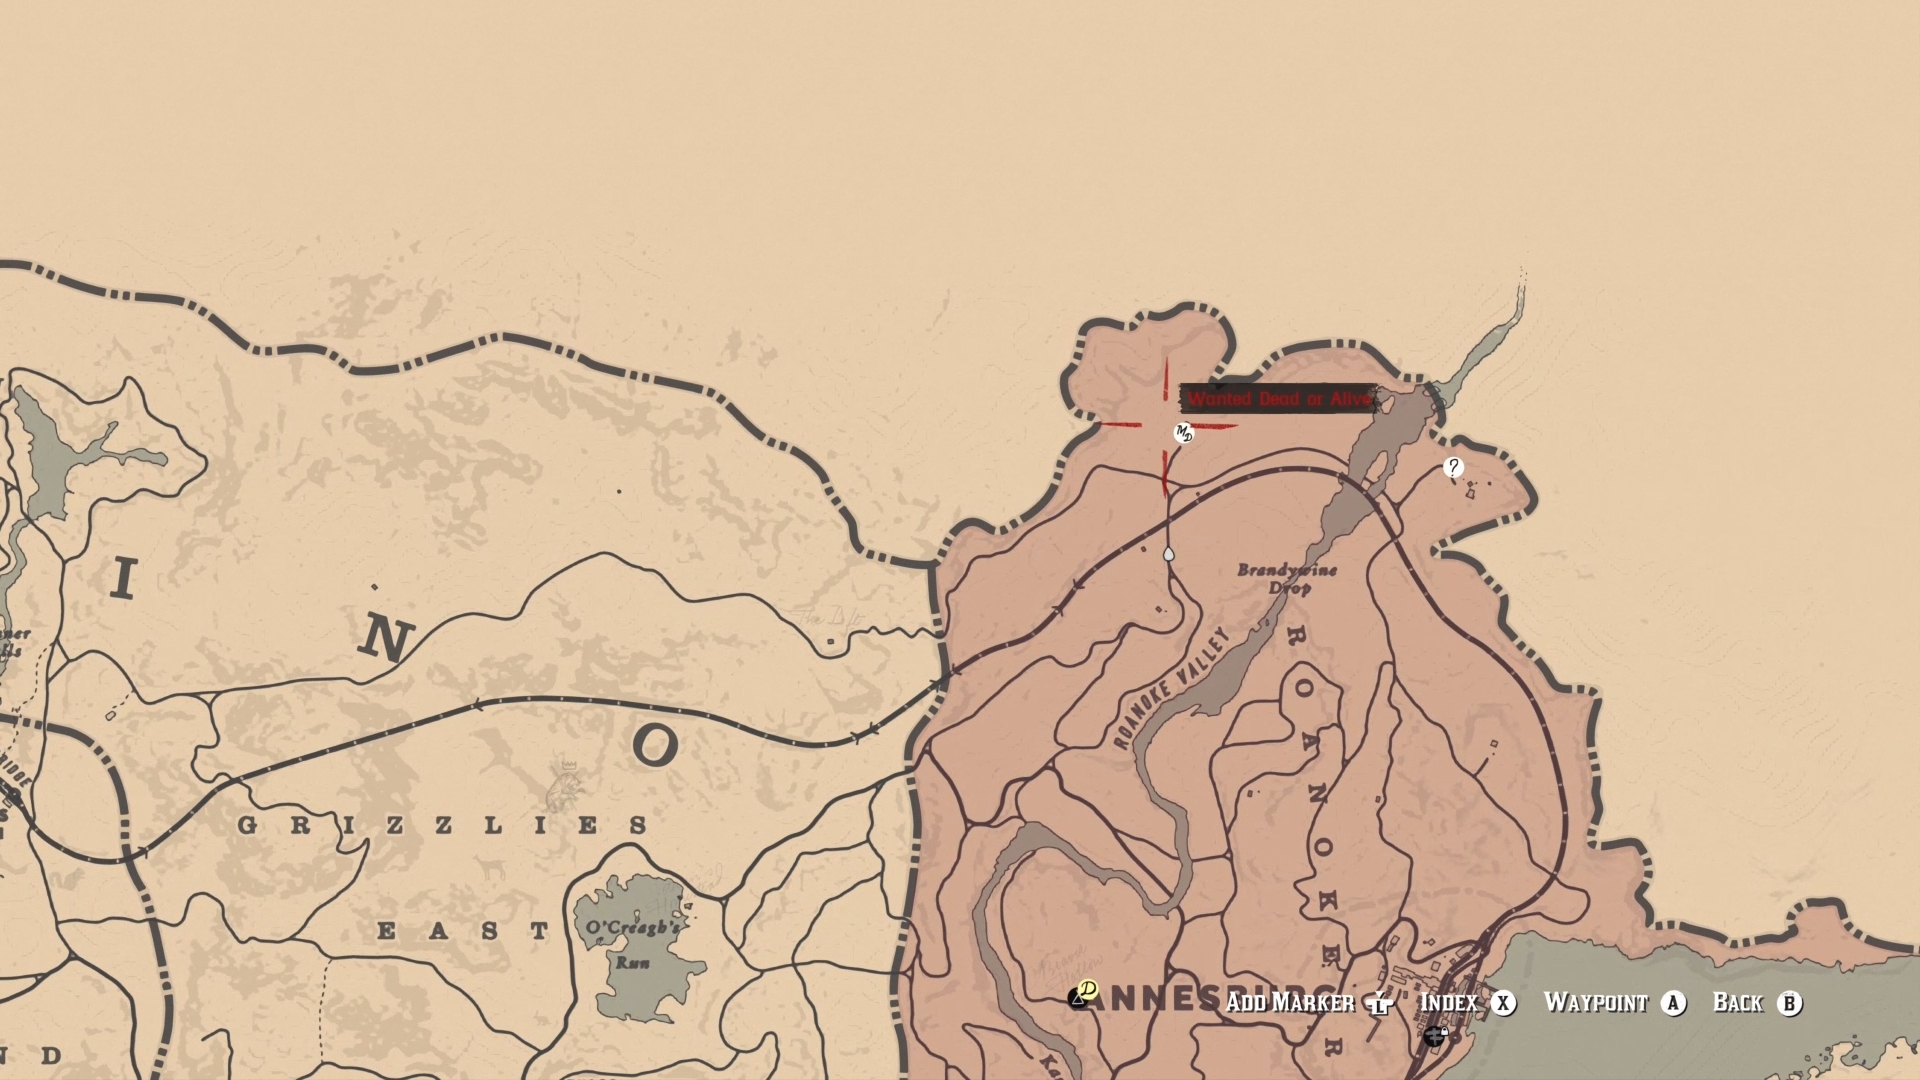
You’re best to visit this building at night, as you need an active thunderstorm to make the mission spawn. Providing the heavens have opened and lightning is crashing down, you can visit Dragic and all his Tesla-esque doodads.
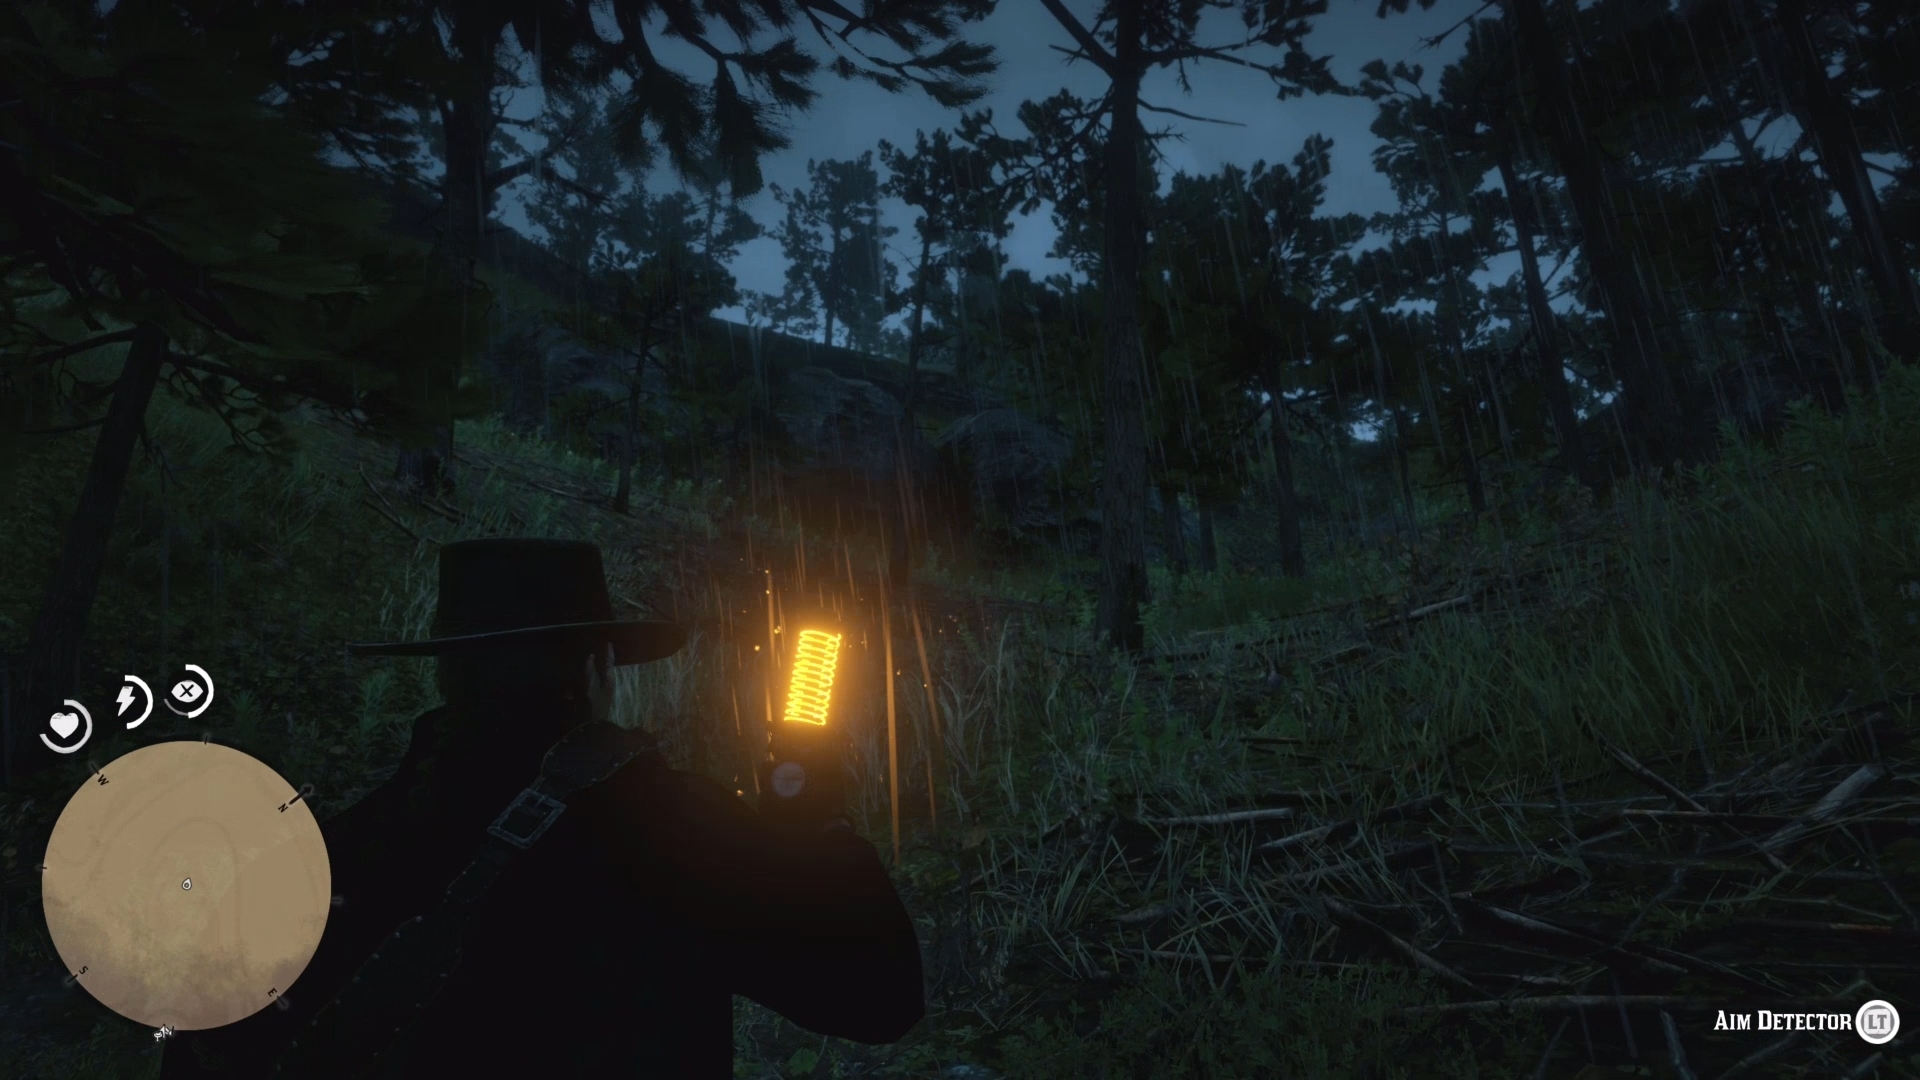
After you finish chatting, take the electric lamp Marko gives Arthur, then head out into the nearby hills, using the gizmo to direct you to three markers where you need to place conductors for the wild-eyed scientist’s mysterious experiment. Return to Dragic when the final conductor has been placed, then scale the nearby tower, whereby you must turn the three switches at the top until all three lights have powered on.
Go back to the lab a final time, and Marko’s big secret is revealed… that ‘Bright Bouncing Boy’ is actually a crude Frankenstein-esque robot. Not what you were expecting from a Wild West open-world, right?
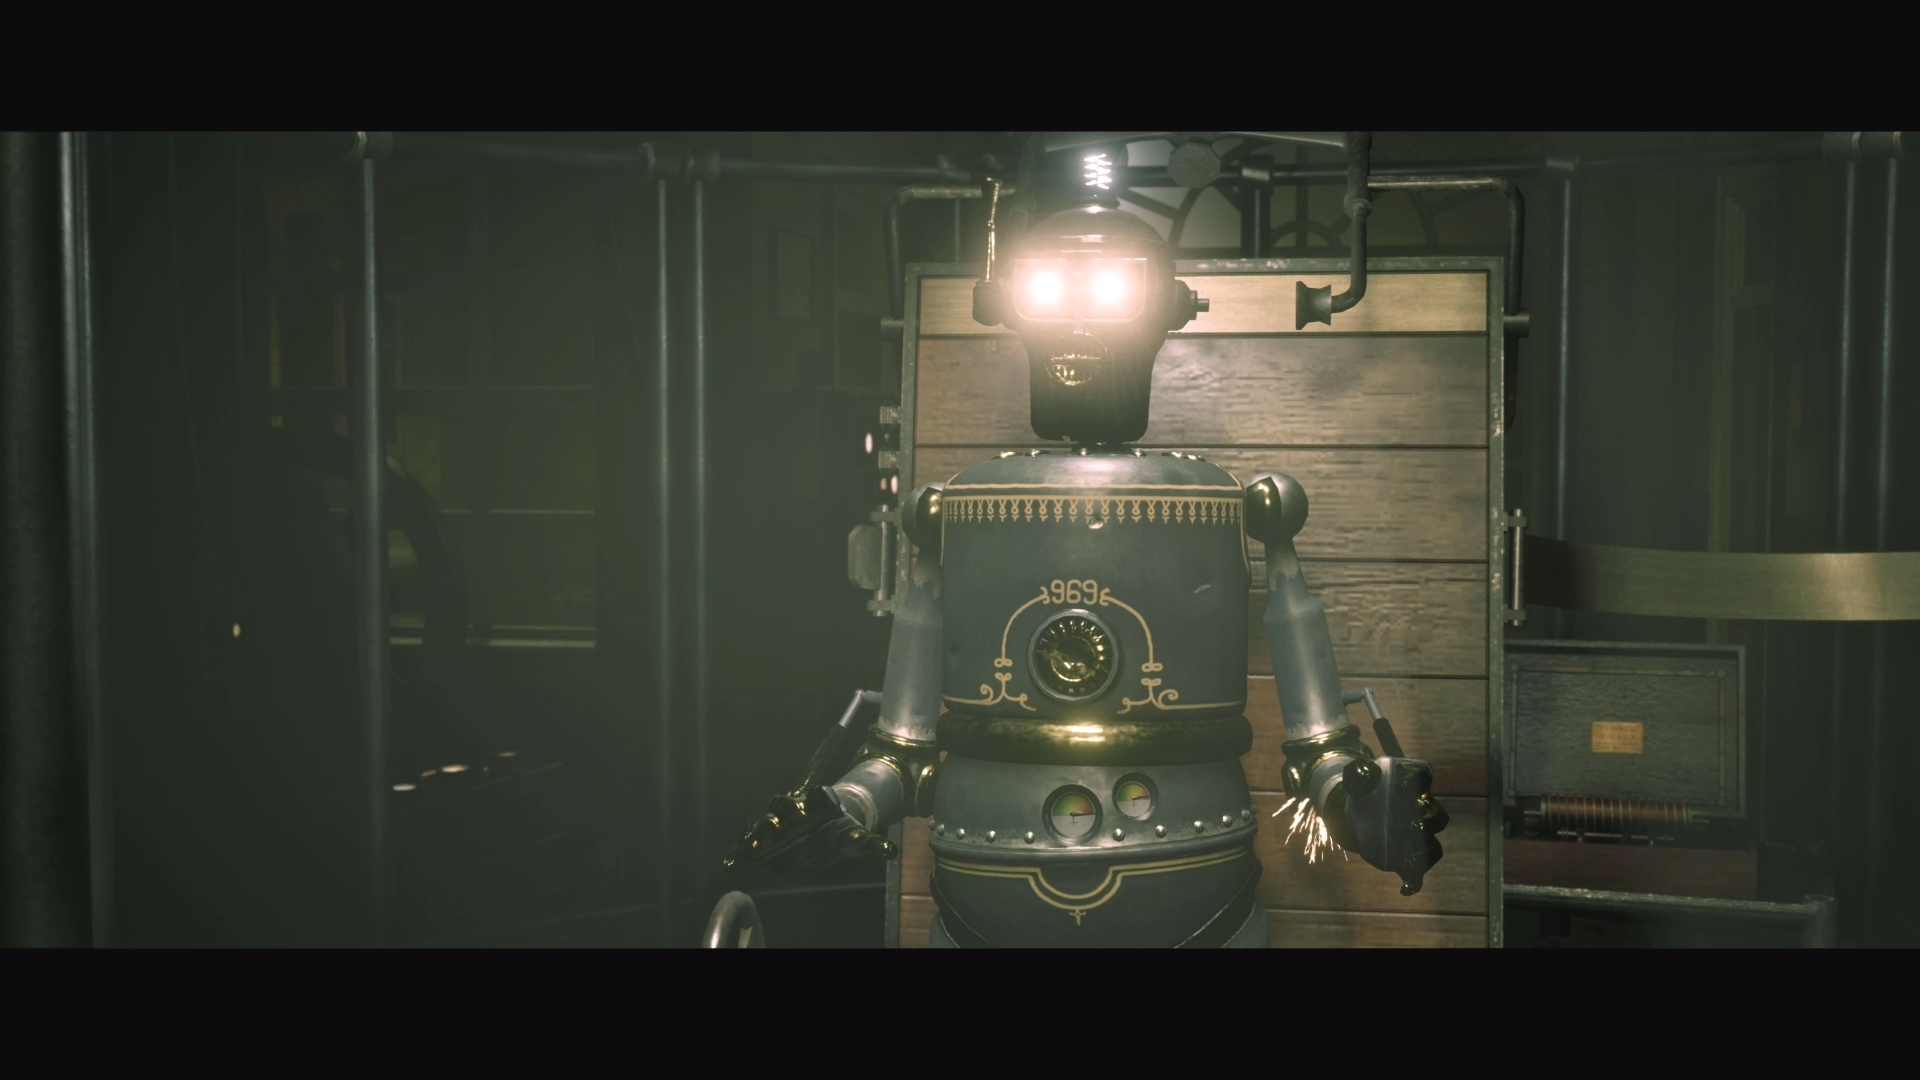
Revisit the lab a short while later, and Arthur discovers the bot has run off, but not before killing its ‘daddy’. Retrieve the electric lamp from Dragic’s corpse to set up one final Easter egg. With the lamp in your possession, travel all the way back to the mountains in the northwest of the map, where the game’s opening act takes place.
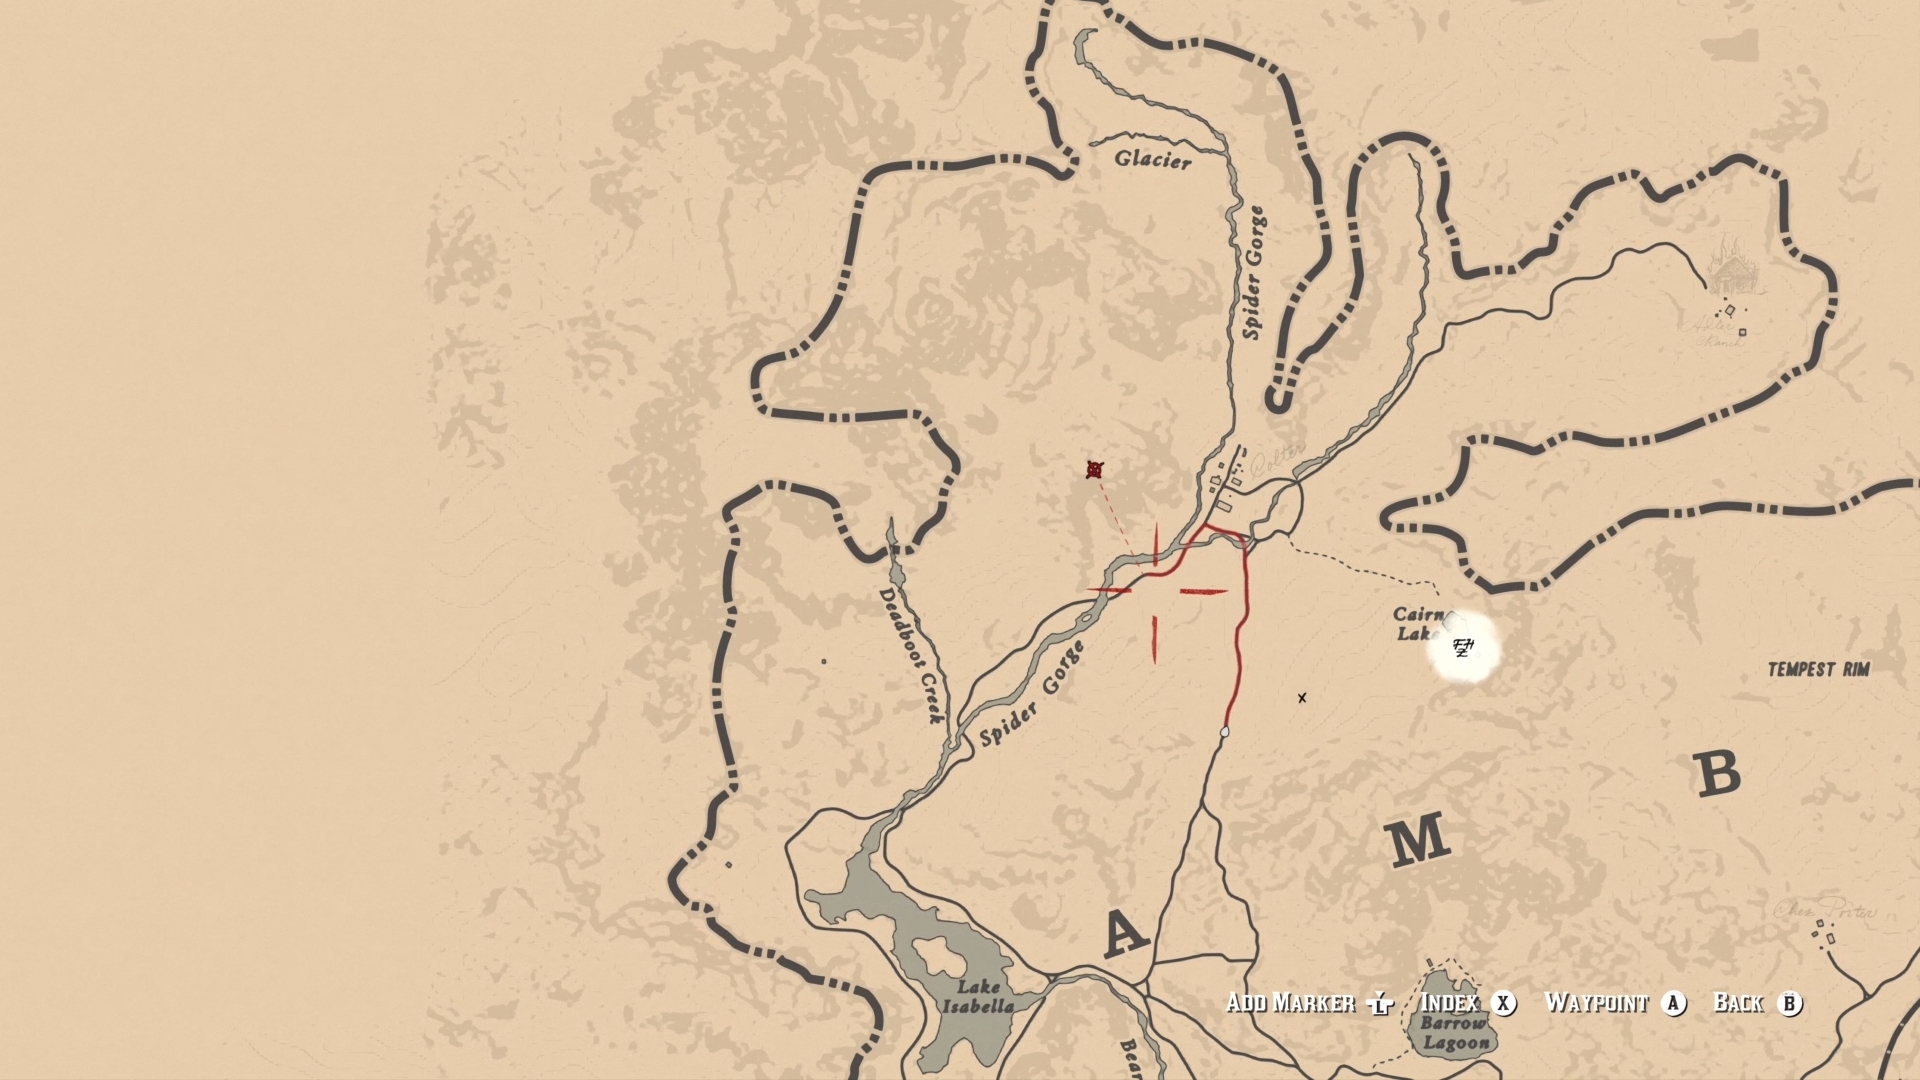
Reach the small mining outpost of Colter, then head into the nearby hills, using the frenzied bleeps of the lamp to steer you towards a figure at the top of the nearby mountain.
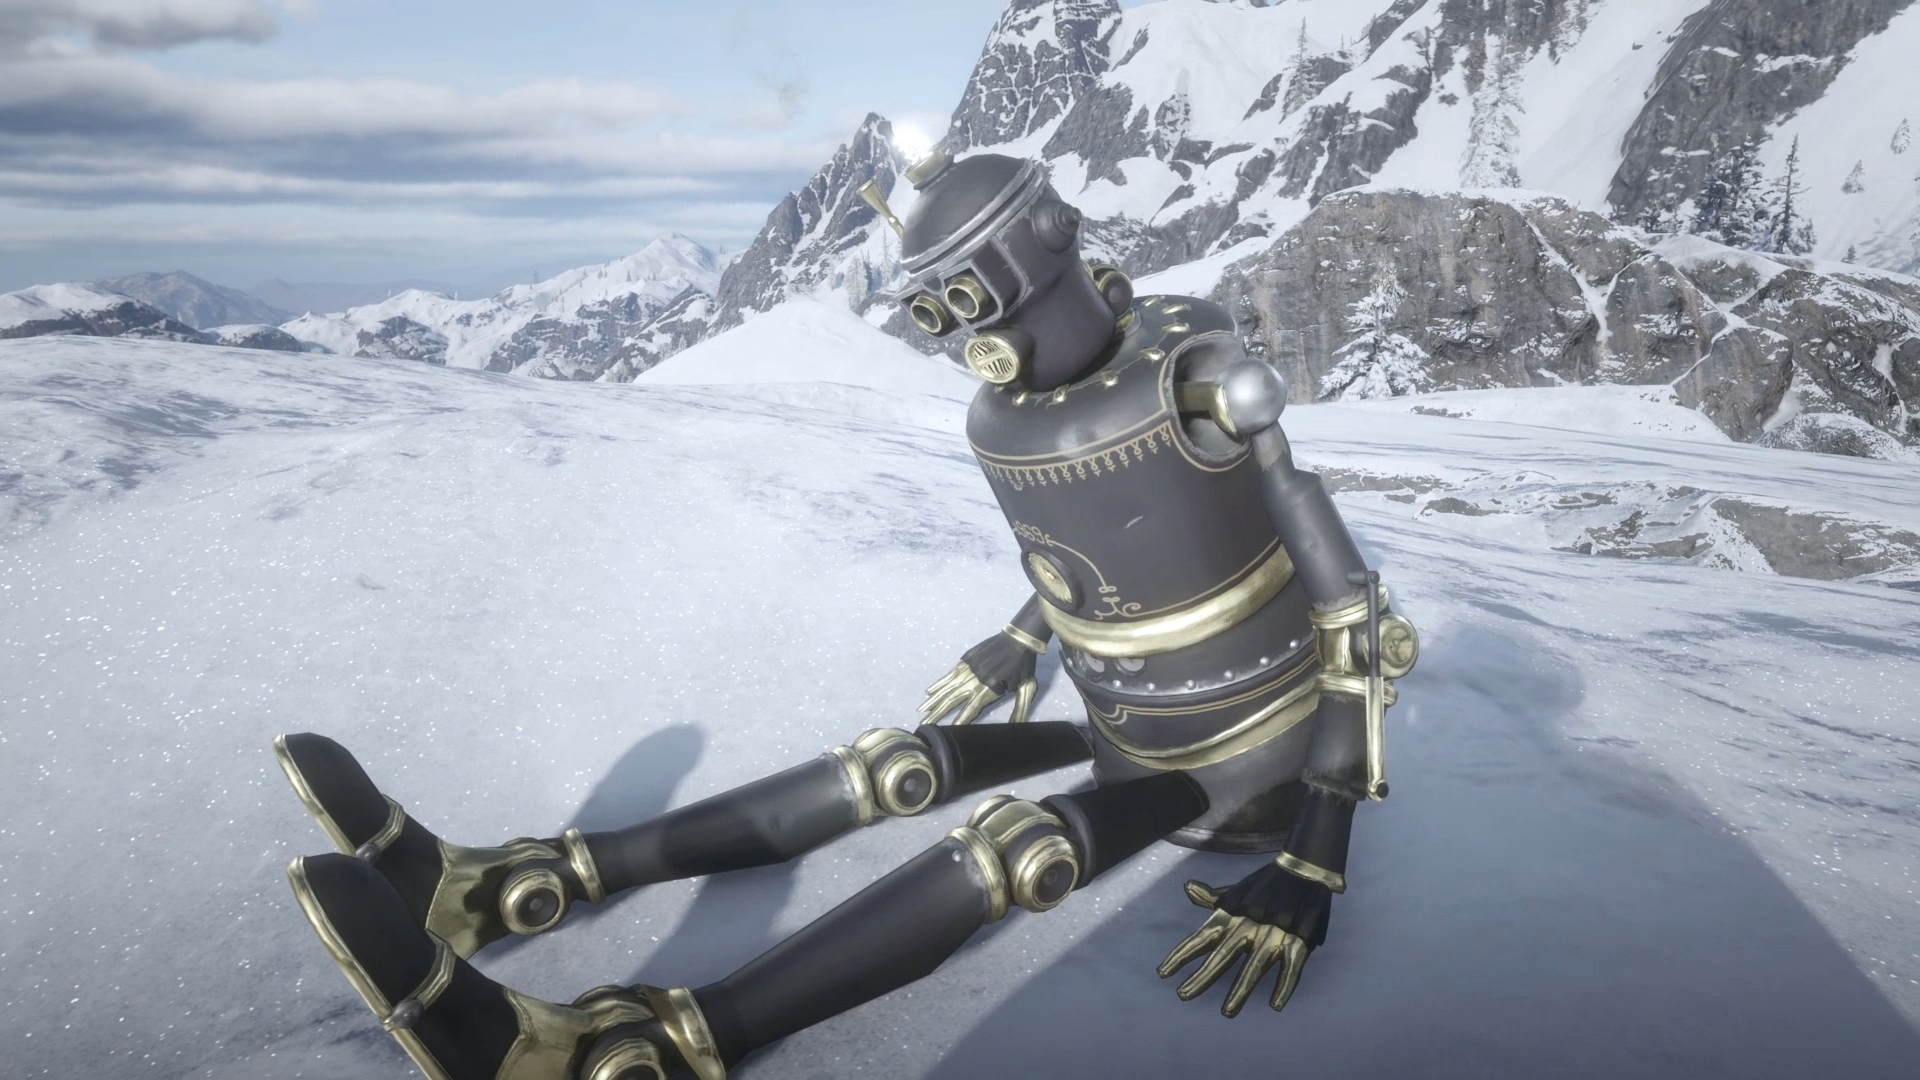
Follow the lamp’s ticks and you should find Marko’s bionic boy sitting on the highest peak; a short circuit seemingly frying the robot as it mournfully cries out for its “papa”. Hold us.
Red Dead Redemption 2 tips | Red Dead Redemption 2 cheats | Make money fast in Red Dead Redemption 2 | Best Red Dead Redemption 2 weapons | Red Dead Redemption 2 best horse | Red Dead Redemption 2 Legendary Animals | Red Dead Redemption 2 Legendary Fish | Red Dead Redemption 2 treasure maps | Red Dead Redemption 2 100% completion | Red Dead Online guide

David has worked for Future under many guises, including for GamesRadar+ and the Official Xbox Magazine. He is currently the Google Stories Editor for GamesRadar and PC Gamer, which sees him making daily video Stories content for both websites. David also regularly writes features, guides, and reviews for both brands too.

 Join The Community


