How to solve the Prince of Persia The Lost Crown Time Loop puzzle
How to solve the Temple of Knowledge puzzle where you make copies of yourself beyond the gold doors
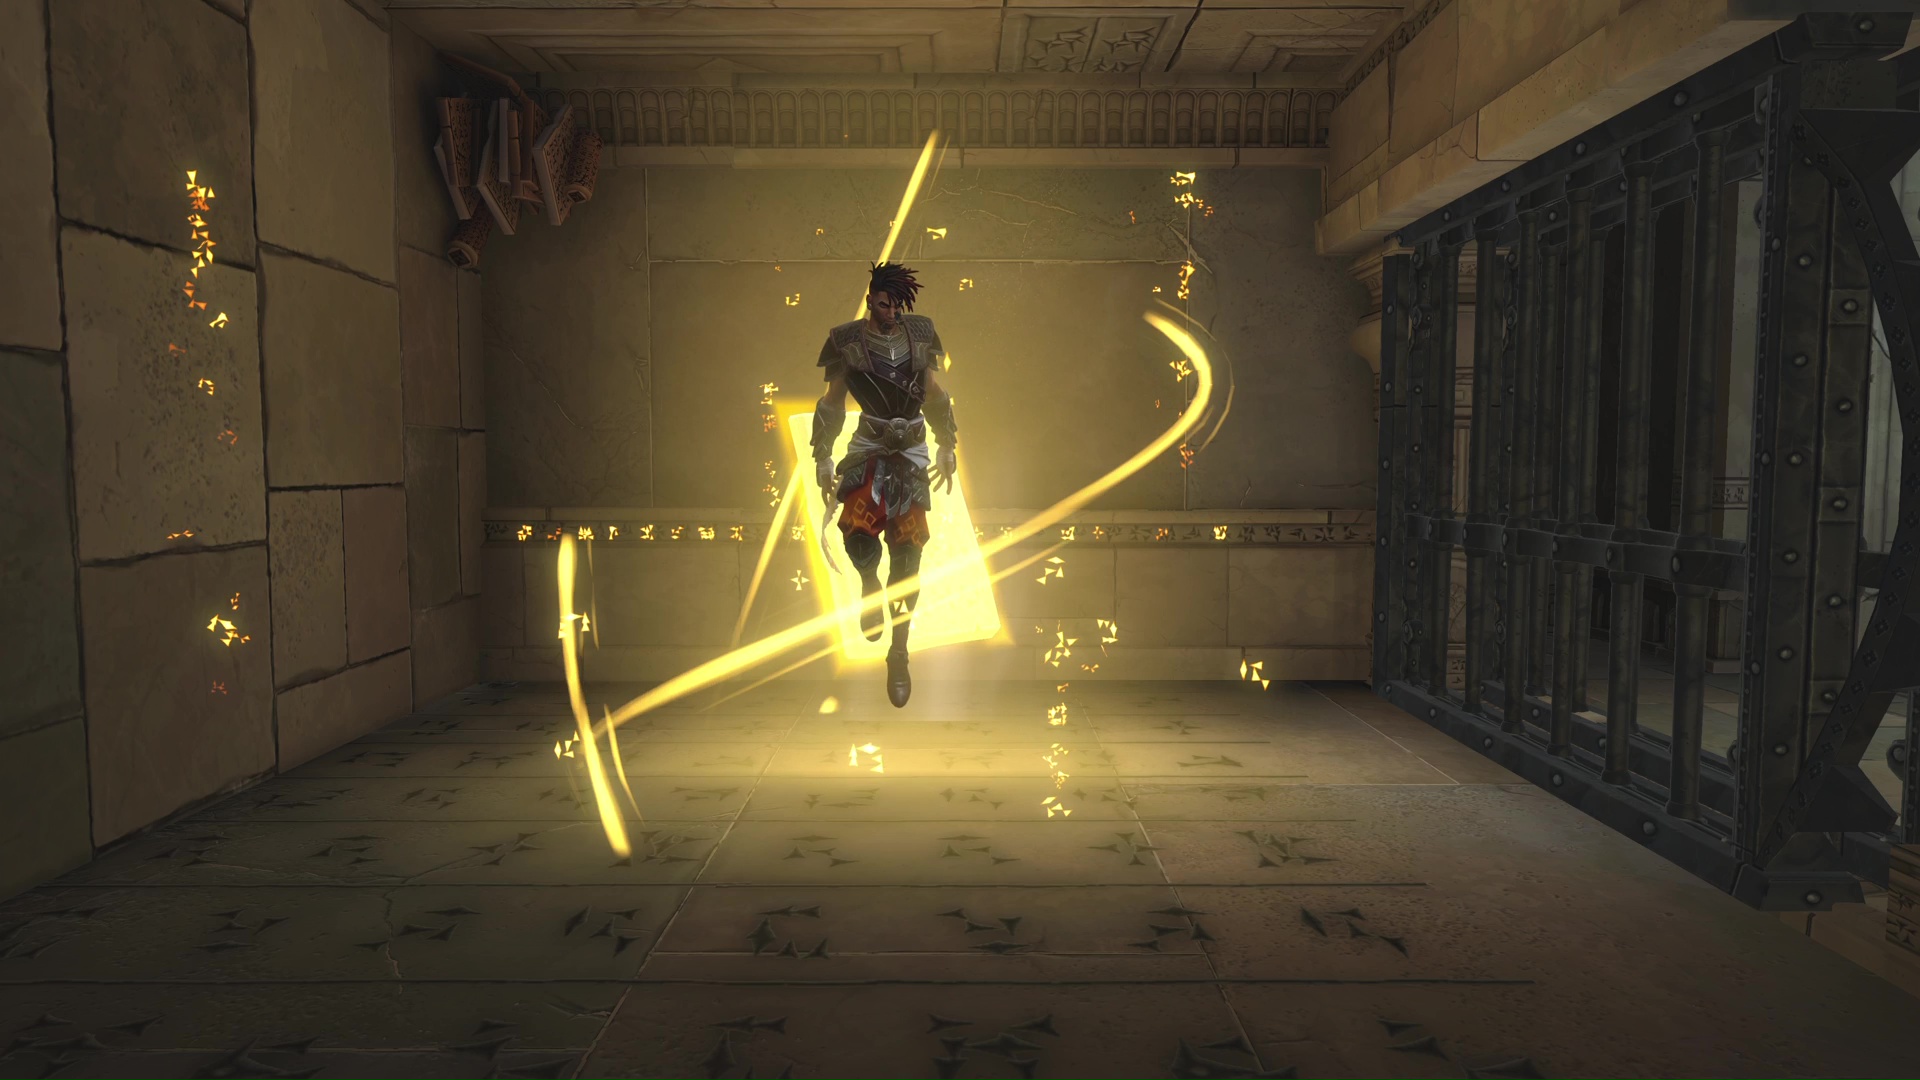
The Prince of Persia The Lost Crown time loop puzzle in the Temple of Knowledge has you create multiple copies of yourself in special realms beyond golden doors, though it's hardly explained and can be very easy to get confused. It's worth it, though - if you can solve all four time loop puzzles, you'll get a new ability that unlocks whole new areas of the Prince of Persia The Lost Crown map - but we get ahead of ourselves. This isn't an easy section, so we'll walk you through the time loop puzzle in the Temple of Knowledge in Prince of Persia The Lost Crown.
How to solve the Time Loop puzzle in Prince of Persia The Lost Crown
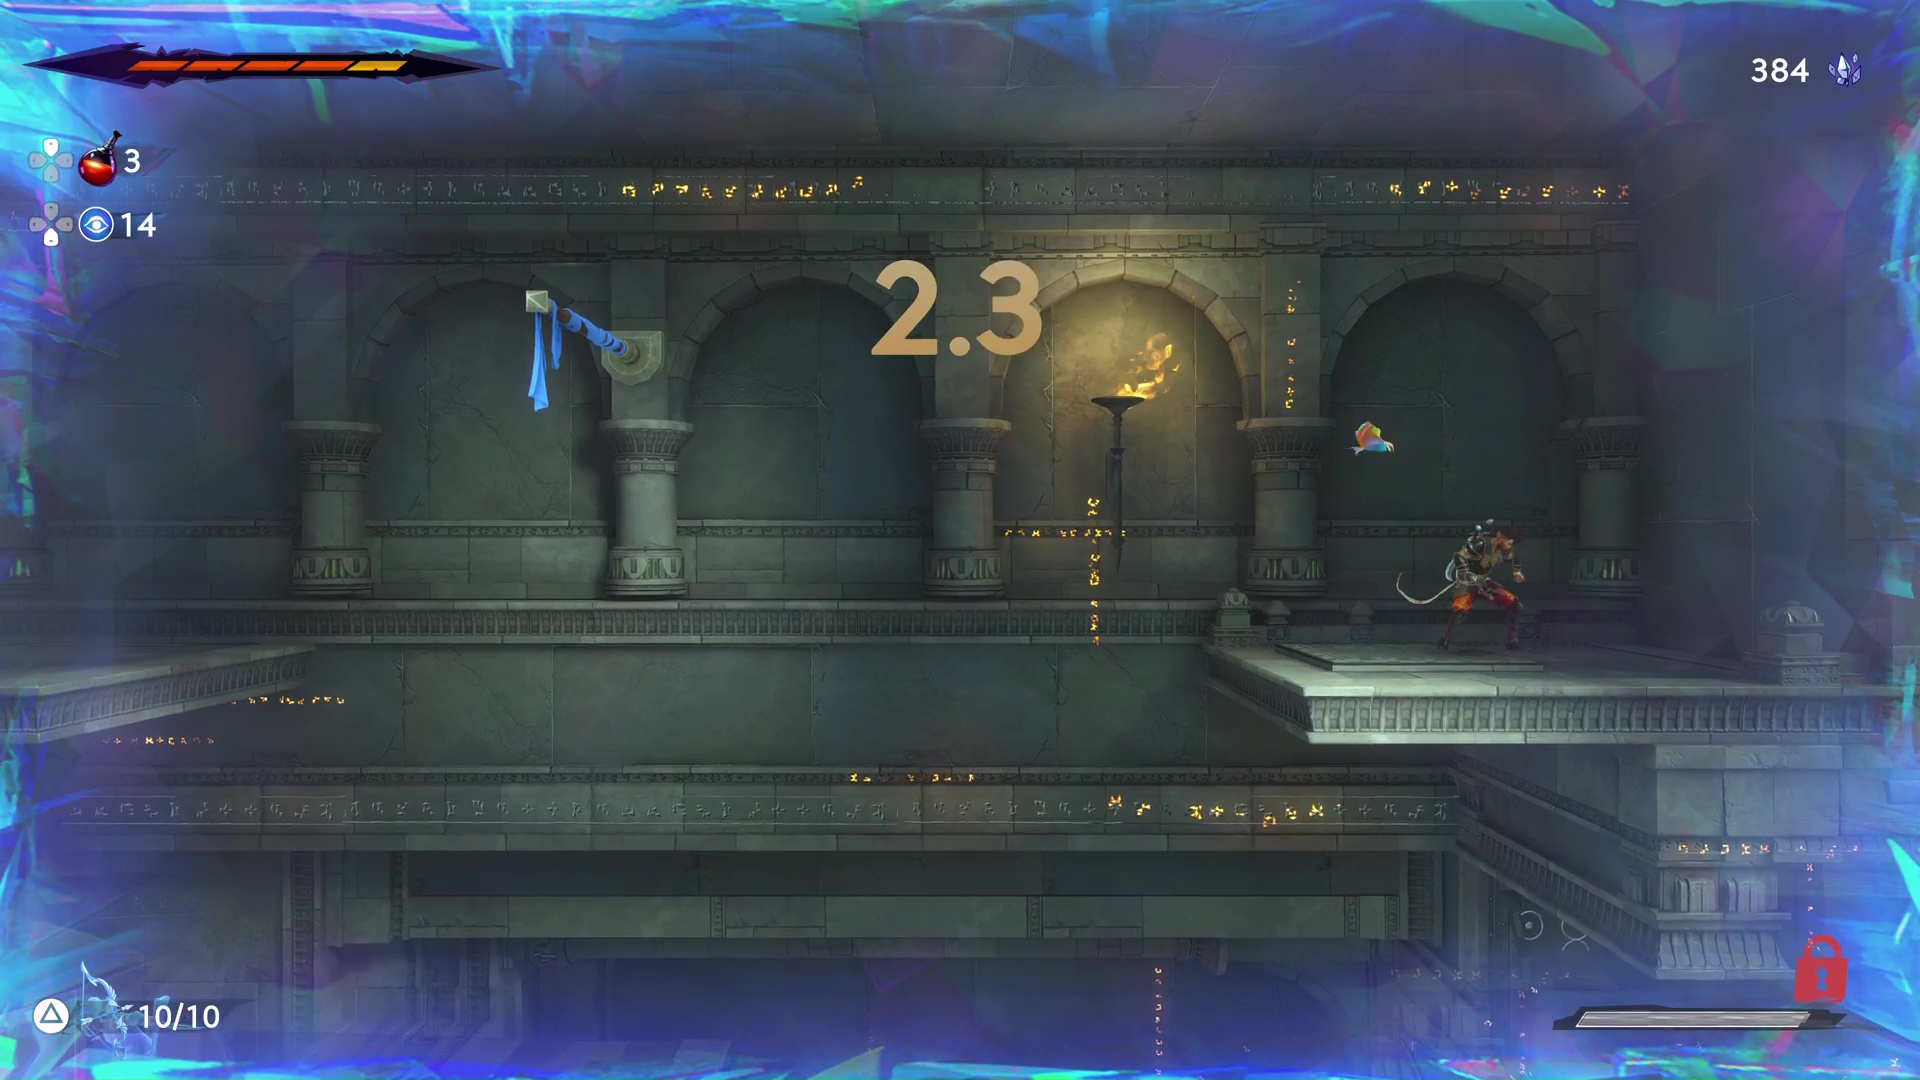
The time loop puzzle in the golden doors in the Temple of Knowledge (referred to in-lore as the Secret Rooms) are a little confusing, but here's how it works: when you step on the pressure plate in one of the rooms, it starts a little time loop that records your movements and actions for the duration of the countdown.
That loop repeats three times, then resets. So, if there's a door that needs two switches to open, you create two "recordings" of Sargon that each press one of the switches, then have the third version run through the doorway itself. You'll need all three versions to solve each puzzle, but you can't have more than three versions at one time (represented by the glowing figures behind the pressure plate).
Article continues belowThe puzzle itself is solved when you reach the glowing golden scroll, at which point you're sent back to the Temple of Knowledge and a new gold door will be available. With that in mind, we'll explain how to solve each of the four time loop puzzles below.
First puzzle
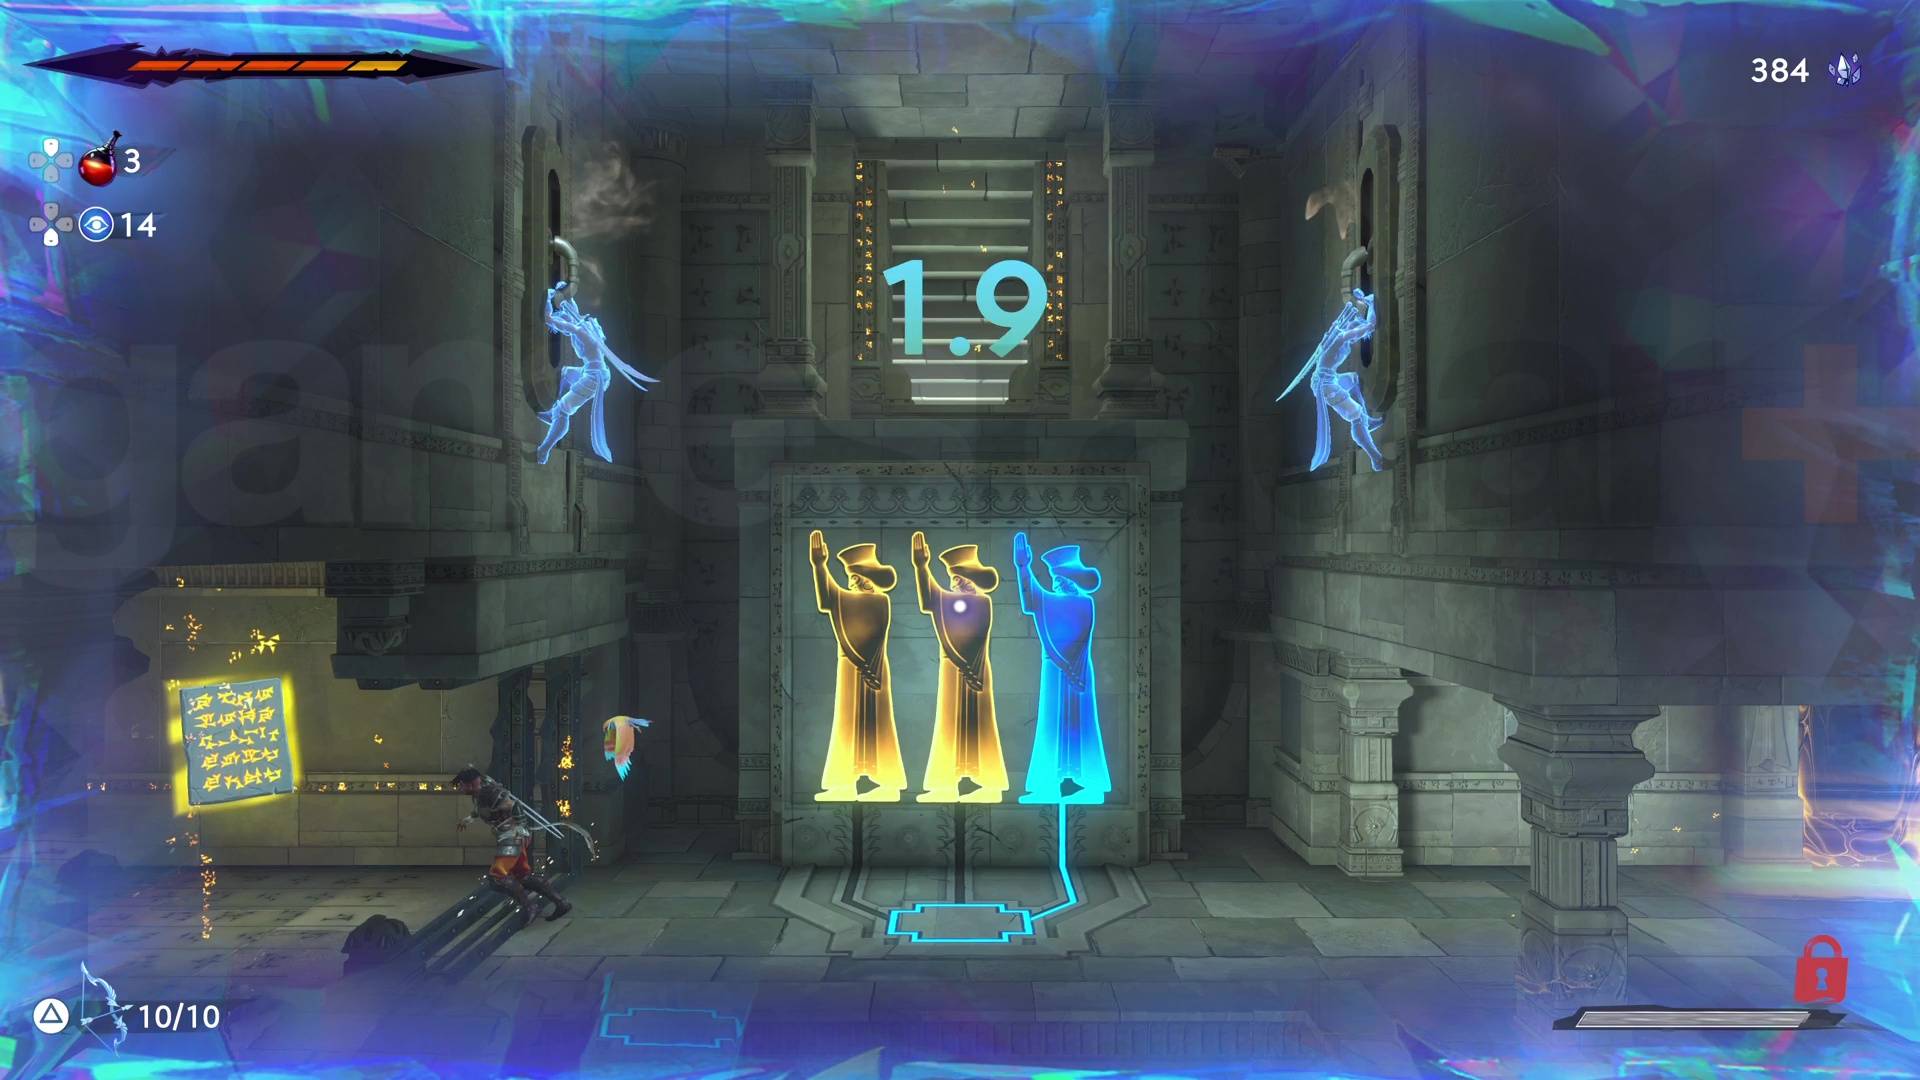
The first puzzle is the simplest, to help players adjust to the idea, and basically does what we described above - have two recordings hold open switches while the third Sargon goes through the door.
- First loop: Have Sargon hang on the left wall switch for the duration.
- Second loop: Have Sargon hang on the right wall switch for the duration.
- Third loop: Have Sargon go through the (now open) gate on the left and get the scroll.
Second puzzle
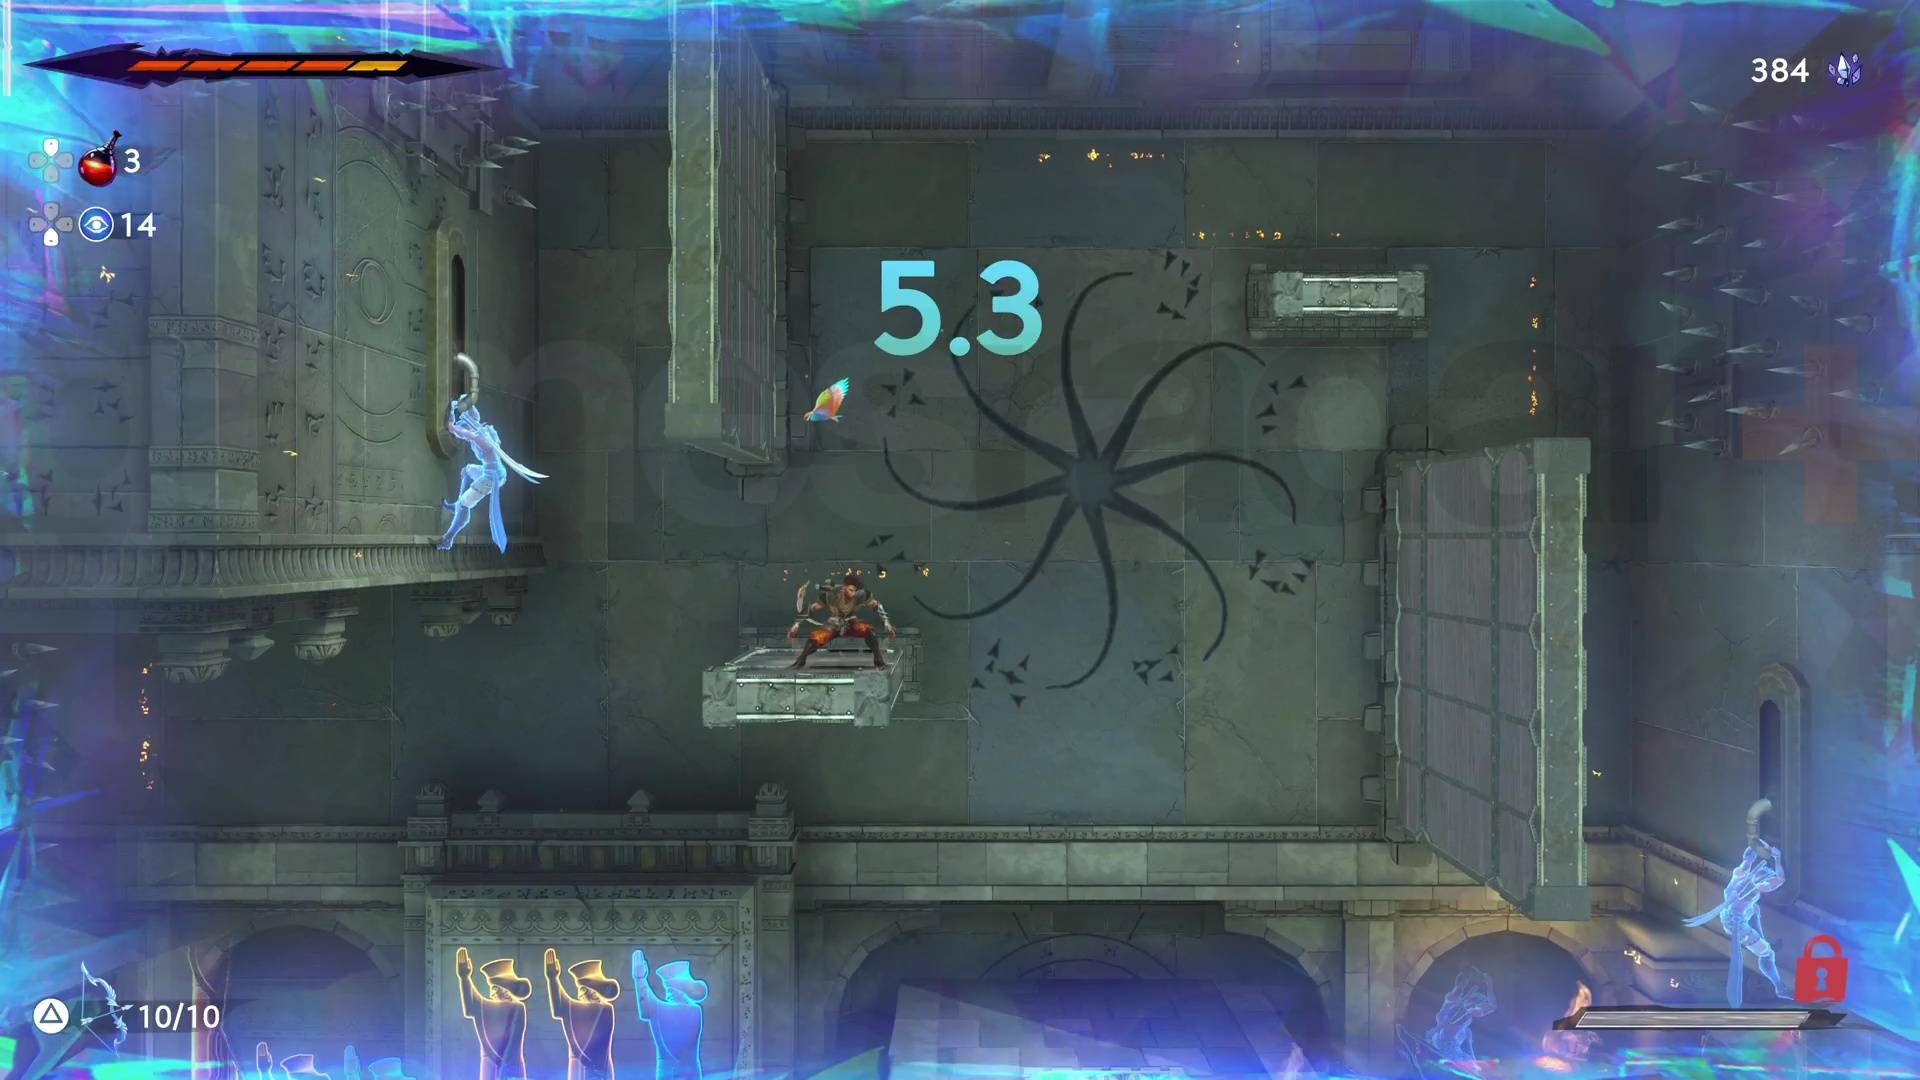
From this point on you need to start having slightly more dynamic recordings, building a path up the room for your final self.
- First loop: Have Sargon hang on the right wall switch, then stand on the central pressure plate with a couple of seconds left.
- Second loop: Have Sargon wall jump off the platform that the first recording made, to reach and hang off the left-hand wall switch for the duration.
- Third loop: Have Sargon leap up across the platforms to the top of the room. The last platform should appear when the first recording steps on the pressure plate. The gold scroll is up here.
Third puzzle
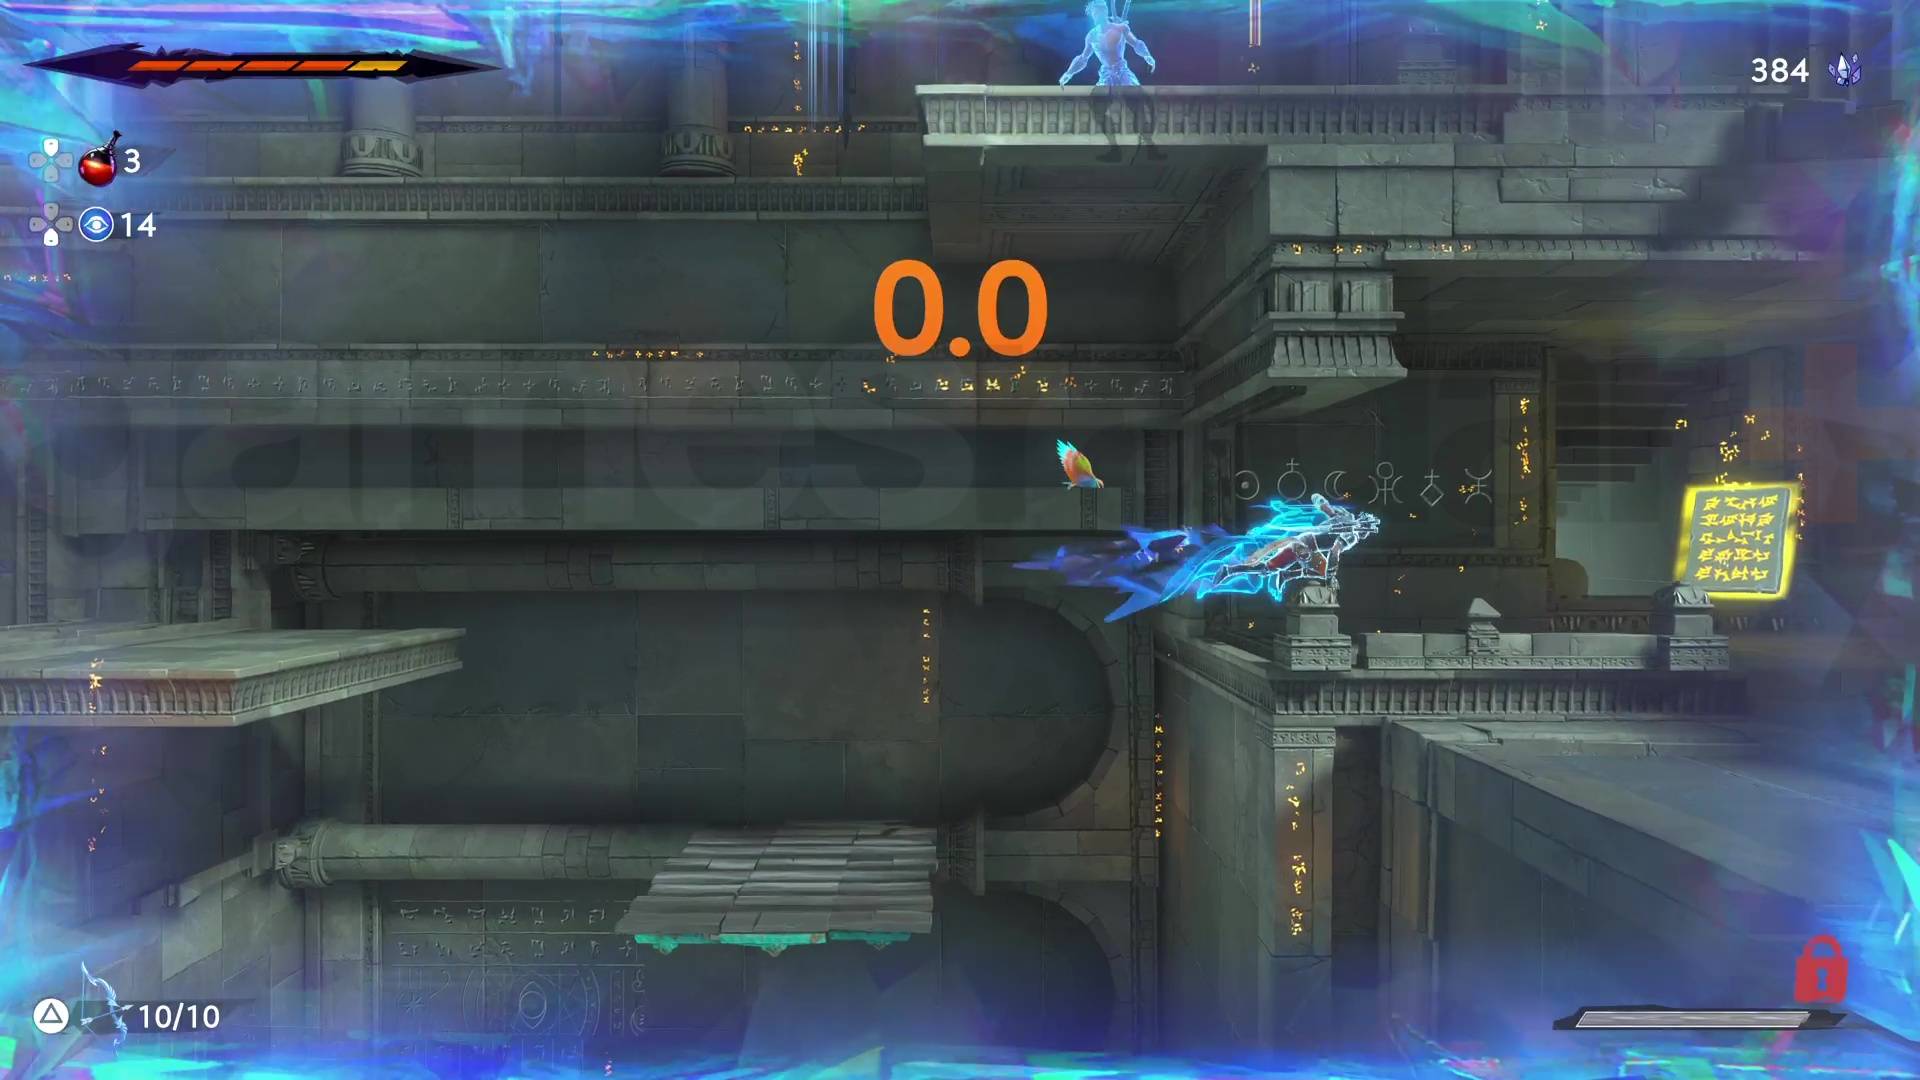
This one is actually far simpler than it appears, as it's based on realising that your Shadow of the Simurgh power (L1/LB) can be used and carries over between recordings.
Weekly digests, tales from the communities you love, and more
- First loop: Have Sargon run along the path and leave a Shadow (L1/LB) behind just before the time limit runs out.
- Second loop: Have Sargon teleport to the shadow immediately, continuing the path. Swing on the pole over the gap and stand on the pressure plate for the duration.
- Third loop: Have Sargon clamber through the gate on the right, which should open when recording two steps on the plate. The gold scroll is waiting.
Fourth puzzle
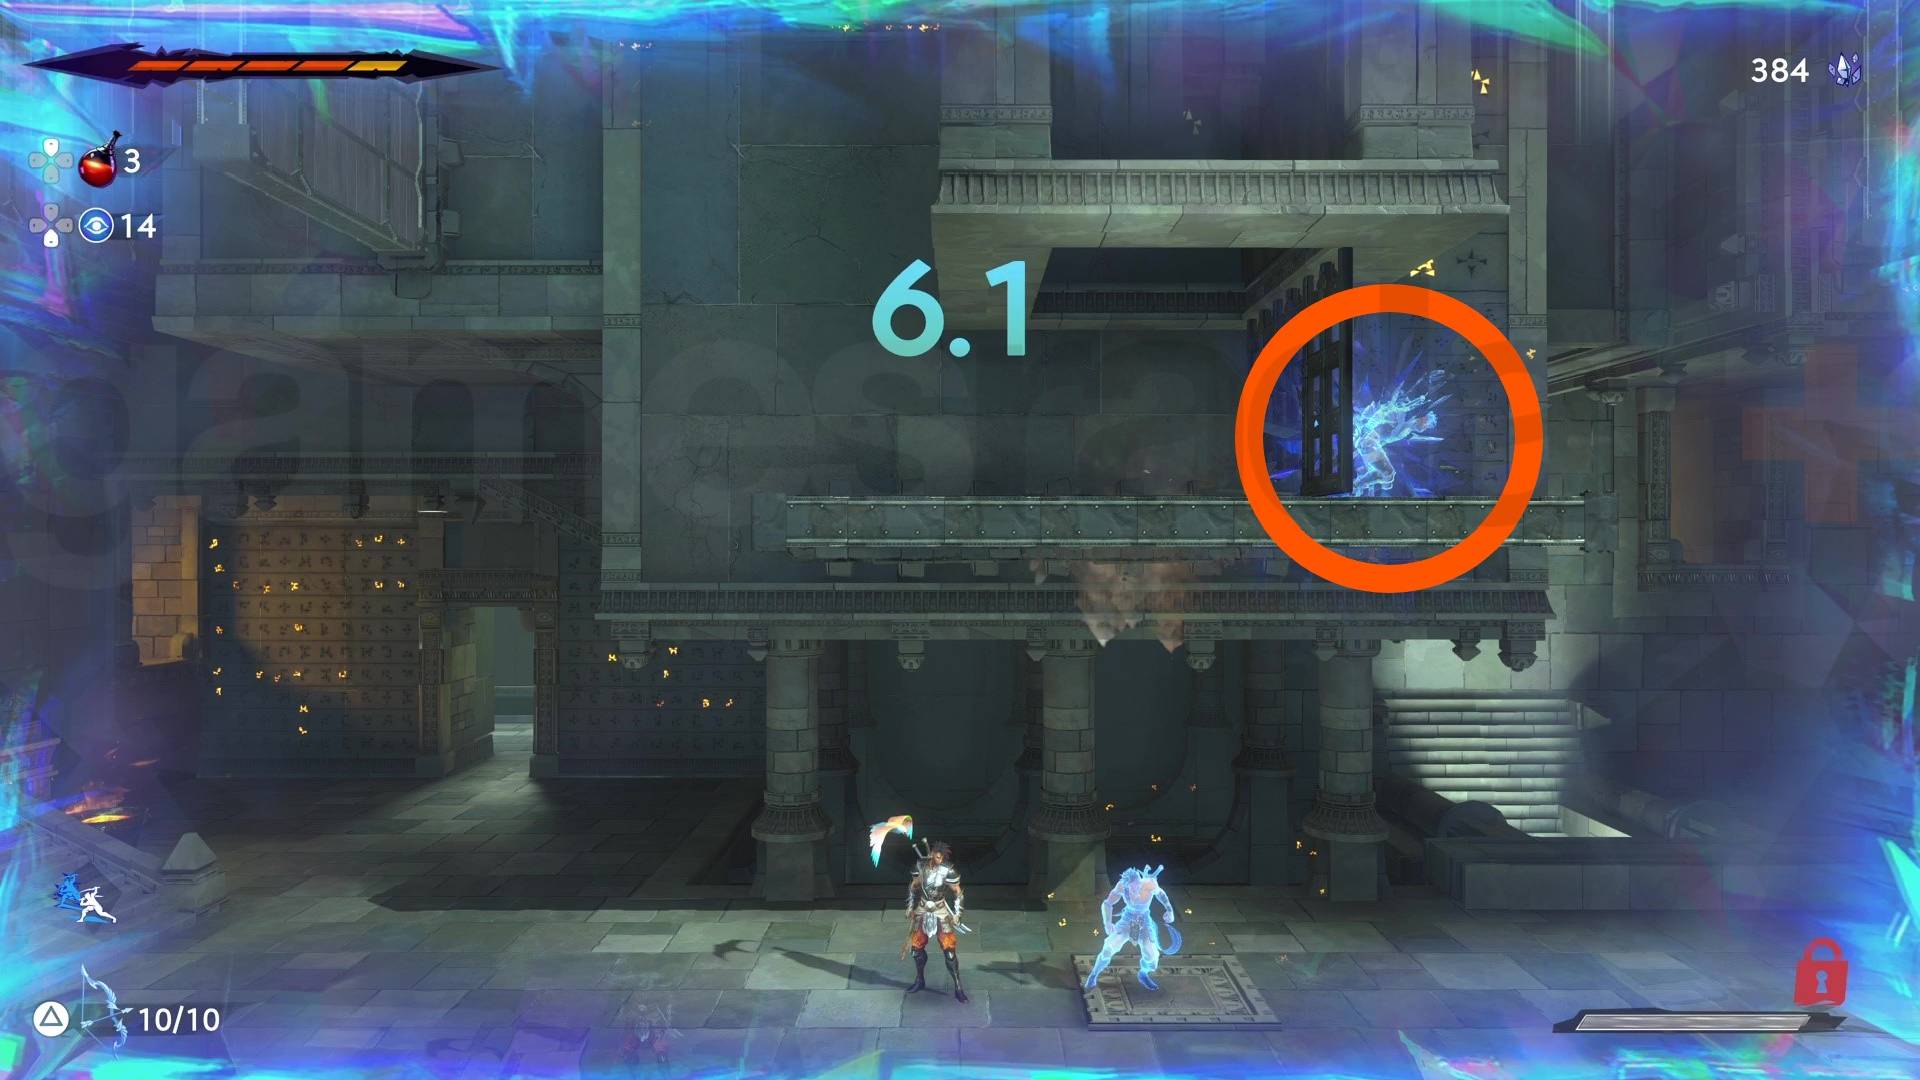
The final and most complex of the four time loop puzzles, this one is worth exploring the area a bit before you start doing the actual course itself so you know the layout. Once you're ready, head to the loop start - you'll have thirteen seconds this time around.
- First loop: Have Sargon leave a Shadow at the spot marked above, then drop down onto the pressure plate for the duration.
- Second loop: Have Sargon use the platform created by recording one's pressure plate to jump the central tunnel to the lever at the top and press it. It should switch the walls on the left and right.
- Third loop: Have Sargon teleport to the Shadow when the triggered pressure plate creates a floor beneath it, then use the wall created by recording two to wall jump up to the gold scroll.
Having completed all four puzzles, you'll now be able to go through the central door, as the bells ring and clear the route to make it there.
© GamesRadar+. Not to be reproduced without permission

Joel Franey is a writer, journalist, podcaster and Very Tired Man with a BA from Brunel University, a Masters from Sussex University and a decade working in games journalism, often focused on guides coverage but also in reviews, features and news. His love of games is strongest when it comes to groundbreaking narratives like Disco Elysium, UnderTale and Baldur's Gate 3, as well as innovative or refined gameplay experiences like XCOM, Sifu, Arkham Asylum or Slay the Spire. He is a firm believer that the vast majority of games would be improved by adding a grappling hook, and if they already have one, they should probably add another just to be safe. You can find old work of his at Eurogamer, Gfinity, USgamer, SFX Magazine, RPS, Dicebreaker, VG247, and more.

 Join The Community


