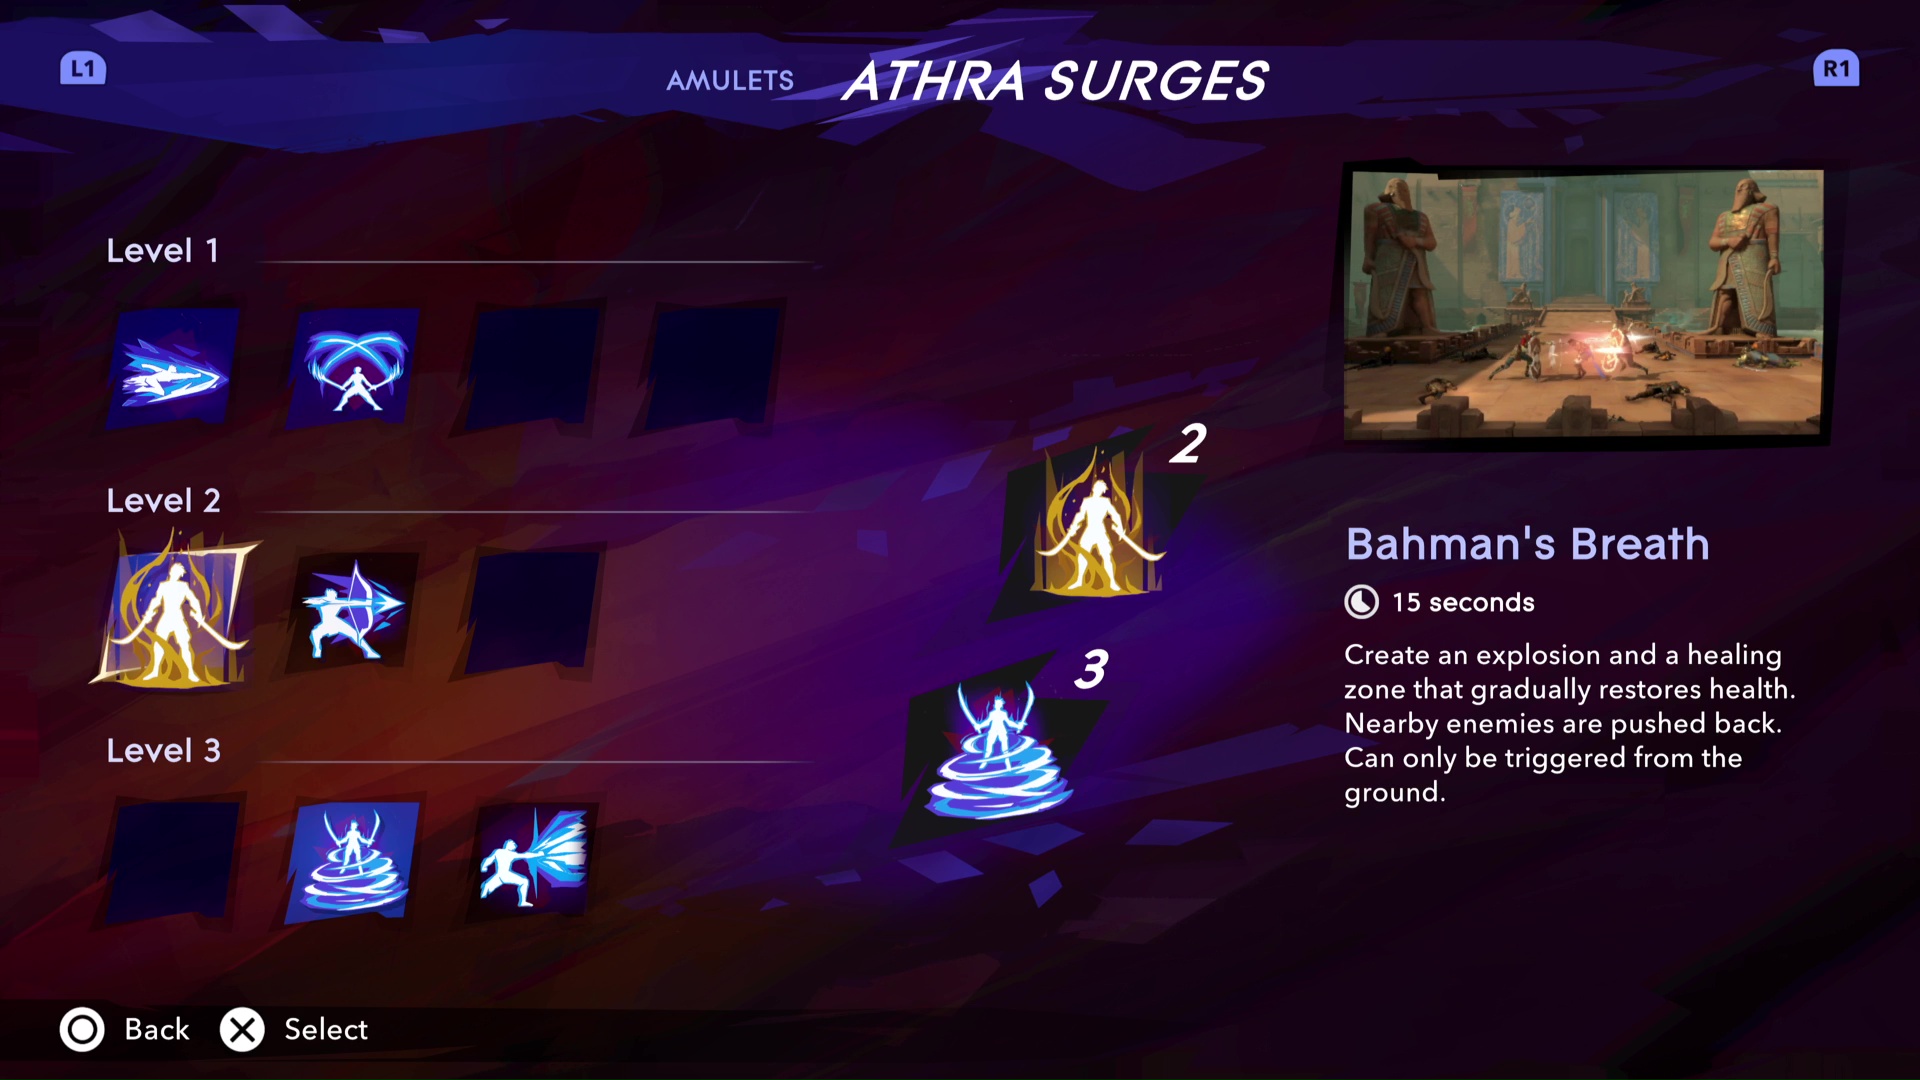
Best Athra Surges in Prince of Persia The Lost Crown
The best Athra Surges (aka super moves) in Prince of Persia are Bahamut's Rage and Bahman's Breath

The best Prince of Persia The Lost Crown Athra Surges are something you'll need to have a better idea of as you progress through the game, unlocking more supermoves usually as a reward for boss fights, but never getting the chance to have more than two ready to go at once. Athra is one of those things that's generally a little more frequent than you'd think, as we pointed out in our Prince of Persia The Lost Crown tips, which frees you up to use moves more often or invest in those with a high cost. And that's definitely good, because the best Athra Surges in The Lost Crown aren't cheap - something we'll cover momentarily.
Warning: this guide contains very minor spoilers.
The best Prince of Persia The Lost Crown Athra Surges and how to get them

The top three Athra Surges you can get in Prince of Persia The Lost Crown are, by our experience, the following:
- Bahamut's Rage (lvl. 3, reward for beating the Orod boss fight in the Raging Sea region)
- Bahman's Breath (lvl. 2, reward for finding a Wak-Wak tree in the Hyrcanian Forest and encountering the Kamil spirit)
- Arash's Ray (lvl. 2, reward for beating the Alternate Sargon boss fight in the Depths region)
These powers, thankfully, are all obtained by following the main plot, and don't require you to go off-course or explore new areas. The latter two are found pretty early on, within the first few hours, though it'll take you some time before you get Bahamut's Rage.
The two you want to have equipped, if you have them, are the Rage and Breath powers. Bahamut's Rage is simply a massive AOE attack that does huge damage to everything nearby - meaning that it practically can't miss, as well as clearing a battlefield of enemies or shredding a boss's health bar, all of which are good and more than justify the fact that it costs three bars of Athra to activate.
Bahman's Breath, on the other hand, creates a zone of healing while pushing back nearby enemies. It can be a little tricky to stay in that zone, depending on what kind of attacks you're dodging, but the ability to have a recharging heal without depending on Health Potions is incredibly valuable, and you can always just use it as a way to recover between fights.
Finally, there's Arash's Ray, the move that you should be using up until the point where you get Bahamut's Rage. It's an arrow that you can aim and fire for massive damage, spearing through all enemies in its path. It's hard to miss with it, as aiming slows down time, and it's a nice, simple, devastating attack that works against both regular minions and bosses alike.
Weekly digests, tales from the communities you love, and more
Of course, keep in mind that these Athra Surges are the ones we found most effective, and that different builds or playstyles may suit other options. If you're much more defensive and cautious, you might not need regular healing, or prefer cheaper Athra attacks for more frequent use. If the suggestions above aren't working for you, try mixing and matching - there's ten Surges to choose from throughout the game, after all.
© GamesRadar+. Not to be reproduced without permission

Joel Franey is a writer, journalist, podcaster and Very Tired Man with a BA from Brunel University, a Masters from Sussex University and a decade working in games journalism, often focused on guides coverage but also in reviews, features and news. His love of games is strongest when it comes to groundbreaking narratives like Disco Elysium, UnderTale and Baldur's Gate 3, as well as innovative or refined gameplay experiences like XCOM, Sifu, Arkham Asylum or Slay the Spire. He is a firm believer that the vast majority of games would be improved by adding a grappling hook, and if they already have one, they should probably add another just to be safe. You can find old work of his at Eurogamer, Gfinity, USgamer, SFX Magazine, RPS, Dicebreaker, VG247, and more.

 Join The Community


