The five best Escape From Duckov Totems and how to get them
Here’s everything a new player needs to know about Totems in Escape From Duckov

Weekly digests, tales from the communities you love, and more
You are now subscribed
Your newsletter sign-up was successful
Want to add more newsletters?

Every Friday
GamesRadar+
Your weekly update on everything you could ever want to know about the games you already love, games we know you're going to love in the near future, and tales from the communities that surround them.

Every Thursday
GTA 6 O'clock
Our special GTA 6 newsletter, with breaking news, insider info, and rumor analysis from the award-winning GTA 6 O'clock experts.

Every Friday
Knowledge
From the creators of Edge: A weekly videogame industry newsletter with analysis from expert writers, guidance from professionals, and insight into what's on the horizon.

Every Thursday
The Setup
Hardware nerds unite, sign up to our free tech newsletter for a weekly digest of the hottest new tech, the latest gadgets on the test bench, and much more.

Every Wednesday
Switch 2 Spotlight
Sign up to our new Switch 2 newsletter, where we bring you the latest talking points on Nintendo's new console each week, bring you up to date on the news, and recommend what games to play.

Every Saturday
The Watchlist
Subscribe for a weekly digest of the movie and TV news that matters, direct to your inbox. From first-look trailers, interviews, reviews and explainers, we've got you covered.

Once a month
SFX
Get sneak previews, exclusive competitions and details of special events each month!
The best Escape From Duckov Totems are the cornerstone of your loadout. While you’ll usually replace most of your equipment as you progress, a good Totem can theoretically stay with you for the entire game. Also, unlike the best weapons in Escape from Duckov, you can get top-tier Totems relatively early too. So the question is, which Totems are the best?
While many Totems are only situationally good, a few stick out as overall upgrades for your duck, regardless of your playstyle. Here are the best Totems you can find in Escape From Duckov, as well as how to find them.
The best Totems in Escape From Duckov
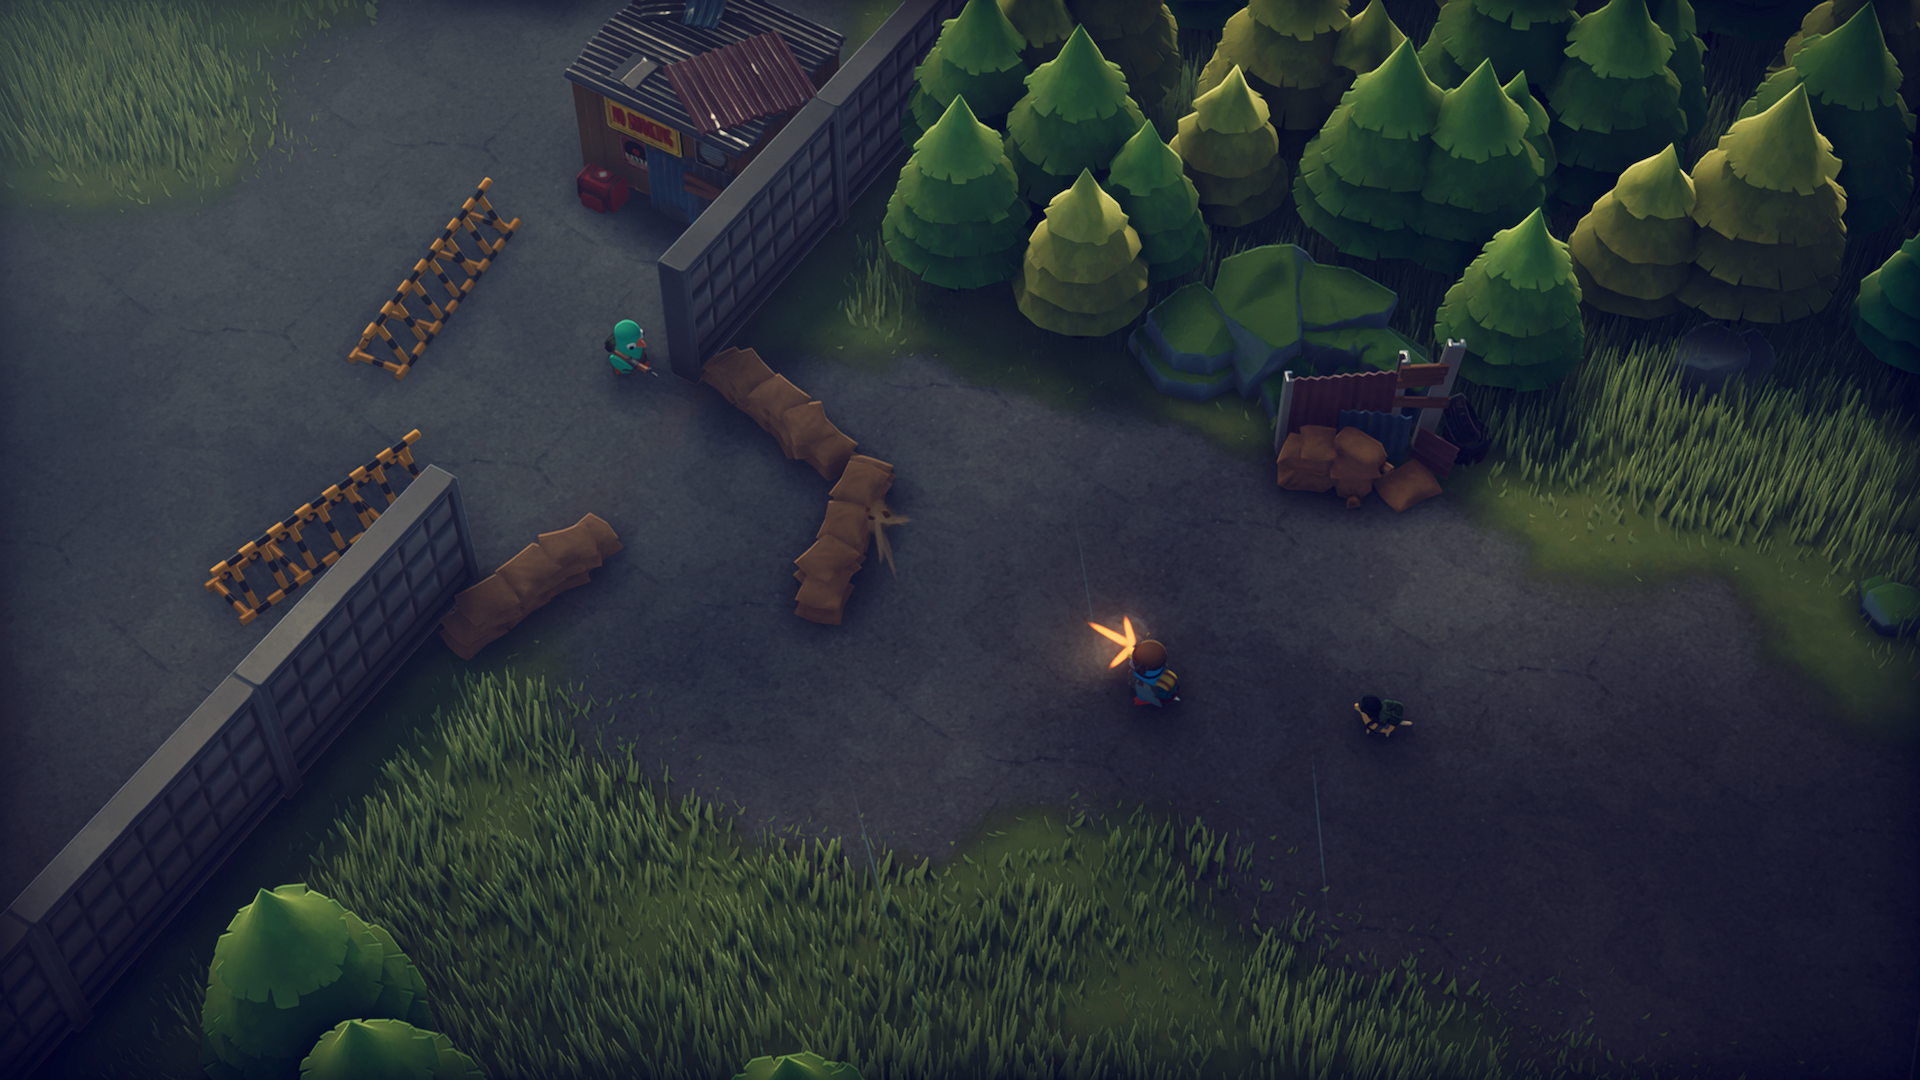
A lot of any Totems in Escape From Duckov are situationally good - Headshot increases Headshot damage (surprise!), but that only really benefits snipers. Berserk increases your Melee damage, so won’t do anything if you're using guns, and so on. These can be ideal in certain builds, but won't help much overall if you’re swapping out weapons regularly and going with the best loot you can find.
The following Totems below are the best option in Escape from Duckov, and basically always useful. They offer huge benefits regardless of your build, and they’re useful at every stage of the game. So if you’re not sure what Totem to use, you can’t go wrong with any of the picks below:
- Sturdy (I, II, or III) - All variations of Sturdy are enormously helpful, as they offer increased backpack space and carrying capacity. Any of these Totems will make your progress much smoother, as Escape From Duckov offers an abundance of loot to scavenge and little room to hold it. You’ll find better backpacks that increase carrying capacity as you play, but you’ll almost always find yourself needing to leave loot behind.
- Agile (II) - Escape From Duckov requires a lot of walking and backtracking, and the Agile II Totem will increase both your walking and running speed. Not only will this speed up your runs, the extra agility will help you duck and cover (pun intended) in the heat of combat. Agile II is a categorical upgrade from Agile I, while Agile III offers greater speed at the cost of gradual HP loss. If you can work around that side effect, then Agile III is the way to go. Otherwise, Agile II is the safer option.
- Aegis (III) - Aegis (III) specifically boosts resistance to head and body damage, but at the cost of increasing the elemental damage you’ll take (fire, poison, electric, space). However, because elemental damage is relatively rare, this is just a strong defense in most contexts. In the event that elemental damage becomes an issue, you can use the common variants of Aegis that don’t come with this debuff.
- Physical RES (III) - One condition you’ll almost always need to watch out for is Bleed. This will rapidly reduce your HP, which will leave you vulnerable to a quick death if left untreated. Bandages that cure this condition are admittedly common, so dealing with Bleed damage isn’t necessarily a huge issue. Still, in the event that you run out of Bandages, or you just forget to pack some for the road, you could find yourself in a lot of trouble. Physical RES III both reduces physical damage taken by 8% and offers complete immunity to Bleed. The Band-Aid brand will never be stuck on you again.
- Assault (II) - The best defense is a good offense and Assault II is just that: increased gun damage. No ifs, no buts, and no stipulations; just bigger numbers from all your guns. Unless you’re building a melee-specific build, you’ll benefit from this. Assault III does offer greater damage, but unfortunately it also reduces the range of your weapons too. This effect isn’t impossible to play around, but Assault II is the safer optional overall.
How to get Totems in Escape From Duckov

It’s technically possible to get Totems from a few different sources. Some enemies drop Totems, and the late-game Black Market can also offer Totems to buy. However, the absolute best source of Totems is essentially an in-game gacha, though thankfully you can grind for it using in-game resources. No microtransactions here!
In your Base, look to the right of the doorway that leads out into Ground Zero. You’ll see a ladder that leads down a pit, which you can enter by pressing the F key. Travel downward and you’ll see two sigils on the ground with an “Offer” prompt above them. The one that asks for 8 Fading Feathers will spit out a new Totem at random, while the one asking for 80 Feathers will spit out ten Totems. As far as I can tell, there doesn’t seem to be any tangible benefit to saving your feathers to the 10-pull, aside from just letting you use more at once. In other words, come down here to do single-pulls whenever you’ve got the feathers for it.
You can collect Fading Feathers as loot whenever you defeat an enemy duck on the field. You can store these in increments of 15 in your backpack, and they only add a mere 0.2 kg in weight, so always make sure to pick these up off of defeated enemies. You can also dismantle Totems for Fading Feathers, with rarer Totems awarding more Feathers if you choose to pick them apart.
Weekly digests, tales from the communities you love, and more
How Totem rarity works in Escape From Duckov

Totems come in different levels of rarity! The majority of Totems can appear in three different tiers, labeled as either “I” “II” or “III.” For example, “HP I” would be the common variant of the Totem, while “HP III” is the rare variant. The game unfortunately doesn’t appear to disclose the odds for these, so we can’t say how lucky or unlucky you are based on your pulls.
That said, unlike most pure gacha games, rarer Totems aren’t necessarily better than their more common counterparts. For instance, the Recovery I Totem gives a small amount of HP Regeneration, which is a pure upgrade compared to using no Totem at all. However, while Recovery III gives you more HP Regeneration, it also makes your Hydration and Energy degrade faster. As another example, while the Sturdy III Totem grants an extra 20% backpack space and carrying capacity, Sturdy I and Sturdy II offer 25% increased carrying capacity and backpack space respectively. In other words, you may need to look at the pros and cons of each version of a Totem to figure out what fits your build best.
Also, while you can’t equip two of the same Totem, you can equip two Totems of the same class at different rarity levels. They’re classified as different pieces of equipment, so take that into consideration when you’re building your duck.
© GamesRadar+. Not to be reproduced without permission.

Timothy (you can call him Tim) has been writing professionally for over a decade, and he’s waxed poetic about his favorite videogames on the internet for even longer. He chased his dream of writing about games until he became the Guide Editor for Destructoid, nowadays you can find him on Kotaku, PC Gamer, and now GamesRadar+. He will try just about anything, but he’ll throw himself headfirst into RPGs, action games, platformers, and most things retro.
Tim’s greatest interest is in writing features that analyze the games we play and unpack the ways we get invested in them—whether it’s with a unique story or just really fun game mechanics. When he’s not writing, you can catch him reminding everyone to play more Ys.
You must confirm your public display name before commenting
Please logout and then login again, you will then be prompted to enter your display name.
