Destiny 2 Tracing the Stars 2 – Where to find all the Atlas Skews in the Strand
Here are all the Atlas Skew locations for the Strand in the Dreaming City.
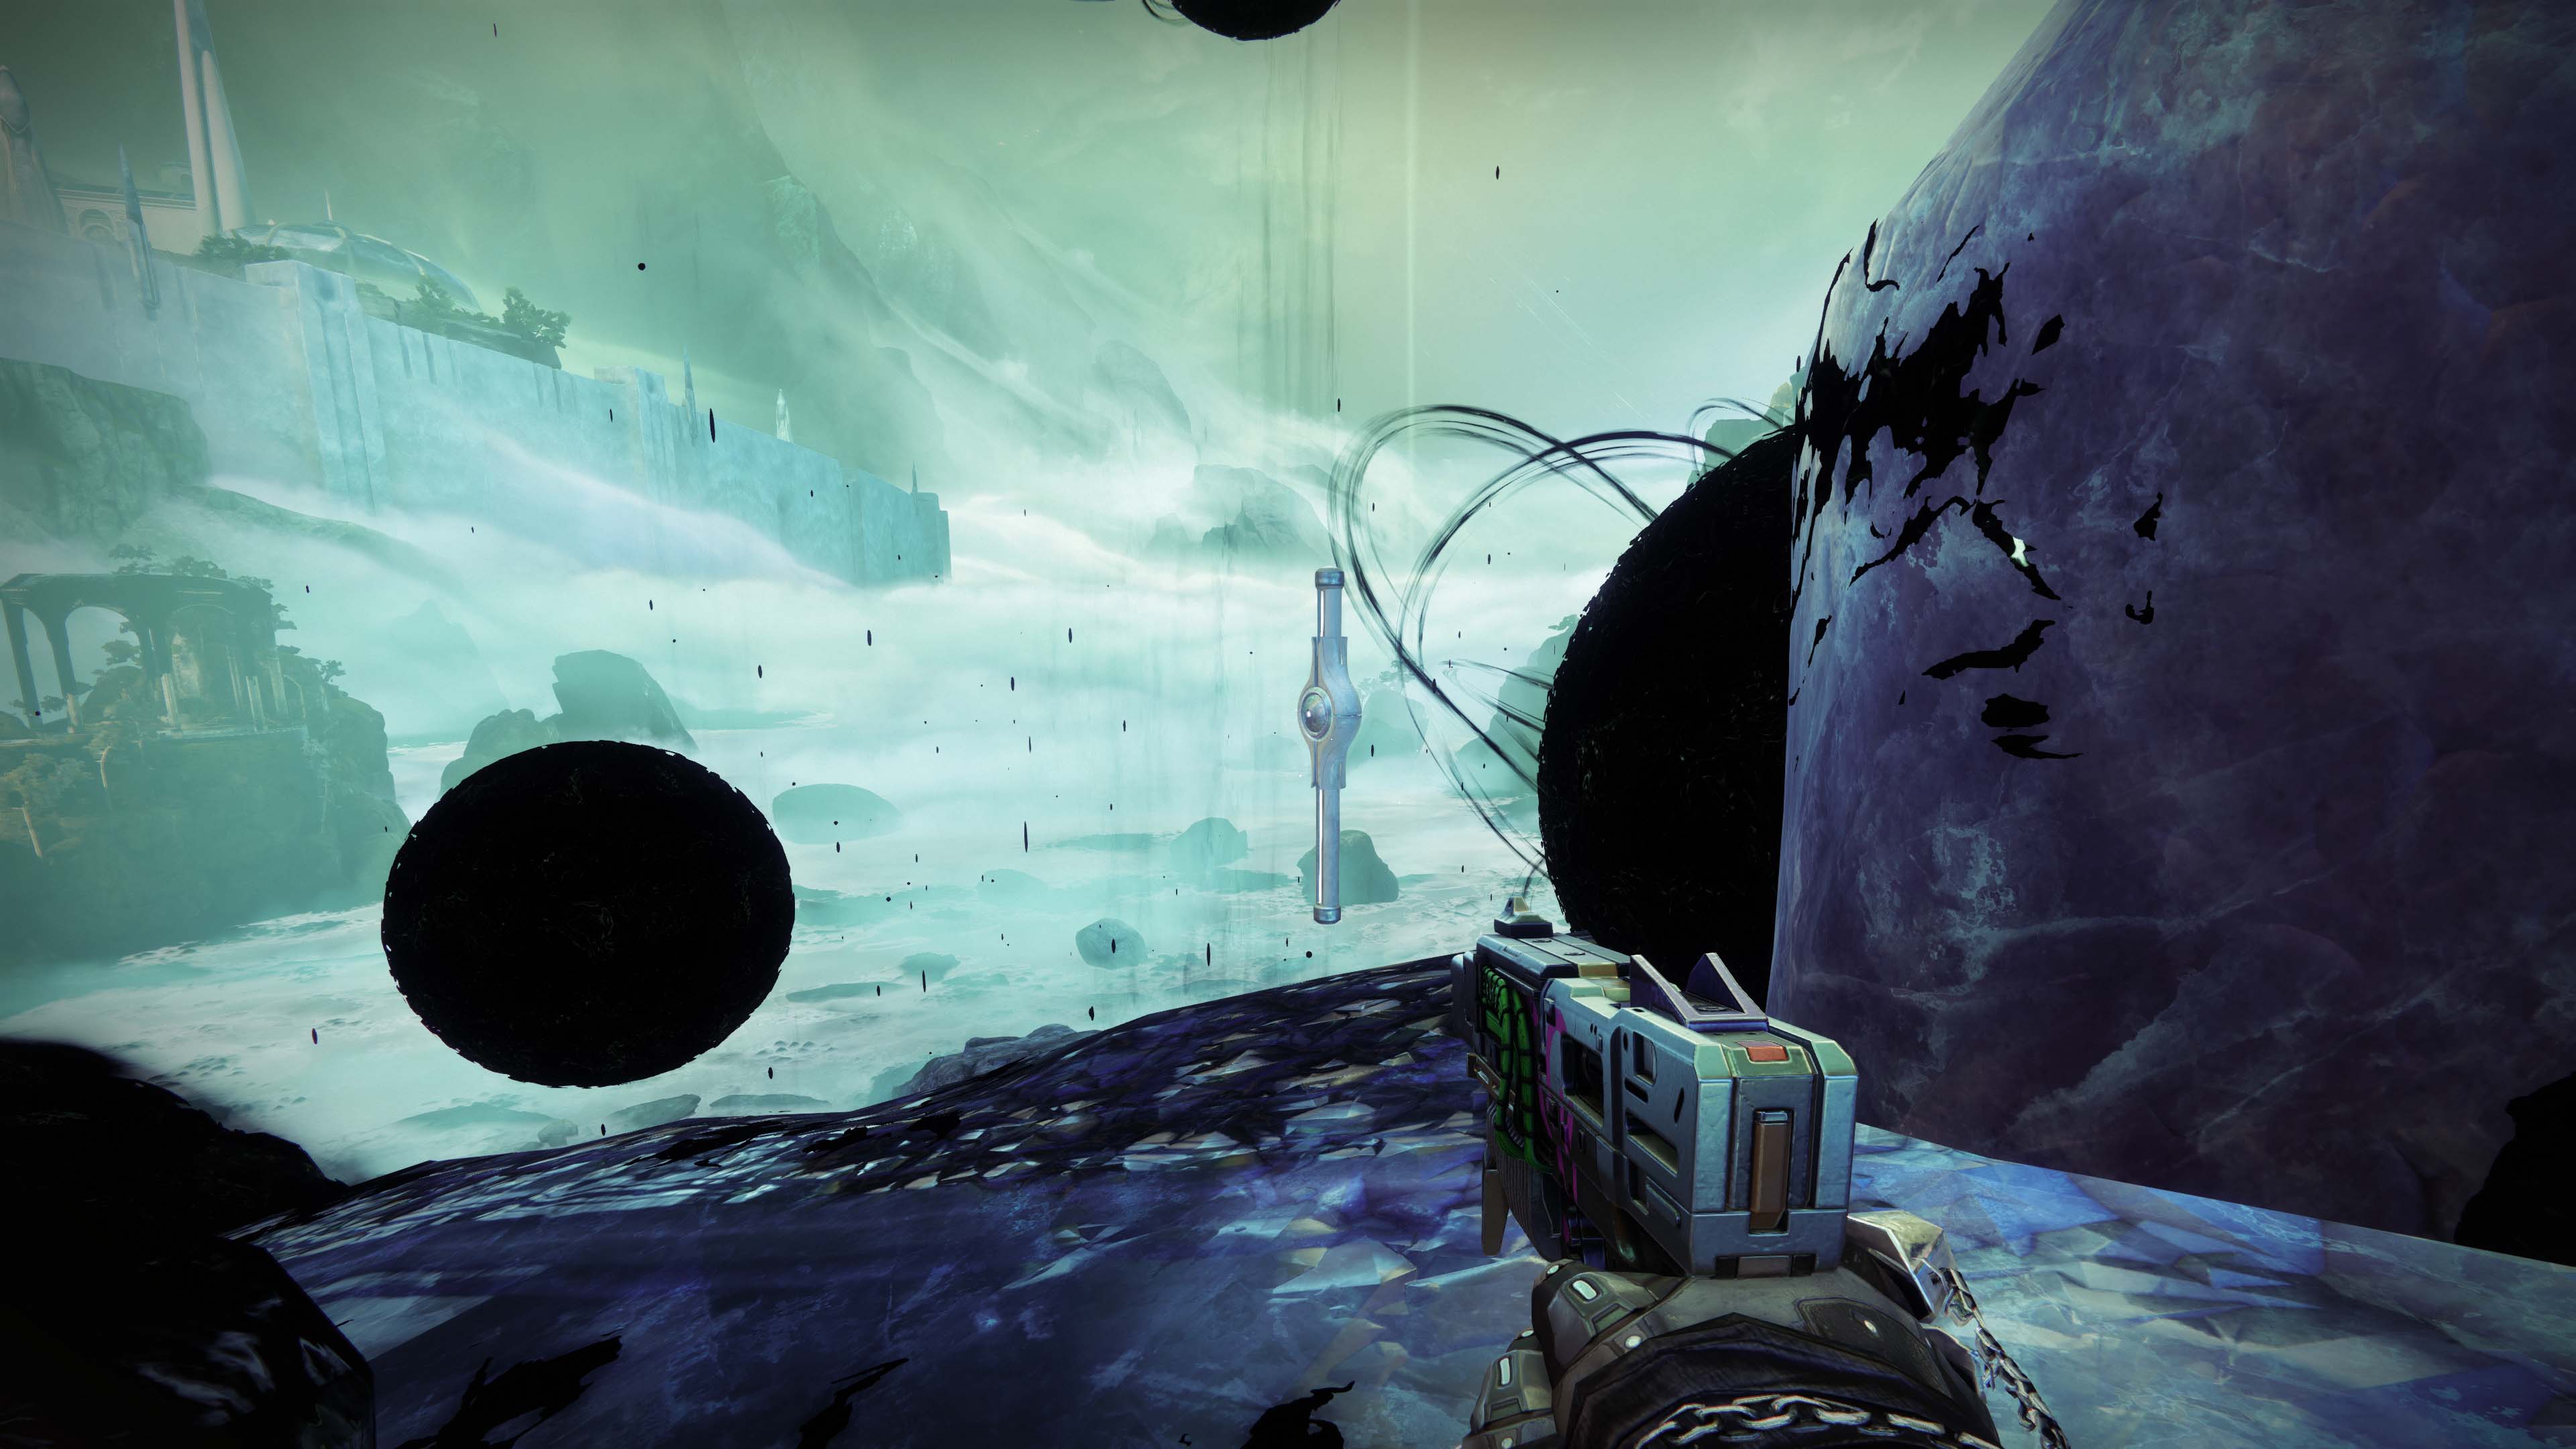
Another week in Season of the Lost means more Atlas Skew locations in the Destiny 2 Tracing the Stars 2 quest. Players need to look around the Strand area of the Dreaming City and its surrounding areas to find five Atlas Skews that then need to be deposited at the gatehouse. You can pick up Tracing the Stars 2 from the Wayfinder’s Compass in the HELM. Once you’ve done that, you need to speak to Queen Mara who will give you the five Atlas Skew locations in the Strand for this week. Tracing the Stars is the Destiny 2 Season of the Lost questline for the Ager’s Scepter Exotic Trace Rifle, so make sure you follow these steps to stay up to date and get the weapon as soon as it’s available.
Destiny 2 Season 15 mods | Destiny 2 Season 15 exotics | Destiny 2 anti cheat | Destiny 2 Tracing the Stars 1 Dreaming City
Destiny 2 Tracing the Stars 2 Atlas Skew locations
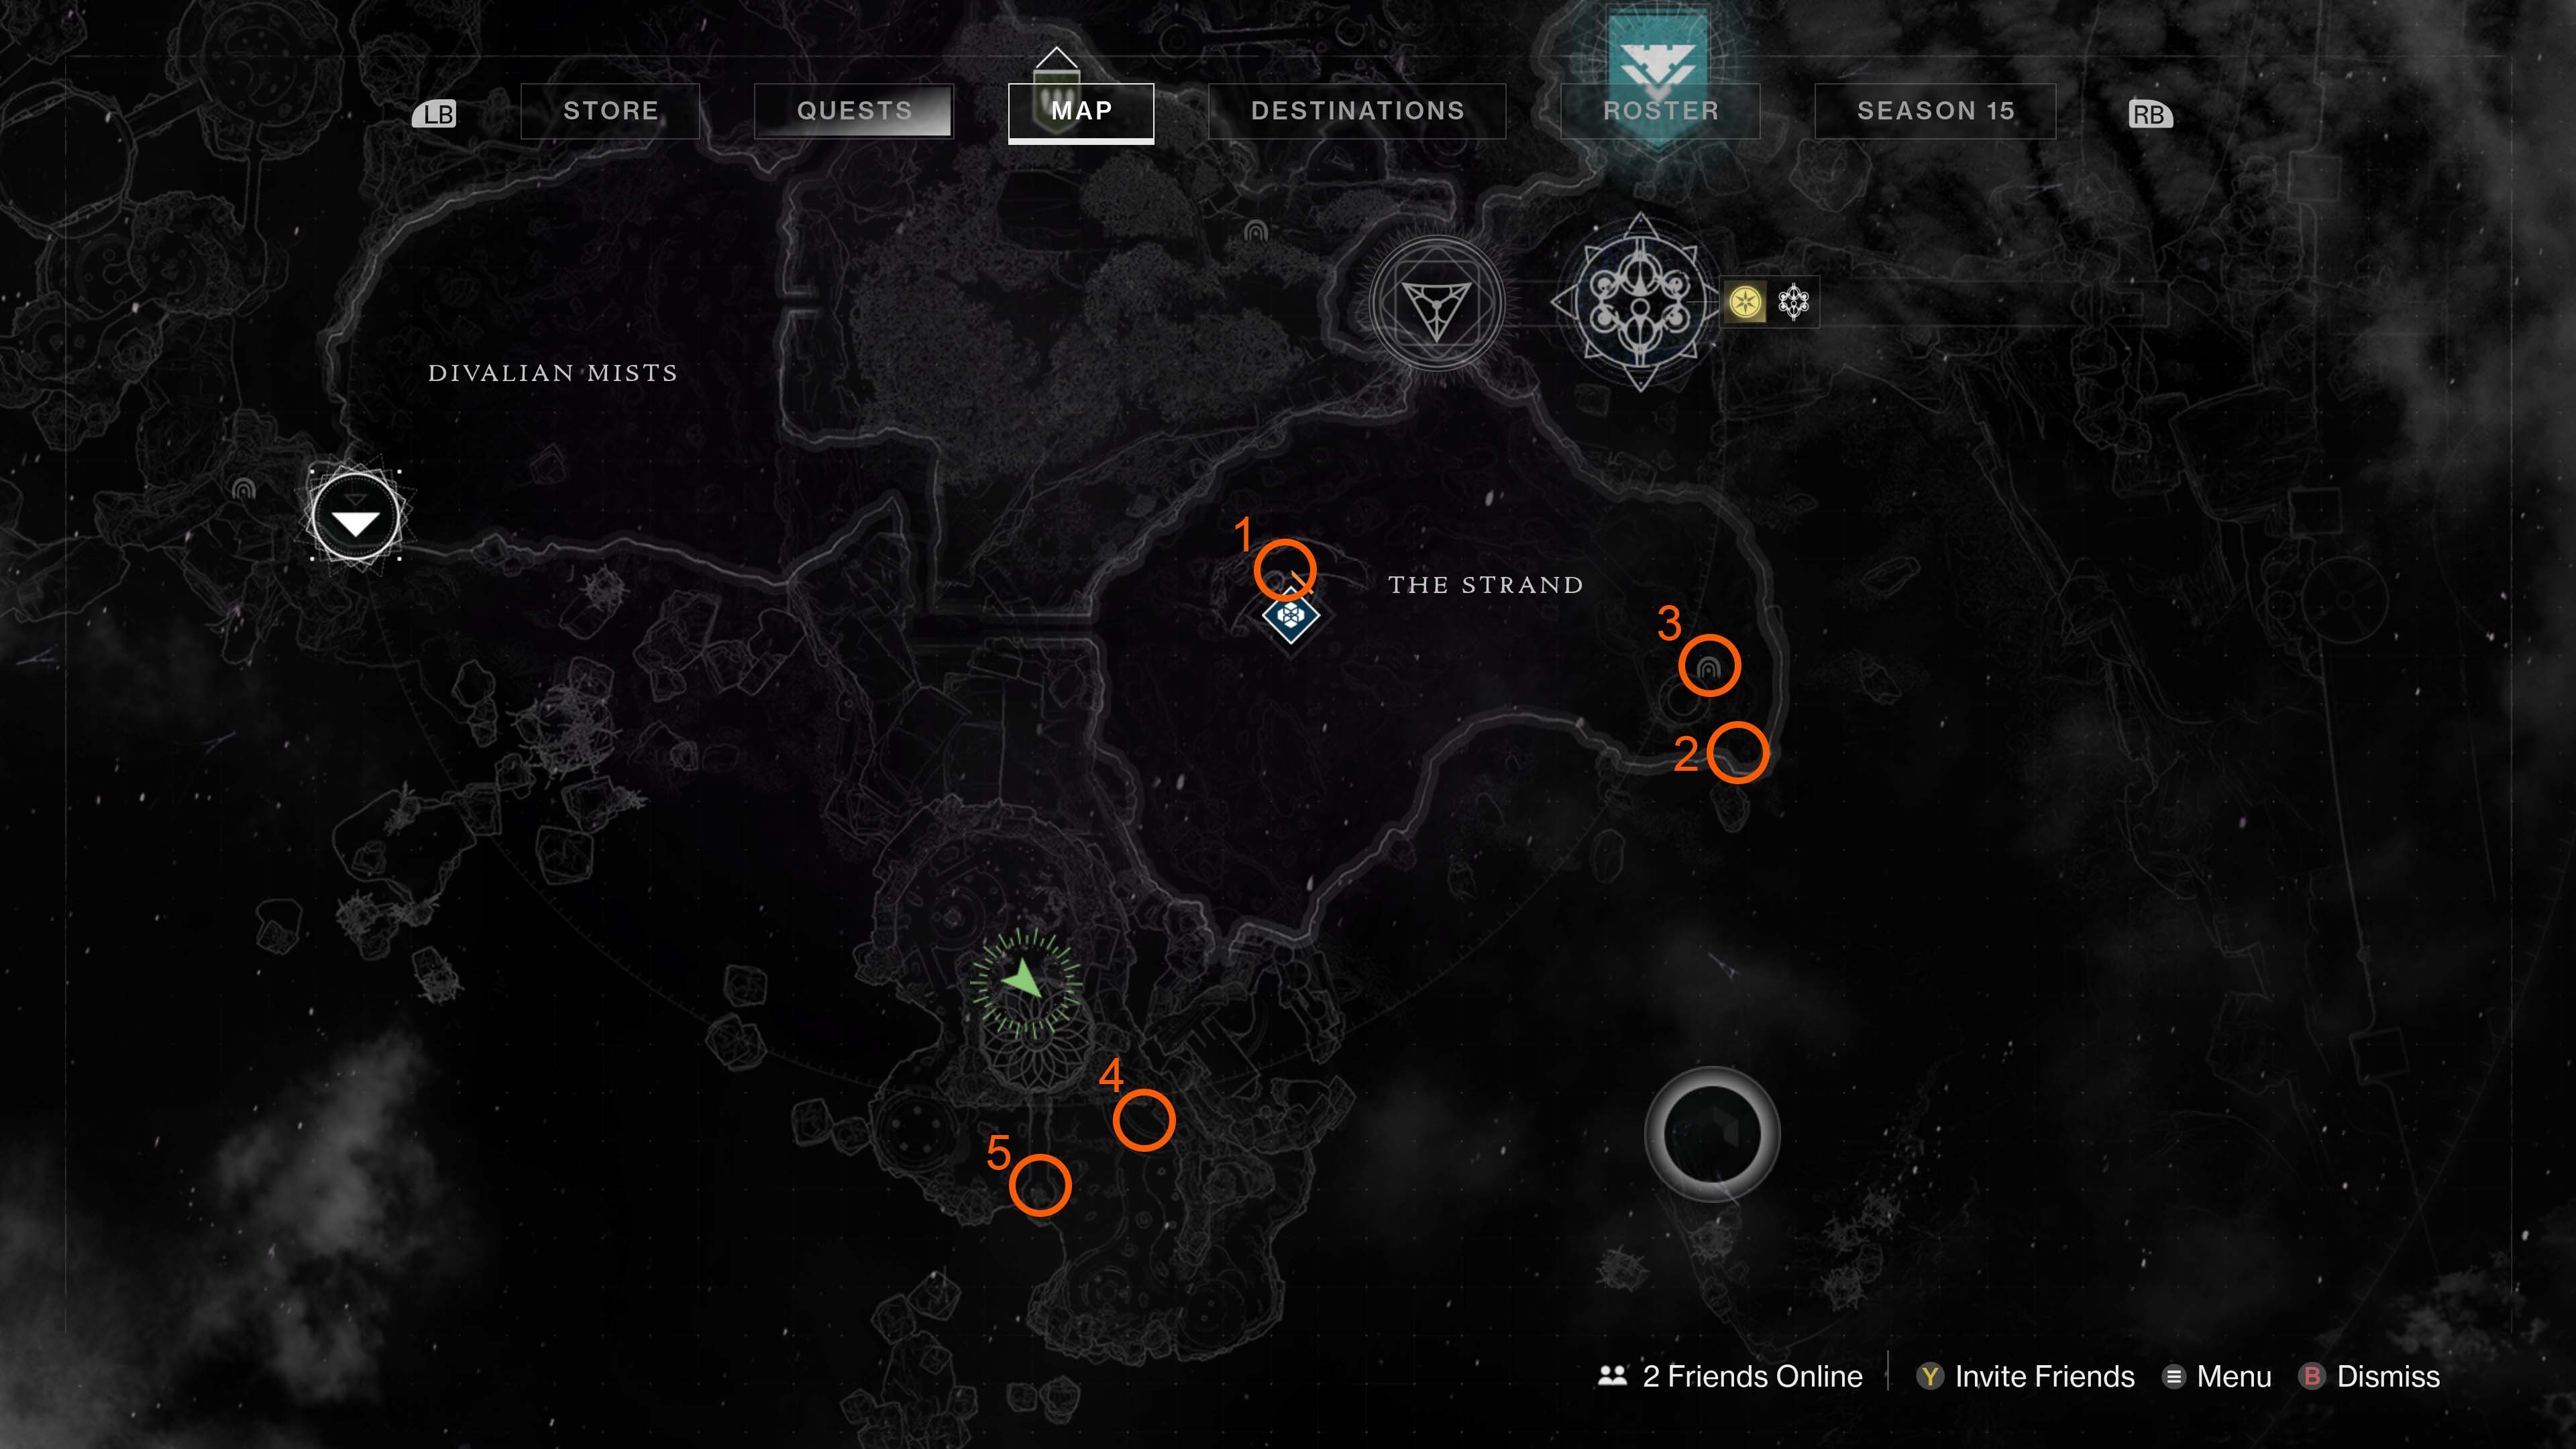
The five Atlas Skews you're looking for are short, white poles with an orb device near the top. All five Tracing the Stars 2 Atlas Skews are found in the Strand area of the Dreaming City in Destiny 2. The location descriptions are a bit more obvious this week, but some are difficult to get to and require a bit of platforming. Once you get close to one, it will get marked with a waypoint icon on your HUD so make sure you look out for those when you’re searching. Since there isn’t a landing zone in the Strand, the Atlas Skew locations below have been ordered in the most convenient travel route, not in the list order that they appear for the quest. Use the above map to get yourself near to each Atlas Skew and then follow its number in the guide to get its exact location.
Strand Towering Atlas Skew
1. Strand Towering Statue
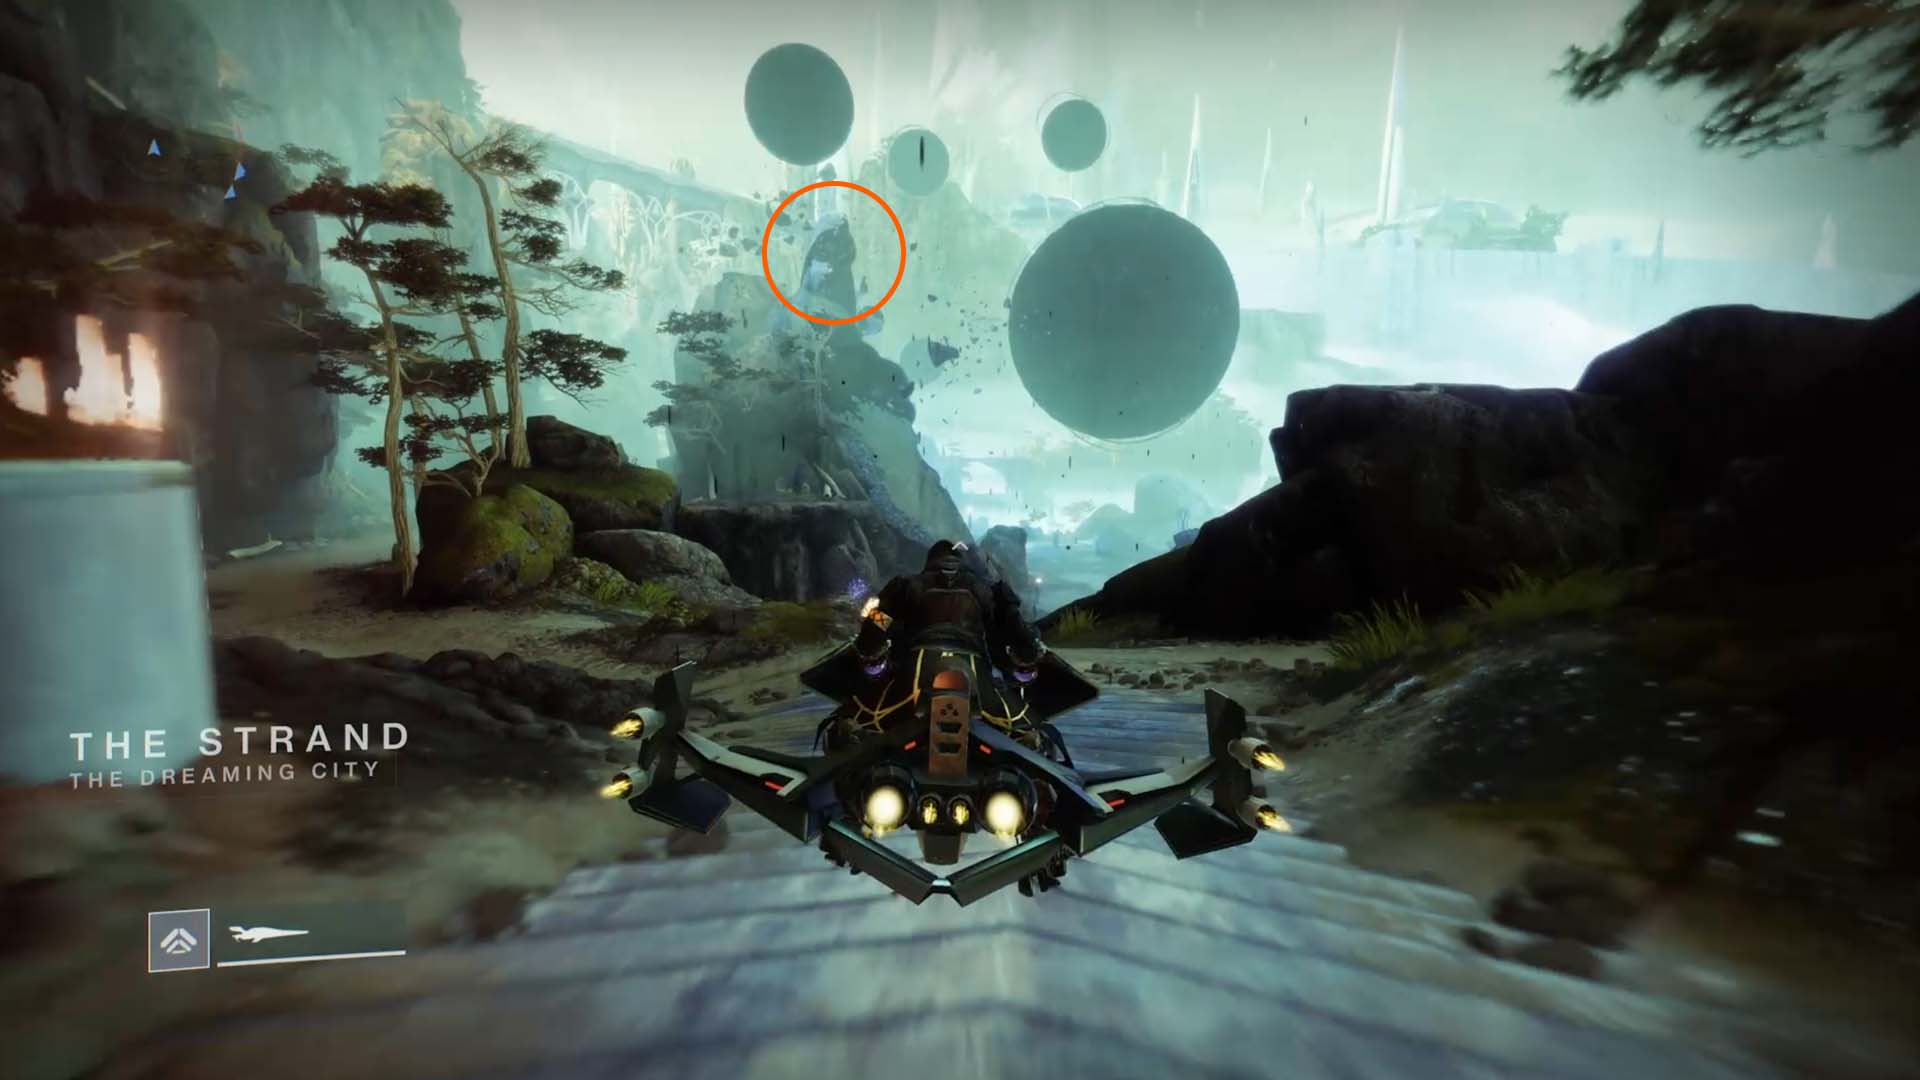
Start by travelling east from the Divalian Mists landing zone and head through the cave system that emerges into the Strand. The Towering Statue in Destiny 2 that the clue refers to is straight ahead amongst the ruins in the open area, which is also where the Rift Generator Public Event takes place. You need to climb up the statue and get to the Atlas Skew which is next to the statue’s left shoulder.
Strand Gazebo Statue Atlas Skew
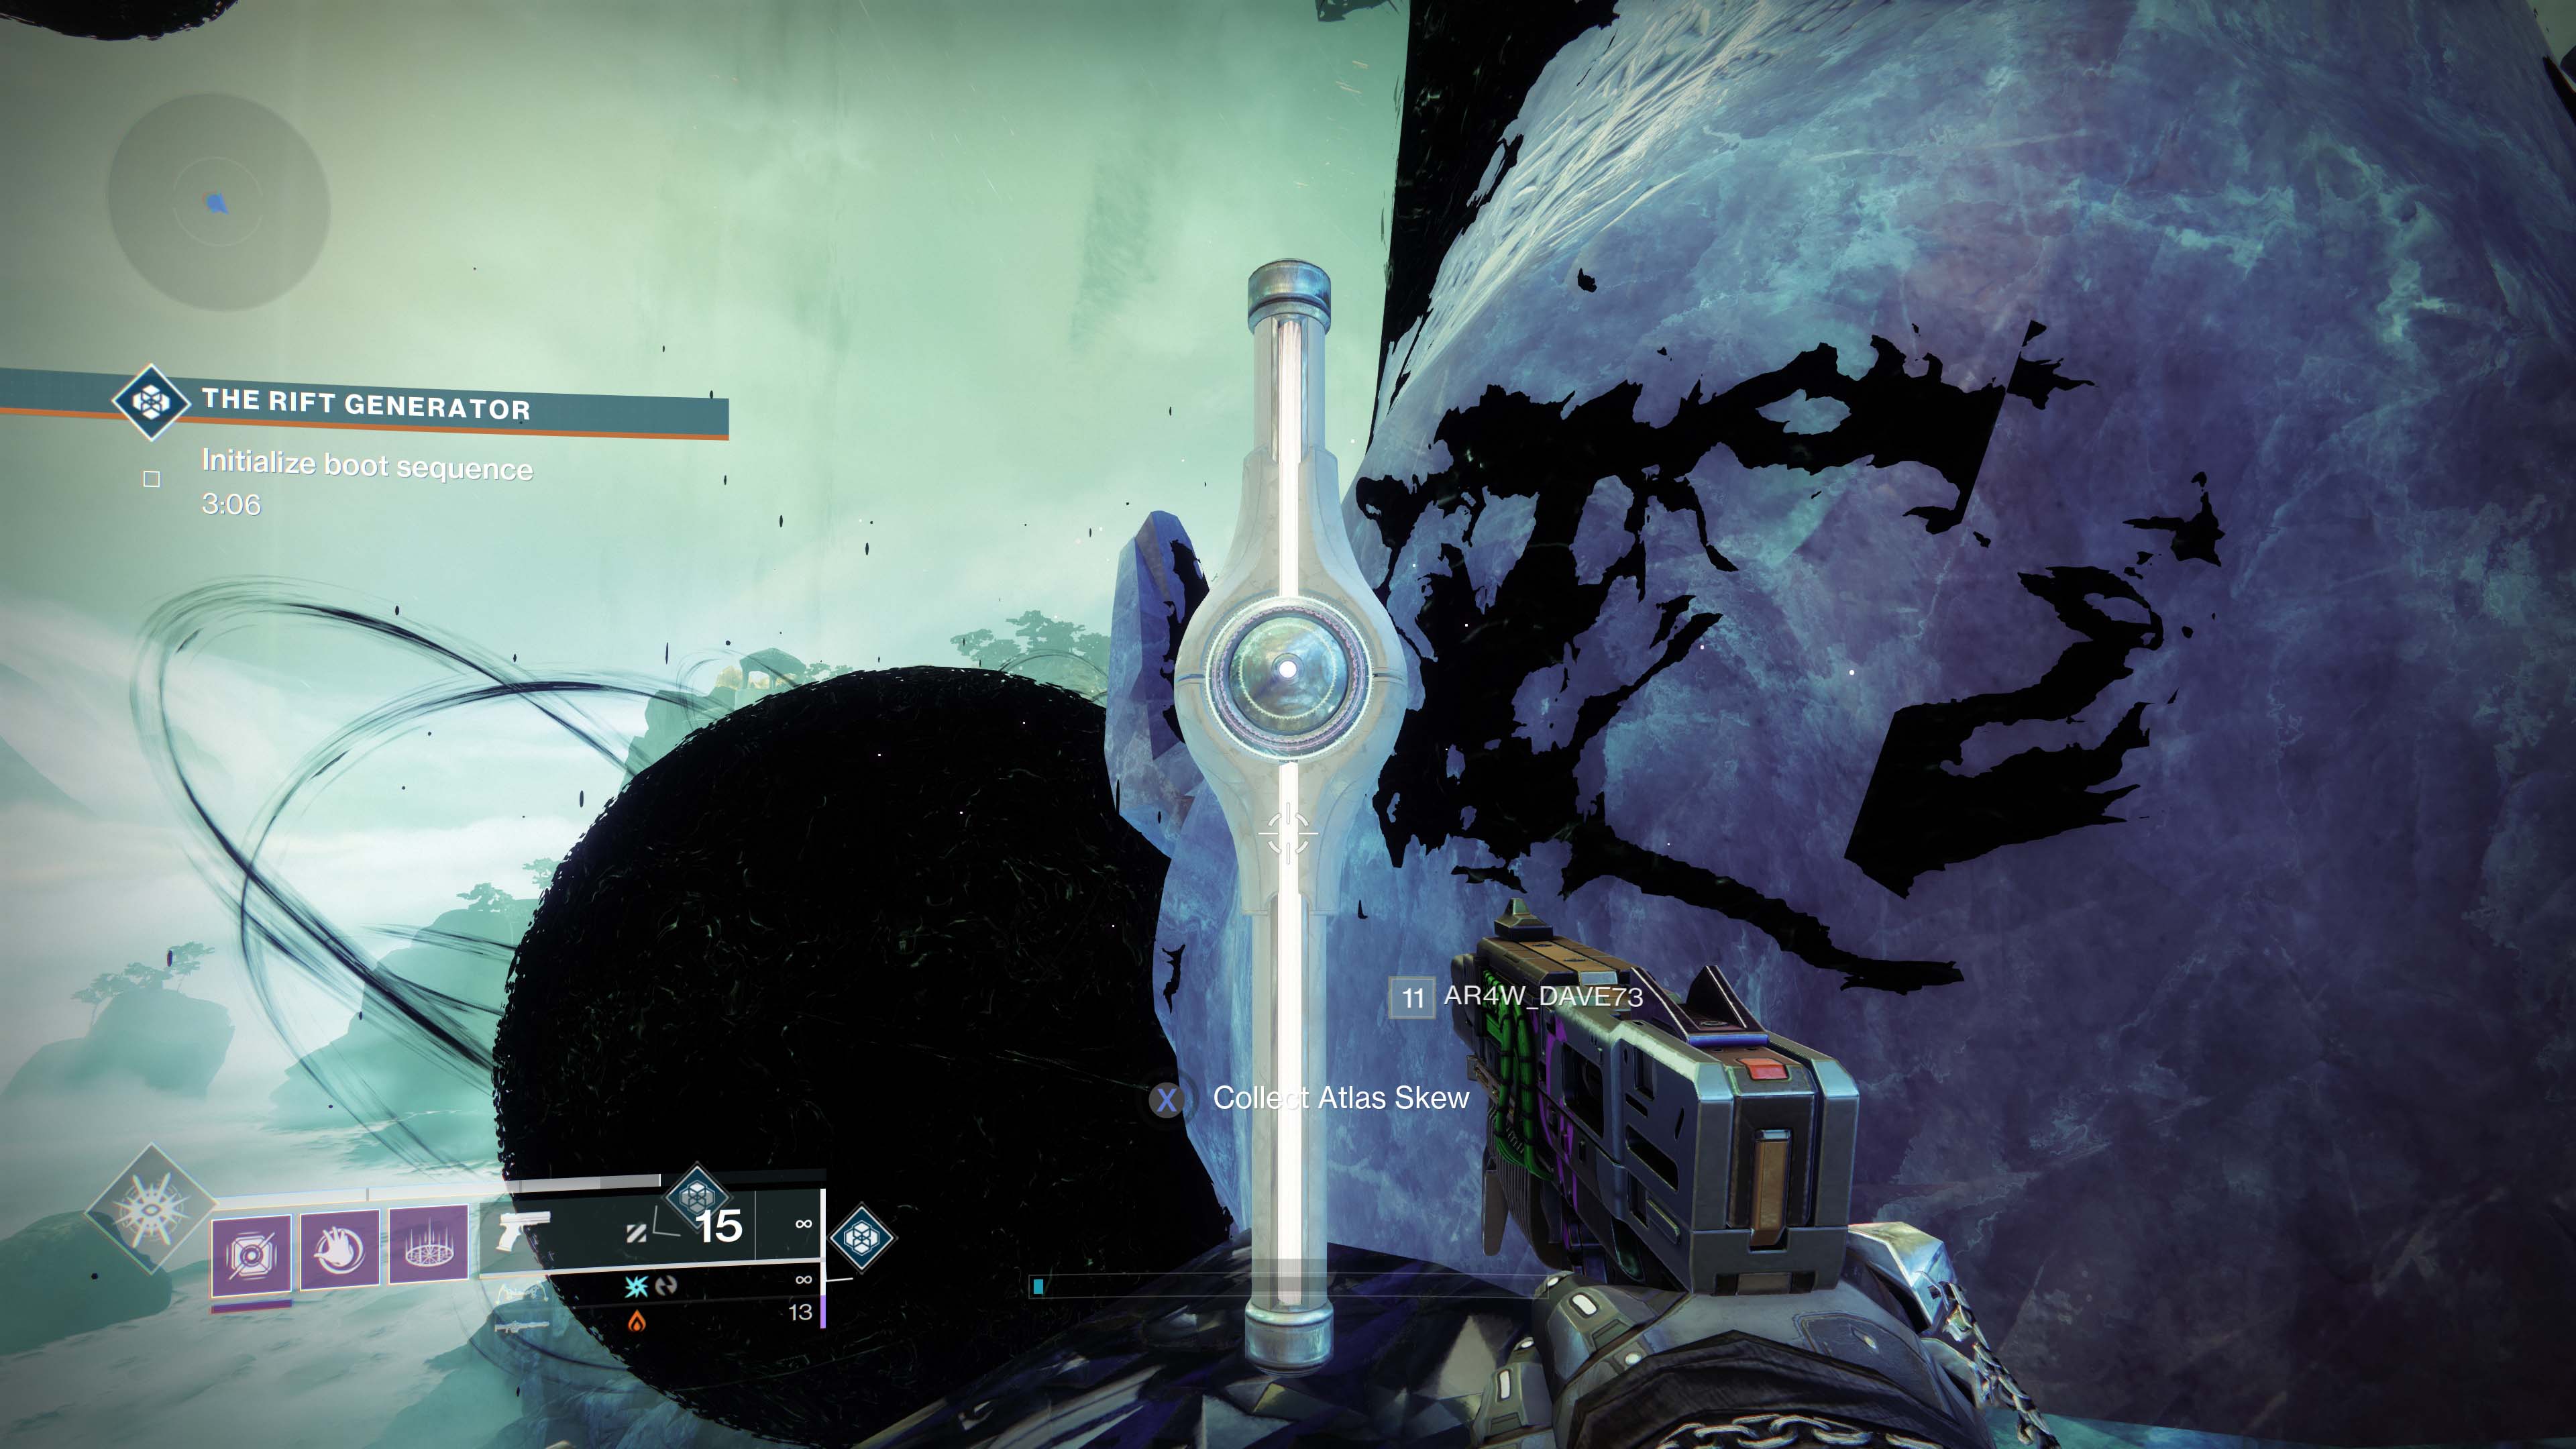
2. Strand Gazebo Statue
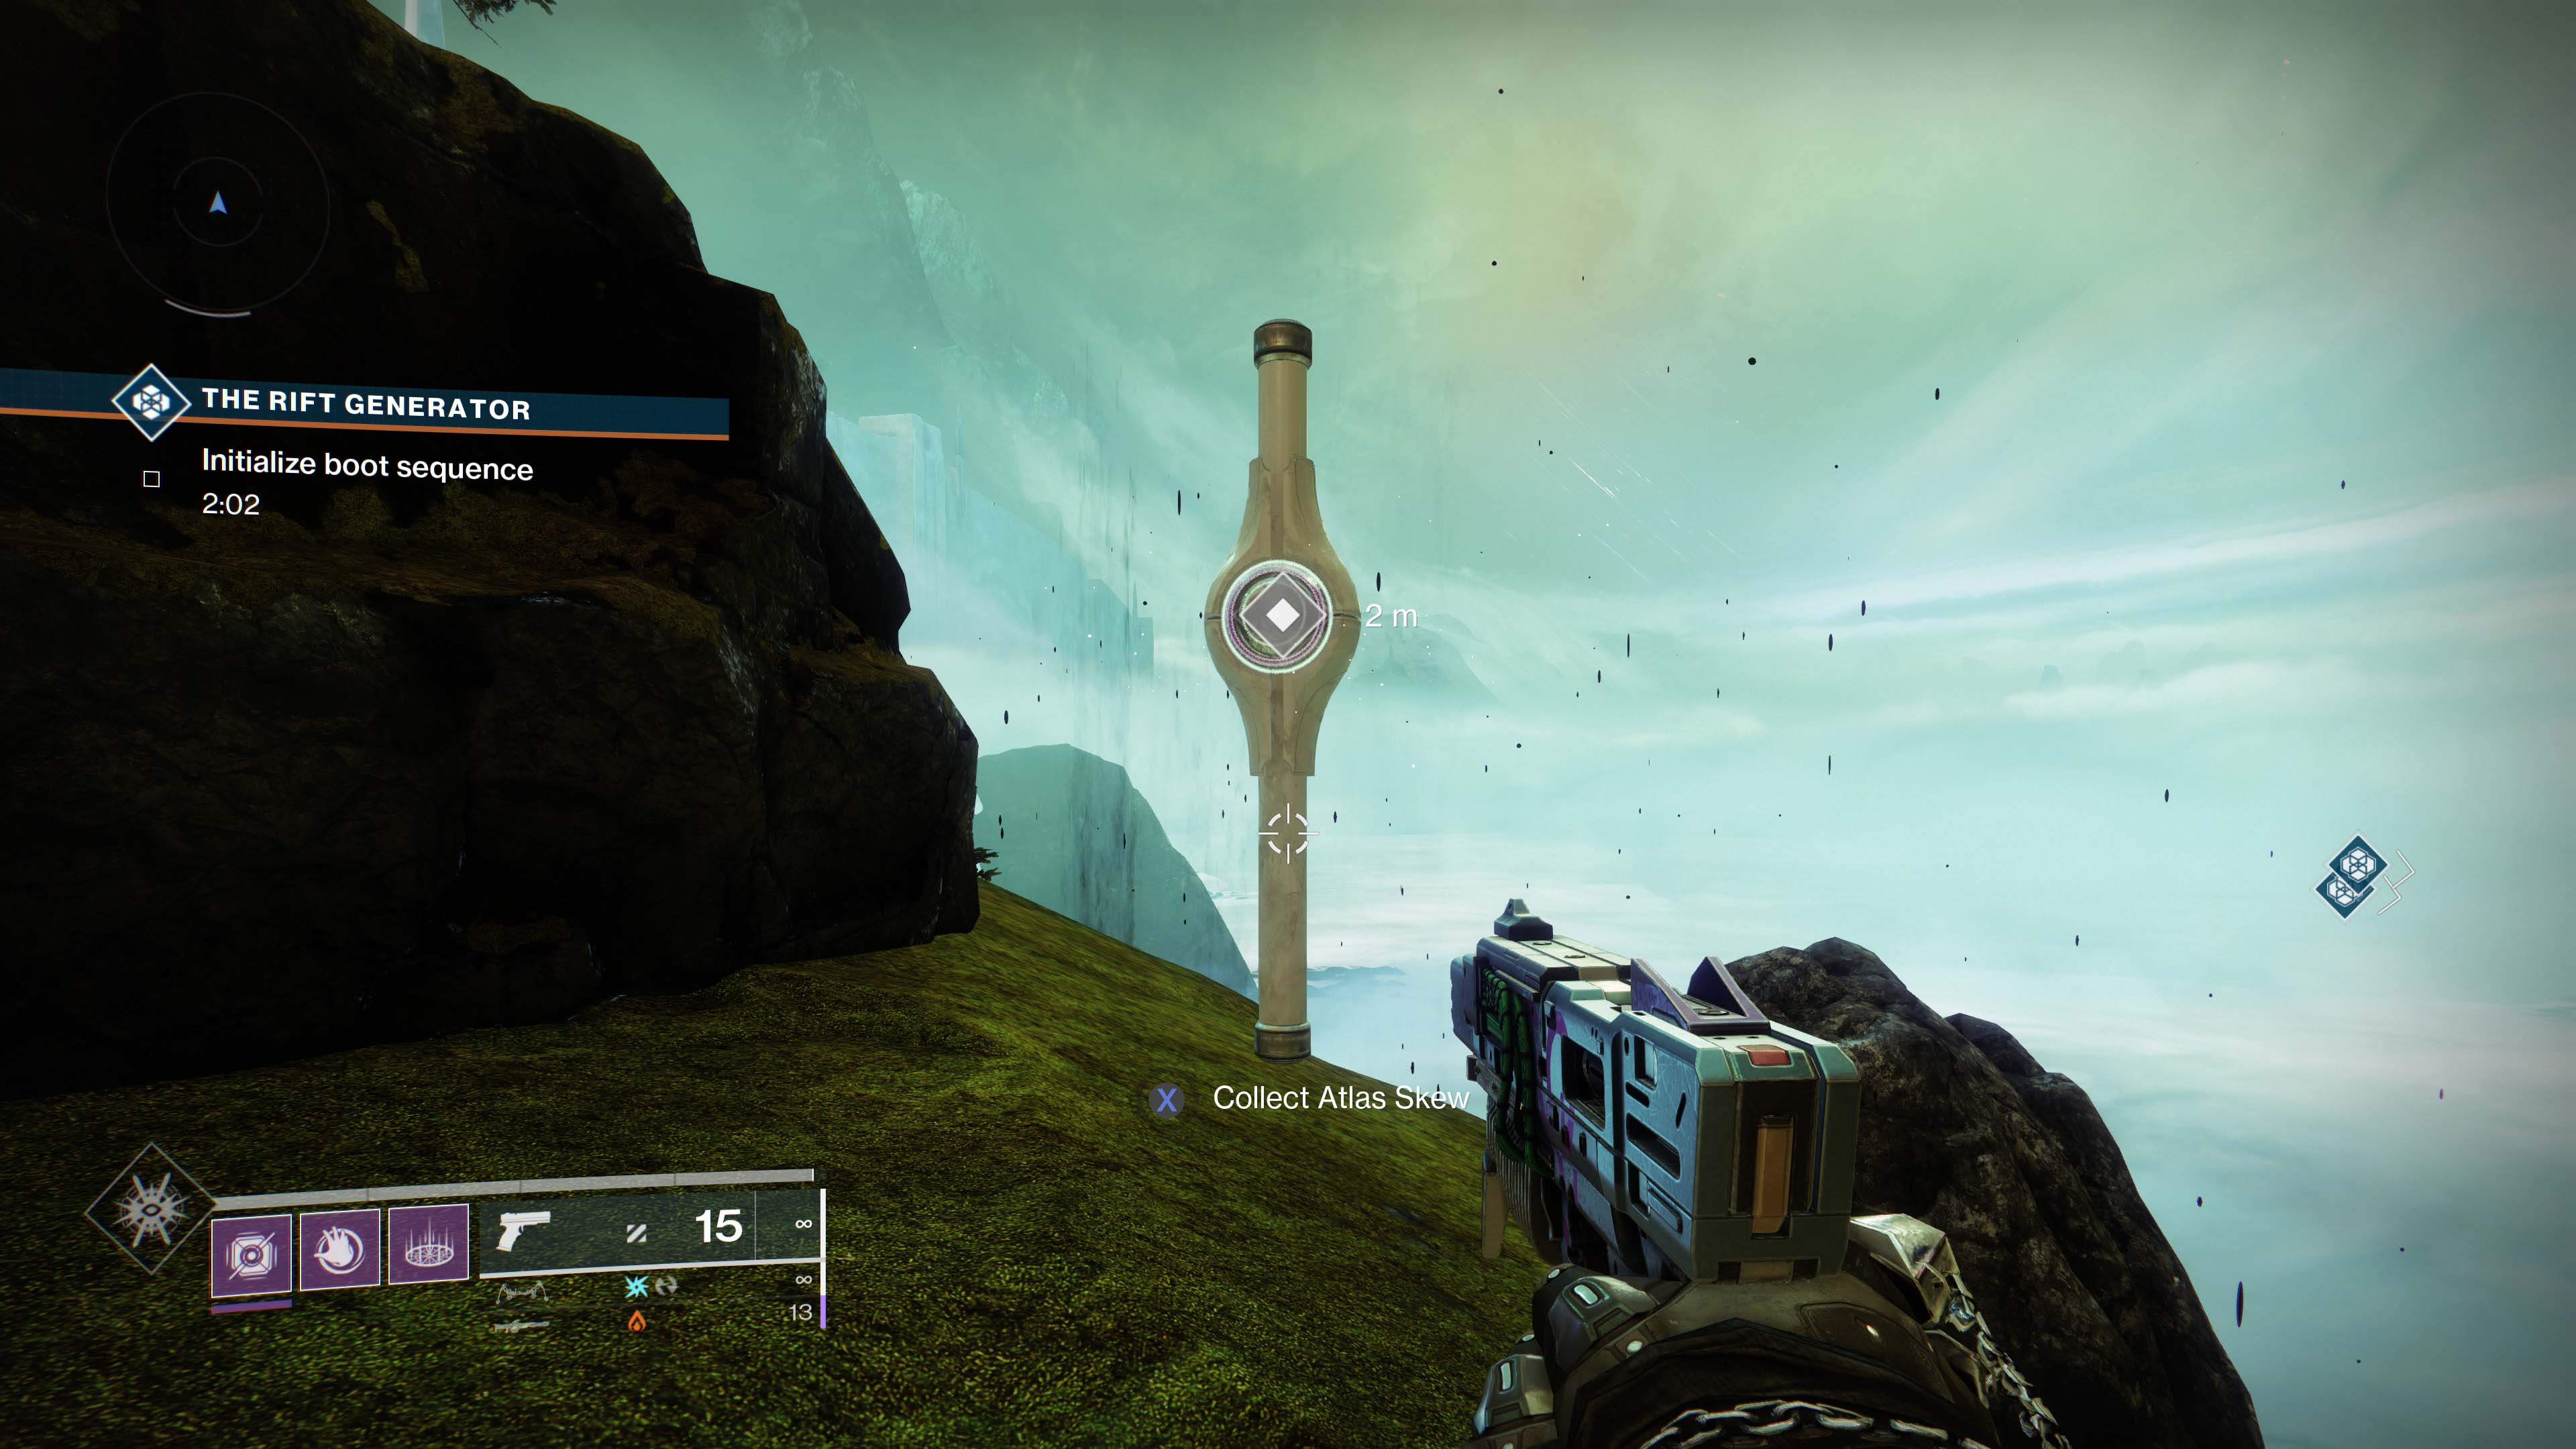
From the Towering Statue, you need to head roughly east to get to the gazebo that is across the bridge and above the entrance to the Aphelion’s Rest Lost Sector. For this Destiny 2 Atlas Skew, you need to climb around the rock wall on the left side at the back of the gazebo to reach a slightly separated rocky tower with a few trees on it. The Atlas Skew is on this rock tower.
Aphelion Brazier Atlas Skew
3. Aphelion Brazier
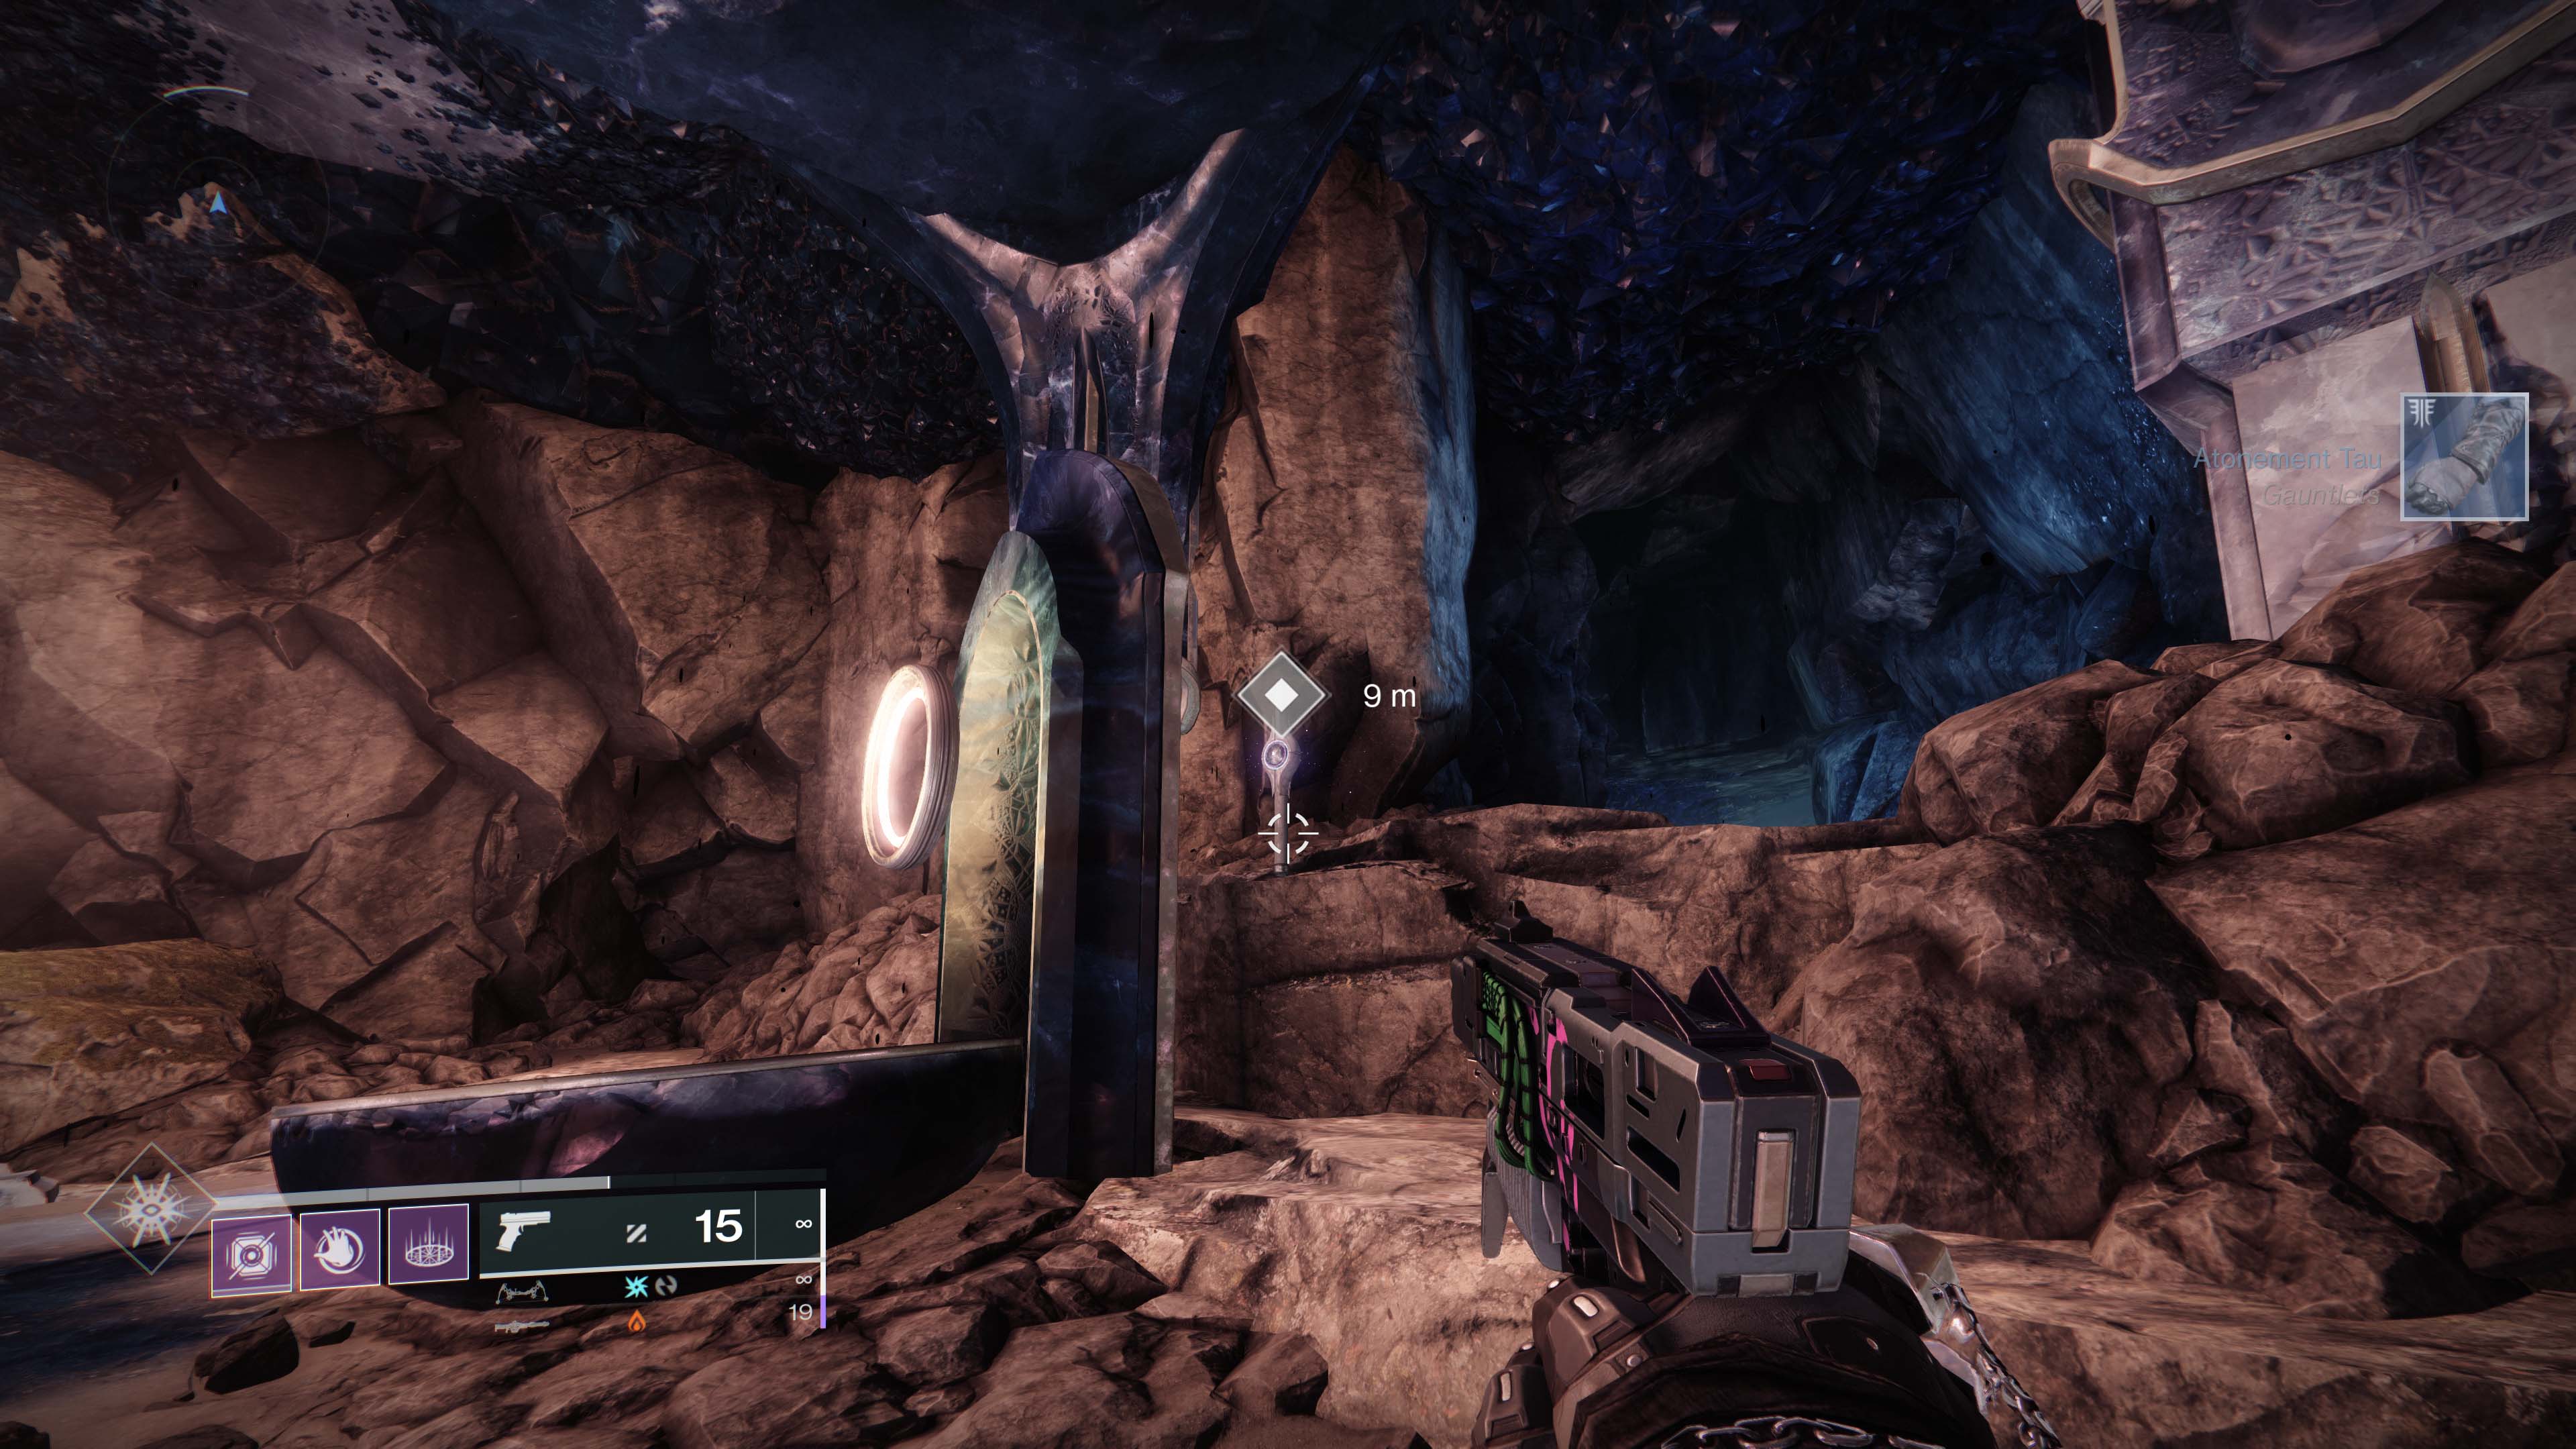
The Aphelion Brazier is the easiest of the Atlas Skews to get in Destiny 2 since it is almost impossible to miss. From the Strand Gazebo, jump down into the mist and find the entrance to the Aphelion’s Rest Lost Sector that is in the rock wall. Simply progress normally through the lost sector and you’ll find the Atlas Skew at the back of the final room behind a brazier on the raised section.
Garden Waterfall Atlas Skew
4. Garden Waterfall
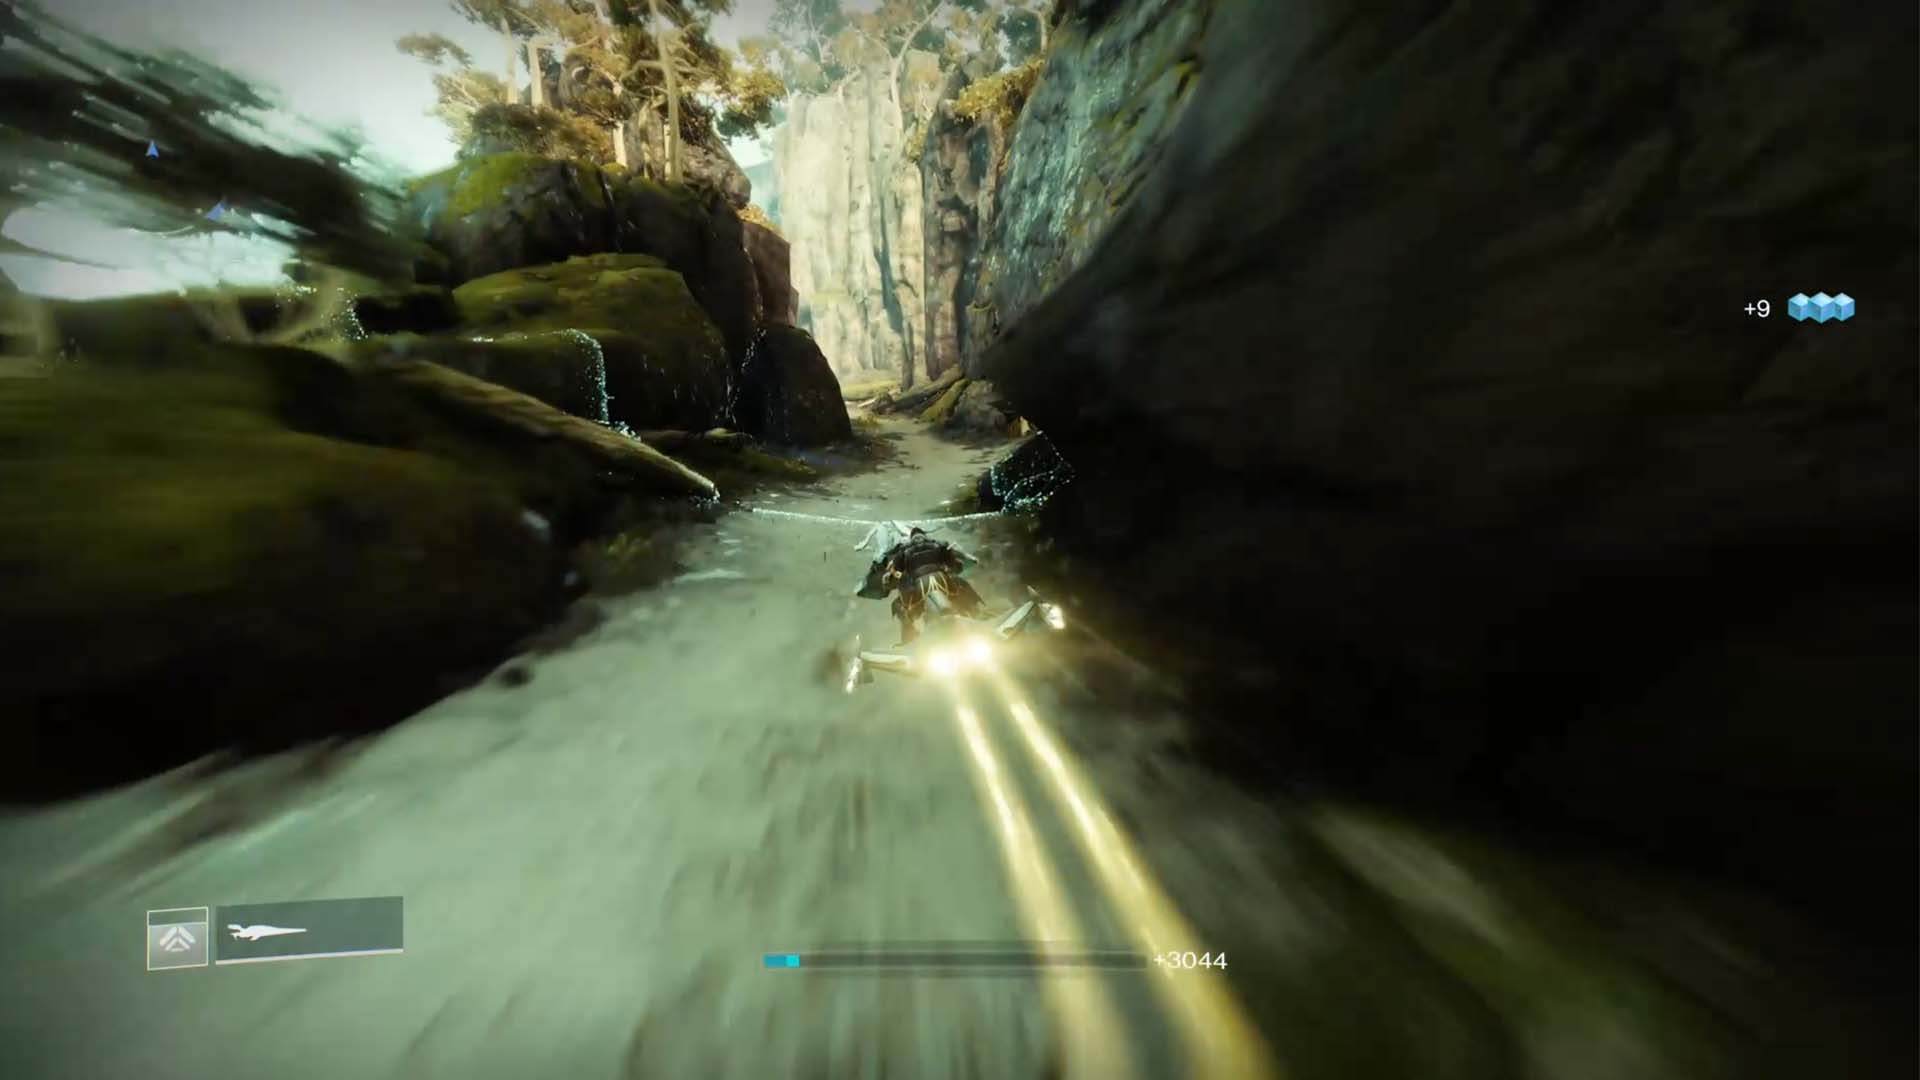
For the next two Atlas Skews, you need to get to the Gardens of Esila. To get there, you need to head back to the entrance cave that leads into the Strand from the Divalian Mists in Destiny 2. Once you’re back here and looking at the Towering Statue, you need to turn right and head up the hill pathway which will have some Scorn and Taken enemies on it. Once you’re at the top of the hill, turn right again and go through the Awoken temple path. Eventually you’ll emerge outside in the Gardens of Esila.
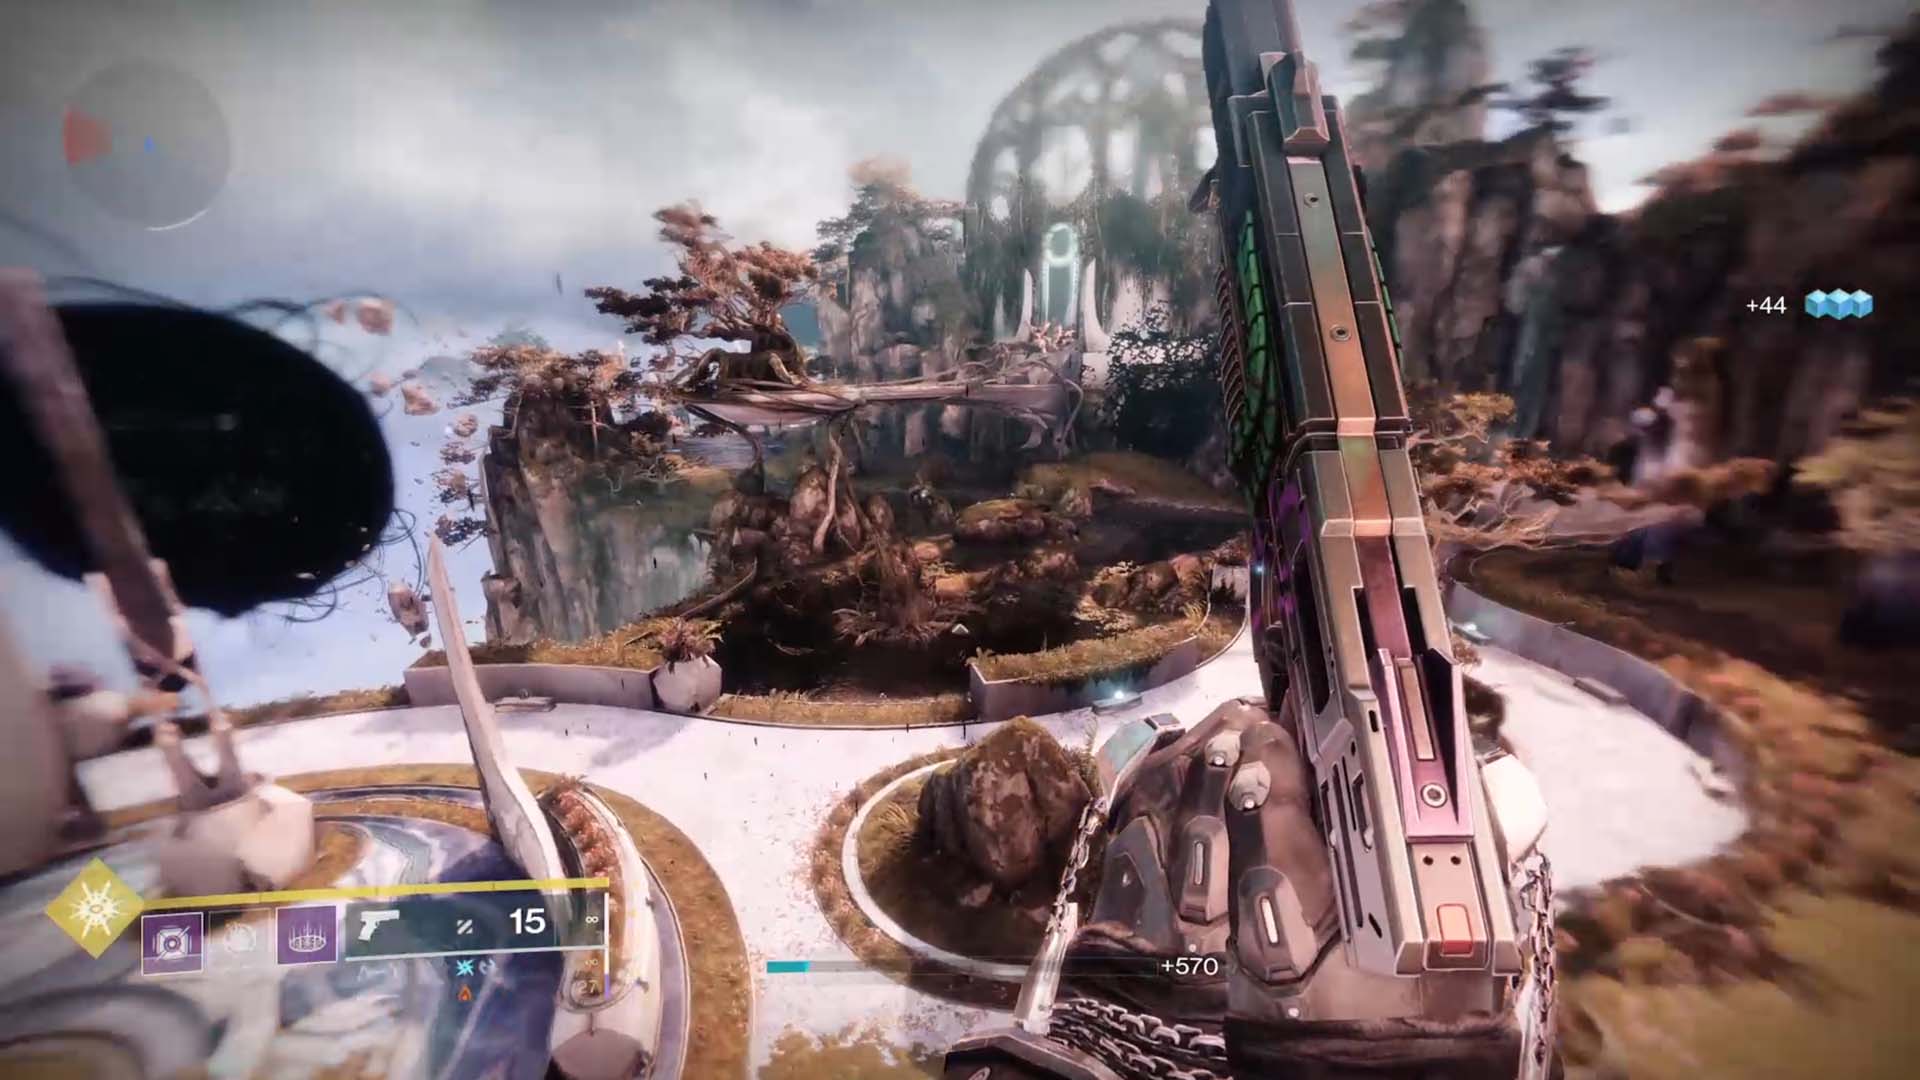
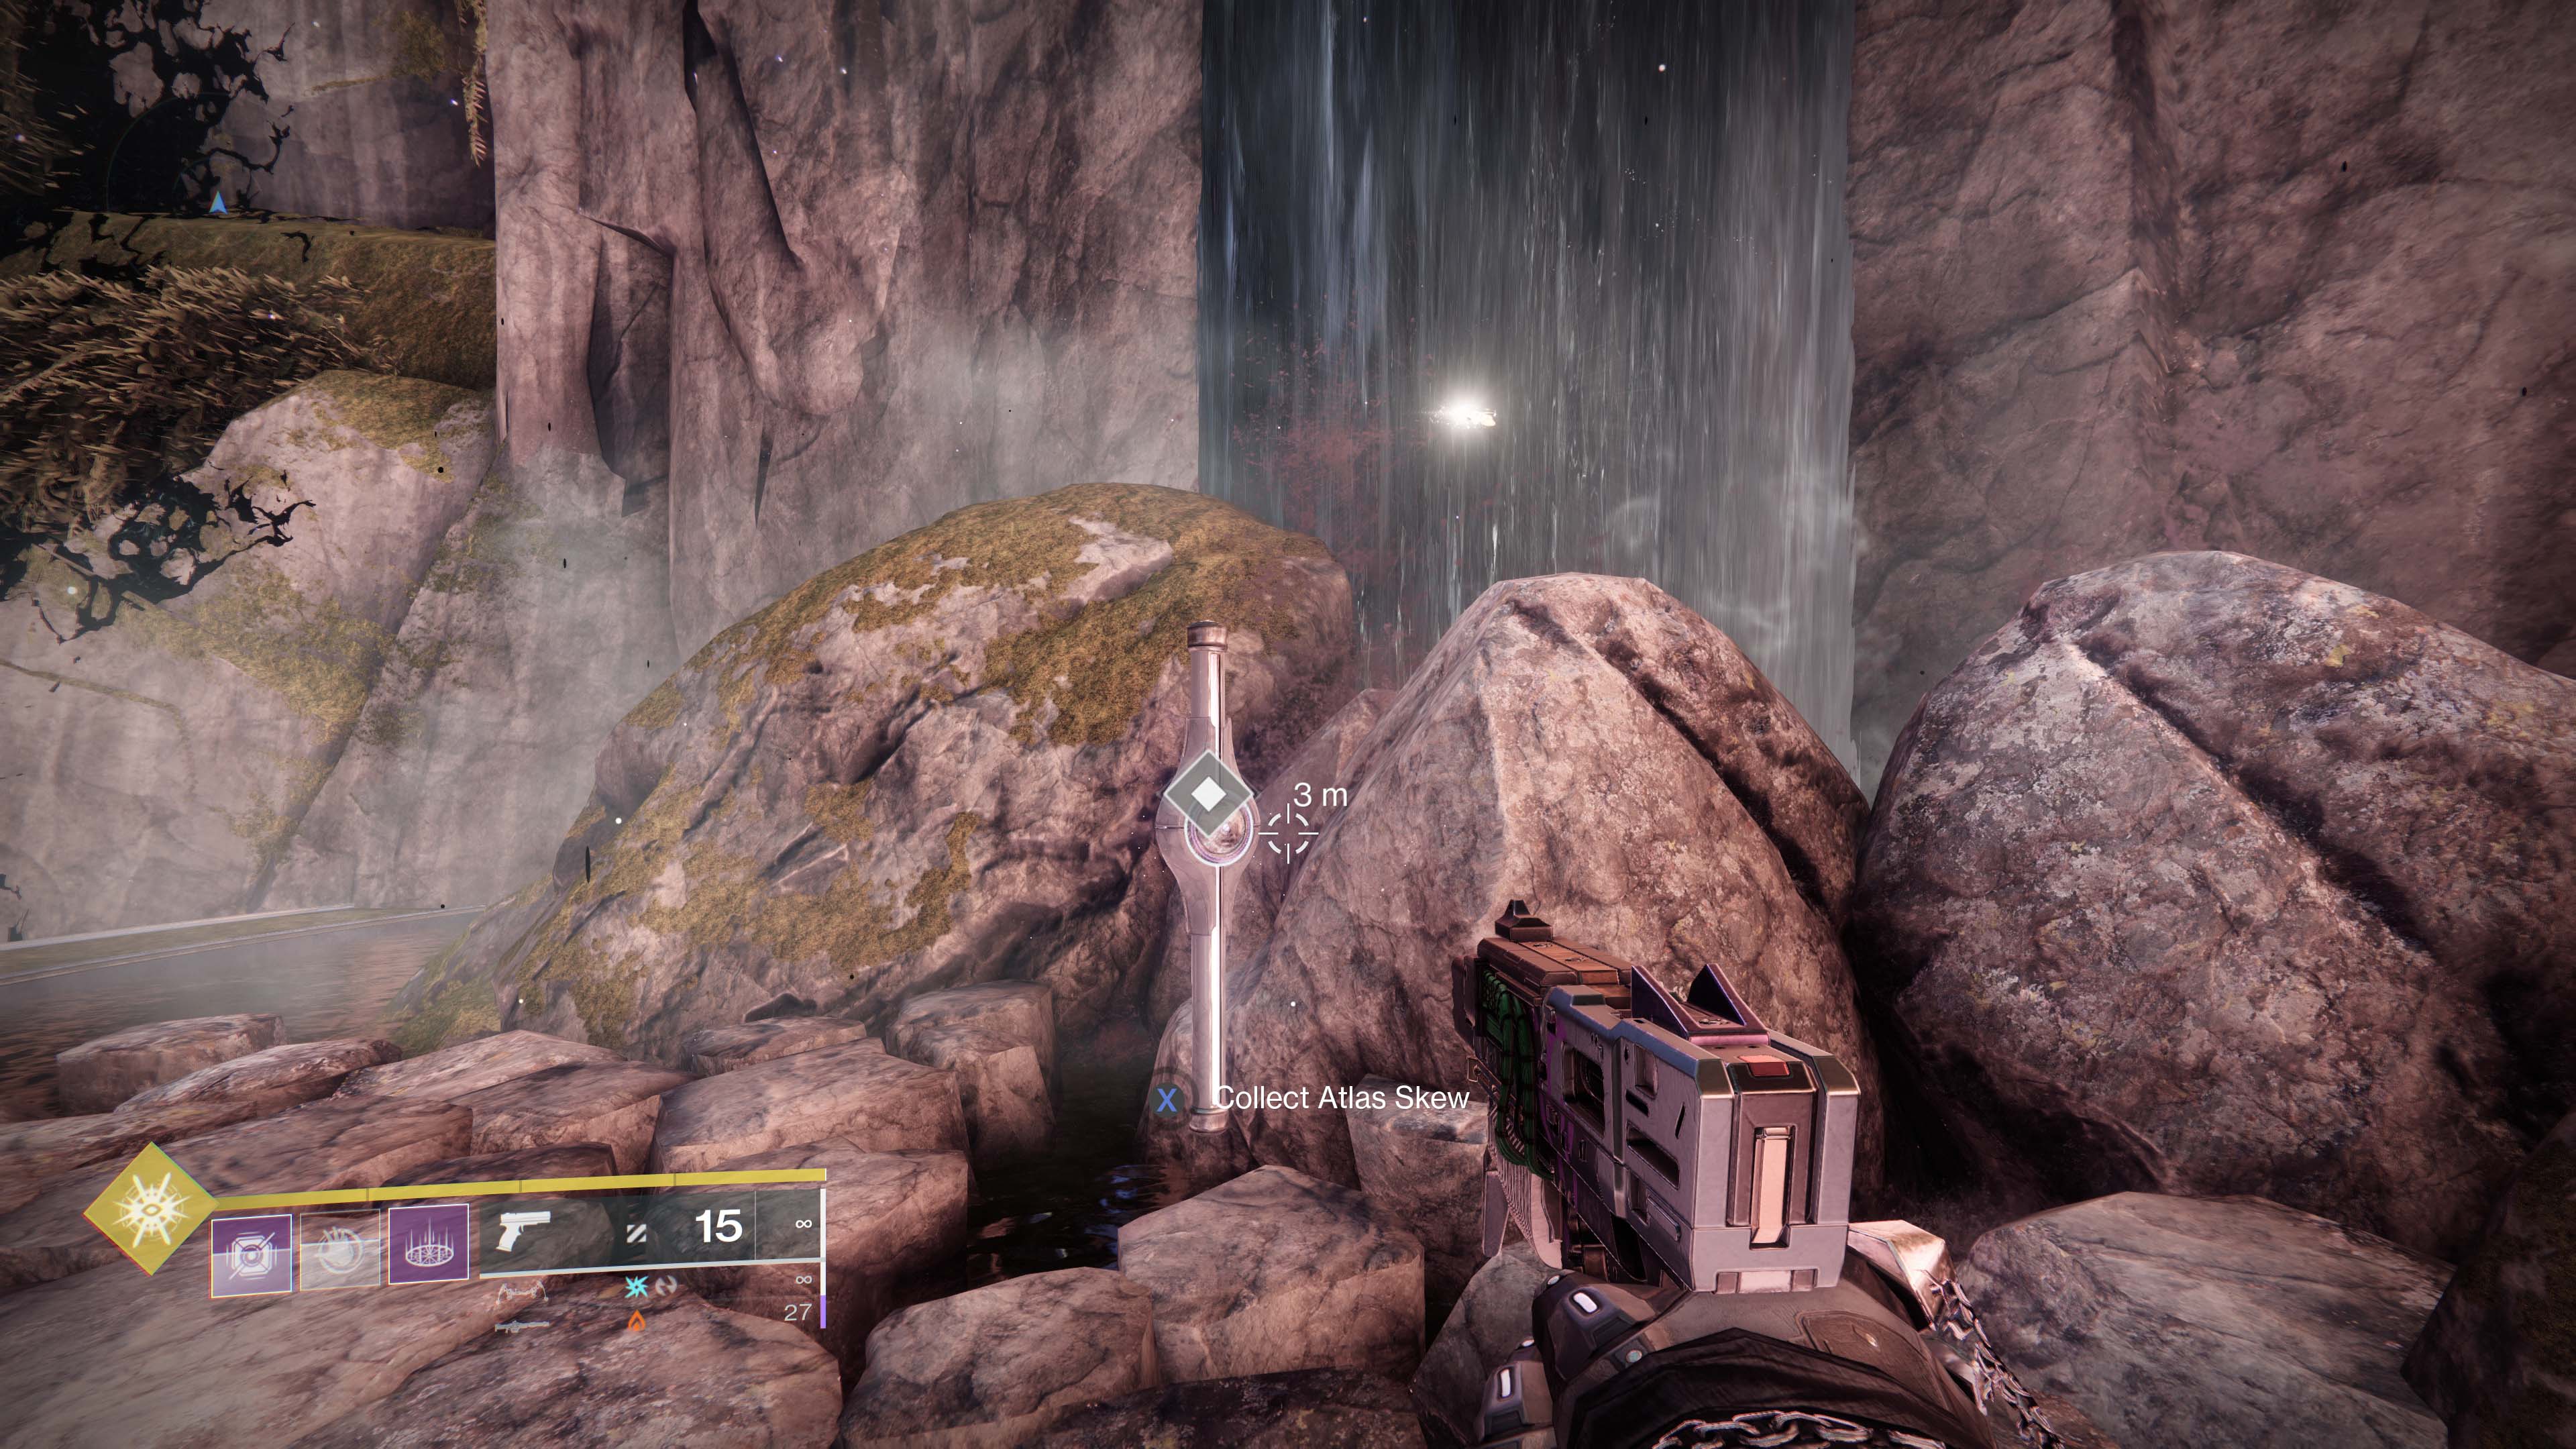
Keep following the gardens’ natural path until you reach a large open area with lots of trees, an elevated bridge that leads to a large, dome-shaped building on the right. You’ll be able to see a waterfall running down the rock wall on the right. The fourth Atlas Skew is in front of this waterfall.
Garden Bridge Tree Atlas Skew
5. Garden Bridge Tree
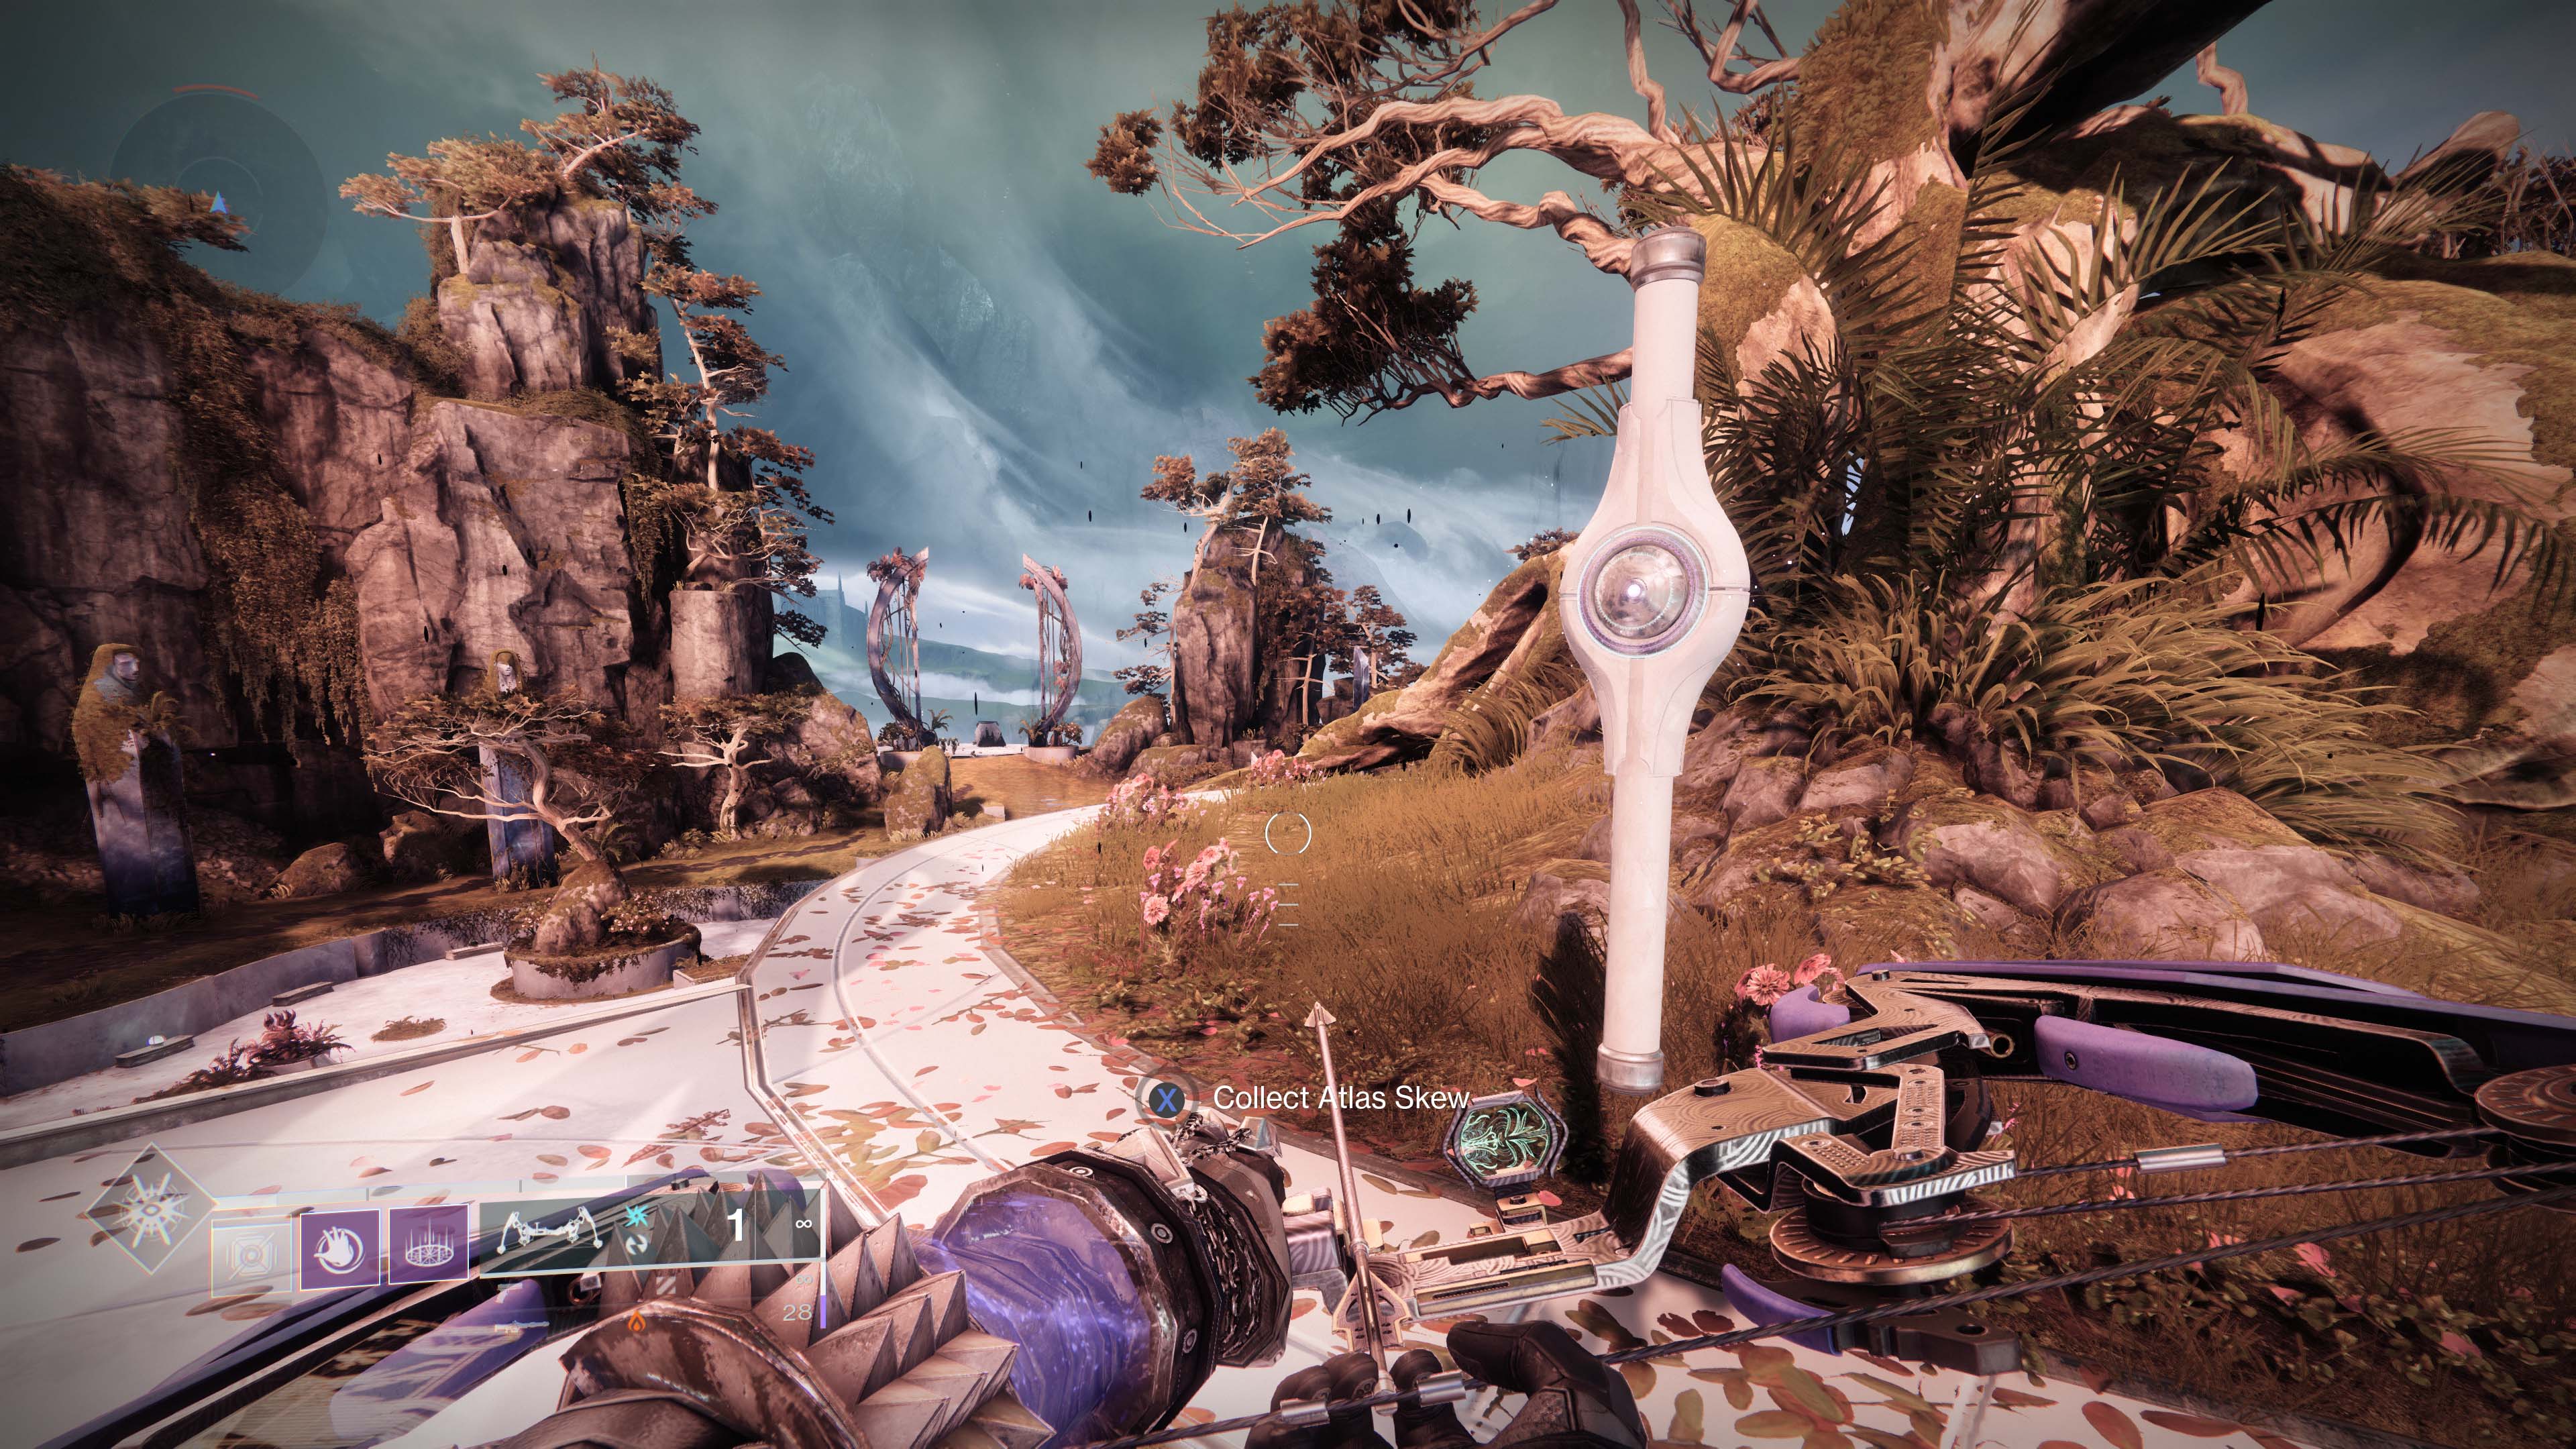
For the fifth and final Atlas Skew for Tracing the Stars 2, you need to stay in the same area of the gardens as the previous Atlas Skew and get on top of the bridge that leads to the dome-shaped building in Destiny 2. There are plenty of large rocks that you can use to help you climb up to the bridge. As you get onto the bridge, head to the end with the large tree on it and you’ll find an Atlas Skew right in front of the tree.
Once you’ve found all five of the Destiny 2 Atlas Skews for Tracing the Stars 2, you’ll need to deposit them at the gatehouse by starting the “A Hollow Coronation” quest mission in the HELM. Once you’ve listened to Uldren Sov’s story and Queen Mara has given you a little lesson in Awoken history, head back to the Wayfinder’s Compass in the HELM to get the Fractethyst Stasis Shotgun as a reward. Tracing the Stars still has more stages in Destiny 2 Season of the Lost, so be ready to find five more Atlas Skews next week in Rheasilvia and its surrounding areas.
Destiny 2 Tips | Destiny 2 Crucible tips | Destiny 2 Class guide | Destiny 2 Heroic Public Events | Destiny 2 Aspect of Destruction | Born in Darkness Destiny 2 Beyond Light guide | Destiny 2: Beyond Light Entropic Shard guide
Weekly digests, tales from the communities you love, and more

Will Sawyer is a guides writer at GamesRadar+ who works with the rest of the guides team to give readers great information and advice on the best items, how to complete a particular challenge, or where to go in some of the biggest video games. Will joined the GameRadar+ team in August 2021 and has written about service titles, including Fortnite, Destiny 2, and Warzone, as well as some of the biggest releases like Halo Infinite, Elden Ring, and God of War Ragnarok.
