Hateno Tower
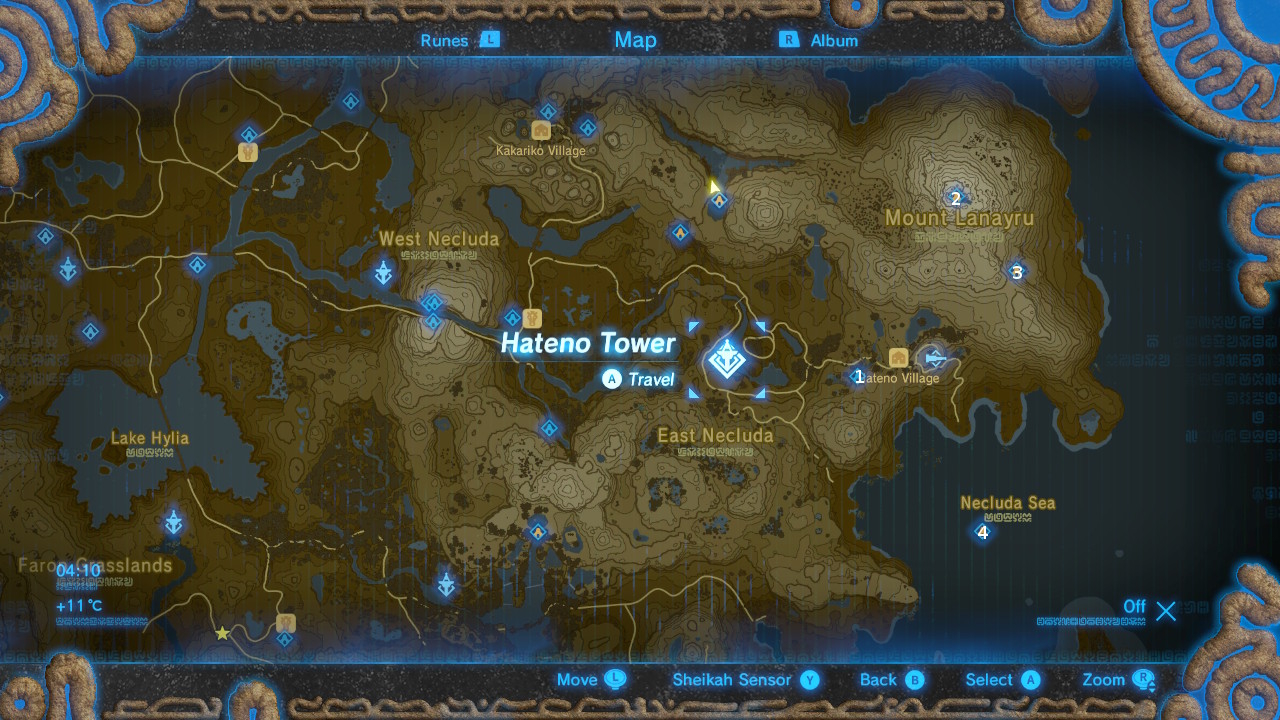
#1 - Myahm Agana Shrine
This shrine is on a small hill overlooking Hateno village. Follow the path around behind the general store to find it.
Interact with the terminal inside to take control of the platform with the maze on using the gyroscopic feature of the controller. Rather than faff about getting the orb through it, just tip the platform upside down, roll the ball down to the left, then flip it and into the corridor so that it rolls down its destination.
To get the chest, rotate the platform right side up, angle it so that the protruding part is facing you. Tilt it down so that the side facing you is lower than the terminal platform, then paraglide down and into the maze to open the chest.
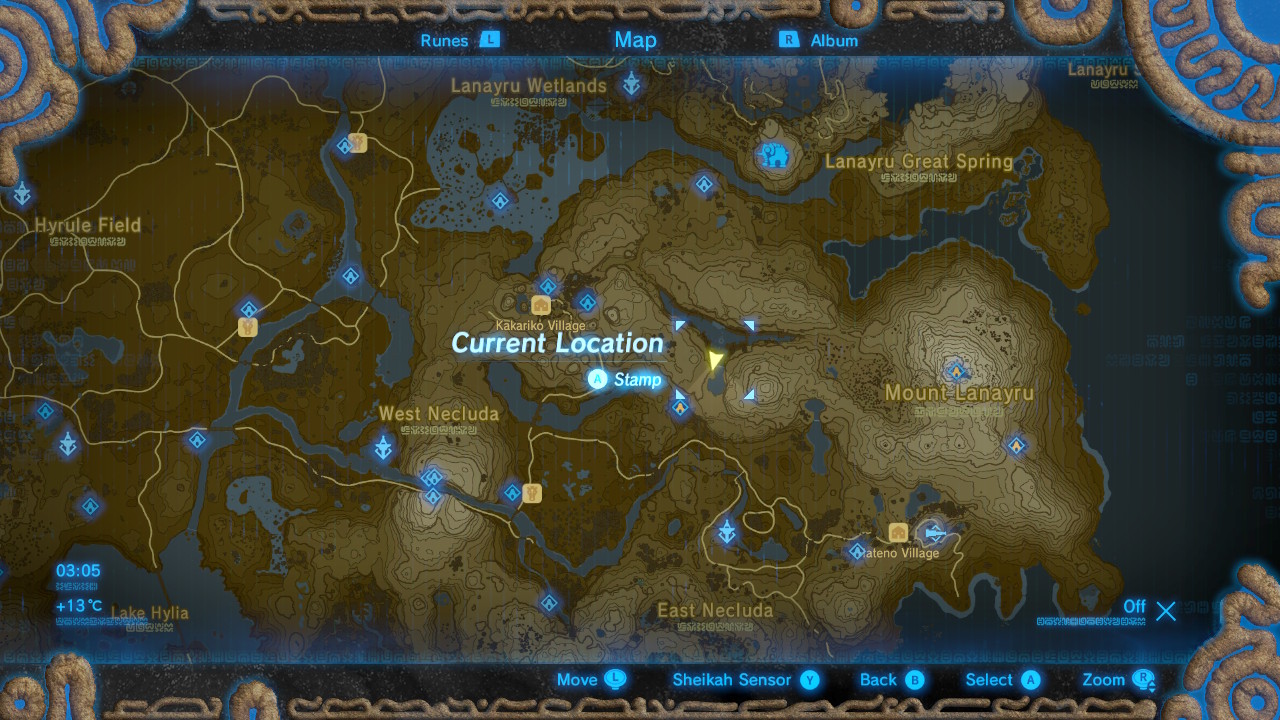
#2 - Jitan Sa'Mi Shrine
The shrine is hidden at the Spring of Wisdom, and getting inside it is the main event.

You can pick up The Spring of Wisdom shine quest from Medda in Hateno Village. Once you've done so, head to the peak of Mount Lanayru. It's too cold for your warm doublet to be of any use, so make sure you pick up the Snowquill armour set from Rito Village, or that you have plenty of healing items on hand to brute force your way up there.

Shoot at the glowing eyeball on Naydra's head and it'll fly off to the summit. Use the updrafts along the path to fly up with your paraglider, and use the slow-motion aiming mechanic to take care of the rest of the eyeballs.
Once that's done, go back to the Spring of Wisdom and shoot Naydra again to get a scale. Drop it in the waters of the spring to reveal the shrine. Stroll in and head to the altar.
#3 - Tahno O'Ah Shrine

Clavia in Hateno Village will give you the Secret of the Cedars shrine quest. Make your way to Madorna Mountain where they're located.
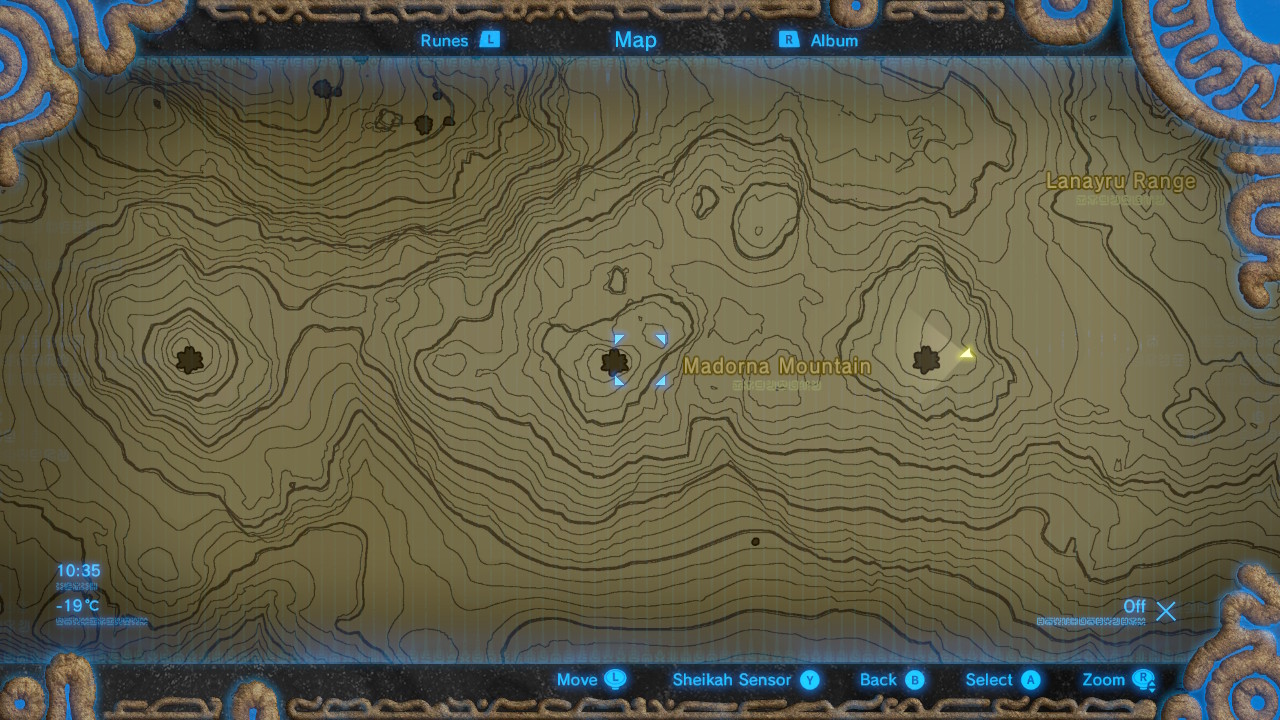
The three trees form a line, and you want to stand facing eastwards with the trees behind you, in a line.

Glide down the east side of the mountain until you see a copse of trees on a plateau.

Blow up the destructible wall here to reveal the shrine. Finding it was the puzzle, so you can swan in and head straight to the altar to clear it.
#4 - Chaas Qeta Shrine
You can reach this shrine by gliding over from a high point on the coast. The challenge in here is to defeat a Guardian Scout IV, which has the highest HP of the four models. All three of its weapons are '++' and it has 3,000 HP.
The melee attacks are easy enough to avoid, and if you've nailed the Flurry Rush technique, now's the time to use it. Ideally an ancient weapon will be best for this encounter if you have one.
The Scout also has a spinning attack which isn't very easy to dodge, so hiding behind a pillar so that it bumps into it and stuns itself is a good way to land some more blows.
The spinning laser attack is very easy to avoid and can be stopped with an arrow to the eye. If you do get caught up in it, the attack creates an updraft allowign you to escape.
Things get really hairy when it busts out the laser attack, and as there are almost instantaneous consecutive bursts, you'll struggle to avoid them. Parrying the beam with your shield or rushing in to take it down while the laser is charging are your realistic options here.
There are ways to cheese Guardian Scout fights, and there's no shame in that. Freezing or shocking them, and following up with the strongest weapon in your arsenal to maximise the triple damage bonus after freezing is a good method, as is using your own charge attack, spinning around the Scout's body as you go. Just be sure to dodge any melee attacks before going in for another spin.
#5 - Mezza Lo Shrine

Talk to Kass near the orange platform here to start The Crowned Beast shrine quest.

Sneak up on a mountain buck using the stealth armour from Kakarko Village or stealth elixirs. Be sure to stay out of its line of sight as well as keeping the noise down. Once you've wrangled one, ride it to the pedestal to make the shrine appear.
Inside the shine, hit the crystal three times to move the platform, drop a bomb next to it, step onto the platform and detonate the bomb next to the crystal. This will move you to chest platform.
Open the chest then use Magnesis to drop it onto the floor switch on the platform with the fence around it to open the door leading to the altar.
Go back to the crystal and hit it three times to move the platform back around again so that you can stand on it. You now need to activate the crystal three times while standing on the platform to reach altar.
Drop a bomb next to it, which we'll detonate last. Use Stasis on the laser beam emitter, use Magnesis to move the metal block out of the way, and get yourself onto the platform sharpish. Once Stasis wears off, the platform will move once.
Use your bow to hit the crystal with an arrow to move the platform a second time.
Now detonate the bomb to move it a third and final time, and stroll over to the altar to clear the shrine.
#6 - Dow Na'Eh Shrine
If the Lanayru east and west gates are the ovaries, then this shrine is hidden next to the waterfall in the cervix. Blame the map designers for this, not me.

There's a cave to the right side of the falls that you can reveal by blowing up the destructible wall. Head inside to find the shrine.
Once you're in, you need to get all three chests onto the floor switch. Use Magnesis to fish the first one out of the water, use it again to get the second one off the lift, and to get the third one off the wooden ledge, either cut the ropes using arrows, or set the ledge on fire.
Pop the metal cube that you now have access to, onto the lift. Ride the lift up, then when it goes back down, drop onto the top of the metal cube. When it move back up again, you'll be able to reach the platform with the altar on.
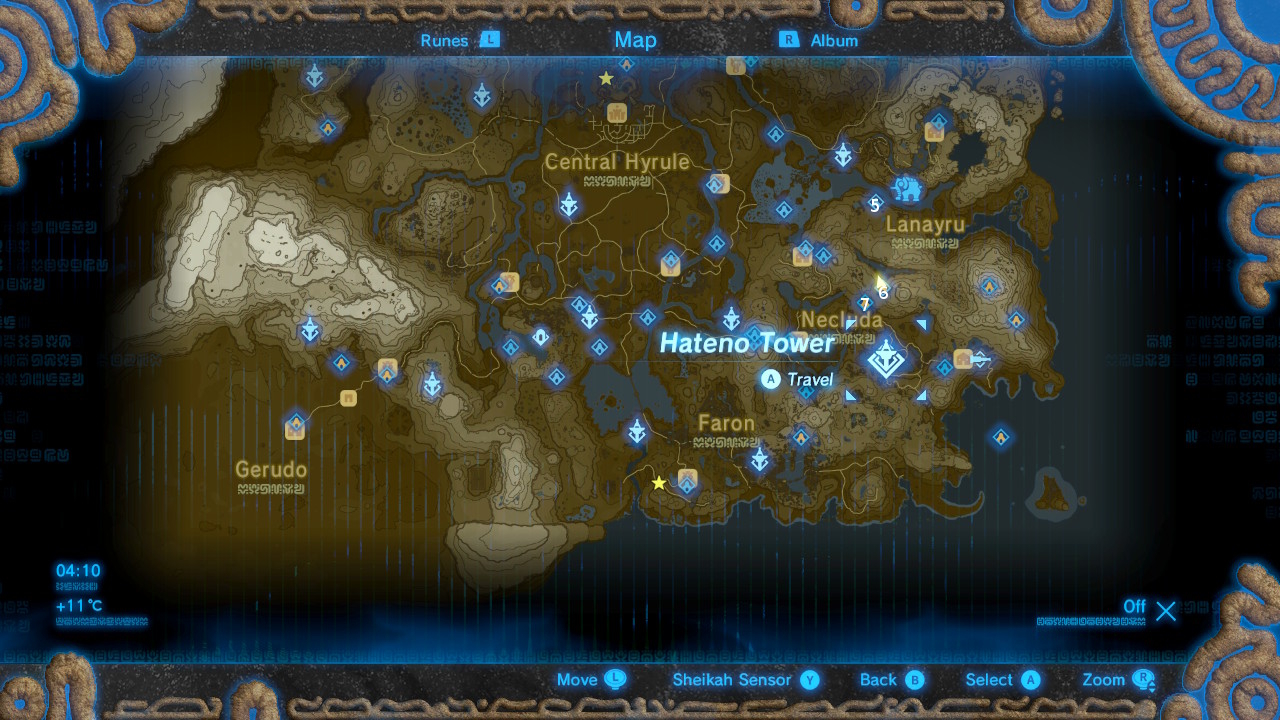
#7 - Kam Urog Shrine

Talk to Calip at Fort Hateno to get The Cursed Statue shrine quest. If he's not in his house, sleep in his bed until morning, and he'll be appear.

Follow him to the canyon full of statues and wait until nightfall (9 p.m.). One of the statues here will have glowing purple eyes, so hit its face with an arrow from your bow to reveal the shine.
As with all shrine quests, you don't have to speak to the quest-giver beforehand.
Inside the shrine, head down the ramp to the doorway and wait until a block is going by. Nip inside and stand on its left side so that when it rotates around, it becomes a platform that you're now standing on.
Walk along it and hop onto the central cog. From here you can reach the chest on the floating platform by gliding down to in once it's underneath the cog. The second chest is on a ledge next to the cog. Glide own to reach it and then get yourself back onto the cog to proceed.
Use Magnesis on the wall cog to stop the platforms from rotating, and use them to reach the ledge in the corner. Now jump onto the wall cog and use Magnesis on it again just before you reach the platform that leads to the stairs. Now you can climb the teeth of the cog with no hassle and hop over to the foot of the stairs.
Now wait at the top of the steps until the middle section of the stairs rotates around. Use Magnesis on the cog again and walk up to altar on the next level.
Jump to section: