3D Dot Game Heroes Apple Shard, Magic Up and Small Block Guide
Track down all of 3D Dot's collectibles and become the ultimate 8-bit hero
Weekly digests, tales from the communities you love, and more
You are now subscribed
Your newsletter sign-up was successful
Want to add more newsletters?
Join the club
Get full access to premium articles, exclusive features and a growing list of member rewards.
# 13) From the far bottom right tile of the map (the one with the Desert Temple on it) head West to the next tile. As soon as you get onto the next tile, go up to the north tile (the entrance should be just north of where you entered.) From there head West, and don't go up any of the stairs. Soon you'll find a bombable wall with a chest inside. The chest contains your glorious bounty.
# 14) Head West from Jim's Shack in the Flame Zone. In the next screen, go up the stairs and use the Wire Rod to cross the river. Go left until you can't go any further left then head south. YourApple Shard is in a chest in plain sight near the river.
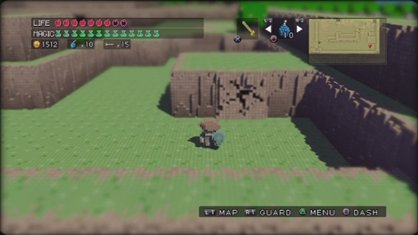
# 15) Go down the stairs directly south of Wardna's House (the house can be seen through the trees from the stairs.) Go right past the long series of bushes until you see a bombable wall. Blast open the wall to find yourApple Shard.
Article continues below# 16) In the Grass Temple there is a Red Door that can't be opened by normal keys. You may purchase a Red Key (1000G) from a salesman at Jim's Shack in the Flame Temple zone.
# 17) In the Flame Temple there is a Blue Door that can't be opened by normal keys. You may purchase a Blue Key (1000G) from a salesman at Jim's Shack in the Flame Temple zone.
# 18) In the Desert Temple there is a Green Door that can't be opened by normal keys. You may purchase a Green Key (1000G) from a salesman at Jim's Shack in the Flame Temple zone.
# 19) Directly south of the Tower of Darkness there is a chest up on a ledge which contains an Apple Shard. You'll need the Miracle Boots to get there.
Weekly digests, tales from the communities you love, and more
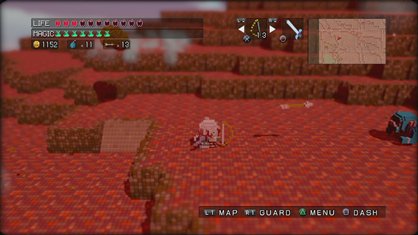
# 20) Beat the Dash Circuit in Raejack Village (guy in the shop next to the Blacksmith, becomes available after beating Grass Temple) in less than 25 seconds.
# 21) Beat the Dash Circuit in Colneria (old man in the Inn, becomes available after beating Water Temple) in under 80 seconds. Both Dash Circuits are likely to cause you extreme headaches and may cause you to smash your controller. Attempt at your own peril.
# 22) Near the Wind Temple inside a bombable cave on the bottom left tile of the overworld. Instead of grappling East in the spot that will take you to the Wind Temple, head north and later west around the cliff face. You'll soon be able to use the Anchor Rod to advance west, although you may not realize it right away. The pole you need to grapple to can't be seen in the default camera view. Go into the options menu and change your camera angle, and you should be able to see it. Then head north to the cave up ahead.
# 23) There is an Apple Shard at the bottom of the Flame Temple zone inside of a cave. You'll need to use the Anchor Rod to grapple north over some lava.
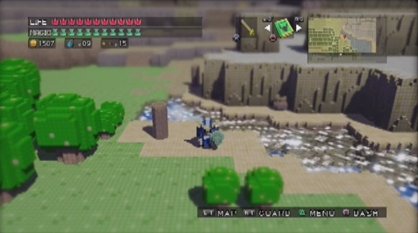
# 24) Directly North of the Grass Temple there is a spot where you can cross the river using the Anchor Rod. After you cross go west and there is a chest just below the path that leads into the next map tile.
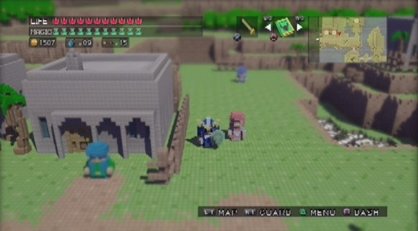
# 25) This one is a rather long quest chain. It begins by talking to the girl who made the Spa out of the Spa Powder in Colneria (after you beat the Flame Temple). She's standing still next to the two blank houses. She'll request three ingredients from you. The first is obtained from a girl in the northeast of Raejack (natural herbs). The second requires you to pay one of the men in Wardna's House for Cypress. And finally the third is the closest man to the entrance who can give you the Elegant Stone. Return these items to the girl in Colneria to get your piece.
# 26) From the tile that holds the Desert Temple, head west into the next tile. And similarly to Apple Shard #13 head North as soon as you enter the next tile. Only this time, head up a few sets of stairs until you can go Westward out onto the plains. From there get down onto the lower levels of the donut-shaped lake, and Wire Rod your way across the gap. Get the two chests, one of which contains Small Block #19, and continue South to use the Fire Rod and collect your Apple Shard.
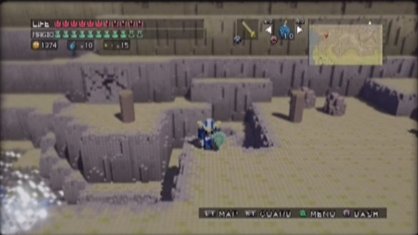
# 27) Head North out of Raejack Village to the place where bombable rocks block your path. Bomb the rocks and continue North. The path will twist a bit, but just continue North even if it requires that you use lateral motion. You'll come to a sign that says “Danger Ahead.” Go up the stairs and go West, then North and you'll see a bombable wall that requires the Anchor Rod to cross.

 Join The Community


