How to be better at Geometry Wars 3: Dimensions
Anyone who's played it or read our Geometry Wars 3: Dimensions review will know just how brilliant this game is. But are you brilliant at Geometry Wars 3: Dimensions? Now there's a question. If the answer is "hell no!" then you'll be pleased to hear you're about to get a LOT better. The following ten tips are listed in order of difficulty. So the easiest tip is first, then they get progressively more specific until we're talking about expert strategies by the end. That way, you can check back as you progress and keep learning more. Oh, and underneath this gallery, you can watch your humble narrator 3-star all of the game's bosses to see how all this works in the real thing. Your friends' leaderboards won't know what hit 'em...
1. Collect as many green things as you can
This is the singularly most important thing you can do to improve your score in Geometry Wars. Almost every time you kill an enemy, they'll leave behind a little green gem, known as a geom. If you move your ship to where it's floating before it disappears, you collect it and its value is added to your score multiplier.
That means that every subsequent kill you perform is worth more points than it would have been had you not picked up the geom. And, as you can see from the screenshot up there, there are loads of geoms to collect in each level. Hundreds. Sometimes thousands. So the more you collect, the more your score will rocket up. Always be looking for loose geoms. Always.
2. Upgrade the COLLECT Drone a.s.a.p.
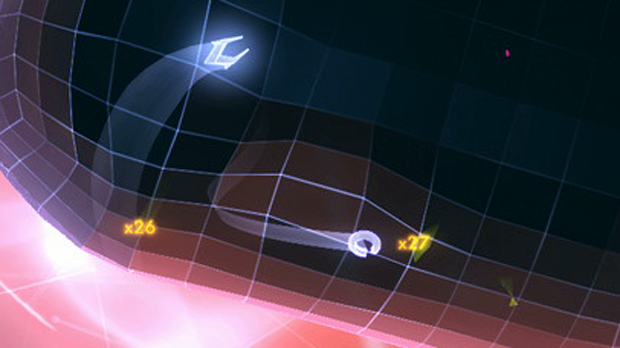
It can all get a bit fraught, trying to shoot stuff, avoid other stuff, generally stay alive AND collect geoms. But that's where your little drone buddy comes in. Drone buddy, pictured here as the lower of the two white craft, is known as 'COLLECT'. That's because all it does is collect geoms for you.
It can't collect all of them, so you'll still need to be pro-active if you want to 3-star a level, but having your score multiplier automatically taken care of is a massive boost to early scores. And the geoms you and it collect can all be spent on upgrades for the drone, so that it collects more geoms. Upgrade it fully and it'll be like a little geom hoover. Awesome.
3. Be aggressive in your movements
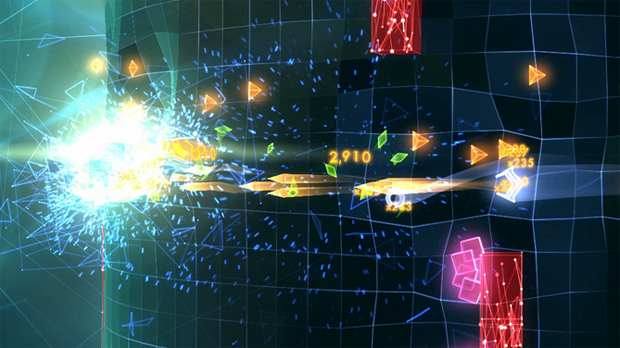
Of course there's a lot to be said for staying alive, but maintaining basic forward-motion in the direction you're firing is infinitely more lucrative in terms of score than always backing away. Why? Because you're destroying enemies in front of you, which drop geoms that then lie right in your path.
It does depend which enemies you're up against, of course, but blue diamonds, purple flower-tops, orange triangles and the smaller pink cubes are all ripe for this picking off with this kind of tactic. And look - in this screenshot, I was only 41 seconds into a game, yet already up to a 243x multiplier.
4. Don't be afraid to use your smartbomb
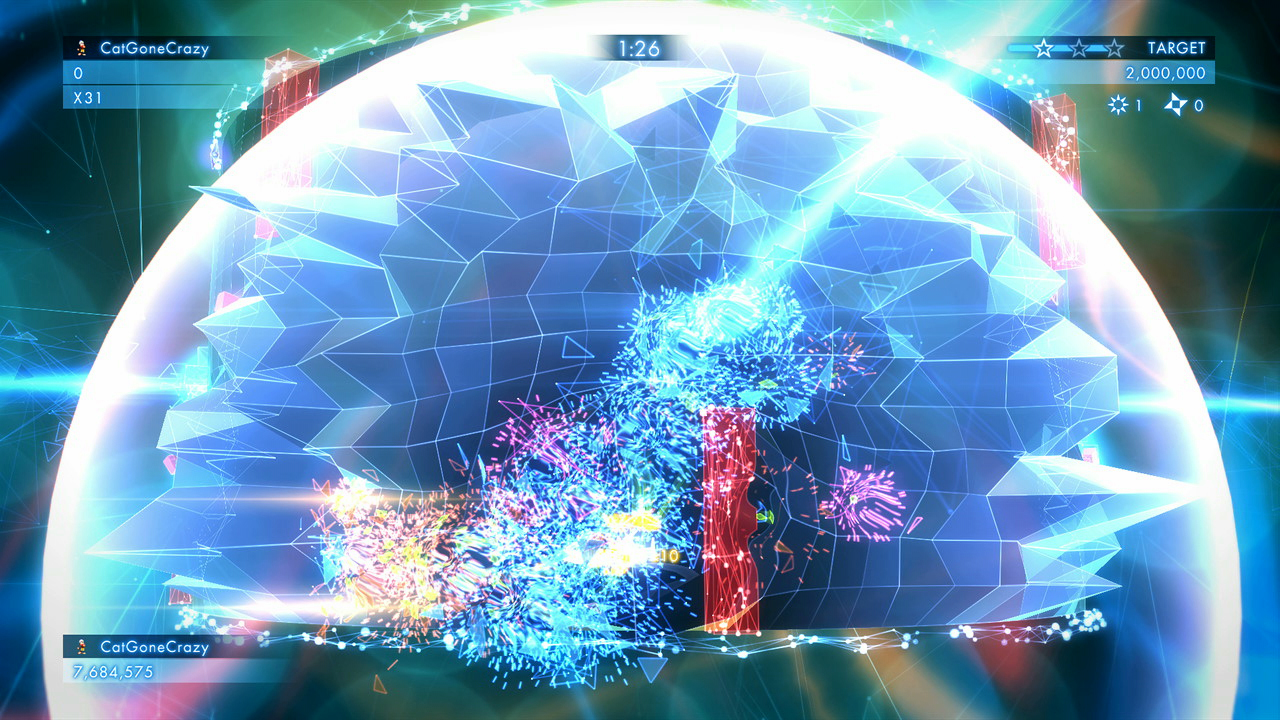
There is often a feeling that you shouldn't use a smartbomb too early, and that it should be saved for when you really need it. That is true to some extent, but the opposite can also be true. Obviously, don't use it when there's no danger at all, but the benefits of using it early on can be significant.
If you're in a situation where a lot of enemies are boxed on-screen, or better still boxed in somewhere near you, using the smart bomb will fill the area with geoms. If you get your multiplier up early, the rest of the level will be worth significantly more to you than if you'd saved your smart bomb for later. Yes, that is interesting.
5. Try to get every super state that appears
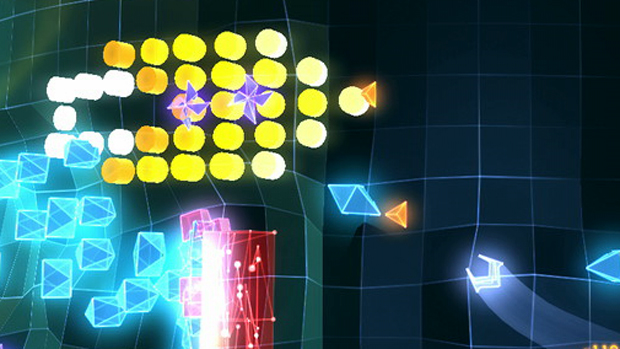
This isn't always possible, especially in King modes where there are too many enemies between you and the super state icon. But super states are universally useful. This one, for instance, turns your regular shot into a hose of death. Sometimes, it's even worth using one of your precious smart bombs just to make sure you acquire the super state because it destroys its little circular pixels like everything else.
You will also notice that super states tend to be directly linked to the enemies you're about to face, meaning if you fail to pick it up, you might get killed by the onslaught. They also drop loads of geoms when you shoot them to activate them, so that's mega-useful. But another vitally important thing to note about super states: They will kill you if they touch you. So if you suddenly notice one is spawning on top of you, GET THE HELL OUT OF THE WAY.
6. Learn how to use black holes
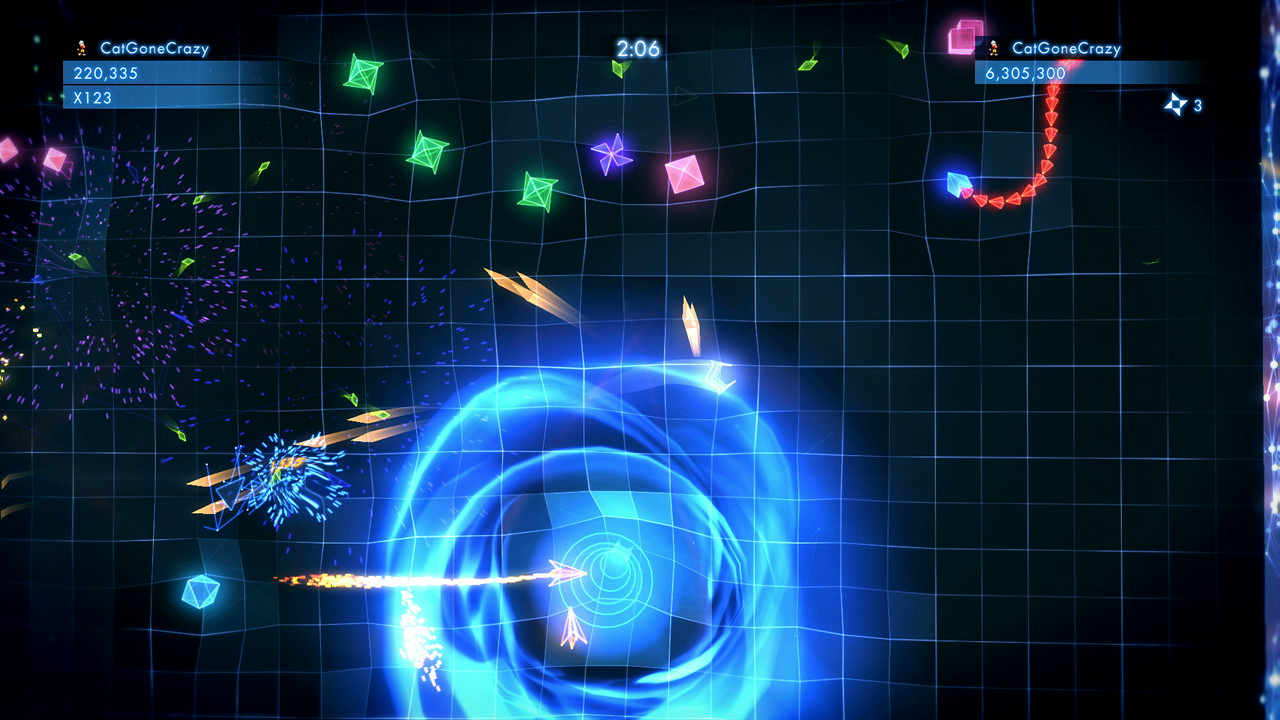
I should point out I don't mean the BLACK HOLE drone, which is useful too, of course but not like these babies. Black holes mainly spawn in Evolved and Deadline levels. You shoot them once to active them, at which point they start spinning, sucking in enemies that stray into its catchment area.
The more enemies get sucked in the faster the black hole spins. When it gets too fast, you'll hear a warning sound, followed by implosion and the release of some deadly UFO enemies. If this happens, you've not done it right. Instead, whenever the black hole is visibly spinning quickly, shoot it a little. Not too much, but just enough to manage it. Once you're satisfied it's eaten loads of enemies, destroy it, then swoop in to collect the massive geoms that remain.
7. Upgrade the turret as soon as you get it
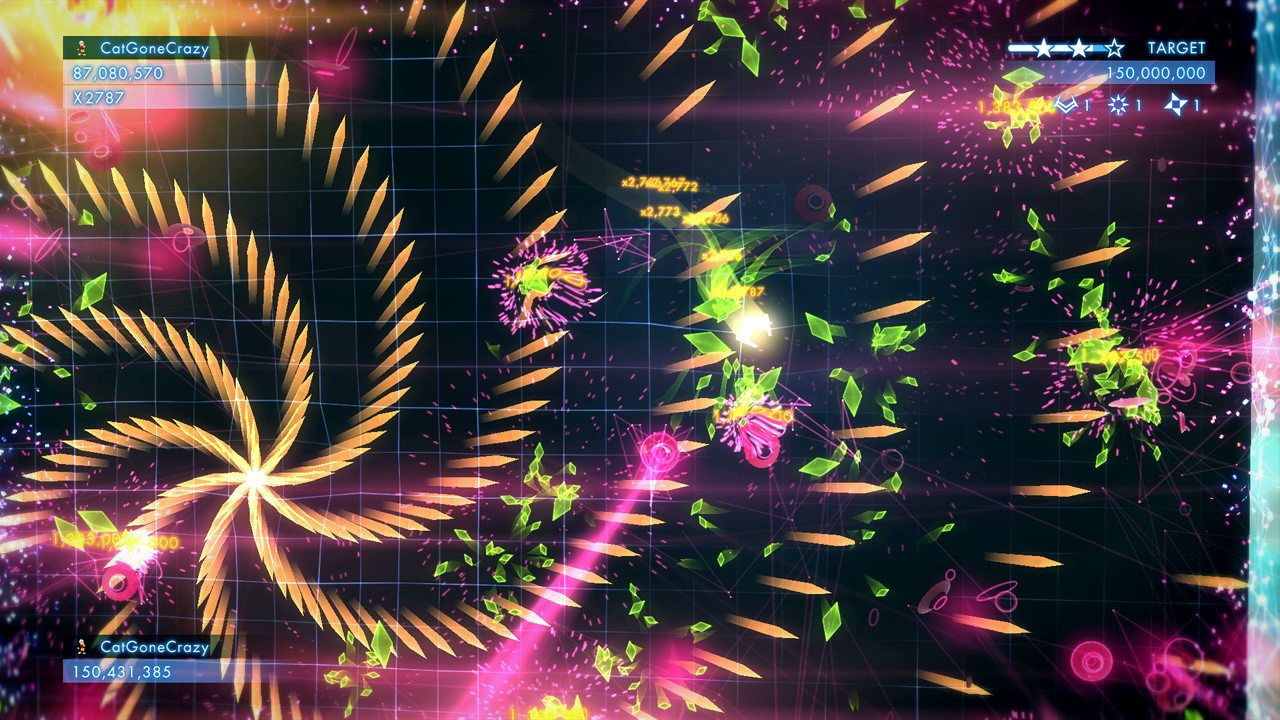
The turret is amazing when it's fully upgraded. Just look at that Catherine Wheel of death! Although you can't realy use it as a split-second, last-gasp screen-clearer like a smart bomb, it can be used with devastating effect in a crowded screen with a second or so to get going. And you get points for its kills, too.
Remember that it's your drone that becomes it, so make sure your little buddy is appropriately-placed (so not right next to a wall) before you hit fire. The best place in the whole game to use it is in the Super Sequence level (#49, pictured), when the pink UFOs appear. Just look at the size of those geoms! You won't be able to collect them all, but go for the largest group that's near to you and watch your multiplier rocket up.
8. Weaken the turrets in the last boss fight
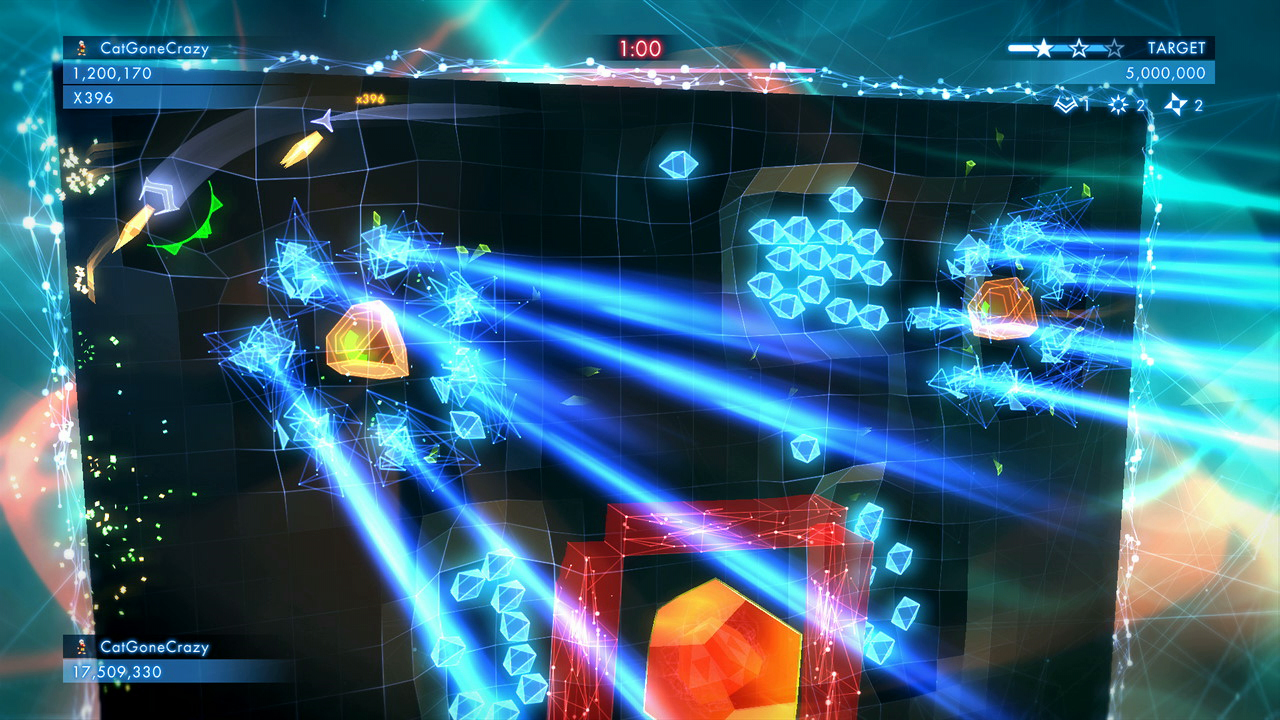
We are getting granular now, but this tip should save several clumps of hair from being wrenched from your frustrated head. When the boss enters its third state, it spawns four turrets, which immediately start spawning blue diamonds. They're easy to destroy. But when you destroy the first turret, the other start spawning nasty little orange enemies. They're also not too bad. But destroy the second turret and the remaining two spawn green enemies. These are bad.
It's at this point you want to destroy the third turret so that you can get down to one (which spawns those pink cubes that break into smaller ones when shot), but you'll more than likely become engulfed by green enemies. To avoid this, simply weaken each turret with ten shots or so during the blue phase (pictured). Then, when the going gets tough, just a few more hits will destroy them. Easy.
9. Use every second of boss time in each phase
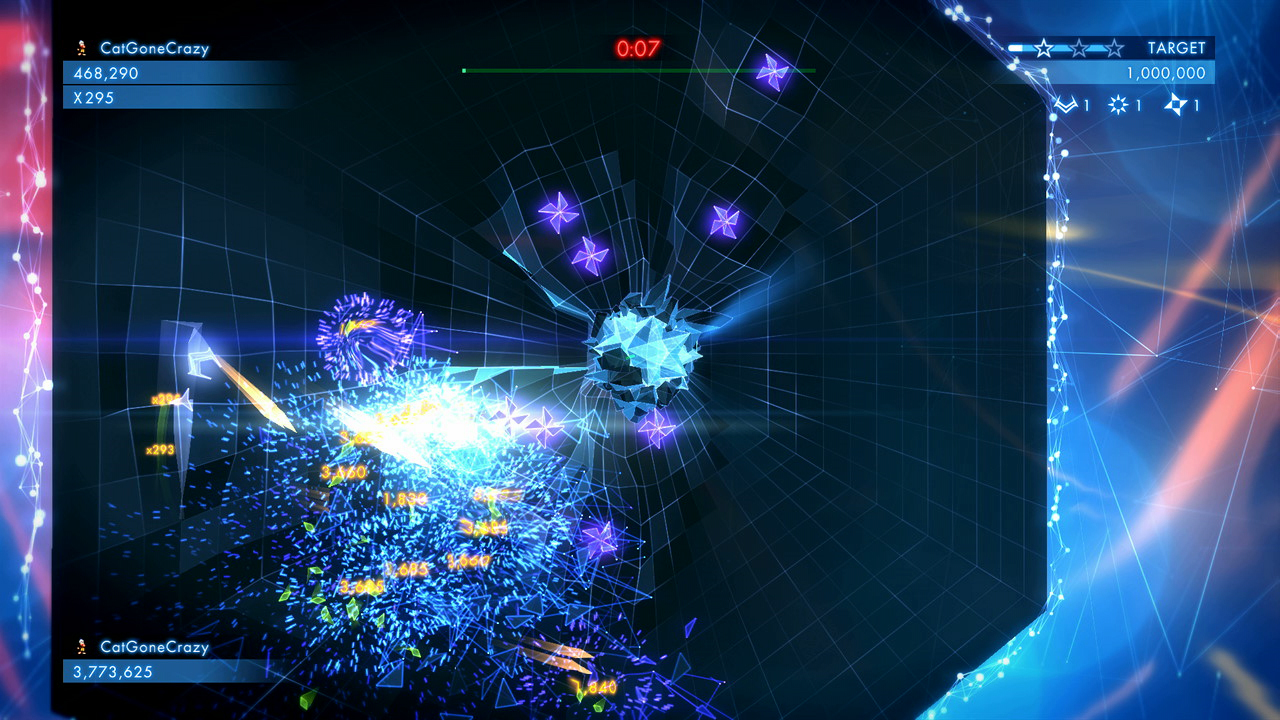
You can kill the bosses relatively quickly once you know when/how to attack them. Ah, but you shouldn't! If you wait until the last moment to actually finish them off, you'll be able to maximise your score and geom haul from each phase.
Obviously you don't want to get caught out, because letting the timer hit zero will create an unavoidable impact wave that will kill you immediately. So weaken the boss as much as you dare, keeping in mind the fact that stray bullets might unintentionally finish it off if you leave it too weakened while you fight its minion horde.
10. Just because you can't see it doesn't mean it's not happening
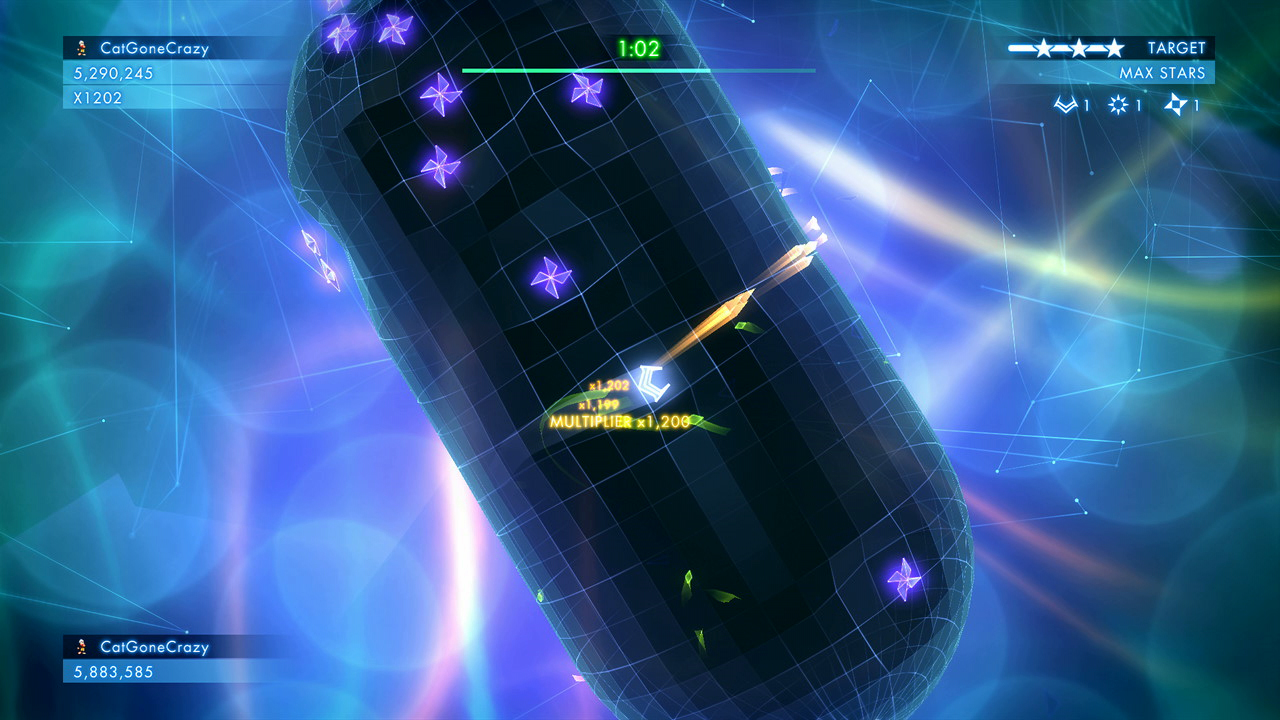
The 3D levels don't appear to significantly alter the essentially 2D experience. But they do. Basically, they amount to 'screen wrap', where in a 2D game something that goes off the screen to the right will reappear on the left. Pac-Man does that. And so too does your fire.
Your shots won't make it all the way back round to you (imagine having to avoid your own fire - nightmare), but they do continue to kill things beyond the limits of what you can see. With bosses like old Amethyst here, you can see its energy bar depleting even though you can't see its location. Likewise, you can fire at the point you know rockets will intersect based on where they spawned and then get on with things closer at hand. You'll miss out on geoms, of course, but that brings me back round to point 1 and so to the end of this guide. I hope it helps you get 150 stars like me.
Weekly digests, tales from the communities you love, and more
Justin was a GamesRadar staffer for 10 years but is now a freelancer, musician and videographer. He's big on retro, Sega and racing games (especially retro Sega racing games) and currently also writes for Play Magazine, Traxion.gg, PC Gamer and TopTenReviews, as well as running his own YouTube channel. Having learned to love all platforms equally after Sega left the hardware industry (sniff), his favourite games include Christmas NiGHTS into Dreams, Zelda BotW, Sea of Thieves, Sega Rally Championship and Treasure Island Dizzy.

