Fire Emblem: Three Houses lost items guide: How to become the Sherlock Holmes of the lost and found
Elementary, dear Seteh, when you've got our Fire Emblem: Three Houses lost items guide
Locating all of the Fire Emblem: Three Houses lost items and working out who to return them to is a great way of increasing your bond with all of the characters. As you run about the Garreg Mach Monastery, you'll find all sorts of different items, from a wedge of cheese to a bottle perfume.
Losing something important to you is never fun, so really you're doing a lot of good work by finding and returning these items, and it comes with the added bonus of quickly improving your relationships. Sometimes the obvious recipient isn't always right, though, and it can be confusing at times to know just who you should give it to. Thankfully we're here to give all the tips you need to find and return the Fire Emblem: Three Houses lost items.
How to find Fire Emblem: Three Houses lost items
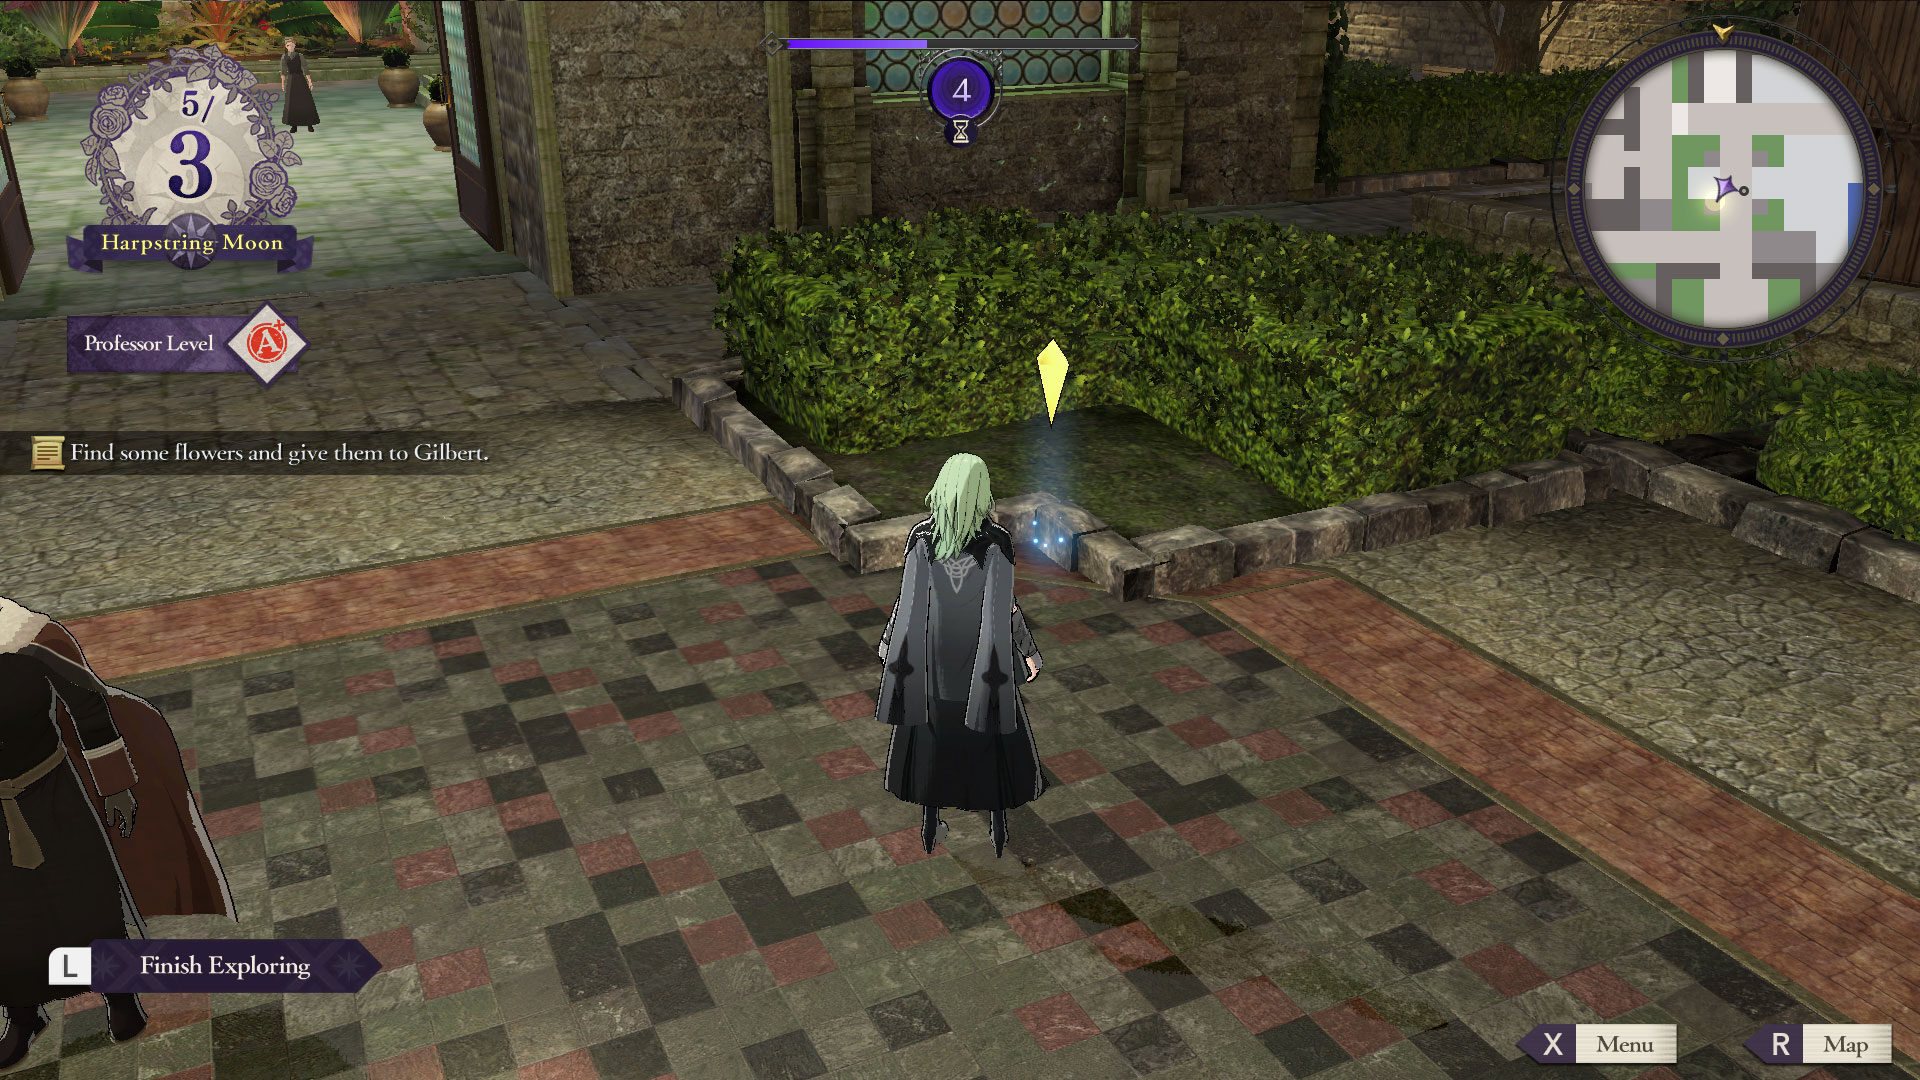
Throughout the Persona-like segments where you walk around Gregg Mach Monastery you'll come across little glowing spots on the ground, in bushes, and on various pieces of furniture. Those spots are all pickups including fish hooks, ingredients, various other items, and lost items. You should always jog over to these spots and quickly grab whatever it is. There is no reason not to.
As soon as you pick a lost item up you'll get a prompt about who might have dropped it (if it's not a lost item it'll just tell you what it is). They'll say things like "from someone who loves weight training" or "a tea aficionado" that give you a hint as to who the lost item belongs to. The bundle of dry hemp, for example, goes to someone who is "skilled with a bow," which could mean someone like Ashe or Bernadette. (Hint: It's Bernadette)
Speak to people to return Fire Emblem: Three Houses lost items
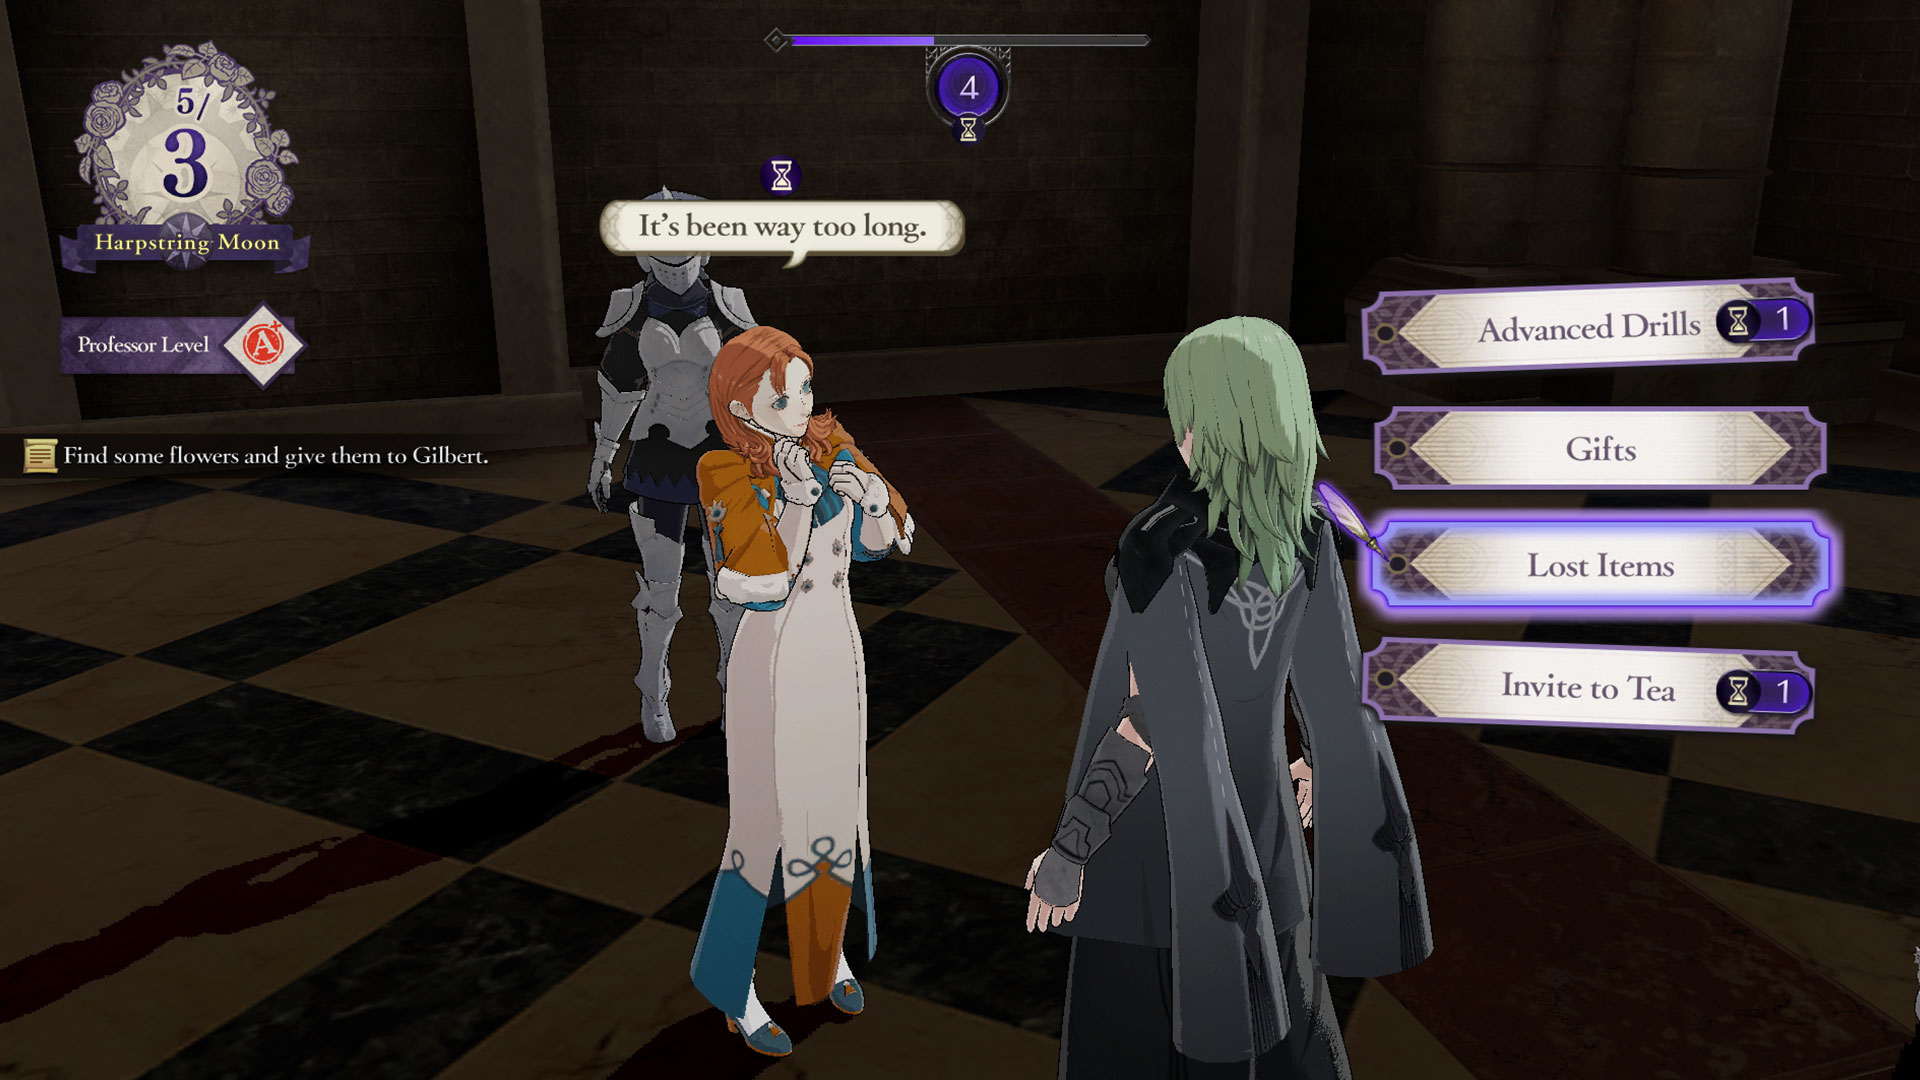
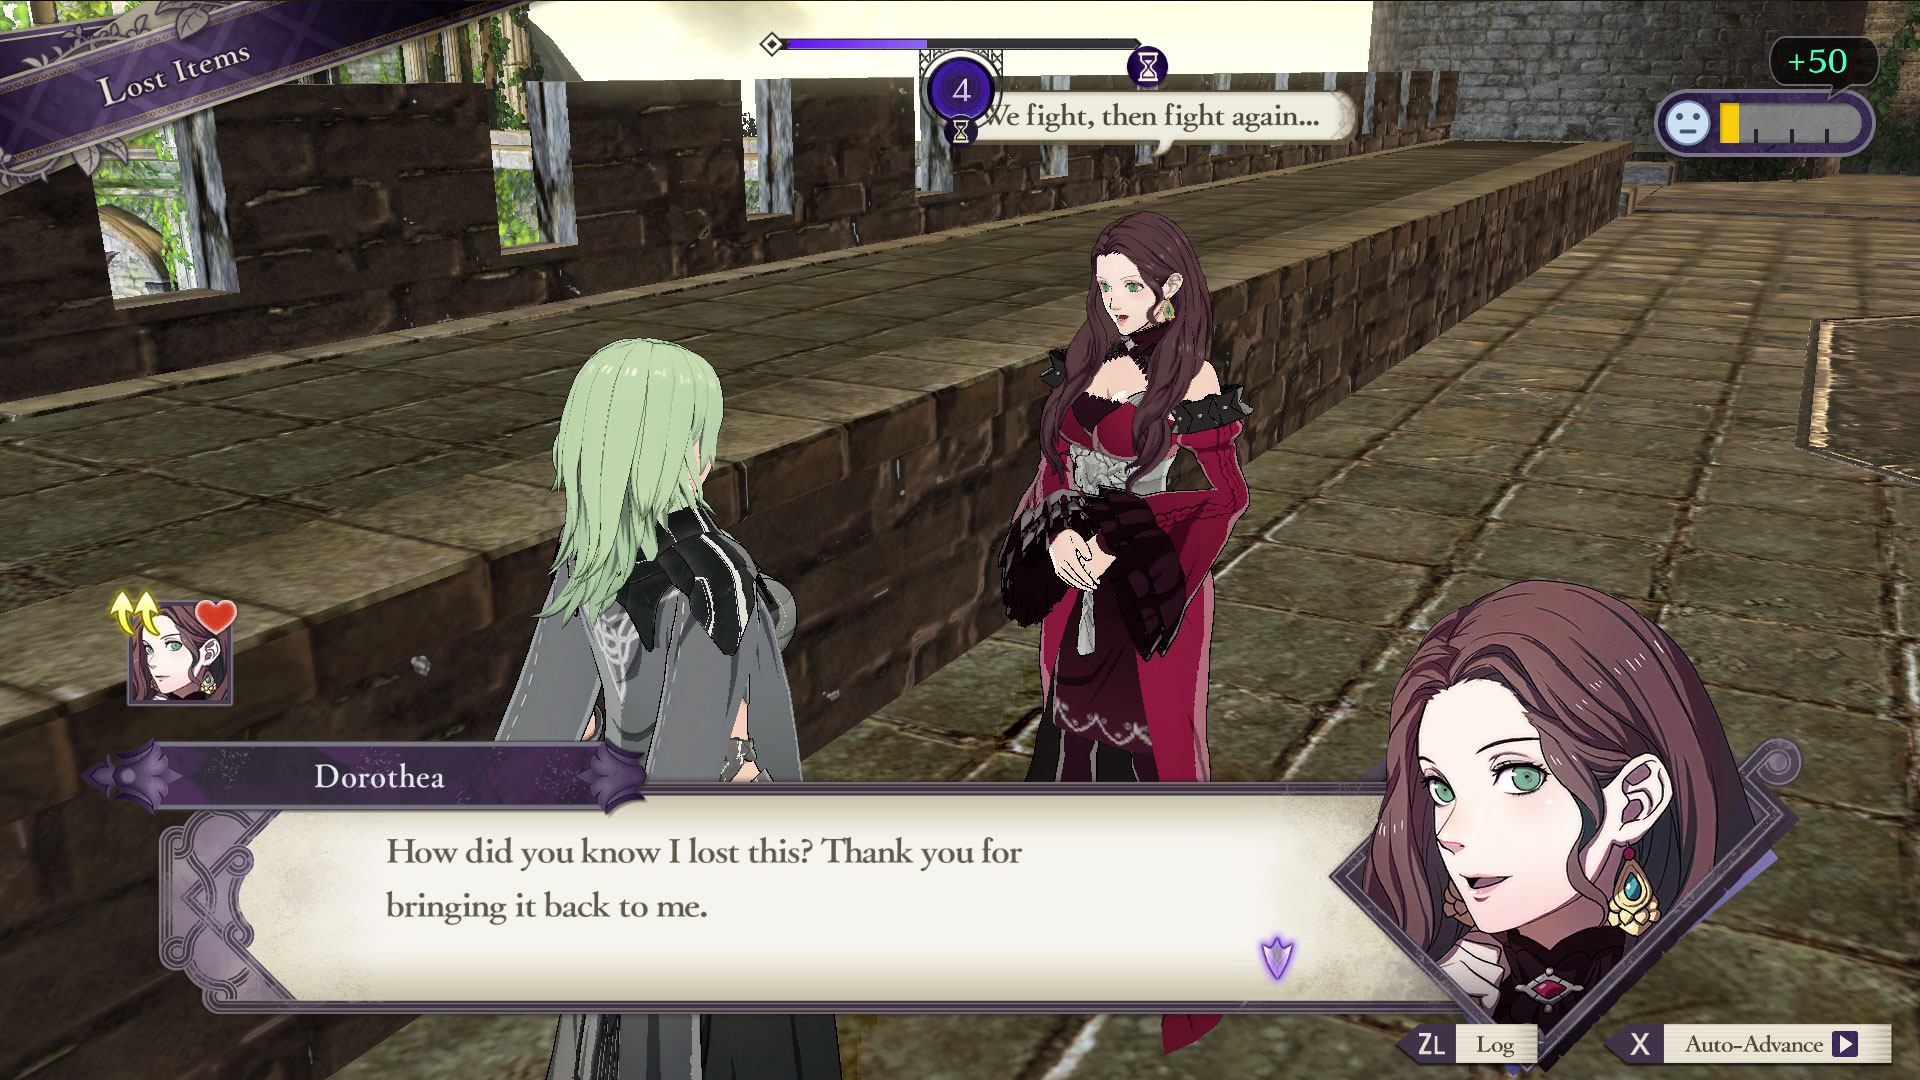
Once you find an item all you'll have to do is walk around the monastery and try to find who it belongs to. All you'll need to do is walk up to someone, talk to them, choose the lost item menu selection, and then choose an item. If you're right the character will thank you and you'll get a bond boost and if you're wrong they'll say it's not theirs. Some rejections are a tad more rude than others, I'm just trying to do a good deed for Pete's sake!
Outside those rude comments, there isn't a downside to trying to return an item to someone besides the rightful owner. So if you're confused by a specific item just try and go down the list to whoever you think it might belong to. It might be painful to hear rejections over and over, it just makes things a bit easier.
Take a screenshot to help you return Fire Emblem: Three Houses lost items
If you're committed to recruiting certain characters in Three Houses, use the Nintendo Switch's screenshot feature to capture a picture of those likes and dislikes. It'll help you remember everything needed to recruit characters and return lost items. It's important to track the likes and dislikes of each character you want to recruit. Most of these traits show up at the beginning of the game before you choose a house and can be seen, through context, in conversation and support dialogue later on.
Find all the Fire Emblem: Three Houses lost items before the time jump

Once you get to the twenty-hour mark in Three Houses the story jumps ahead five years. It's only natural that the monastery would change over an amount of time like that meaning many of the characters will no longer be there. Once they leave you'll lose the opportunity to return lost items and recruit them. If you choose the Blue Lions, for example, then students you don't recruit from the Black Eagles and Golden Deer will be gone.
Lost items don't leave your lost item inventory after the time jump so you'll want to solve that mini-mystery if you're obsessive about completing everything in the game. If you're not interested in recruiting or learning more about a certain character then don't worry, there isn't much of a reason to return their items anyway.
Fire Emblem: Three Houses lost items locations and months
Certain lost items only appear in certain months. They'll always be there at least so if you miss anything you can just try and grab it the second time around. Just remember the time jump though as some people aren't around any more to receive anything you might find. Here's a month by month list of every Fire Emblem: Three Houses item.
| Header Cell - Column 0 | Item | Location | Owner |
|---|---|---|---|
| 1 | GUARDIAN MOON | Row 0 - Cell 2 | Row 0 - Cell 3 |
| 2 | Light Purple Veil | Greenhouse | Manuela |
| 3 | Lovely Comb | Greenhouse | Dorothea |
| 4 | Pegasus Horseshoes | Stables | Ingrid |
| 5 | Introduction to Magic | Fishing Pond | Alois |
| 6 | Weathered Cloak | Entrance Hall | Catherine |
| 7 | Noseless Puppet | Knight's Hall | Gilbert |
| 8 | Iron Cooking Pot | Knight's Hall | Dedue |
| 9 | Training Logbook | Knight's Hall | Dimitri |
| 10 | Letter to the Goddess | Golden Deer Classroom | Ignatz |
| 11 | Handmade Hair Clip | Golden Deer Classroom | Hilda |
| 12 | Unfinished Score | Blue Lions Classroom | Annette |
| 13 | Snapped Writing Quill | Second Floor Advisory Room | Set |
| 14 | Animated Bait | Second Floor Library | Linhardt |
| 15 | Toothed Dagger | Training Grounds | Felix |
| 16 | Animal Bone Dice | Training Grounds | Shamir |
| 17 | Bag of Seeds | Cathedral | Marianne |
| 18 | Dusty Book of Fables | Cathedral | Flayn |
| 19 | Row 18 - Cell 1 | Row 18 - Cell 2 | Row 18 - Cell 3 |
| 20 | PEGASUS MOON | Row 19 - Cell 2 | Row 19 - Cell 3 |
| 21 | New Bottle of Perfume | Reception Hall | Lysithea |
| 22 | Wax Diptych | Dining Hall | Annette |
| 23 | Maintenance Oil | Dining Hall | Ferdinand |
| 24 | Annotated Dictionary | Dining Hall | Petra |
| 25 | Grounding Charm | Dining Hall | Caspar |
| 26 | Silk Handkerchief | Golden Deer Classroom | Lorenz |
| 27 | The History of Sreng | Blue Lions Classroom | Sylvain |
| 28 | Moon Knight's Tale | Cathedral | Ashe |
| 29 | Hedgehog Case | Graveyard | Bernadetta |
| 30 | Row 29 - Cell 1 | Row 29 - Cell 2 | Row 29 - Cell 3 |
| 31 | GARLAND MOON | Row 30 - Cell 2 | Row 30 - Cell 3 |
| 32 | Wooden Flask | Sceond Floor Lobby | Jeralt |
| 33 | Sketch of a Sigil | Second Floor Hallway | Hanneman |
| 34 | White Glove | Black Eagle Classroom | Edelgard |
| 35 | School of Sorcery Book | Dining Hall | Annette |
| 36 | Hand Drawn Map | Dining Hall Gardens | Leonie |
| 37 | Wooden Button | Training Grounds | Raphael |
| 38 | Tattered Overcoat | Training Grounds | Caspar |
| 39 | Row 38 - Cell 1 | Row 38 - Cell 2 | Row 38 - Cell 3 |
| 40 | BLUE SEA MOON | Row 39 - Cell 2 | Row 39 - Cell 3 |
| 41 | Artificial Flower | Pathway North of Knight's Hall | Lorenz |
| 42 | Used Bottle of Perfume | Marketplace | Hilda |
| 43 | Confessional Letter | Stables | Marianne |
| 44 | Bag of Tea Leaves | Black Eagles Classroom | Ferdinand |
| 45 | Wellness Herbs | Second Floor Infirmary | Manuela |
| 46 | Mysterious Notebook | Holy Mausoleum Entrance, Cathedral | Alois |
| 47 | Thunderbrand Replica | Training Grounds | Caspar |
| 48 | Badge of Graduation | Training Grounds | Catherine |
| 49 | Noxious Handkerchief | Training Grounds | Hubert |
| 50 | Row 49 - Cell 1 | Row 49 - Cell 2 | Row 49 - Cell 3 |
| 51 | VERDANT MOON | Row 50 - Cell 2 | Row 50 - Cell 3 |
| 52 | Curry Comb | Entrance Hall | Ingrid |
| 53 | Unused Lipstick | Reception Hall | Sylvain |
| 54 | Exotic Flower | Reception Hall | Petra |
| 55 | Sword Belt Fragment | Training Hall | Felix |
| 56 | Needle and Thread | 1st Floor Dormitories, outside Bernadetta's Room | Bernadetta |
| 57 | Portrait of Rhea | Hallway, 2nd Floor Dormitories | Cyril |
| 58 | Feather Pillow | Dining Hall | Linhardt |
| 59 | Encyclopedia of Sweets | Golden Deer Classroom | Lysithea |
| 60 | Art Book | Cathedral | Ignatz |
| 61 | Row 60 - Cell 1 | Row 60 - Cell 2 | Row 60 - Cell 3 |
| 62 | HORSEBOW MOON | Row 61 - Cell 2 | Row 61 - Cell 3 |
| 63 | Agricultural Survey | Stables | Ferdinand |
| 64 | Antique Clasp | Fishing Pond | Flayn |
| 65 | Silver Necklace | Entrance Hall | Gilbert |
| 66 | Silver Brooch | Officer's Academy Courtyard | Dorothea |
| 67 | Spotless Bandage | Golden Deer Classroom | Hilda |
| 68 | Hammer and Chisel | Second Floor | Hanneman |
| 69 | How to Bake Sweets | Cathedral | Mercedes |
| 70 | Bundle of Herbs | Cathedral | Ashe |
| 71 | Gardening Shears | Training Grounds | Dedue |
| 72 | Black Leather Gloves | Training Grounds | Dimitri |
| 73 | Row 72 - Cell 1 | Row 72 - Cell 2 | Row 72 - Cell 3 |
| 74 | WYVERN MOON | Row 73 - Cell 2 | Row 73 - Cell 3 |
| 75 | How to Be Tidy | Stables | Marianne |
| 76 | Bundle of Dry Hemp | Marketplace | Shamir |
| 77 | Jousting Almanac | Entrance Hall | Ingrid |
| 78 | Small Tanned Hide | Reception Hall | Petra |
| 79 | Black Iron Spur | Dining Hall | Felix |
| 80 | Burlap Sack of Rocks | Dining Hall | Raphael |
| 81 | Letter to Rhea | Training Grounds | Catherine |
| 82 | Row 81 - Cell 1 | Row 81 - Cell 2 | Row 81 - Cell 3 |
| 83 | RED WOLF MOON | Row 82 - Cell 2 | Row 82 - Cell 3 |
| 84 | A Treatsie on Etiquitte | Entrance Hall | Lorenz |
| 85 | The Saints Revealed | Reception Hall | Linhardt |
| 86 | Crumpled Love Letter | Knight's Hall | Sylvain |
| 87 | Still Life Picture | 1st Floor Dormitory | Bernadetta |
| 88 | Songstress Poster | Officer's Academy | Dorothea |
| 89 | Unfinished Fable | Second Floor Advisory Room | Seteth |
| 90 | Clean Dusting Cloth | Second Floor Infirmary | Manuela |
| 91 | Well Used Hatchet | Dining Hall Gardens | Cyril |
| 92 | Crude Arrowheads | Dining Hall Balcony | Leonie |
| 93 | Foreign Gold Coin | Fishing Pond | Alois |
| 94 | Old Map of Enbarr | Fishing Pond | Flayn |
| 95 | Fruit Preserves | Cathedral | Mercedes |
| 96 | Row 95 - Cell 1 | Row 95 - Cell 2 | Row 95 - Cell 3 |
| 97 | ETHERAL MOON | Row 96 - Cell 2 | Row 96 - Cell 3 |
| 98 | Evil-Repelling Amulet | Fishing Pond | Ashe |
| 99 | Centipede Picture | Stables | Shamir |
| 100 | Big Spoon | Dining Hall | Raphael |
| 101 | Princess Doll | Reception Hall | Lysithea |
| 102 | Blue Stone | Golden Deer Classroom | Ignatz |
| 103 | Old Cleaning Cloth | Second Floor Lobby | Cyril |
| 104 | Carving Hammer | Knight's Hall | Gilbert |
| 105 | Lens Cloth | Knight's Hall | Hanneman |
| 106 | Book of Ghost Stories | East Side of the Cathedral | Mercedes |
| 107 | Old Fishing Rod | Saint Statue Room in Cathedral | Seteth |
Fire Emblem: Three Houses review | Fire Emblem: Three Houses tips | Fire Emblem: Three Houses likes and dislikes | Fire Emblem: Three Houses New Game Plus | Fire Emblem: Three Houses tea party guide | Fire Emblem: Three Houses romance guide | Fire Emblem: Three Houses class guide | Fire Emblem: Three Houses recruitment guide | How many students can you recruit in Fire Emblem: Three Houses
Weekly digests, tales from the communities you love, and more
Aron Garst is a journalist and writer exploring the future of games and interactivity. Follow him on X at @GarstProduction.


