
 Join The Community


Following a Deathloop walkthrough can help you make sense of the various events happening within the loop, so you can work your way though it efficiently and ultimately break it down. With so many different possibilities along the way, it can feel pretty full-on when trying to piece all of the clues together into something coherent, which is why we're here to help speed up the process and allow you to reach the best ending... or choose a different conclusion, if you're that way inclined. Once you get to that point in the story, our Deathloop endings guide will help you decide exactly how you want things to wrap up, with clear outlines of the options available.
Deathloop is a game that can seem quite overwhelming initially; full of big open levels that let you explore anywhere and any time, with the looping meaning you can take info from the future and use it in the past. There are plenty of clues and leads to uncover and direct you but you have to find them first, and, often the when and where they refer to. The hardest part sometimes is just prioritizing what to follow up.
It's just not very clear for quite a large part of the game how all clues you end finding can fit together. Eventually there is a clear and impossible to miss path that will lead you through killing all the Deathloop Visionaries dead in one perfect day, but getting there can take some time. Plus you'll have a few decisions to chose from to get one of several Deathloop endings. To help make all this easier we've prepared this Deathloop walkthrough guide to the timeline, which should help you know what to do and in what order.

Obviously there will be spoilers ahead so be warned. There will also be more warnings before the end so you can use the basic walkthrough alone if you want to chose the ending without help.
Deathloop walkthough
The Longest Day

For the opening part of Deathloop you have a fairly easy job of following a basic linear mission thread when you wake up on the beach. This will teach you the basic and get you all the gear you need for the rest of the game.
1. Explore This Place

Head up the beach, find the door in the cliff, grabbing the gun along the way. Inside you'll find a notice board with details of all the Visionaries on, and your first of the Deathloop Trinkets which will let you double jump.
Once you have all that, head up the small flight of stairs and grab the Hackamajig device by the other door. Use it to open the door and then head through into the tunnels. You'll find a door locked with one of the Deathloop codes but you won't know it yet, which will lead you to your next objective…
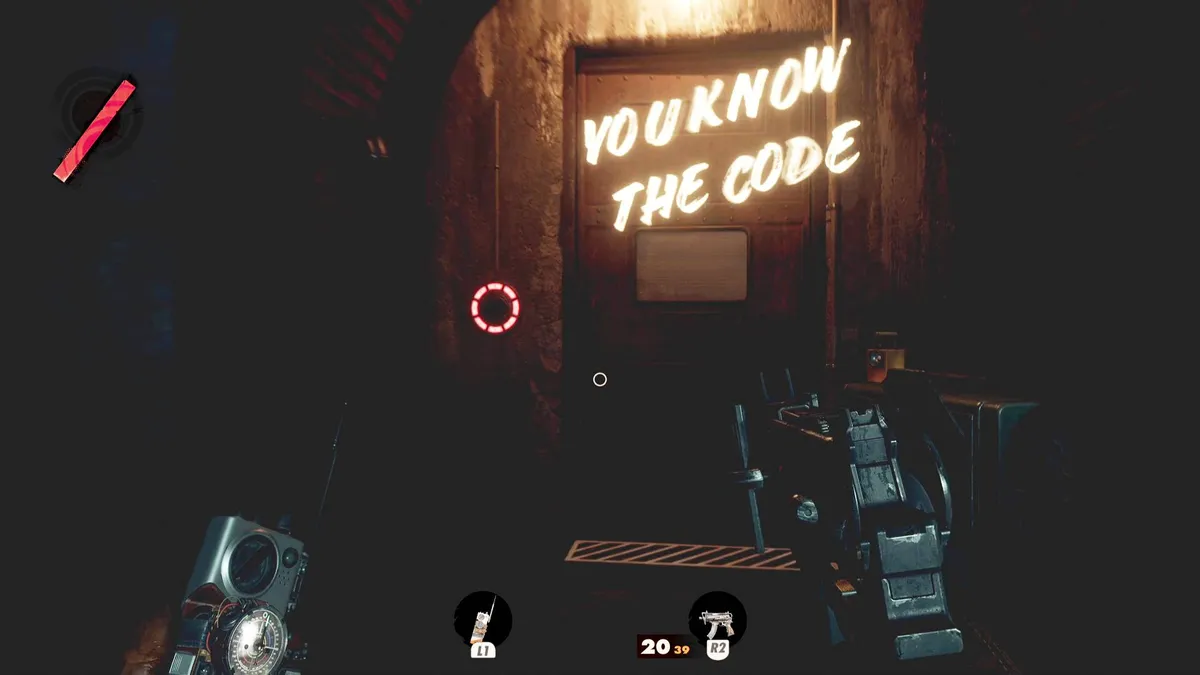
2. Find the Code
From the door you should be able to see an area heading down and a spotlight pointing at a wood covered opening. Head to that and kick the wood away to head through. Follow that path to encounter some water and a lesson in how water will hurt or kill you. Continue on following the glow sticks and boxes until you reach some broken stairs you'll need to jump to continue.
When you finally reach the surface you'll see a house and get a tutorial on how to focus and tag enemies. Take out the ones you can see however you want and head to the house. It's worth noting that these metallic orange looking enemies with radio headsets can raise alarms, so always take them out first if you can.

Hack your way into the house and head upstairs to find a large lever you can pull to trigger a confrontation with Julianna. When that's done your only option will be to jump out of the window where you'll meet another Colt from a different timeline. He'll tell you the tunnel code is on the postcard and then drop you. This will reset the loop and you'll wake up on the beach again.
3. Examine the postcard
This section will play out largely like before - grab the gun, go inside, get the trinket and the hackamajig, but now you can get the tunnel code by examining the Blackreef postcard. That will also give you an address in Updaam that will be your next destination.
4. Find my Updaam Flat
Once you can get into the tunnels you'll be able to pick up some more gear. Namely a machete, a weapon Trinket and some grenades. You'll also get Colt's Slab, Reprise, which will resurrect you when you die twice and resurrect. After that dying will reset the day.
You can explore Updaam all you want at this point but remember: until you unlock the ability to keep gear when the loop resets, you won't be able to keep anything you find. So it's best to just head to the marker that shows where your flat is.
The main things to look out for here are the Spiker on your desk, which is basically a silenced pistol for ranged stealth kills, a safe you'll need to examine, a trinket and a minicom computer terminal. Save the Minicom till last as it's rigged to alert everyone you're there, so you'll have to fight your way out once you've read it.
5. Locate Loop Control
Once you've read the minicom it's best to just run past the guards and escape if you can, as you'll get nothing you can keep from fighting them. Head back to the tunnels and you'll be able to go to the Complex and look for the Loop Control Center.
6. Find the Off Switch
Once inside the Loop Control Center head through the blue door (it'll be the only one you can get through) and take out the Eternalists you can find inside. There'll be a 'tempting lever' to pull so pull it to see a film briefly before the battery runs out. Remove the battery and recharge it at the nearby power-point indicated to watch the rest of the film. There's also a note by the switch to read.
When everything played out you'll have the option to explore or head to the exit. Again, head to the exit because the sooner you complete this section the sooner you'll have complete freedom.
7. Search the Security Office
Once you're clear of the Compex you'll be able to head to Fristad Rock to search the security office. Head there and inside you'll find a note outlining all the Visionaries' powers and one that gives you the safe combination back at your flat. That's all you need here so once you have it, head back to the exit.
8. Open the Safe
You'll now be able to head to your flat again, only later in the day. There will be new guard patrols so keep an eye out. Get to the flat and you'll discover that Julianna has taken the LPP. She'll then invade your game which also locks down your escape tunnels. You can fight her if you want but you can also just hack the radio outside your apartment and run.
9. Return in the Morning
Once you've escaped Updaam in the evening you'll start another day, the loop will reset and anything you picked up will be lost bar essential weapons - you'll always have a SMG, Machete, Slab, double jump Trinket, hackamajig and grenades. Now it's the morning you can head to your flat again and get the LPP before Julianna takes it. It will reveal the position of all the Visionaries and a way to break the loop. Once you've read it, another alt timeline Colt will appear and tell you to find Wenjie and figure out Residium. This will complete The Longest Day.
Ubiquity

This next set of missions is vital, as without you won't be able to save any gear you find from loop to loop. Until this is done you'll wake up with your starter gear every time you die or the day ends.
1. Find Wenjie's research
You'll now be able to head to Wenjie's lab at the Complex in the afternoon. When you get there you'll find multiple Wenjies to kill, so take some time to take out a few Eternalists for some better weapons before you get there.
2. Kill every Wenjie

When you're fighting the Wenjies don't rush in you'll get overwhelmed easily. Hack turrets for backup and use your grenades in their mine configuration to lay a few traps. Each time you kill a Wenjie you'll see light trails that will lead to any others and help you track them all. When you've killed all the Wenjies, or during, head to the bottom of the main circular chamber and look for a whiteboard that details her Residium experiments. When every Wenjie is dead you'll be able to pick up the Residium Harvester next to the Whiteboard and collect Wenjie's Residium remains.
3. Activate the Experiment
When you have Wenjie's Residium use it to power up the machine by the whiteboard and get in the chamber. You'll have to shoot the button as you can't reach it from inside. The machine will now kill you. Surprise! The upside is that when you wake up on the beach now you'll still have your Spiker and from now on will be able to Infuse anything you find with Residium to keep it between loops. You'll get Residuum from killing Visionaries and any sparkly objects you find in the level.
How to complete Deathloop
When you've finished Ubiquity you'll be able to go anywhere and follow up whatever clues and leads you can find. To begin with the game will give you some Visionary and Arsenal leads. The first will start you off hunting Visionaries and ultimately guide you to completing the game by finding a way to kill them all in one day. While the second will tell you where to find weapons and powers.
Tackle the Arsenal leads first
Because five of the Visionaries have Deathloop powers you can steal - Charlie, Harriet, Aleksis, Fia and Egor - you're better off going after powers in the Arsenal leads first, as you'll actually be able to track more Visionaries than the three offered up in the Visionary leads and get more abilities as you go.
It's hard to recommend a specific route through the game because you'll get new leads and make discoveries almost constantly from every note, diary and conversation. We'll look at the Visionary and Arsenal leads in more detail in a moment, but here's a recommended order to get you started that will, A) fill out your leads with more stuff to do, and B) get you off to a strong start in terms of gear and abilities:
1. Go after Egor, Harriet and Charlie first. Egor's Aether power is basically invisibility, while Harriet's Nexus ability lets you link enemies so that killing one kills everyone joined to them. These are probably the best powers in the game letting you sneak freely and kill entire groups of enemies with a single shot. Charlie will also net you Shift, which lets you teleport around and makes exploring a lot easier. These three powers are the bare minimum you need to get by for the rest of the game and will, for the most part, see you through to the end. Charlies will also drop a special shotgun with a slowdown effect on enemies you hit, and great damage and range. It's a weapon that can carry through the entire game.
2. Head to the Complex at noon and investigate the bunker in the mountain under the leg of the giant wheel shaped Stabilizer core. You should make the discovery that Eternalists have blown open a vault door. If you explore inside you'll eventually find a door that requires four batteries to open. Find the batteries and inside you'll find the Strelak Verso, absolutely the best of the Deathloop guns in the entire game. It's a set of dual handguns that are devastating at close range when dual wielded, but that also transform into a single SMG weapon with an auto aim effect that will snap to enemies when you bring the sights up.
3. Kill all the visionaries at least once. Once you have a basic loadout of all the powers, and some good guns, go after the remaining Visionaries to see if you like any of their powers. That means these two:
- Fia has Havoc which is a tank-like power that amps up your damage and damage resistance. Seeing as Deathloop is largely a stealthy game, though, it's fairly limited and usually causes more trouble than it solves. Especially if it runs out while you're still fighting.
- Aleksis has Karnesis, which is a telekinetic ability that lets you throw enemies around. It's fun but limited, as you can only throw a single person to start with. Even upgraded it's more novelty value than anything else. Aleksis is also in one of the tougher locations as his nighttime party is full of heavily armed guests. So it's definitely one to try last.
4. Upgrade the powers you like by killing and re-killing the Visionaries that have them. Here's the thing: you are going to be killing the same people over and over again. The only way to upgrade a power is to kill its owner and take it again - when you claim a power you already have it'll become an upgrade. We've got a full Deathloop powers and upgrades guide linked up the top, but it's worth maxing out Aether for abilities that will hide bodies and not drain any power when you stand still. Nexus, on the other hand, can be upgraded to heal you when you kill people and spread connections between targets.
Visionary Leads

There are four visionary leads you can follow to get you started on the core story of ending the time loop. These relate directly to destabilizing the loop and ultimately finishing the game. As you explore you'll find more information and leads that will help you locate and manipulate the Visionary to eventually create a 'perfect day' where you can kill them all in one 24 hour period. You'll start with this:
- Chaos Theory / Bump off Harriet - This takes place in Hanger 2 in Karl's Bay and will put you on the path to killing the VIsionary Harriet.
- Radio Silence / Check out the Power Station - This will send you to the Power Station to find out why Julianna doesn't want you to go there. It's not clear yet but it will eventually lead to Julianna herself.
- Lost in Translation / Face Egor - This will involve going to the Complex to find and kill the Visionary Egor.
- Space Invader / Gatecrash Charlie's game - This will take you to Updaam to investigate the live action RPG Charlies is playing in his mansion and ultimately kill him.
The more you investigate the more you'll find out from overhearing conversations, reading notes and listening to audio diaries. It doesn't matter if you're exploring randomly, following arsenal leads or doing pretty much anything - any discovery, note, diary or conversation can add to your leads.
Eventually, your visionary leads will look like this:
All Visionary leads

Click on that image to enlarge it and help you find anything you might have missed (but ignore any codes as they're randomized in every game). When you've finished a thread it'll be ticked off to tell you that's all you need and you can go after something else. When everything's ticked off you'll unlock a final thread that will lead you through how to break the loop and finish the game.
SPOILER WARNING: The final stage
When you've ticked off all the visionary leads you'll be presented with this final path to breaking the loop. Just follow it though and you'll reach the end stage of the game. At this point there's no room to deviate, it's a straight line to the end.

SPOILER WARNING
Deathloop endings, good ending, and variations

When you take off in the RAK you'll meet Julianna and talk about your options. These are basically to kill her or not, although there is one variation. These play out as follows:
- Kill Julianna and jump to your death - this will apparently break the loop and you'll wake up on the beach in the morning, one last time, with an upset Julianna who walks away and leaves you.
- Kill Julianna but not yourself - If you kill Julianna but sit down and wait, you'll stay in the loop.
- Good ending: Don't kill Julianna - The two of you will decide to stay in the loop and become friends.
Whatever happens you'll be able to carry on playing Deathloop from just before you launched the RAK. The only way to reset your progress is to chose to wipe your progress in the options.

