Dark Souls Remastered full walkthrough guide: every area, boss, secret and more
Survival tips for Dark Souls Remastered - how to beat the game from start to finish
Dark Souls Remastered full walkthrough: DEMON RUINS PART 2

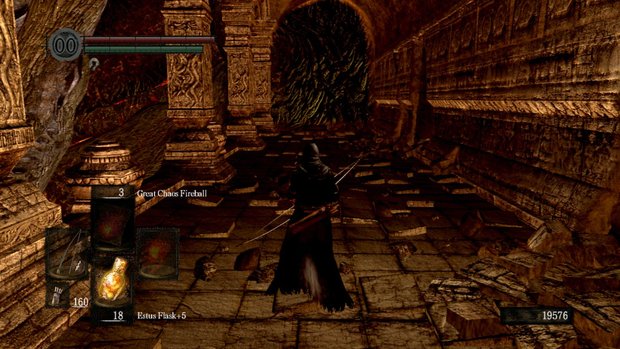
If you head left immediately after reaching the bottom of the stairs, you will find a path guarded by two Minor Taurus demons. Unlike the previous demons, these will not rush you if you shoot them with arrows from a distance. There are also five Burrowing Rockworms that will come out of the ceiling once as you pass through the stone section ahead, so proceed slowly. The chest these enemies were guarding (seen above) holds the Large Flame Ember.
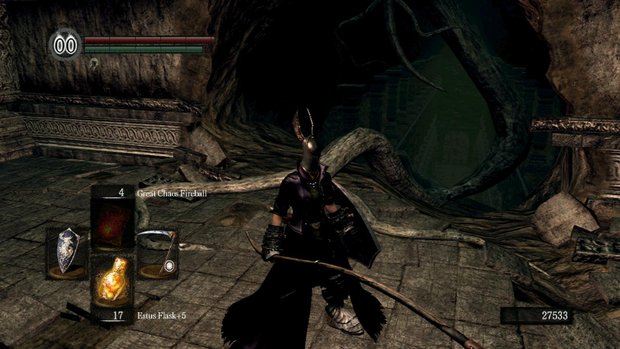
OPTIONAL: If you have been speaking to Solaire throughout the game, wish to summon him for the game’s final boss fight, and have reached level 2 in the Chaos Servant covenant (give 30 Humanity to Quelaag’s sister, necessary to open a special shortcut door between here and Lost Izalith), DO NOT yet take the path through the hole in the wall to the right of the fog door (seen below). More on this later...

Proceed through the fog door to fight the area boss.
BOSS – DEMON FIRESAGE
This enemy is almost identical to the Stray Demon from the Undead Asylum, only stronger and with a couple extra attacks. Repeat the same strategy (get close and stay close, preferably behind) to finish the battle quickly. The Firesage Demon does tend to move away from you more often, so keep him on a short leash.
Continue forward. You’ll have the option of going up or down. Down leads to a bonfire and the proper progression path; up leads to an elevator which will take you to Quelaag’s Domain and open a permanent shortcut. Go up first to activate the elevator, then take the down option.
Take the tree root down to the next fog door. If you are in Human form (which we highly suggest), Solaire’s summon sign will appear near the root left of the door. Summon him, then pass through the fog.
BOSS – CENTIPEDE DEMON
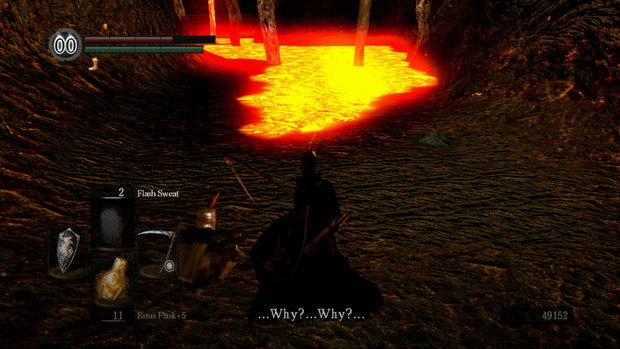
Before entering this fight, know that the boss is immune to fire. Also be aware that there is lava everywhere, so footing is crucial.
Solaire should provide a useful distraction (as usual) while you run to the far-right side of the arena. This is a more open area with a corpse at its center that can serve as a better base for this battle. However, if you don’t wish to deal with trying to jump over the lava, you can stay near the entrance.
The goal is to stay underneath the demon and attack. When it leaps into the air, pull out your shield and block. It’s as simple as that!
You should equip the awarded Orange Charred Ring immediately after this fight, for it allows you to cross over lava while taking minimal damage. Look for a cave on the left side of the arena and proceed through it to find Solaire and a bonfire.

OPTIONAL: If you’ve been following our guide so far, Solaire should be here. Speak to him (but DO NOT pass the nearby bonfire into Lost Izalith), then backtrack to the door that led to the Demon Firesage boss arena. Remember that shortcut through the wall we told you not to take? Take it now. Proceed down the roots to the locked door, which can be opened if you are a level 2 member of the Chaos Servant Covenant. On one side of the door you’ll find four Chaos Bugs. On the other side, five. Kill them all (there may be more than nine, make sure they are all dead), then turn around; Solaire will be sitting near the shortcut door. Speak to him. Provided you have not yet entered Lost Izalith, then you will have completed the requirements and Solaire’s summon sign will appear before the game’s final boss door. If you've failed any of these requirements, Solaire will die. You can proceed into Lost Izalith from here, but in order to follow our walkthrough, we suggest you head back to the bonfire next to which Solaire was initially sitting.
Jump to Section
- Firelink Shrine
- Undead Burg part 1
- Undead Burg part 2
- Undead Parish part 1
- Undead Parish part 2 (First Bell)
- (OP) Grinding for Souls & Finding Goodies in Darkroot Garden
- Lower Undead Burg
- (OP) Returning to the Undead Asylum
- The Depths
- Blighttown
- (OP) Exploring Blighttown's Swamp
- (OP) Undead Dragon & Valley of the Drakes
- Quelaag's Domain (Second Bell)
- (OP) Moonlight Butterfly & the Divine Ember
- (OP) Darkroot Basin, the Hydra, and Dusk
- Sen's Fortress part 1
- Sen's Fortress part 2
- Anor Londo part 1
- (OP) Painted World of Ariamis part 1
- (OP) Painted World of Ariamis part 2
- Anor Londo part 2
- Return to Firelink Shrine & Placing the Lordvessel
- Sif and the Darkroot Garden
- New Londo Ruins
- The Catacombs
- Tomb of the Giants part 1
- Tomb of the Giants part 2
- (OP) Dark Sun Gwyndolin & the Blade of the Darkmoon Covenant
- Duke's Archives
- Crystal Cave
- Demon Ruins part 1
- (OP) Great Hollow & Ash Lake
- Lost Izalith
- (OP) Sanctuary Garden (New Content)
- (OP) Oolacile Sanctuary & Royal Wood (New Content)
- (OP) Oolacile Township (New Content)
- (OP) Chasm of the Abyss (New Content)
- (OP) Black Dragon Kalameet (New Content)
- Kiln of the First Flame & Gwyn, Lord of Cinder
Current page: Dark Souls: Demon Ruins Part 2
Prev Page Dark Souls: Demon Ruins Part 1 Next Page Dark Souls: Great Hollow and Ash Lake (Optional)Weekly digests, tales from the communities you love, and more


