Should you buy a Grav Drive or take the settlement deal in the Starfield First Contact mission?
You can buy the ECS Constant a new Grav Drive or settle the crew on Paradiso in the Starfield mission First Contact
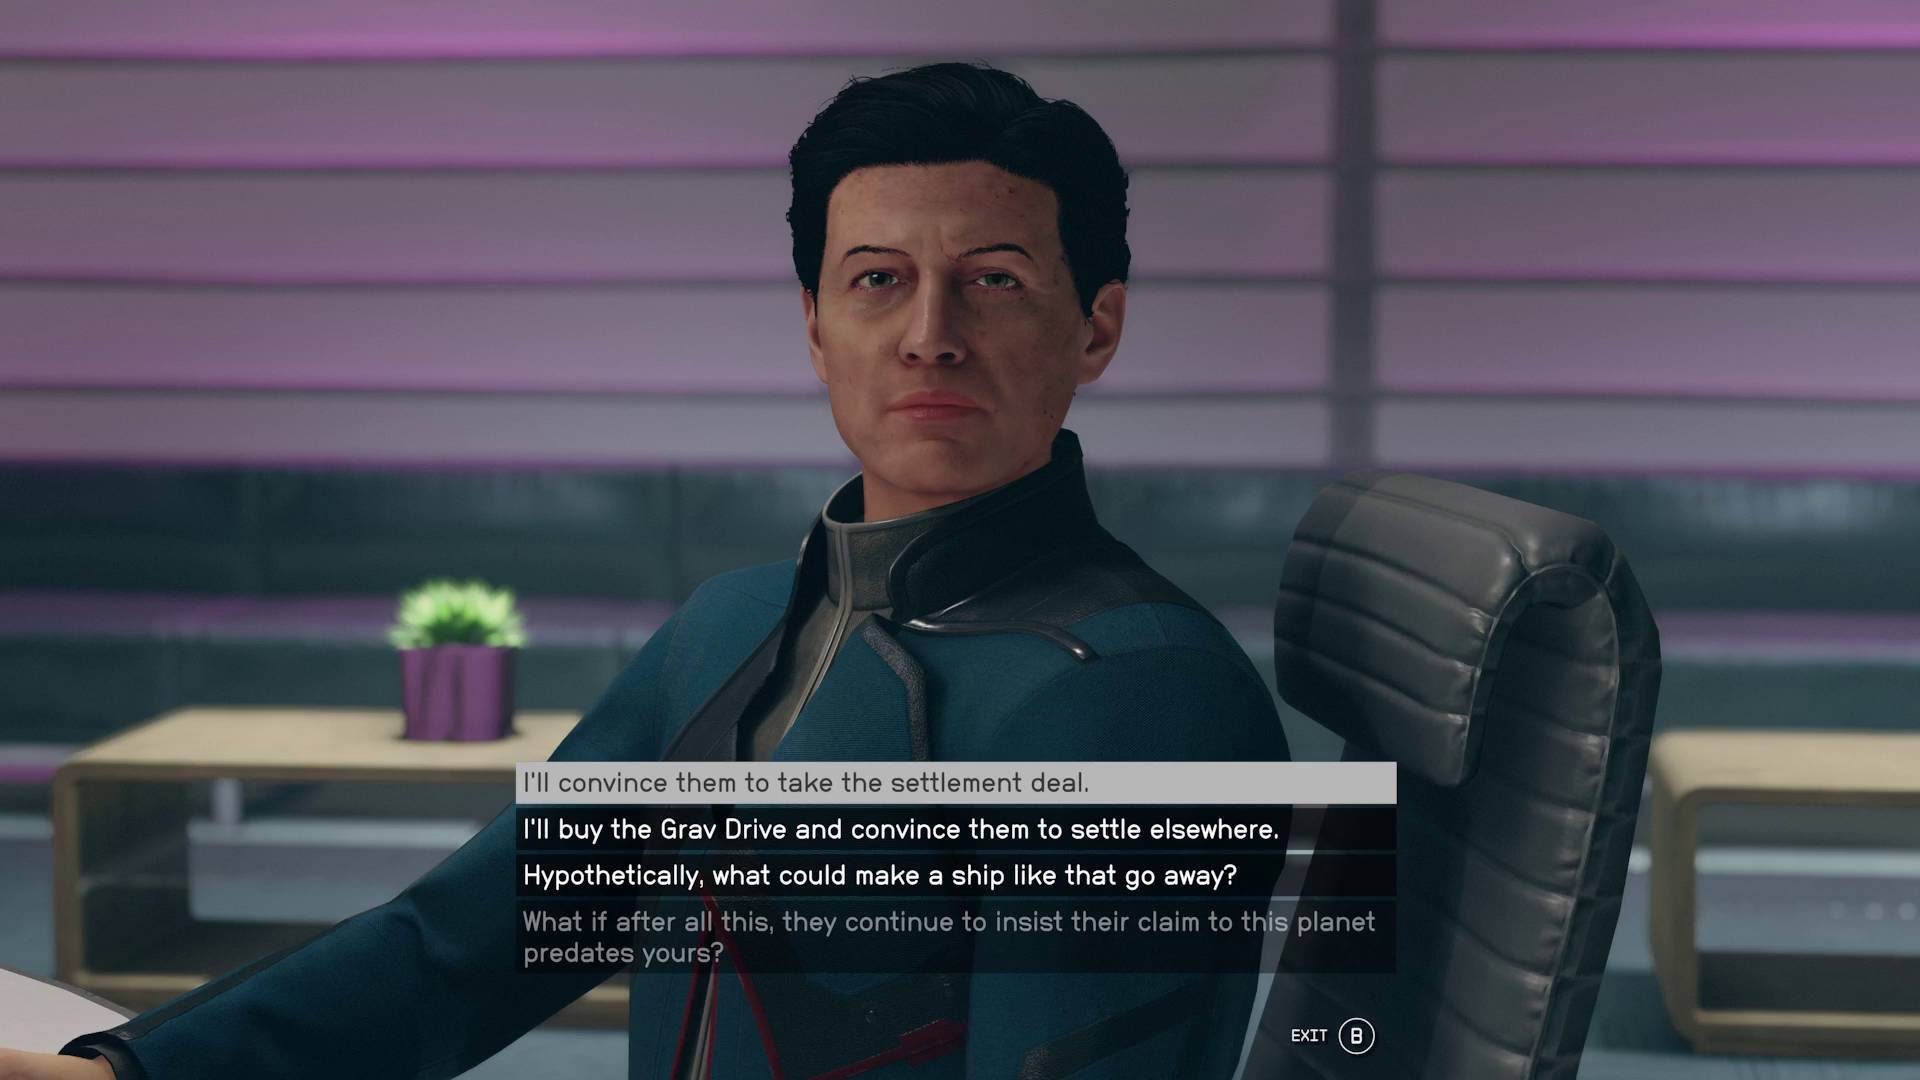
For the Starfield First Contact mission, is the best option buying a Grav Drive or convincing the colonists to take the settlement deal on Paradiso? Both sides are reluctant to budge on their claim to Porrima II, so you'll need to make a decision as to who you'll help. While both routes get you the same short-term rewards in Starfield, there are major differences in the missions following your choice that may affect your decision. Importantly, there’s also a secret third option for terrible people where you just blow up the colonists instead. With three different possibilities to consider, I’ve laid out the outcomes, consequences, and rewards for each choice in the Starfield First Contact mission.
Should you buy a Grav Drive, make a deal, or overload the ship’s reactor?
The First Contact mission in Starfield presents you with two clear choices, but one of these also leads to a third option for any morally bankrupt players to pursue. To get to this point, you must have boarded the ECS Constant in orbit near Porrima II and spoken to Captain Diana Brackenridge to learn that the colonists are staking a claim on the planet, despite Paradiso’s presence.
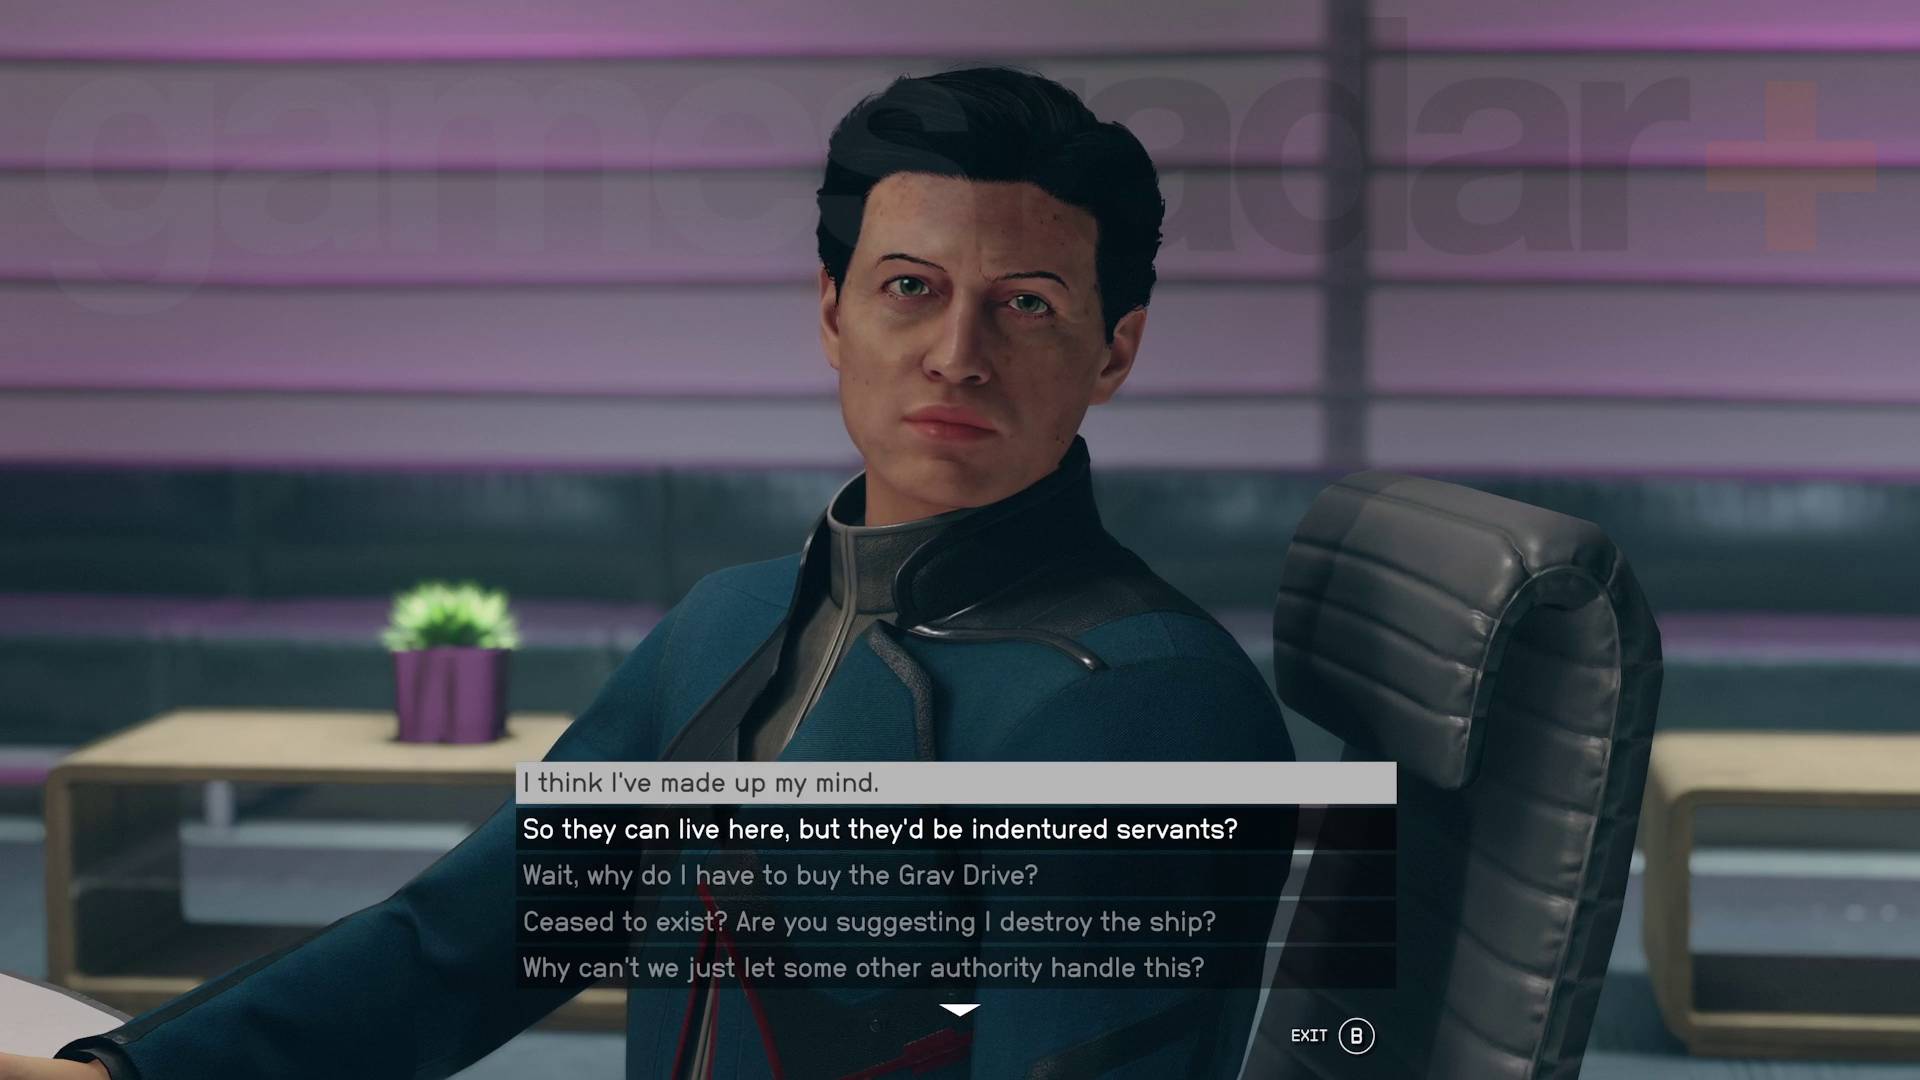
Head back to Paradiso, go to the Executive Floor of the hotel’s main building, and find CEO Oliver Campbell in the boardroom. Speak to him and you’ll be presented with two clear options, but you can also get the third one: Buy the Constant a Grav Drive with your own credits, convince the colonists to settle on Porrima II but only if they agree to work at Paradiso to pay off their debt, or blow up the Constant and eliminate the problem.
Buy a Grav Drive in Starfield First Contact
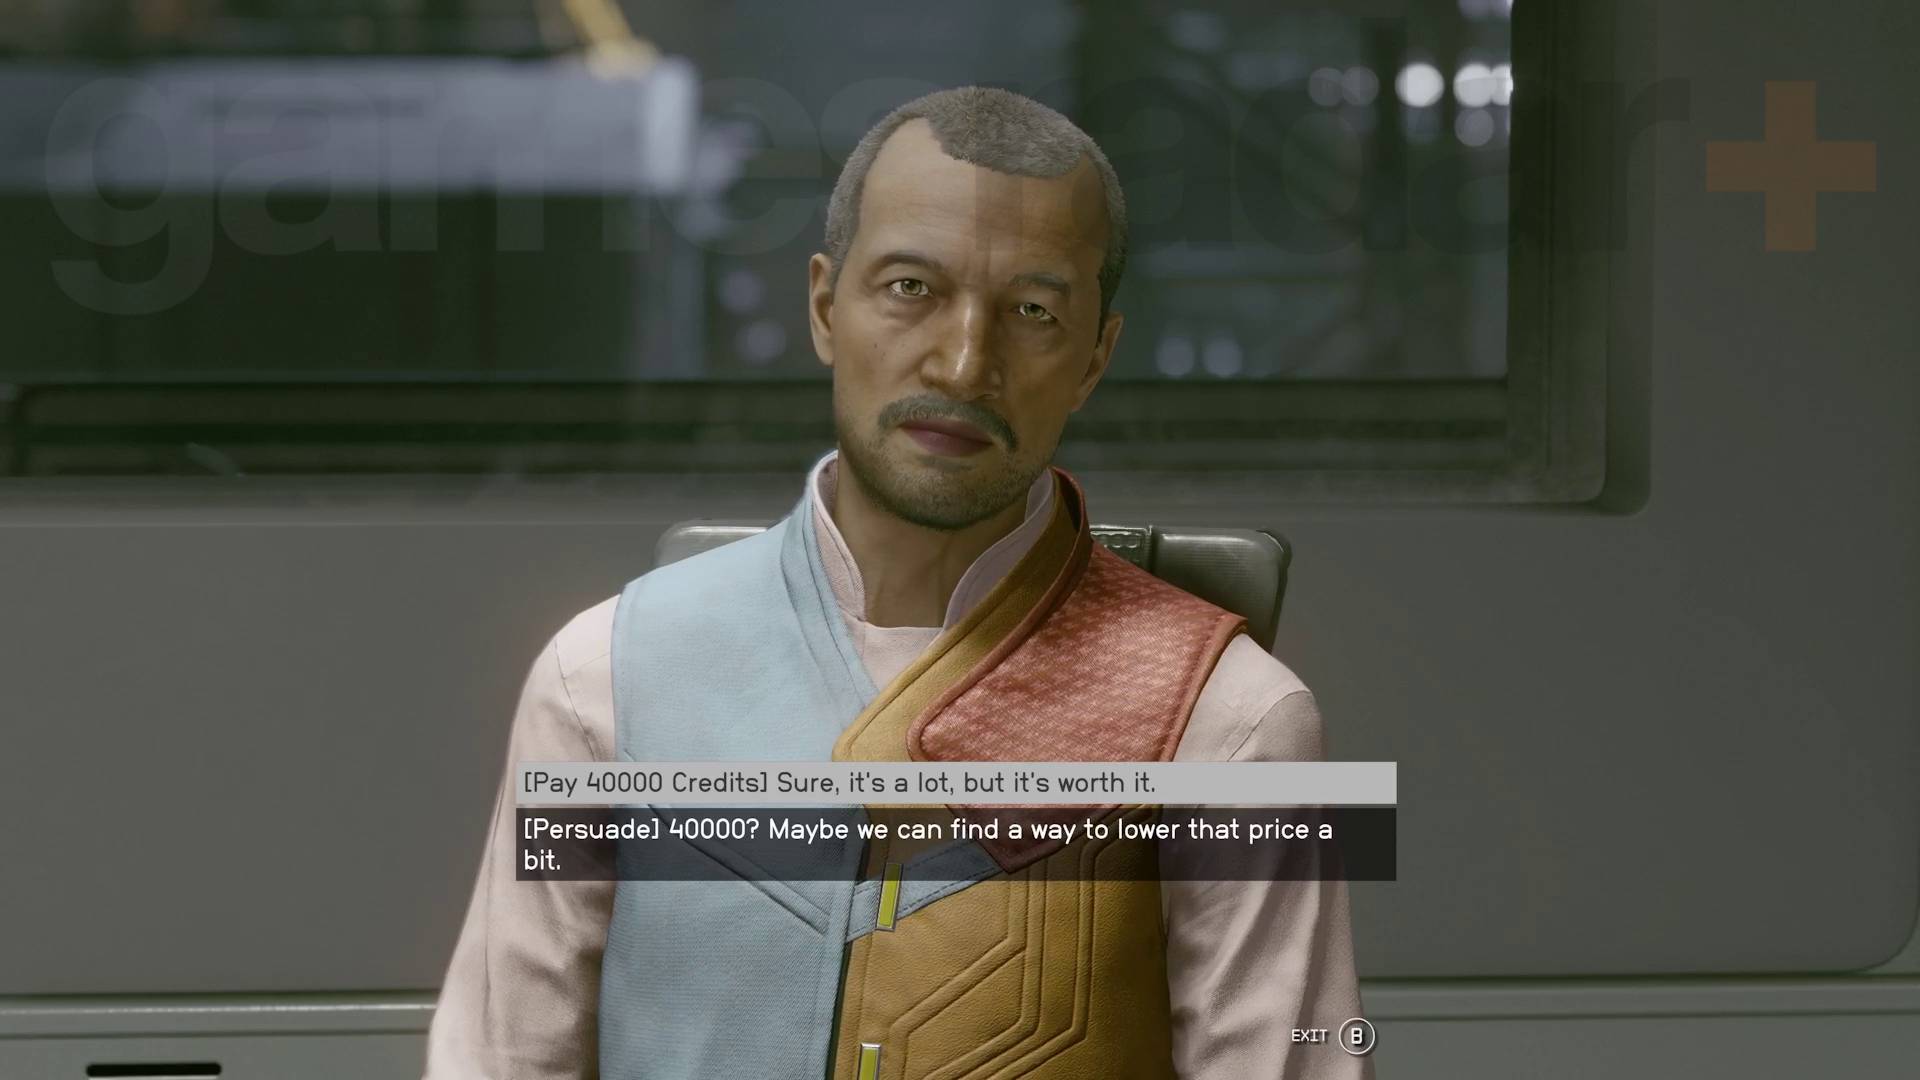
This is by far the best option for pretty much everyone as no one dies or ends up sacrificing their life to become a servant. When negotiating with Oliver Campbell, choose the, “I’ll buy the Grav Drive and convince them to settle elsewhere”, option. You’ll fly to Hopetown on Polvo in the Valo system and will speak to a man named Bennu St. James. He’ll be ready to offer you an older Grav Drive that’ll be compatible with the ECS Constant for 40,000 credits, which you can pay right away if you’ve got the cash, or you can persuade him to lower the cost to 25,000 credits.
With the deal sorted, you’ll head to speak to Amin Kazemi, the Constant’s head engineer, to get the Grav Drive retrofitted. However, this requires you to sort out three ship systems using the computers in Engineering:
- Computer Alpha: Choose Turbopump – Port. Choose Cryogenic Radiator – Auxiliary. (make sure you scroll all the way up to see this. I found that the list kept starting on Cryogenic Radiator – Primary)
- Computer Beta: Choose Plasma Run-Off Inhibiter. Set to 5%.
- Computer Gamma: Choose Magnetic Flange Pipe Enclosures, set to Decouple, choose Auxiliary Module Assembly.
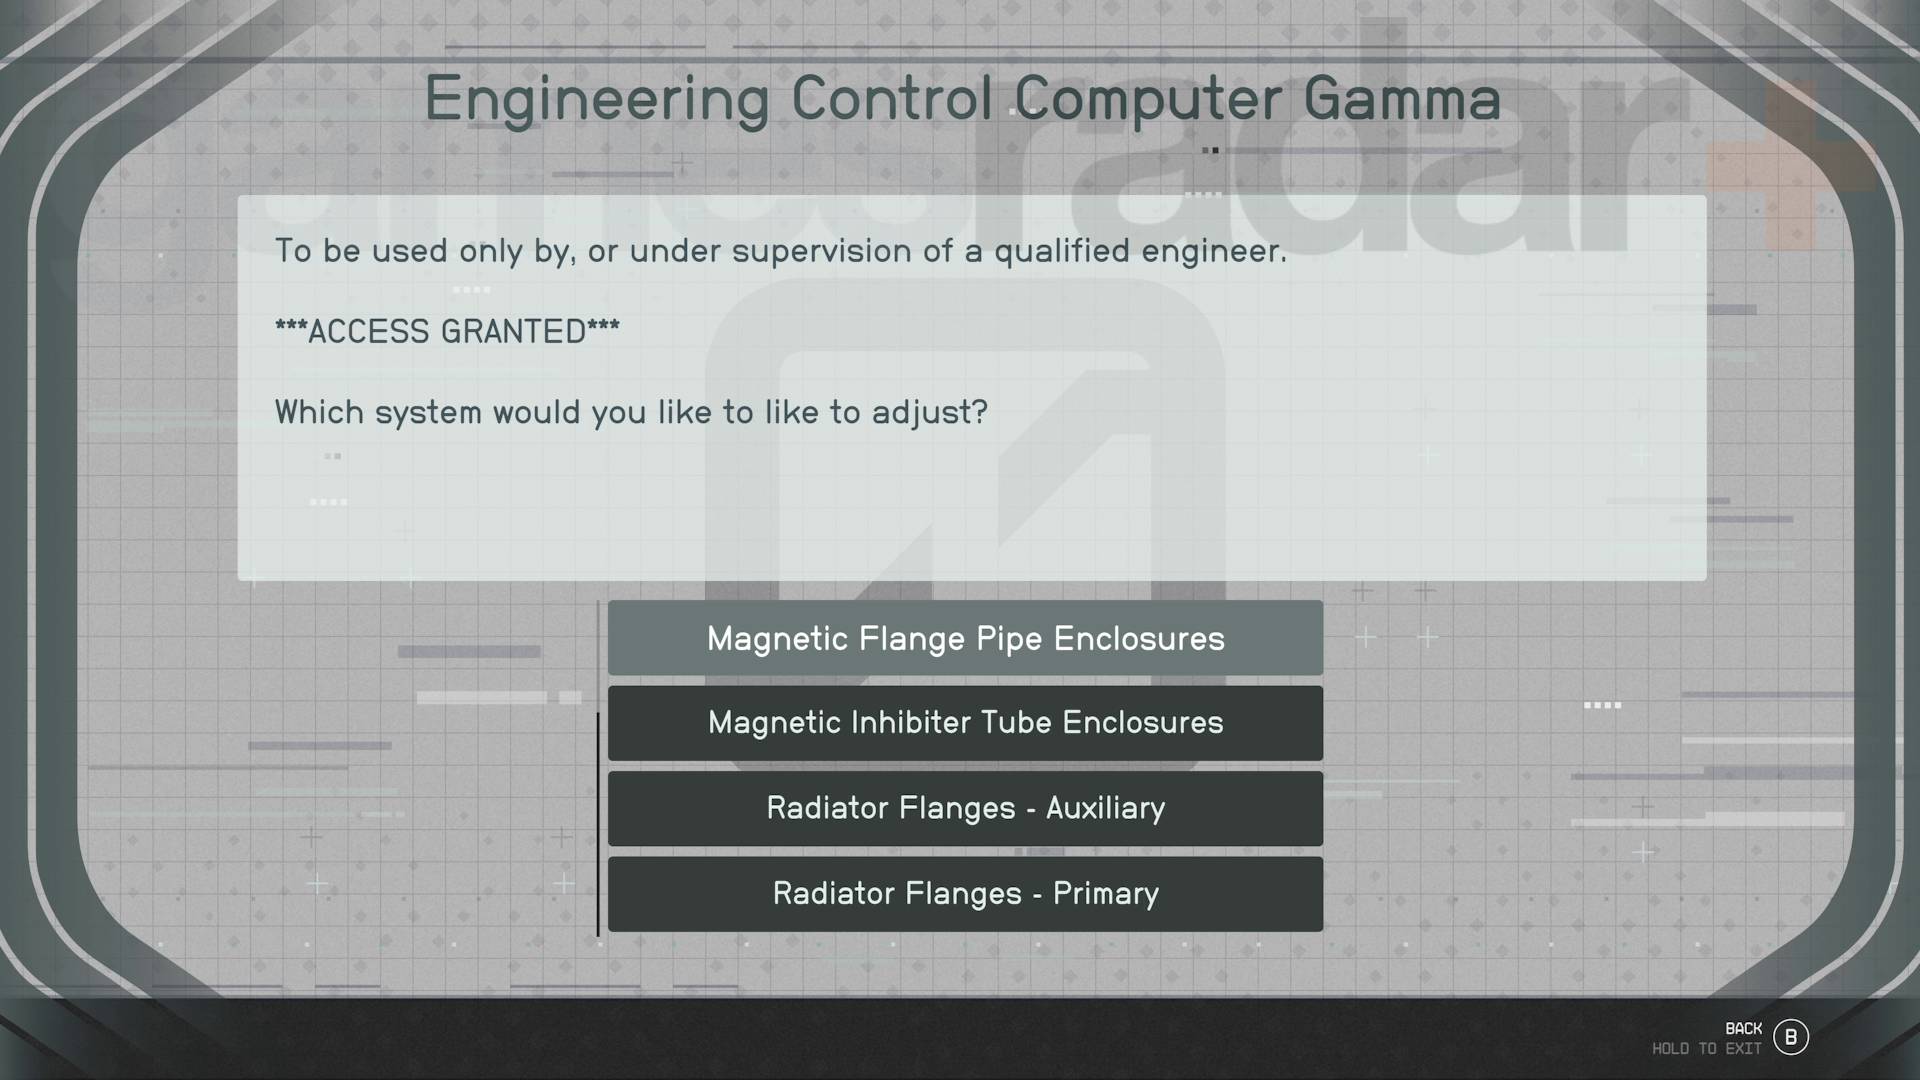
There are no consequences to getting these wrong, despite what Amin says about stuff exploding, so just complete these tasks, then head over to Captain Diana. With the Grav Drive fitted and upgraded comms equipment, the Constant is ready to blast off. For your efforts, you’ll get a bunch of Earth antiques to sell for a few thousand credits, as well as a XM-2311 pistol. You can even find the Constant later on as you fly through the starfield, where they’ll ask you to complete some fetch quests for them.
Take the settlement deal in Starfield First Contact
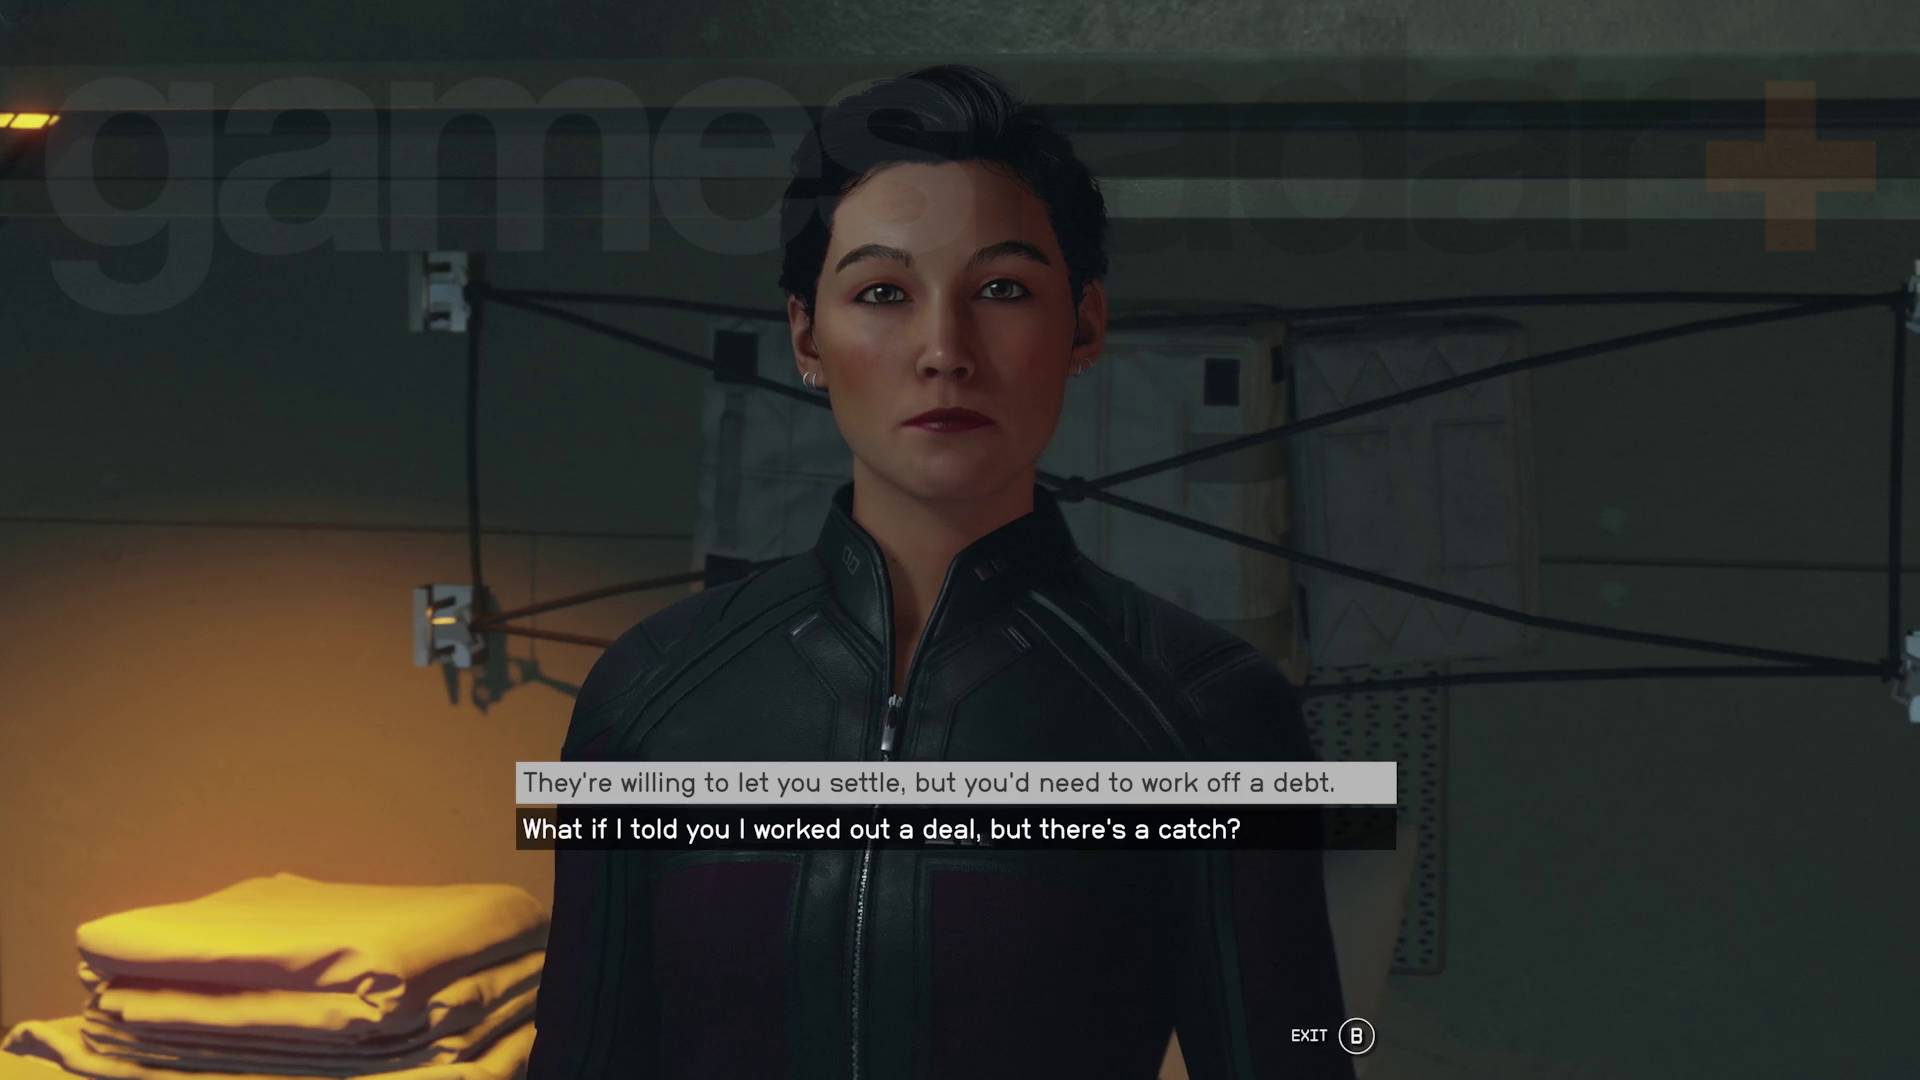
This settlement deal option benefits the executives of Paradiso most, but it doesn’t seem detrimental for anyone in the short run. The main reason for avoiding this option is that you’ll have to go through a tedious hunt for resources to fill out a hefty shopping list that Oliver has demanded from the colonists. If you do want to go with this course of action, choose the dialogue option, “I’ll convince them to take the settlement deal”, when speaking to Oliver Campbell.
Once you’re done in Paradiso, you’ll speak to Diana on the Constant and will find she’s surprisingly open to the idea of working at Paradiso to pay off the debt. However, she’s more reluctant to give up resources for Oliver, so it’s down to you to get these items for the crew:
- 10 Lithium
- 80 Iron
- 20 Sealant
- 40 Fiber
However, if you successfully persuade her to give up some of the Constant’s resources, you can speak to Daisuke, the ship’s supply manager, to get a head start. After gathering the rest of the resources, you need to use your ship to ferry the first wave of colonists to Paradiso.
Here, Diana will reward you with the same antique Earth relics and the XM-2311 pistol from the Grav Drive choice. Don’t bother returning to Oliver as you don’t get any rewards from him. I also found that neither Oliver or Diana takes the resources you gathered, so it’s a bit pointless but at least you can sell or use them however you please.
Overload the reactor in Starfield First Contact
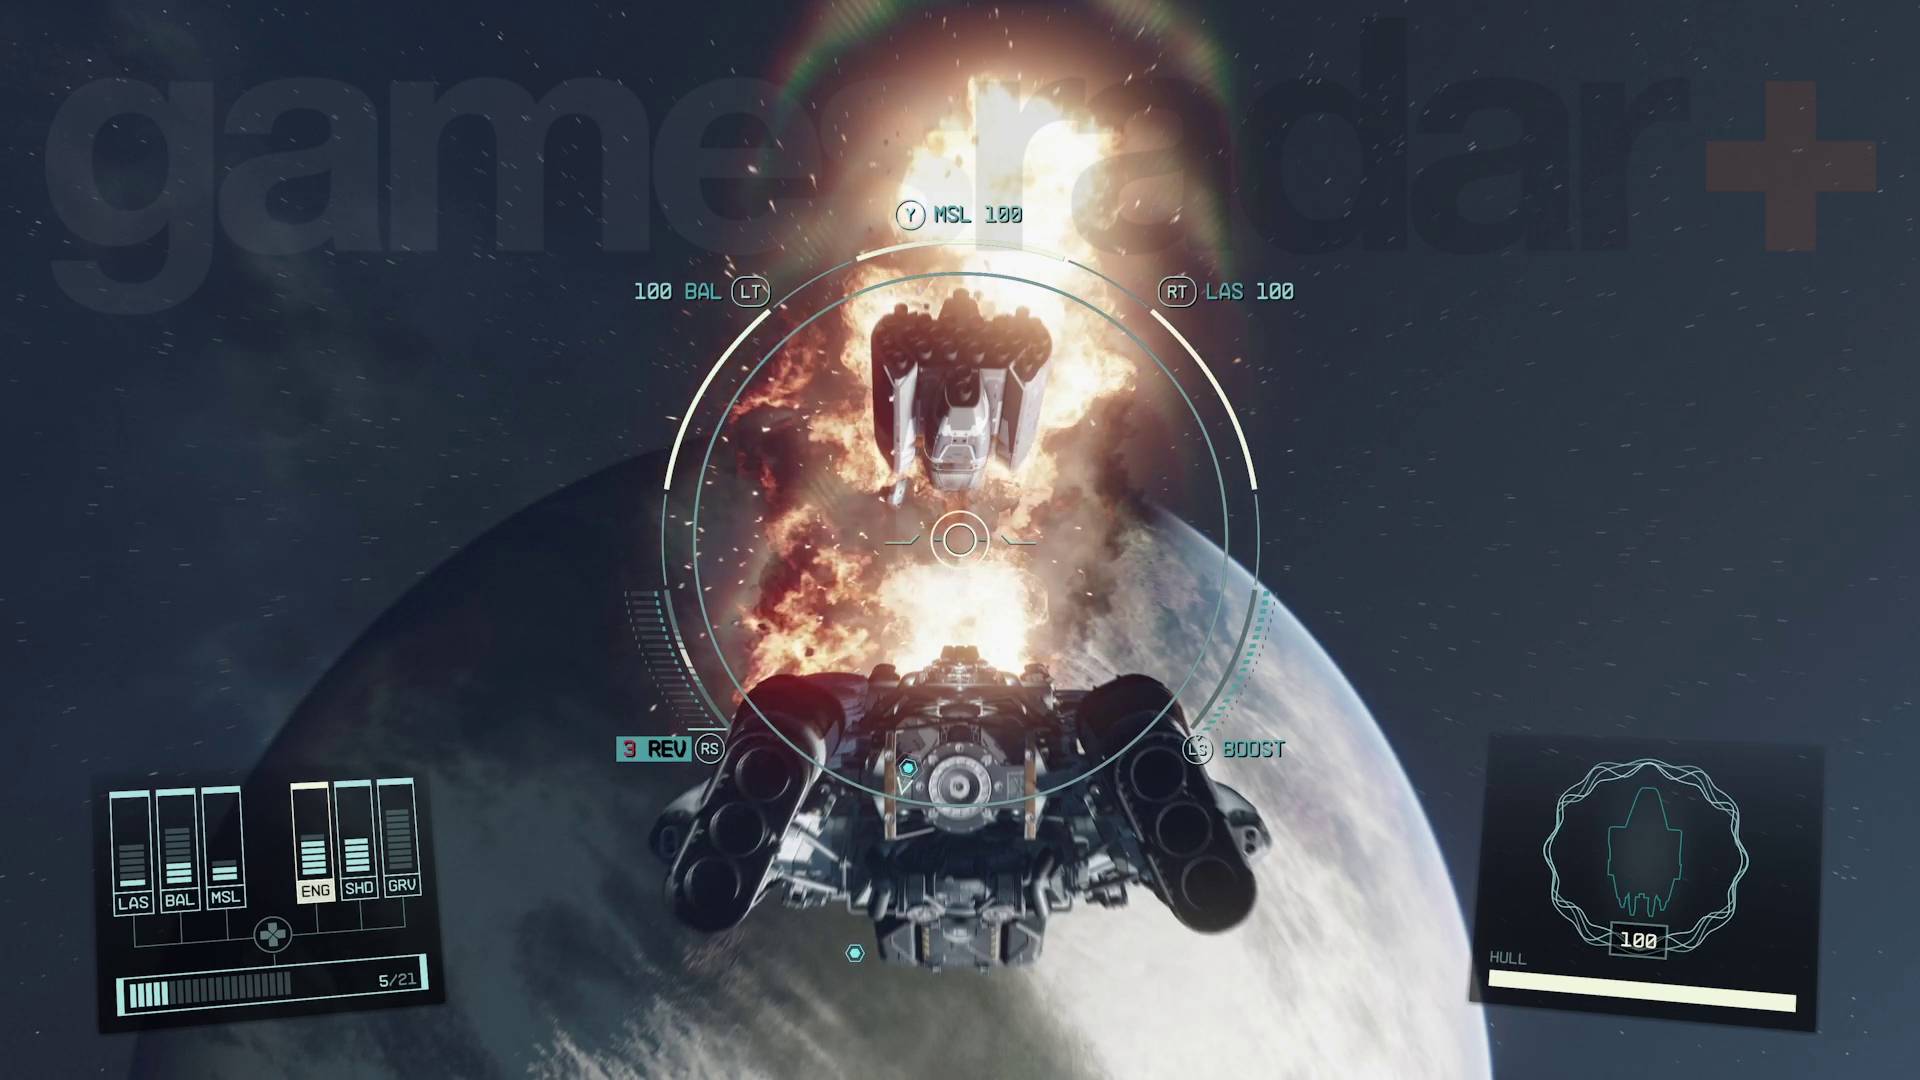
When telling Oliver what your approach to dealing with the Constant colonists is going to be, choose the “Hypothetically, what could make a ship like that go away?” dialogue option. Oliver will imply that overloading the ship’s reactor will be a surefire way to blow the whole thing up. It’s a complicated process and is, for some reason, the only way to destroy the Constant, as it is completely impervious to any weapon systems your own ship has.
Before going any further, I should mention that this is not only a pretty horrific thing to do but is also incredibly unrewarding. It’ll likely upset your current Starfield companion and it’s possible to get no rewards as well. It’s also good to get the Theft and Security Skills to Rank 2 to make this optional objective easier.
To proceed, tell Oliver you’ll convince the colonists to take the settlement deal then head back up to the Constant. Here’s what you need to do to overload the reactor:
- Head to the Engineering room and find Amin Kazemi.
- Pickpocket Amin and take the ECS Constant Reactor Terminal Key from him.
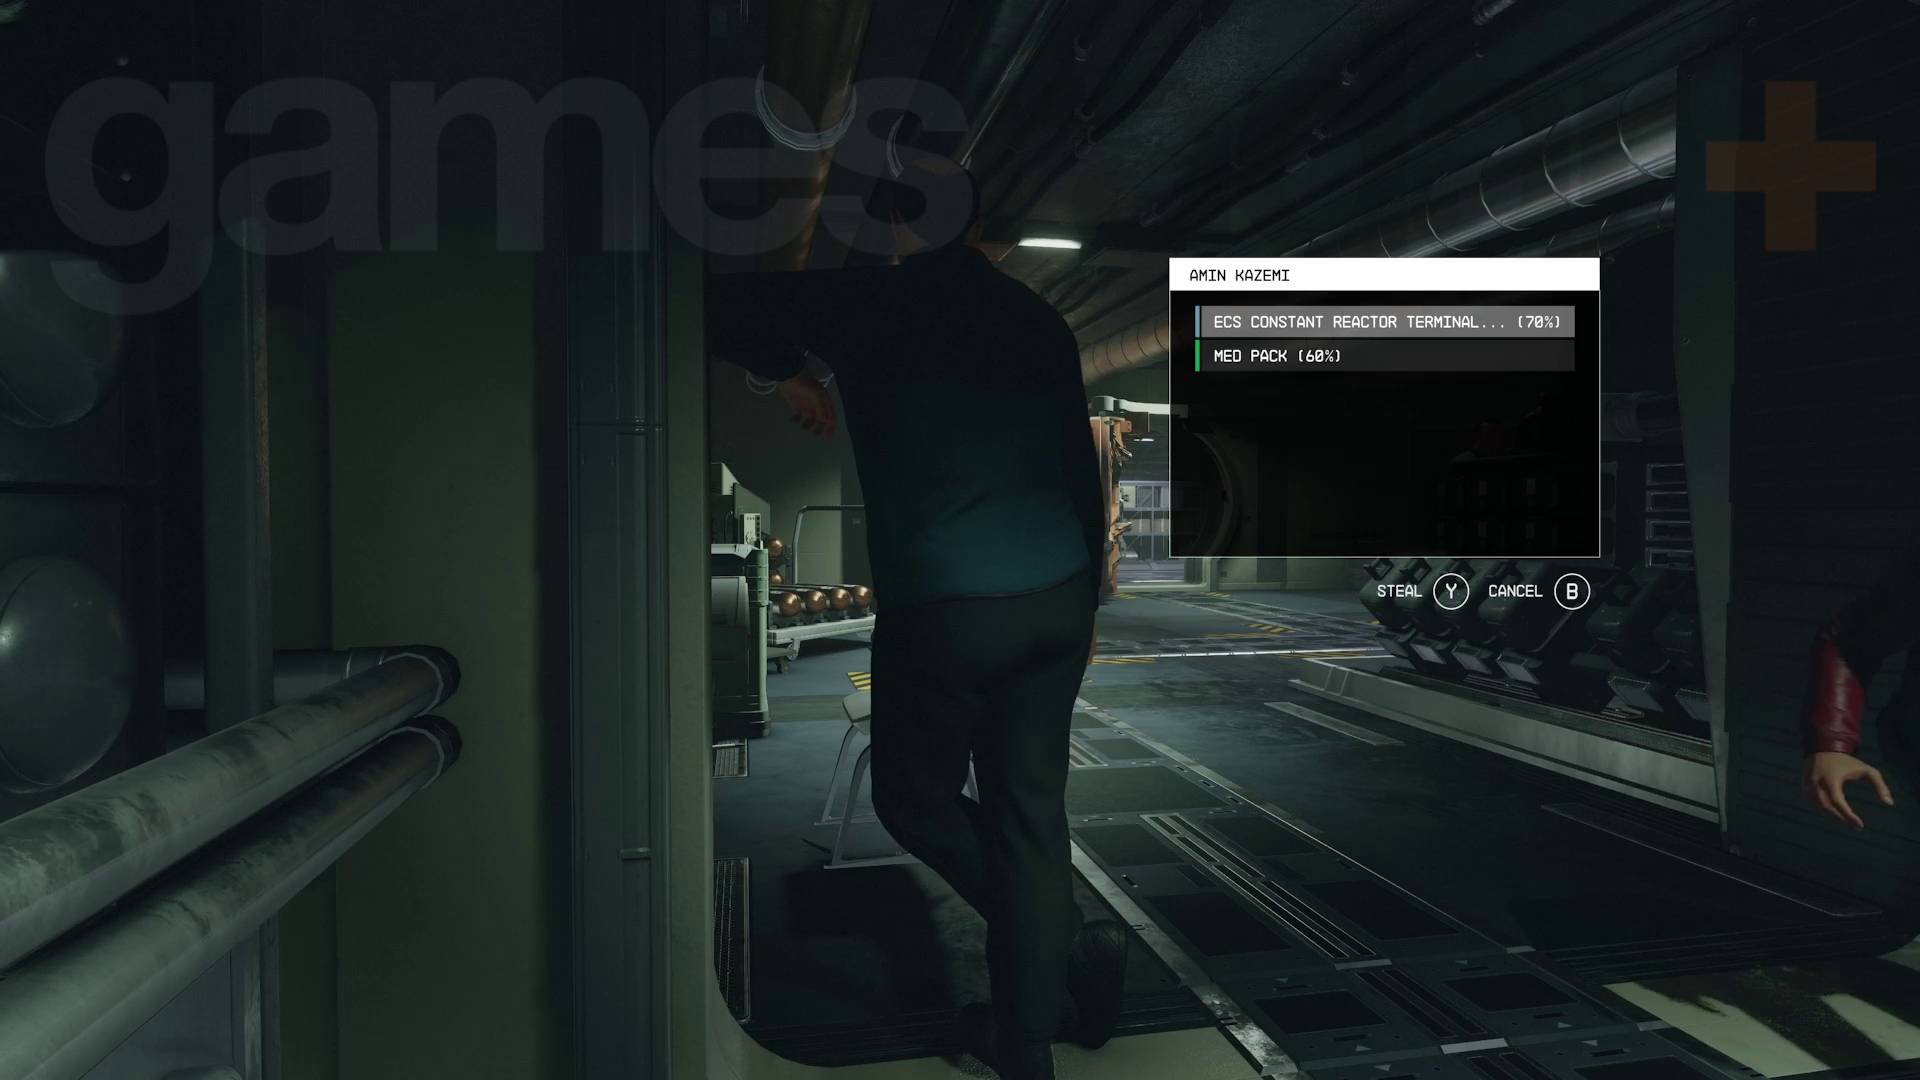
- Head over to the Reactor Terminal – as you enter the Engineering room, this terminal is immediately on your left – and open it.
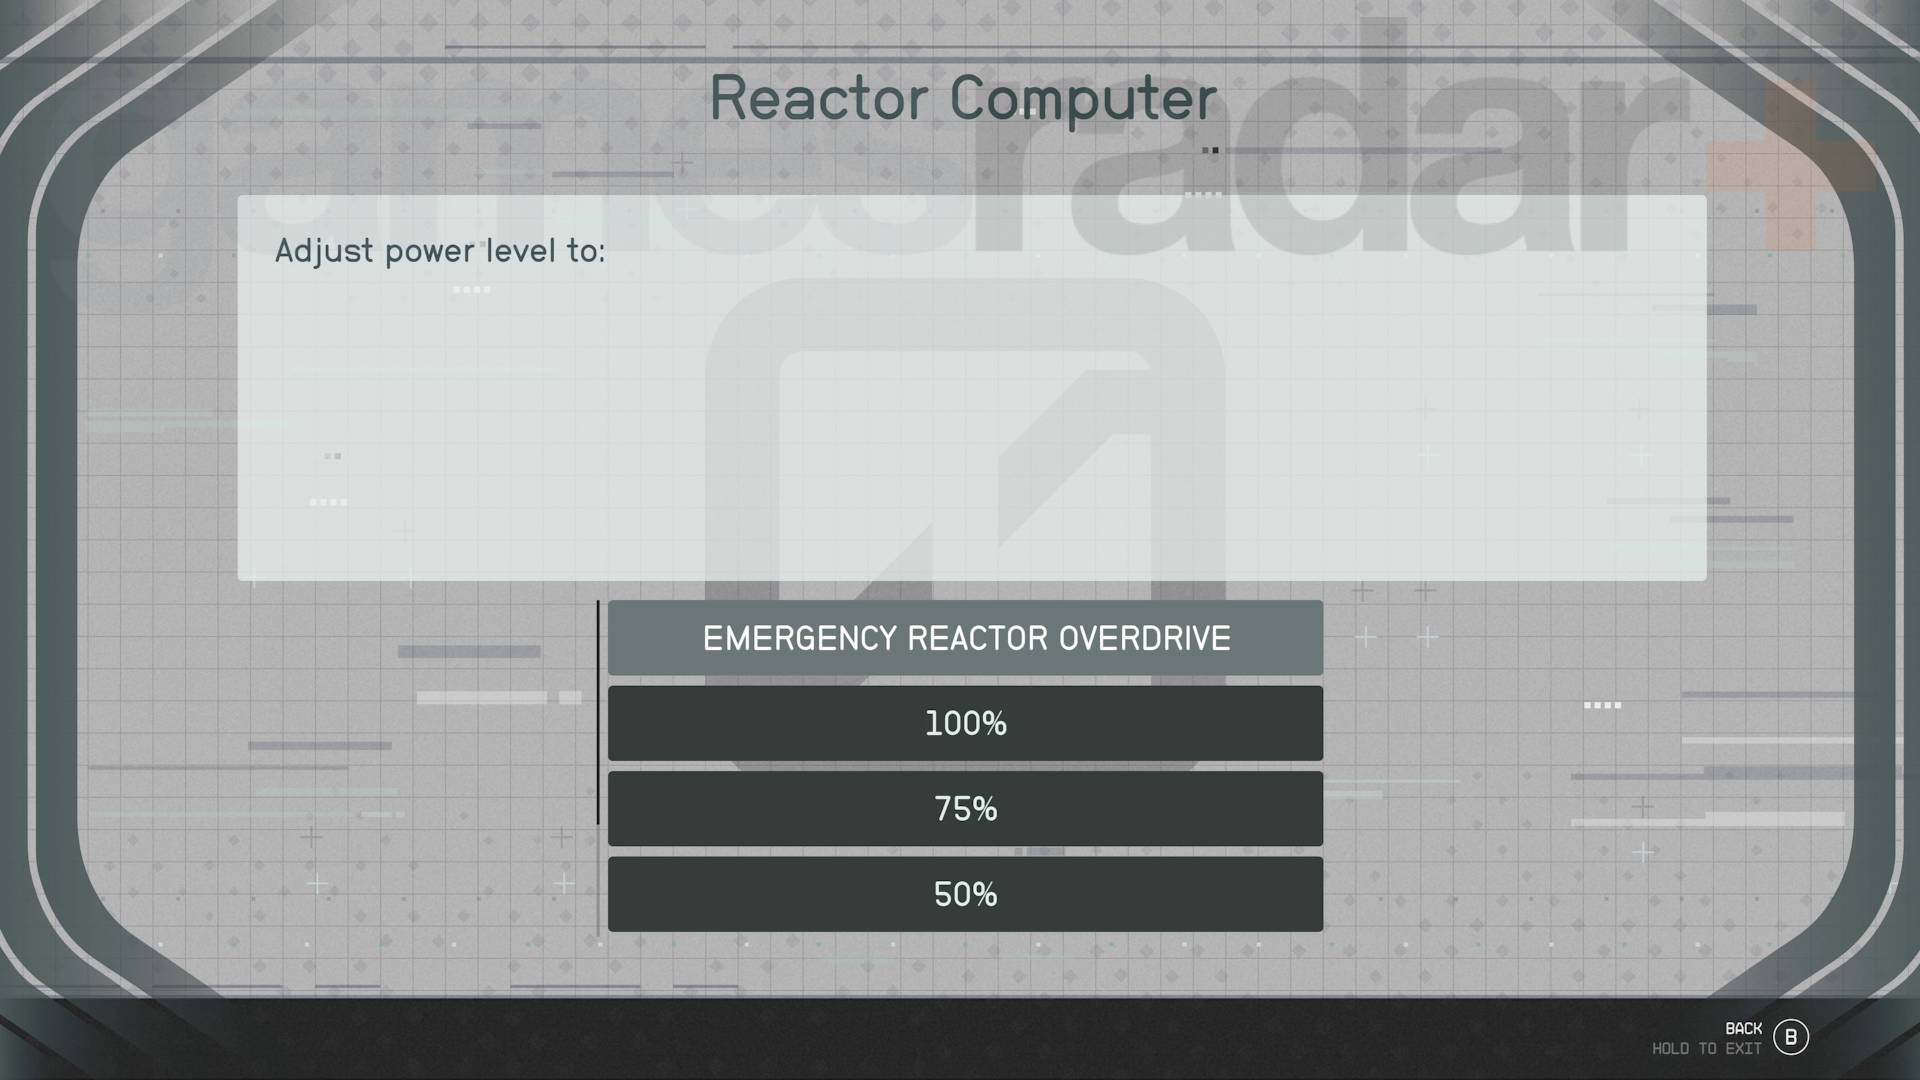
- Select the ‘Reactor Computer’ option, then choose ‘EMERGENCY REACTOR OVERDRIVE’. However, this requires confirmation from the captain.
- Head up to the Command Bay and hack the Captain’s Bridge Computer using a Starfield digipick - this is an Advanced-level puzzle, but strangely the colonists don’t seem to mind that you’re hacking their stuff.
- Navigate to the ‘Urgent Actions’ section of the computer, the confirm the request.
- This will immediately set off alarms in the ship and everyone aboard will turn hostile, so leg it back to your ship and undock.
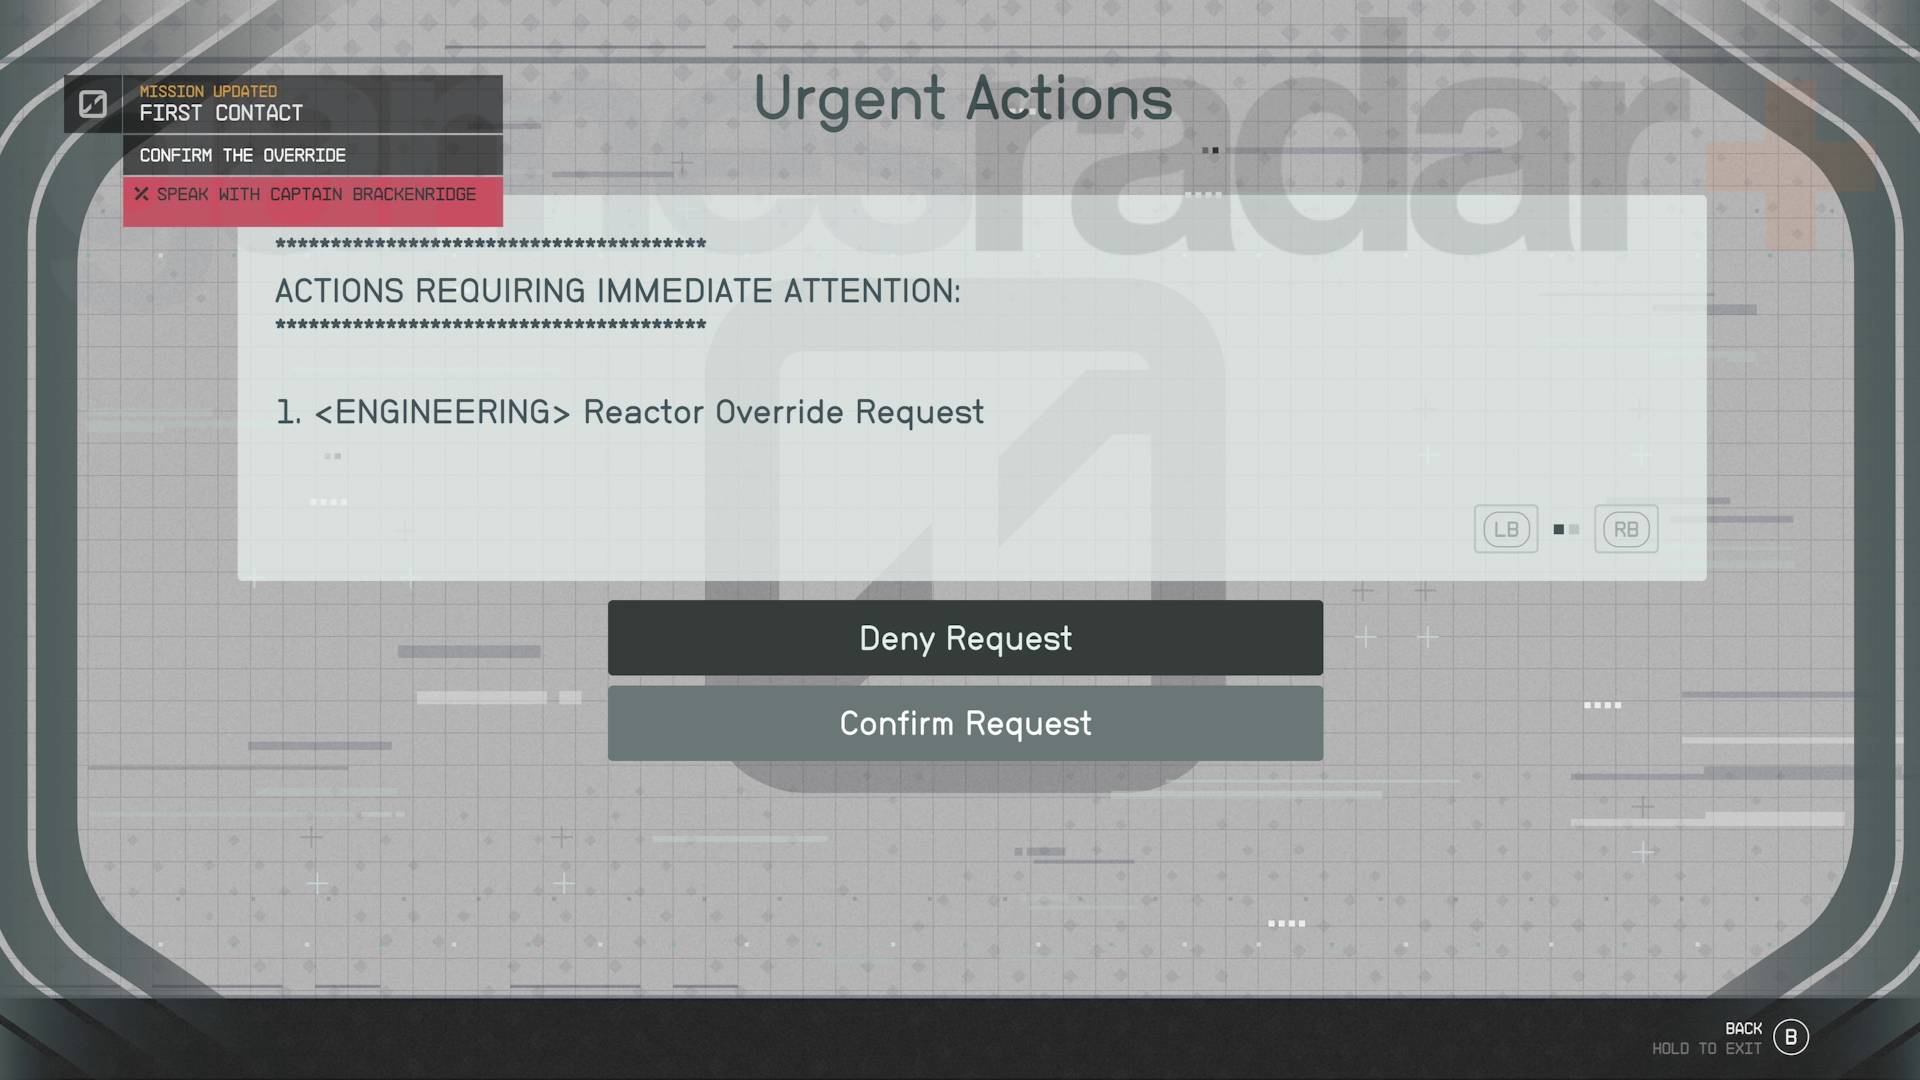
Now that you’ve escaped, you can lay back in your pilot’s chair and watch the fireworks as hundreds of souls are vaporized in the exploding ECS Constant, leaving absolutely nothing behind – no loot, not even Starfield ship parts. Head back to Oliver in Paradiso and let him know that you destroyed the ship and receive your payment.
If you choose the “I assume there’s some sort of payment…” option, you’ll get 6,500 credits for your misdeeds and will complete the mission. However, if you choose the “I want double whatever you were offering…” option, you’ll get absolutely nothing. As you can see, overloading the reactor just isn’t worth the effort, so it’s best to go through with it unless you’re really committed to roleplaying the worst person in the whole galaxy.
© GamesRadar+. Not to be reproduced without permission.
Weekly digests, tales from the communities you love, and more
Will Sawyer is a guides writer at GamesRadar+ who works with the rest of the guides team to give readers great information and advice on the best items, how to complete a particular challenge, or where to go in some of the biggest video games. Will joined the GameRadar+ team in August 2021 and has written about service titles, including Fortnite, Destiny 2, and Warzone, as well as some of the biggest releases like Halo Infinite, Elden Ring, and God of War Ragnarok.


