Skylanders: Swap Force soul gem locations guide
Weekly digests, tales from the communities you love, and more
You are now subscribed
Your newsletter sign-up was successful
Want to add more newsletters?
Join the club
Get full access to premium articles, exclusive features and a growing list of member rewards.
Woodburrow
Soul Gem (1/2): Hoot Loop
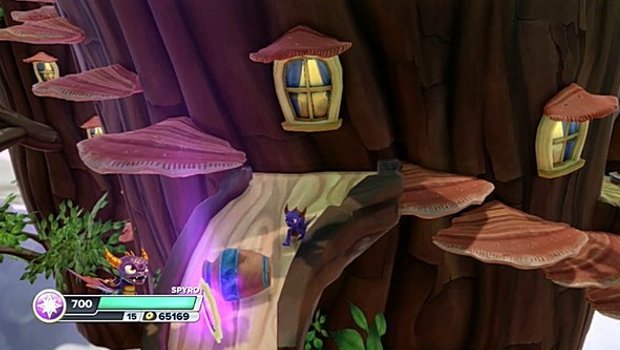
Climb the Mushroom Stairway in the center of the hub world. About halfway up is a large branch where you'll spot this Soul Gem.
Soul Gem (2/2): Smolderdash
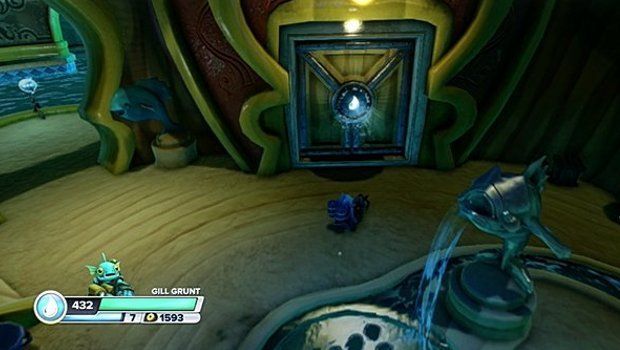
After completing Motleyville, you'll have access to The Under-Hollow. Inside is a series of doors with random elemental symbols. Use Skylanders of the correct element to open each door and reveal this.
Mount Cloudbreak
Soul Gem (1/2): Pop Thorn
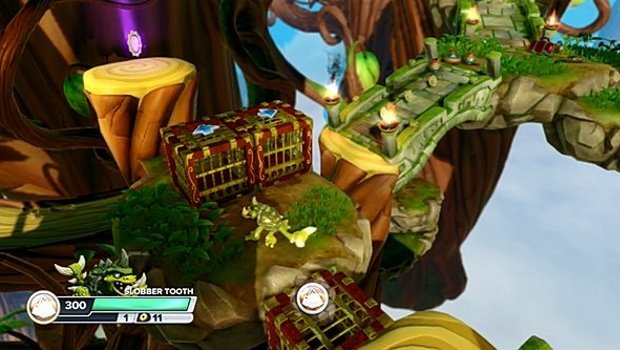
When you learn how to push blocks in Old Treetop Terrace, push the first and move to the second set. Push the left one forward, then hop up to reach your first Soul Gem.
Article continues belowSoul Gem (2/2): Magna Charge
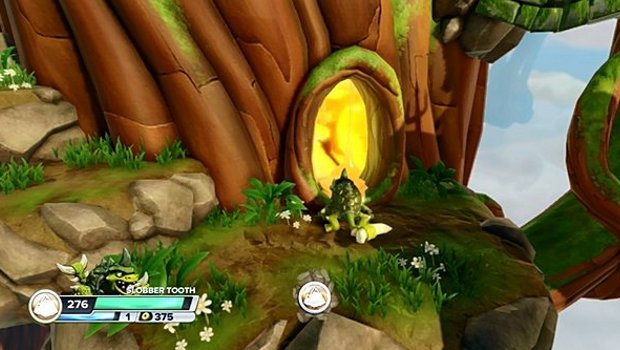
After taking out your first Chompy Pod, look to your left for some descending ledges. Head down to enter a hidden area, Honey Trove. Cross the bridge inside to reach this.
Cascade Glade
Soul Gem (1/3): Countdown
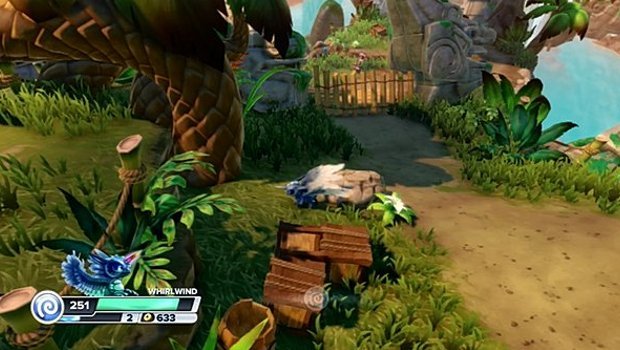
Before busting through the first wooden gate in Luau Lagoon, look to your left for a ledge. Hop up there and follow the path along the broken walkway to reach this.
Soul Gem (2/3): Slobber Tooth
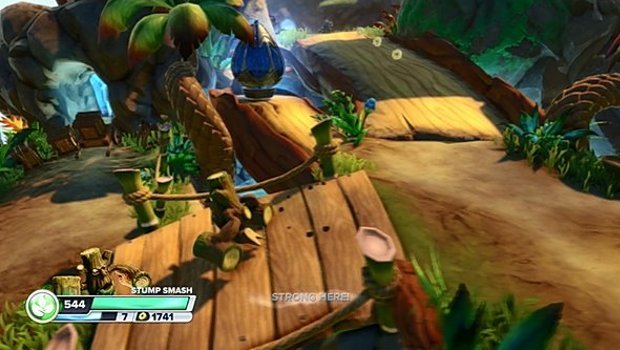
After freeing the Gobblepods in the Gobblepod Sanctuary, make a left at the intersection. Bust up the wagons over here and enter the hidden area. Inside, head right and ride the rock to a lower level. Hop across the rocks here to emerge back outside, where another Soul Gem waits for you.
Soul Gem (3/3): Rattle Shake
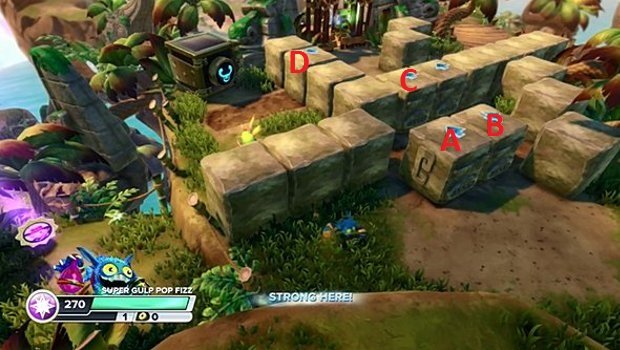
When you reach the big rock puzzle, push blocks A and B forward. Next, push block C forward twice, then back once. Push block D to the left to get to the other side of the area. From here, you can drop down to the Soul Gem.
Weekly digests, tales from the communities you love, and more
Mudwater Hollow
Soul Gem (1/3): Zoo Lou
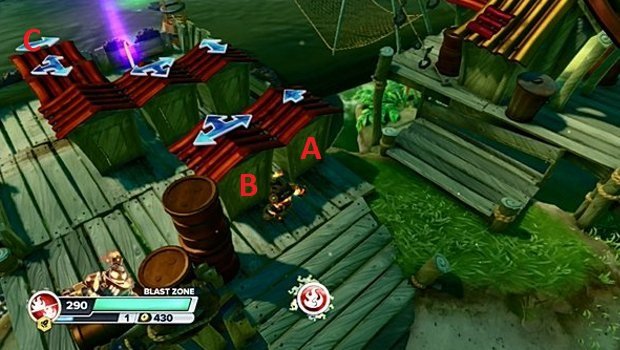
When searching for the gear in Broken Bog Bay, follow the trail to the top of the hill to reach this sheds. Push shed A forward, then push shed B to the left. Push shed C to the right twice to reach the Soul Gem.
Soul Gem (2/3): Free Ranger
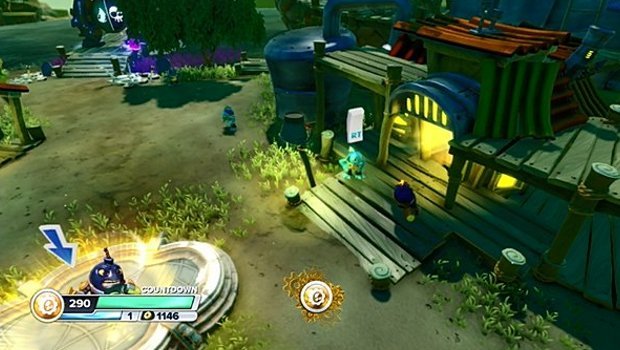
After freeing the Muddy Marsh Village from the baddies, enter the building pictured above, the Jug Jamboree Inn. Clear the debris on the second floor and head through the door to find another Soul Gem along a walkway.
Soul Gem (3/3): Bumble Blast
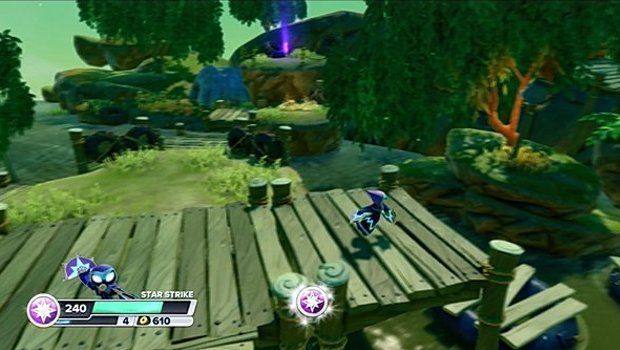
After battling the Evilized Boghog, make a right at the walkway. This path will take you up to the Soul Gem you see in the distance.

Tony lives in Maryland, where he writes about those good old-fashioned video games for GamesRadar+. His words have also appeared on GameSpot and G4, but he currently works for Framework Video, and runs Dungeons and Dragons streams.
 Join The Community


