Check out these Overwatch Uprising PvE event tips
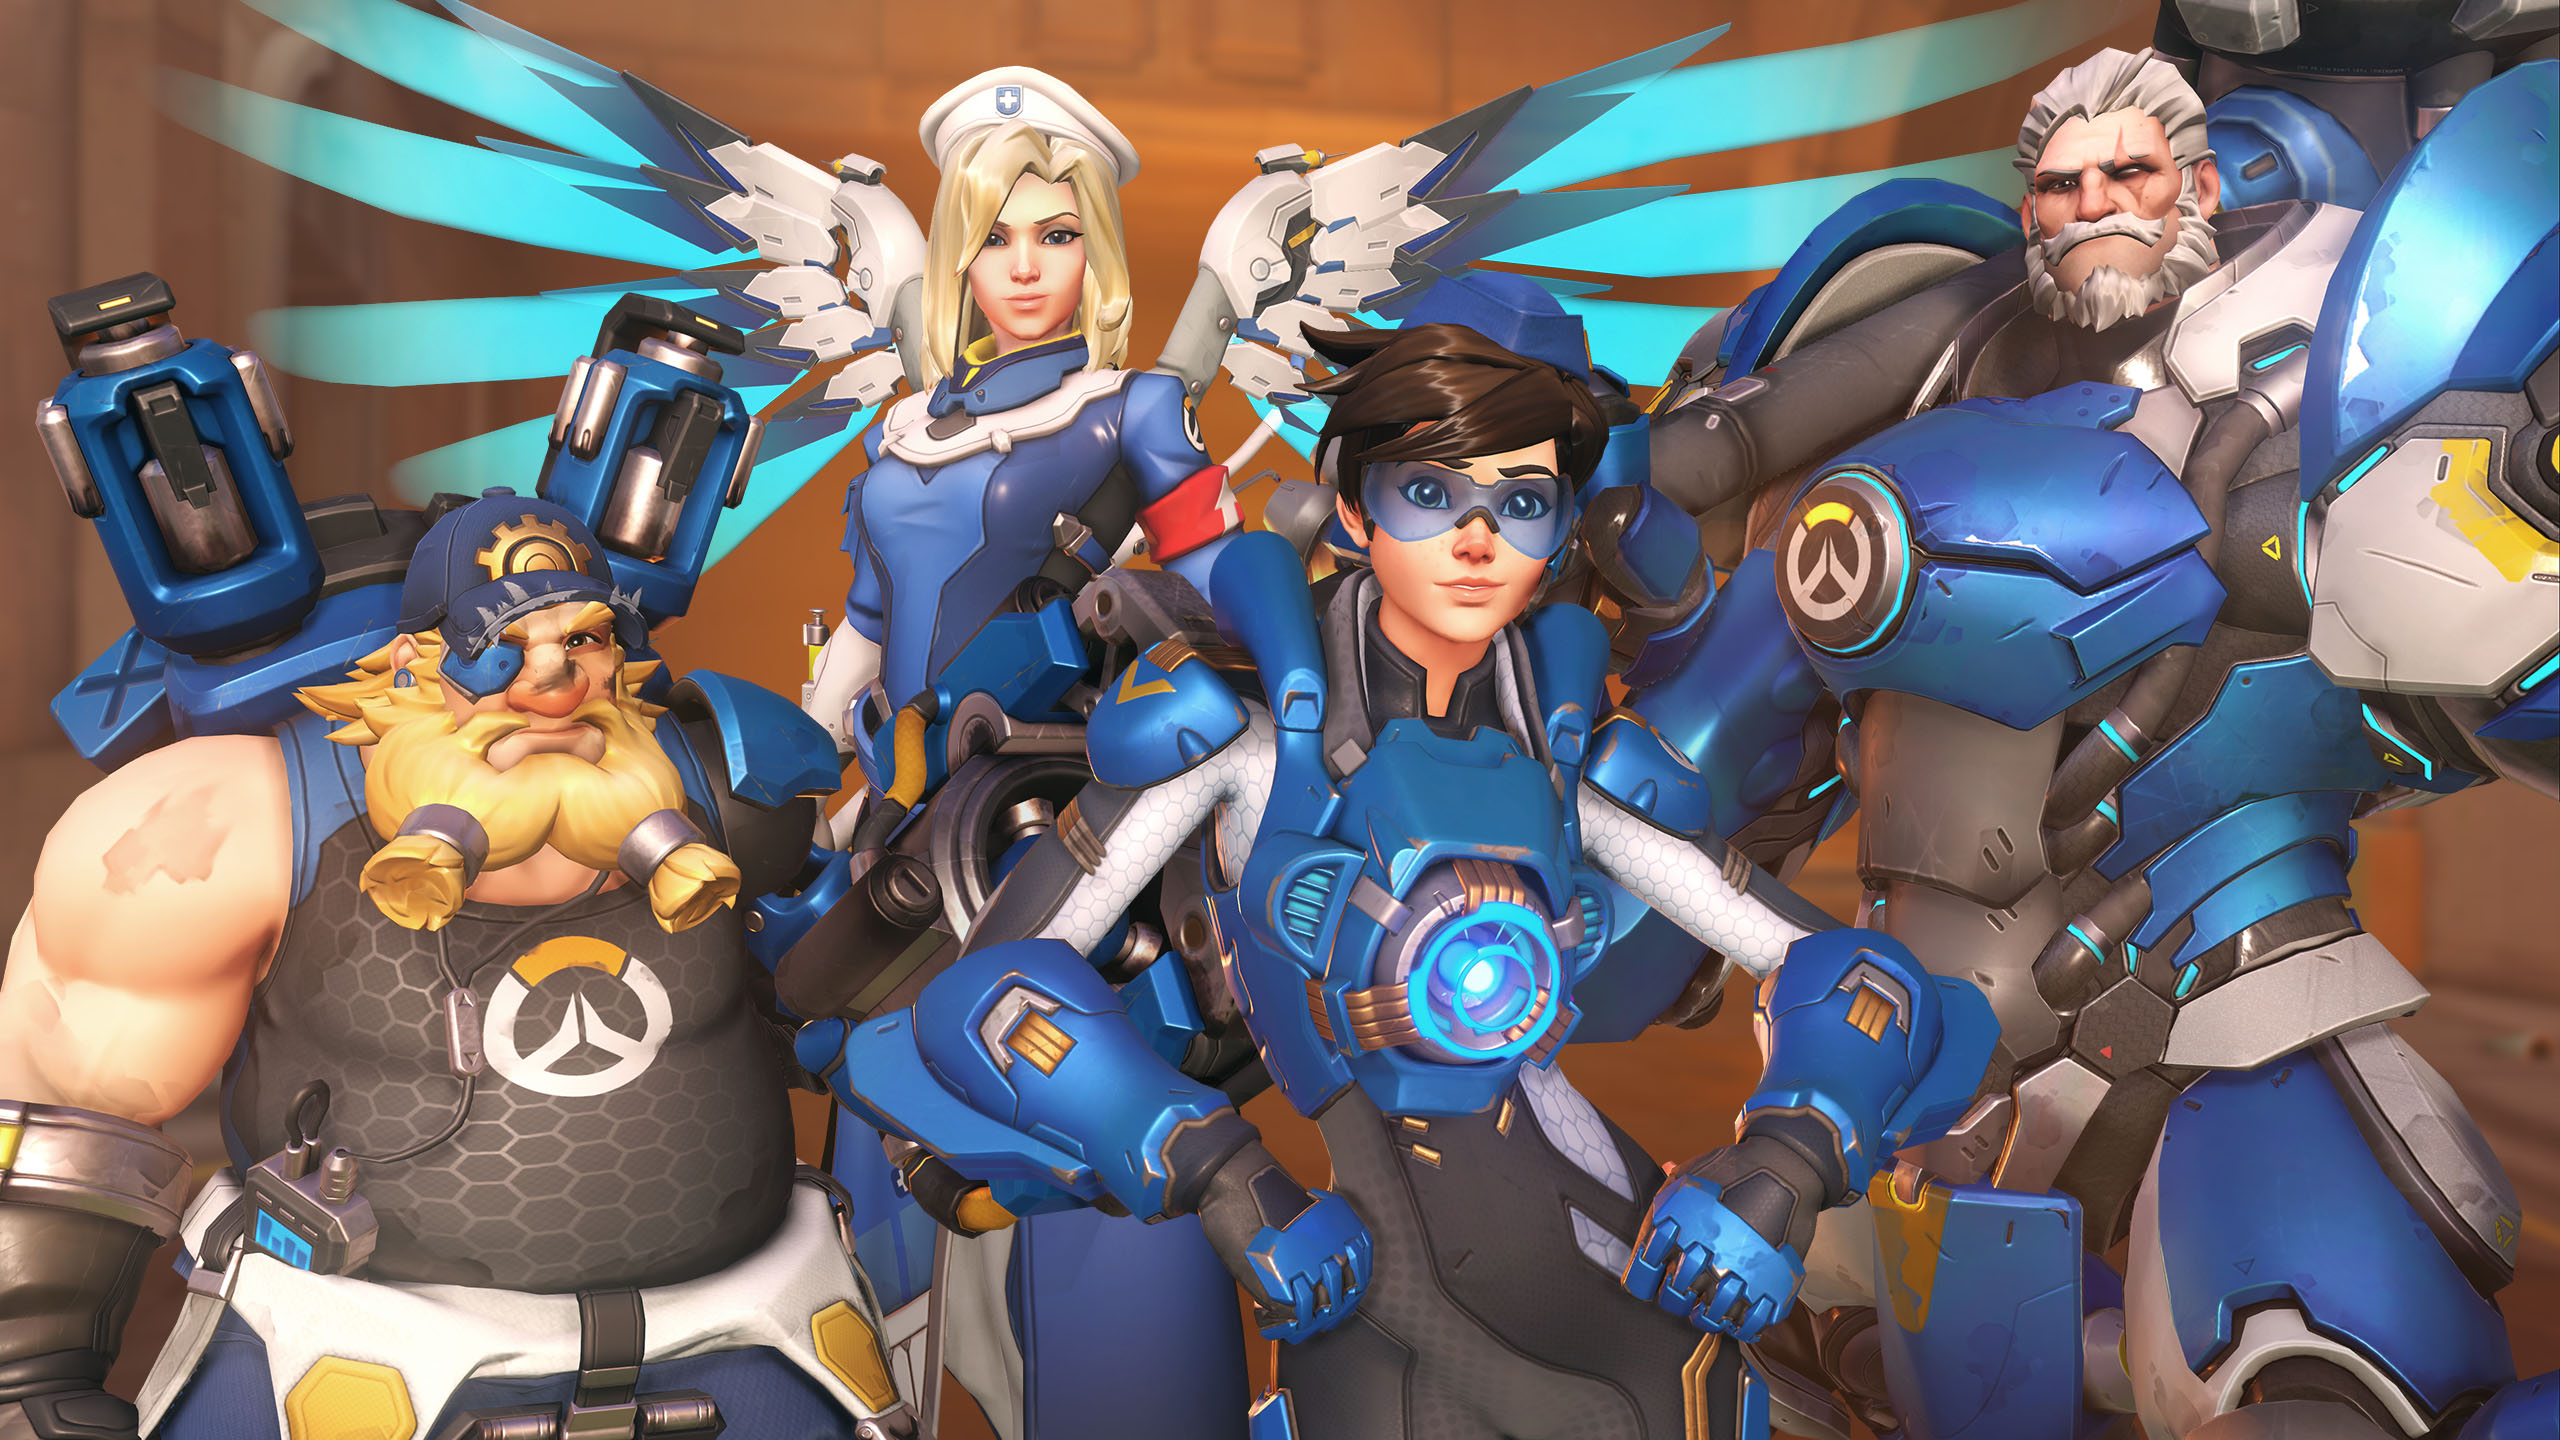
The PvE mode in Overwatch Uprising is a good time, but don't think it's easy just because you're fighting bots. Every player will need to know their hero's role and put in a strong effort to complete the mission and earn their fancy Uprising event loot boxes. Anxious about letting your team down, or not sure how to push your strategy far enough to finally see the "Victory" screen? Check out these tips and get playing before the event ends on May 1!
Overwatch Uprising general tips
Play the standard Uprising mode first, on normal
Unlike Junkenstein's Revenge from the Halloween event, you don't have to play through Uprising with the four "canon" characters. That's what the optional "All Heroes" mode is for. And more hero choice means more fun, right? Er, not necessarily. Good team composition is really important for this kind of challenge and there's no guarantee you'll get that if you're playing with randos who all want to insta-lock Hanzo. Play the standard mode first so you can learn how Uprising works with a well-balanced team. And seriously, even if you're great at Overwatch, you should probably start with "Normal" difficulty. It's surprisingly tough!
Feeling rusty? Pick Torbjorn
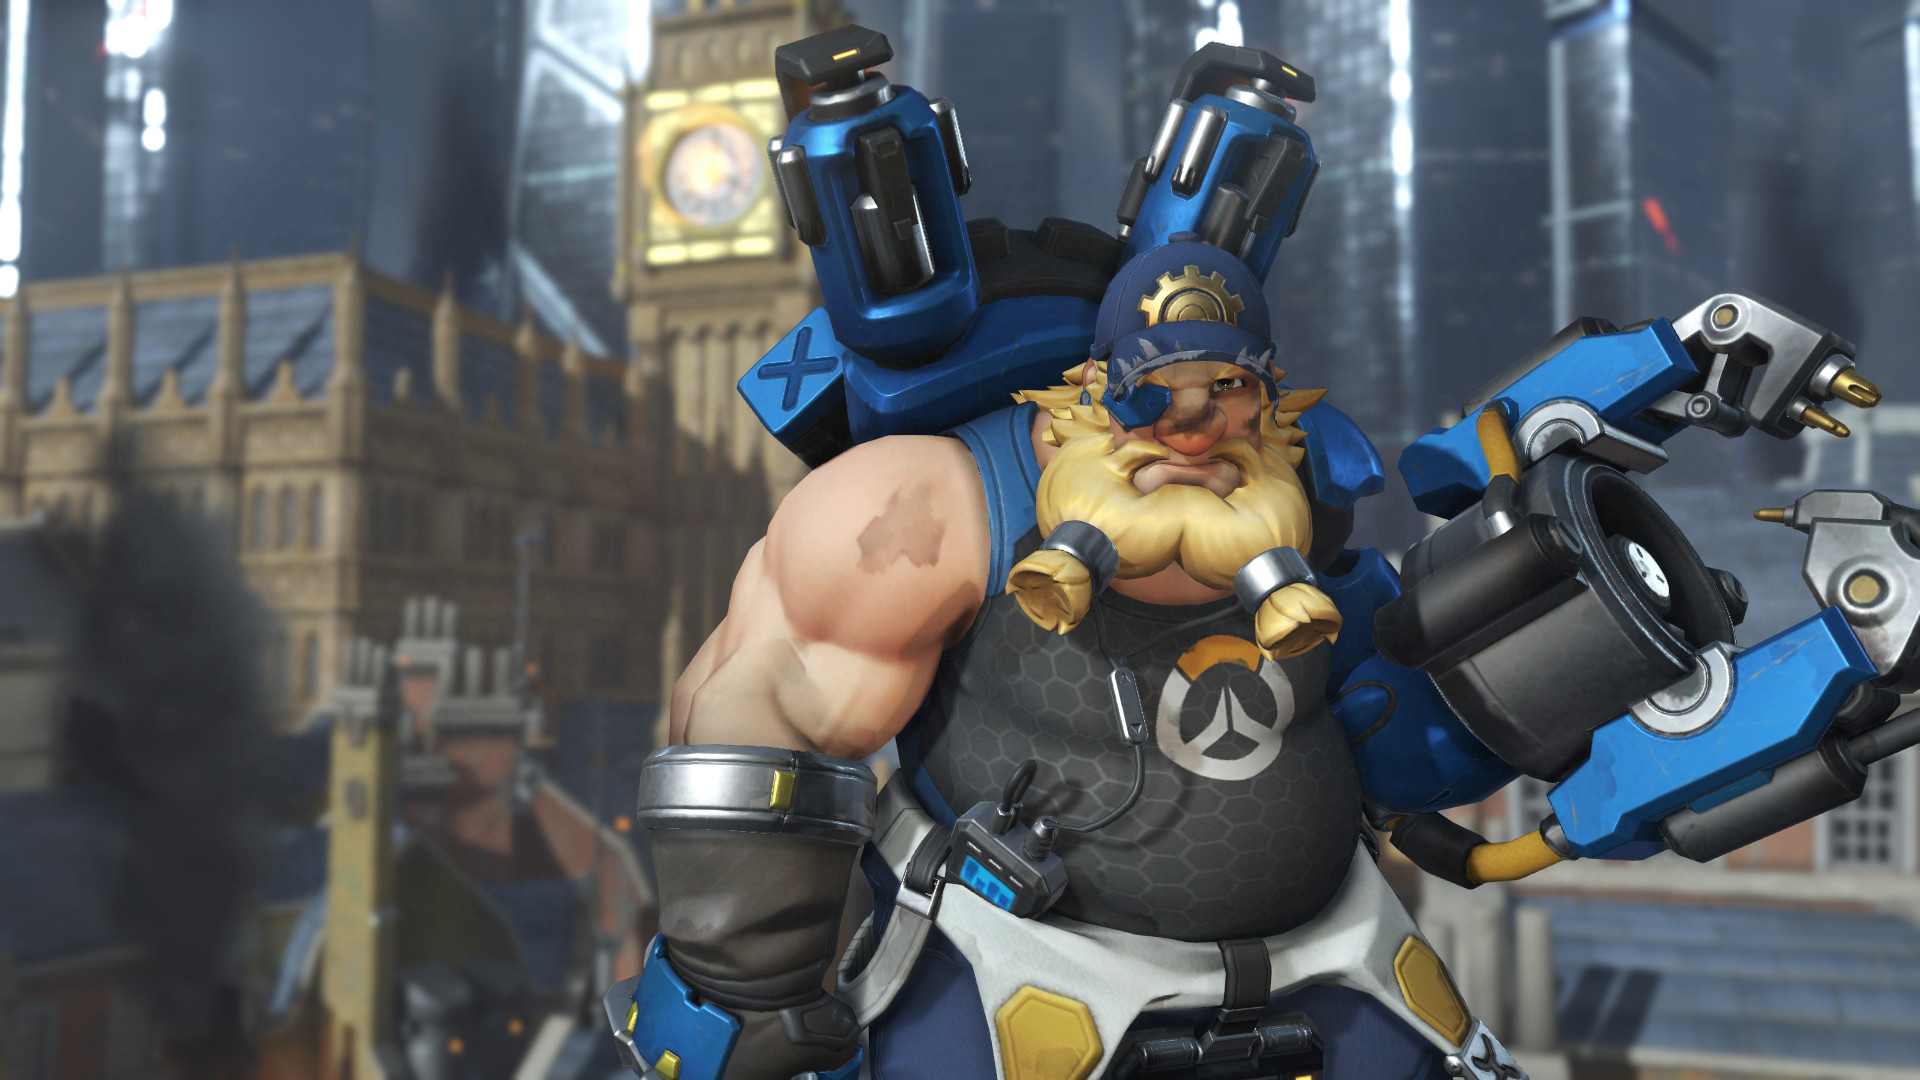
I won't say Torbjorn has the easiest role in Overwatch Uprising, but you're guaranteed to be an asset to your team if you just stick to the plan. Torb should focus on one thing above all others: keeping his turret up. The sustained DPS of a level 2 turret will make a massive difference in breaking the waves of attacks. If you've never played him before, just find a good spot, deploy your turret, then smack it with a hammer to repair and/or upgrade it. Keep reading for more Torby tips down in the specific heroes section.
Focus your fire on Detonators
Detonators are those big, bulbous things that slowly float over to the payload and, y'know, detonate. They're kind of cute and non-threatening but they do a ton of damage! Your whole team should focus all of its fire on Detonators whenever they show up. Reinhardt in particular has a really helpful move for dealing with Detonators - read on in the specific hero section for that.
Don't revive if it leaves you exposed
Uprising introduces a well-worn co-op shooter concept to Overwatch: revives. When a teammate goes down, you have a window of time in which you can run over to them and help them back up before they're knocked out for good. But beware: reviving heroes takes a long time! If you run out into the middle of a fight to get a revive in you'll probably just get killed too. Either wait for Reinhardt to move up and cover your revive attempt with his shield or thin out the crowd of enemies first.
Overwatch Uprising hero tips
Torbjorn
- Put your turret where it can cover multiple approaches, and - for the hack objectives - where you can repair it without leaving the objective area for long (or at all). Somebody has to stay on the point for the progress bar to fill up, and it makes sense for good ol' Torbjorn to sit tight since he has the best long-distance attack.
- Fallen Omnics occasionally drop scrap, but let it build up a bit before leaving your turret to make a salvage run. Use that scrap to keep the area around the objective littered with armor packs and your team will love you!
- Make like Ragnaros and live in Molten Core! If you keep your turret online and upgraded, your Ultimate meter is going to fill up like nobody's business. Don't worry about waiting for the perfect moment, just pop it off whenever there's a decent number of enemies in the area. Bonus tip: Torb swings his hammer way faster when he has Molten Core active, so it's even a decent way to build a turret if you need one ASAP.
Tracer
Weekly digests, tales from the communities you love, and more
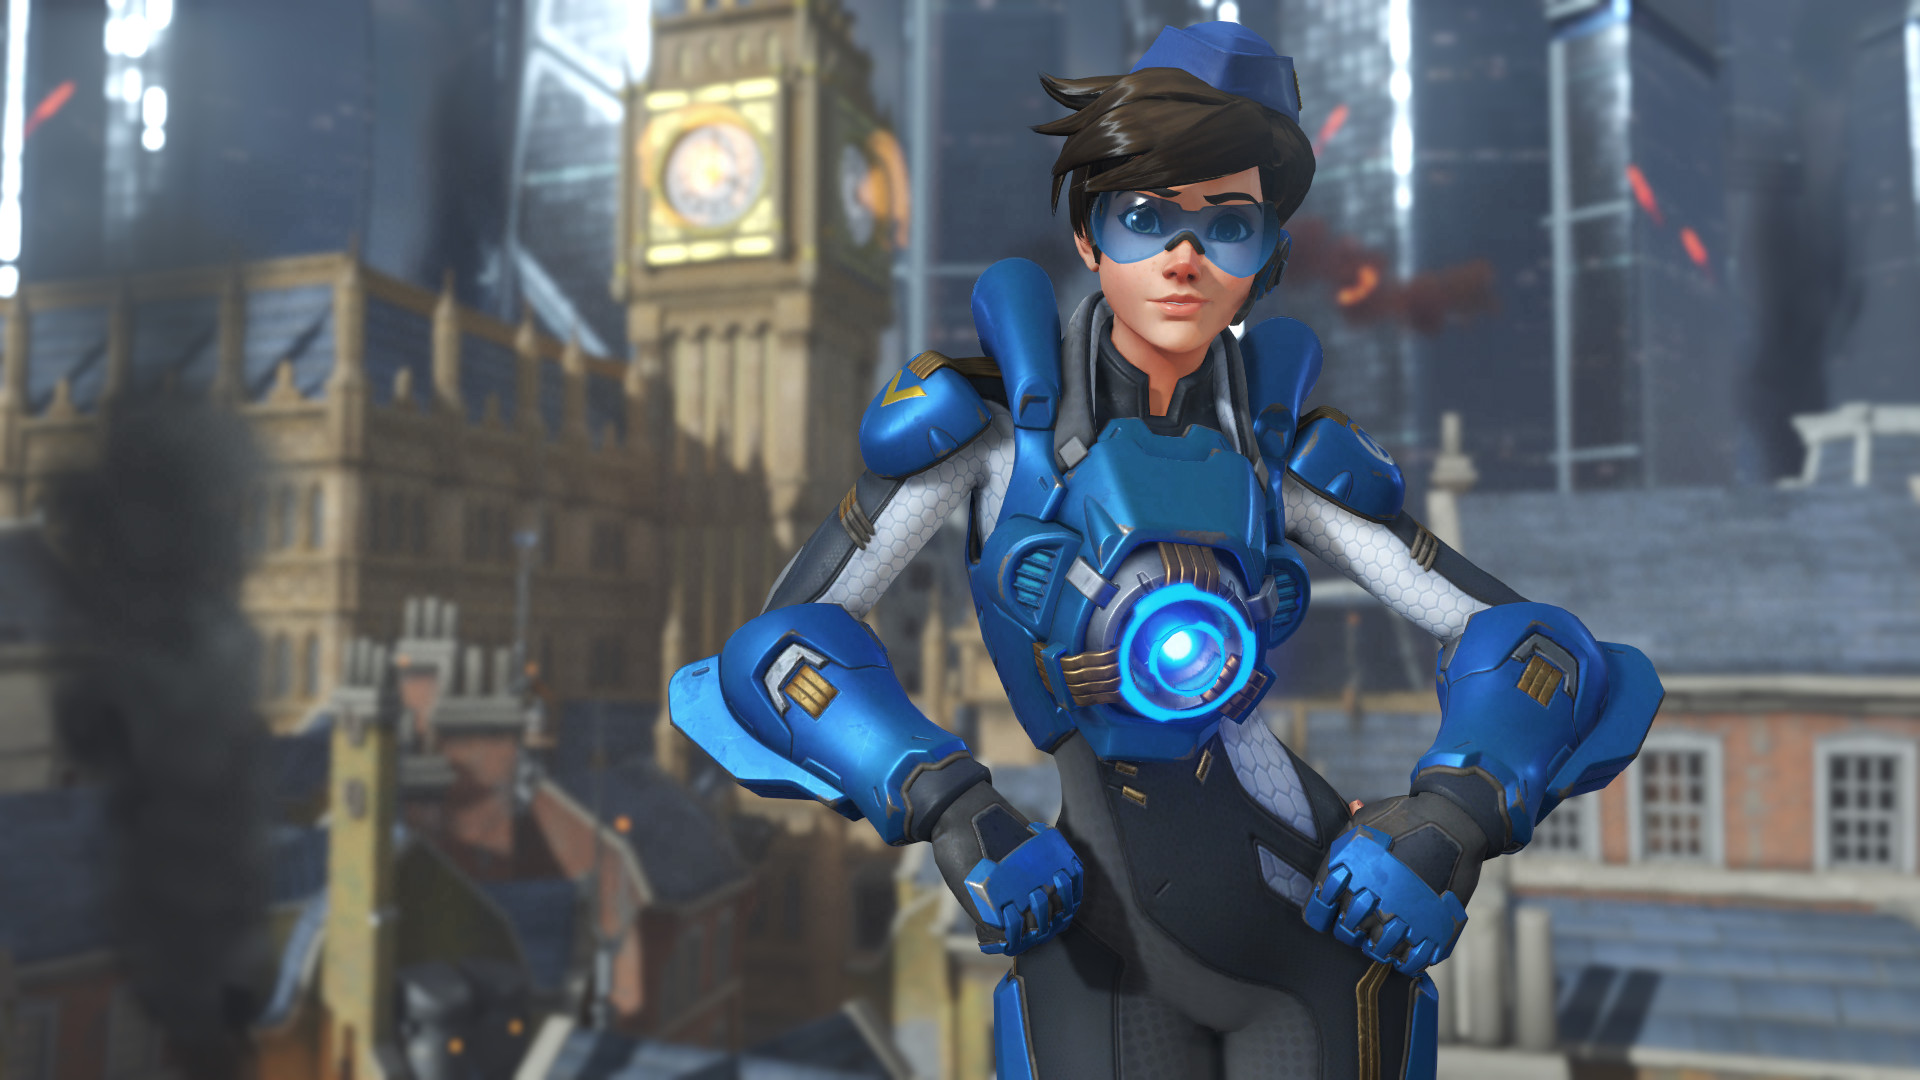
- Flank Eradicators (those are the Omnic infantry with shields). Either they'll turn around to block your shots, which means the rest of the team will be able to fire past their shields, or they'll stay put and you can fire away at their shield arm or the big ol' Bastion-style weak point on their back. Speaking of which, flank Bastion units that are in turret mode, too - just be ready to Blink away as soon as they turn around to blow your Cockney brains out.
- Remember that your Recall ability not only resets your position to where you were a few seconds before, it also reverts your HP. This takes some of the healing load off of your poor, overworked Mercy.
- Save your Pulse Bombs for big targets. If you've played Tracer much you know that her Pulse Bomb range is always just a bit too small to get that great teamkill you were angling for. So don't rely on splash damage. Just plant that sucker directly on any big targets that need killing, including Detonators, Bastion units, and OR-14s. Completing the mission by sticking the last OR-14 as the rest of the team falls to the Omnic swarm? Yep, incredibly cool.
Reinhardt
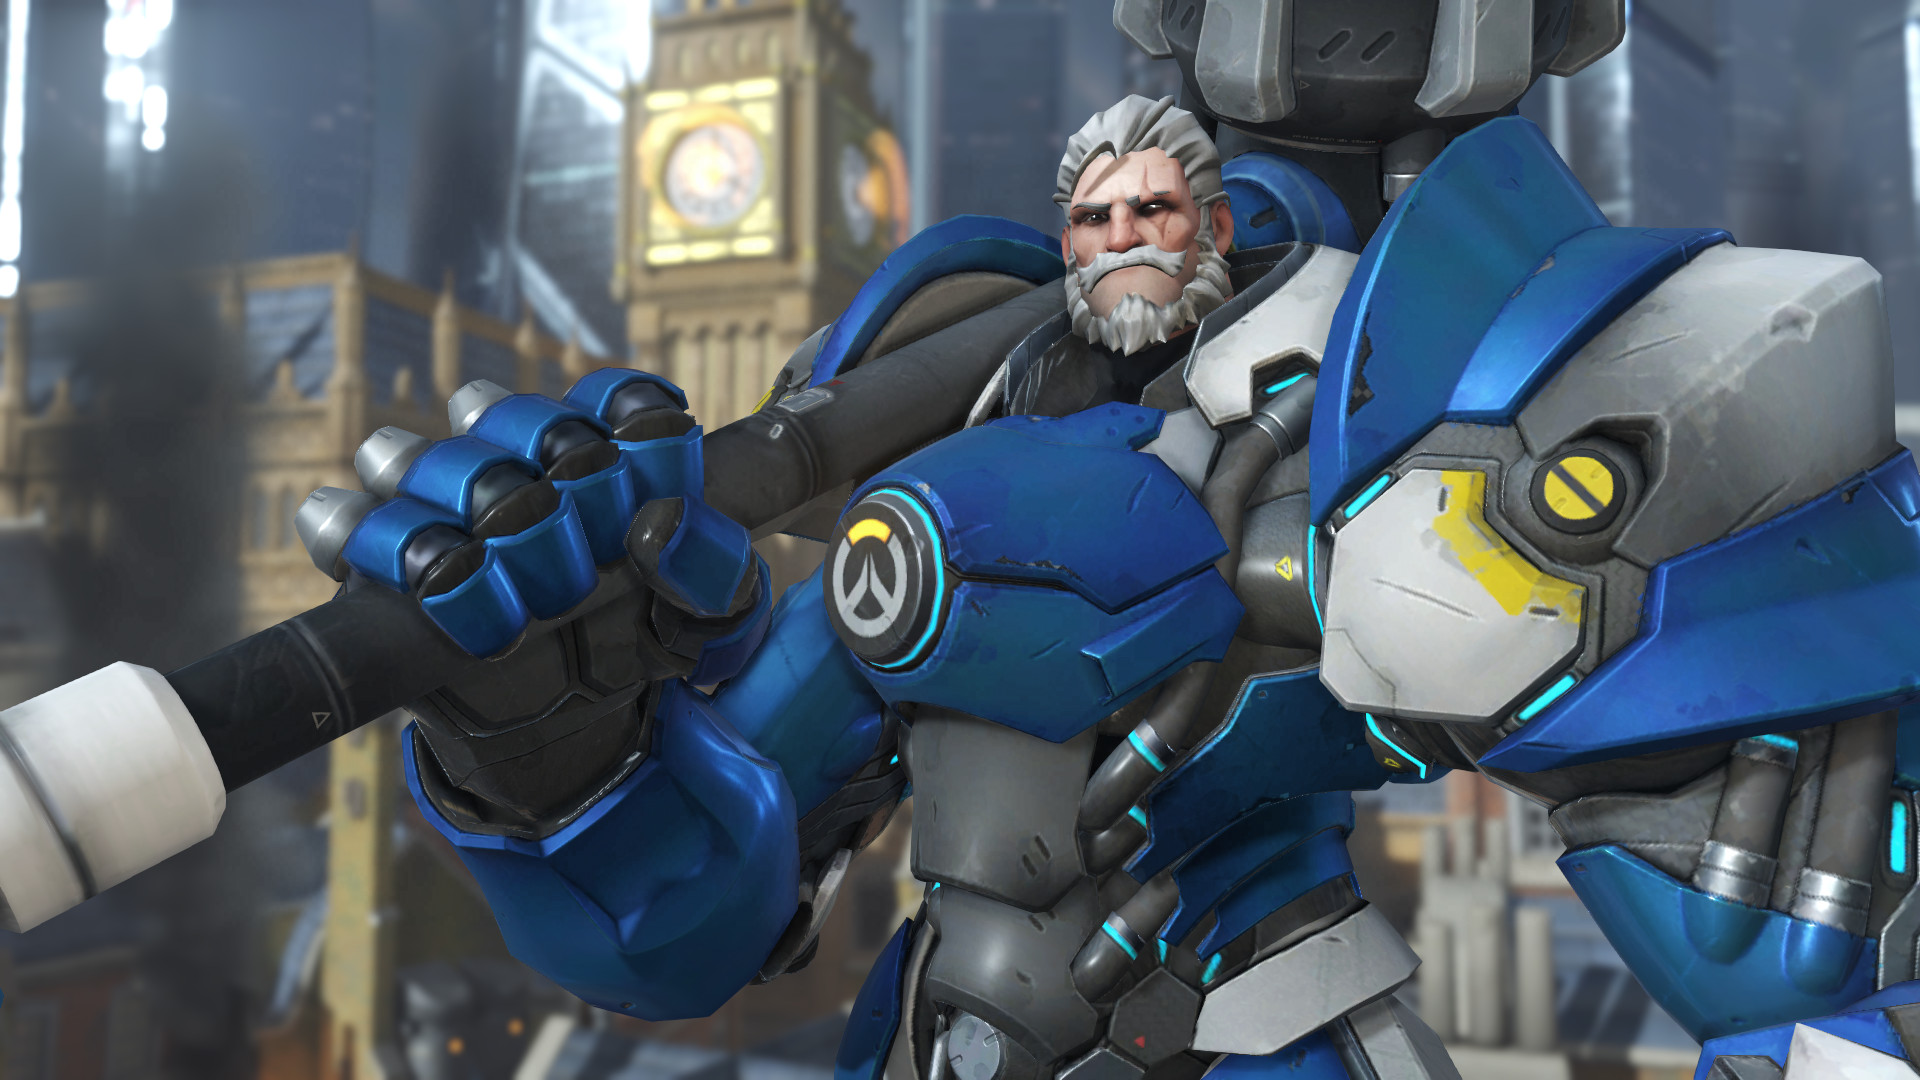
- Cover your party! We'll get to the other fun stuff Reinhardt can do in just a minute, but always remember that you are the shield bearer. If a teammate goes down, move up and cover their body so somebody else can revive them. If Torbjorn needs to construct a turret, protect him until he can get it to level 2. If there's a Bastion, get between it and your team. Play aggressively when it's safe but be ready to fall back and deploy your shield at any moment.
- You know how it's really tough to hit players with Firestrike since it moves so slow? Omnics don't dodge. Get a good angle on a line of them and you can do a ton of damage.
- You can buy your team more time to deal with those deadly Detonators with a single well-placed Charge. Slamming them against the wall for extra damage is a bonus, but the really important part is just increasing the distance they have to travel. Also incredibly cool.

Mercy
- Make the most of your regenerating health. You're the only hero on the team who can heal herself, not including Tracer's Recall trick. Feel free to get into the fight, perhaps even bodily shielding the payload or weakened party members, as long as you have an exit plan.
- Always be healing or boosting. Healing goes without saying - it's kinda Mercy's thing - but don't fixate on keeping everybody topped off; instead practice preventative medicine by damage boosting other heroes. Tracer in particular will benefit from a boost since she's your designated damage dealer. Keep your pistol holstered unless you need to clean up some stragglers.
- Change your Resurrection use to fit the tempo of battle. If the situation is mostly under control, go ahead and toss out a rez to revive a hero who fell in an inconvenient location. Your Ultimate meter will charge up fast enough that it's not really a concern. Once things heat up in the back half of the mission, be more judicious. Save your Resurrection for times when Reinhardt or both of your damage dealers are down, or if you absolutely need everybody on their feet right now for one last push.
Check out our other Overwatch guides:

I got a BA in journalism from Central Michigan University - though the best education I received there was from CM Life, its student-run newspaper. Long before that, I started pursuing my degree in video games by bugging my older brother to let me play Zelda on the Super Nintendo. I've previously been a news intern for GameSpot, a news writer for CVG, and was formerly a staff writer at GamesRadar+.

 Join The Community


