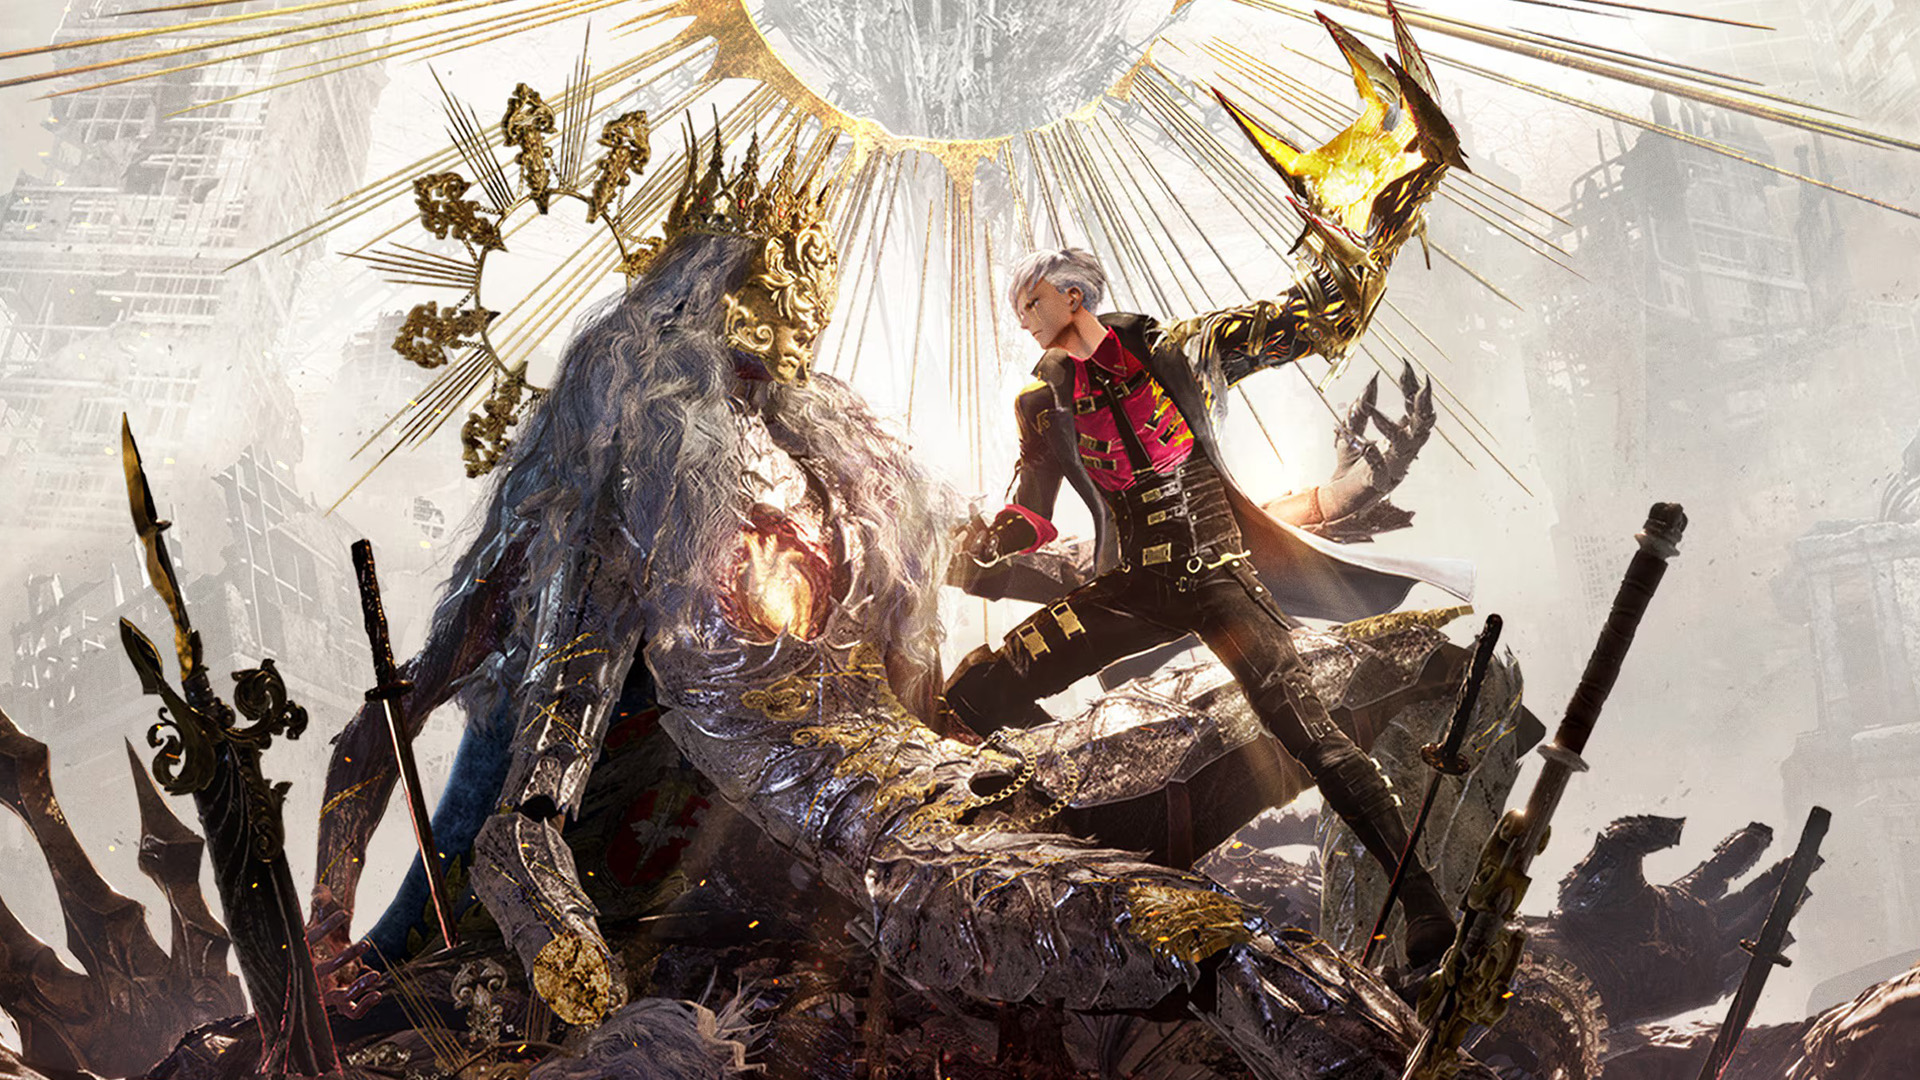
How to complete the Black Ops 7 Astra Malorum zombies easter egg
This space set Call of Duty zombies map has a lot to get through, so here's what you need to do
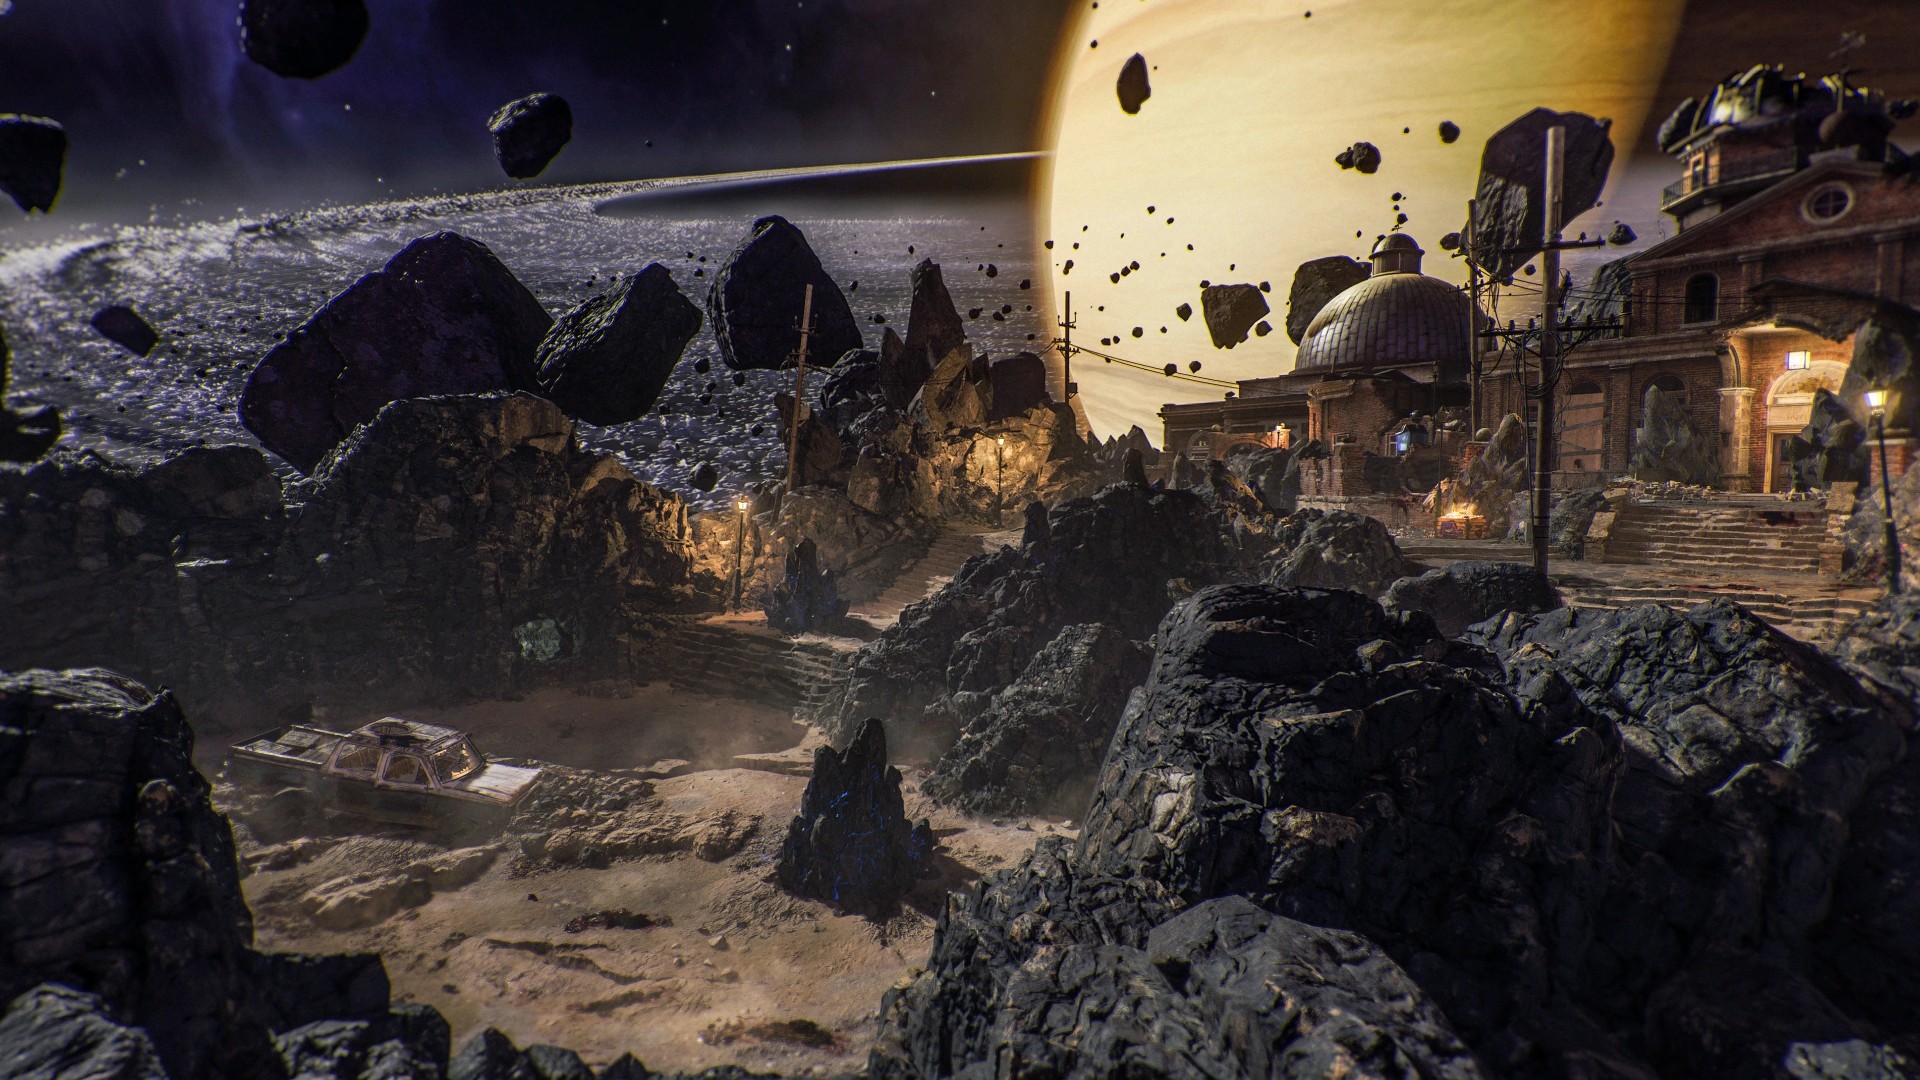
Figuring out how to do the Black Ops 7 Astra Malorum zombies Easter egg isn't easy. There's a lot of steps and things you need to do, and figuring it all out blind is tough. Which is why got your back with a full guide and walkthrough to help you complete it.
This is the second Zombies map in Call of Duty: Black Ops 7, and this interstellar survival map ditches the upgradable truck you use to get around in favor of a roaming, unkillable boss that chases you and always comes back when you think you've finished them. There's a lot to do if you want to see it through to the end, so let's get started.
1. Turn on the power and the Pack-a-Punch machine
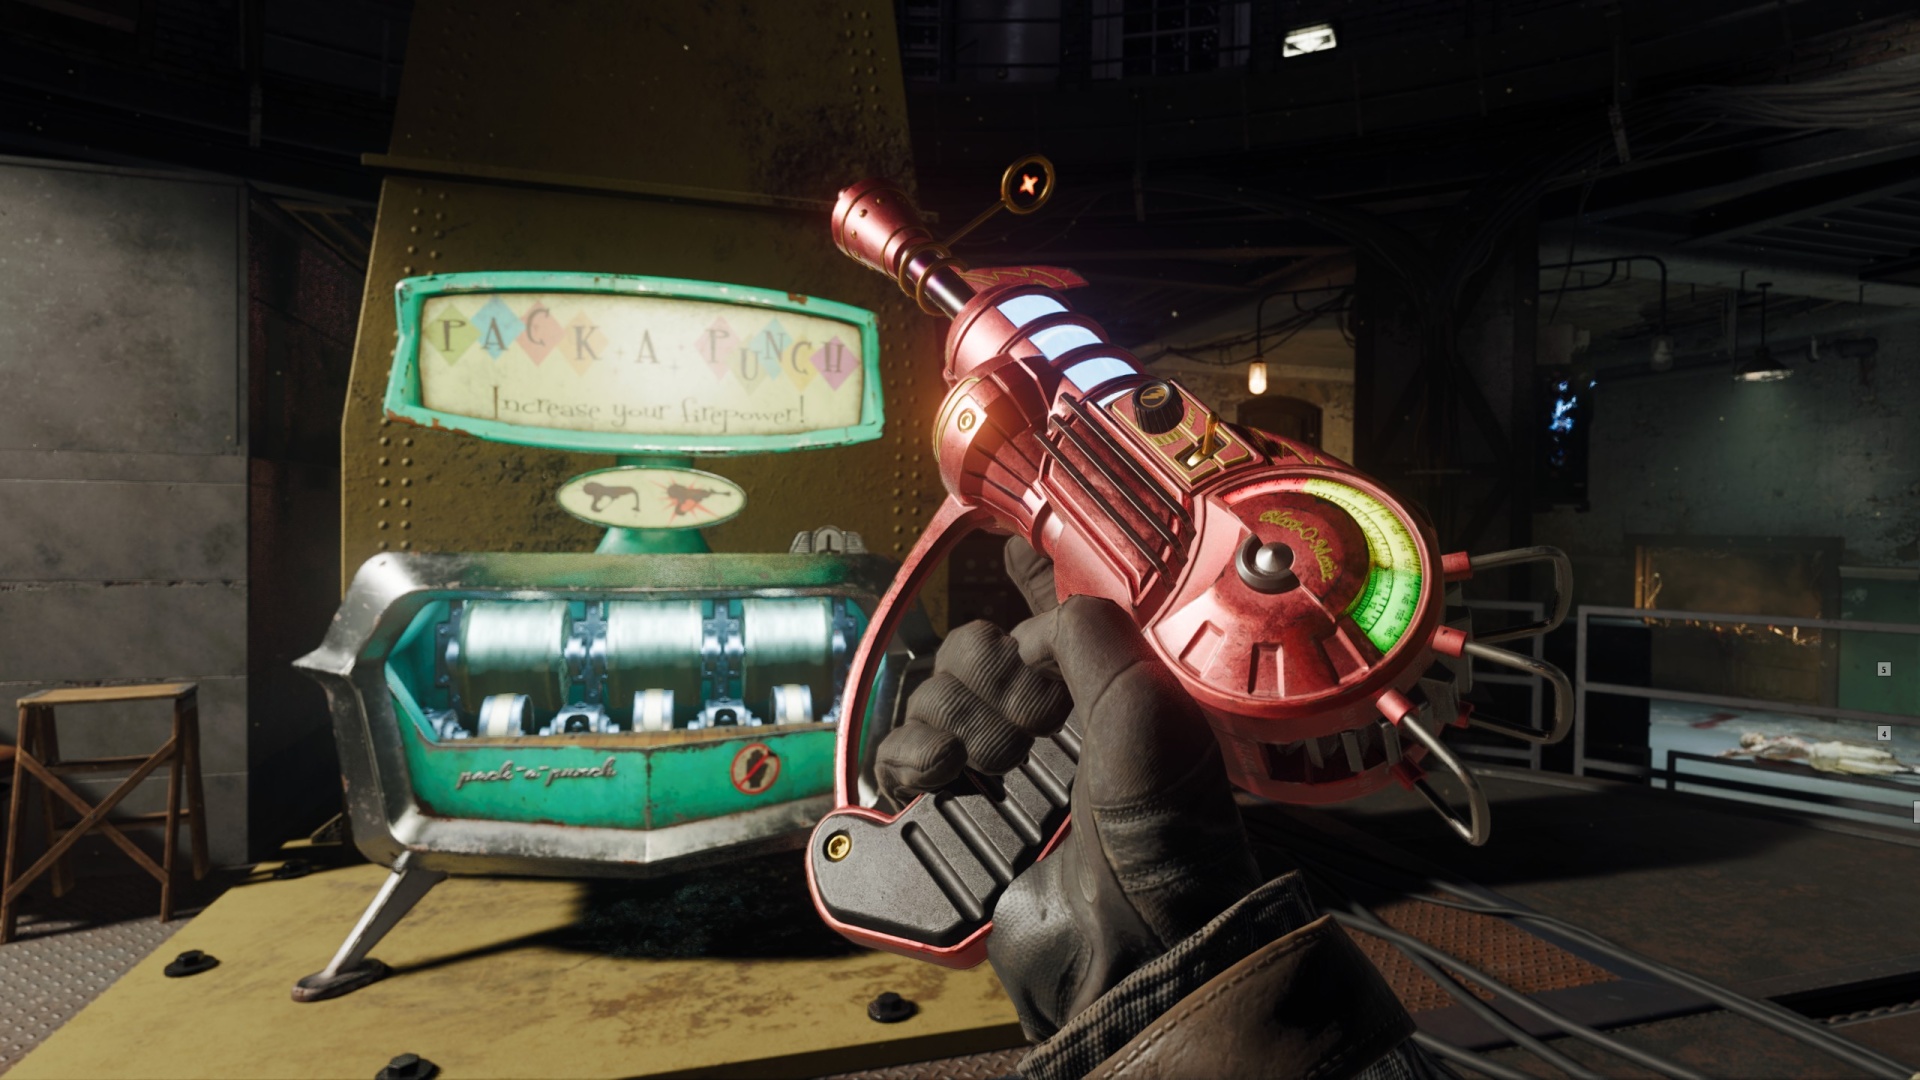
Like all COD zombie Easter eggs, the Astra Malorum main quest begins by finding and turning on the power and unlocking the Pack-a-Punch machine.
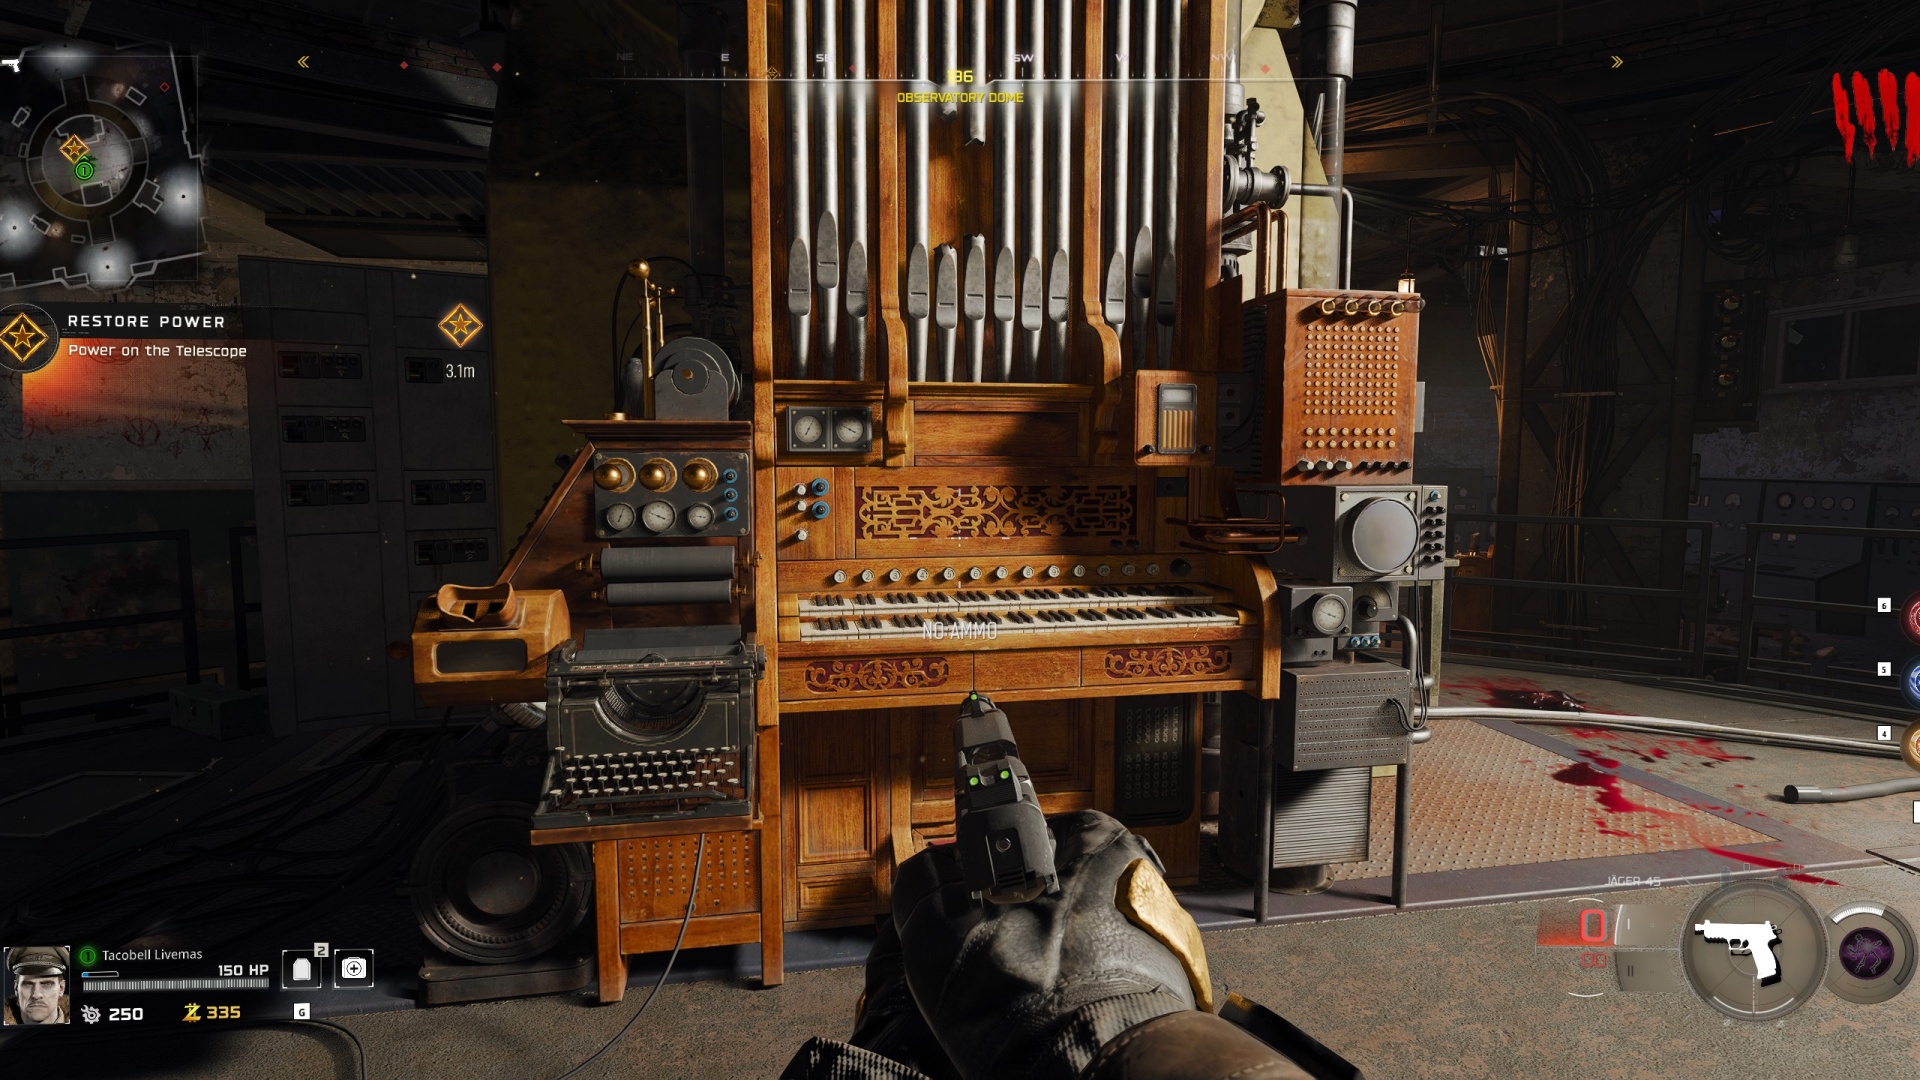
To do that you need to first repair the Harmonic Oculus, which is found in the Observatory Dome. To fix it you need to collect two Harmonic Components - one found in the Luminarium and the other is in the Machina Astralis. With those sorted you'll then need to defending the Oculus against a wave of zombies.
Once the Harmonic Oculus has been repaired, the Pack-a-Punch machine becomes available, so Pack-a-Punch your weapon to begin the next step.
2. Get the LGM-1
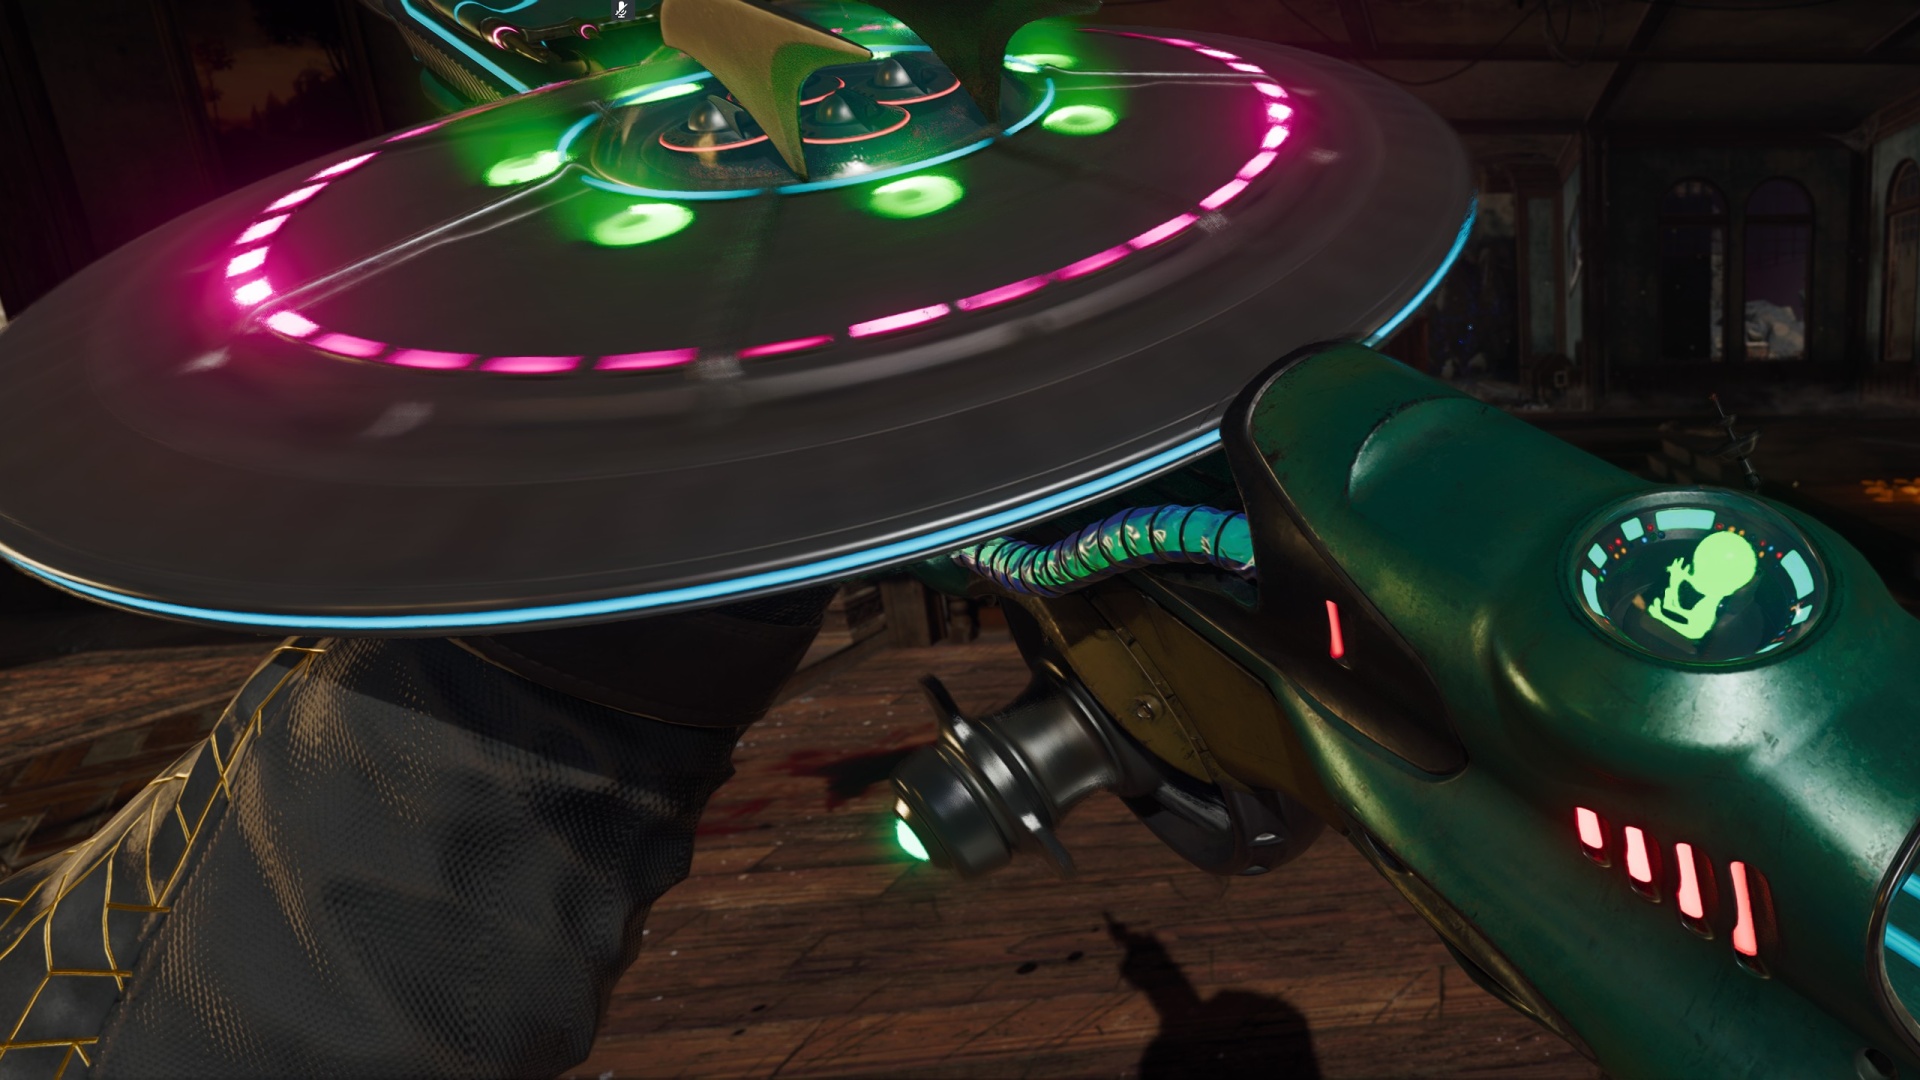
The LGM-1 is the new Wonder Weapon in Astra Malorum, and won't be able to continue with the Easter egg without it. To get it you'll need to kill OSCAR in BO7, the map's roaming boss. As I mentioned it's sort of unkillable, keeps coming back, and to get the LGM-1 you'll actually need to take him down three times with various contraptions found around Astra Malorum - each time you kill him he'll respawn and you can repeat the process a different way.
To activate the various traps you need to kill OSCAR you're going to need three spare parts:
Weekly digests, tales from the communities you love, and more
- Car Battery
- Aberrant Wiring
- Damaged Drone
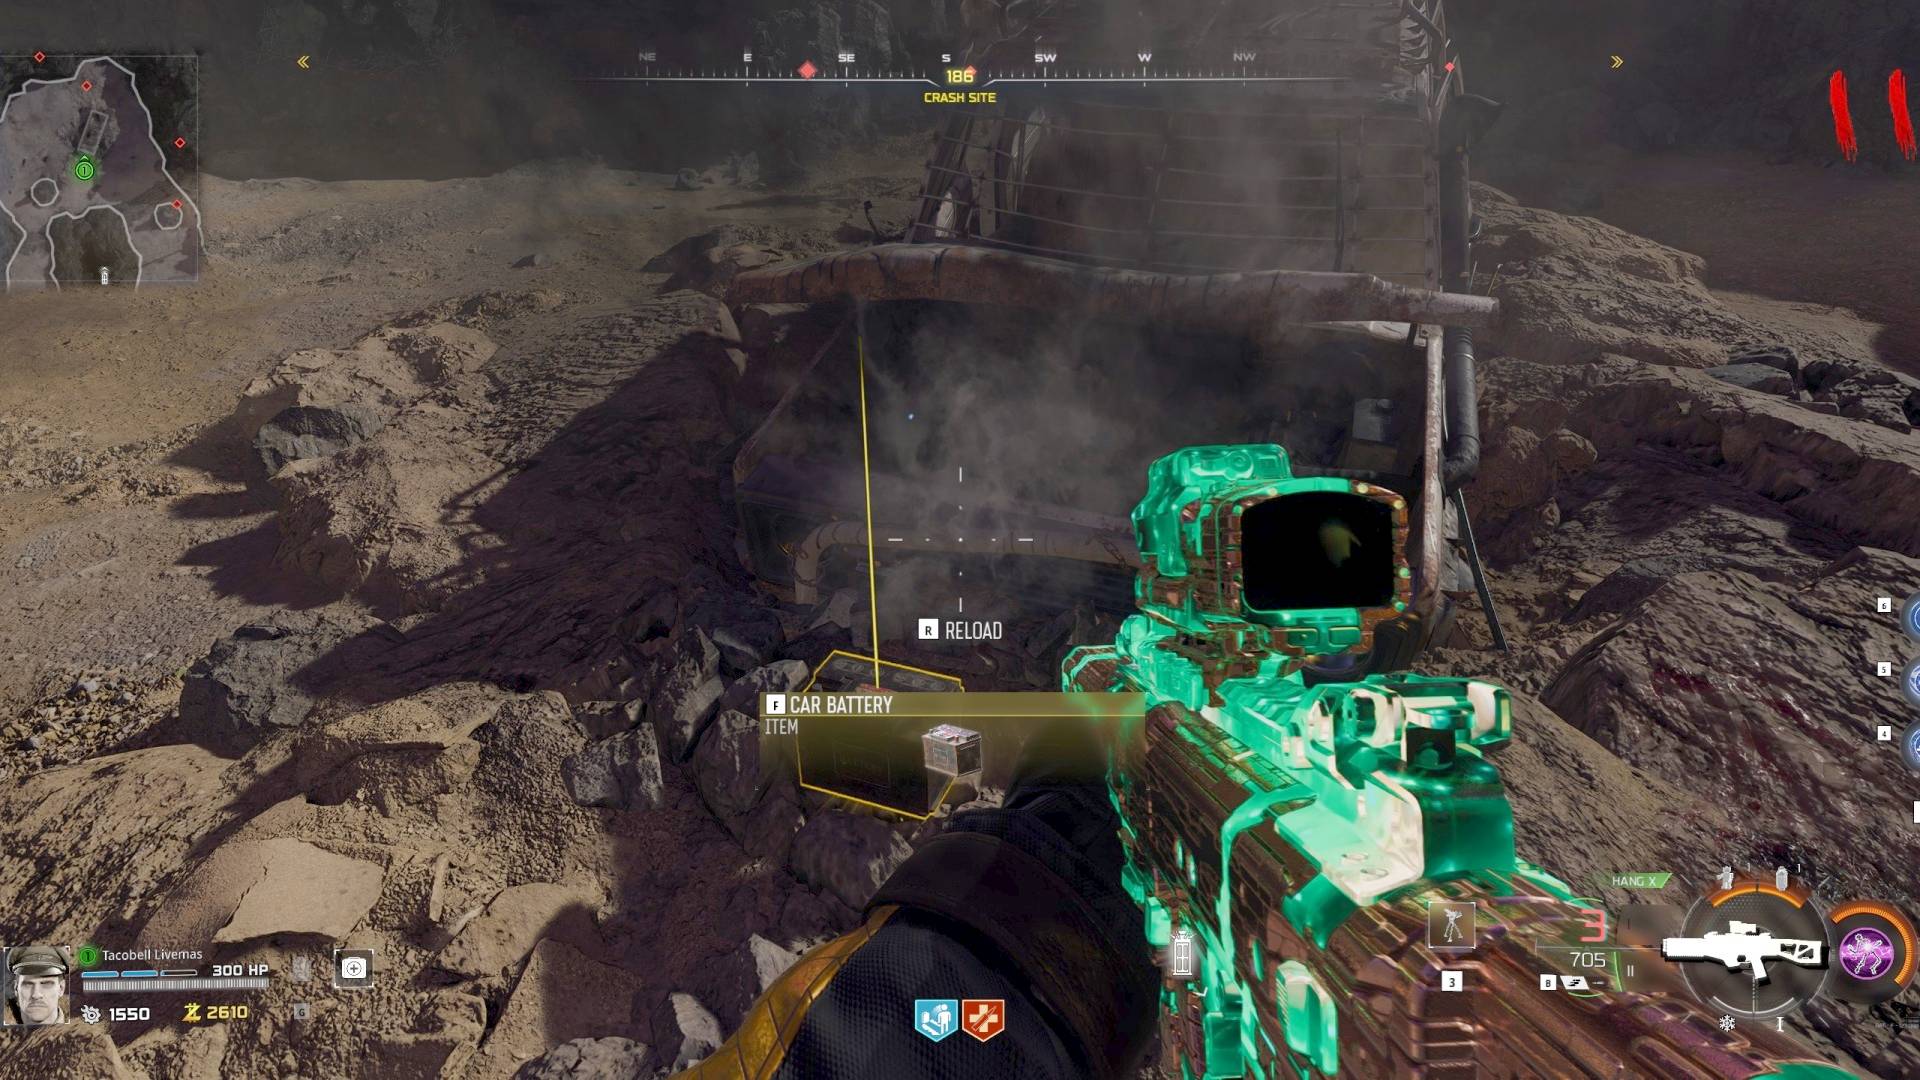
To get the Car Battery, use a Pack-a-Punched weapon to shoot the hood of Ol' Tessie at the spawn area. The battery will be inside.
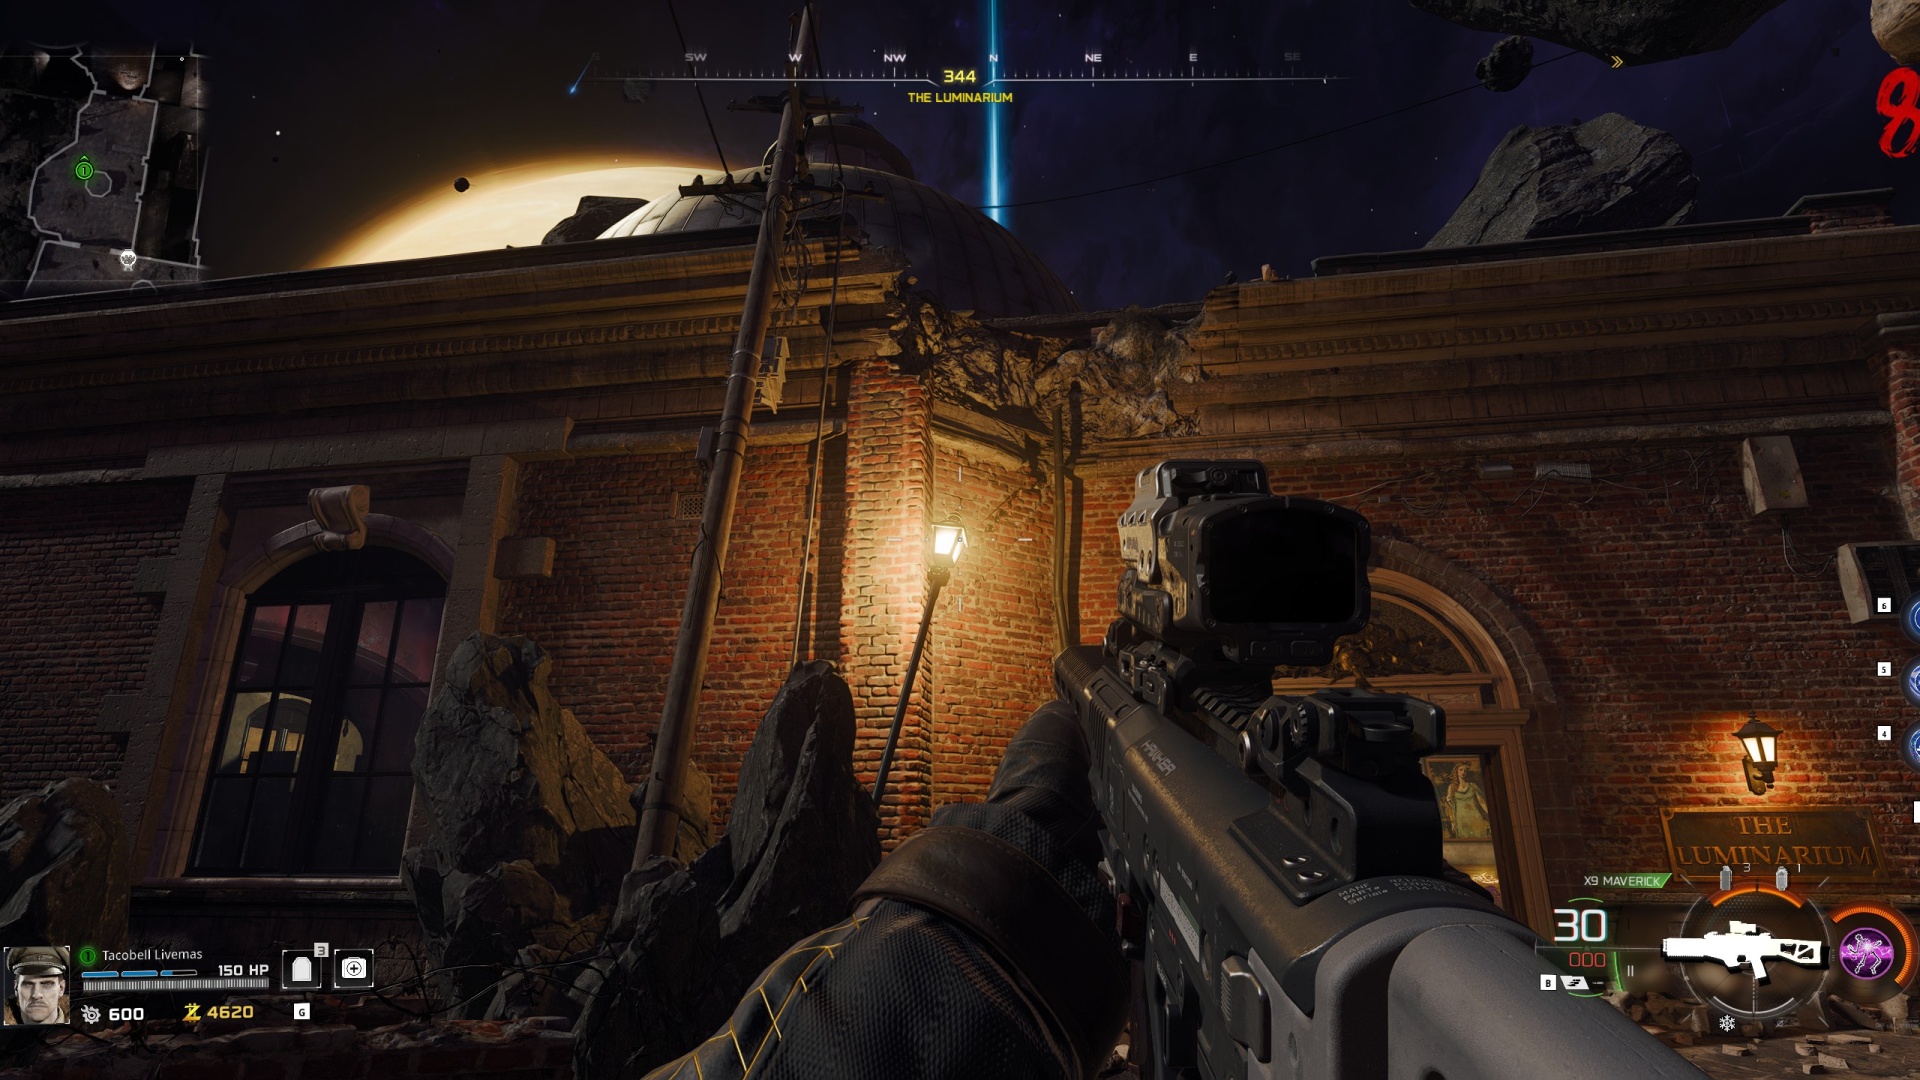
To get the Aberrant Wiring, check all of the lamp posts around the map. One of them will be flickering. Shoot this flickering light to get the Aberrant Wiring.
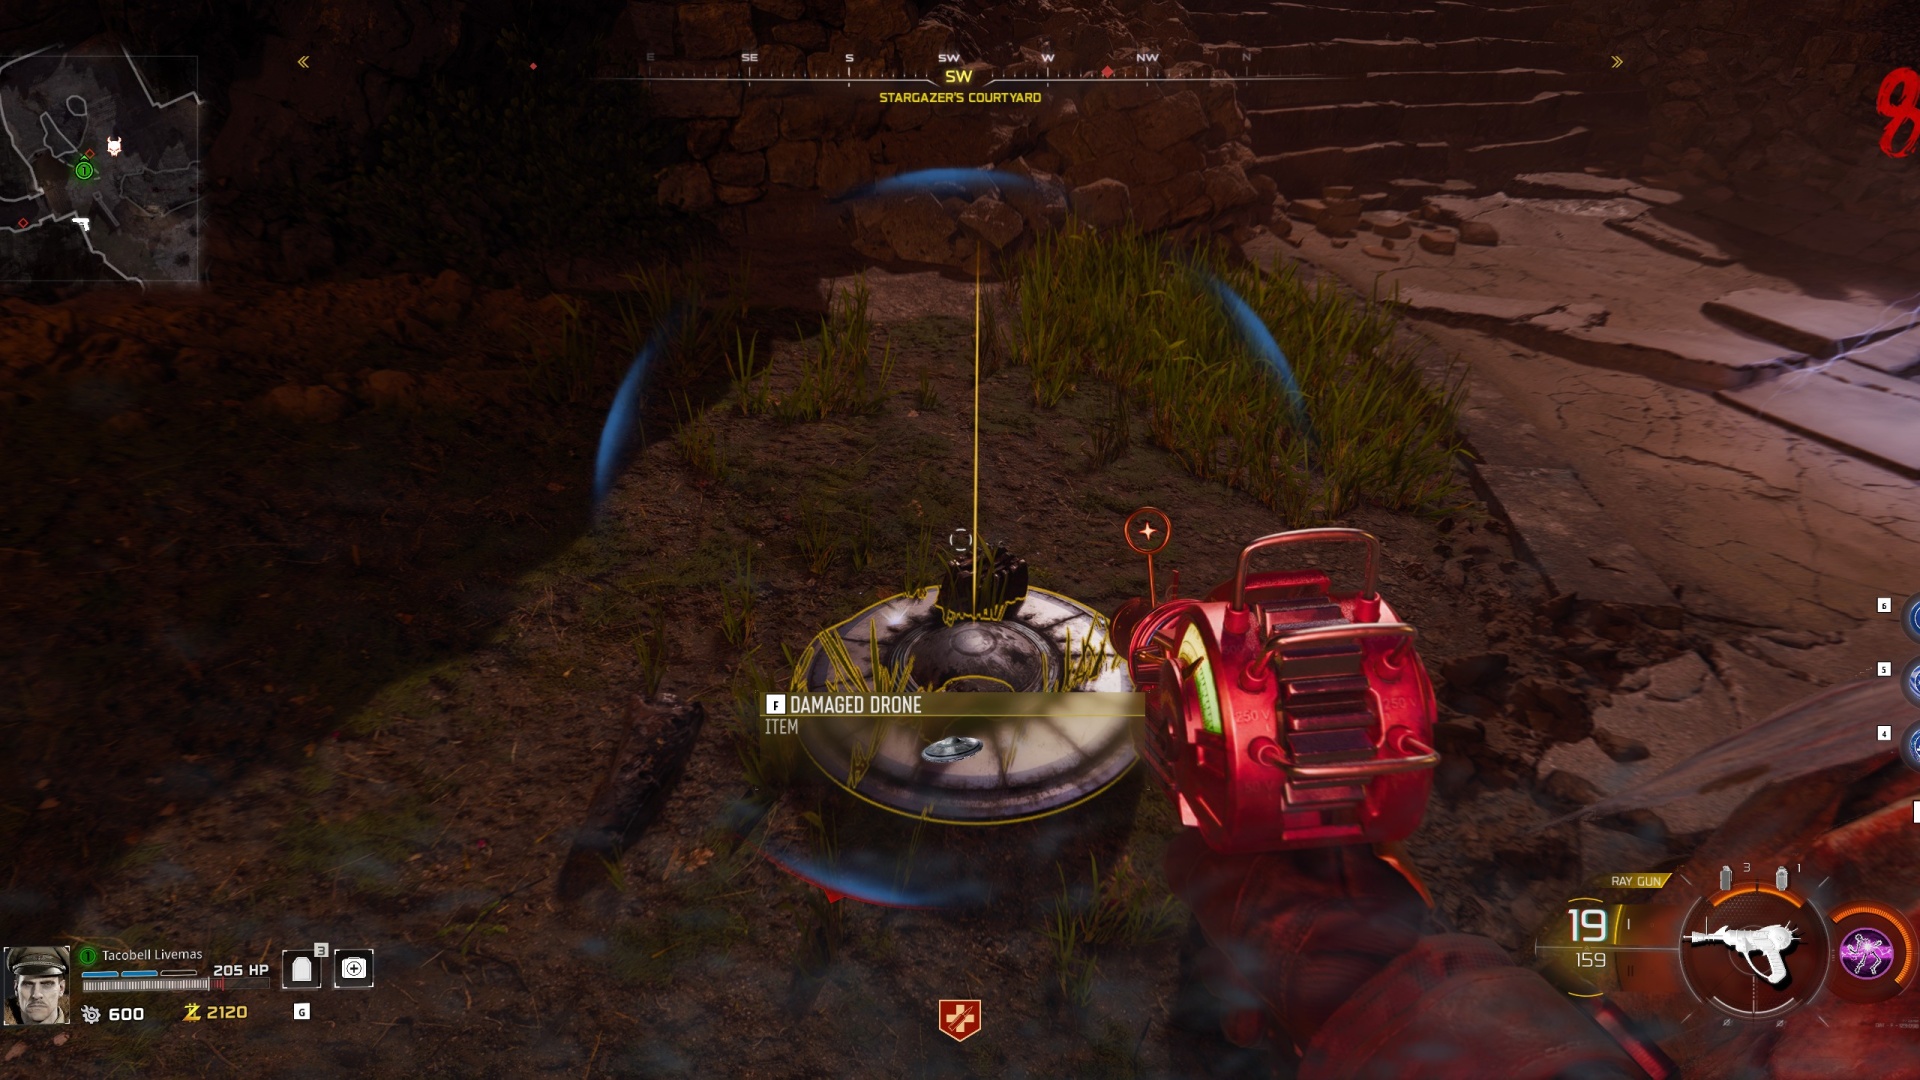
To get the Destroyed Drone you'll need to take on OSCAR and take out one of his shield drones. You don't need to kill him yet, just grab the drone once it's down and run away with it.
Once you have all three parts, you will be able to start killing Oscar with Astra Malorum's various traps.
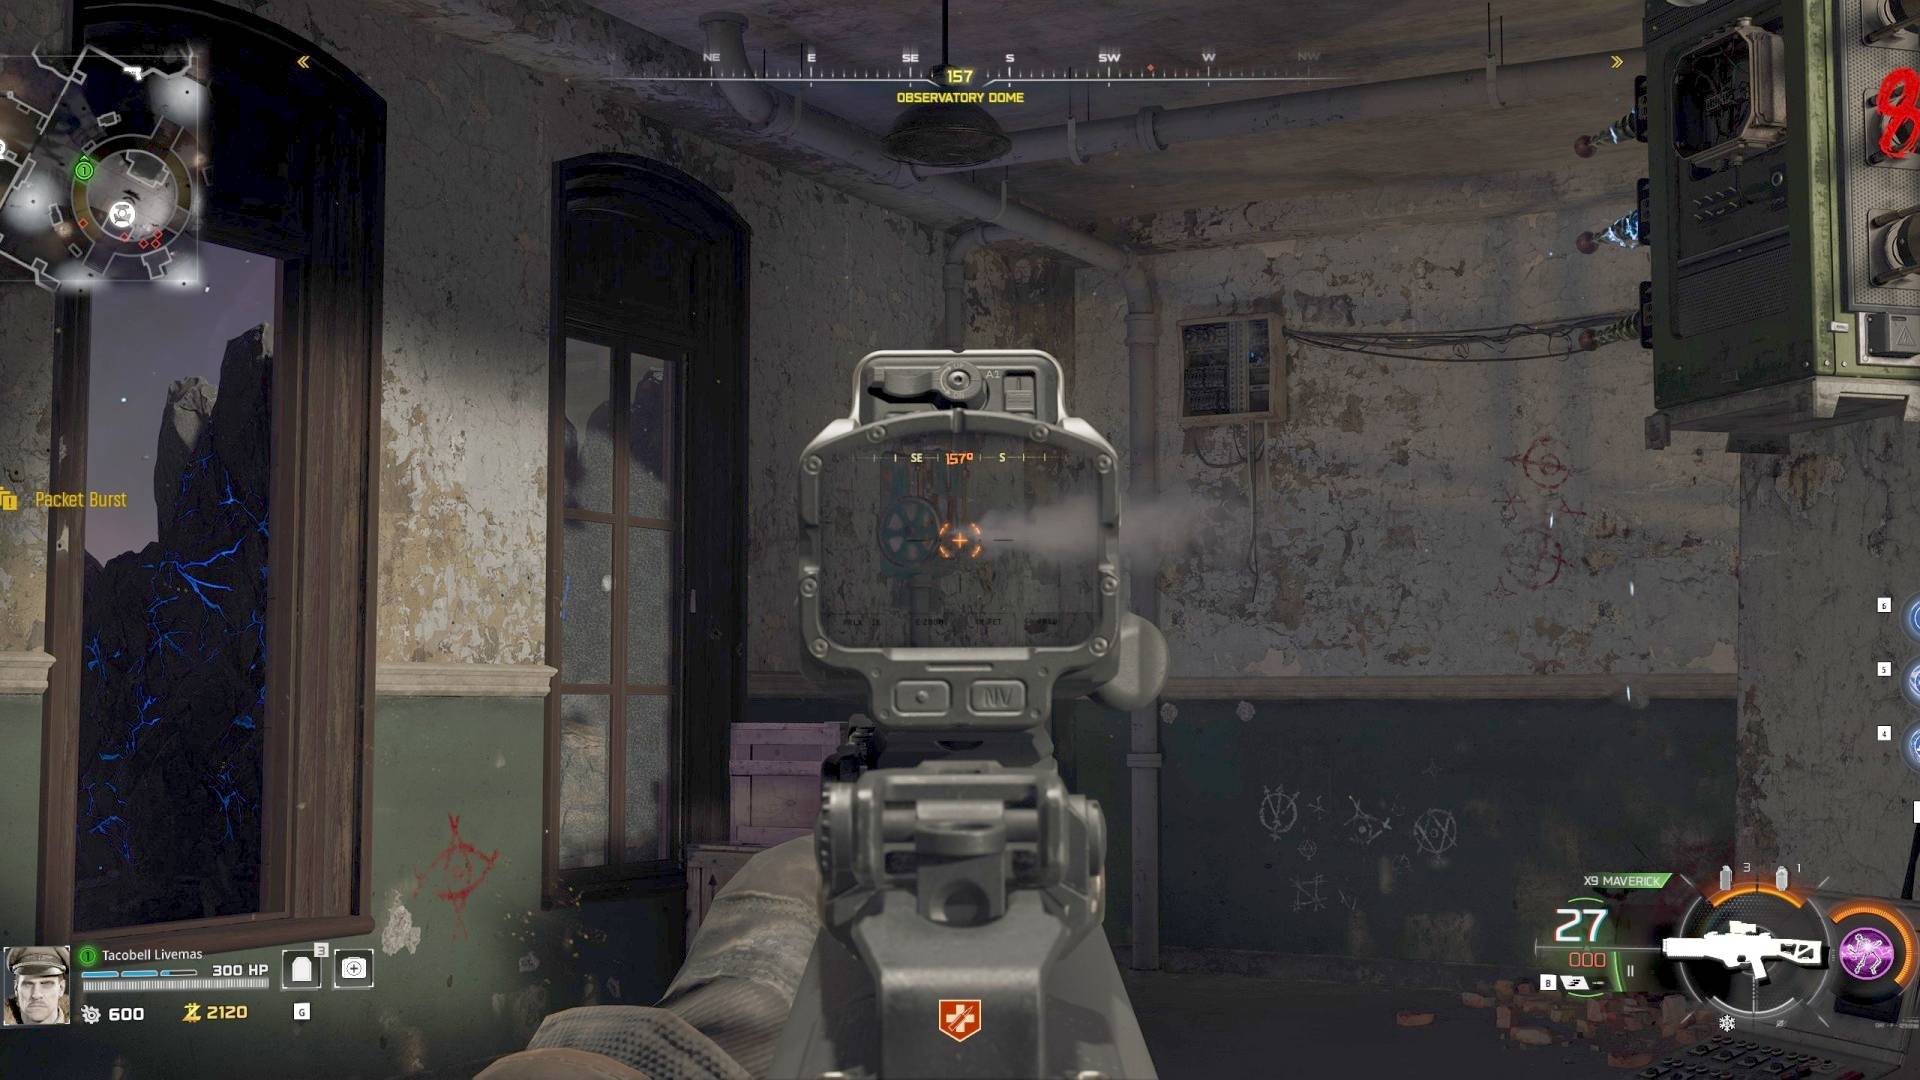
To start with, head to the Observatory Dome (the Pack-a-Punch room). Look around the room to find and shoot five steaming mechanisms on the wall.
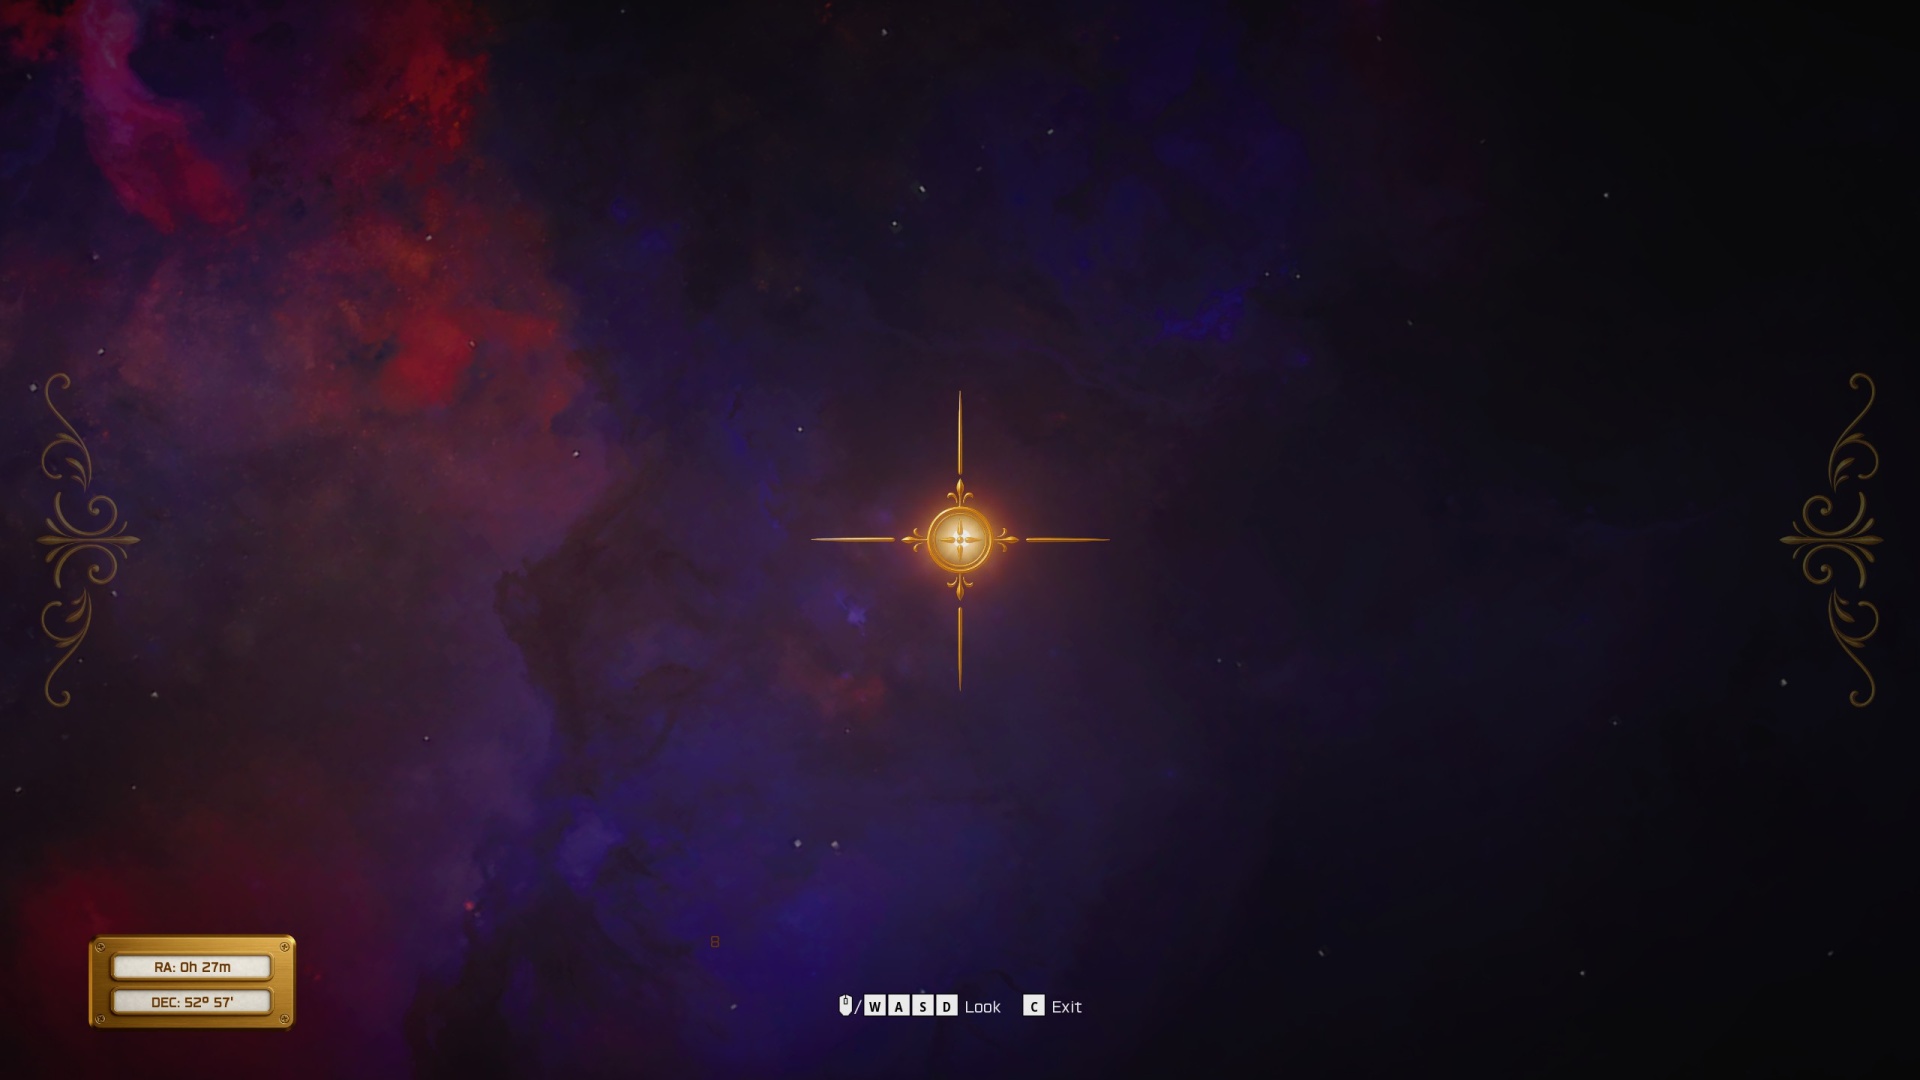
Next, use the device next to the Harmonic Oculus. Line up the telescope's crosshair with the sun to summon a laser beam on the Pack-a-Punch platform. Once it's there l ure Oscar into the beam to kill him.
Next, head to the Luminarium and activate the trap in the center of the room. It'll start slowly damaging Oscar so lead him around the room until he dies, shooting his shield drones as they appear.
For the final trap, you'll need the Cryo Freeze ammo mod on your weapon. When you have it, use Cryo Freeze to shoot the purple crystals found all over the map. They'll drop special items called Absolute Zero Fragments.
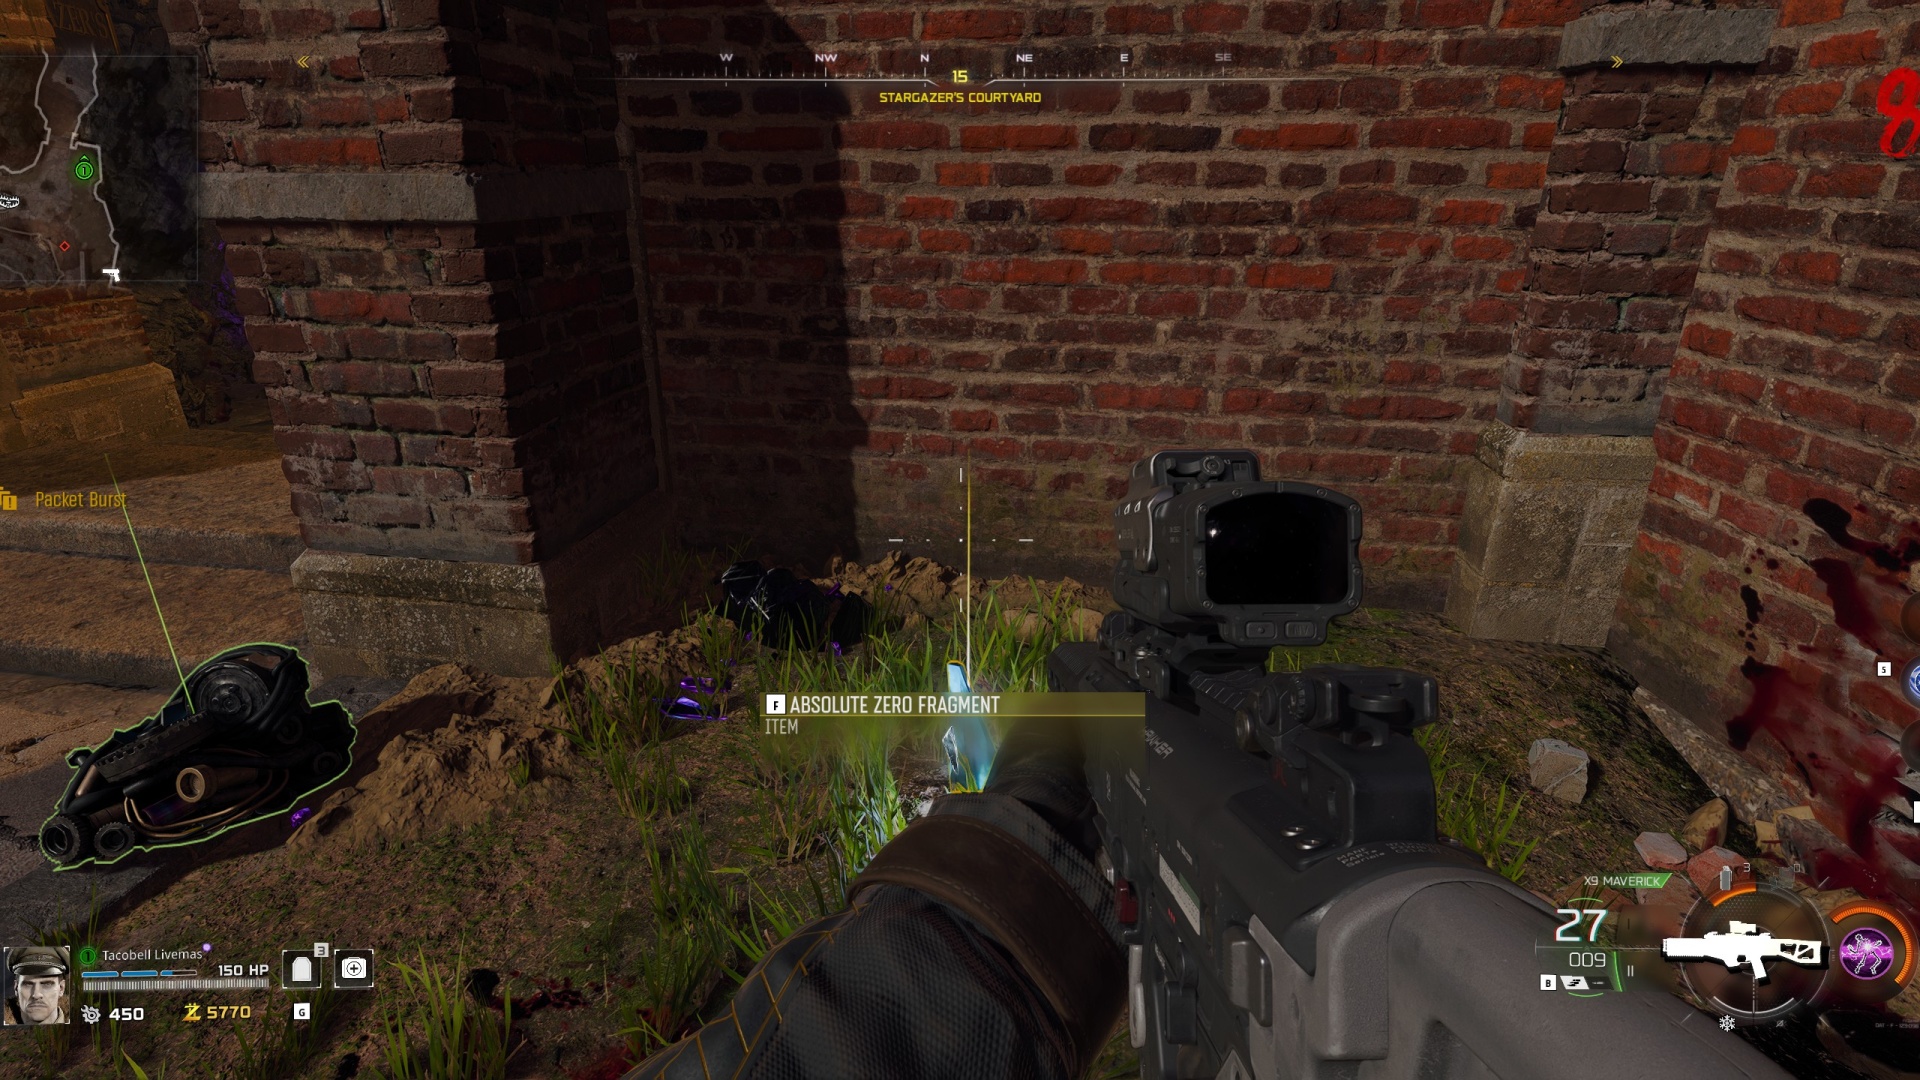
When you have three Absolute Zero Fragments bring Oscar to the Museum Infinitum and activate the rocket trap. The Absolute Zero Fragments will create a frozen trail behind the rocket that will damage Oscar if it passes through the icy blast, so lure it into position and it'll die pretty quickly.
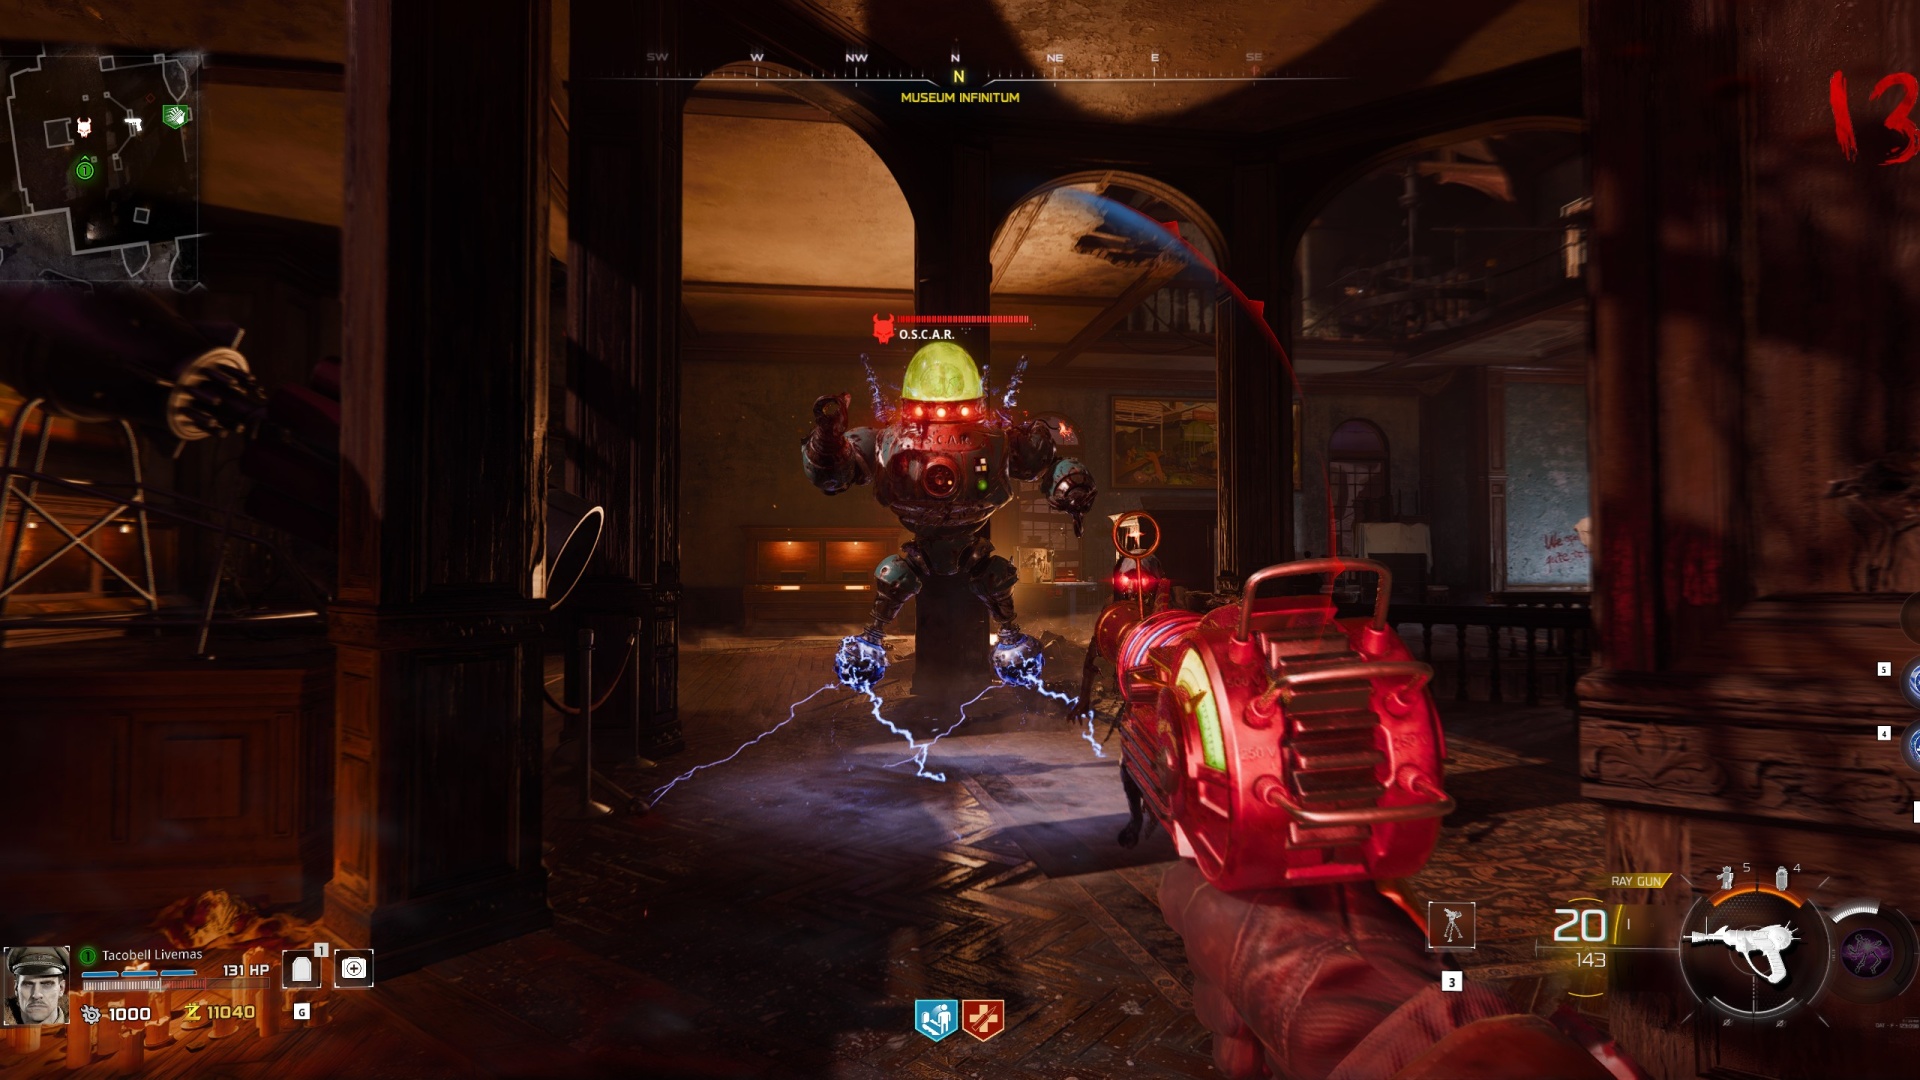
Once OSCAR dies in the third trap it will drop the LGM-1. You can do these traps in any order if it's easier so don't feel like you have to do it exactly in the order above.
3. Solve the Planets Puzzle
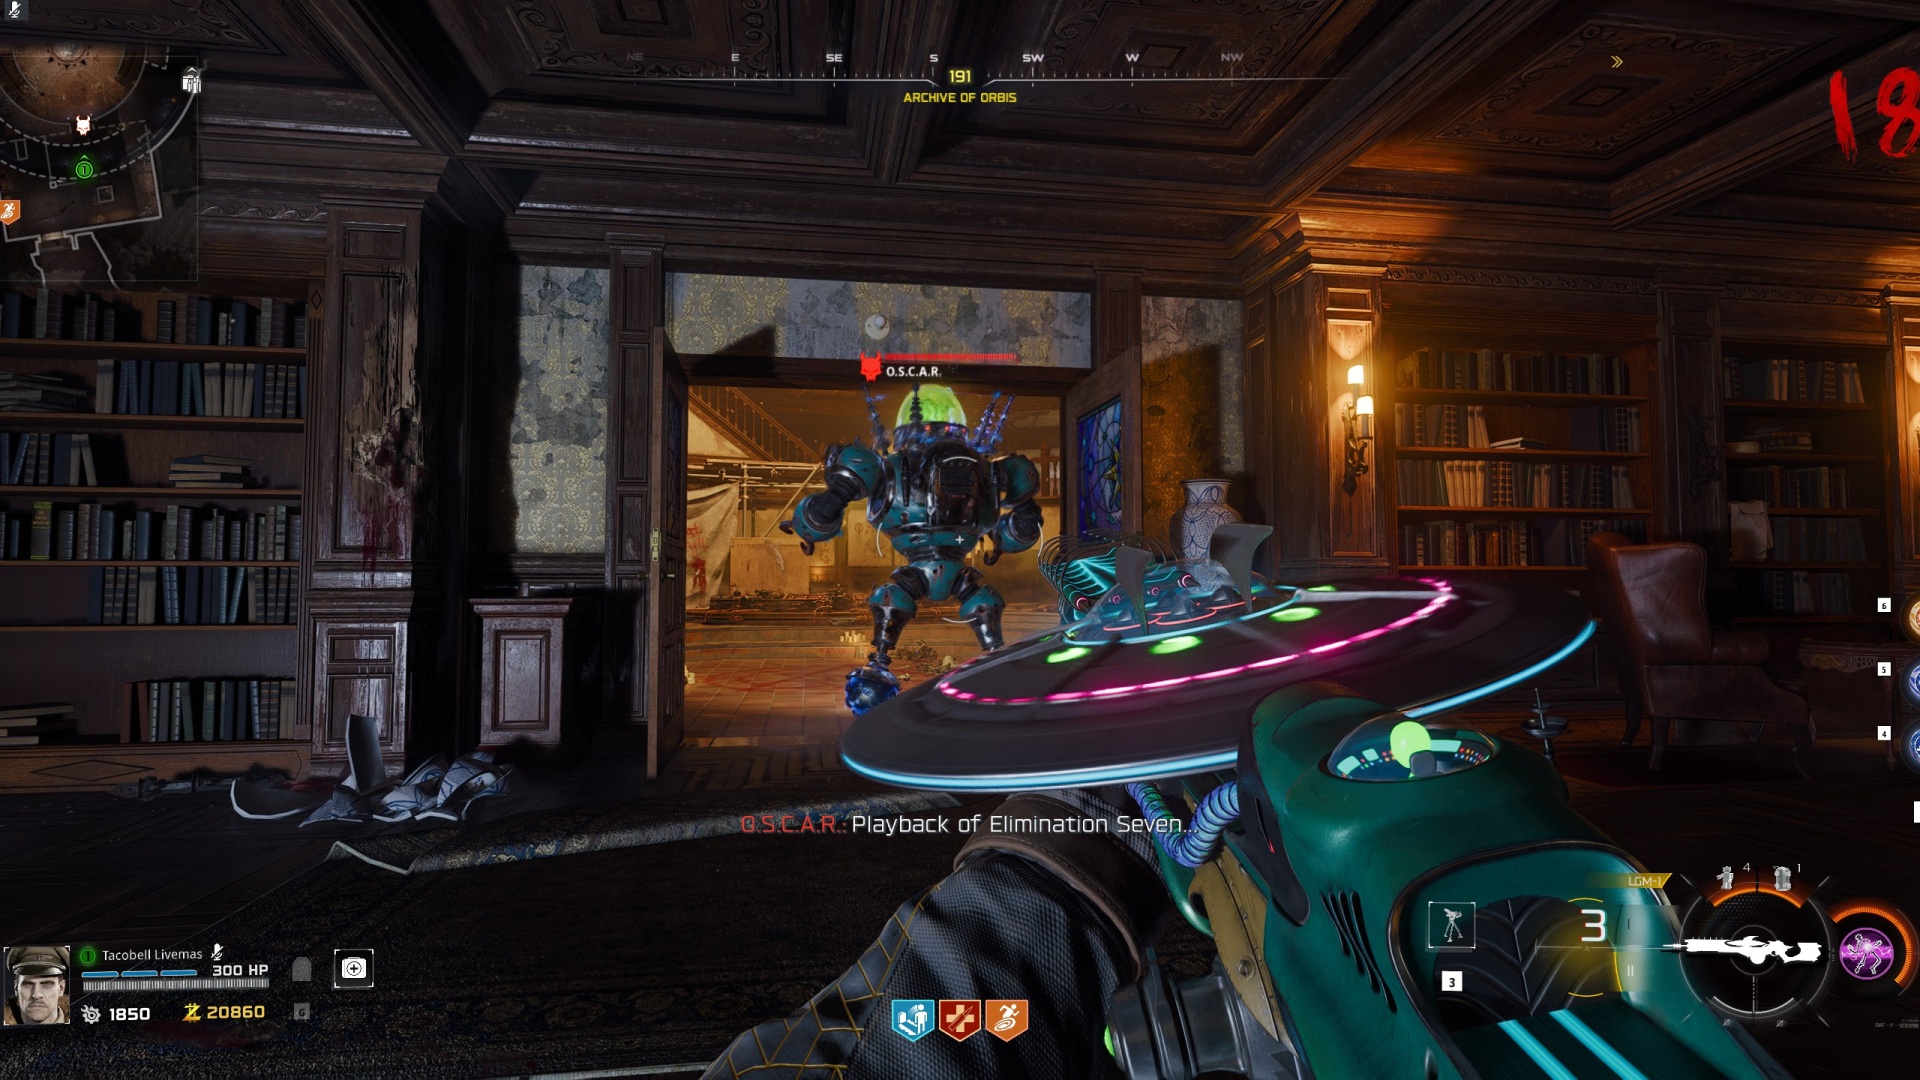
For the next step of the Easter egg, you have to follow Oscar around the map without being detected and listen to some audio logs he starts playing. Just stick behind him for a while once he respawns and he'll eventually start playing the logs on his speakers.
Eventually he'll play a recording of elimination 20, targeting Doctor Thurston. This is the one you need to listen to as Thurston will name three planets at random you will need to remember.
Each of these planets corresponds to a number, based on its location in our solar system. So Mercury is 1, Venus is 2, Earth is 3, and so on. Convert the three planets into a three-digit code and then head to the Pack-a-Punch room to input that code into the machine attached to a pillar.
4. Getting the Perfusion Machine
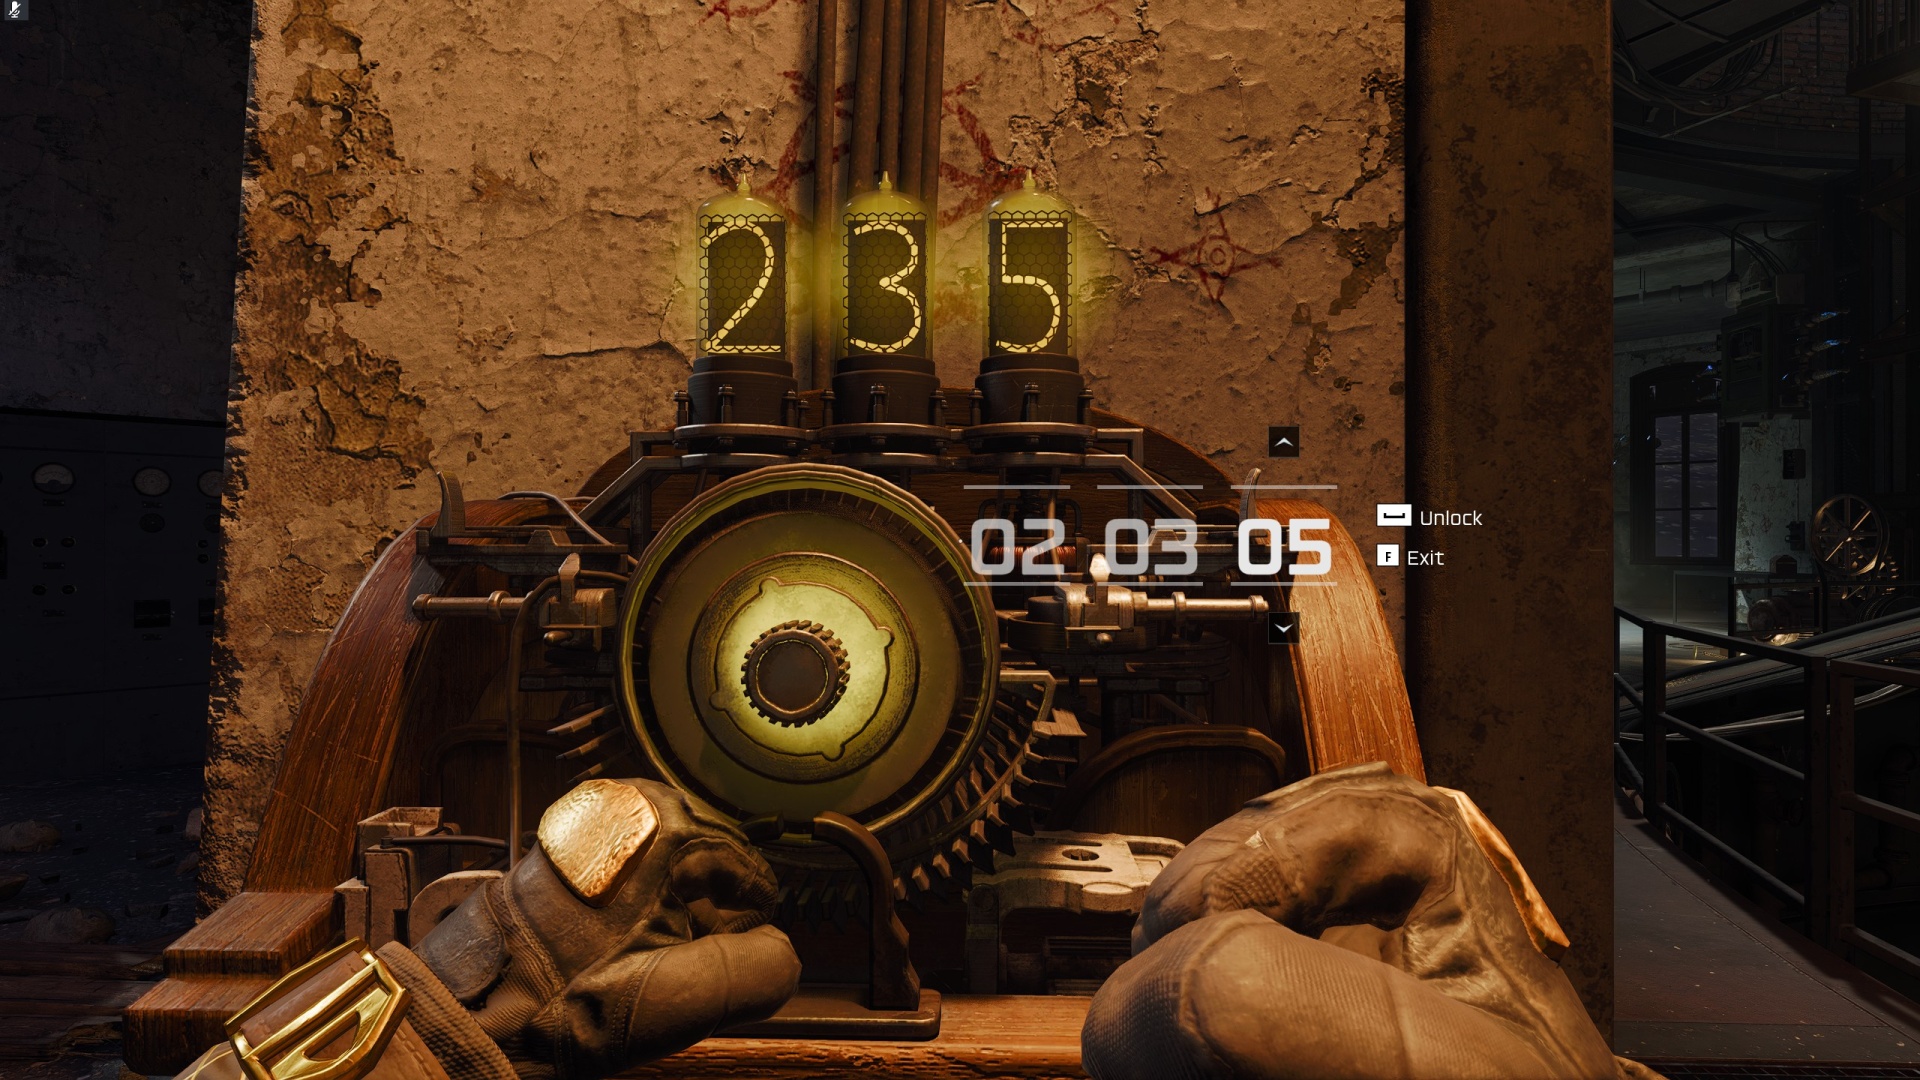
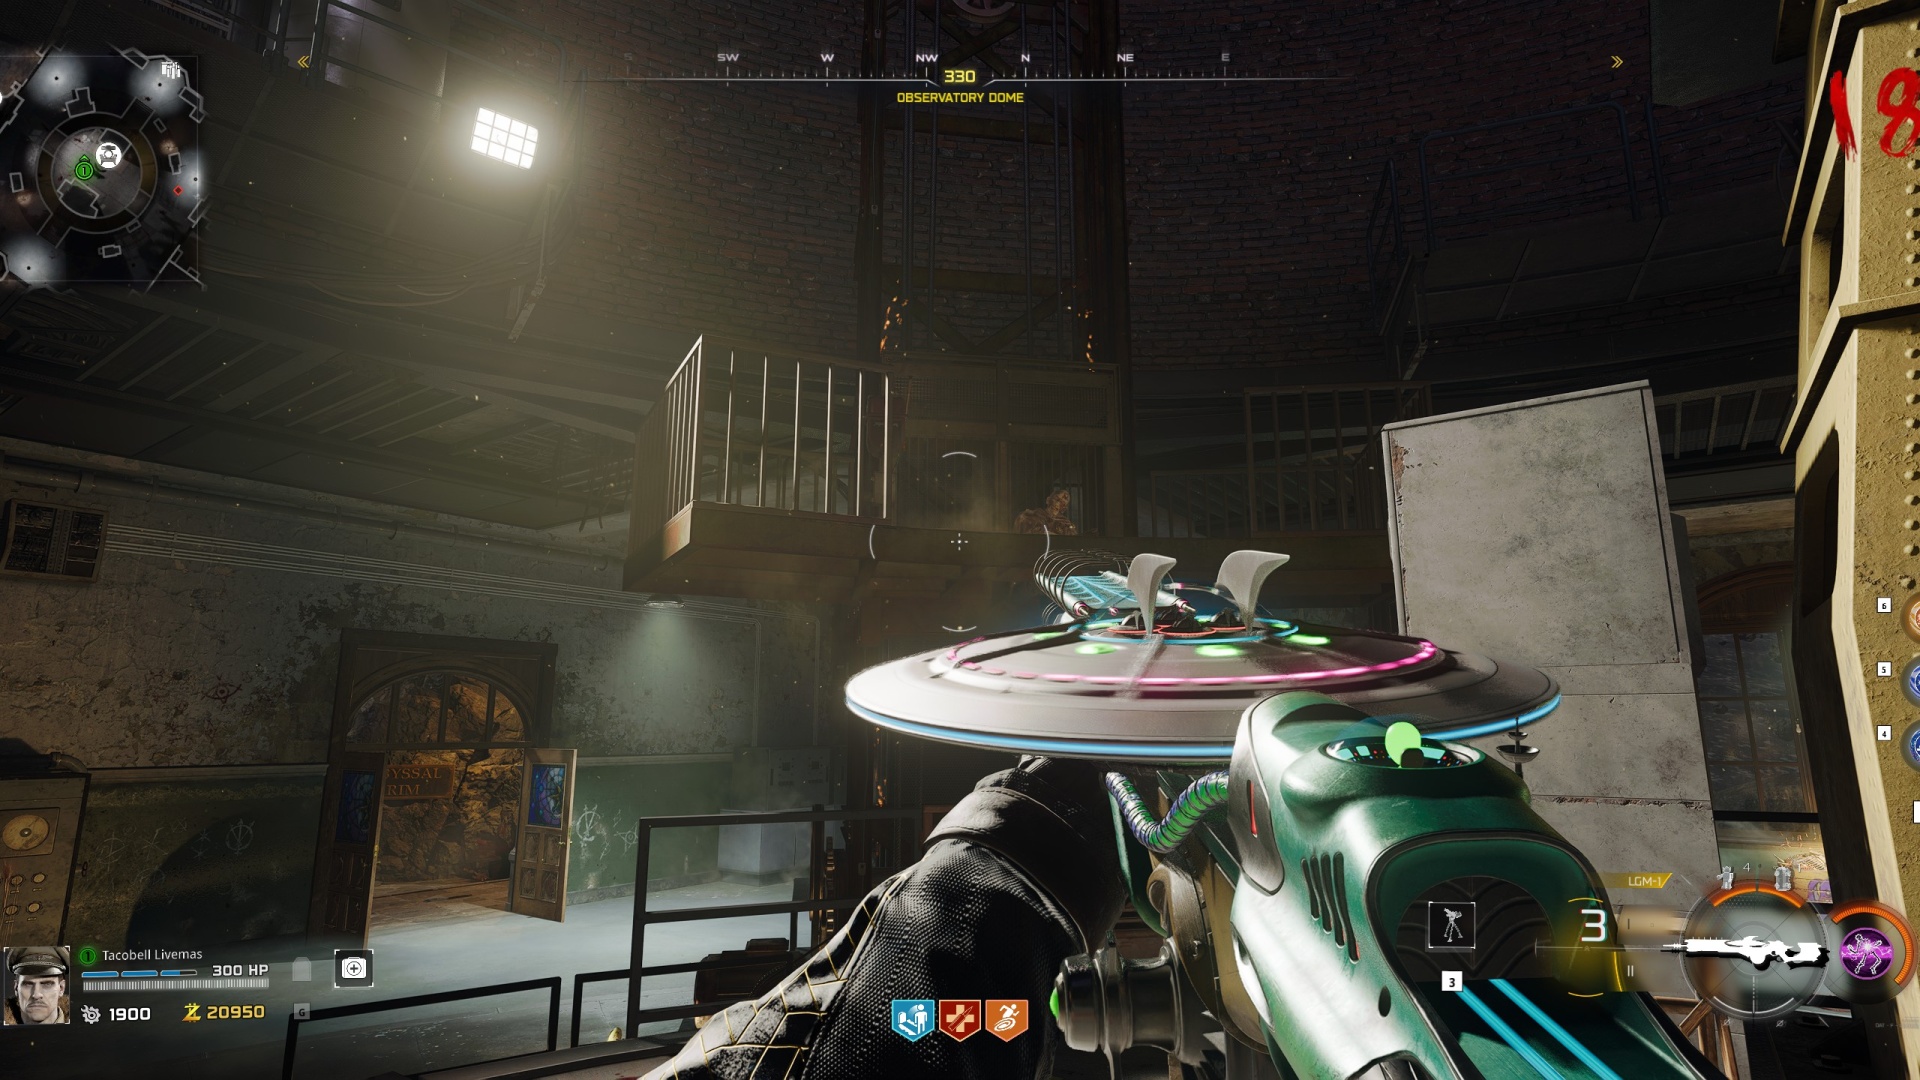
Inputting the correct code from the planets will activate a nearby lift. Climb up to this newly-accessible area and collect the Cryo Chamber Key next to the corpse up above.
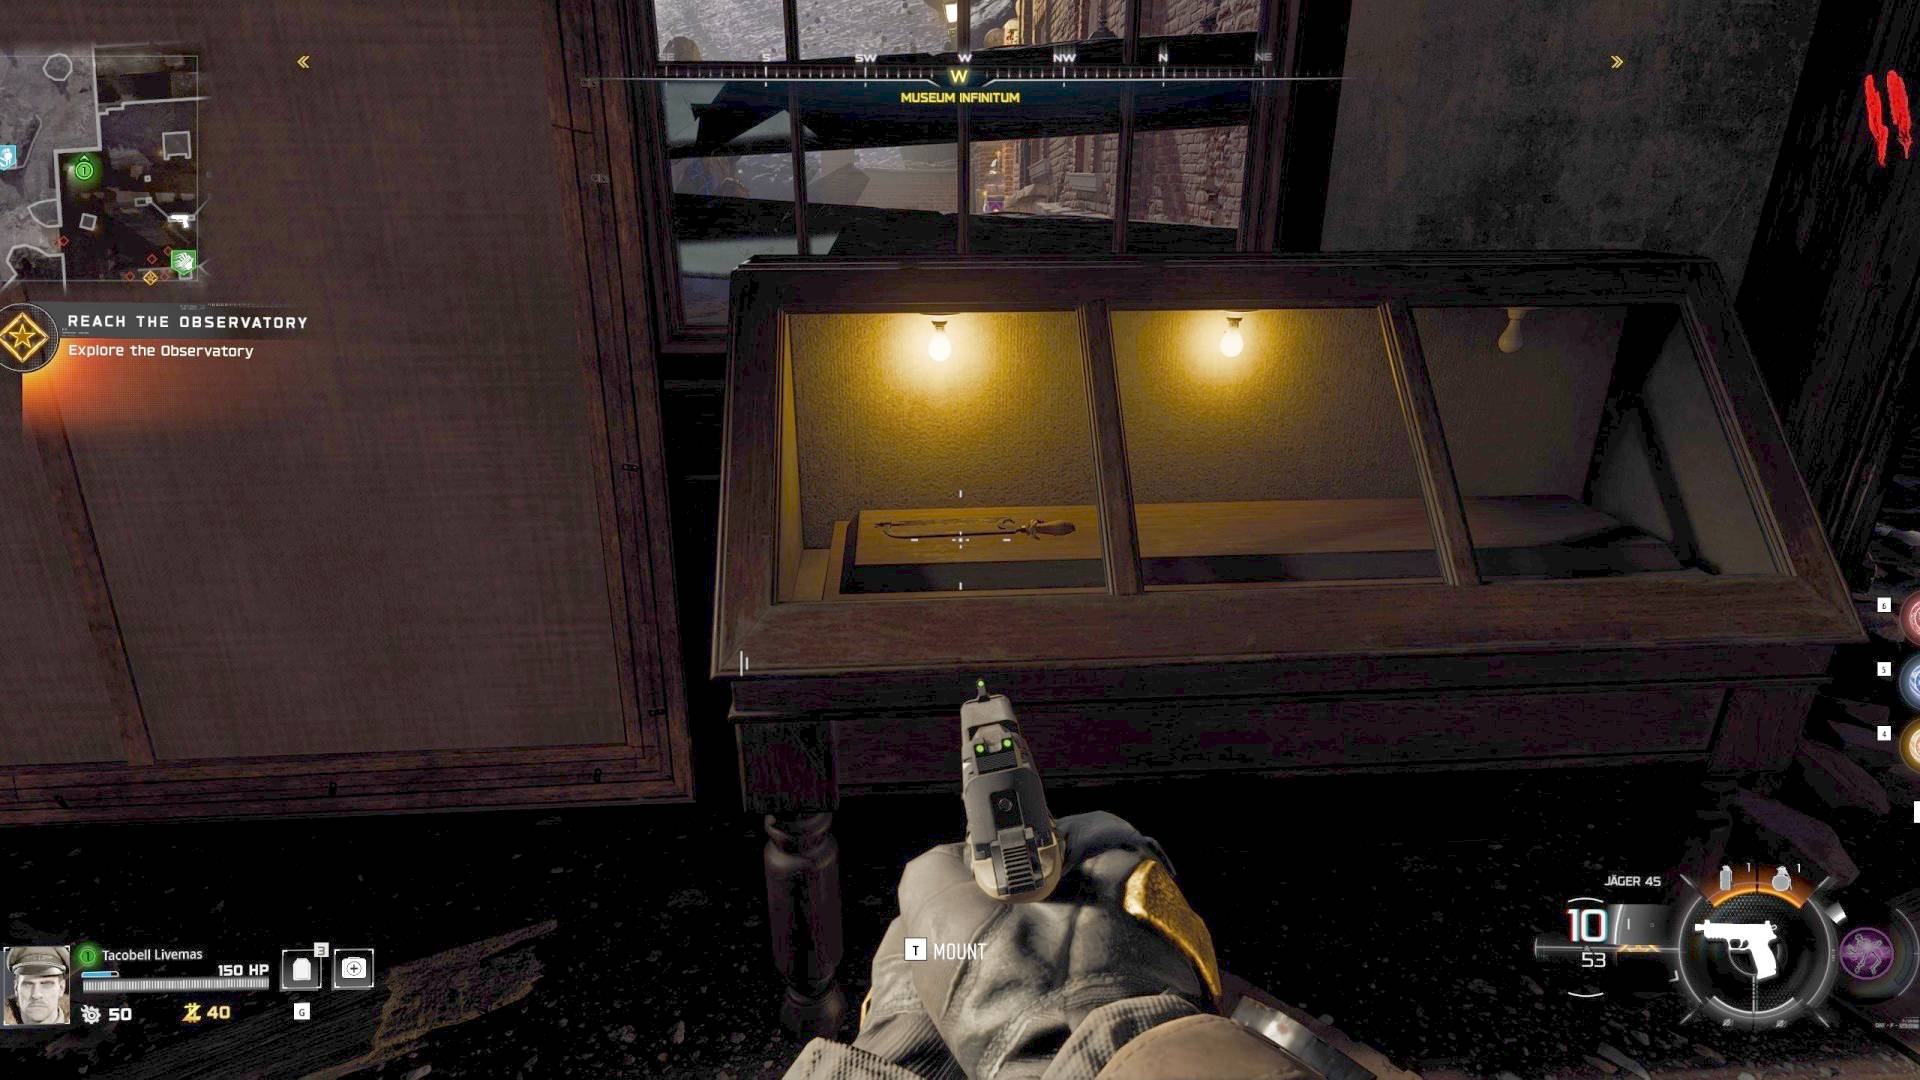
Once that's done head to the Museum Infinitum and break open the glass display case in the southwest corner of the room to obtain a Rock Saw.
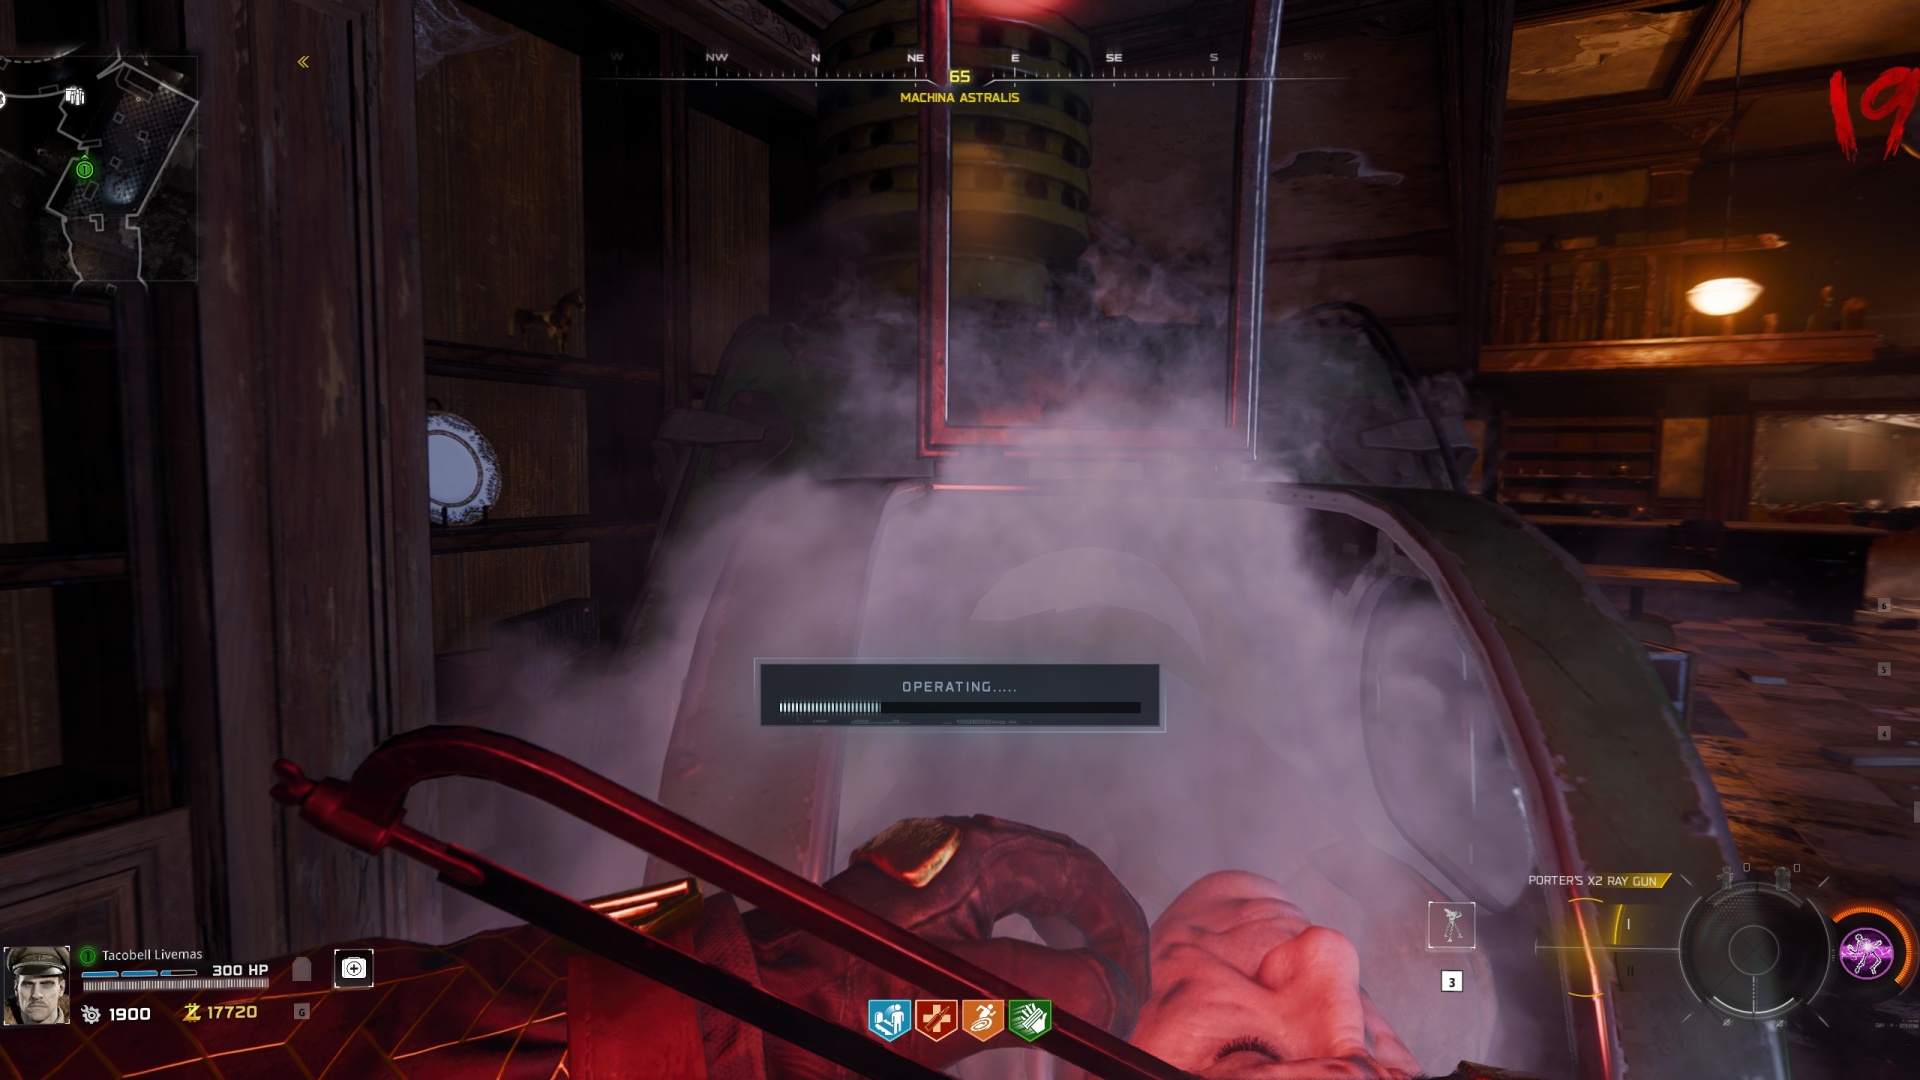
When you have that go to the Machina Astralis and open up the green cryo chamber. Interact with the body inside to extract its brain using the Rock Saw you just picked up.
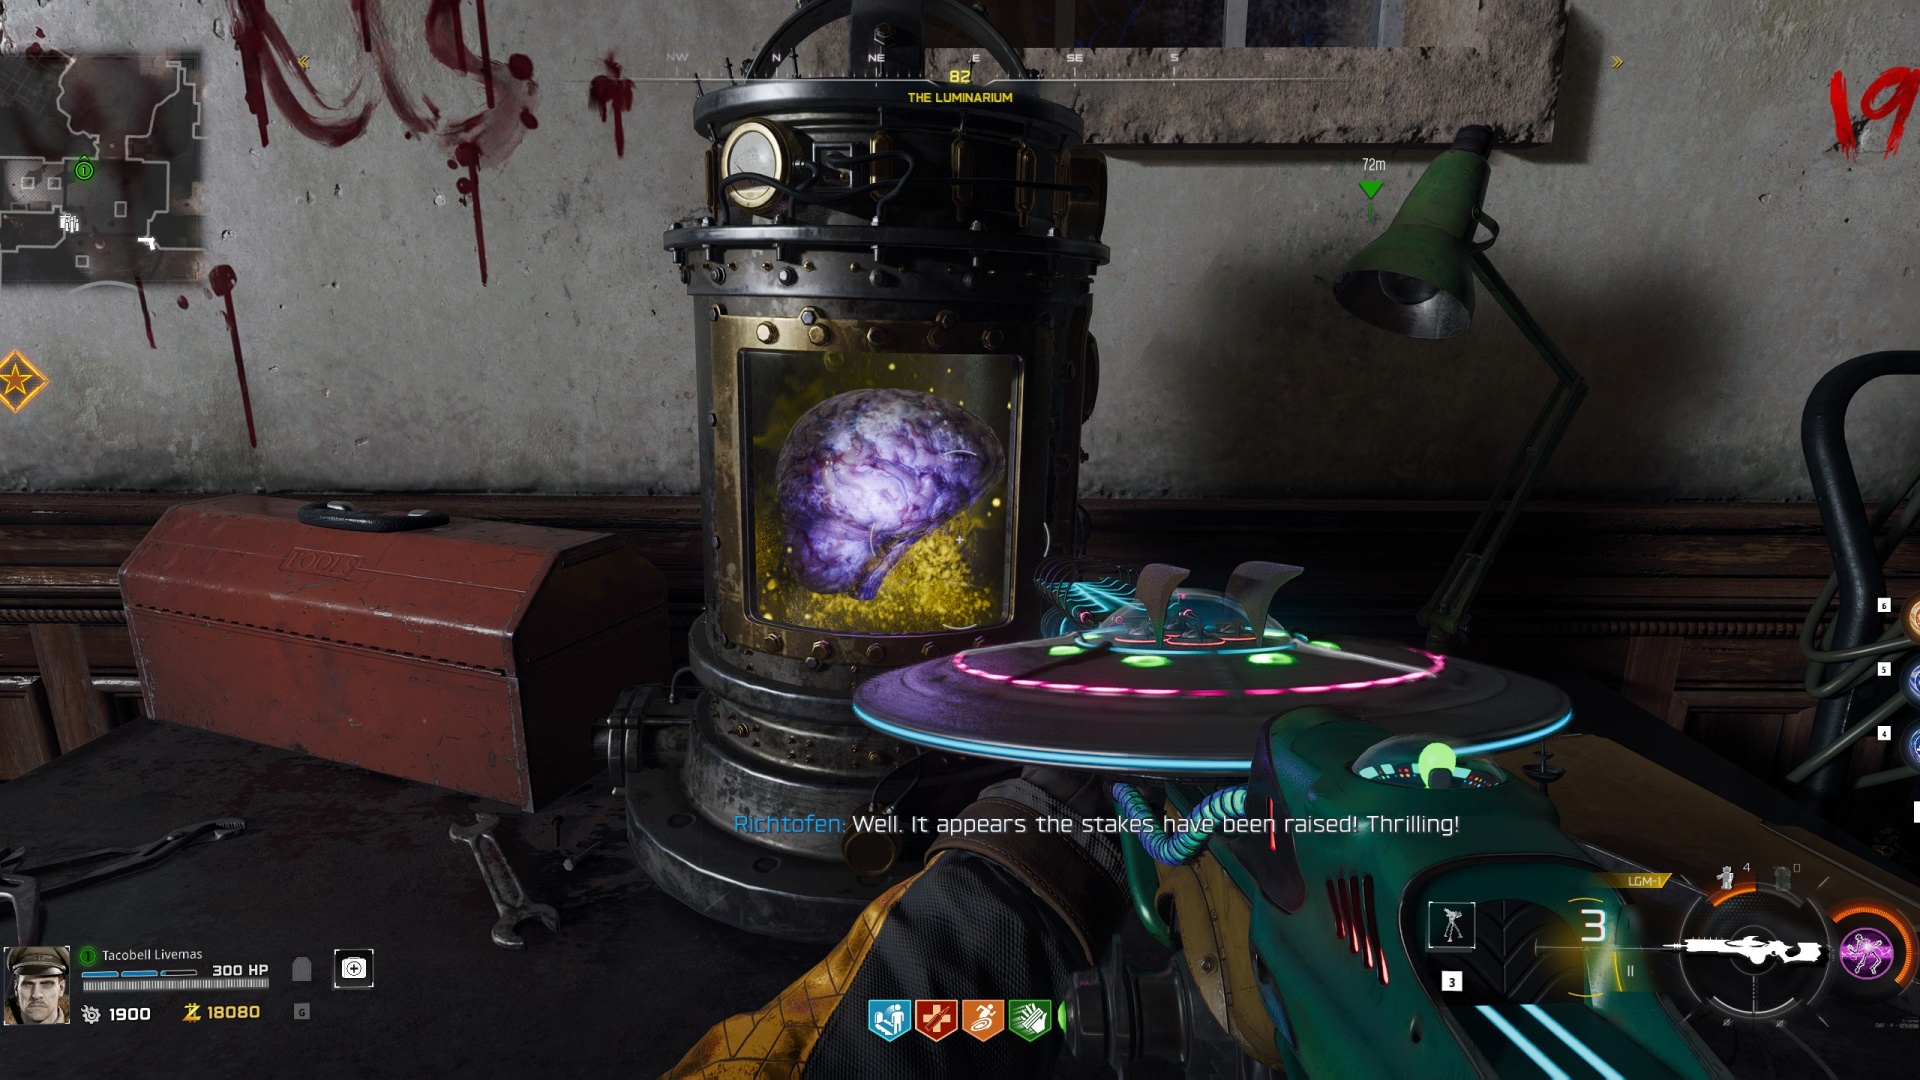
Take the brain to the Luminarium and interact with the glowing purple container called the Perfusion Machine by the door to swap the brain for... another brain. Then, interact with the brain again to begin a one-minute survival challenge where you have to defend the area.
After fending off the undead attack, collect the brain and take it to the Machina Astralis where you'll find another Perfusion Machine. Connect the brain to complete this step.
Now head back to the Observatory Dome and use the telescope from earlier. This time, line up the crosshair with Mars.
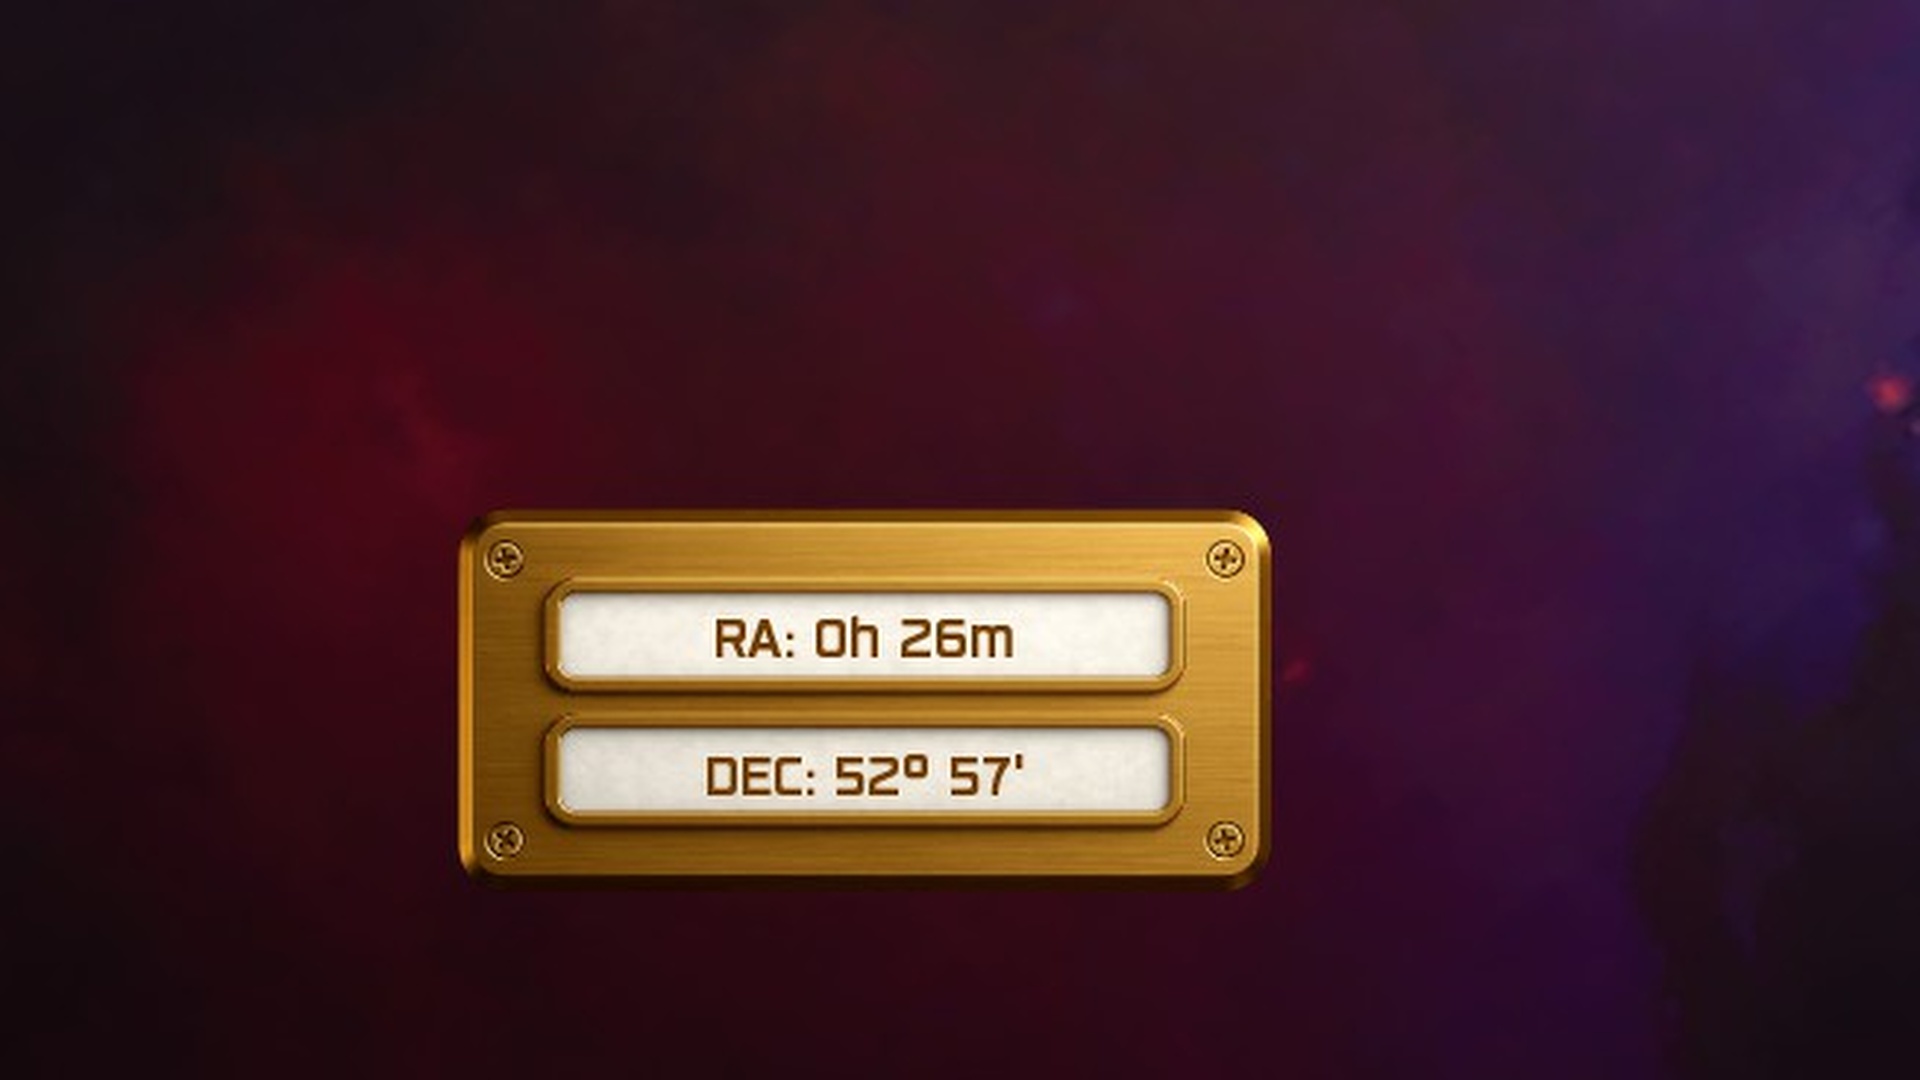
When you find Mars, make note of the numbers in the bottom corner of the screen next to DEC. Input those numbers into the code machine near the stairs in the Machina Astralis room.
5. Solving the Reading List Book Puzzle
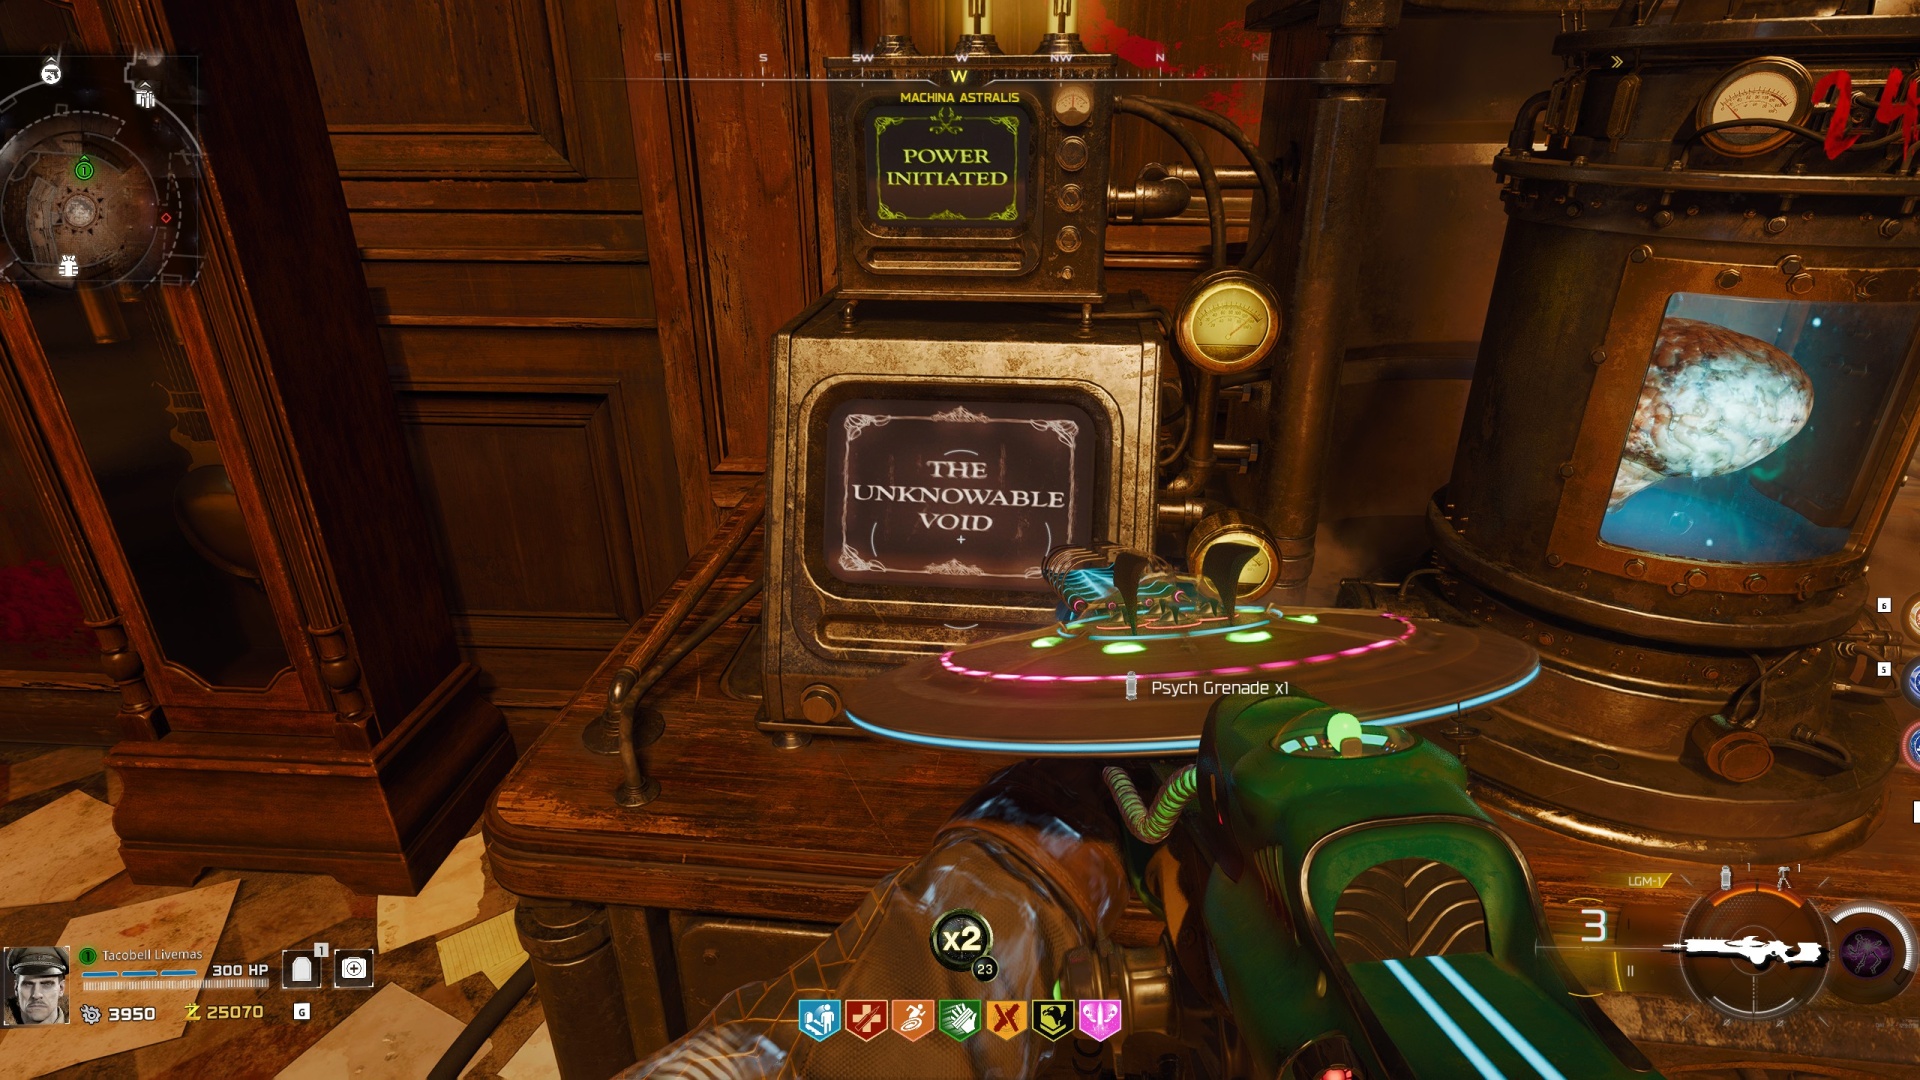
After inputting this code, head back down to the Perfusion Machine and take a look at the screen next to the brain. It'll display Dr. Thurston's reading list and you'll need to remember every book on the list.
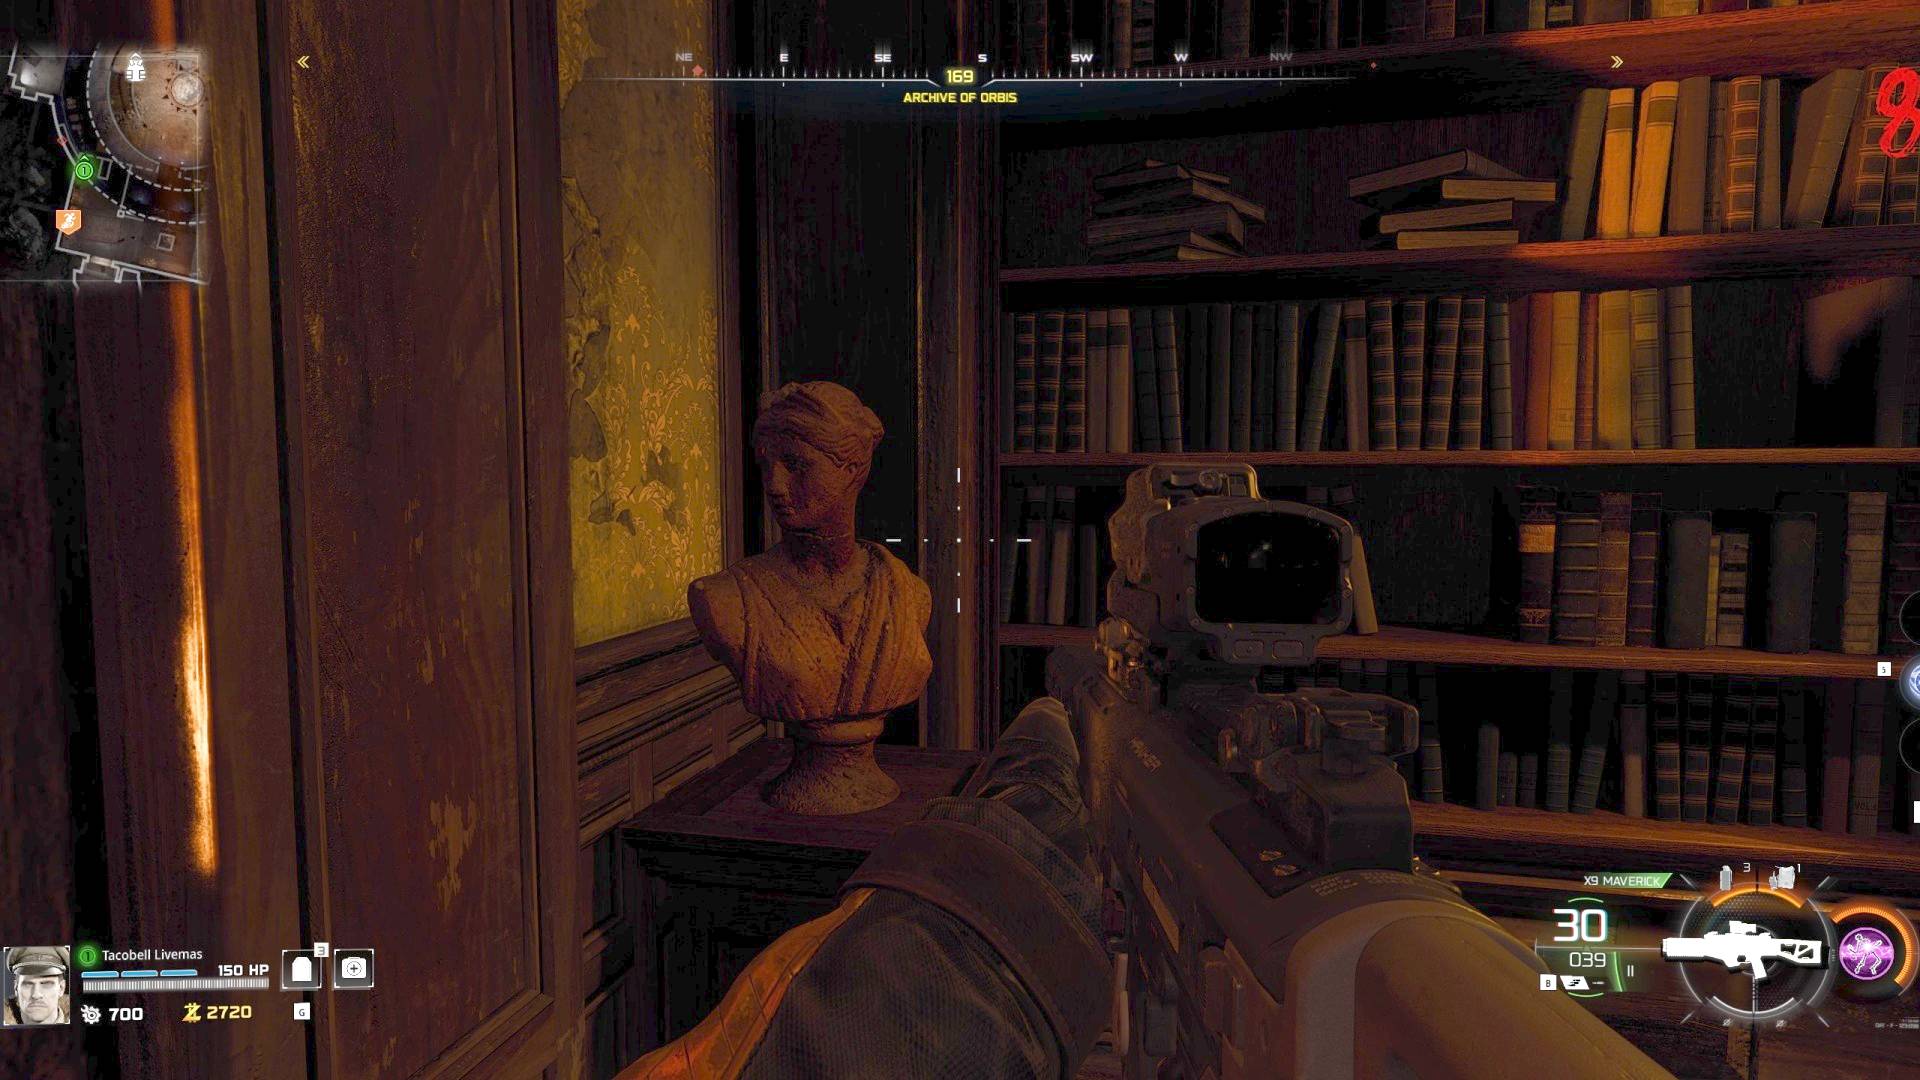
In the Archive of Orbis, you'll find these listed books on the shelves as well as three busts in the room next to the bookshelves. If you interact with each bookshelf you'll see the titles of the books they carry and for every title that appears on Dr. Thurston's reading list, rotate the nearby bust once.
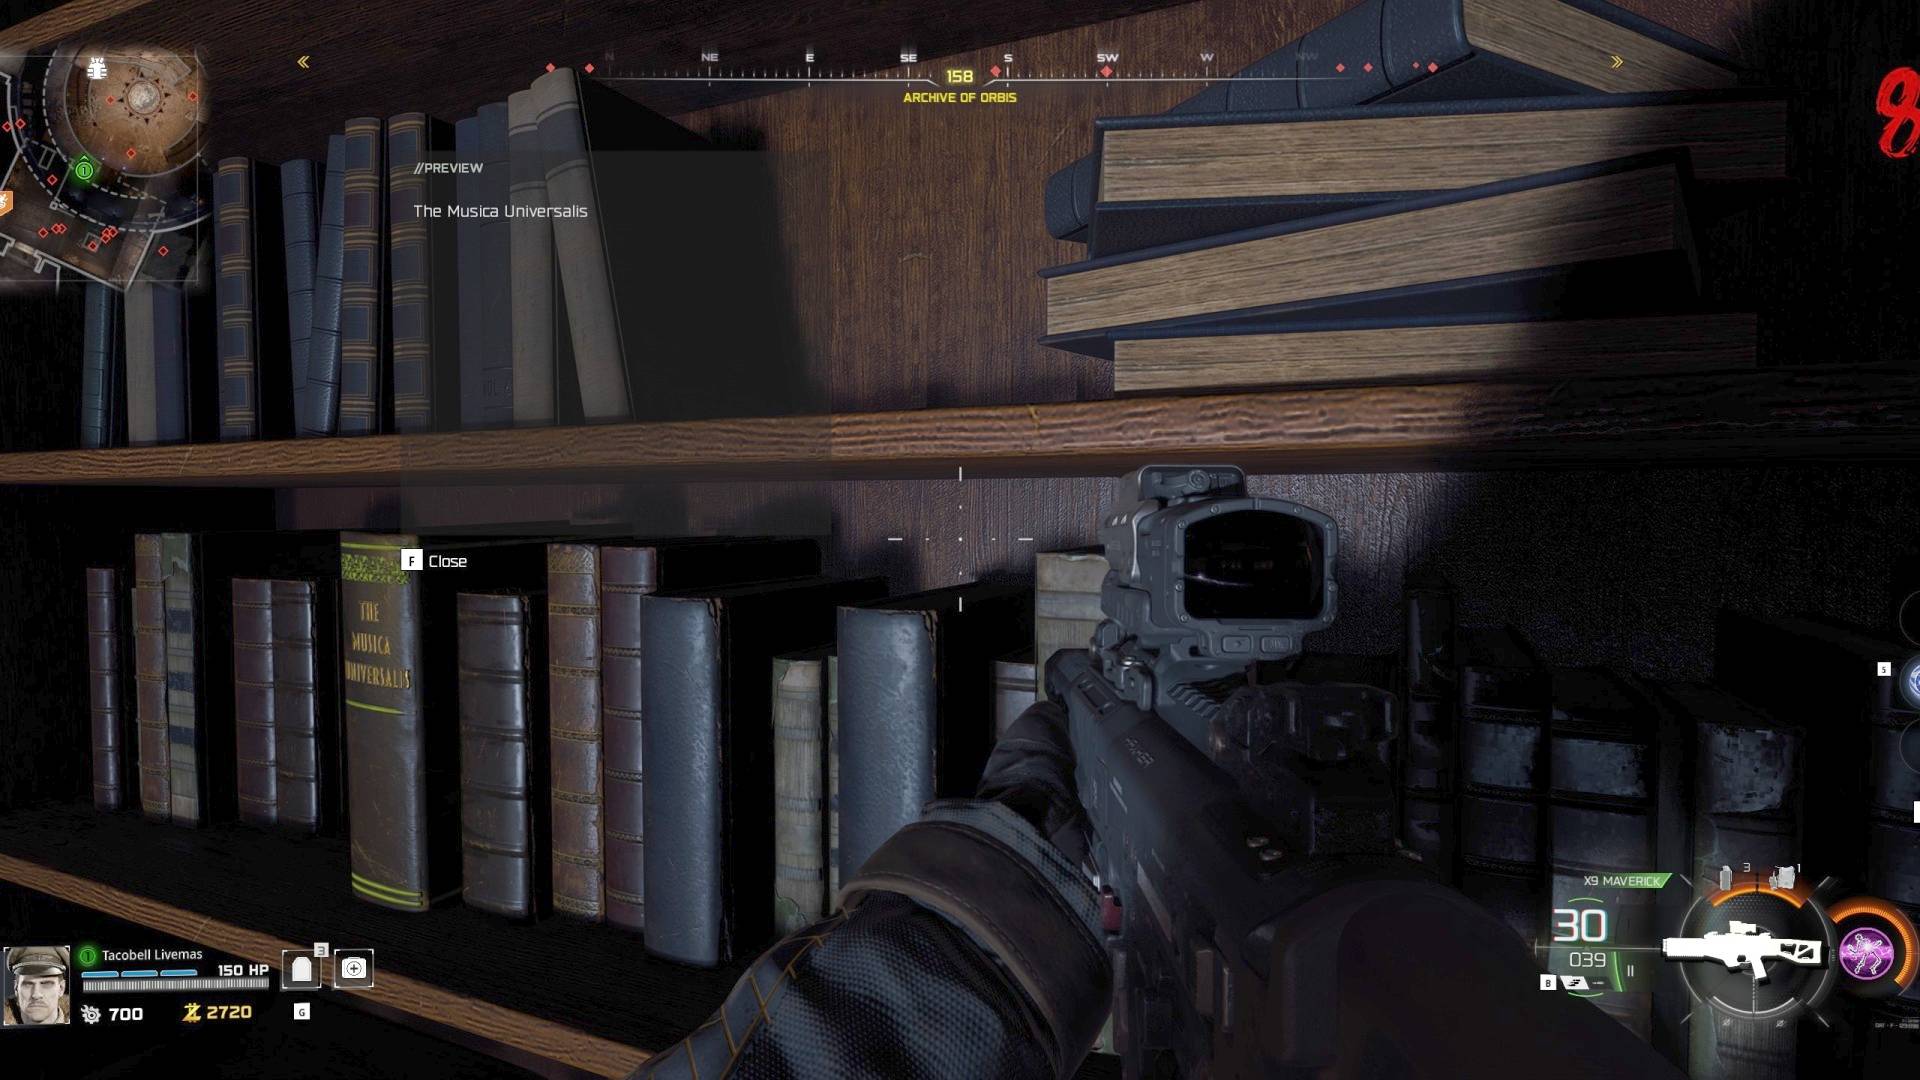
For example, the statue in the corner of the room is next to bookshelves containing Witchlight Codex, Silence at Singularity, and Pyramids of Cydonia. If you saw Pyramids of Cydonia and Witchlight Codex on the reading list, you'd rotate the bust twice as the shelves next to it contain two books from the list.
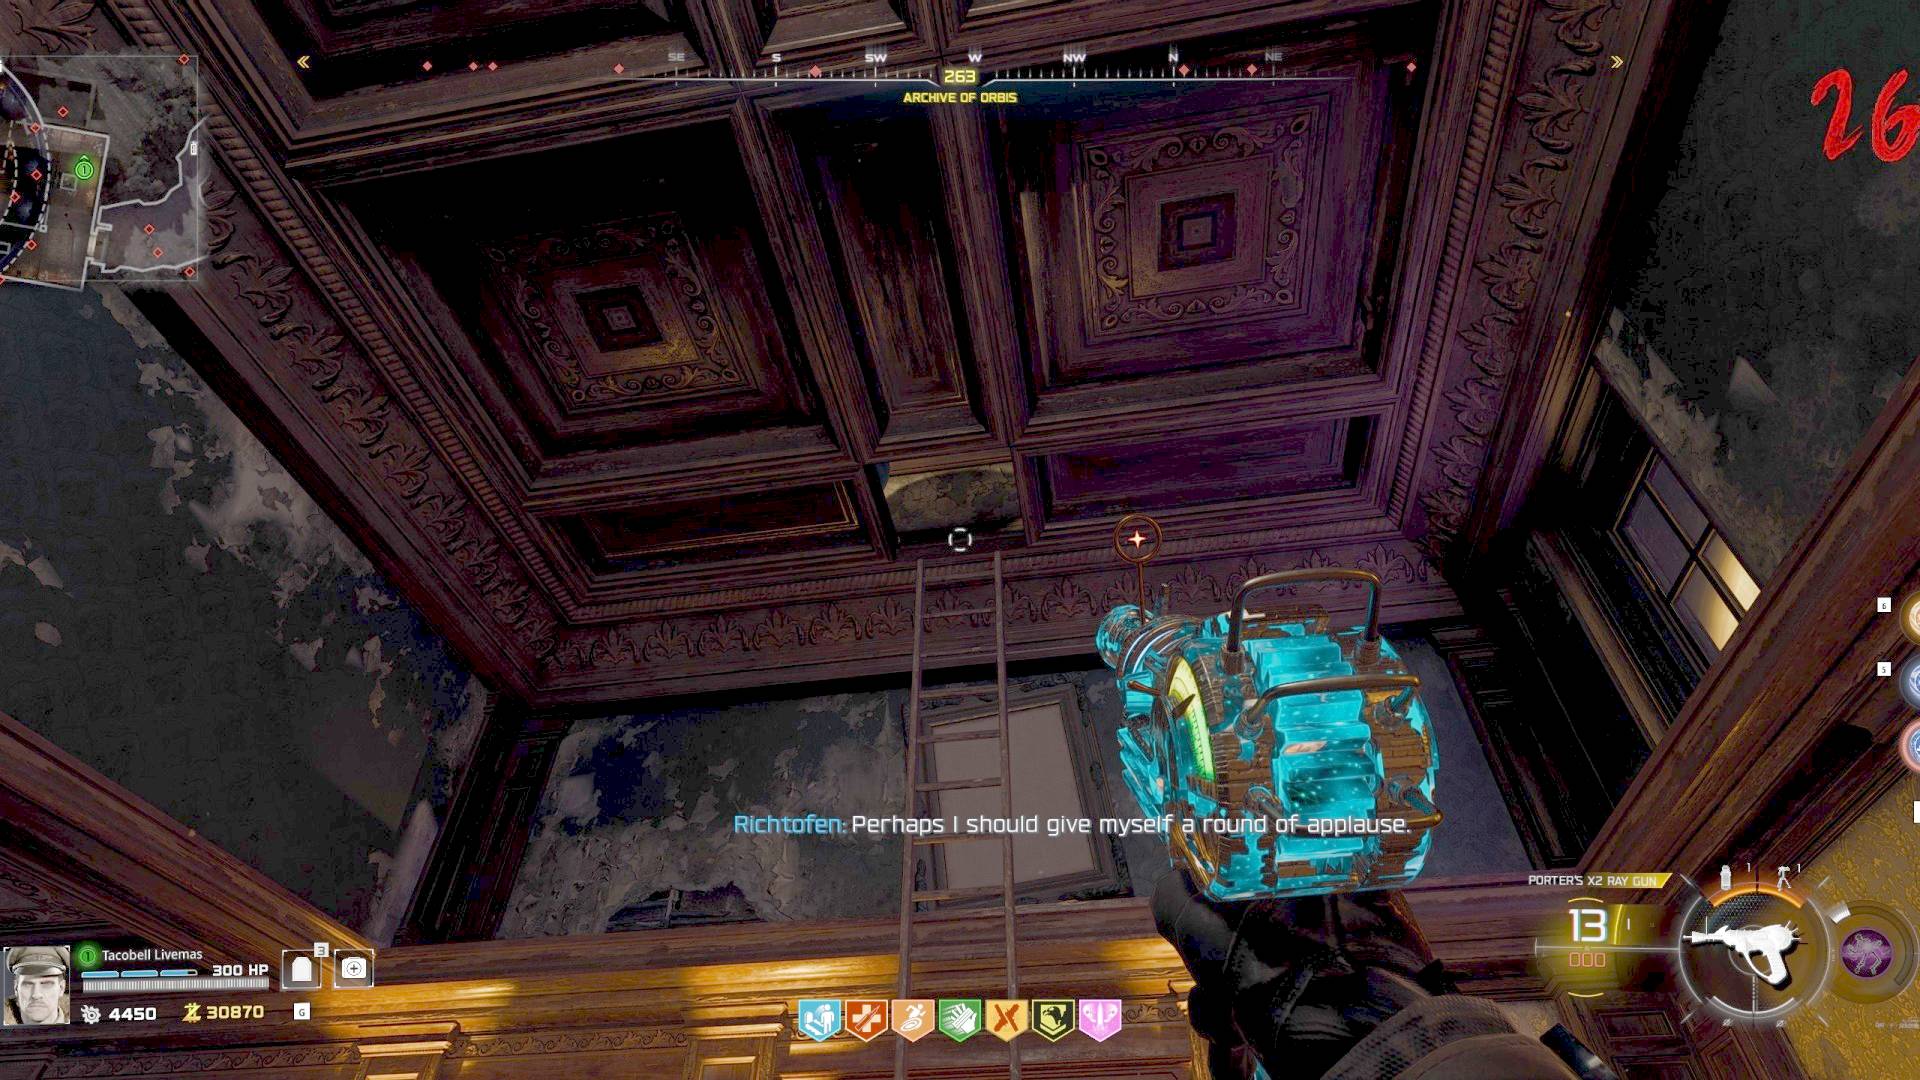
After rotating all the heads correctly to solve the reading list puzzle, the attic will open up. Climb up the ladder into the newly-opened hatch to grab Planet Neptune.
Take Neptune to the upper level of the Machina Astralis room and place it on the empty pole that's missing a planet. That'll complete the solar system diorama. Now you are going to need to align the planets a certain way.
6. Aligning the Planets
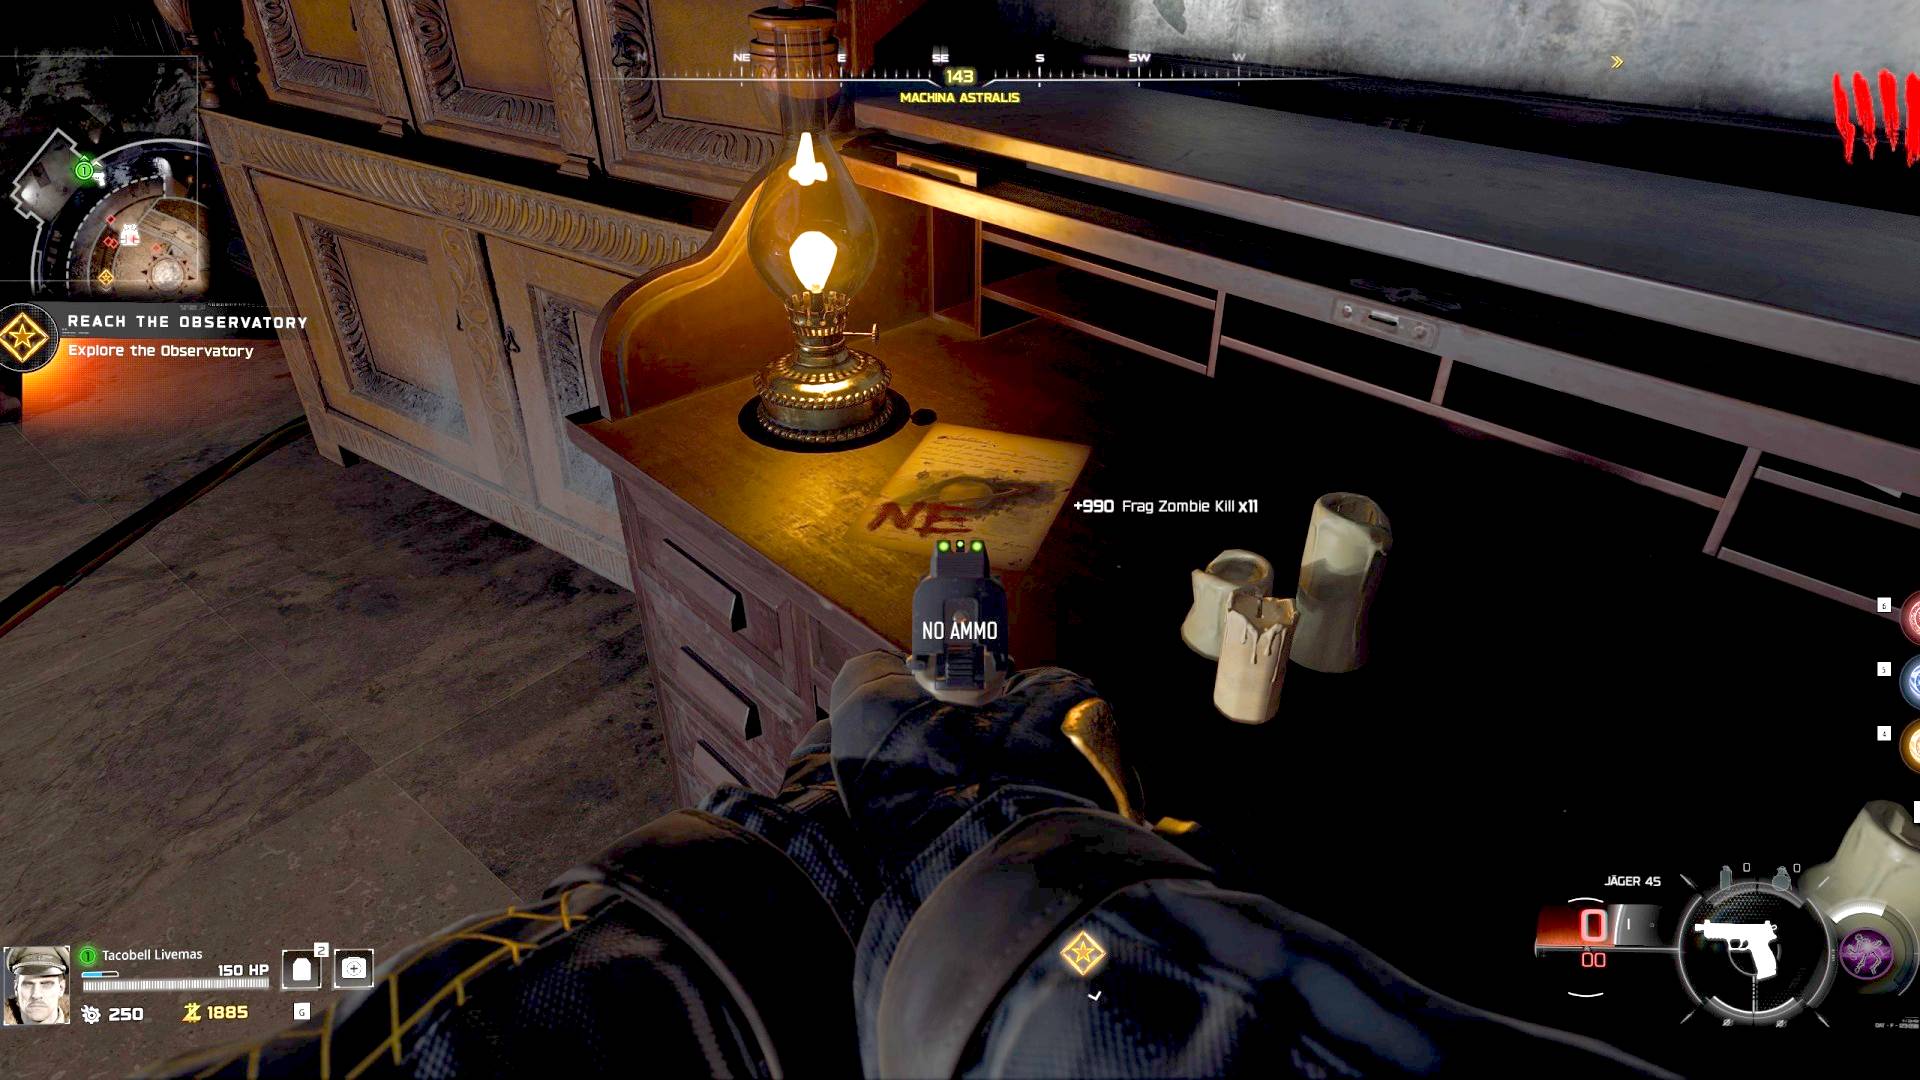
Around the map, you'll find scraps of paper with cardinal directions and planets written on them.
The first piece of paper is on the table near Stamin-Up in the Archive of Orbis.
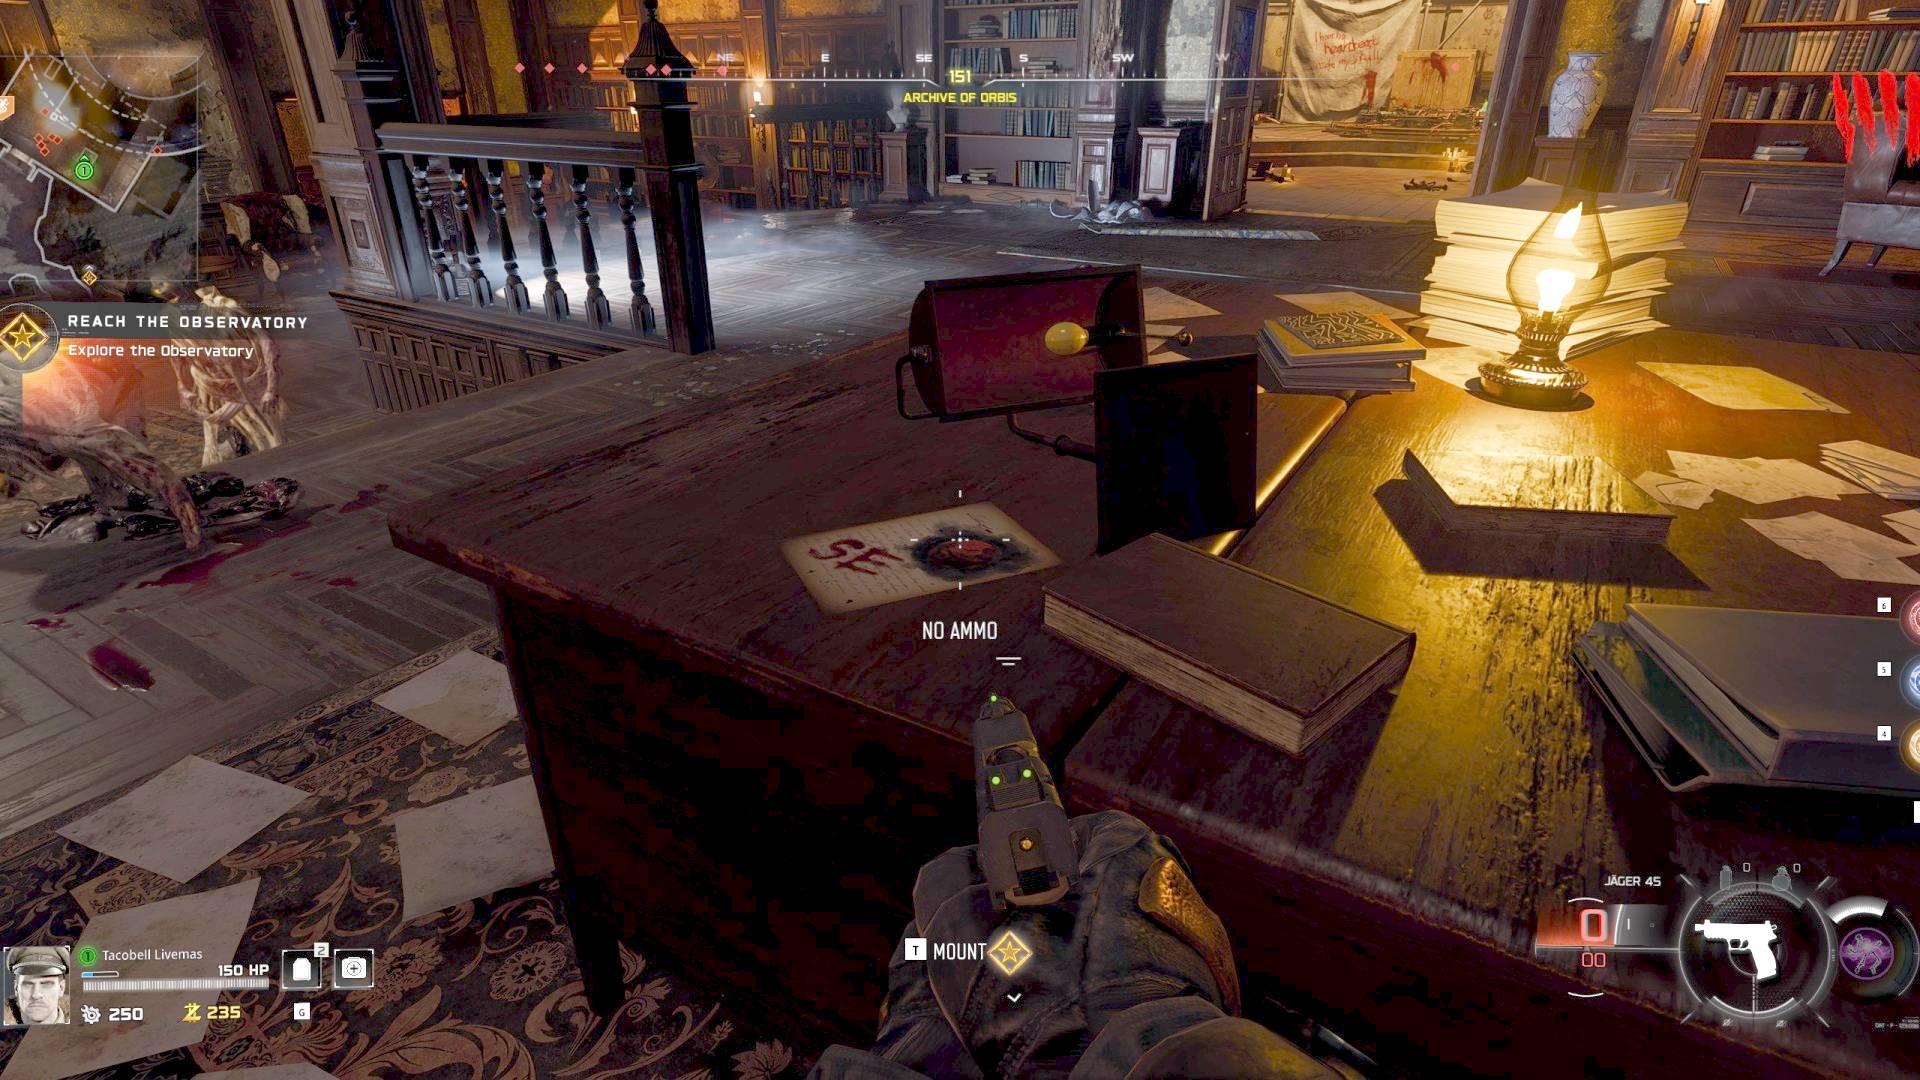
The second paper is on a desk on the eastern side of the Machina Astralis.
The third paper is on a table by a lamp in the Luminarium.
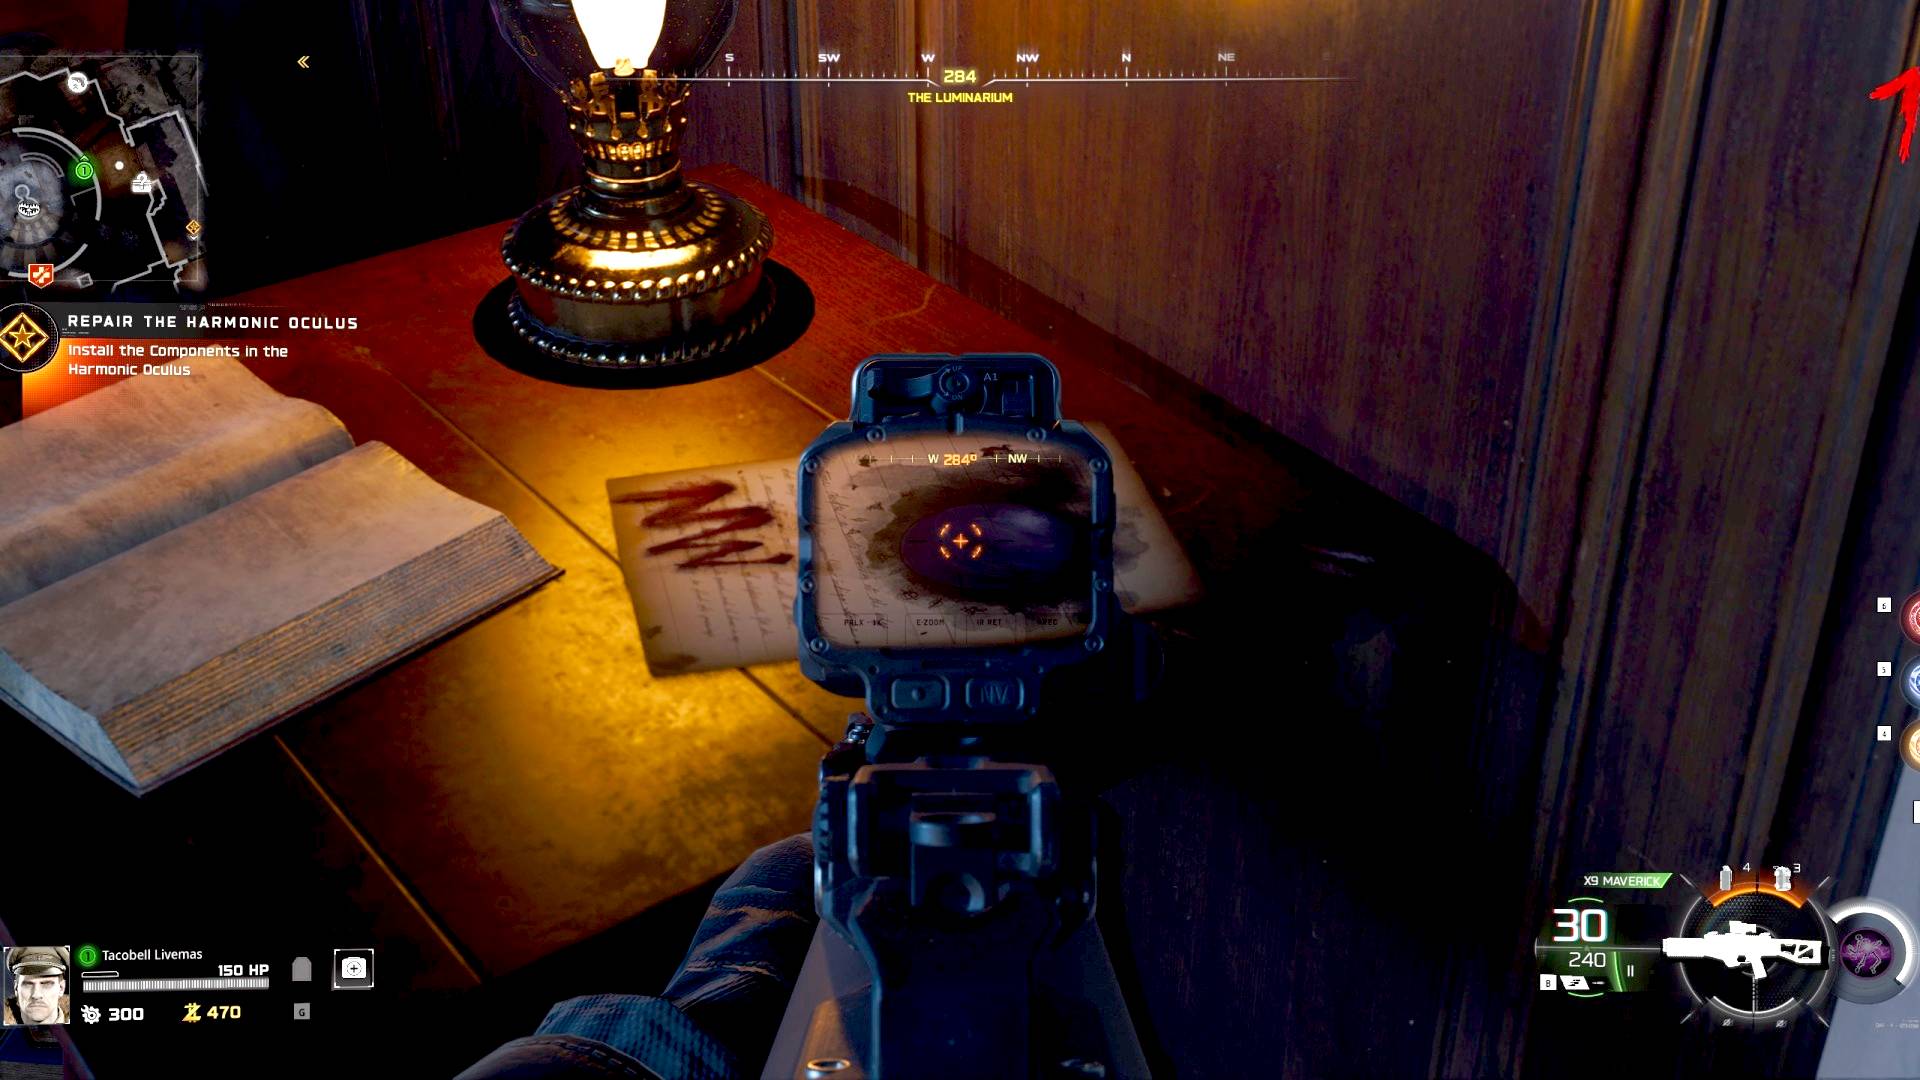
Once you've seen all three notes, head back to the Machina Astralis and shoot the planets hanging above to rotate them into the right spots.
After moving the planets, interact with the Perfusion Machine to trigger a two-minute lockdown. Defend the teleporter from OSCAR and the undead. Make sure to destroy Oscar's drones as soon as they appear as they'll try to disable the teleporter.
7. Surviving Mars
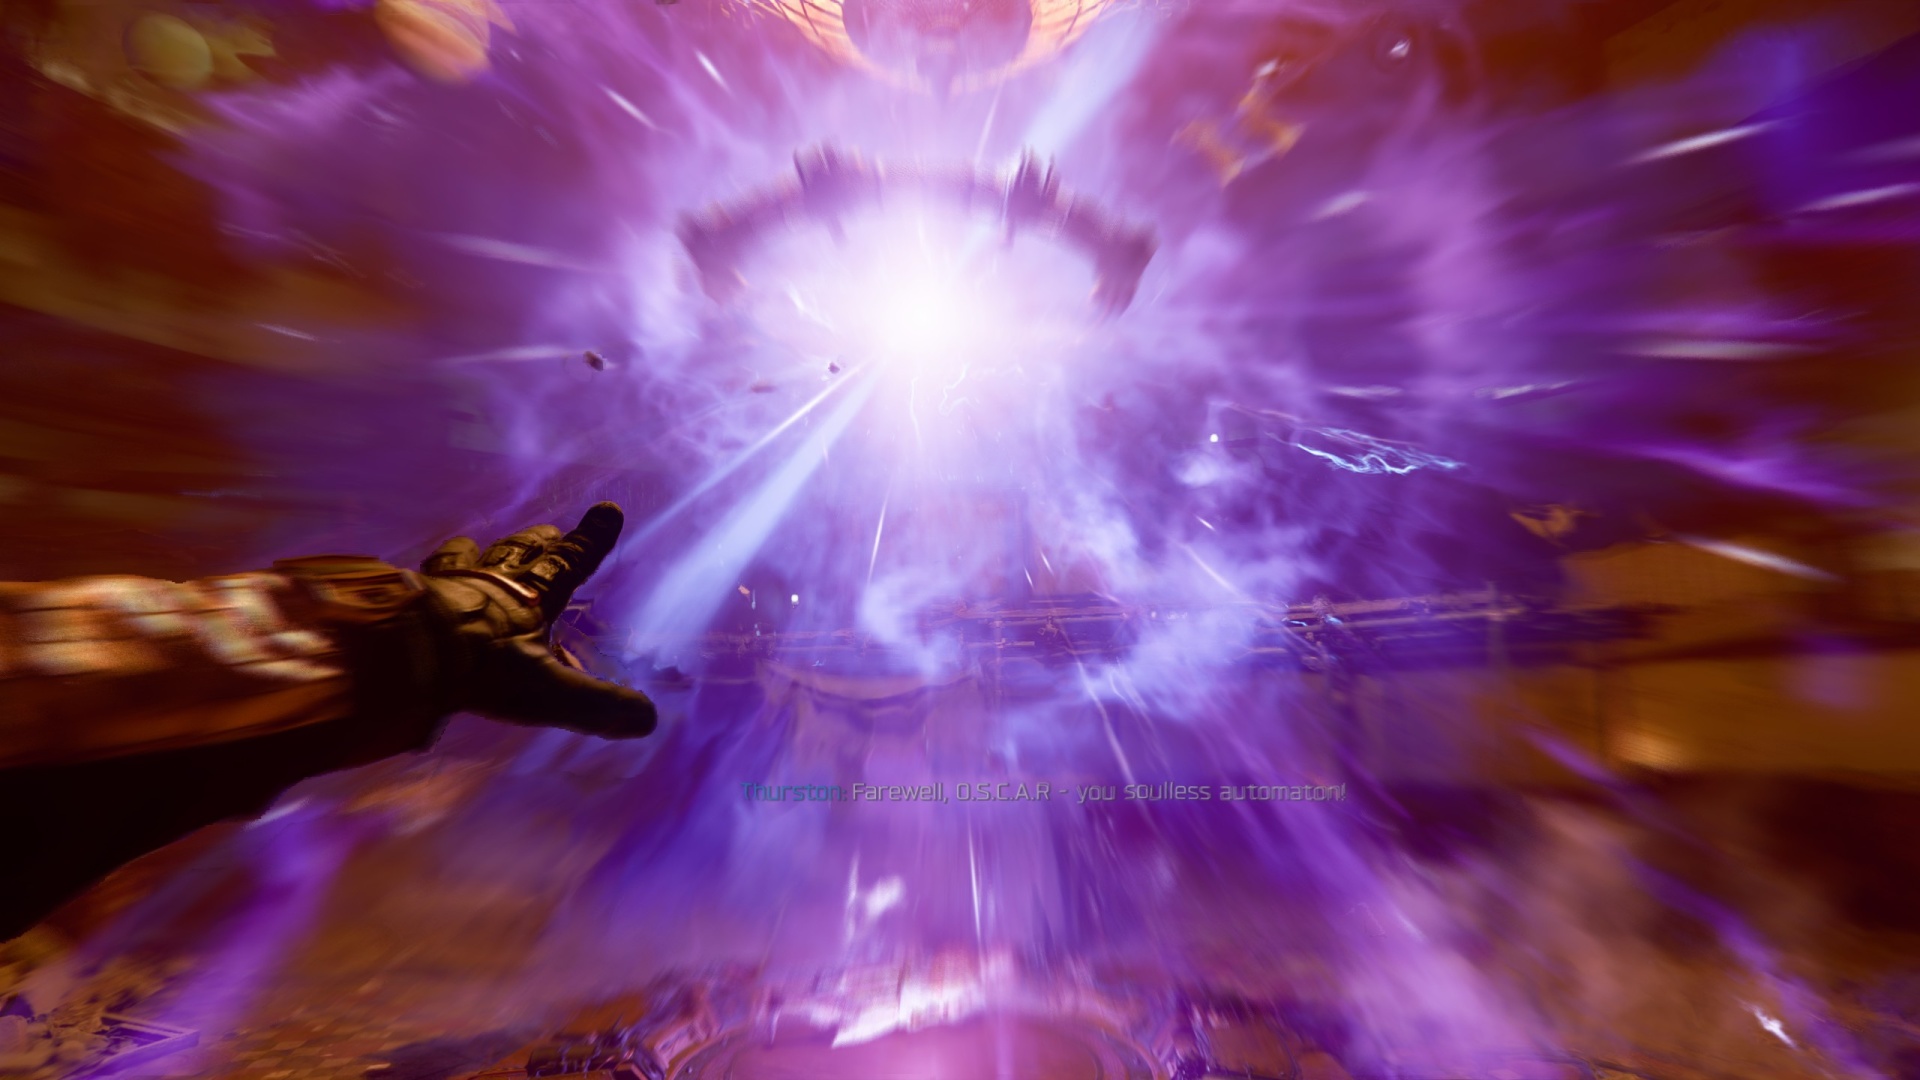
After defending the area you'll be teleported to Mars. Pick up the Perfusion Machine up ahead and then place it into the strange machine overlooking the courtyard. A strange noise will play, and that's your cue to run to the window to the north.
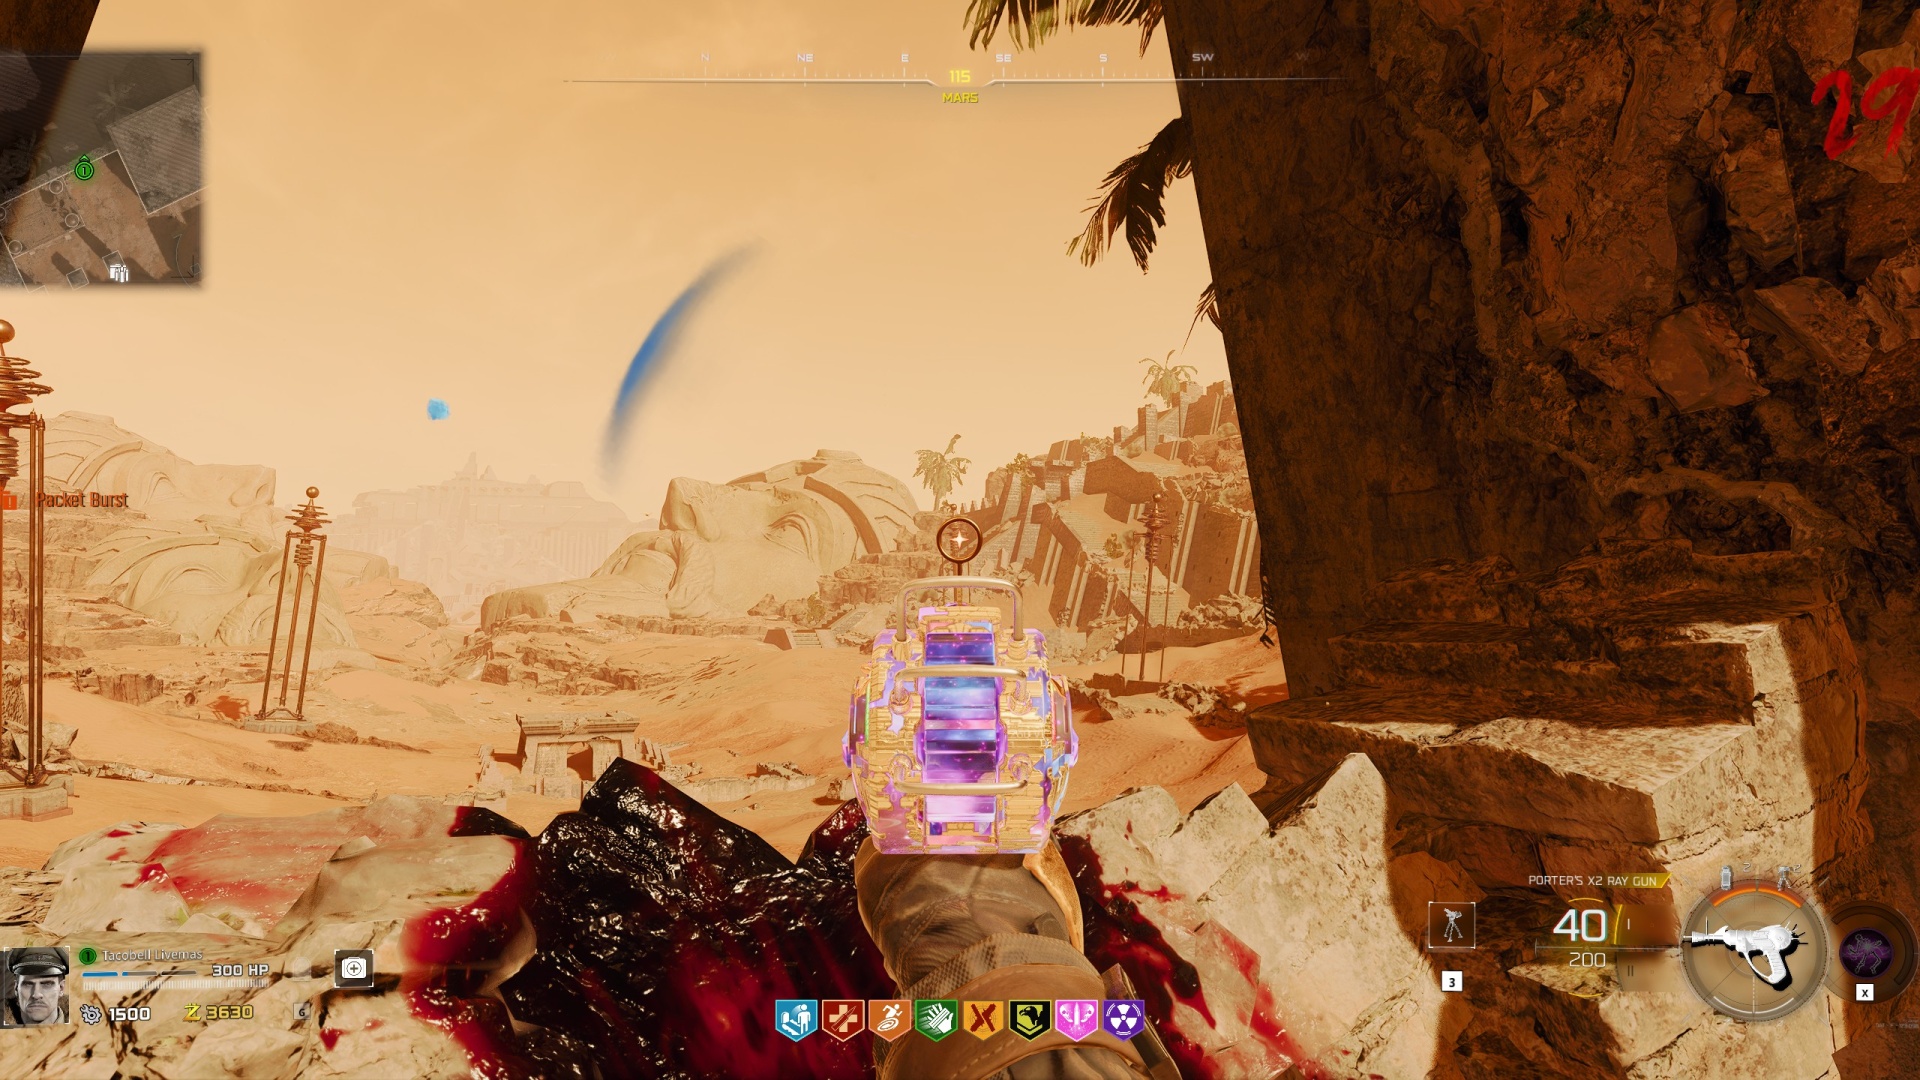
You'll see four alien pylons in the distance. Shoot them in order from back right, back left, front right, and then front left. Then, shoot the pylon above the teleporter that brought you to Mars.
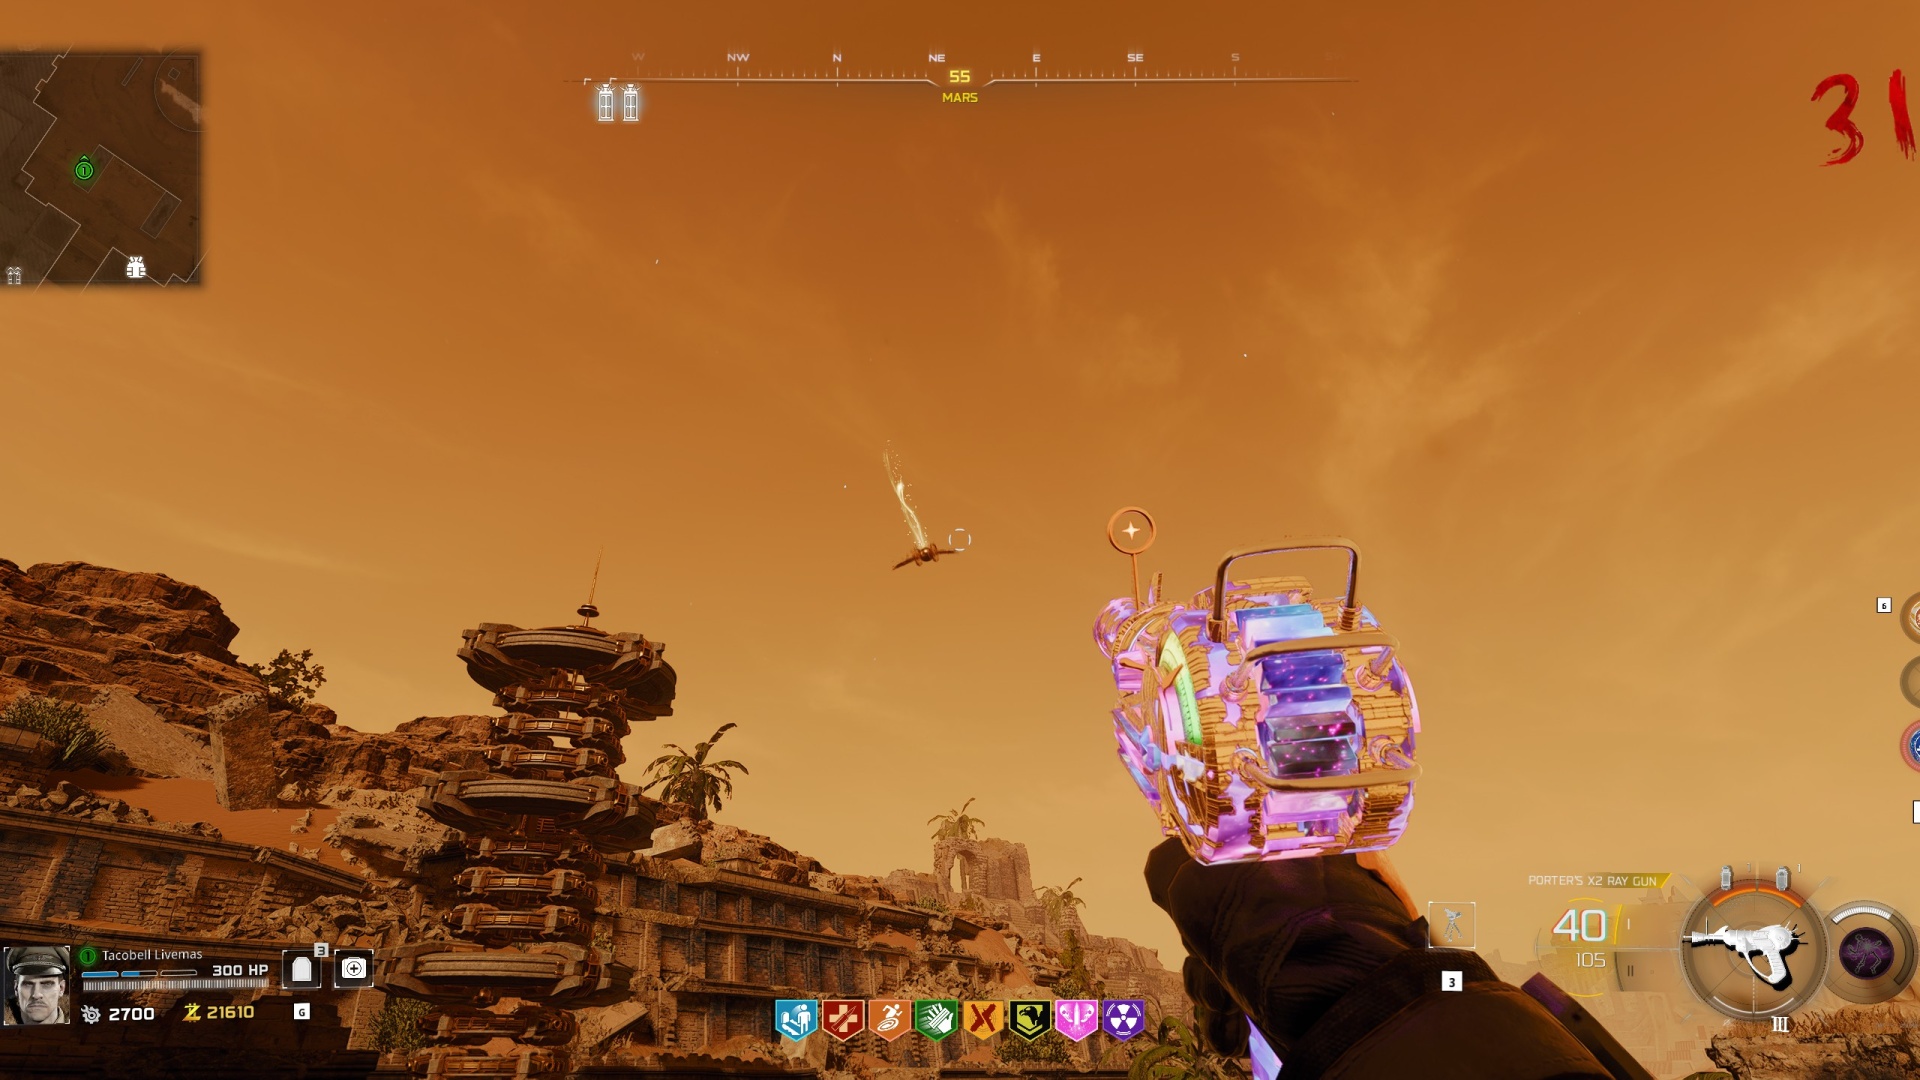
If you do all that correctly, a bird will start flying around the area. It's holding a key item called the Ascendant Eye. To get it, jump up and interact with the bird. Shoot the final pylon to freeze the bird so you can snatch it more easily.
8. Solving the Ascendant Eye Puzzle
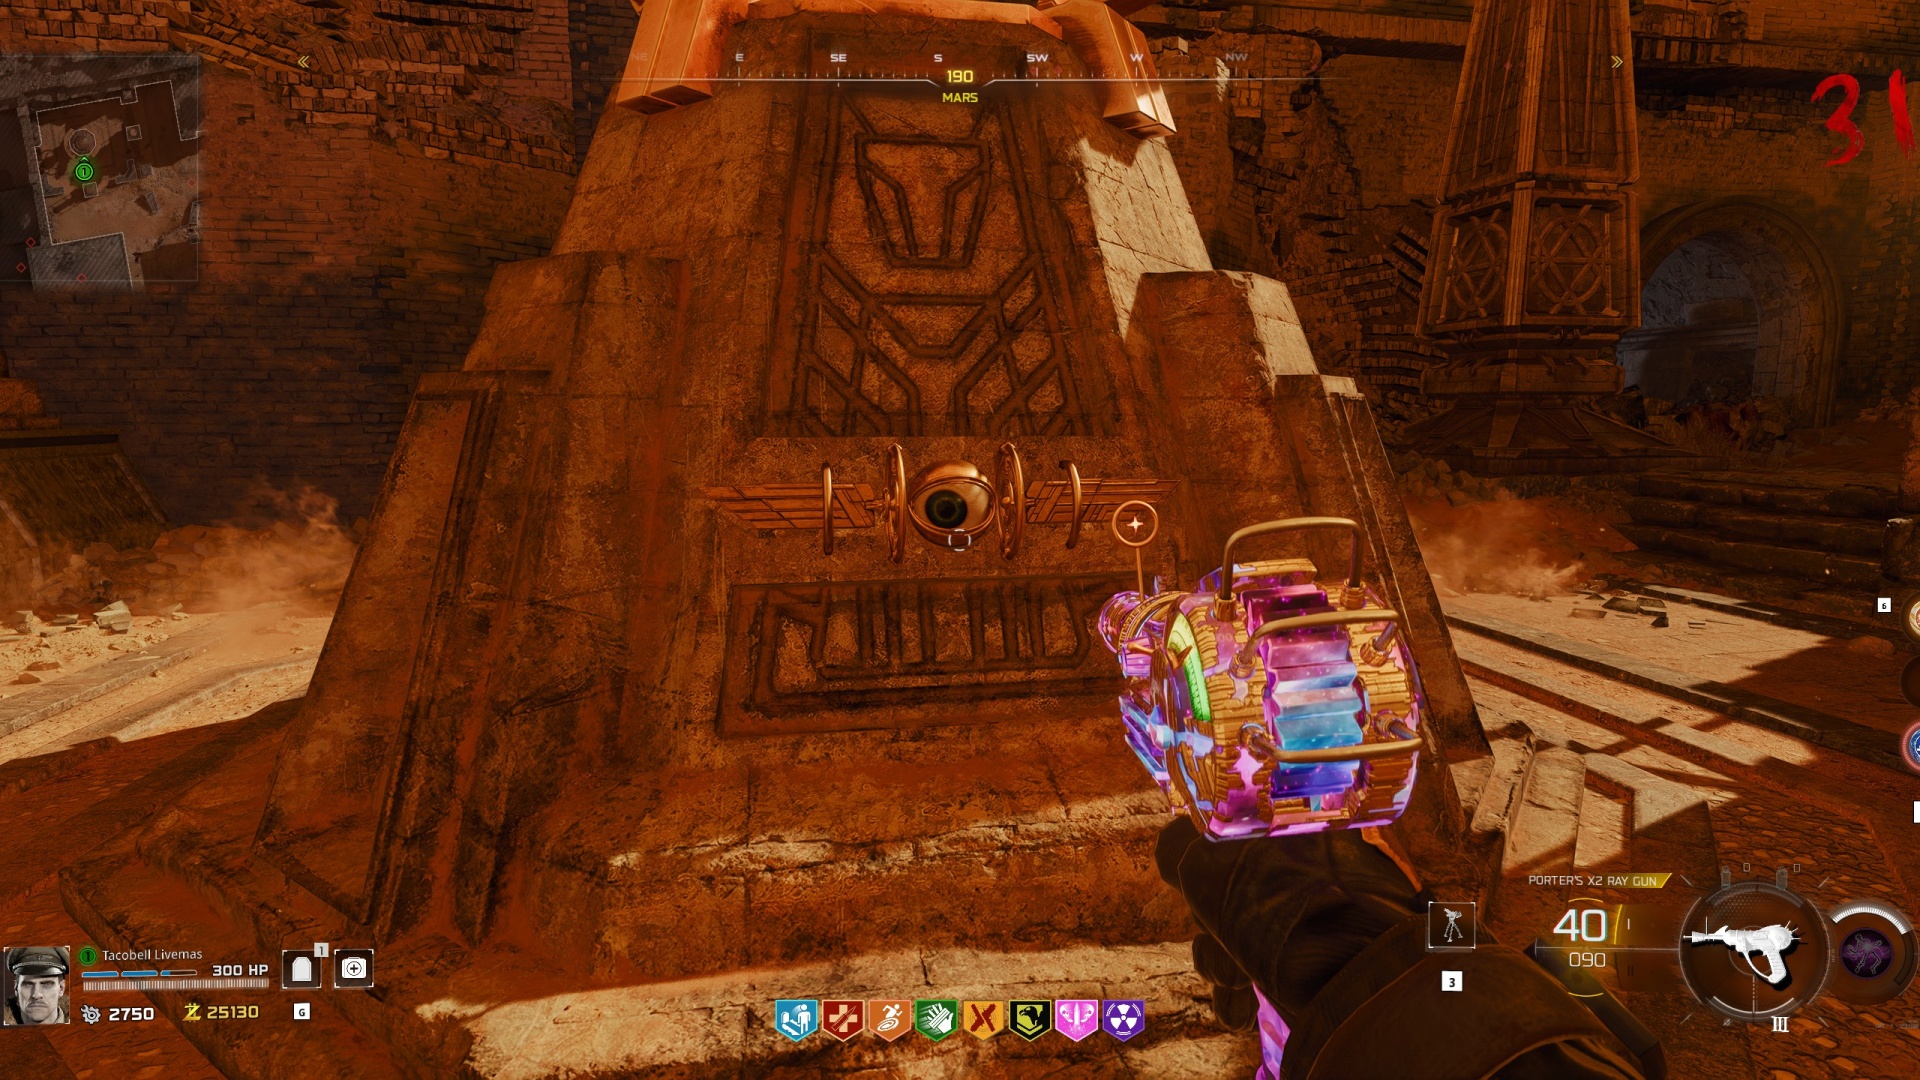
Once you have the Ascendant Eye, place it into the pyramid pedestal in the southeastern corner of the area.
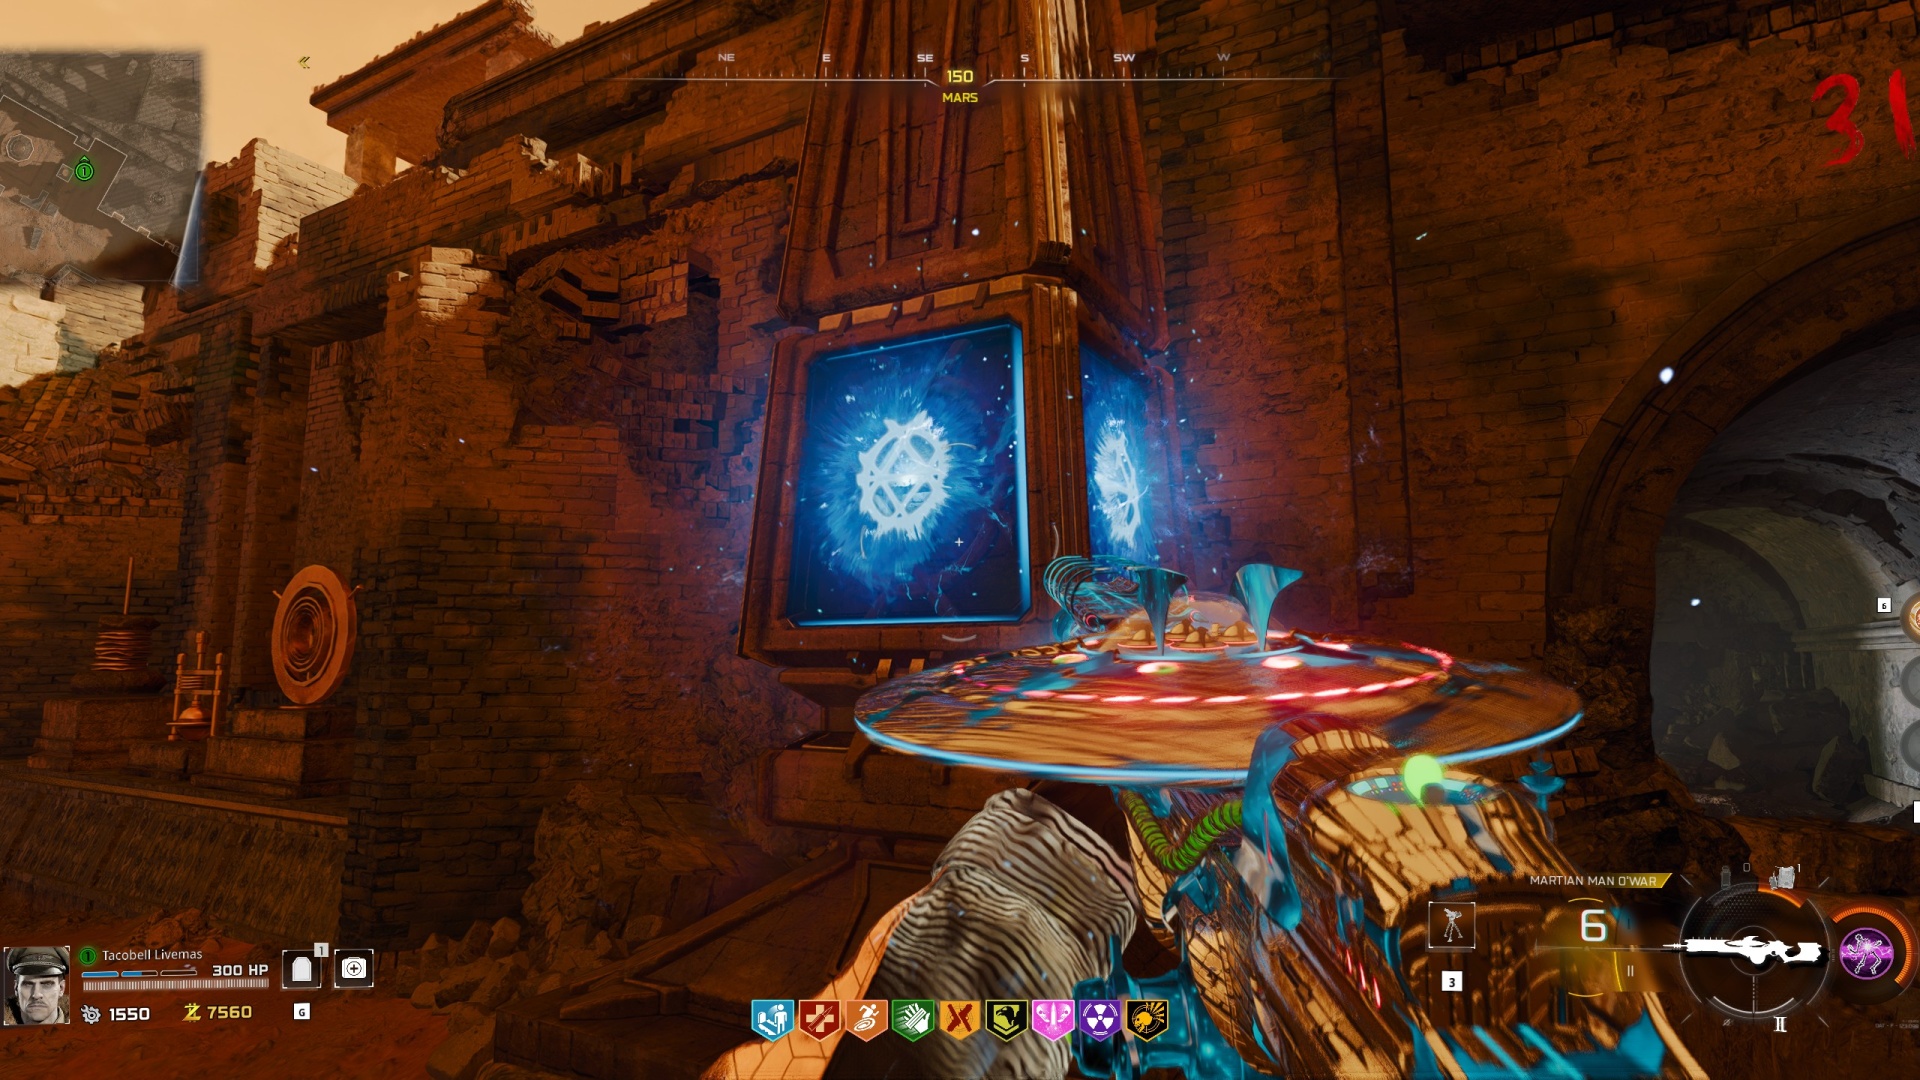
There are five more pylons on top of pillars around Mars. Use the LGM-1 to shoot and activate them.
Once the pylons are activated, head back to the Observatory Dome and use the Harmonic Oculus. It'll start to show a set of five symbols on the circular display to the right of the organ's keys, although one of the symbols will be obscured by static.
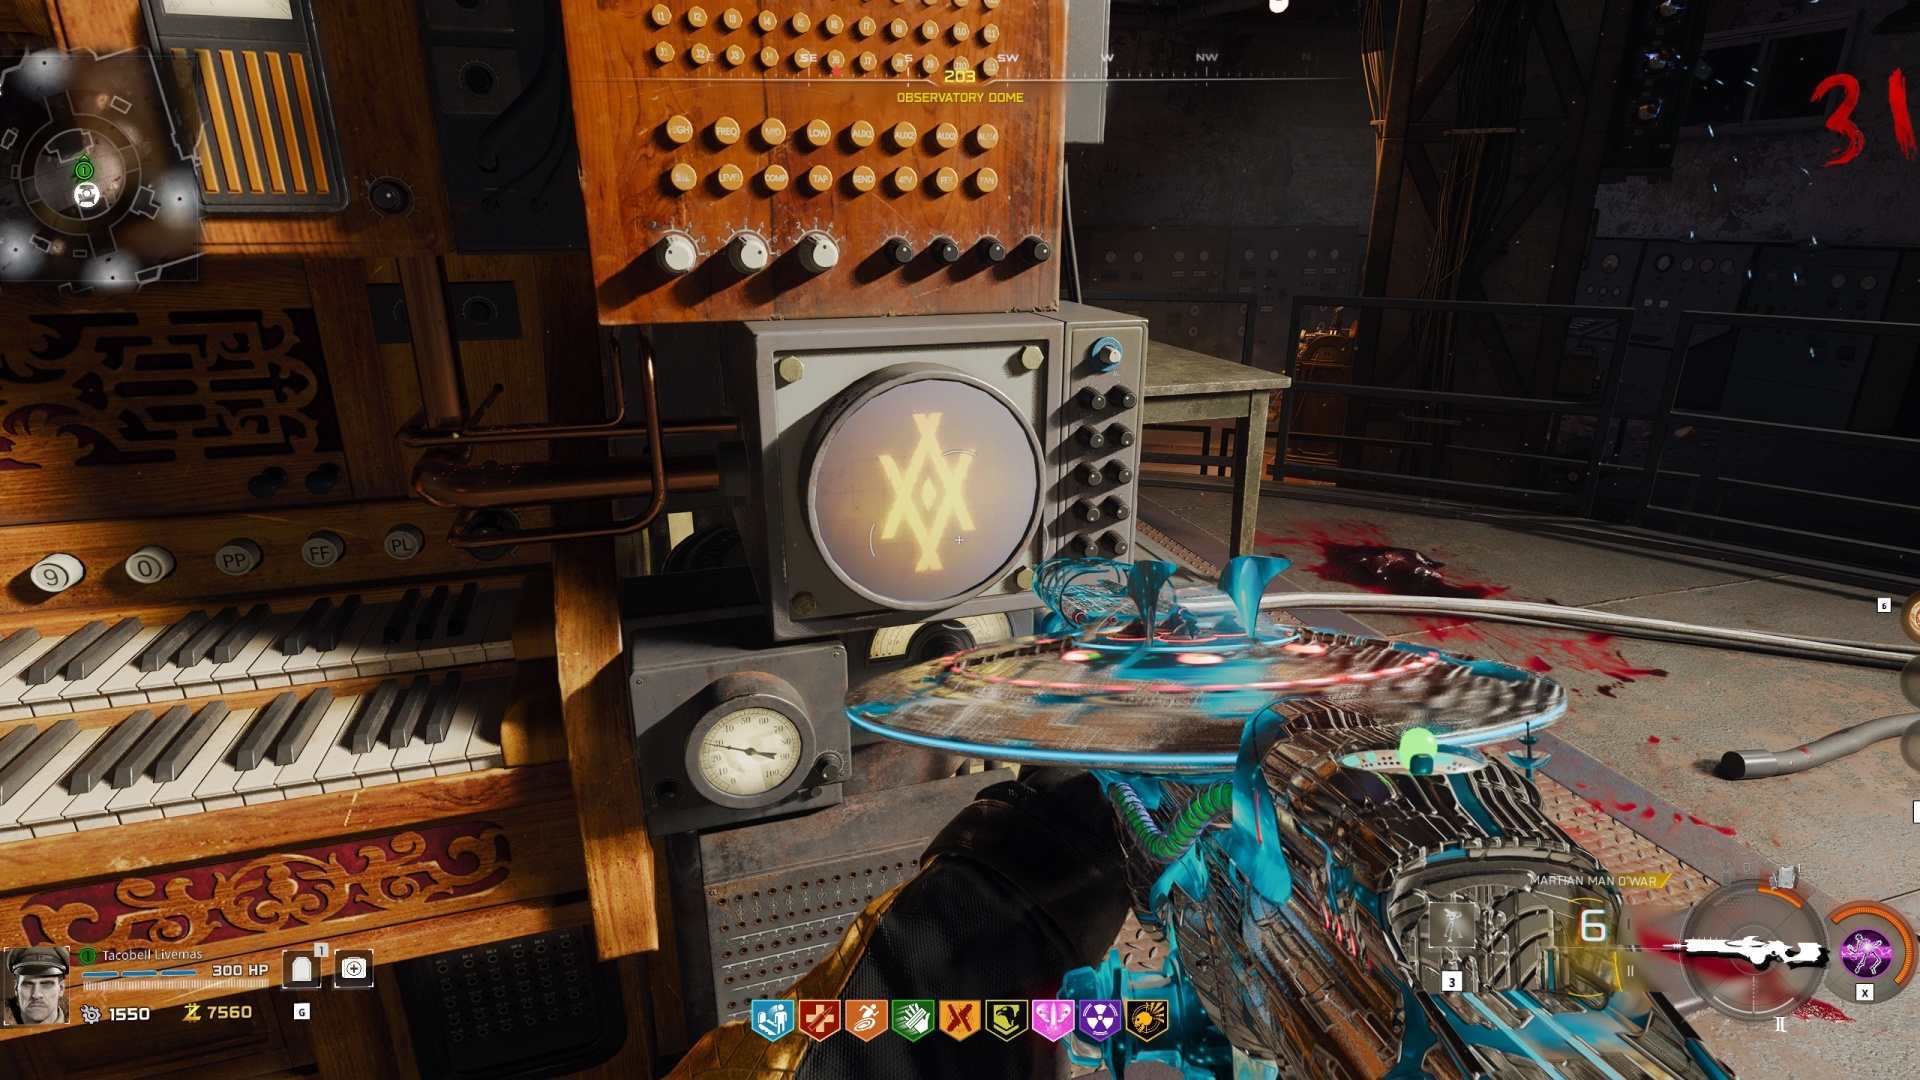
Make a note of the symbols and their order as they correspond to the pillars on Mars. Interact with each pillar's symbol in the order shown on the Harmonic Oculus to complete this puzzle. There are only five pillars and symbols, so use a process of elimination to figure out the missing symbol obscured by the interference.
At this point, you're ready for the final boss fight. Make sure you're prepared with Pack-a-Punched weapons, Gobblegums, and anything else you need.
9. Caltheris
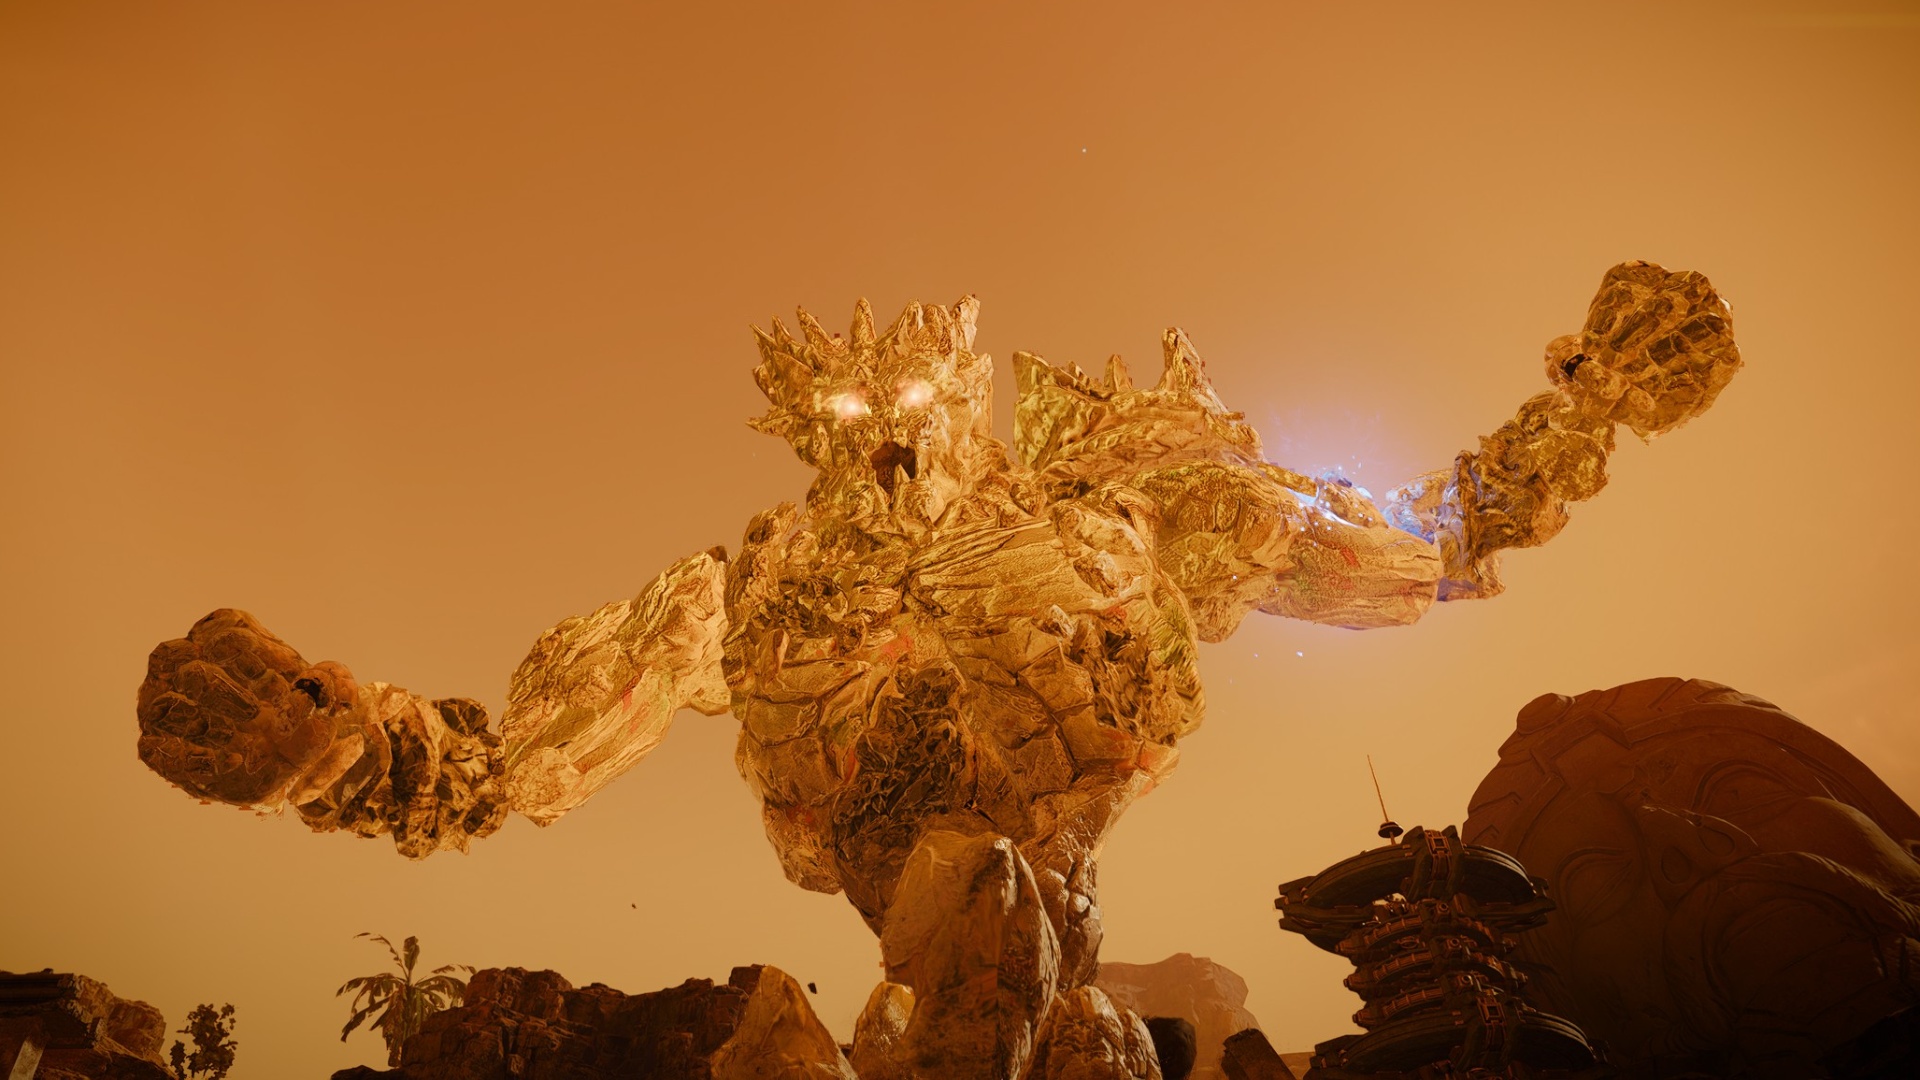
Finally, it's time for the finale that everything has been leading up to: Caltheris. This is a multi-stage boss with a lot of stuff to manage, and it can be overwhelming for solo players so you'll probably want back. Interact with the Perfusion Machine to start the battle.
In the first phase, Caltheris starts out as a giant floating skull. To damage her, you need to kill zombies in the arena to charge a towering pylon. Once it's fully charged, you can interact with the Perfusion Machine to blast Caltheris for a third of her health bar.
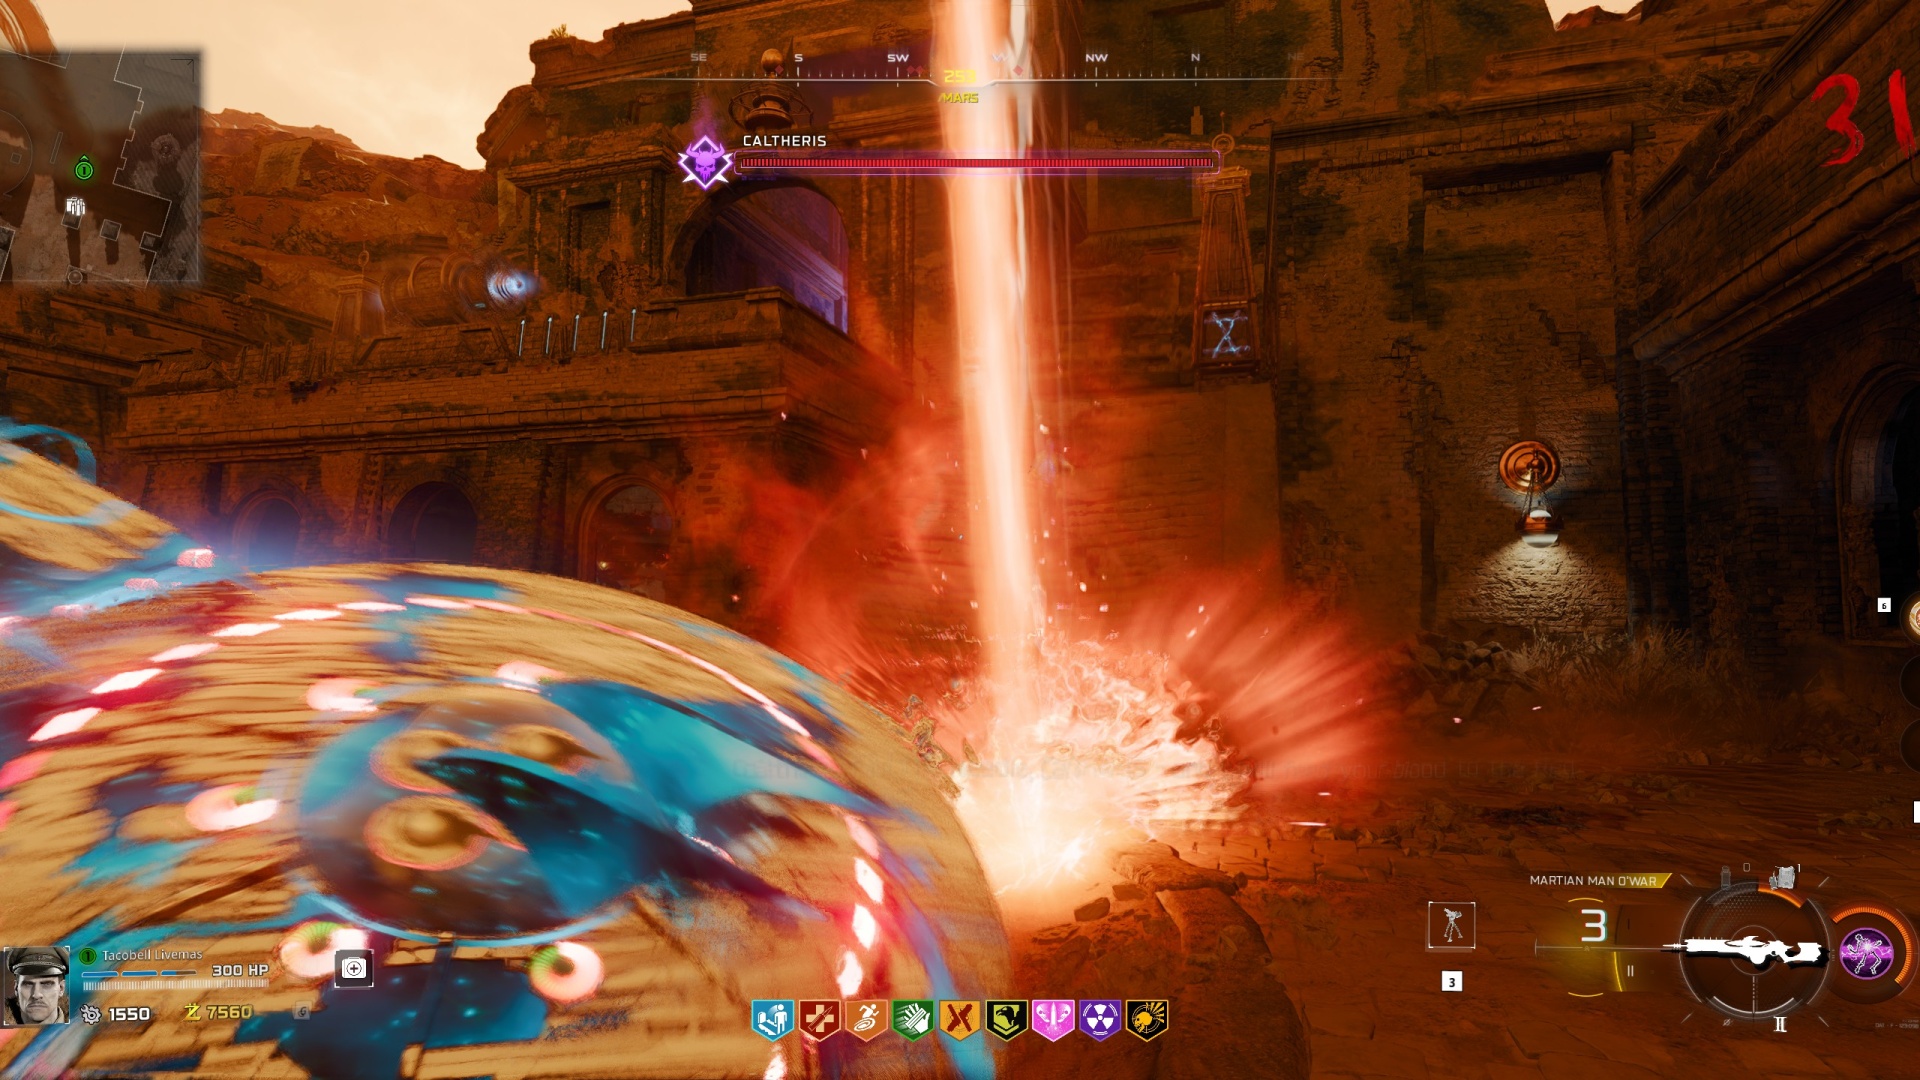
While you're working on charging up the tower, Caltheris will target every player with a slow-moving laser. Stay on the move to avoid damage. Repeat the charging process with the other pylons to complete phase one.
When phase two starts Caltheris will transform into a golem and chase you around the arena. Use the LMG-1 to destroy her armor and reveal glowing blue weak spots that you can hit for easy extra damage.
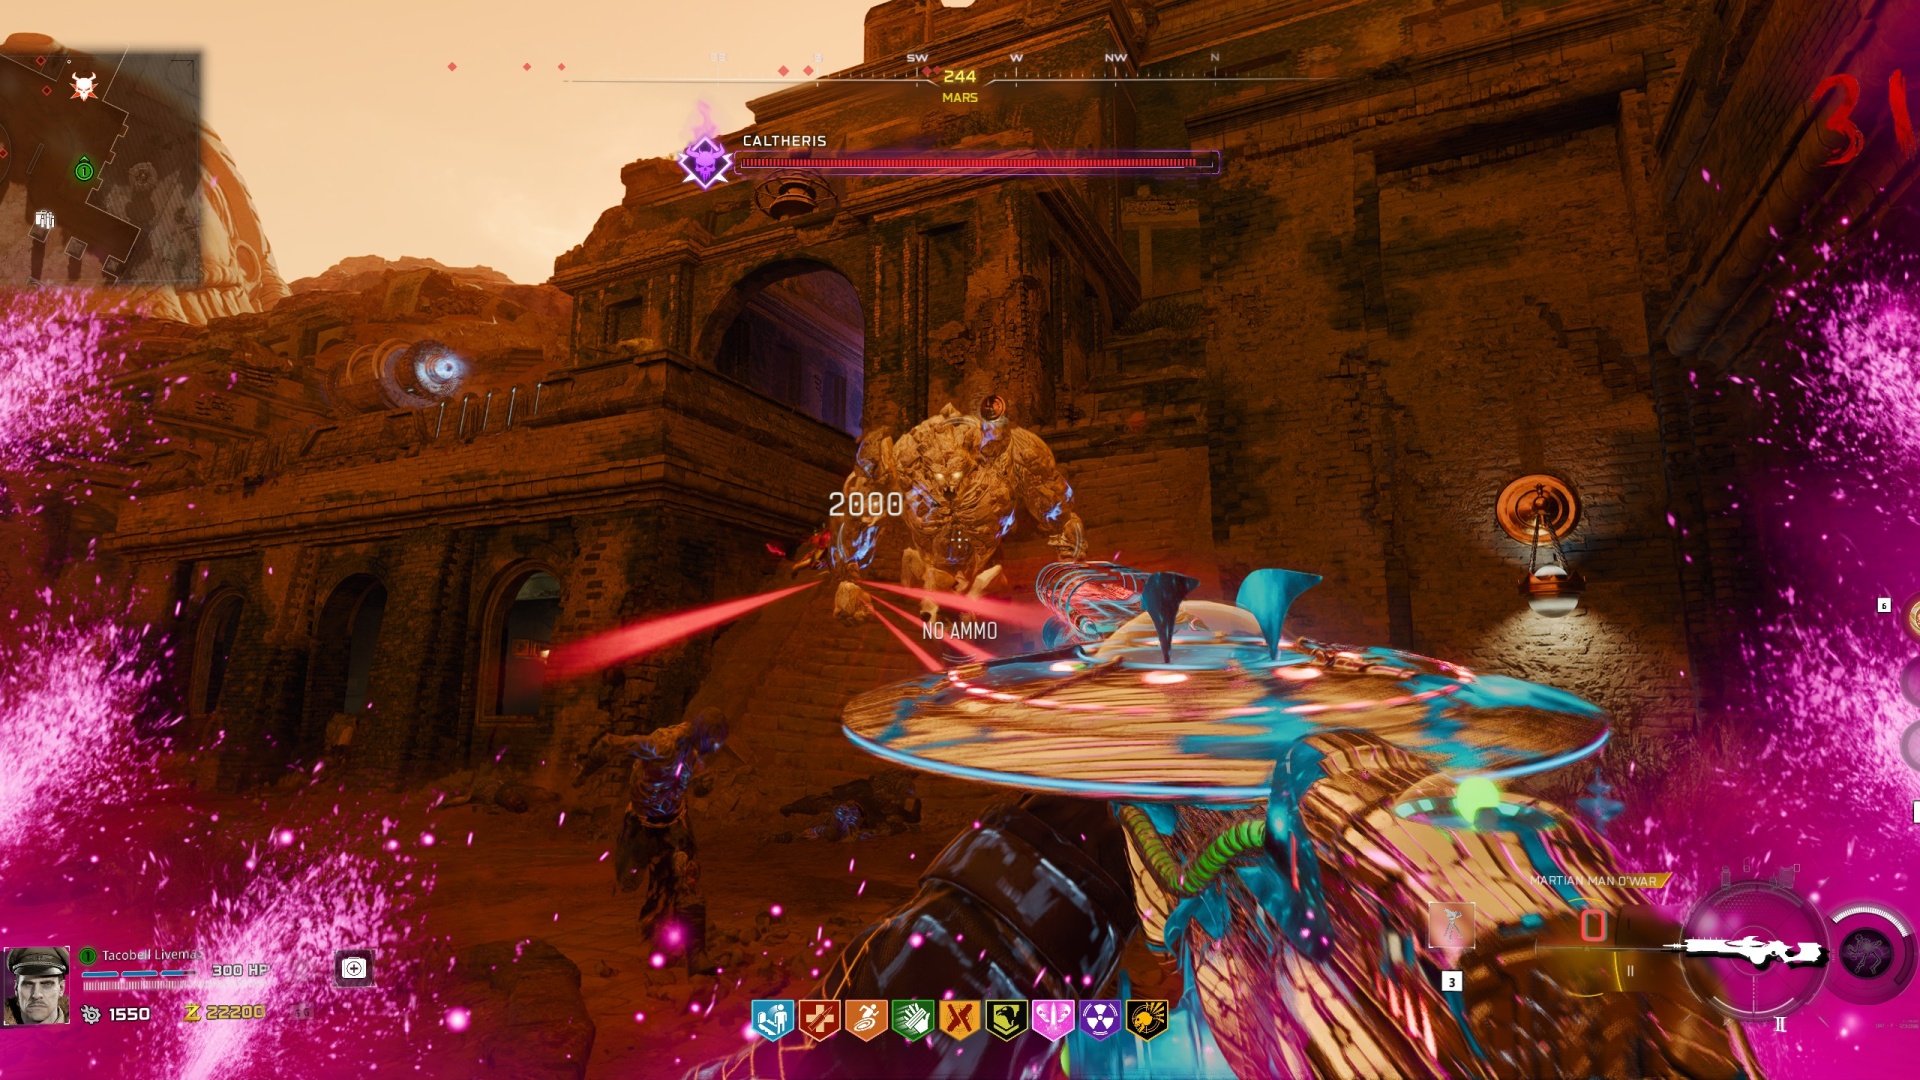
Stay on the move during this phase - Caltheris has a deadly slam attack that can kill you easily if it catches you. She'll also toss rocks at you from afar, so make sure you're bobbing and weaving all the time to stay out of their way.
In phase three, she'll become Caltheris Ascendant. This is basically just a more dangerous version of phase two, complete with even bigger rocks and an even deadlier slam. Just keep moving and use the LGM-1 to destroy her armor so your allies can attack her weak spots again.
In the final phase Caltheris will grow even stronger and transform into Caltheris the Needle. She deals much more damage in this phase, and her rocks will leave electrified purple clouds around the arena. Stepping into one of these is a death sentence, so plan your movement carefully.
After slowly whittling down Caltheris' health bar, you'll finally emerge victorious. Enjoy the final Astra Malorum cutscene!
© GamesRadar+. Not to be reproduced without permission.
Diego has been writing about video games since 2018 for various outlets, specializing in live service games, shooters, and RPGs. A diehard fan of photo modes, his play time counters are inflated with dozens of hours messing around with transmog systems to create the perfect outfits. You can also catch him raiding in the critically acclaimed MMO Final Fantasy XIV, praying to the gacha gods in games like Honkai Star Rail, and being not very good at fighting games. Above all else, he's also still holding out hope that Ape Escape will return someday. Hopefully.
You must confirm your public display name before commenting
Please logout and then login again, you will then be prompted to enter your display name.
