Yoshi’s Crafted World: How to find every red coin
Find all the Yoshi Red Coins with our helpful guide
Dino Smash
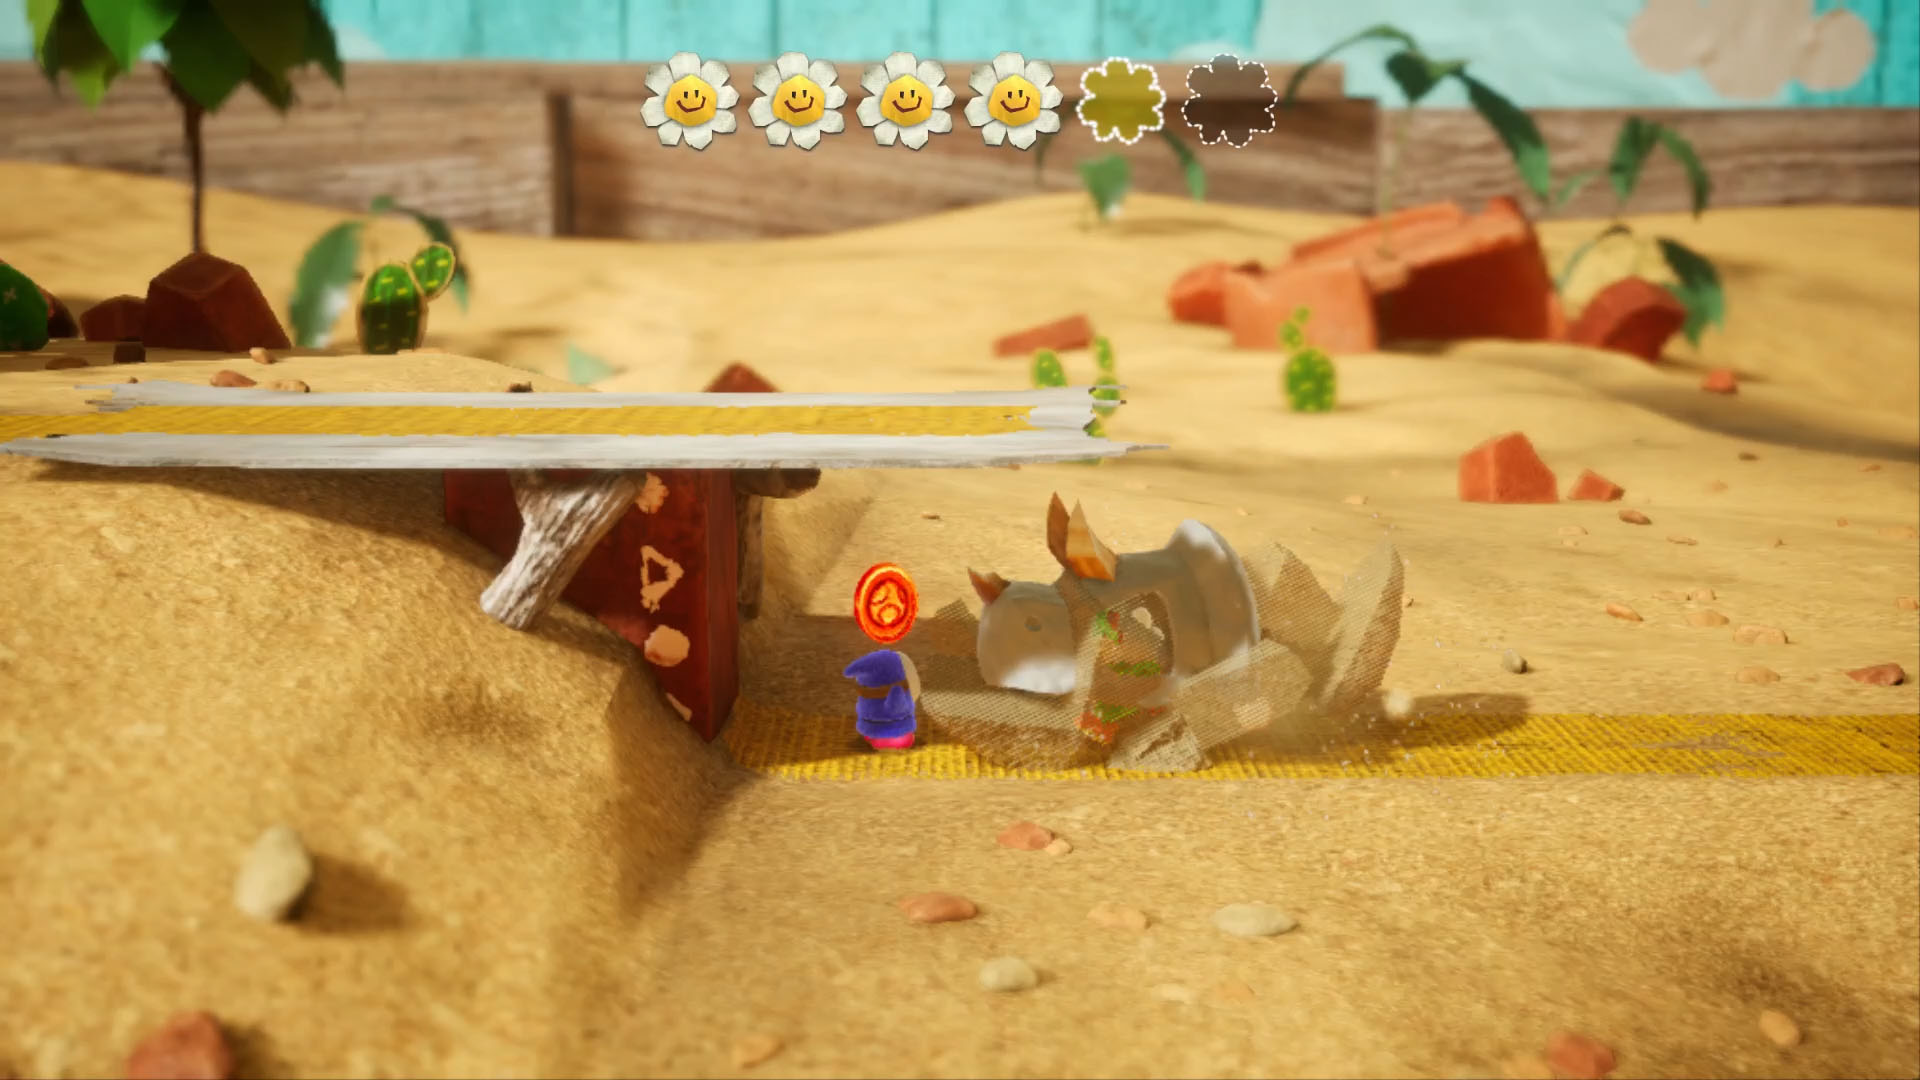
Red Coin 1: As soon as you start and don the stego mask, head right and break the block to get your first coin.
Red Coins 2-5: You’ll reach a square block sandcastle, don’t break anything, just get to the top and nab the coins. Easily spotted by the big Yoshi coin in the middle.
Red Coin 6: After the Shy Guy tower, break the brick before the jump for coin six.
Red Coin 7: Sneaky again, when your Cubone cosplay foe starts running at you, hit the gift box in the background for coin seven.
Red Coins 8-10: Run from your evil pal until he breaks the blocks underneath a question cloud for the next three.
Red Coins 11-13: Smash the next sandcastle structure and pick up the remaining coins that are red, but in disguise
Red Coin 14: Before you see the springy bomb boys, head backwards and smash underneath the platform you leapt from for another coin.
Red Coins 15-17: You’ll see a set of pillars and a nasty bomb foe in the distance. Hop to the top and flutter to your left to get three red coins.
Red Coins 18-20: Rush through this section before the bombs blow up your footing, and grab every coin set, especially the last one, which houses three red coins.
Skelesaurus Wrecks
Red Coins 1-3: You’ll see a red shy guy propelled in the air, and a question cloud close by. Pop it then walk on the platform above the cloud for a set of three in a hexagon set.
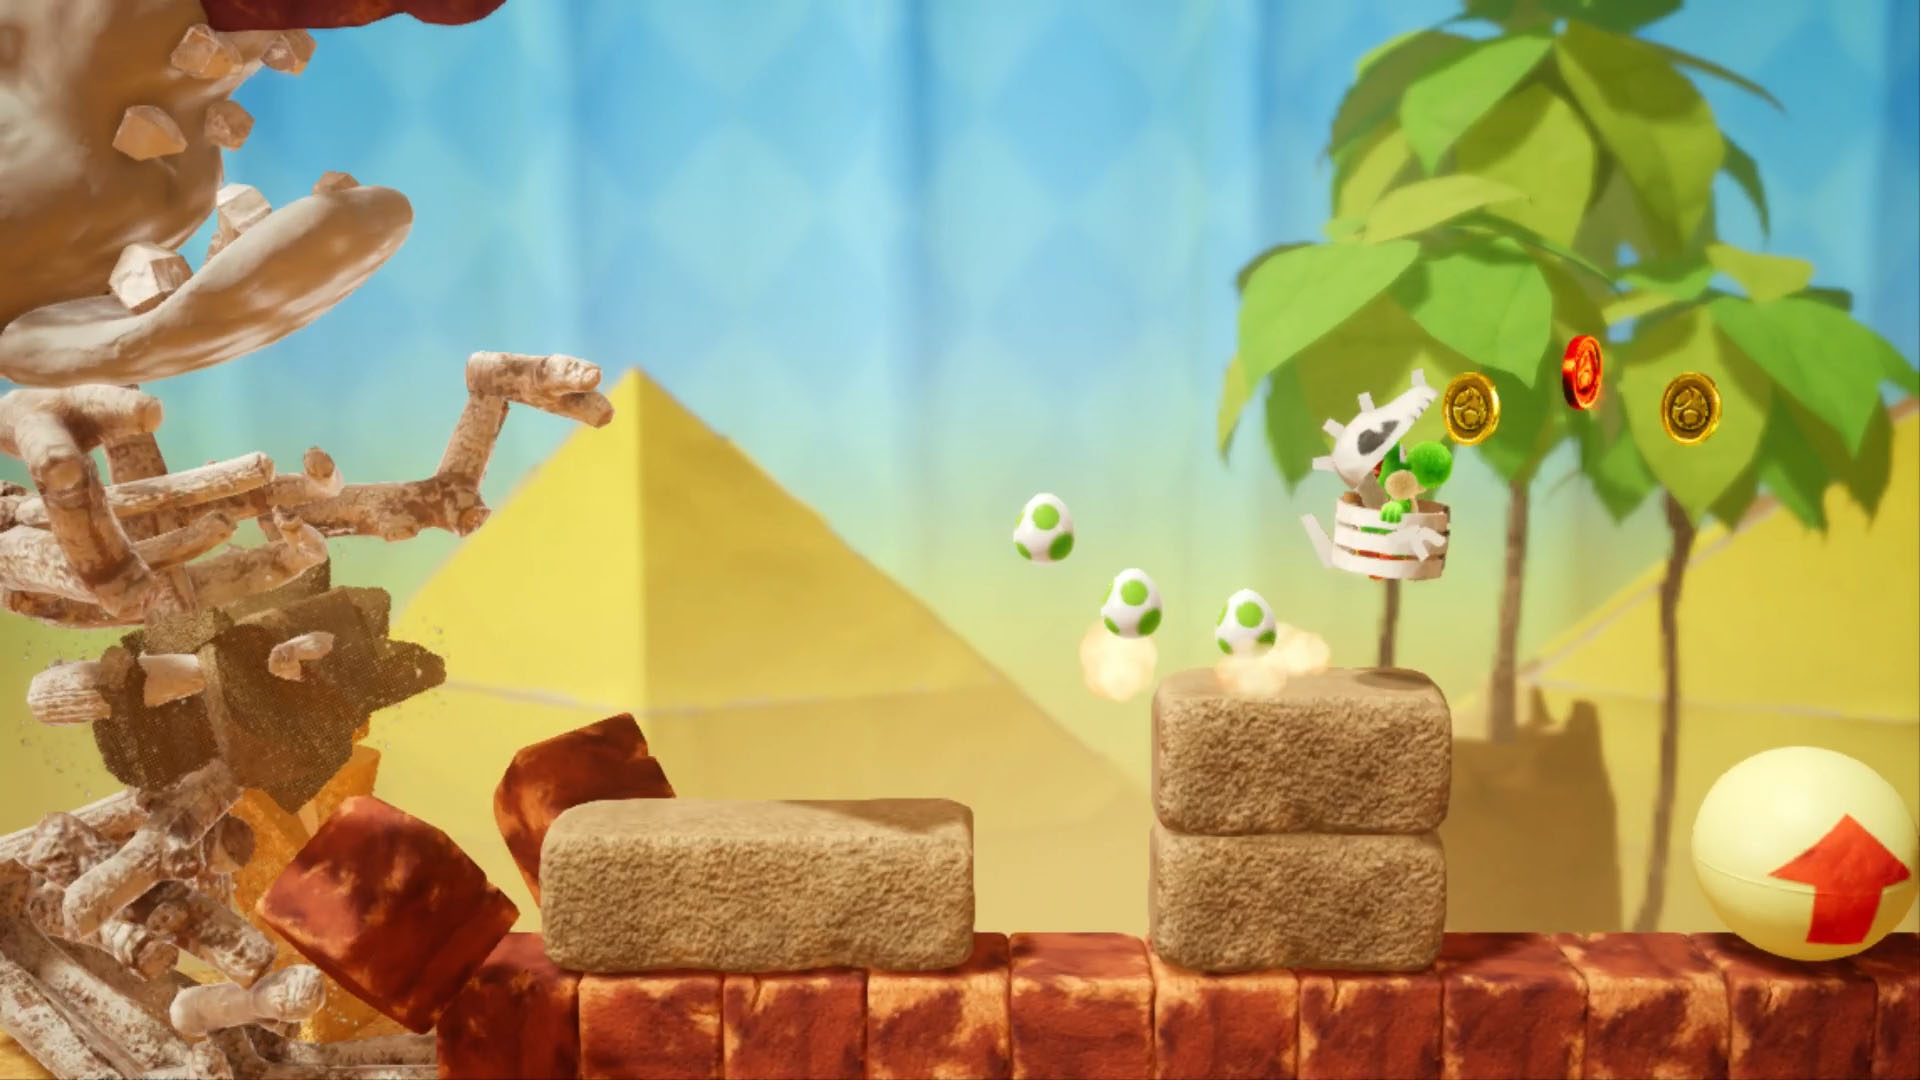
Red Coin 4: After Skelly smashes a big structure, hop over the piranha plant to receive a red coin above his head.
Red Coin 5: Be vigilant, watch for a gift box beneath two leafy trees on top of a stone plinth in the background. Hit the dino to stop him then pop it for a coin.
Red Coins 6-8: Stay high and flutter over a blue shy guy to get the next three.
Red Coins 9-11: When you reach the section with a shy guy tower and bouncy balls, jump just right on the middle one to fling Yoshi up in the air for three red coins.
Red Coin 12: When you have to hop up left to reach the right hand platform, walk towards the red wall and get the full set of coins for another red one.
Red Coins 13-15: Deja Vu, you’ll see another red propellor shy guy and a cloud underneath a platform. Pop it for three coins on the platform above.
Red Coin 16: You will see your next bouncy ball with an up arrow painted on it. Catch the arc of coins just before it and the middle one is red.
Red Coin 17: Bouncy ball city now, hop from one to the other with the nasty plants below to score another coin.
Red Coin 18: Green propellor Shy Guy will be taunting you from above, walk below him for a red coin in the row.
Red Coin 19: More bouncy ball fun. This time, hop from the lower ball to the higher one, the middle coin is red.
Red Coin 20: You will see two more balls with a plant in between, simply collect the arc above for the next coin.
Altitude Adjustment
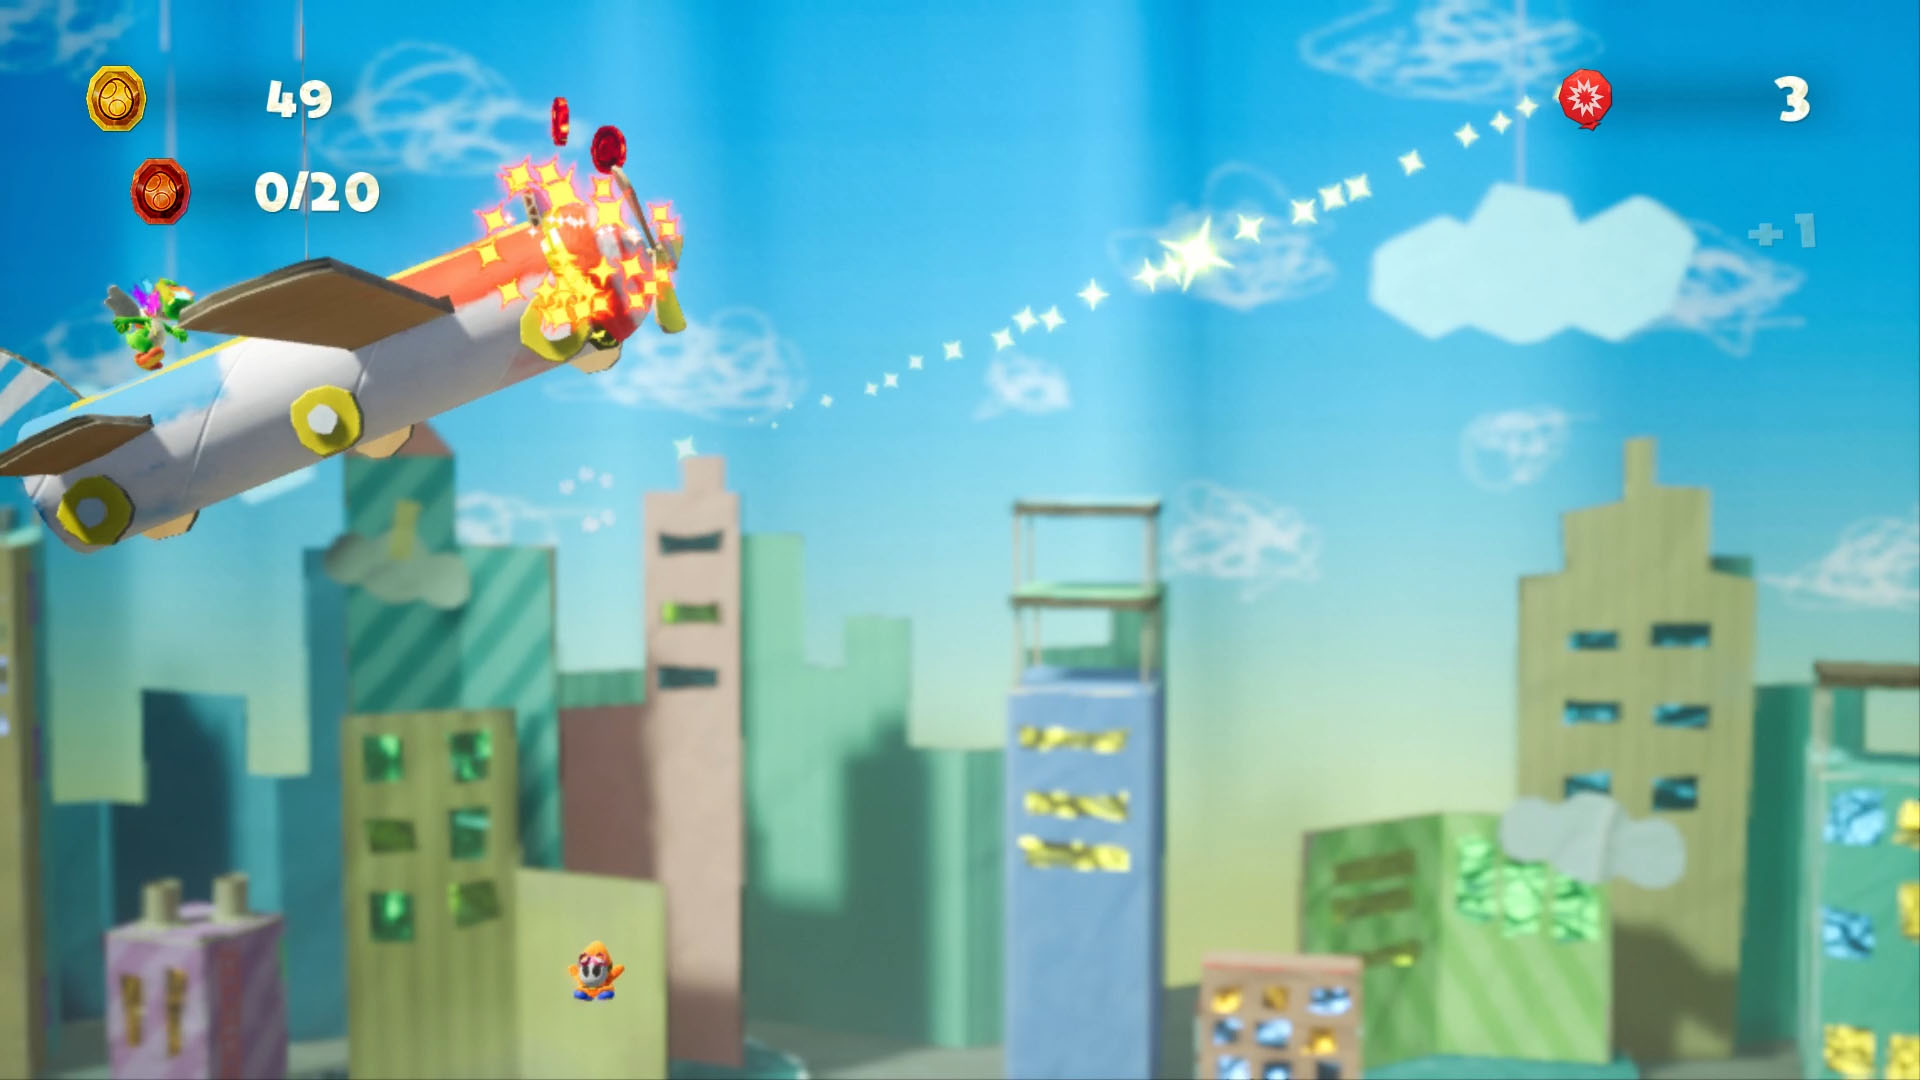
Red Coins 1-2: The first two coins are above the first balloon you see, coast into them.
Red Coins 3-5: Above the purple spike enemy, there is a coin arc that will net you three red ones.
Red Coins 6-8: You should see a shy guy riding a purple spike bomb, go high above him and dip back down to get the three coins in a column which are just past it.
Red Coins 9-10: When you enter your first dogfight, egg the gift box on the top right plane and smack the lower plane to get two red coins.
Red Coins 11-13: Three coins are available for those brave enough to tilt above the spike bomb suspended by a balloon. They’re in a row, and appear shortly after the plane flips direction.
Red Coins 14-16: You’ll see a purple bomb and a shy guy suspended by two balloons. Tilt above this whole section and drop back down for the three coins in a row after the second bomb-riding shy guy.
Red Coins 17-19: There’s a shy guy being greedy with three balloons. Below him are the penultimate set of three coins.
Red Coin 20: In your final dogfight, egg the red plane (who knew) for the final coin.
Poochy’s Magma Run
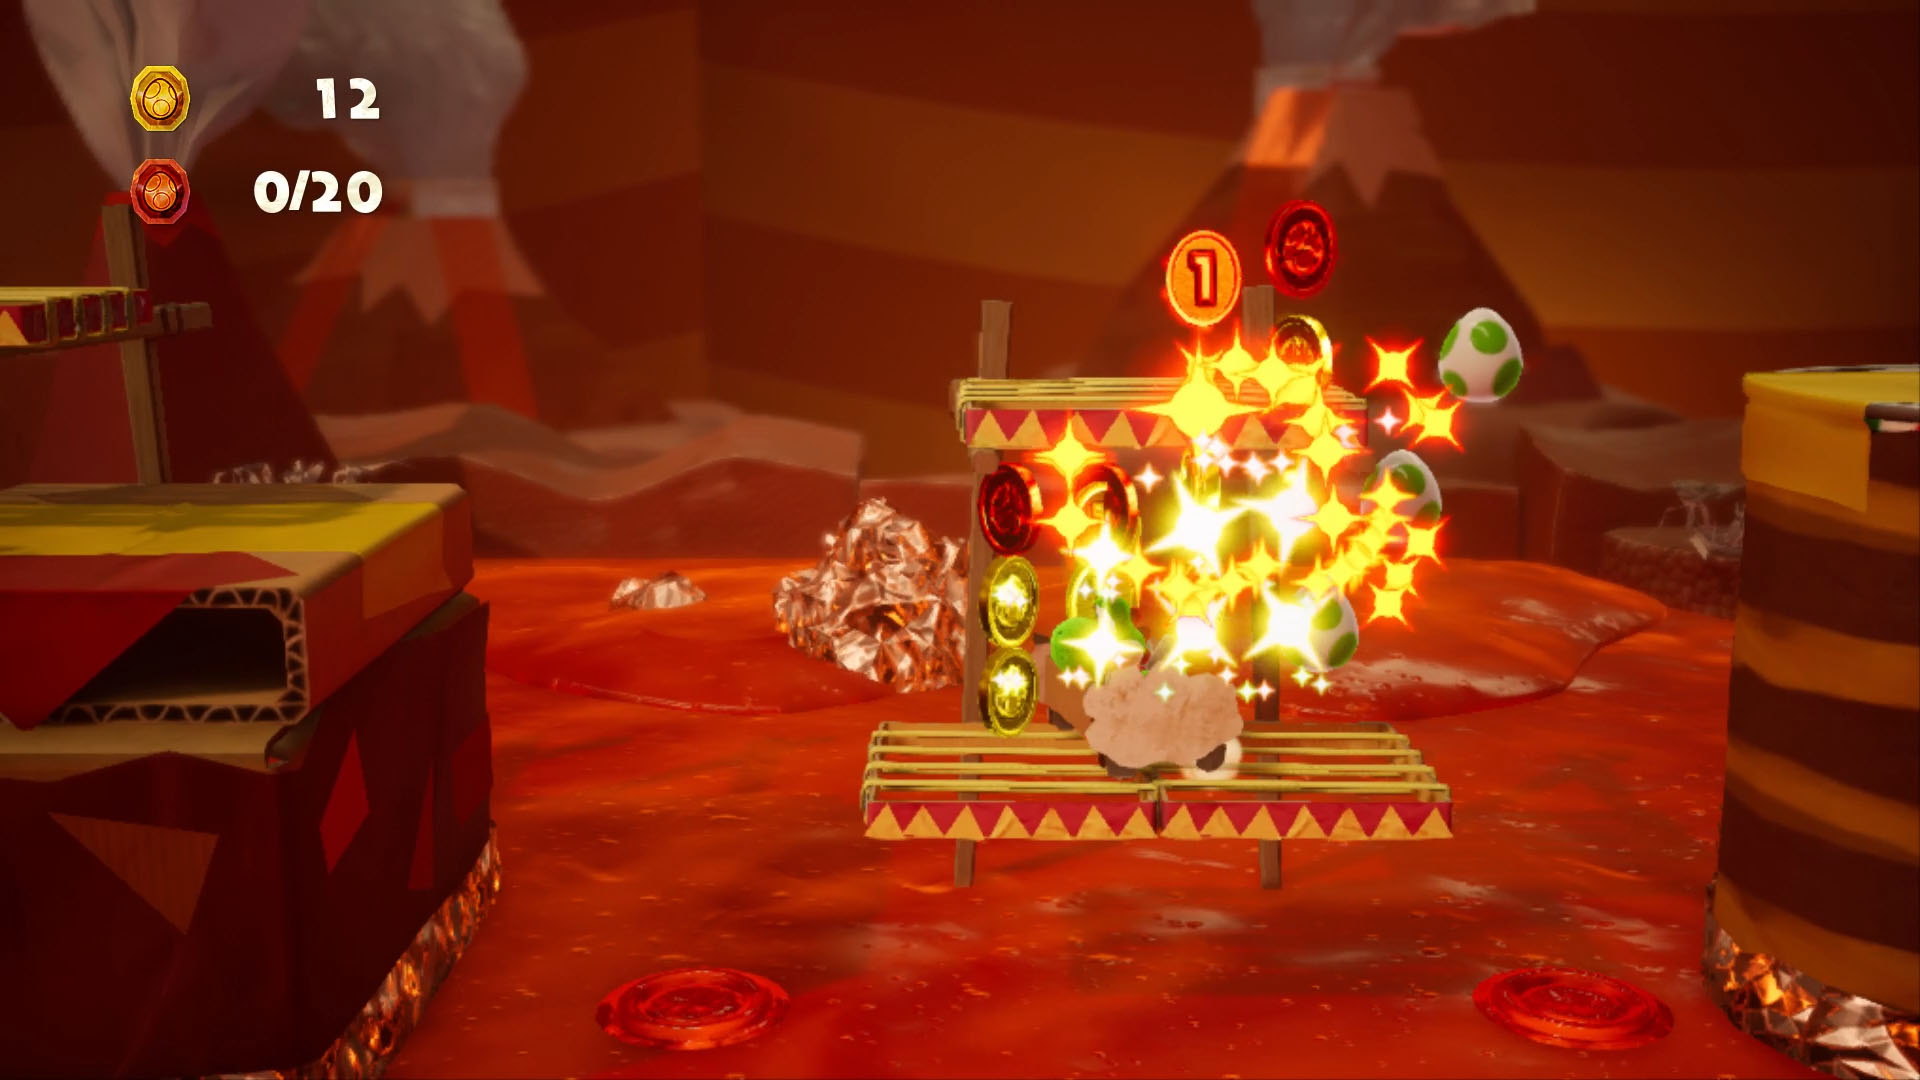
Red Coins 1-4: Right after the nasty red-nosed spiky enemy, hop to the platform between the geyser geezers. Pop the cloud above the right one for four coins which will be below Yoshi.
Red Coin 5: You’ll see a helpless shy guy on a lowered platform. Hop on the rubber-band platform above him for one red coin out of the arc of three.
Red Coin 6-9: Poochy is here. Hop on his back and jump to get the coins above him, which will drop a cloud you can pop for four shiny red coins.
Red Coins 10-12: You’ll land on a rubber band platform with lava and coins underneath. Take Poochy left to clear a way underneath. He can swim through lava, don’t you know! Three red coins are right at the end.
Red Coin 13: After the lava swim, hit the gift box in the background before the staple tree for coin thirteen.
Red Coin 14: Have poochy leap over the geysers with a big shy guy below them to get the next coin.
Red Coins 15-17: Poochy will fall into the fires of Mordor. Don’t fret, simply hop to the right over the odd seagull and pop the cloud up top. Drop onto Poochy’s poor back and keep on trucking for three more coins.
Red Coin 18: You’ll see an egg box and a coin arc between Yoshi and it. Leap through it, the middle one is red.
Red Coins 19-20: The last two coins are under the cardboard seagull in front of a tin foil volcano. Hop down to the middle platform and shoot an egg left, or flutter at your peril.
Windward Way
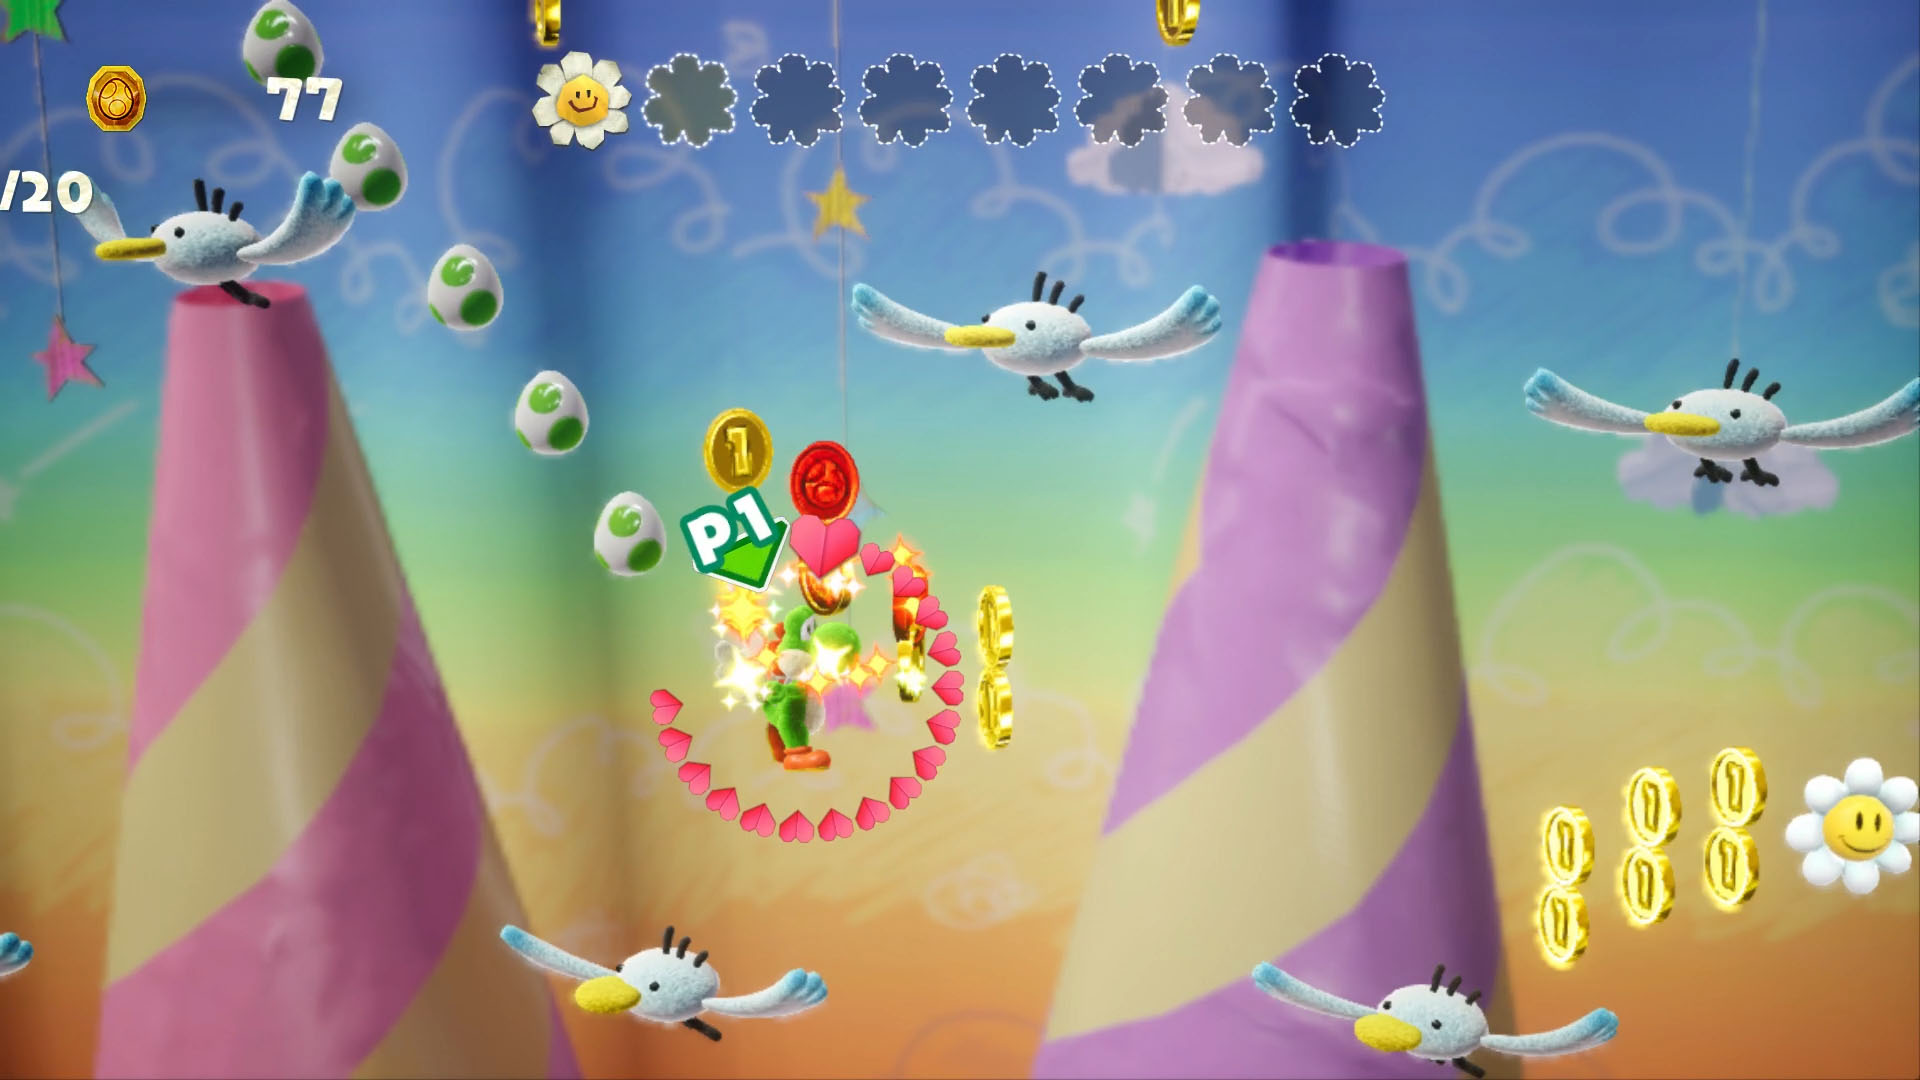
Red Coin 1: This level involves a lot of jumping on seagull skulls. Hop to it until you see a blue star above a bauble tree. The coin set above it houses one red one.
Red Coins 2-4: There’s a cloud next to a ping pong ball you can pop for three more red coins.
Red Coin 5: When you’re landing on ping pong balls, whack the shy guy holding a red coin right before where you have to hop up to the next platform.
Red Coins 6-7: Once more into the seagull breach, wait until you see a big Yoshi coin and collect the set below it for two more red coins.
Red Coin 8: A stack of shy fellows awaits you. Hop over them and ping the gift box in the background for one more coin.
Red Coins 9-11: On the final ping pong ball before you can hit dry land, flutter up to the big coin box above, where the middle top three will be all red.
Red Coins 12-14: Now safe on dry land, walk to the foreground and where you see some paper strips on the floor, pop the associated cloud and jump up to catch three more coins in the set.
Red Coins 15-16: During the next seagull hopping segment, you will struggle to miss this coin set above them in a similar place to the ones from the start.
Red Coin 17: More floating shy guys above ping pong balls. Slap the one holding a coin with an egg. He’s blue.
Red Coins 18-20: Right near the end there’s a big ping pong ball preceded by a little one. In between are three red coins in a diagonal line.
Weighing Acorns
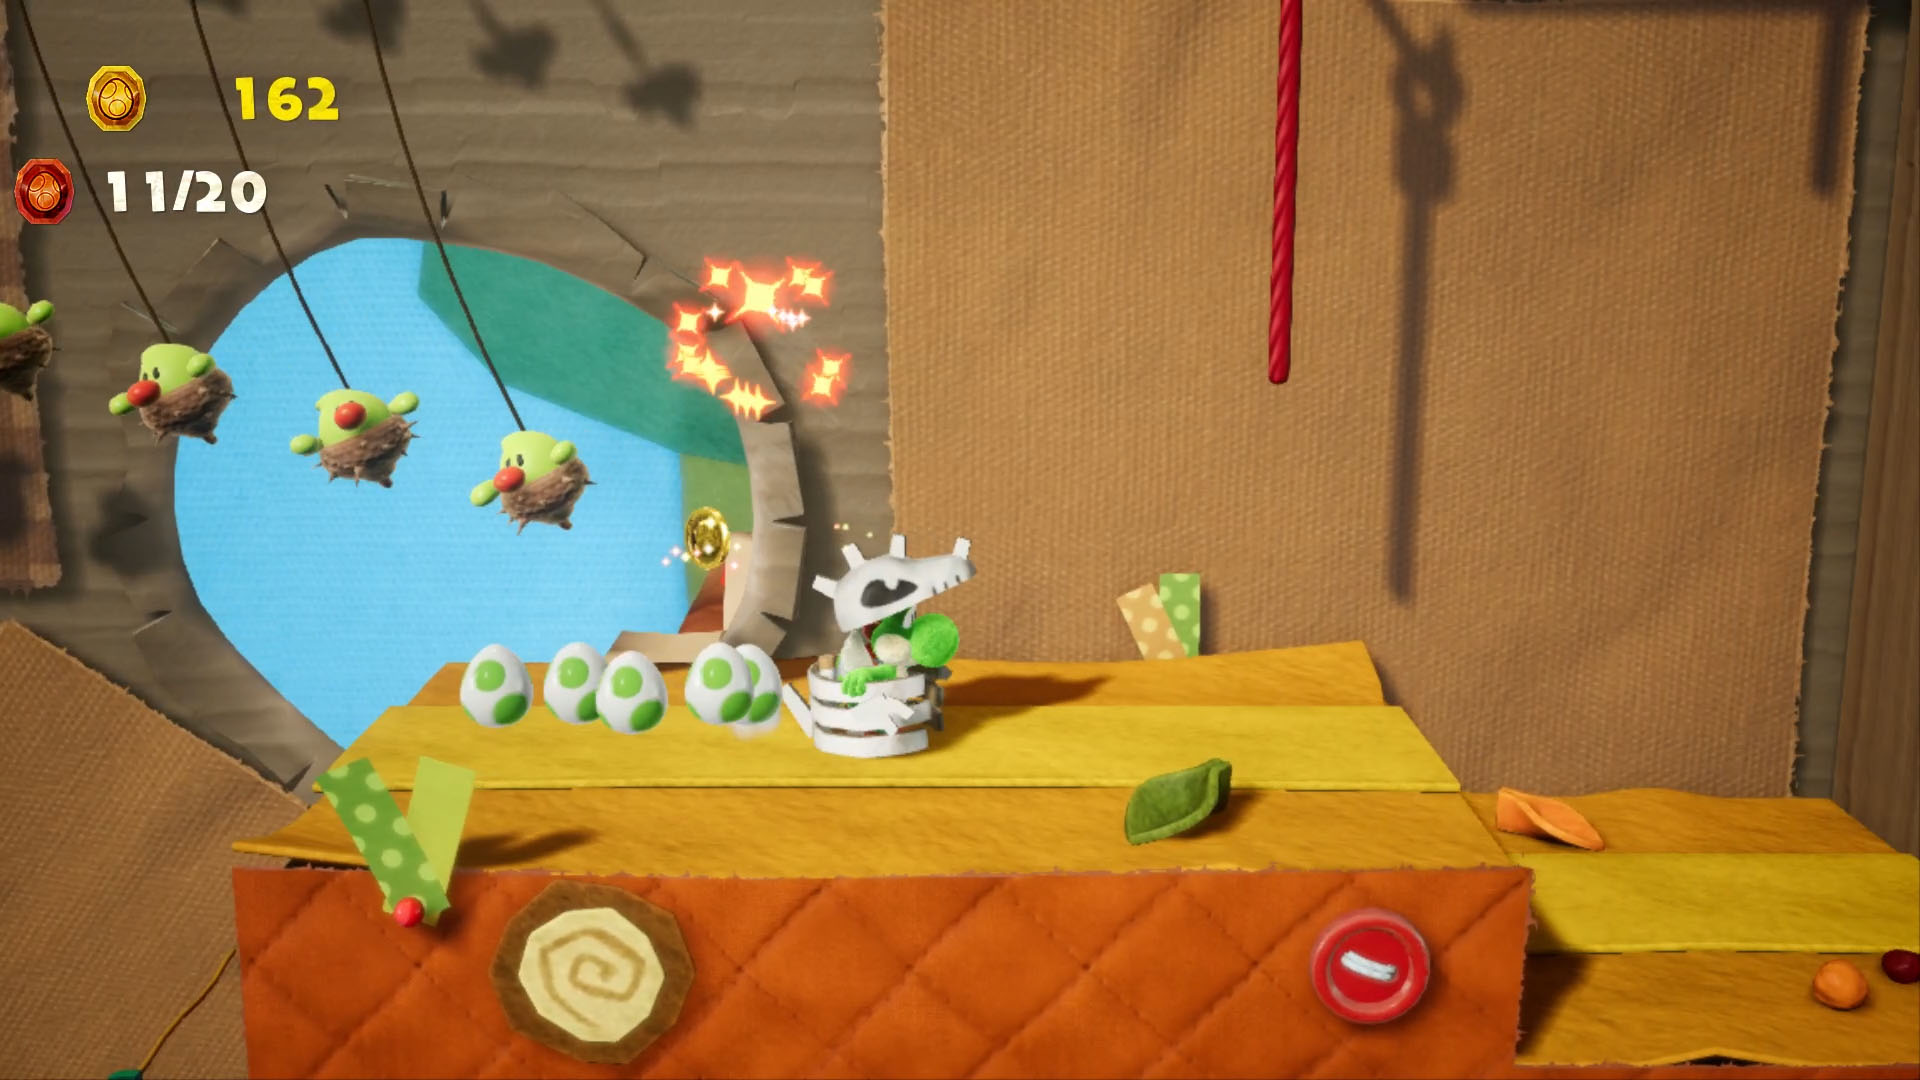
Red Coins 1-3: This level is a pain. Find the far right red flower and pop the cloud underneath, which will drop two sets of coins above you, each with a red one in disguise. Then you want to hop on top of the winged beast and let it fly you upwards to get the next coin set hiding a red coin.
Red Coins 4-5: Balance out the first acorn seesaw and hop up to the roll of wallpaper, which has a red coin in each set.
Red Coins 6-9: Once you have to walk towards the foreground, head all the way to the right and collect the coins to drop a cloud that will give you four red coins.
Red Coins 10-13: You’ll reach a section with flowers that go red, white, white. Pop the cloud in the background to drop three more red coins.
Red Coin 14: Keep moving until you see a cabin with an acorn owl on it. Jump above it for another red coin.
Red Coin 15: Ride the zip wire until you see a cluster above some wrapping paper. Hop and grab it for another red coin.
Red Coin 16: When you’re forced into a zig-zag trap with acorns, grab the cluster of coins from the lower platform for another red one.
Red Coin 17: Once you reach the bottom of the trap, chuck an egg at the acorns and then the gift behind it for another coin.
Red Coins 18-19: You’ll meet another winged beast in a white flower grove. Hop on his head and let him lift you up to a platform with another two red coins.
Red Coin 20: The final red coin is during the bus ride right at the end. Simply grab the first set of coins you see which will include a red one.
Jumping to victory
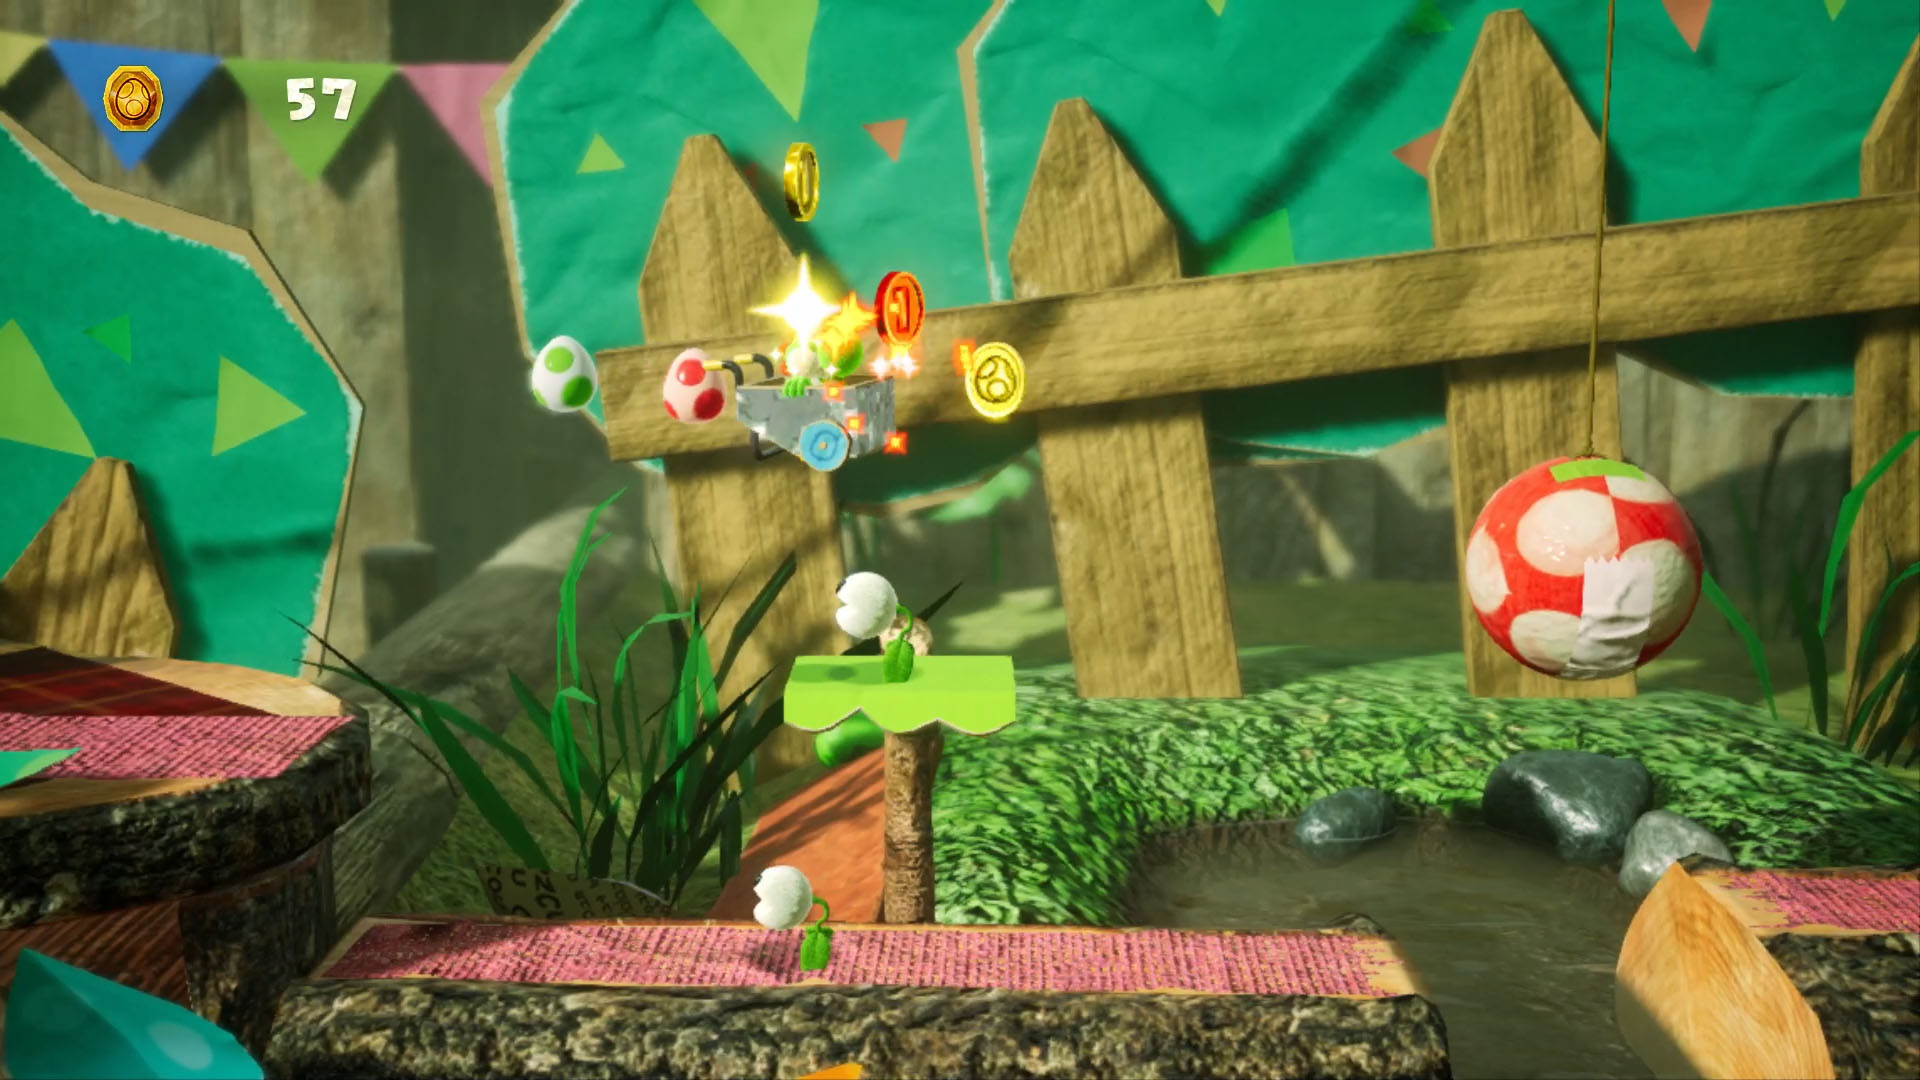
Red Coins 1-4: Follow the monkey and you’ll see a set of papercraft balls. Pop the question cloud below the last one and it will rain down your first four red coins.
Red Coins 5-6: A set of three monkeys on vines will appear later in the level. Hit the cloud on the log platform in between them for two more red ones.
Red Coins 7-8: Just before the first checkpoint there's a peculiar looking log with a yellow wooden panel. Walk inside of it by breaking the blocks for two more red coins amidst the set.
Red Coin 9: Super easy. After the first checkpoint and before the red spotted ball, there’s a green platform with a red coin above it in the set.
Red Coins 10-14: Five red ones! To what do I owe the honour. You’ll reach a section with a log platform and a red spotted ball above it. Avoid the spiky plants and pound this higher ball to spill five red coins onto the platform below.
Red Coins 15: Ok, when you ’re seeing three monkeys close together on vines, climb up, hop on the blue ball then hop on the long platform to the right. Slap the gift box in the peephole behind you with an egg for coin fifteen.
Red Coins 16-18: After the star arrow, you’ll see two hanging spikey boys, ignore them and grab the quad coin set in between for two more reds.
Red Coins 19-20: Keep on trucking until you see a wooden platform of respite amidst the biting chaos. Grab the coin set for the final two.
Deceptive Doors
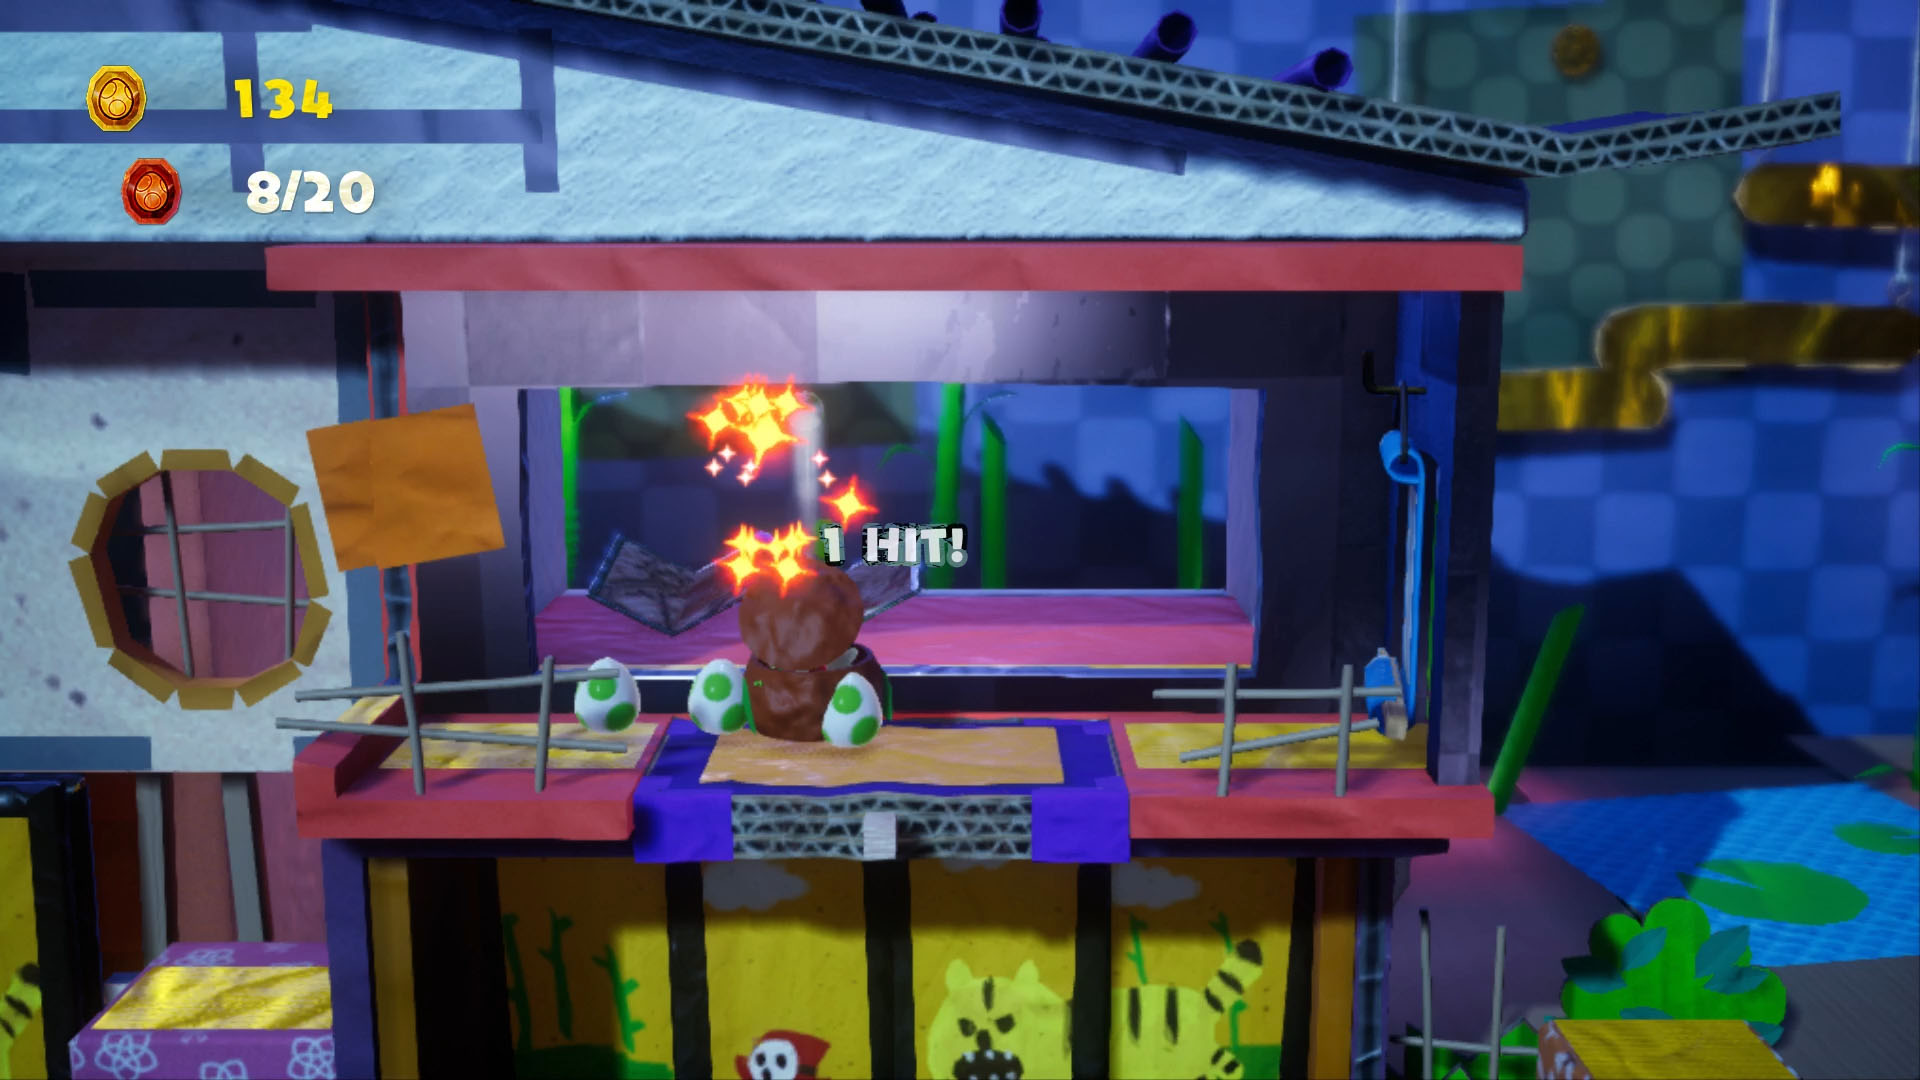
Red Coins 1: Ah yes, the Sekiro-themed Yoshi levels. Pop the first red door with an egg, and you’ll see an egg box on your left, with a red coin under it.
Red Coins 2-4: Head outside to the straw bamboo thicket, and you’ll see a ninja star toting shy guy. Underneath him, there’s a cloud to pop for three red coins in a circle above our foe.
Red Coins 5-8: Before you flip the purple door near the red arrow, jump up to find a cloud to pop for four more coins.
Red Coin 9: Above the shy guy cat mural, smack the screen with an egg for another red coin-toting shy guy that deserves an egg.
Red Coin 10: Flip the purple platform and egg the gift box behind the screen for coin seven.
Red Coins 11-13: When you unlock the door later in the level, break the left-hand Shoji screen to see two sleepy dudes with three red coins above their noggins.
Red Coins 14-17: After you spring jump up top, keep going left past a spotty egg box and you will find a hidden cloud that contains four red coins.
Red Coins 17-20: So you’ll get to a blue door you have to spin with an egg to reach the other side. If you hit it twice you can drop to the bottom and enter the left-most room, which has a cloud to pop for three coins.
Behind the Shoji
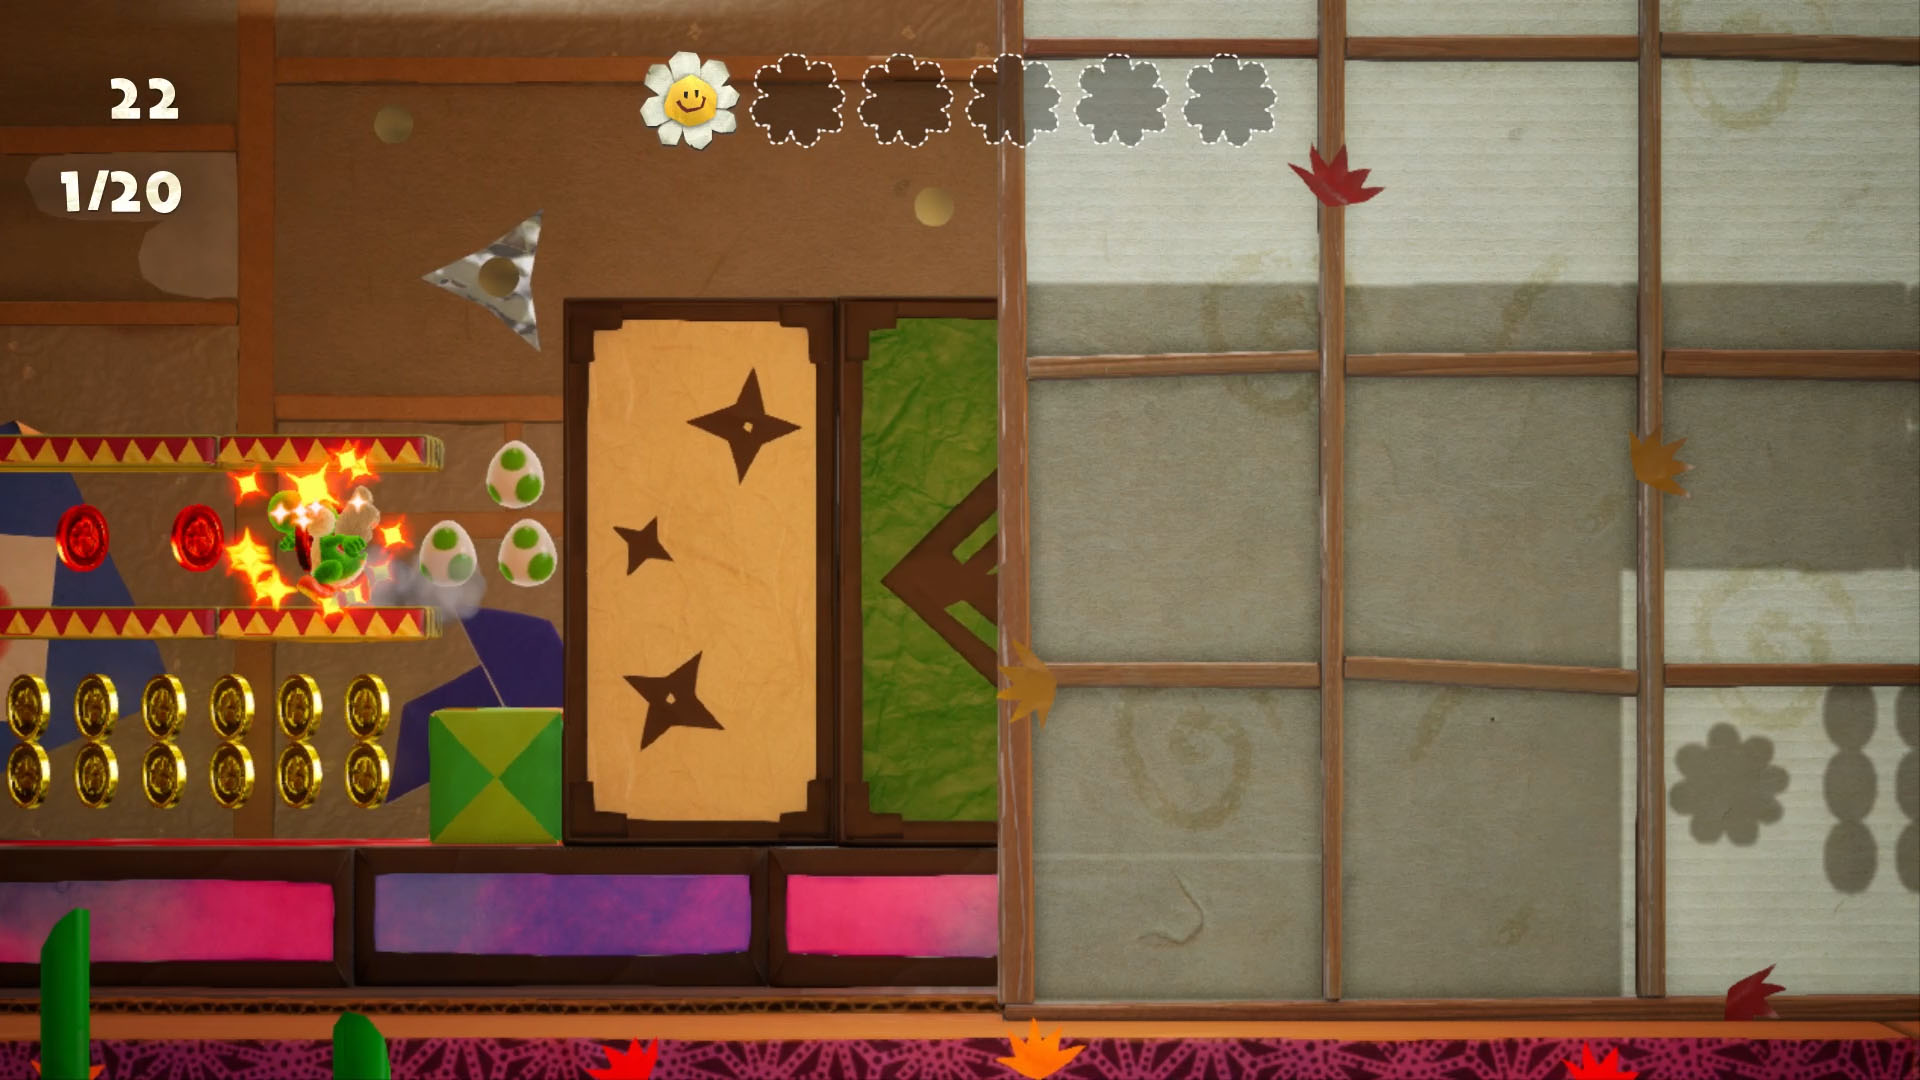
Red Coin 1: The first coin is after you pop a set of boxes in an area with two shuriken on the wall. Head up left and jump to pop a cloud for a line of coins that ends in a red one.
Red Coins 2-4: Keep moving on and you should see three red coins in a row below you on a rubber band platform. Don’t fret! Egg the boxes to your right to drop down and grab them.
Red Coins 5-6: When the Shoji switches to the other side, you’ll see a piranha and two platforms above it. Both of those house one red coin each.
Red Coins 7-8: There’s a spike pit below some wallpaper. Slap the boxes up above with eggs to get the two coins from the shy guys.
Red Coins 9-10: After you clear the area with a square of paper boxes below a shy guy (ground pound), move forward and you will see a section above you with two layers of coins. Pop the boxes get to the top and go left for two more coins.
Red Coin 11: After you get through that section by pounding the boxes, jump on the rubber band platform above you for another cloud to pop for a coin.
Red Coins 12-13: Now you have screens on both sides, keep moving until there’s a nook with four coins you have to double back for. Break the boxes and grab two more.
Red Coin 14: Quick! The boxes you popped have been replaced by a gift box. Egg it for another coin.
Red Coins 15-20: Gets fairly hectic here, so pop the next question cloud you see and hop between the rubber band platforms for two more coins in the middle, making sure to dodge the piranha planet. Then, when you start to see wallpaper rolls, flutter up for two coins and then go right down to the bottom for the final two.
The Shogun’s Castle
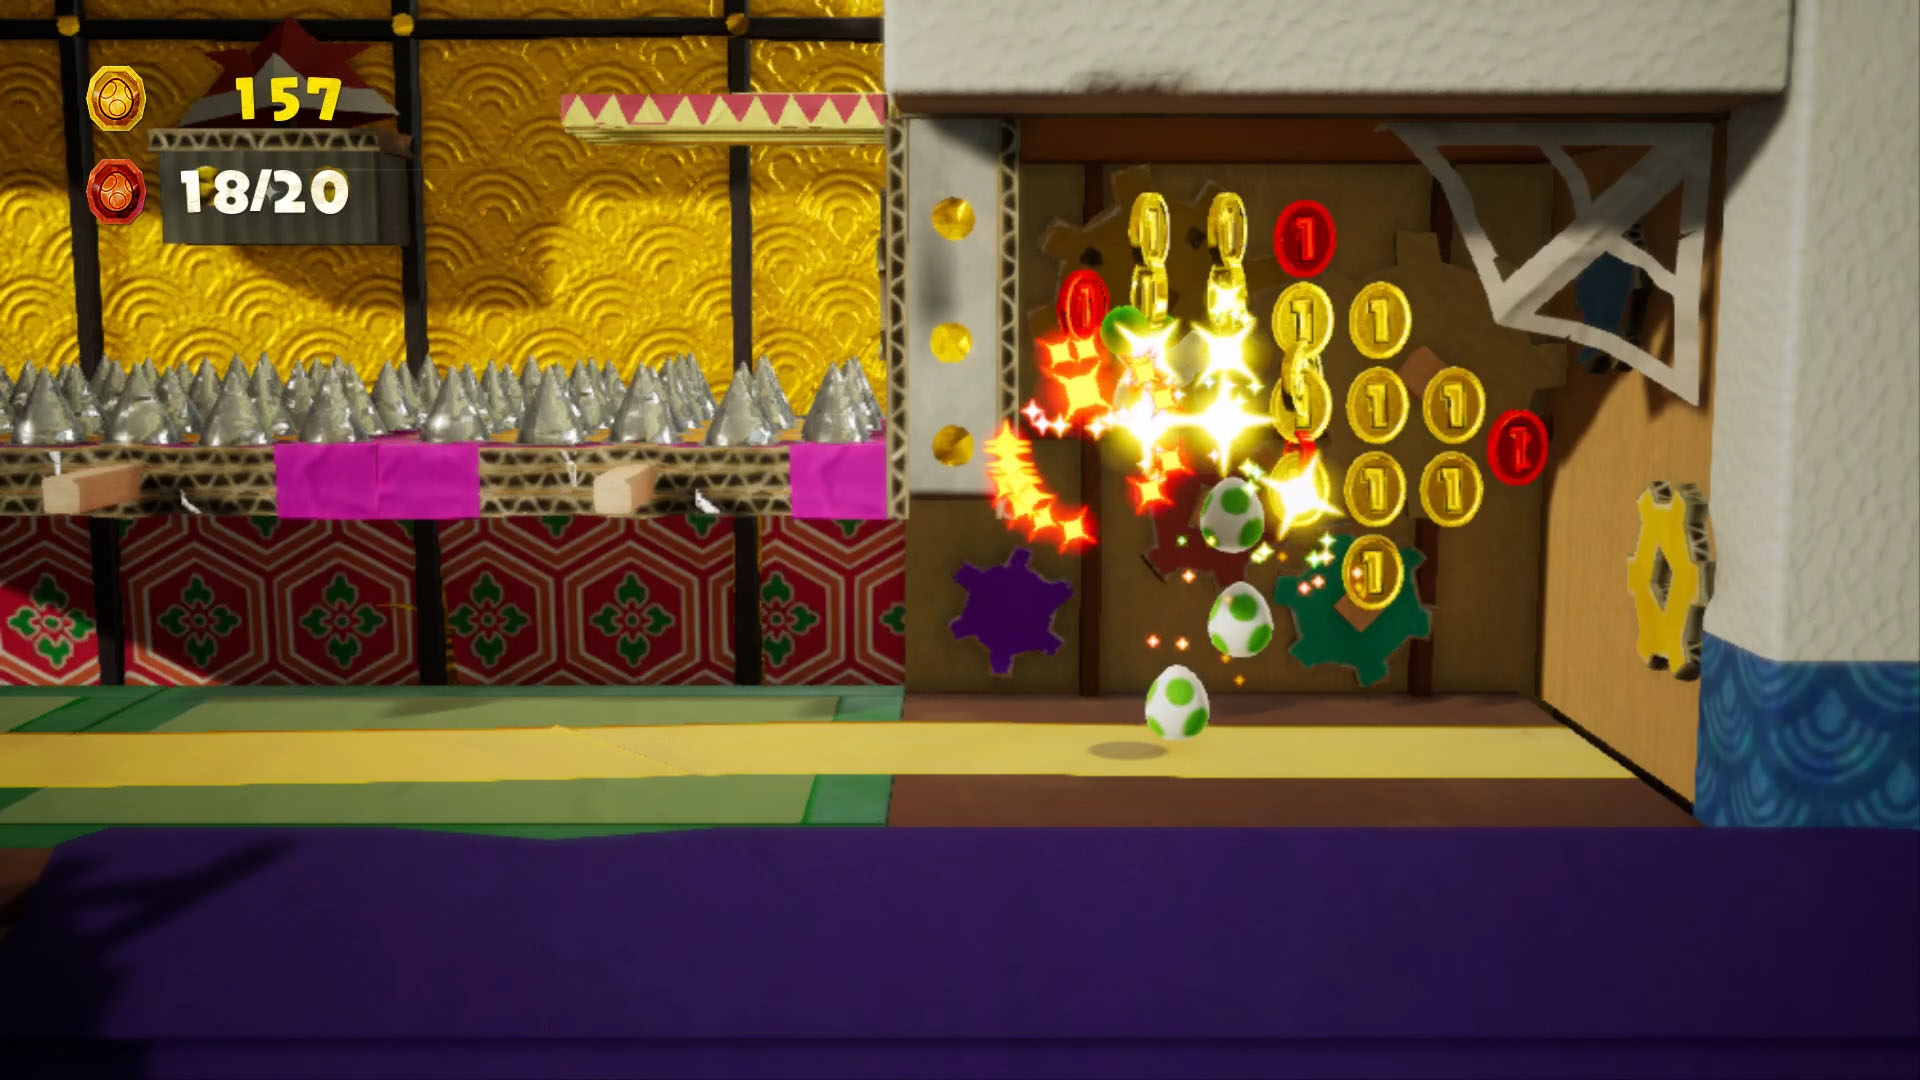
Red Coins 1-4: When you find the spike traps, wait for the one to drop on the left upper platform and hop on it. It will take you up, so quickly pop the cloud in this roof segment and grab the four red coins from the set before you are pulled back down.
Red Coins 5-8: Keep it moving until you see a mural of a cute cat’s face. To your right, there’s a spinning red spike platform, and if you sneak underneath it, you’ll get a question cloud to pop for four more red coins above you.
Red Coins 9-11: After the first cardboard samurai, keep it moving until you see a springboard nestled between spikes. Hop up to the cobweb area, pop the cloud and nab three coins.
Red Coins 12-15: When you beat the second movement puzzle, get out above the red one and on top of the blue box to find another hidden cloud you can pop for four coins.
Red Coin 16: Once you open the locked door later in the level, there will be a little shy guy army that comes toddling out of a room. Devour them all and egg the gift box where they came from for a coin.
Red Coins 17-20: Before the third puzzle, keep moving right instead of up when you see more spinning platforms to find a question cloud you can egg for a set of coins, of which four are red.
Current page: Yoshi's Crafted World red coins, page 2
Prev Page Yoshi's Crafted World red coins, page 1 Next Page Yoshi's Crafted World red coins, page 3Weekly digests, tales from the communities you love, and more
Jordan Oloman has hundreds of bylines across outlets like GamesRadar+, PC Gamer, USA Today, The Guardian, The Verge, The Washington Post, and more. Jordan is an experienced freelance writer who can not only dive deep into the biggest video games out there but explore the way they intersect with culture too. Jordan can also be found working behind-the-scenes here at Future Plc, contributing to the organization and execution of the Future Games Show.
