Sea of Thieves Shroudbreaker: how to complete Sea of Thieves Tall Tale for the Mysterious Stranger
Follow our Shroudbreaker walkthrough to fight skeletons, solve puzzles and more in Sea of Thieves Shroudbreaker voyage
While some Tall Tales can be played out of order, every pirate's quest for the story mode begins with the Sea of Thieves Shroudbreaker chapter. This introductory act sets the stage for the magical world in Sea of Thieves that is soon to unfold. If you're wondering how to complete the quest, we've got a complete guide to the Sea of Thieves Shroudbreaker for you right here.
Starting the Shroudbreaker quest
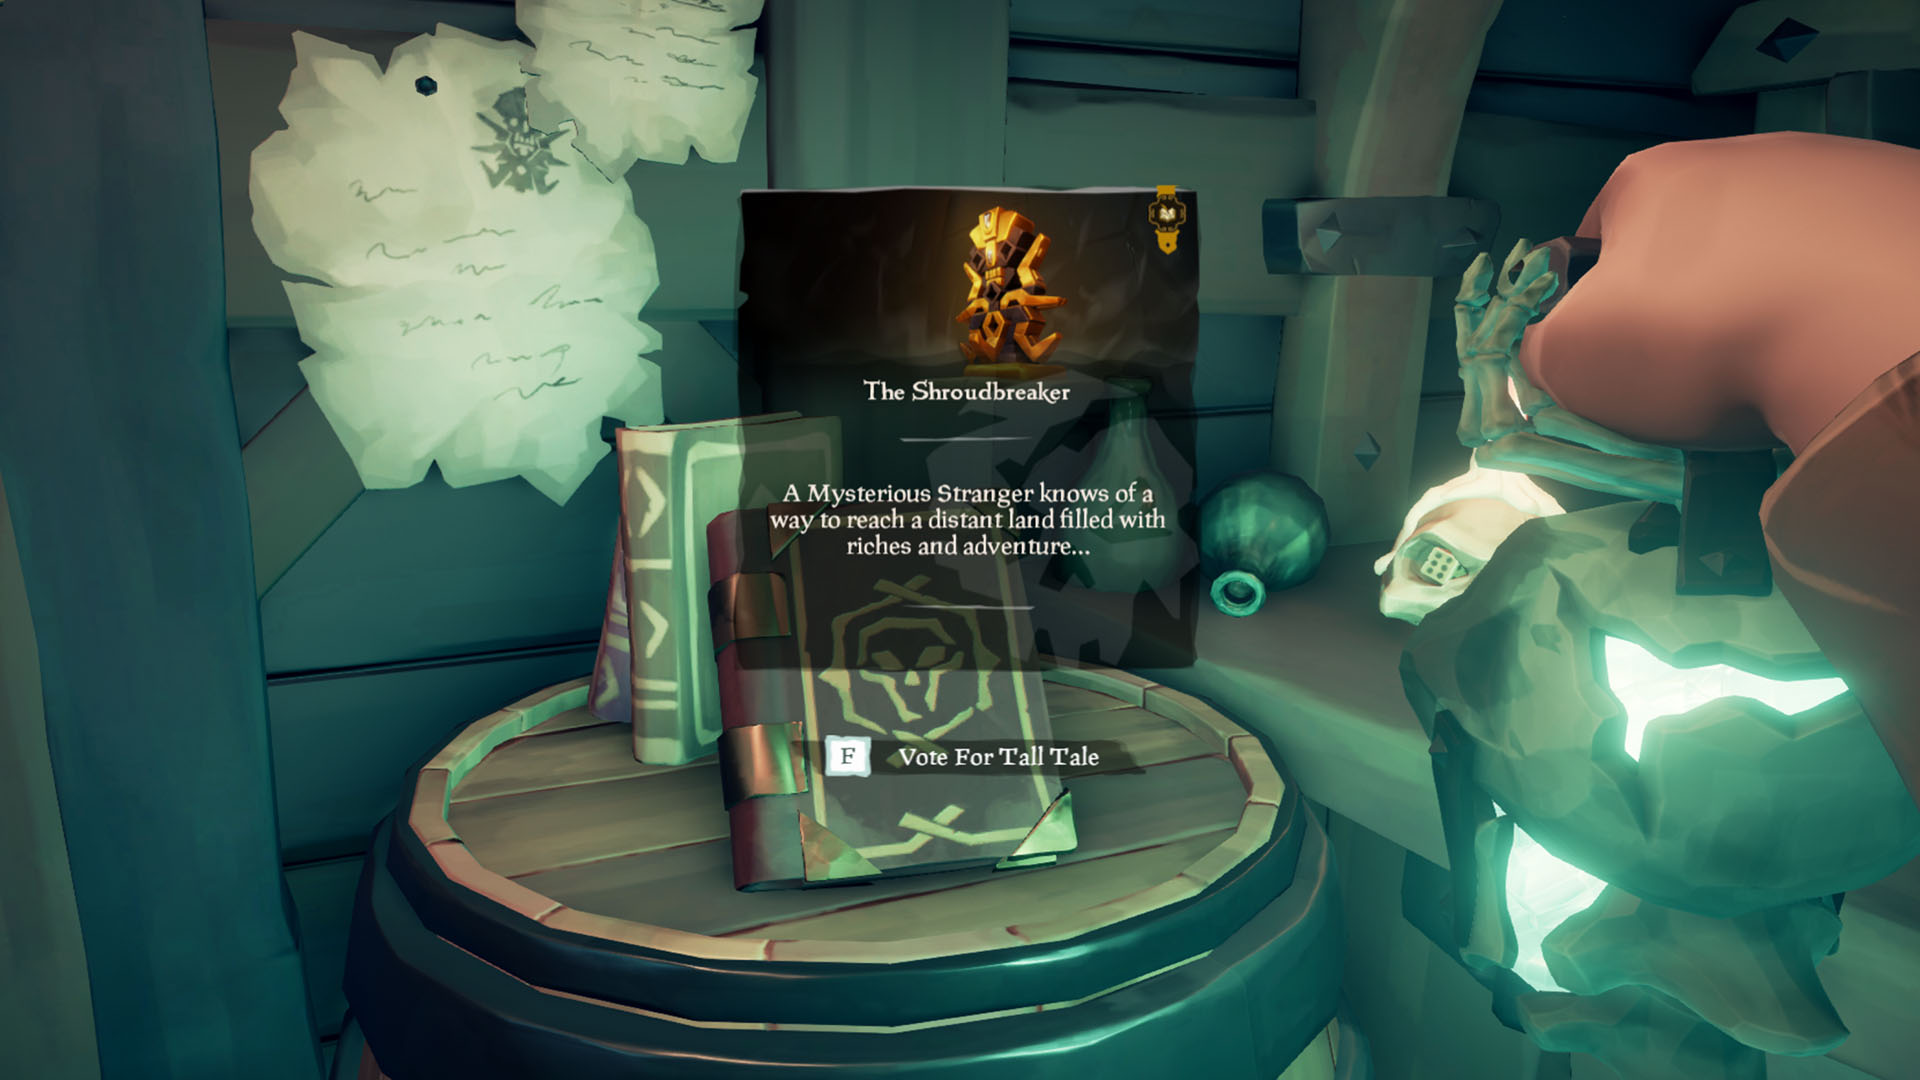
To begin ‘The Shroudbreaker’ questline, you’ll want to head over to one of the Mysterious Strangers, who are located inside the Outpost Taverns across the Sea of Thieves. At their side, you will find a book and a voyage for you to vote on. Vote on the voyage and a book will then appear in your map radial for you to look at.
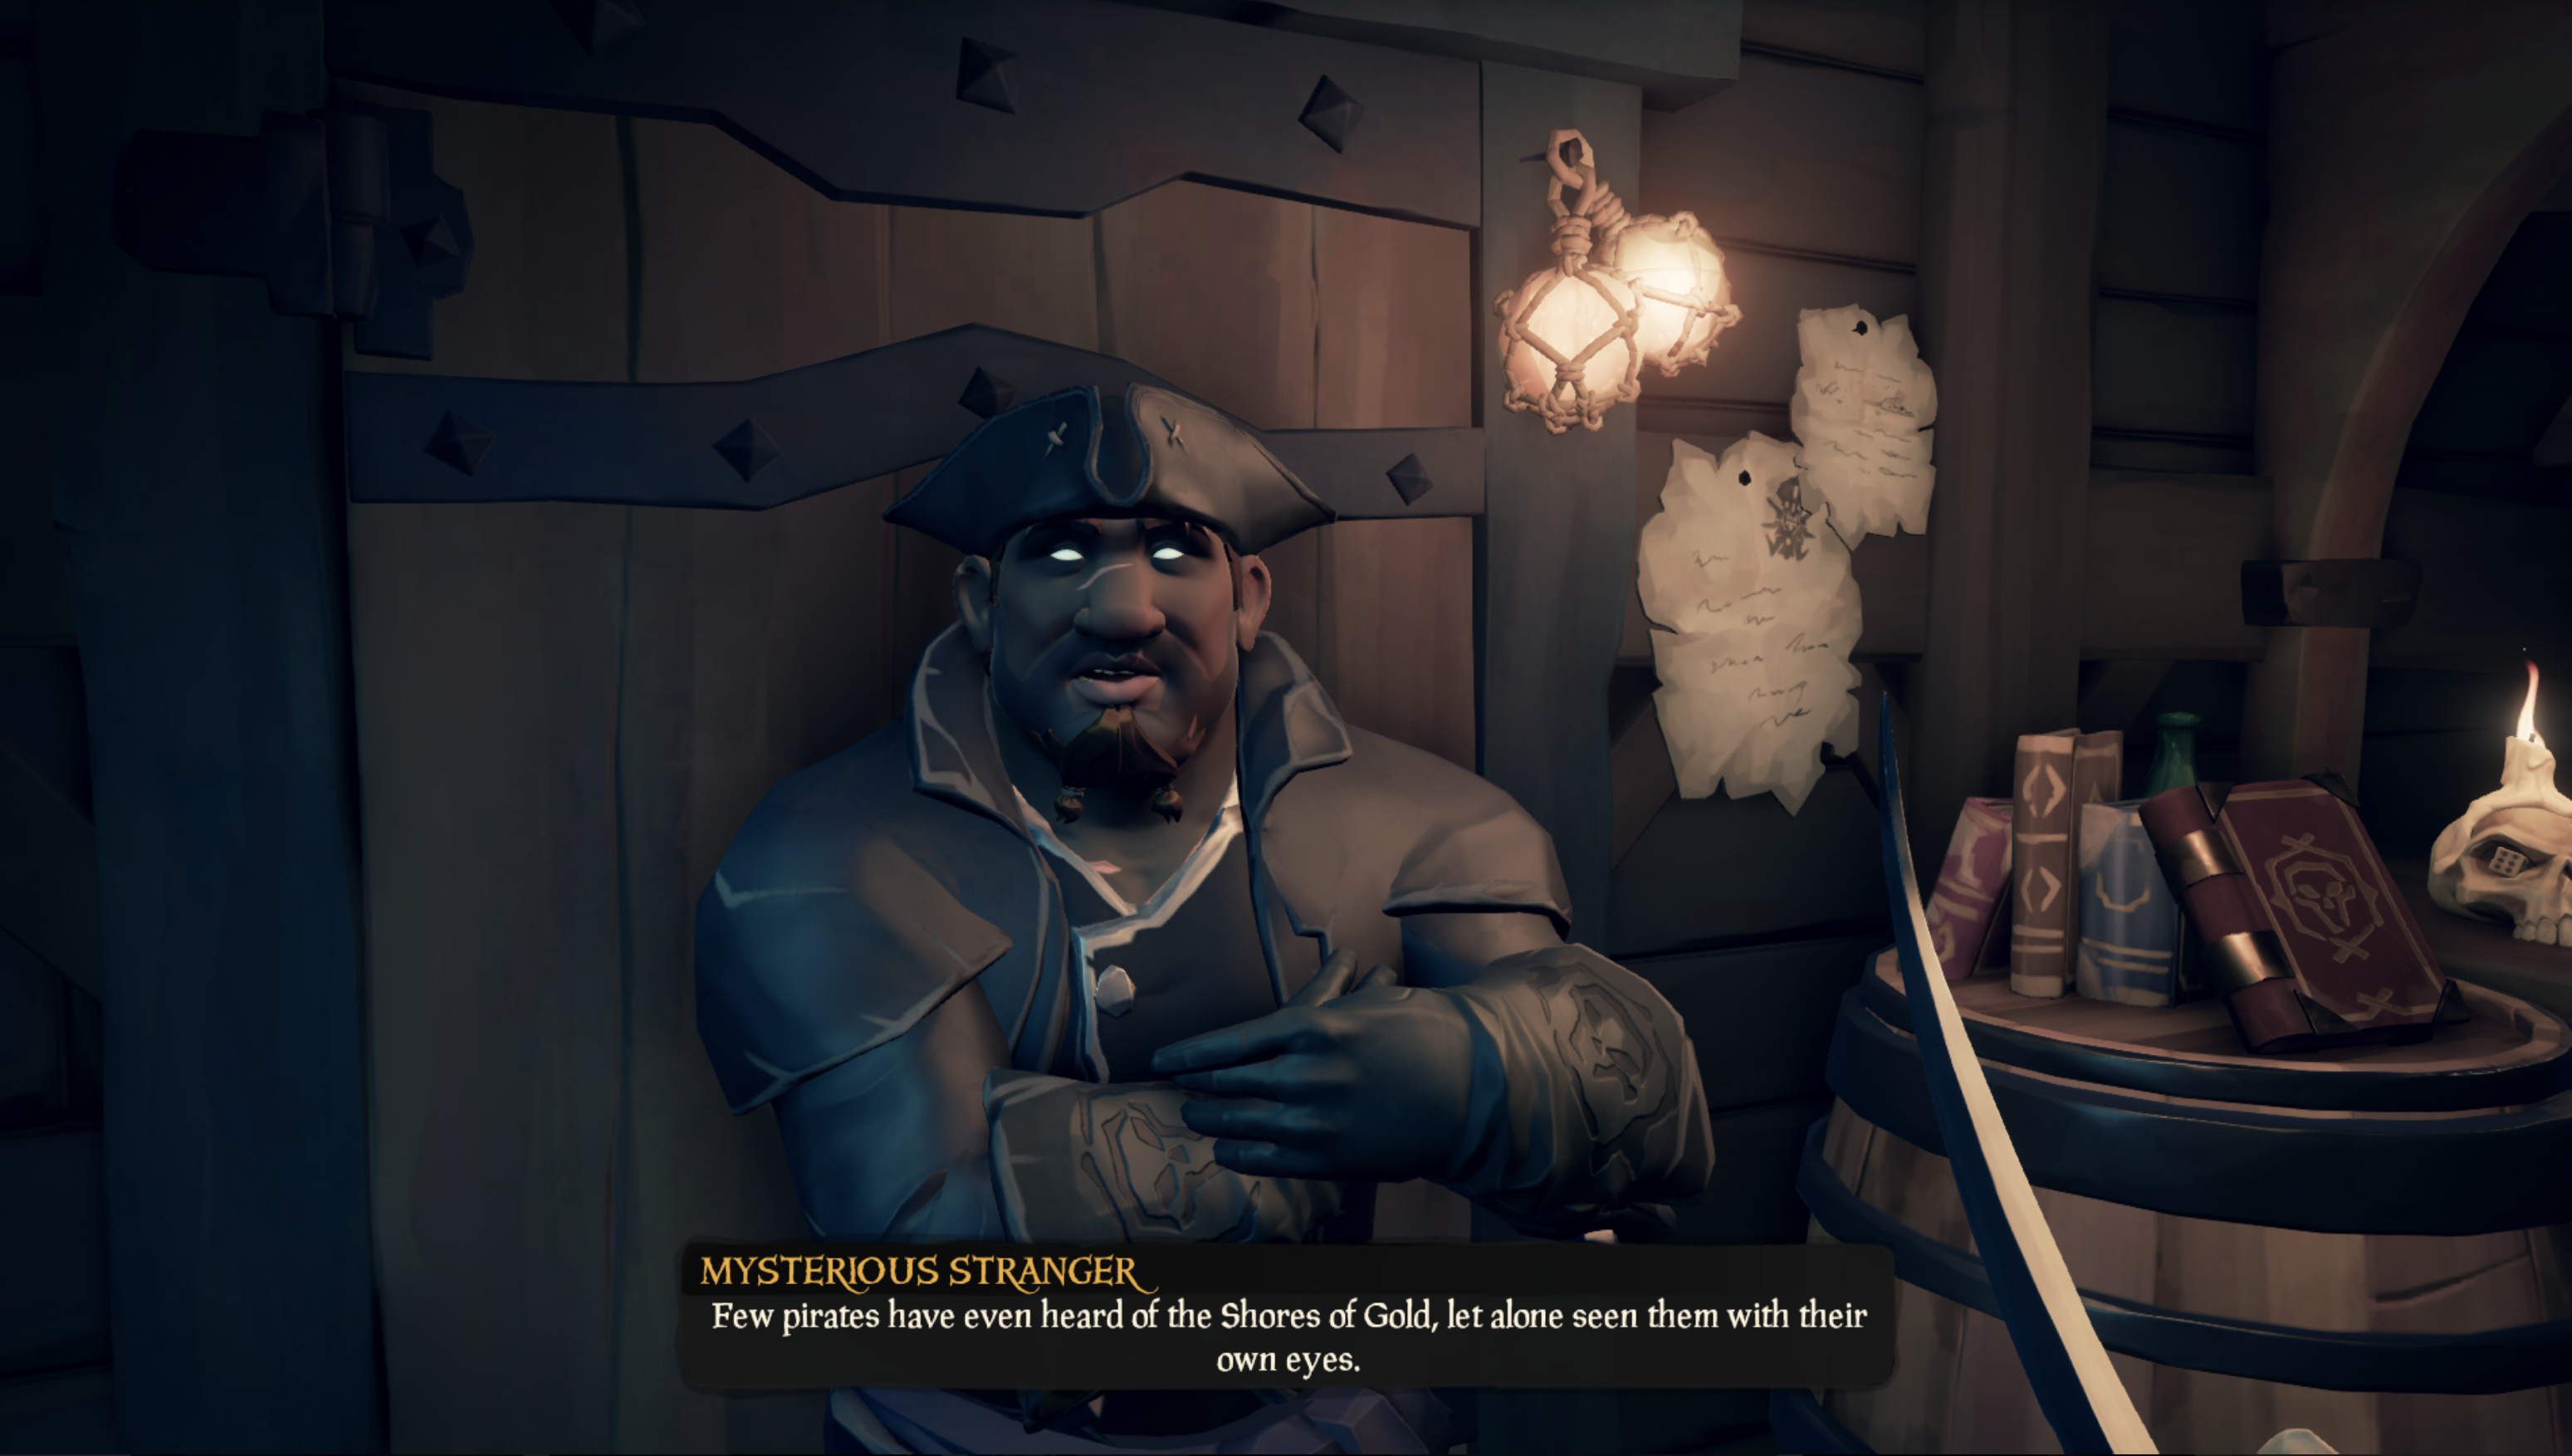
You’re not done here yet though. Before you leave, listen to what the Mysterious Stranger is saying. They will tell you about a lost island beyond the Devil’s Shroud, an artefact known as the Shroudbreaker that can part the deadly mists, and The Wreck of the Magpie’s Wing, a ship that perished in search of this device. After they’ve finished talking to you, leave the tavern and return to your ship.
Where to next?
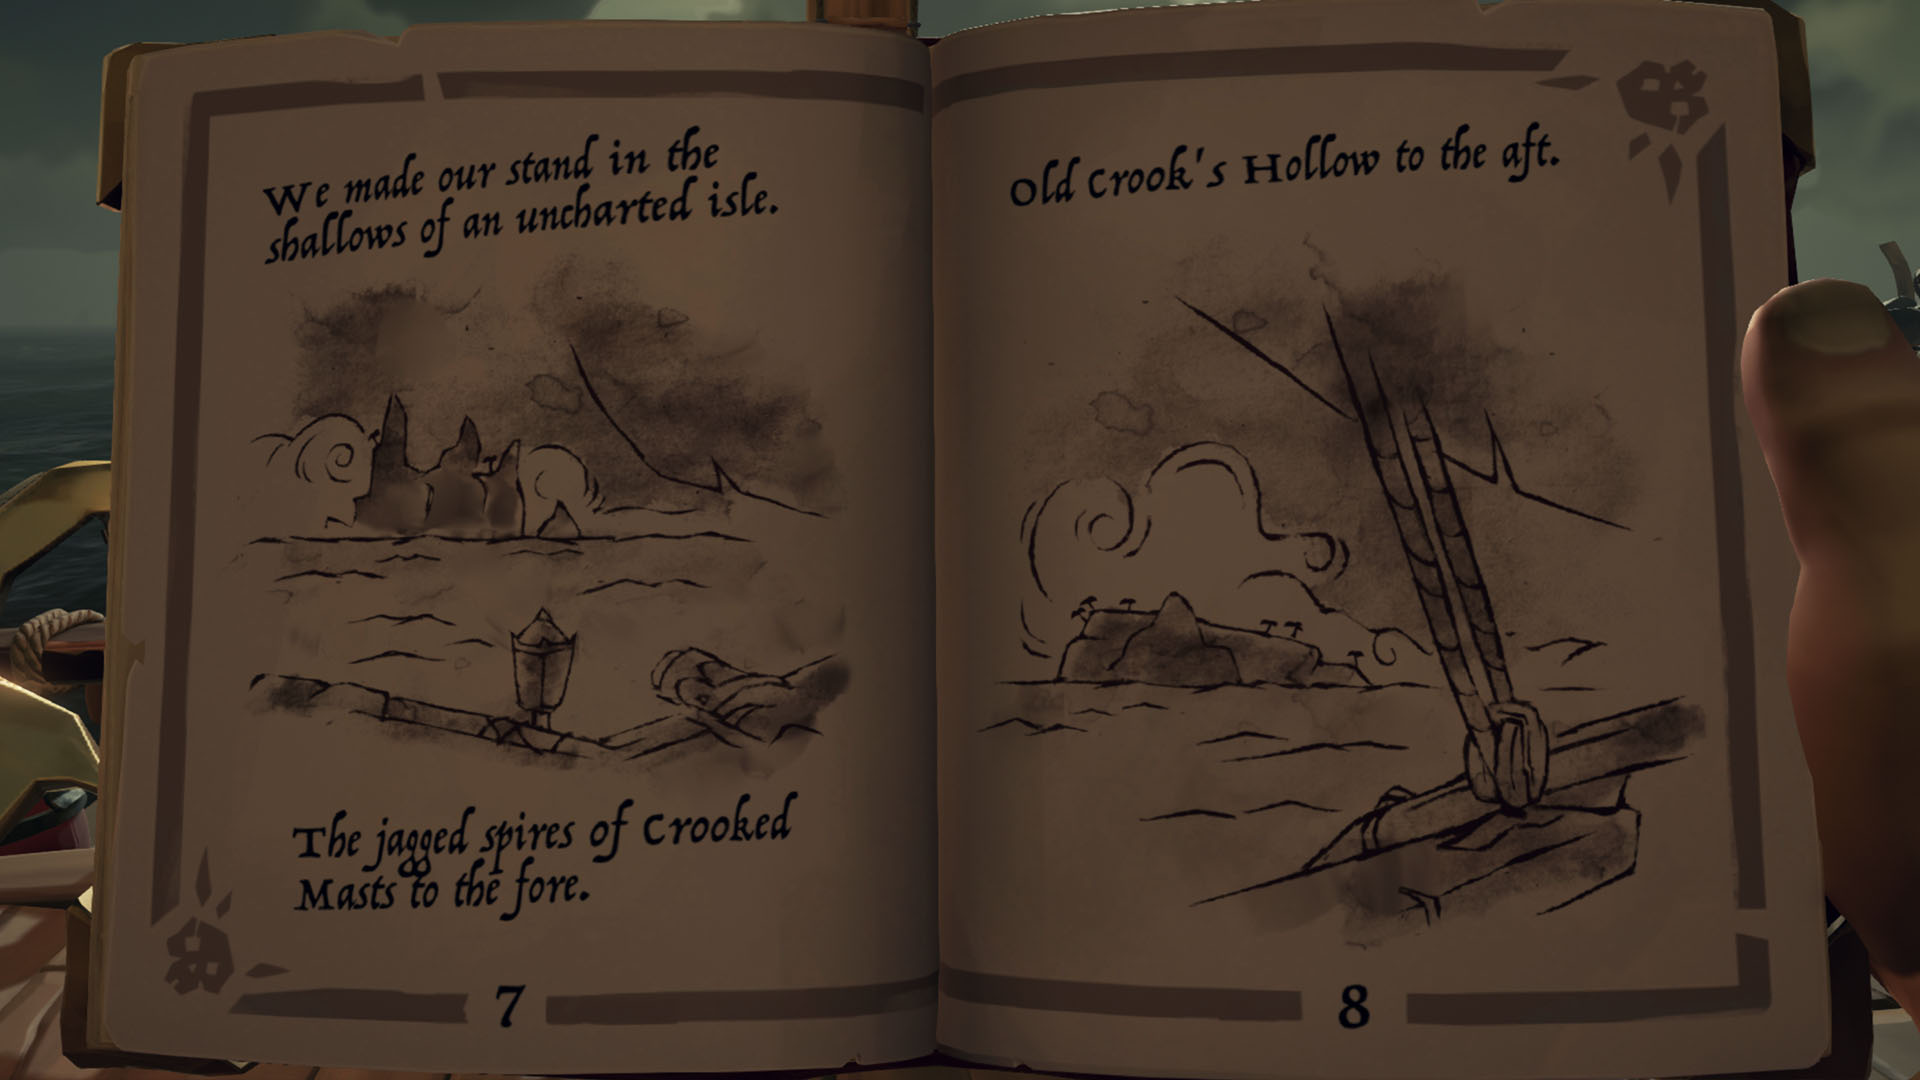
To find out where the Magpie’s Wing is located, you’ll need to read the book in your map radial. Select the book, and flick through the pages. It will tell you that the Magpie’s Wing sank somewhere between Crooked Masts and Crook’s Hollow, taking the ship’s log book down with it.
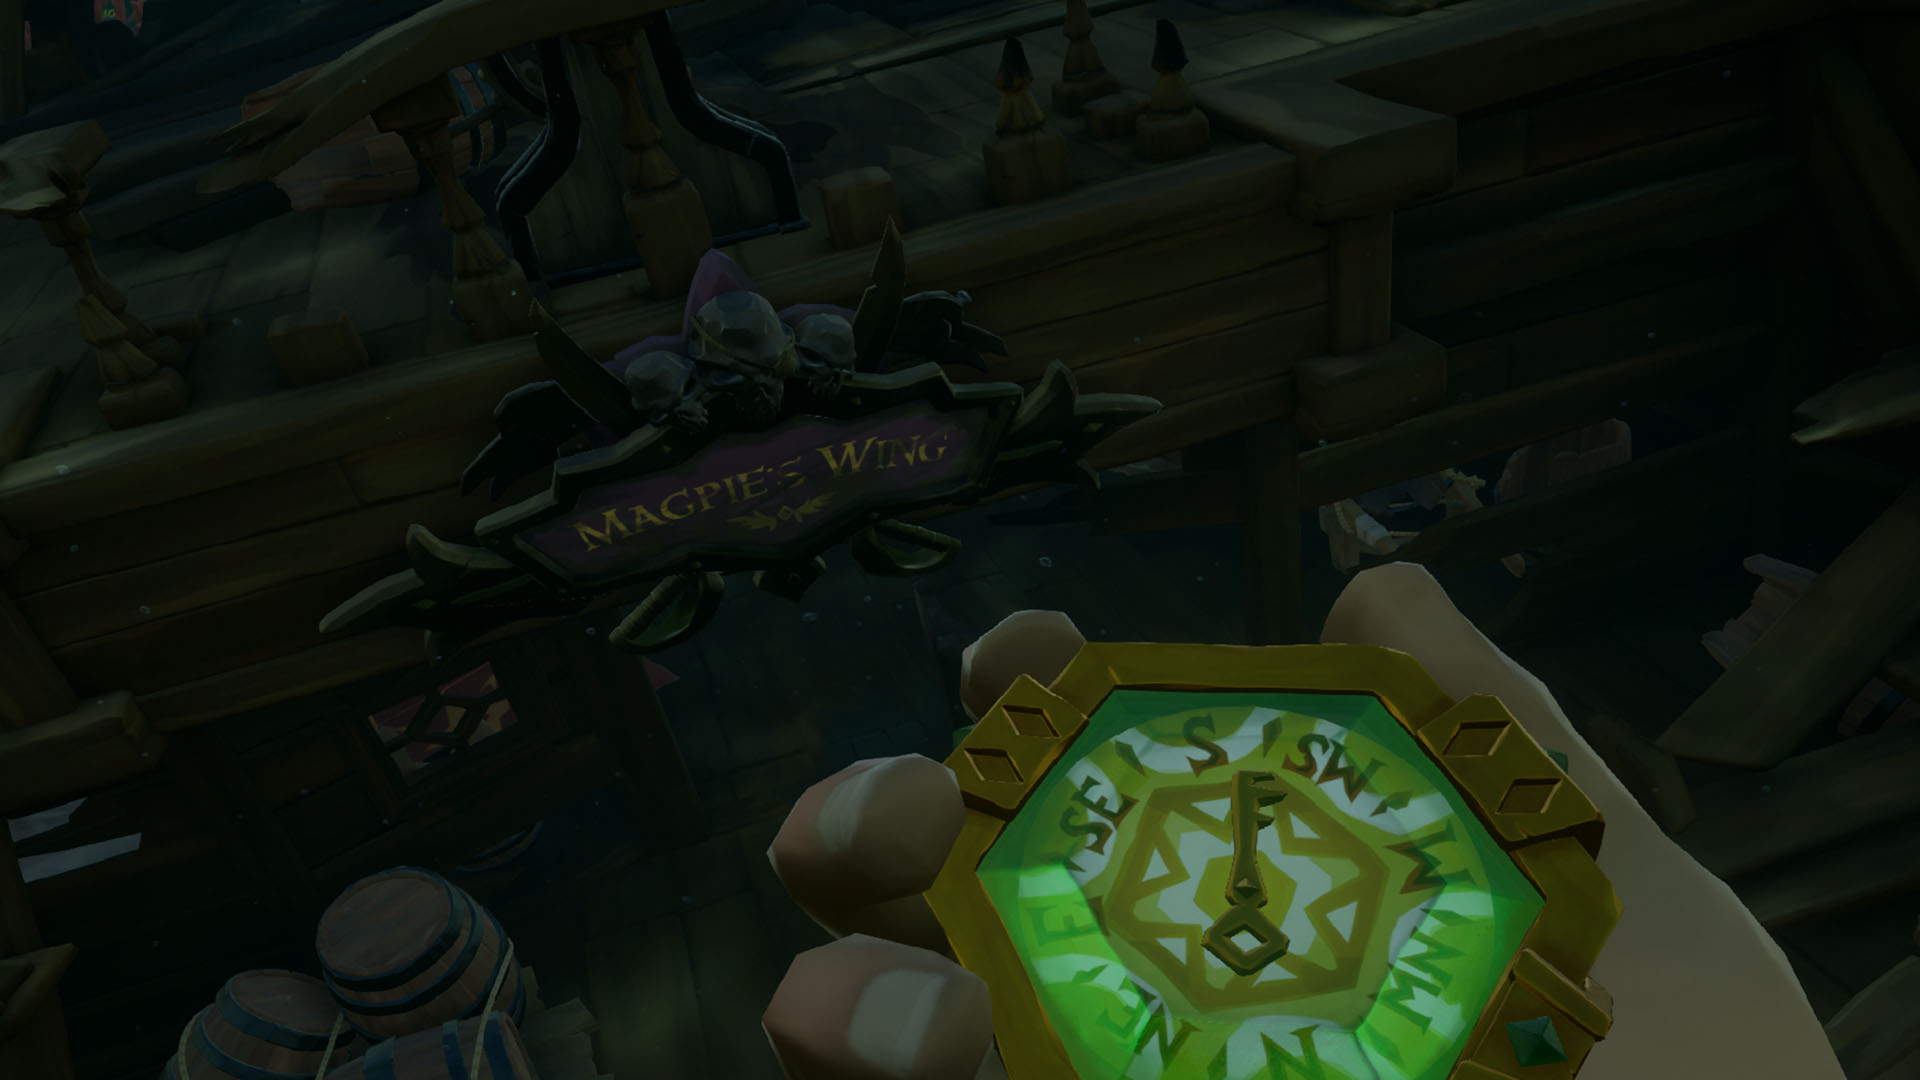
Mark the midway point between the two islands on the map (N13) and sail over to the spot to discover an uncharted island. A little off the north west coast of this island, you’ll find the remains of the Magpie’s Wing. Locate the Captain’s Quarters and pick up the ship’s log to add some more pages to your book.
Sunken treasure
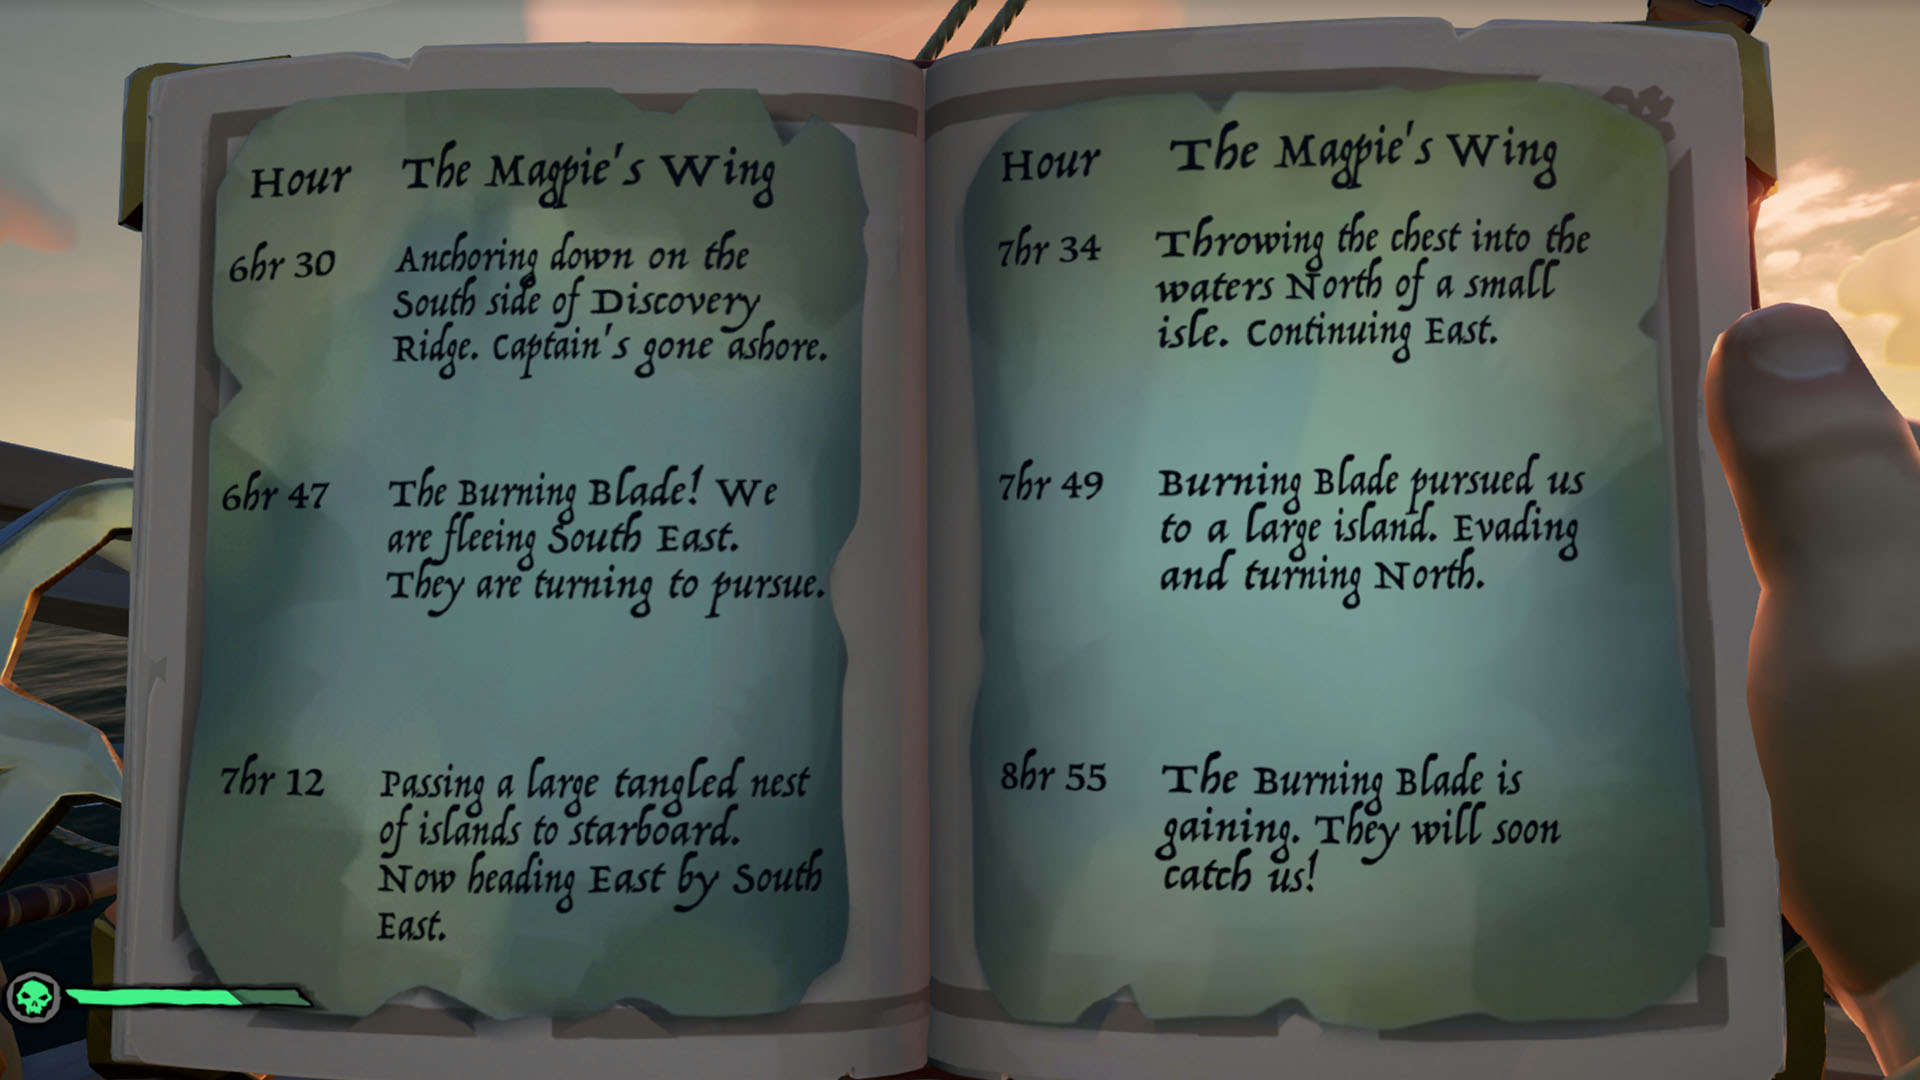
These new pages will recount the last days of the ship. Use it to retrace its movements. You don’t need to go to each individual island listed here. Instead, simply use your ship map to follow the path it describes. The book will mention that they dumped a chest somewhere off the coast of an island. The specific island you need to go to will change from pirate to pirate, with our book taking us to Lookout Point.
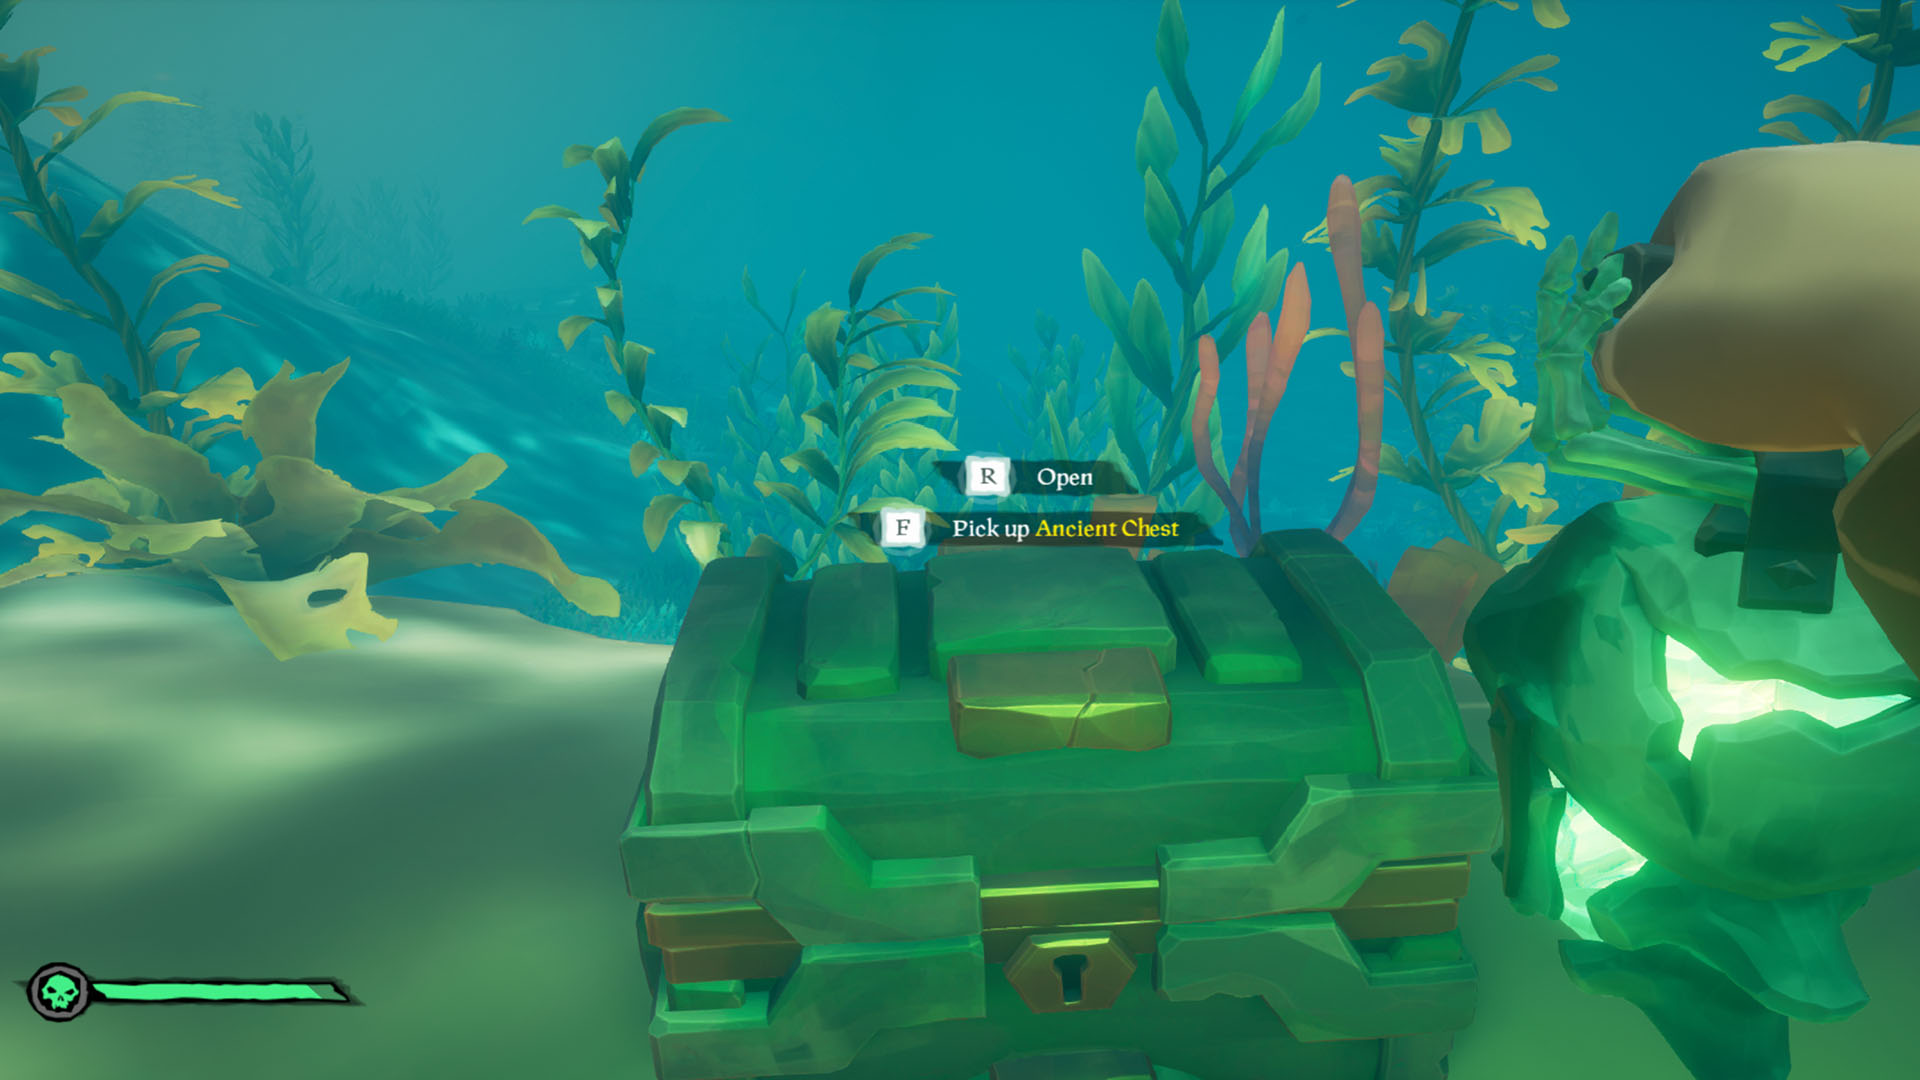
Sail to the island on your map and swim below the surface of the water in the direction outlined in the book (north for Lookout Point). You should see a flashing item in the water. Swim to it and you’ll discover a chest. Take this chest back to your ship and open it up in order to grab some new pages and a totem. Store the totem safely, as if you should lose it you’ll have to start this quest all over again. Depending on what totem you have, the next steps in the quest will differ slightly.
Finding where to use the totem
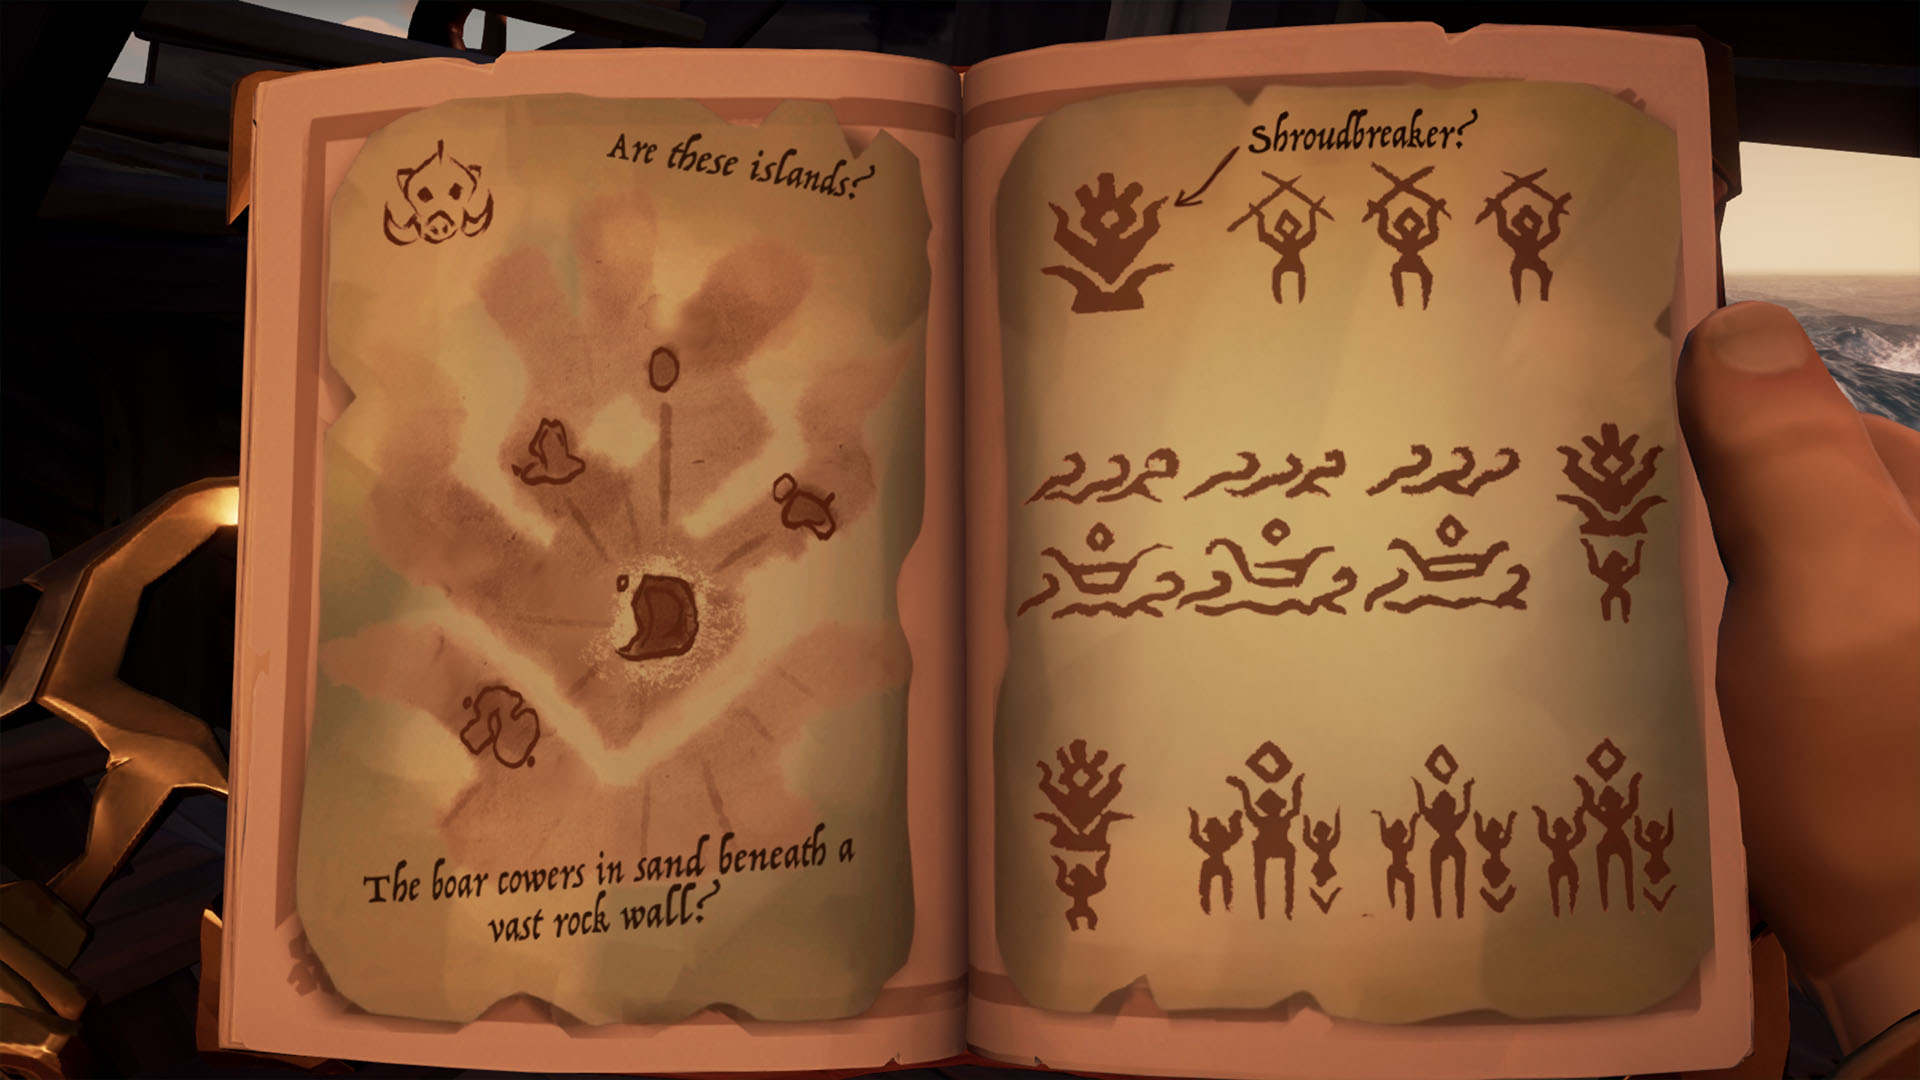
Open your book up and there should be an outline of an island in between a bunch of other shapes on the brand-new page. Use your ship map to identify the island from its shape and sail there. If you’re having trouble, here is the complete list of possibilities in order to help you out:
- Boar Totem – Devil’s Ridge
- Scarab Totem – Crook’s Hollow
- Snake Totem – Mermaid’s Hideaway
- Shark Totem – Kraken’s Fall
- Moon Totem – Crescent Isle
- Crab Totem – The uncharted island at N13
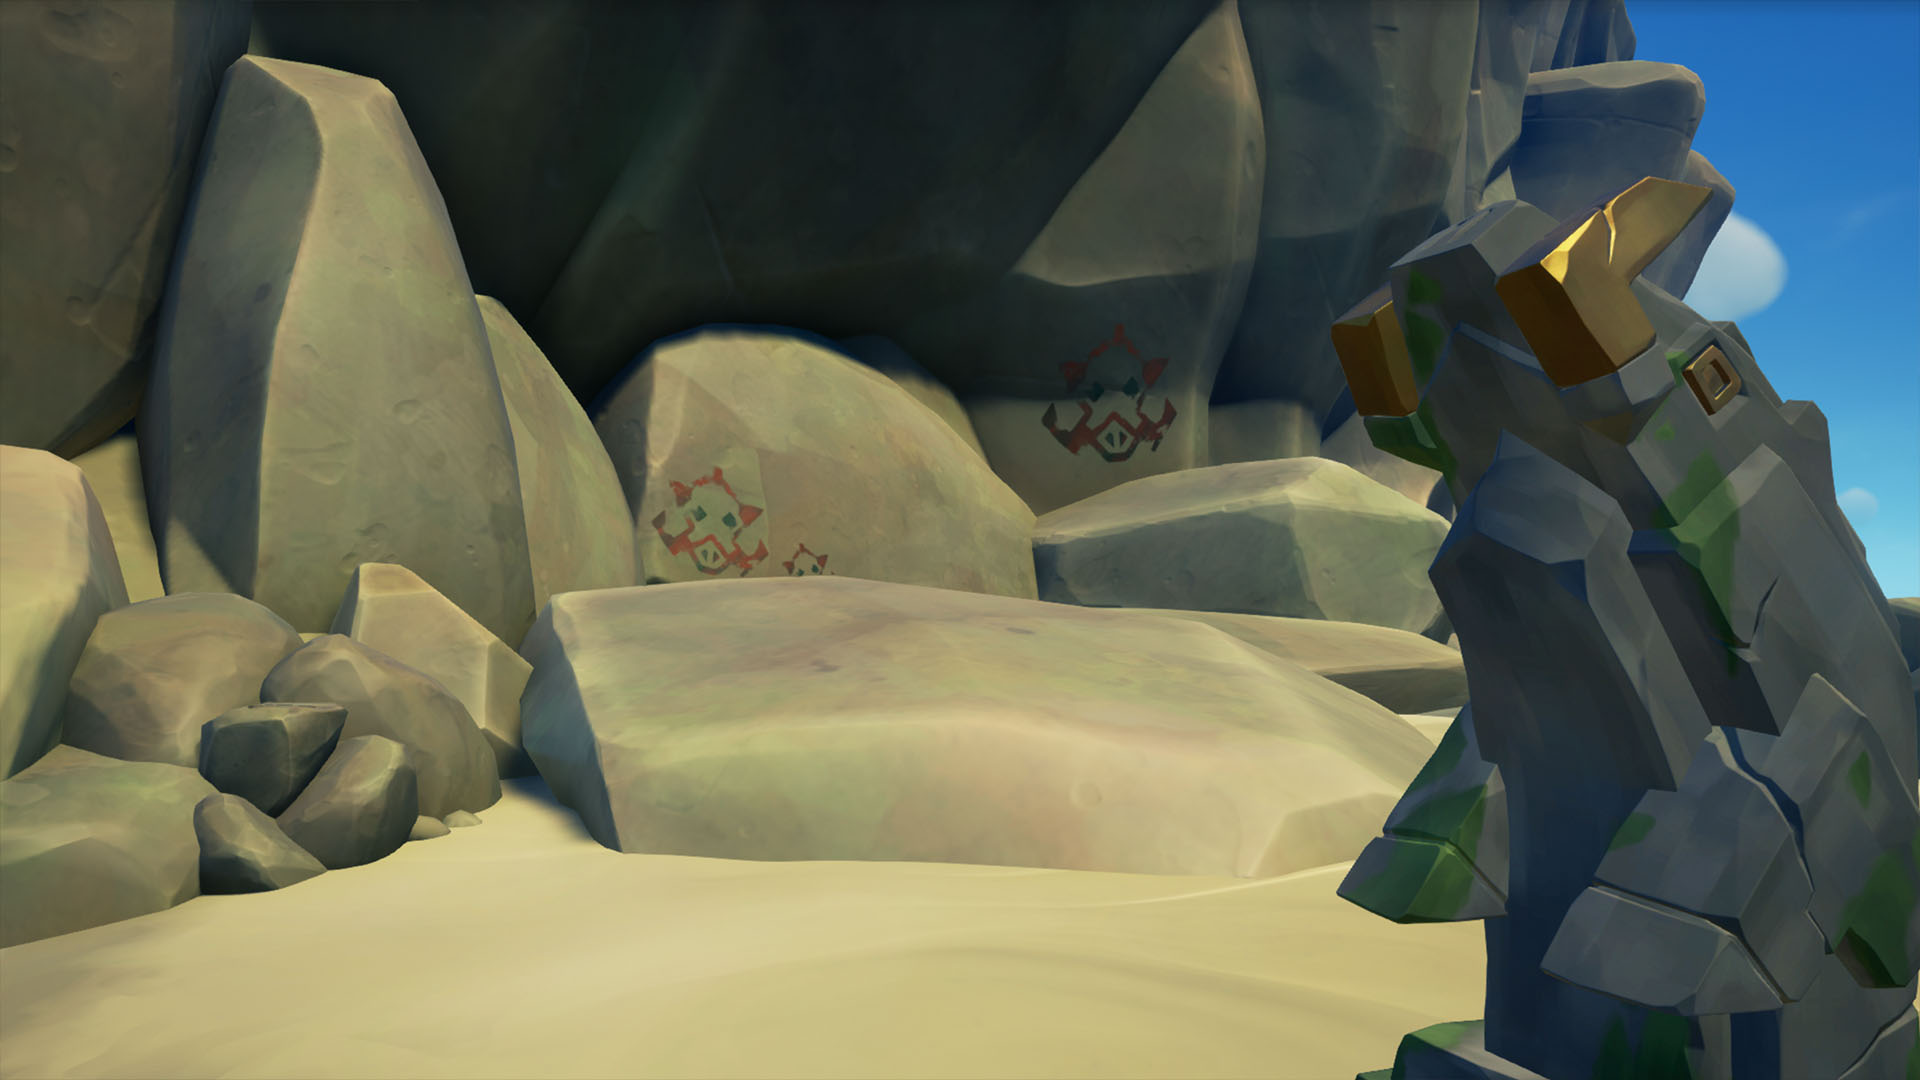
Once you arrive at your island, what you will then need to do is identify where to place your totem. This will be next to an area painted with a symbol that matches your totem. Place the totem in the slot and a hidden passageway will open to a secret chamber.
Shroudbreaker water puzzle
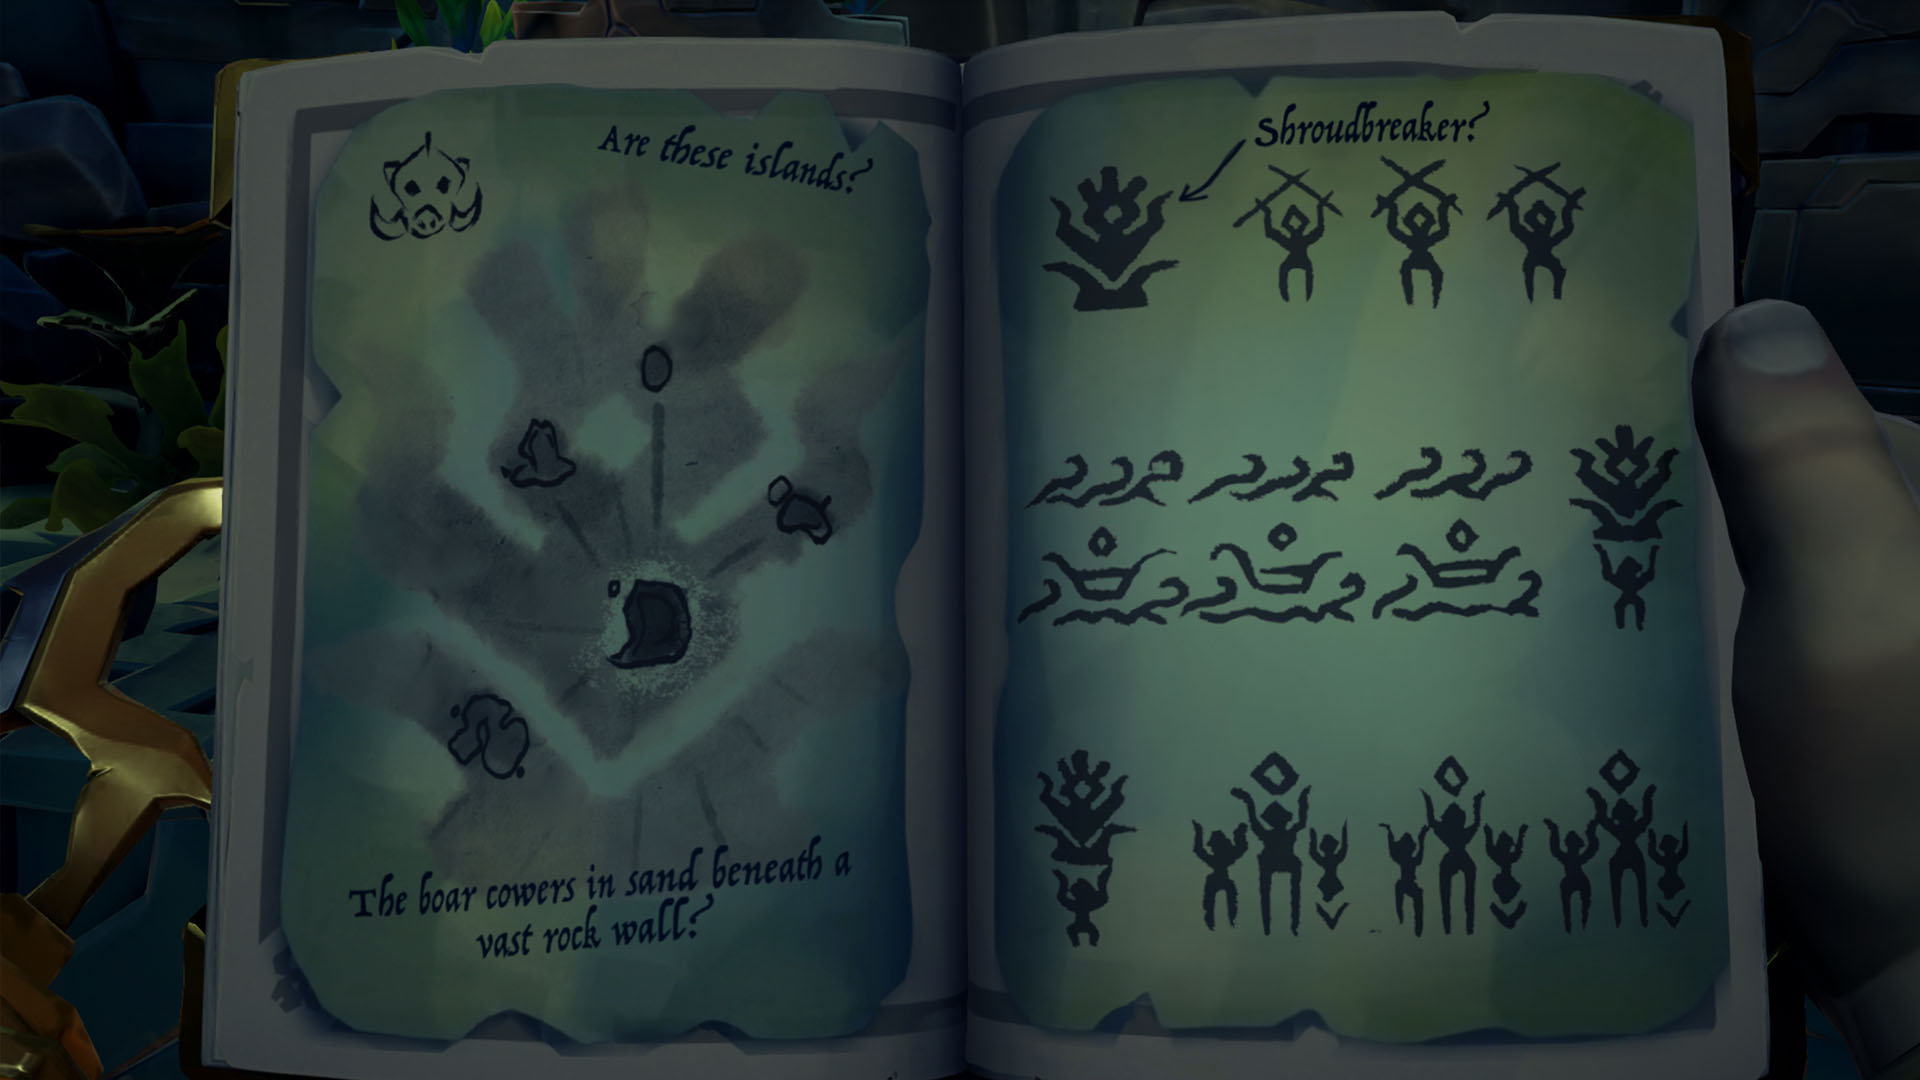
Upon entering the secret chamber, you’ll encounter a table with four unlit braziers and some totem poles along the back walls with symbols painted on them. Don’t touch anything just yet though. Instead, take out your book and look at the symbols on the remaining page. There should be three rows of four to reference.

Once you’ve got them memorized, light the braziers and rotate the middle section of each totem along the back wall to recreate the lines from the book. Once you’ve finished each line, enter it into the table, then quickly start on the next one. As soon as you begin solving the puzzle, water will come flooding into the room, so you need to be fast when doing this. Finish them all and the water level should subside.
Finding the Shroudbreaker medallions
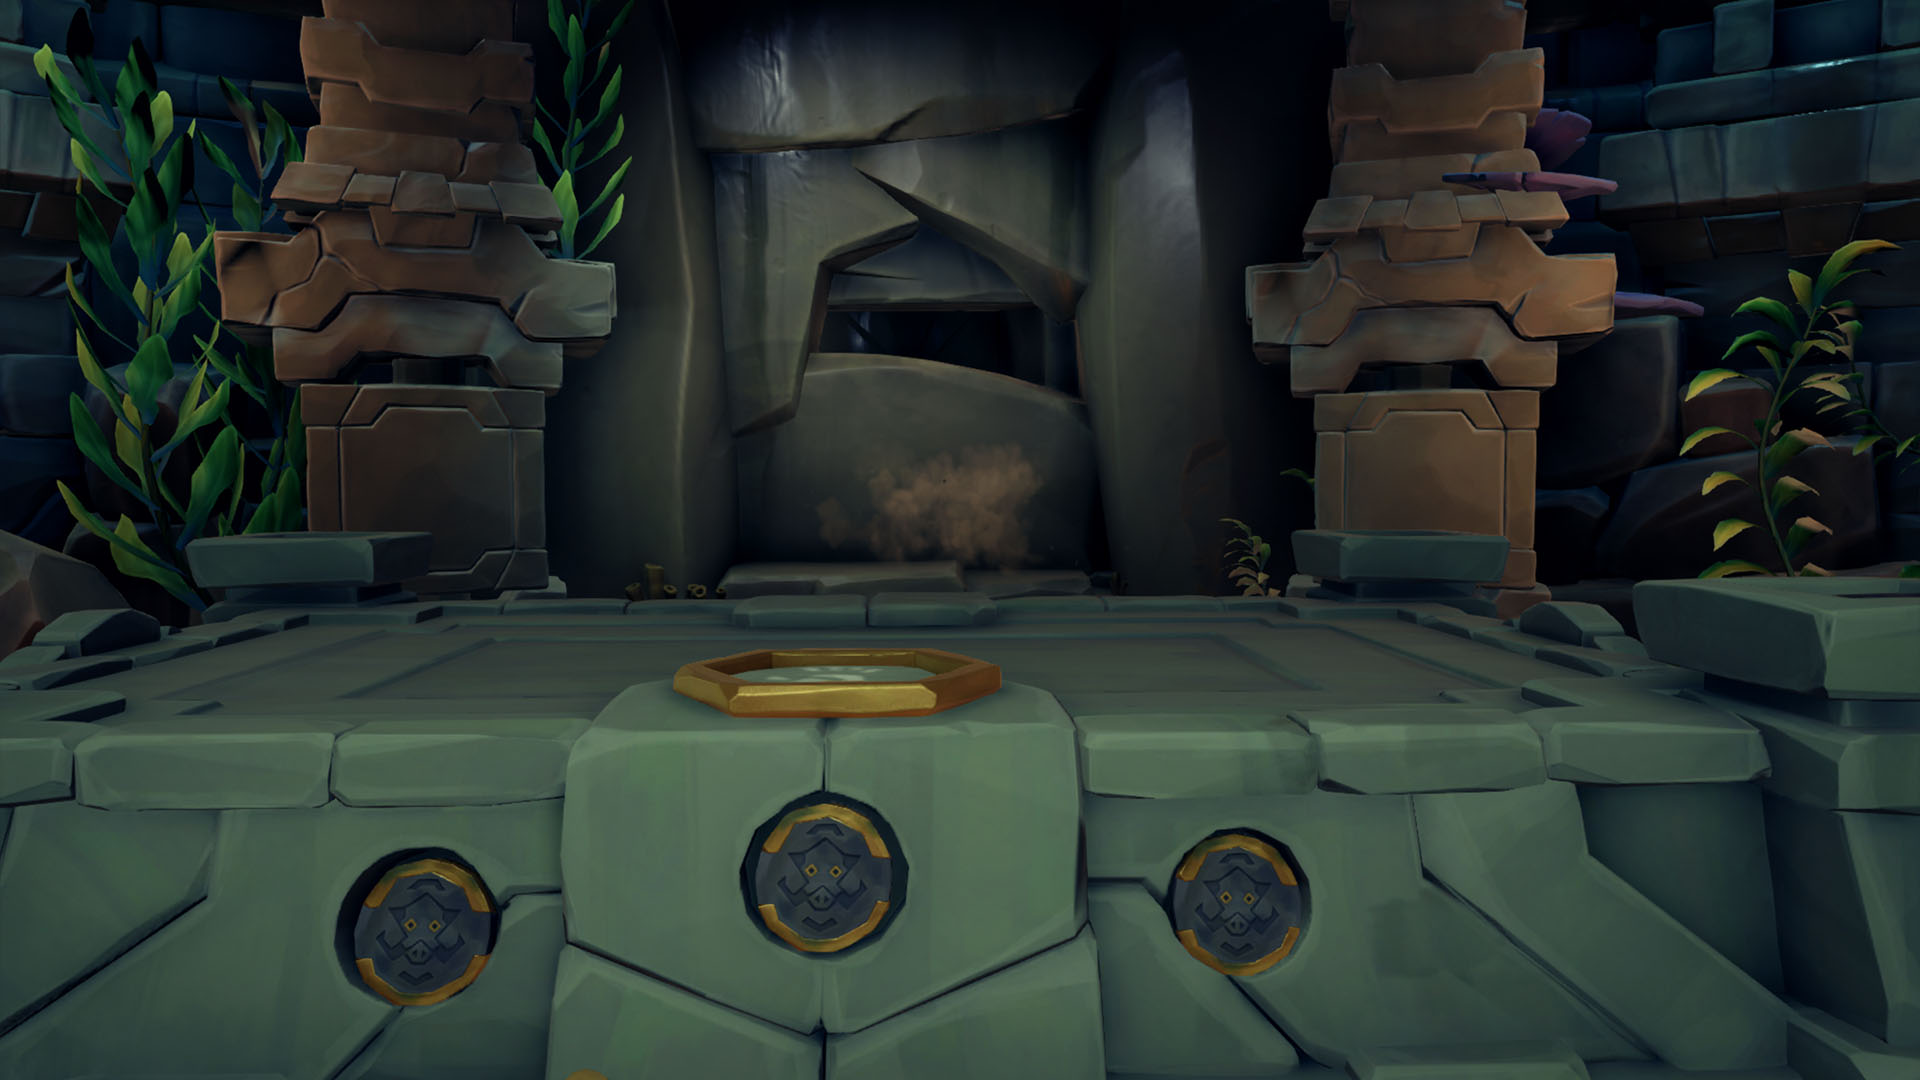
After completing the water puzzle, observant players will notice that are three empty spaces on the front of the table, where it looks like some medallions needs to be placed.
Head over to the table and look at the image being projected on top. This is a clue to the location of the first medallion. Each clue will usually display two or more identifying traits to help you locate them. Though we recommend taking a picture of the image on your phone, so that you have something to reference.
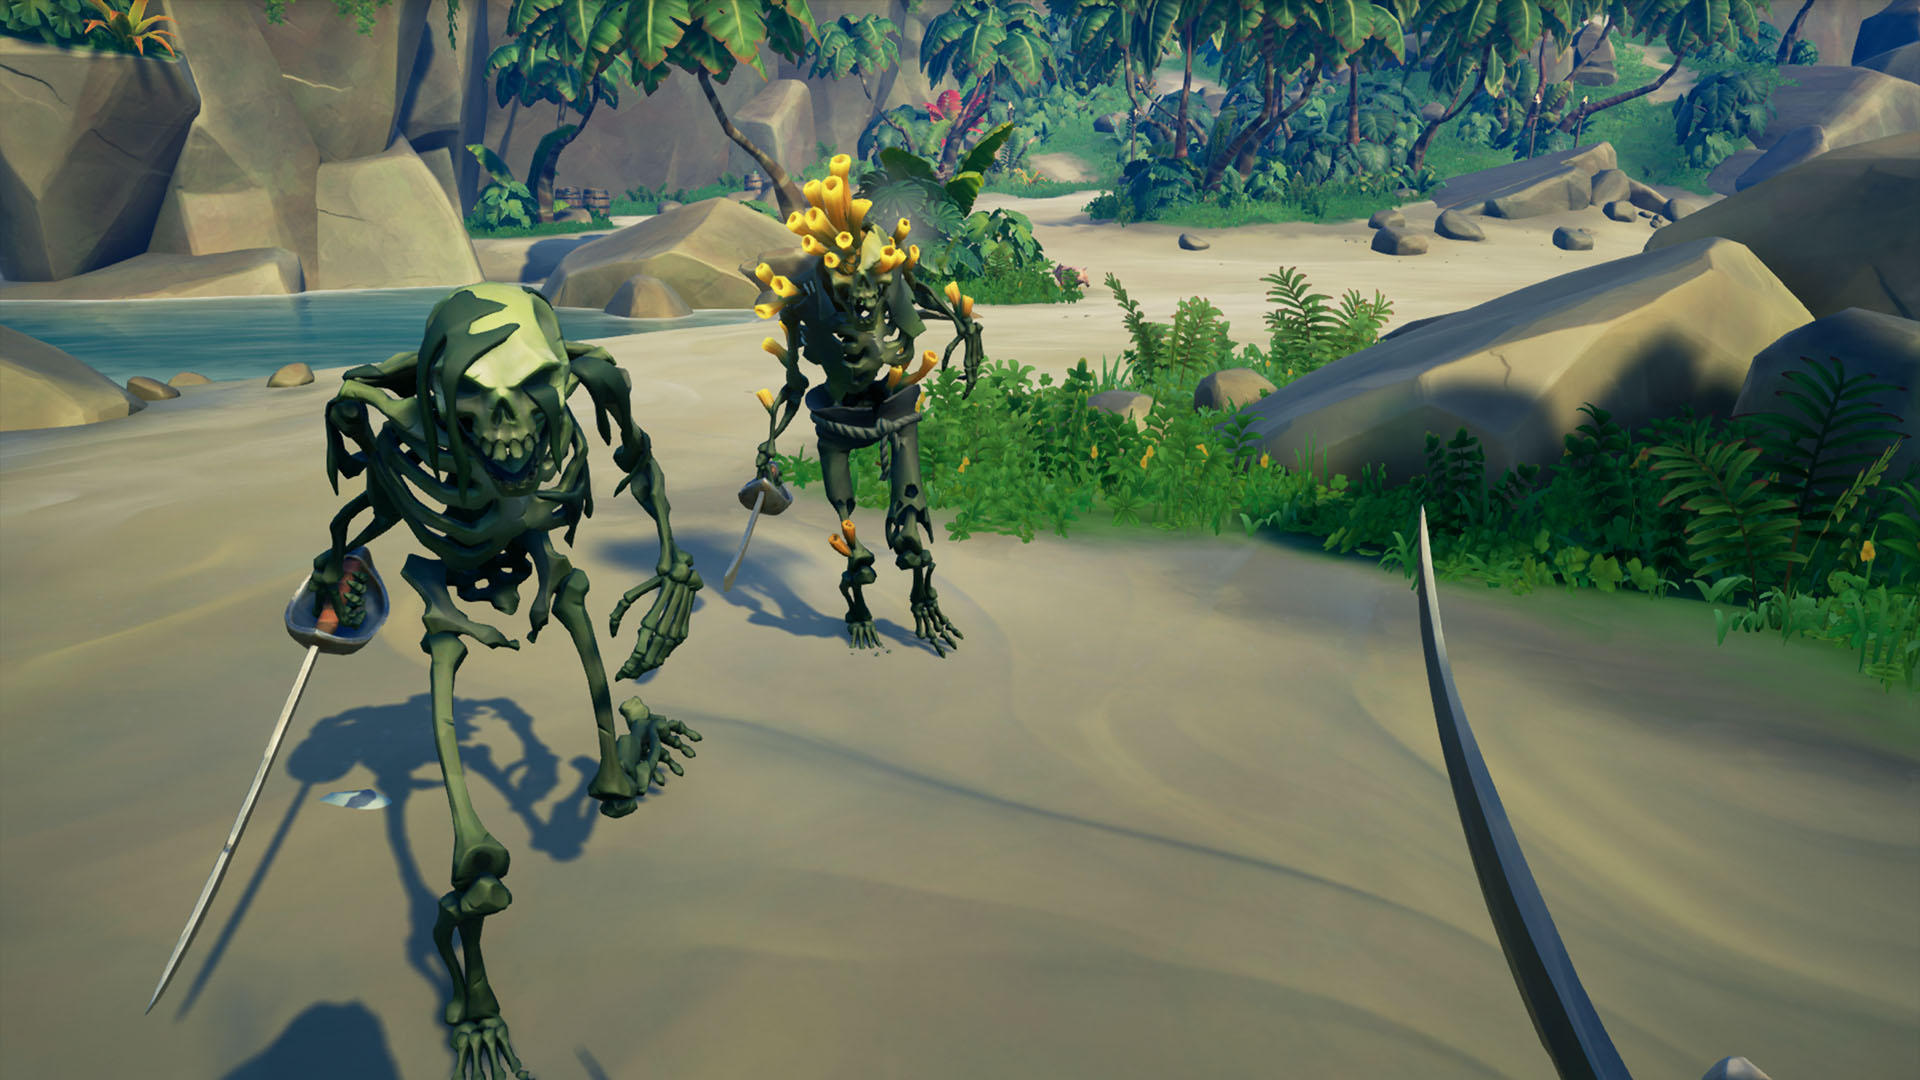
Head over to the first medallion location and dig in the spot that is illuminated on the image. If you’re successful, you should uncover a medallion in the sand and a bunch of coral skeletons will emerge. Defeat these skeletons, and then head back to the table to place the medallion, and look at the next image. After repeating this step three times, a door should open, revealing the Shroudbreaker on a pedestal.
Run for your life
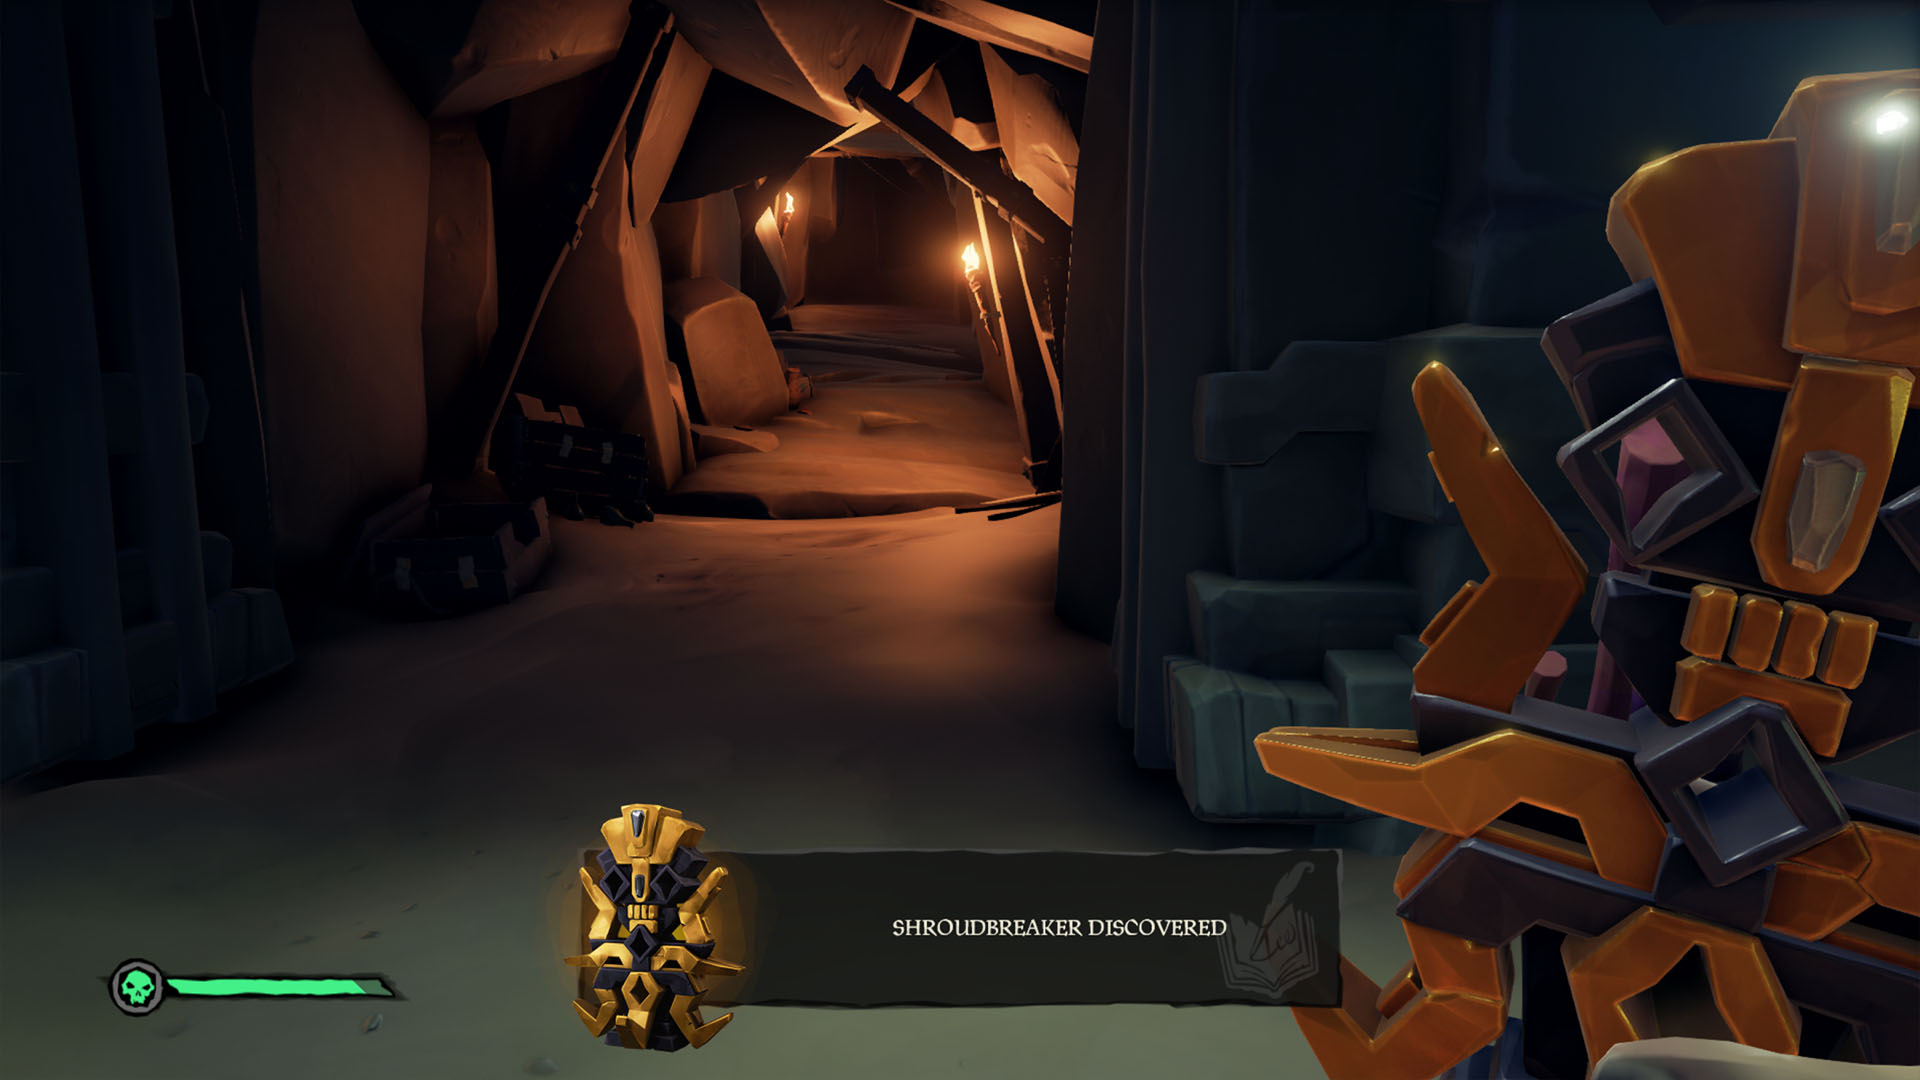
To finish the quest, you will need to return the Shroudbreaker to one of the Mysterious Stranger’s at an outpost. Upon leaving the island, however, a wave of coral skeletons will emerge from the ground and attempt to swarm you. Run away and return to your ship, then set a course for the nearest outpost.
Once you arrive at the outpost, hand over the Shroudbreaker to the Mysterious Stranger and they’ll tell you that something is wrong. They’ll then ask you visit Madame Olivia on Plunder Outpost for more information. A prompt should appear telling you you’ve completed the voyage and as a reward you’ll receive the Pirate Lord’s hat and ‘The Shroudbreaker’ commendation. If you want to obtain Magpie’s Wings cannon cosmetic, you’ll need to repeat the voyage 5 times to complete the ‘Footsteps of the Pirate Lord’ commendation as well as unlock the ‘Mercia’s Lost Memories’ commendation.
Completing the ‘Mercia’s Lost Memories’ quest
In order to unlock the ‘Mercia’s Lost Memories’ commendation, you will have to visit 5 islands and interact with the journals that can be found there. Also, as a word of warning, you can only complete this quest while ‘The Shroudbreaker’ Tall Tale is still active. The locations of these journals are as follows:
N13 uncharted island - On the north west beach in the sand.
Ancient Spire Outpost - Climb the north spire of the Outpost. The book is in a cave in the middle of two burning dishes.
Devil’s Ridge - Next to the north cannon on a cliff. The book is to the left.
Thieves’ Haven - The book is inside of a crate, in an abandoned hut on one of the interior beaches.
Plunder Outpost - The last journal is on Plunder Outpost, next to the Gold Hoarder’s tent. Look for the makeshift shelter made out of a rowboat and the book is nearby.
Sea of Thieves tips | How to fish in Sea of Thieves | Sea of Thieves Sea Dogs | Sea of Thieves Tall Tales| Sea of Thieves animal locations | Sea of Thieves pirate legend guide | Sea of Thieves gold guide | How to defeat a Sea of Thieves kraken | Sea of Thieves Gold Hoarders guide | Sea of Thieves Merchant Alliance guide | Sea of Thieves Order of Souls mission guide | Sea of Thieves skeleton fort guide
Weekly digests, tales from the communities you love, and more
Jack Yarwood is an experienced freelance writer and investigative journalist, with bylines on a variety of publications which include GamesRadar+, PC Gamer, Polygon, IGN, Fanbyte, and more. Jack specializes in reporting around the tech, arts, and entertainment sectors.


