Sea of Thieves Tall Tales guide: How to complete every mission
Make your way through a legendary adventure with our abdridged guide to Sea of Thieves’ Tall Tales.
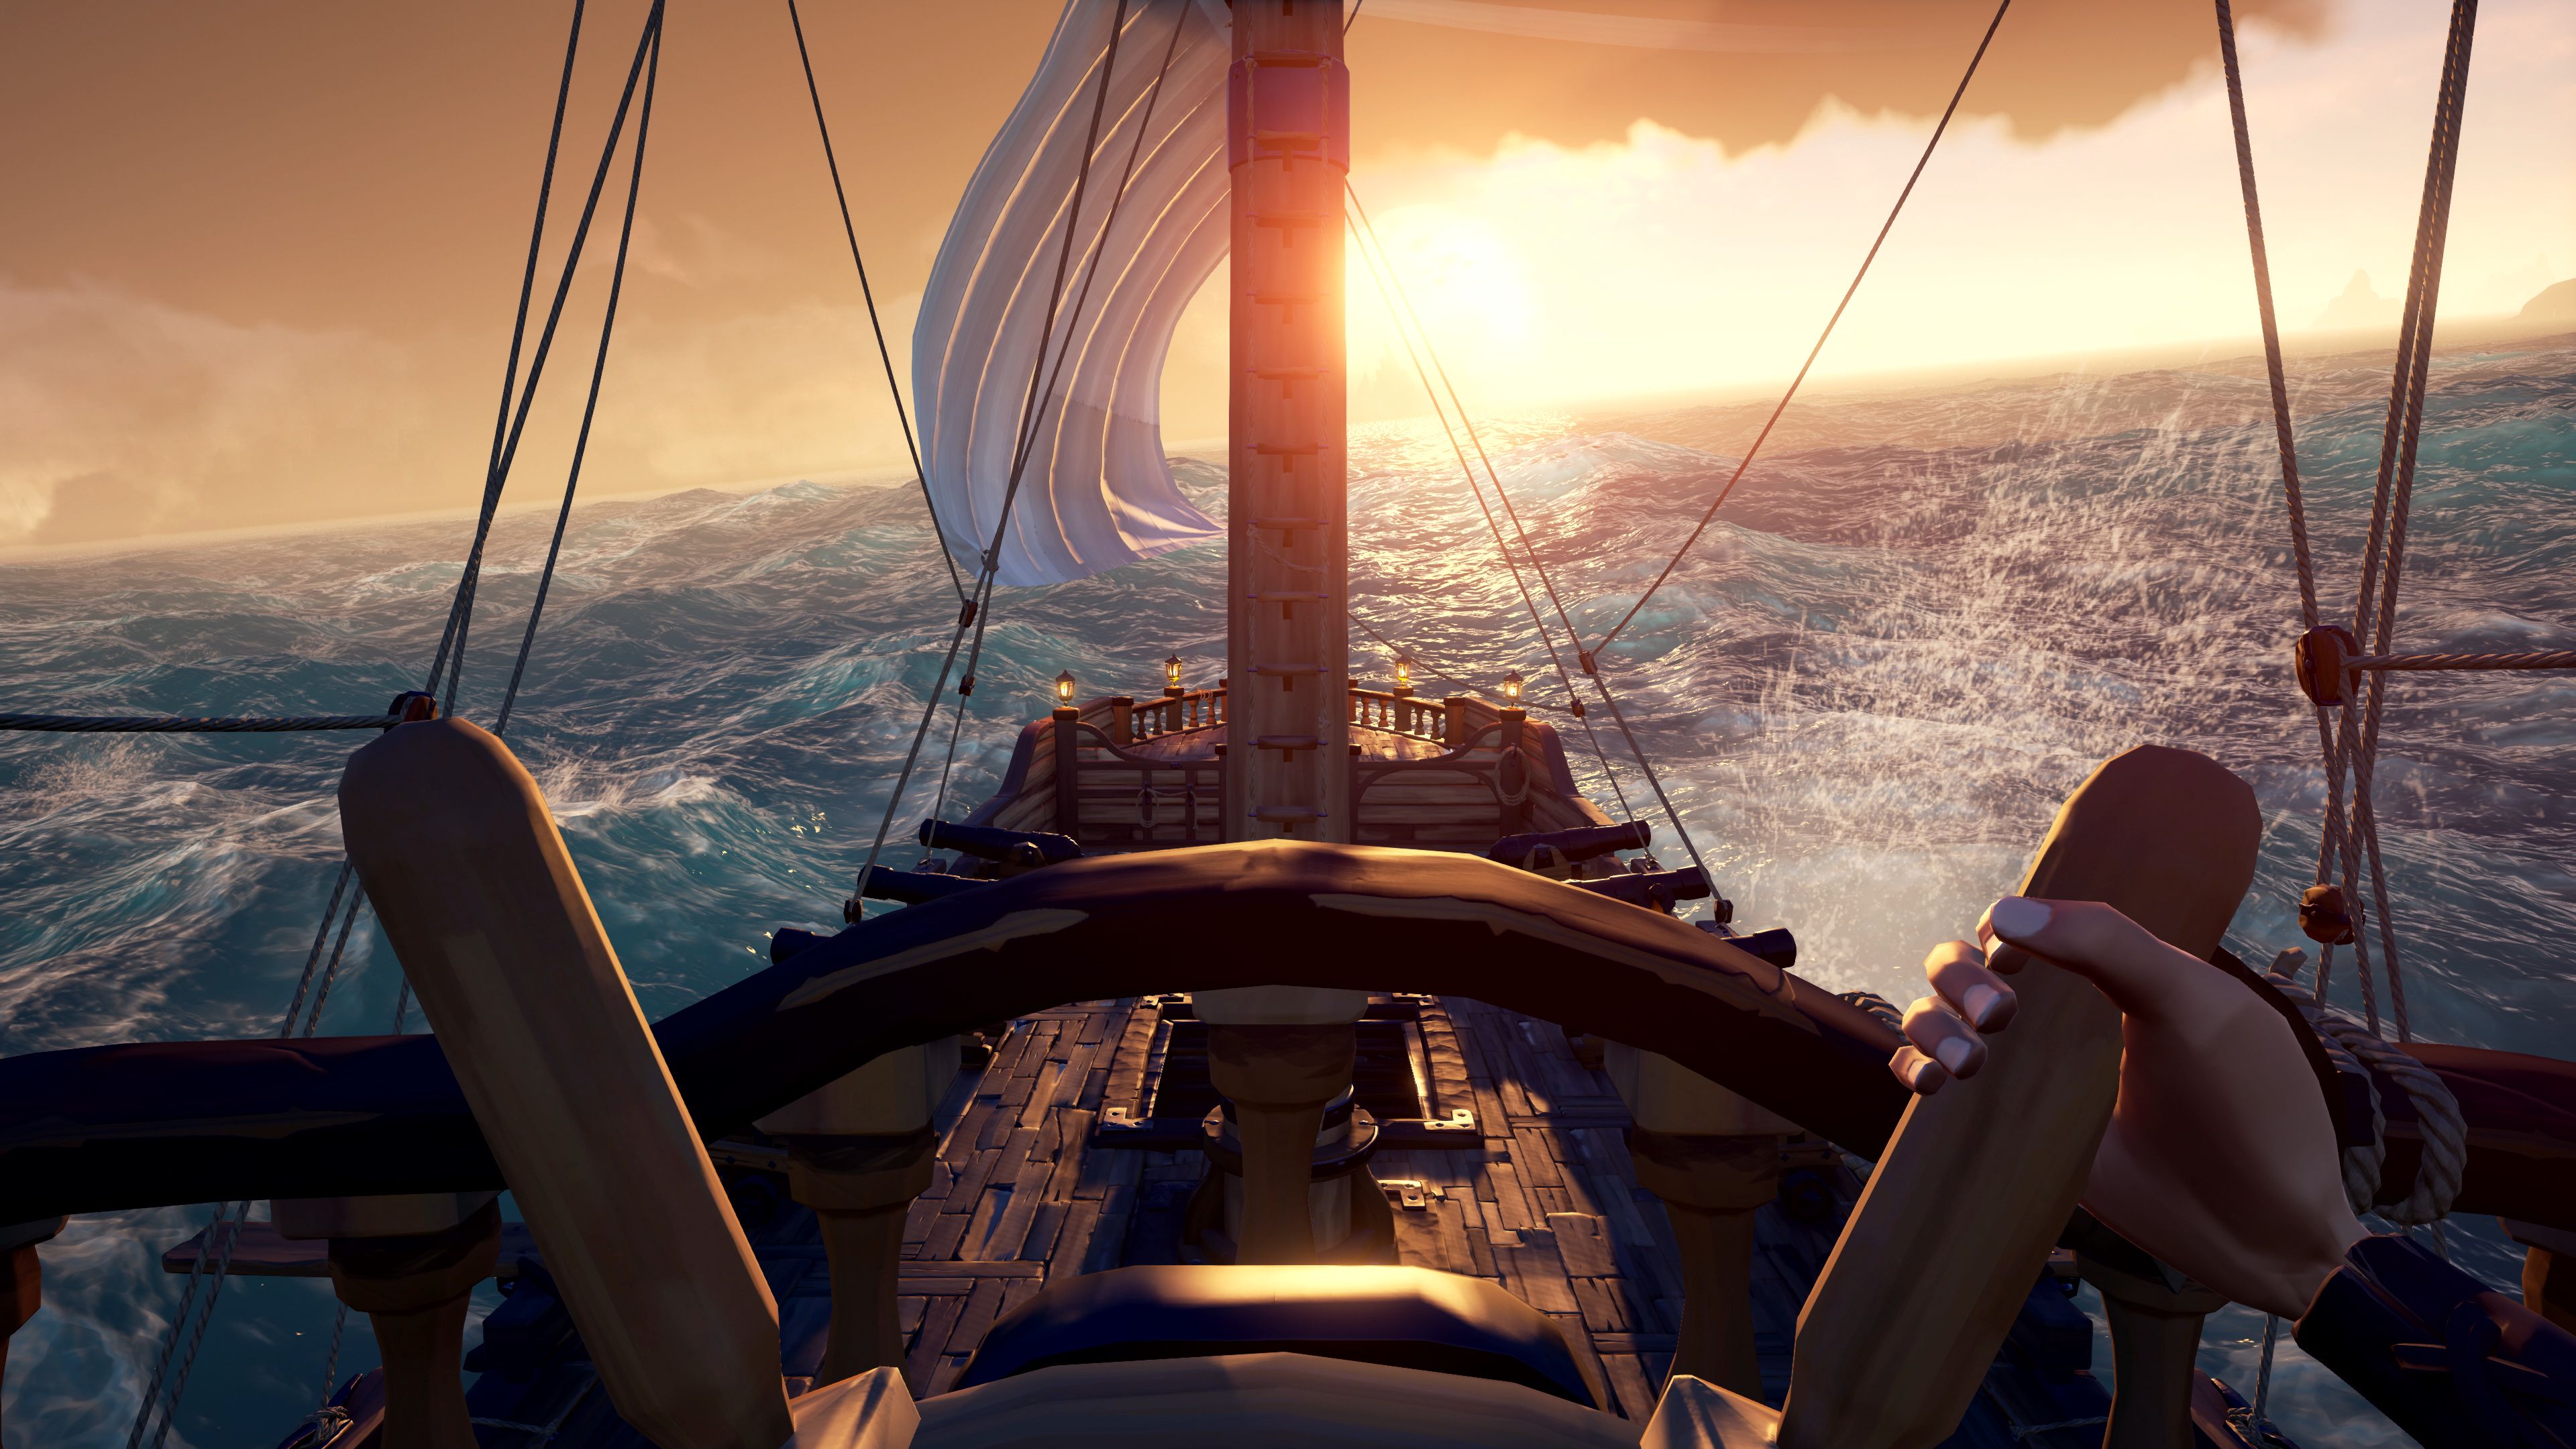
If it's story you're after, look no further than the Sea of Thieves Tall Tales. In it, players will embark on quests of love, vengeance, fortune, and the impossible. All the meanwhile, the Sea of Thieves lore and backstory comes to the forefront. Tall Tales is a genre-bending blend of narrative at sea, and it's honestly one of the game's best bits. If you're looking to get through the entire campaign, here's how to complete every one of the Sea of Thieves Tall Tales and make it to the fabled Shores of Gold.
If you're just getting started with the Sea of Thieves Tall Tales, they can be very involved, often requiring players solve some complex puzzles, piece together mysterious journals, and fight off Big Bads in boss battles. For the abridged version of each of the Tall Tales, use our Tall Tales guide to get you seeing Sea of Thieves in a whole new light.
The Shroudbreaker Tall Tale
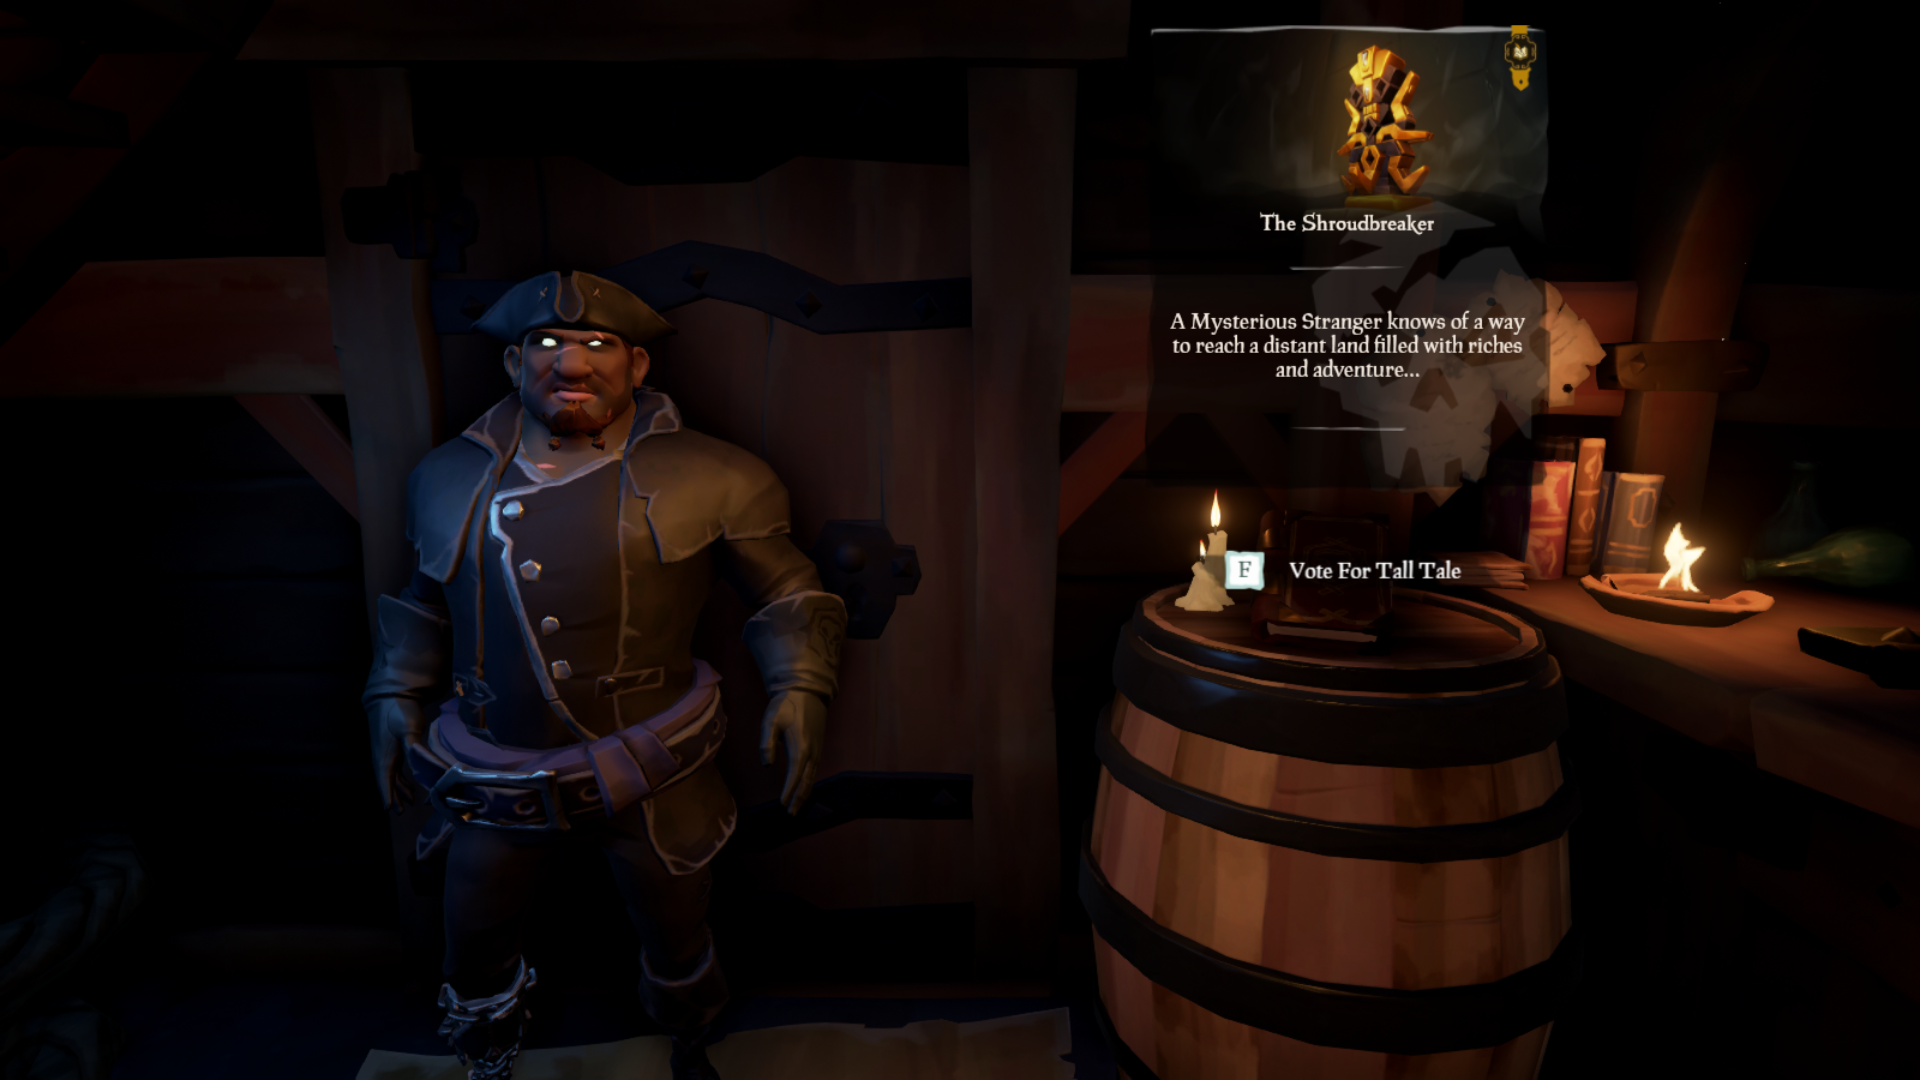
The Sea of Thieves Shroudbreaker Tall Tale is the first in the game and you can pick it up as soon as you log in. Head over to the Mysterious Stranger in any given tavern and vote for it atop the barrel to his right. As he will explain, this mission is all about finding the Shroudbreaker, a key item locked up in an ancient vault. Here’s how to beat it.
- Your first task is to find the Magpie’s Wing ship log, which is in an underwater shipwreck on the North side of the uncharted island at N13, amidst some books.
- Now with the extra pages of the book unlocked, read the ship log, study the descriptions and follow the listed compass directions to find the island where the chest ended up. This part is different for everyone,
- Once you find it, retrieve it from the briny depths and unlock it to grab a totem that differs each time you play. Read your book once more and use the ship map to pinpoint the shape of the island depicted that you need to head to.
- Go there, search the island for symbols relating to your totem (usually painted on rocks) and find the tiny totem slot to unlock the ancient cave.
- Now in the chamber, consult your book to the right of the island sketch, and you’ll see a row of three symbol combinations. Light the four braziers with your lantern and rotate the blocks accordingly, pressing the middle button after each row.
- Now the brazier table will have an image on top that dictates where three medallions are. Luckily they’re on the island, so just match the location shown and dig them up!
- Return to the brazier table with the medallions, plug them in and grab the Shroudbreaker behind a hidden door.
- Return to any nearby outpost (do NOT drop this item in the water) and hand it to the stranger to complete the quest.
The Cursed Rogue Tall Tale
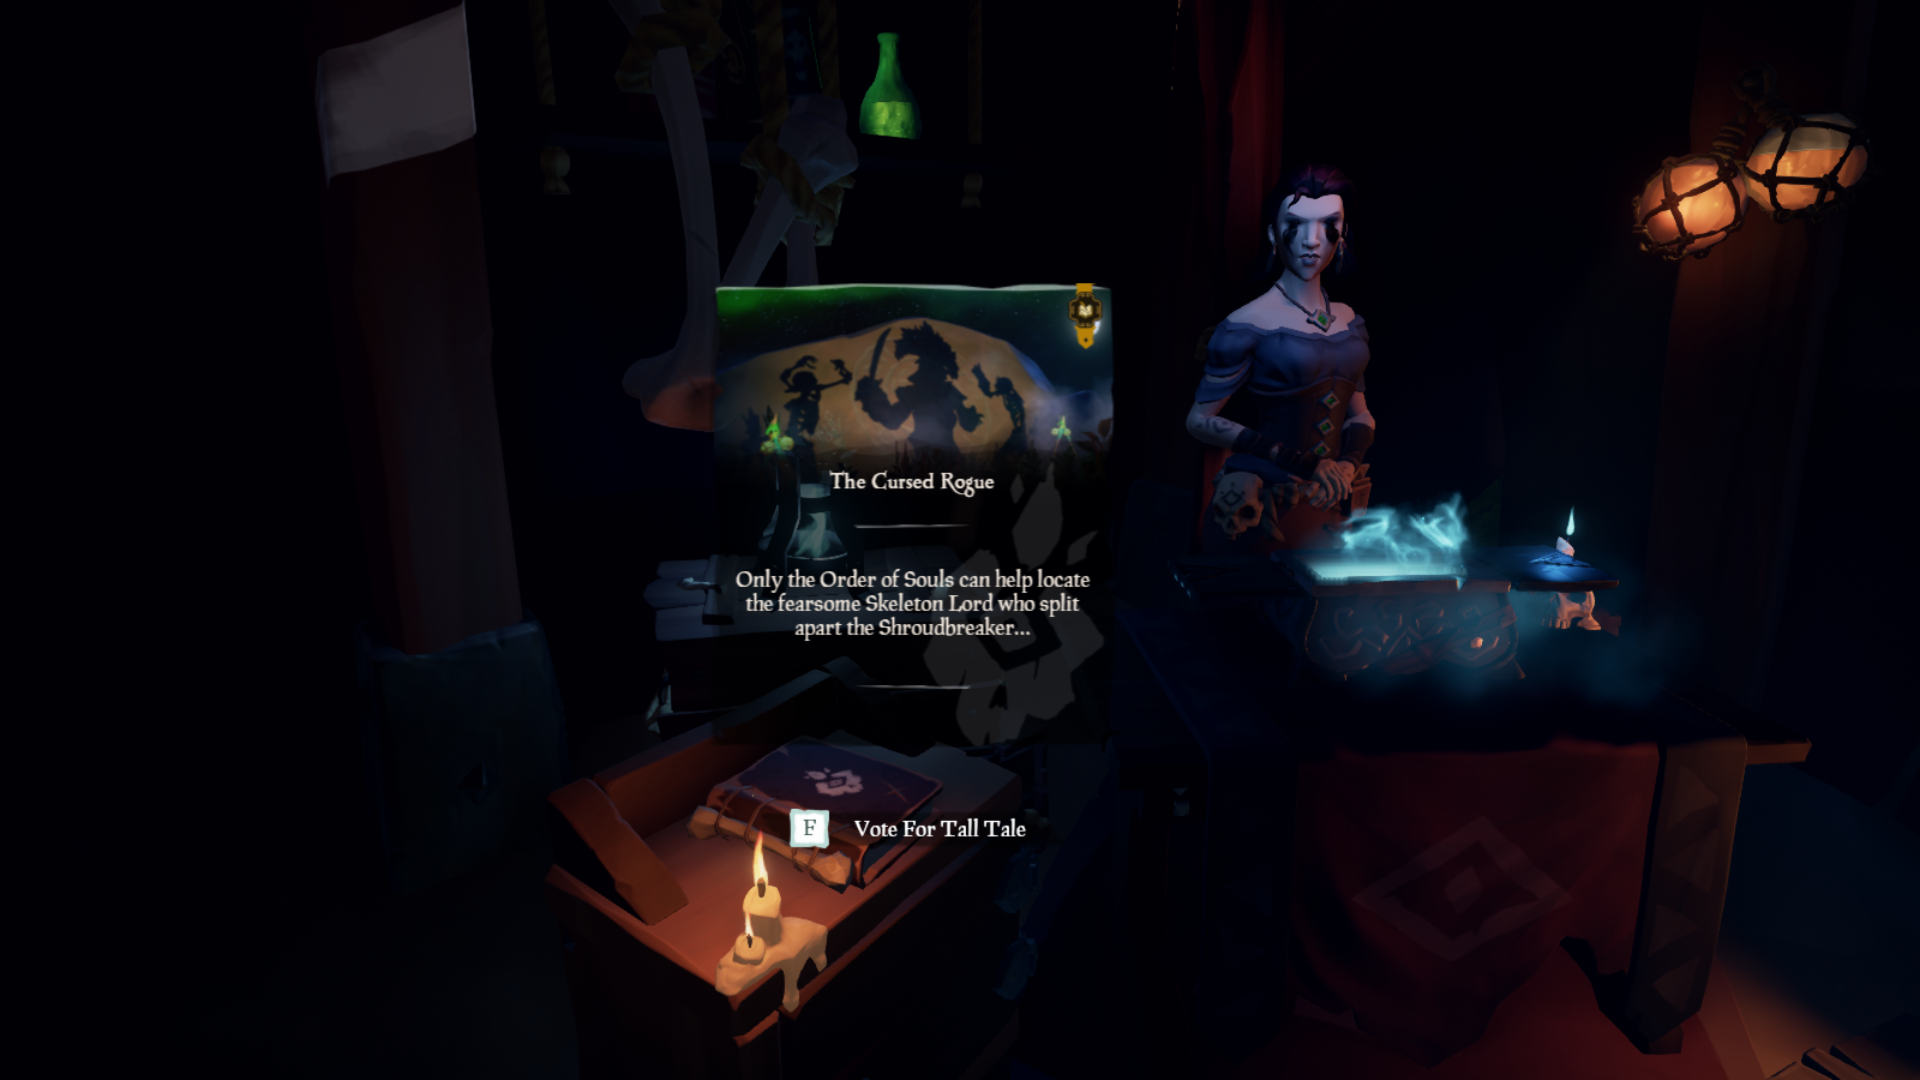
The Sea of Thieves Cursed Rogue Tall Tale is picked up at Plunder Outpost in the Order of Souls tent. Chat to Madame Olivia to get going and let’s take on Captain Briggsy!
- Your first task is to find a Skeleton Key. Read your book in the radial menu and study the sketches and text (it will usually mention the crop of islands like the ‘Southern Ancient Isles’ to narrow it down.) It’s usually Snake Island or Devil’s Ridge, but it could also be Shark Bait Cove.
- You’ll know you’re in the right place if you hear skeletons muttering. Focus on the Captain and nab the key they leave behind. Don’t drop it!
- Now study the next story to find the chest, which is usually at Crook’s Hollow, Plunder Valley or Thieves’ Haven. Find the general area like the ‘Northern Ancient Isles’ in the text and head to the closest one.
- Repeat step 2 and find the location of the last picture in your book on your island, which is where you need to dig for the chest
- Take the chest items back to Madame Olivia and swap them for an Enchanted Compass. Follow it to Captain Briggsy.
- Kill Briggsy (watch out for the teleport shtick) and take her skull back to Madame Olivia.
The Legendary Storyteller Tall Tale
Head over to Ancient Spire Outpost and speak to the barkeep Tasha, who Olivia mentioned whilst wrapping up The Cursed Rogue. Vote for the tale and get ready for an adventure.
- Book in hand, follow the childish drawings to the described islands. There are three different stories to complete per instance, and they’re randomised so this one is down to you. One of ours was called ‘Naughty Man’ and took us to Scurvy Isle, but it varies. Look for the island names and compass directions for hints.
- Once you’re on the island look for where the book shows a shining yellow chest. Head to that landmark and dig it up. Do this three times for the two keys and the chest.
- Unlock the chest with the keys to receive a… plank of wood with bits cut out. It’s ok though, flip it over for a co-ordinate to follow.
- Head to that island then line up the cut parts of the wood with a landmark on the island and the tiny chest cutout will be where you need to dig. Ours had us lining up the shark statue in the middle of Shark Bait Cove and digging on the sandy shore, but again, it varies.
- Take the item you find back to the lovely Tasha to wrap up the mission.
Stars of a Thief Tall Tale
You Sea of Thieves Stars of a Thief mission in the middle of nowhere. Head to Sudds counter at the Northern Star Seapost to vote on the book and listen to his lovely Scottish accent.
- Read the book you get which will tell two stories: If it says “one small island made of two,” go to Twin Groves. “Face the North Star… hidden out of sight” means Rum Runner Isle.
- Use the landmark description to find the chest on either island and dig up the Enchanted Spyglass. Ours was betwixt two rocks on Twin Groves.
- This special spyglass can see constellations which, for the sake of simplicity, are compass directions you need to follow. This is the key to the next two puzzles to find the Star Jewels.
- There are multiple randomised stories. Ours was called “Lost an Eye” and mentioned heading in “One Eye’s direction far from my seapost.” One Eye refers to the one-eyed shark constellation denoted in the index in your book, which (once you find it in the sky) is South by compass. Follow these rules to find the islands you need.
- Once you’ve got the jewels head to the uncharted island at N13 and dive to the underwater tunnel. Look for the Grecian column in the water to find it.
- Place the jewels to be given a totem. Also, grab the scroll below the star jewel receptacle for extra pages to help you solve the next puzzle. Without it, you’ll be stumped.
- The totem corresponds to a certain island with a totem slot. Hopefully, you’ll get the Crab Totem which is just behind you in the cave where the crab symbols are. Look out for the symbols corresponding to your totem.
- Once you’ve opened the vault, you’ve got another block spinning puzzle. This time, the last page of your book will read out a poem that you have to decipher.
- Each line relates to the description of a constellation in your index, so study that. Warmonger means Great Warrior for example. Match the eight symbols and make the two inputs to receive the Shroudbreaker. Take this back to our mate Suddsy.
The Wild Rose Tall Tale
Head to the Order of Souls tent at Sanctuary Outpost to kick off the Sea of Thieves Wild Rose quest about love on the high seas.
Weekly digests, tales from the communities you love, and more
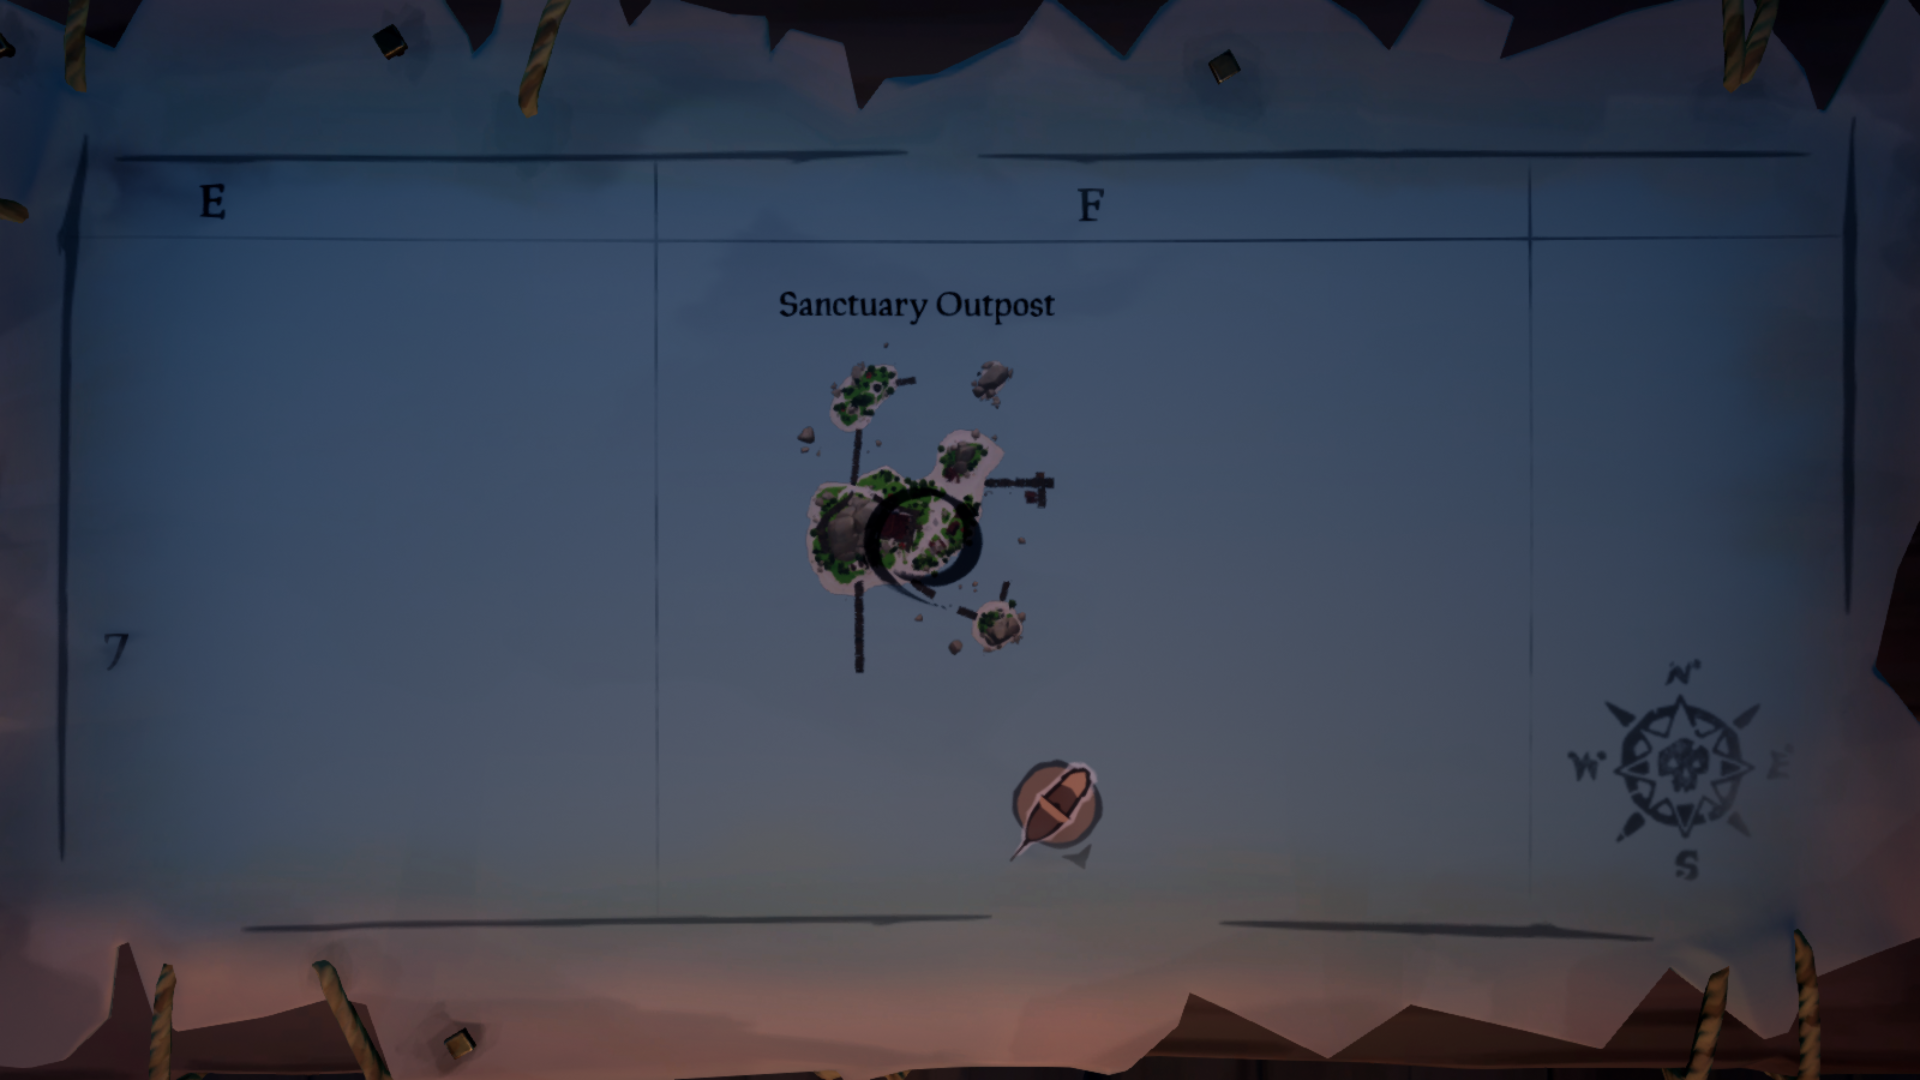
- The first order of business is finding the Chest of Memories, which is in a random location depending on the text of the love letter chapters in the book found in your radial menu. Study the notes, ours was in Rapier Cay.
- Dig that up and you will find two more texts which will lead you to another set of items. If you study the book sketches, the point where you need to dig will most often be where the characters are standing in the picture, so hold it up when you make it to the designated island.
- Grab the buried items and take them back to the Order of Souls tent at Sanctuary Outpost. This will transform the items into a compass you need to follow. This part is simple and will give you half of a pendant before changing the compass direction.
- Follow the new direction. The next pendant piece is dropped after fighting a skeleton captain (no spoilers here!)
- Pick up the pendant pieces and give them back to the Order of Souls shopkeep at Sanctuary Outpost to complete The Wild Rose.
The Art of the Trickster Tall Tale
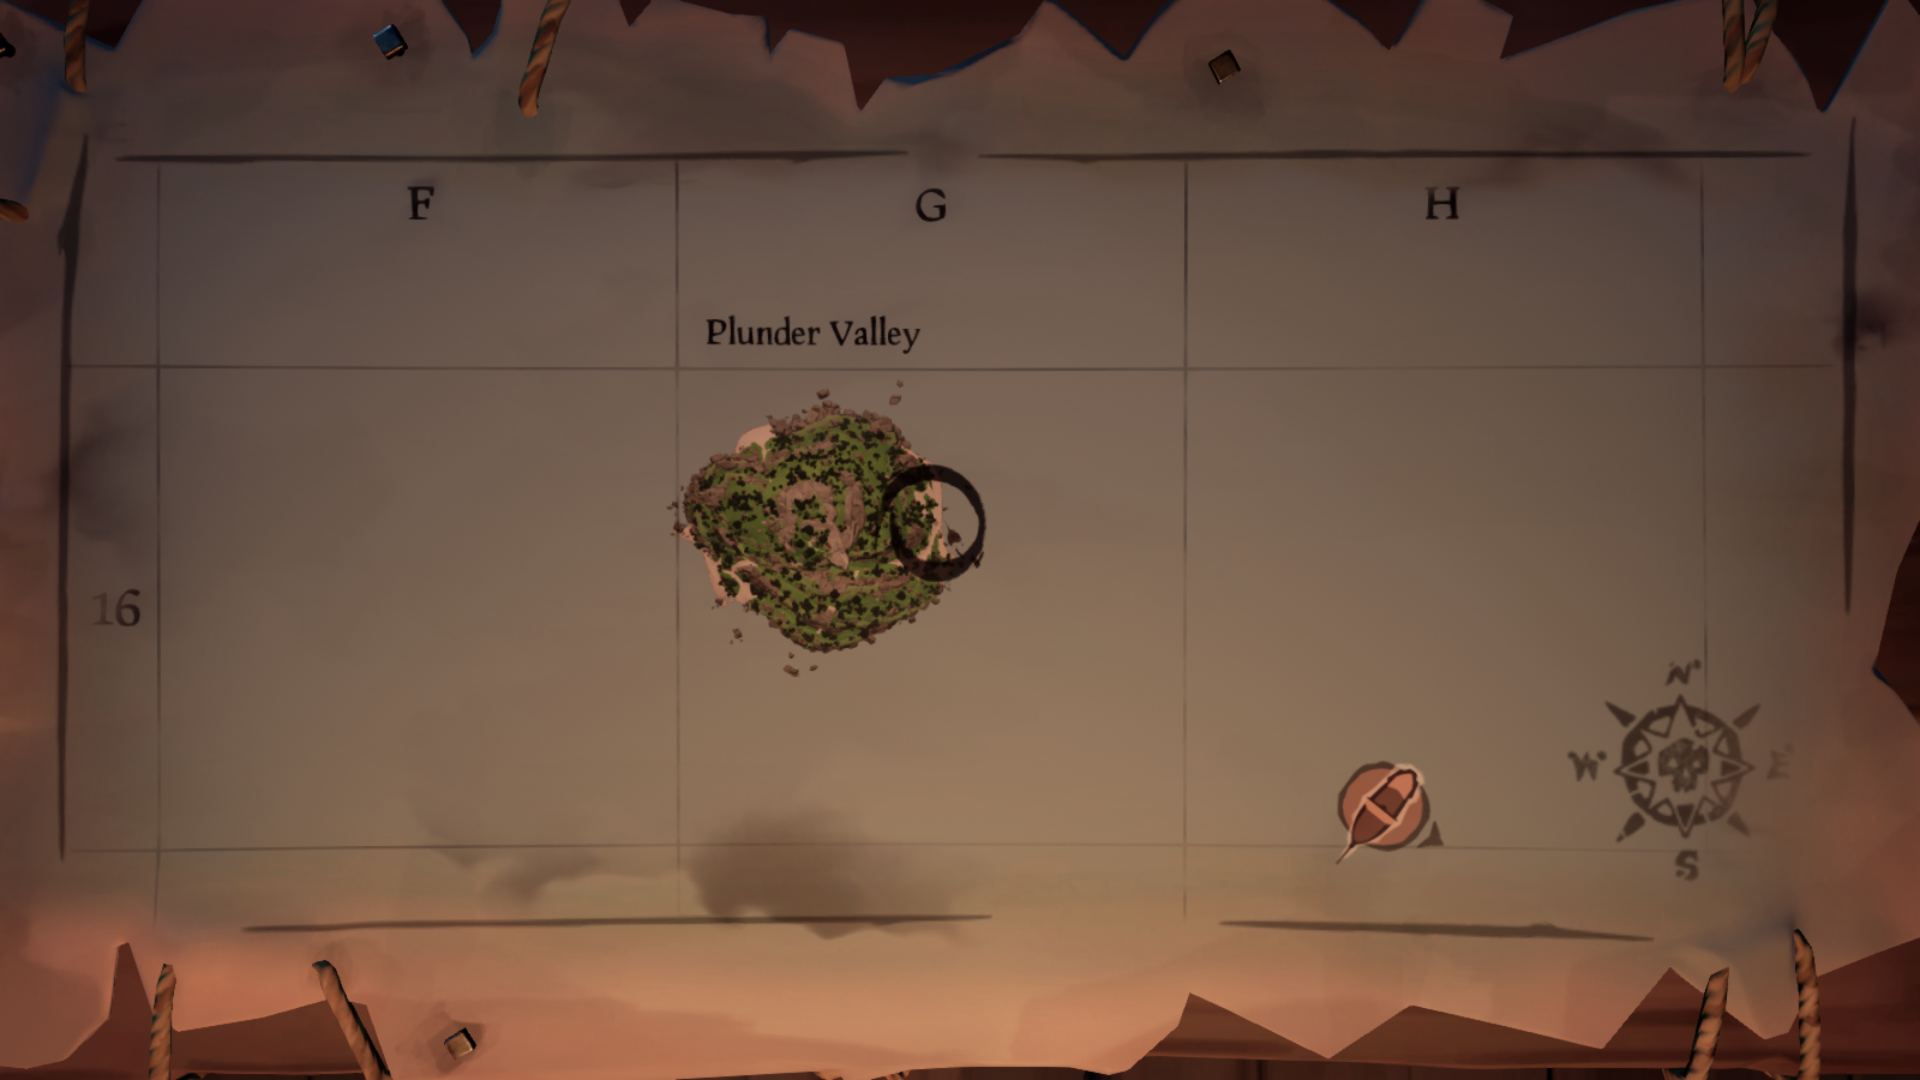
Kick off this quest by heading to Plunder Valley and speaking to the skeleton parrot, Salty, who can be found near the shore next to a wrecked ship and a campfire.
- Once you have the book, head to the other side of the island and into a cave full of spooky skeletons. Follow the instructions in the book to move their hands into position to unlock a cage which has a special spyglass and more text to decipher.
- This leads to a set of spyglass puzzles. Follow the birds-eye depictions of either Plunder Valley or Discovery Ridge and find the wooden planks to stand on. Look down your spyglass and line up the two items in the skull’s eyes. In the mouth of the skull will be an X. Head there and dig three times.
- Once you dig for the third time you’ll get the keg, which will set off a suite of explosions on your given island. Run to your ship with the keg and don’t die here, or you’ll have to start from the beginning.
- Now head to the cave in the centre of Sailor’s Bounty which is chock full of traps to contend with. Don’t lose the keg and place it on the totem mount once you get to the end.
- Fight tons of skeletons and then the captain to get another totem. Head to the designated island depending on your totem and enter the vault. Fight more spooky skeletons by lighting the braziers.
- Defeat the Guardians of the Vault for three medallions, which you then have to place in the table. Finally, take the stone back to Salty, the quest giver.
The Fate of the Morningstar Tall Tale
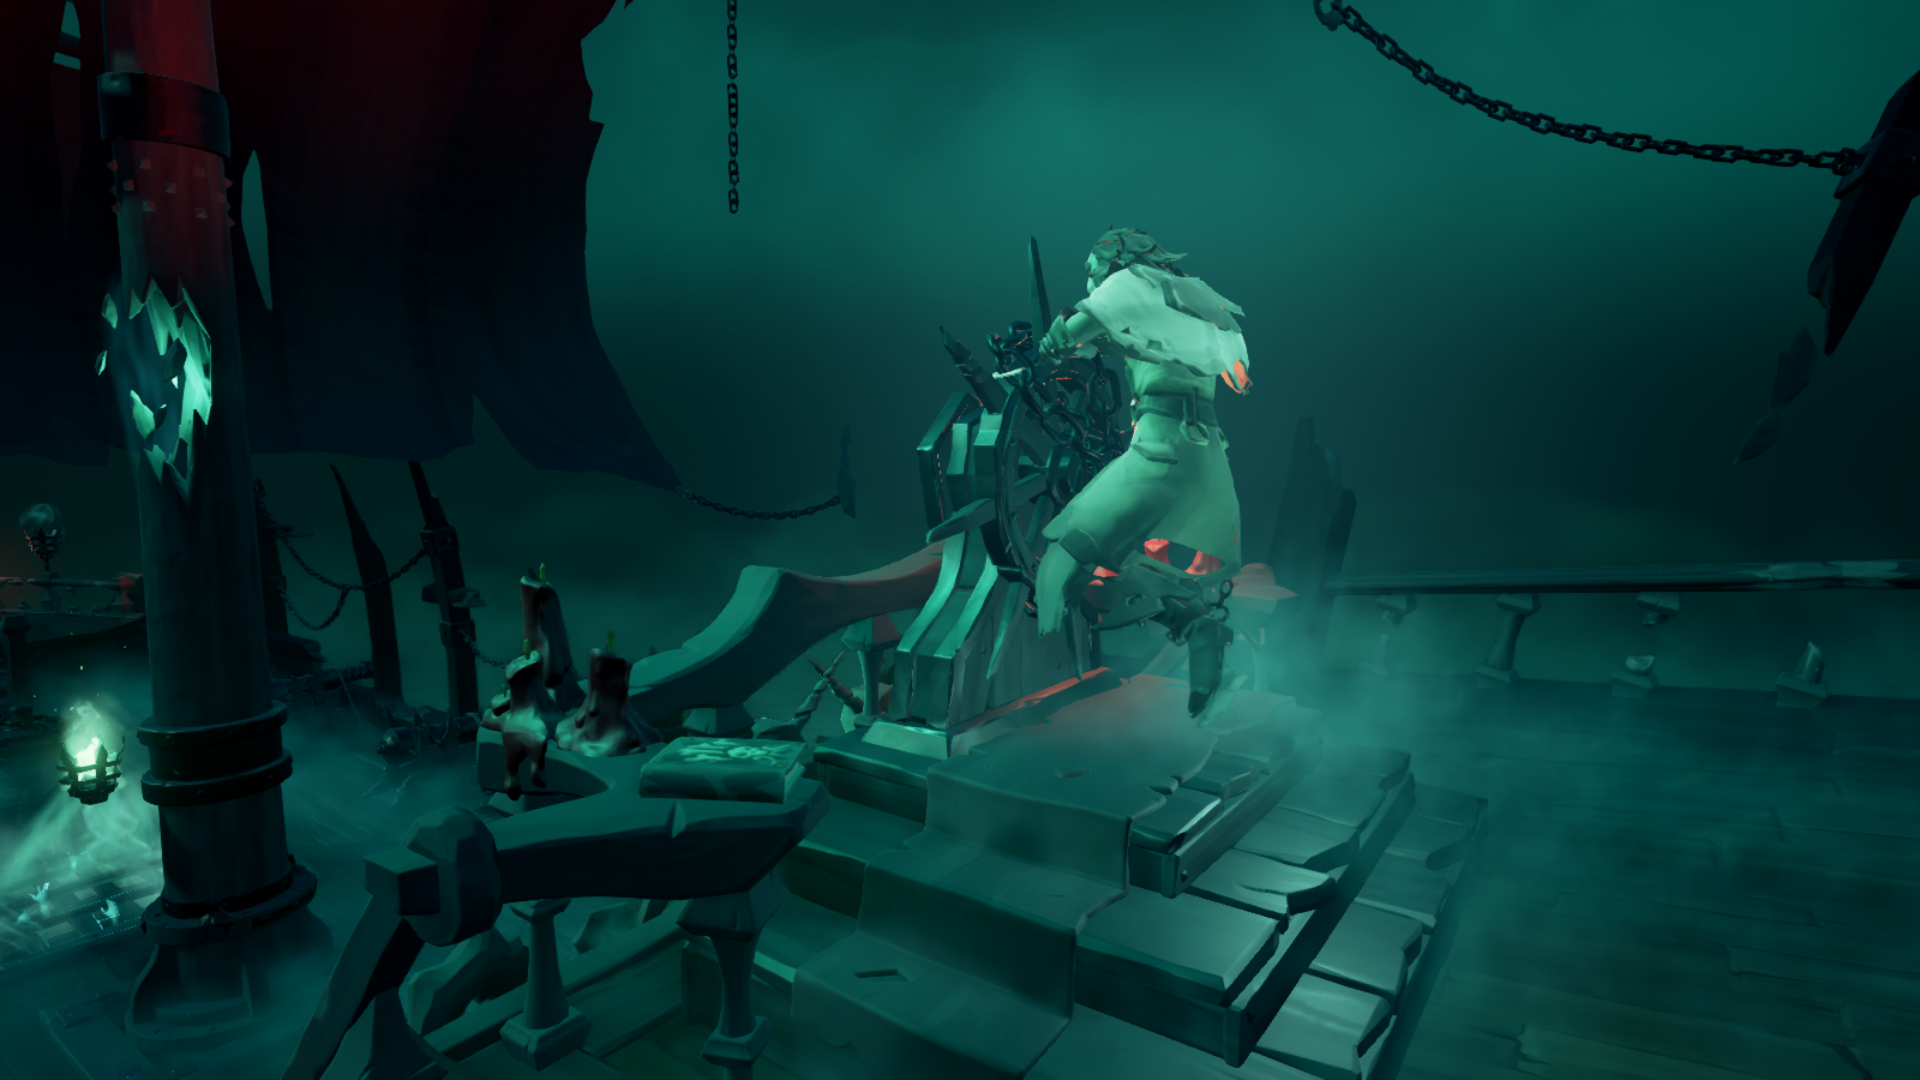
Pop your clogs and head to the Ferry of the Damned for this mission. Chat to the bloke manning the wheel, the tale is on a plinth to his left.
- Check the second page of the received book and head to the highest peak of Kraken’s Fall or Marauder’s Arch and get digging to find the Enchanted Lantern.
- Mosey on down to Old Faithful Ilse and use the lantern to follow the footsteps left by the crew of the Morningstar.
- These will lead you to various locations where you have to find three keys and three chests. It’s straightforward, just make sure to check underwater and fire yourself out of the ghostly cannon.
- Now open the chests with the keys and free the crew, then kill yourself and speak to the wheelman on the Ferry of the Damned to finish this quest.
Revenge of the Morningstar Tall Tale
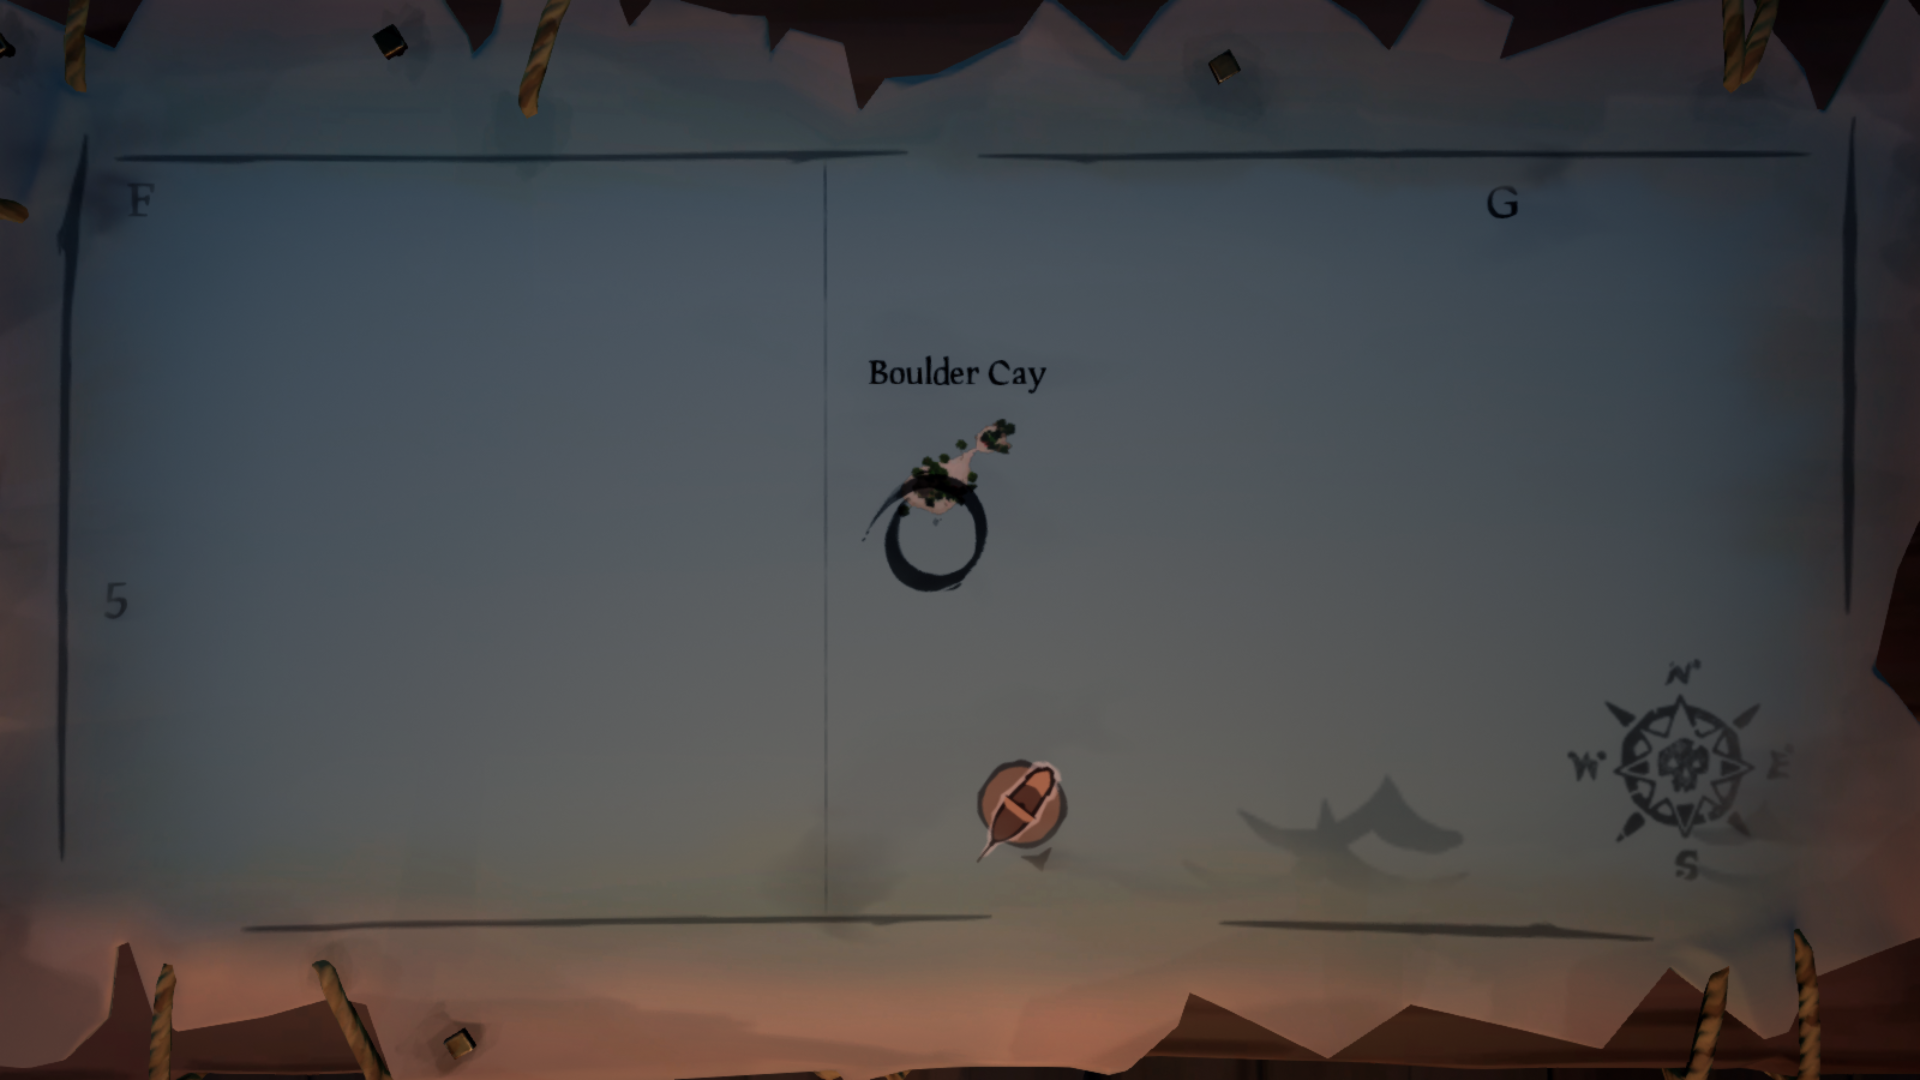
Travel to Dagger Tooth Outpost and you’ll find the book to the right of the shipwright, Sandra. Vote for it and get ready for a dive.
- Head to Boulder Cay and dive beneath the waves on the south side of the island to find the shipwreck and the three ship logs in the water.
- Consult the log once more and it should lead you to a location underneath a palm tree on the other side of the island where you can dig for a chest.
- The chest contains an outfit your entire crew need to wear. Go back and talk to the tavern keeper and the trinket shop owner with this costume on and exhaust the dialogue. They will give you two new destinations, Cannon Cove and Sunken Grove.
- Head to Cannon Cove and listen out for muttering skeletons. Kill the captain, take the orders and decipher them using the codebreaking pages in your book. It’s fairly self-explanatory and is made easy if you can show it to a friend whilst they read.
- They appear to be randomised, but this will tell you where to dig for a skull which you need to progress.
- Now head to Sunken Grove and kill another skeleton captain for another set of orders. Use the codebreaking index to find the dig spot and grab the chalice.
- Now, look back through your text. Find where it says “X shall be my resting spot” and “I shall take my rest at X.” Combine the two into a coordinate, sail there and place your key items in the slots to take on Greymarrow. This boss fight is absolutely brutal. Be ready.
- Grab the stone he drops and head back to Sandra to finish this quest.
Shores of Gold Tall Tale
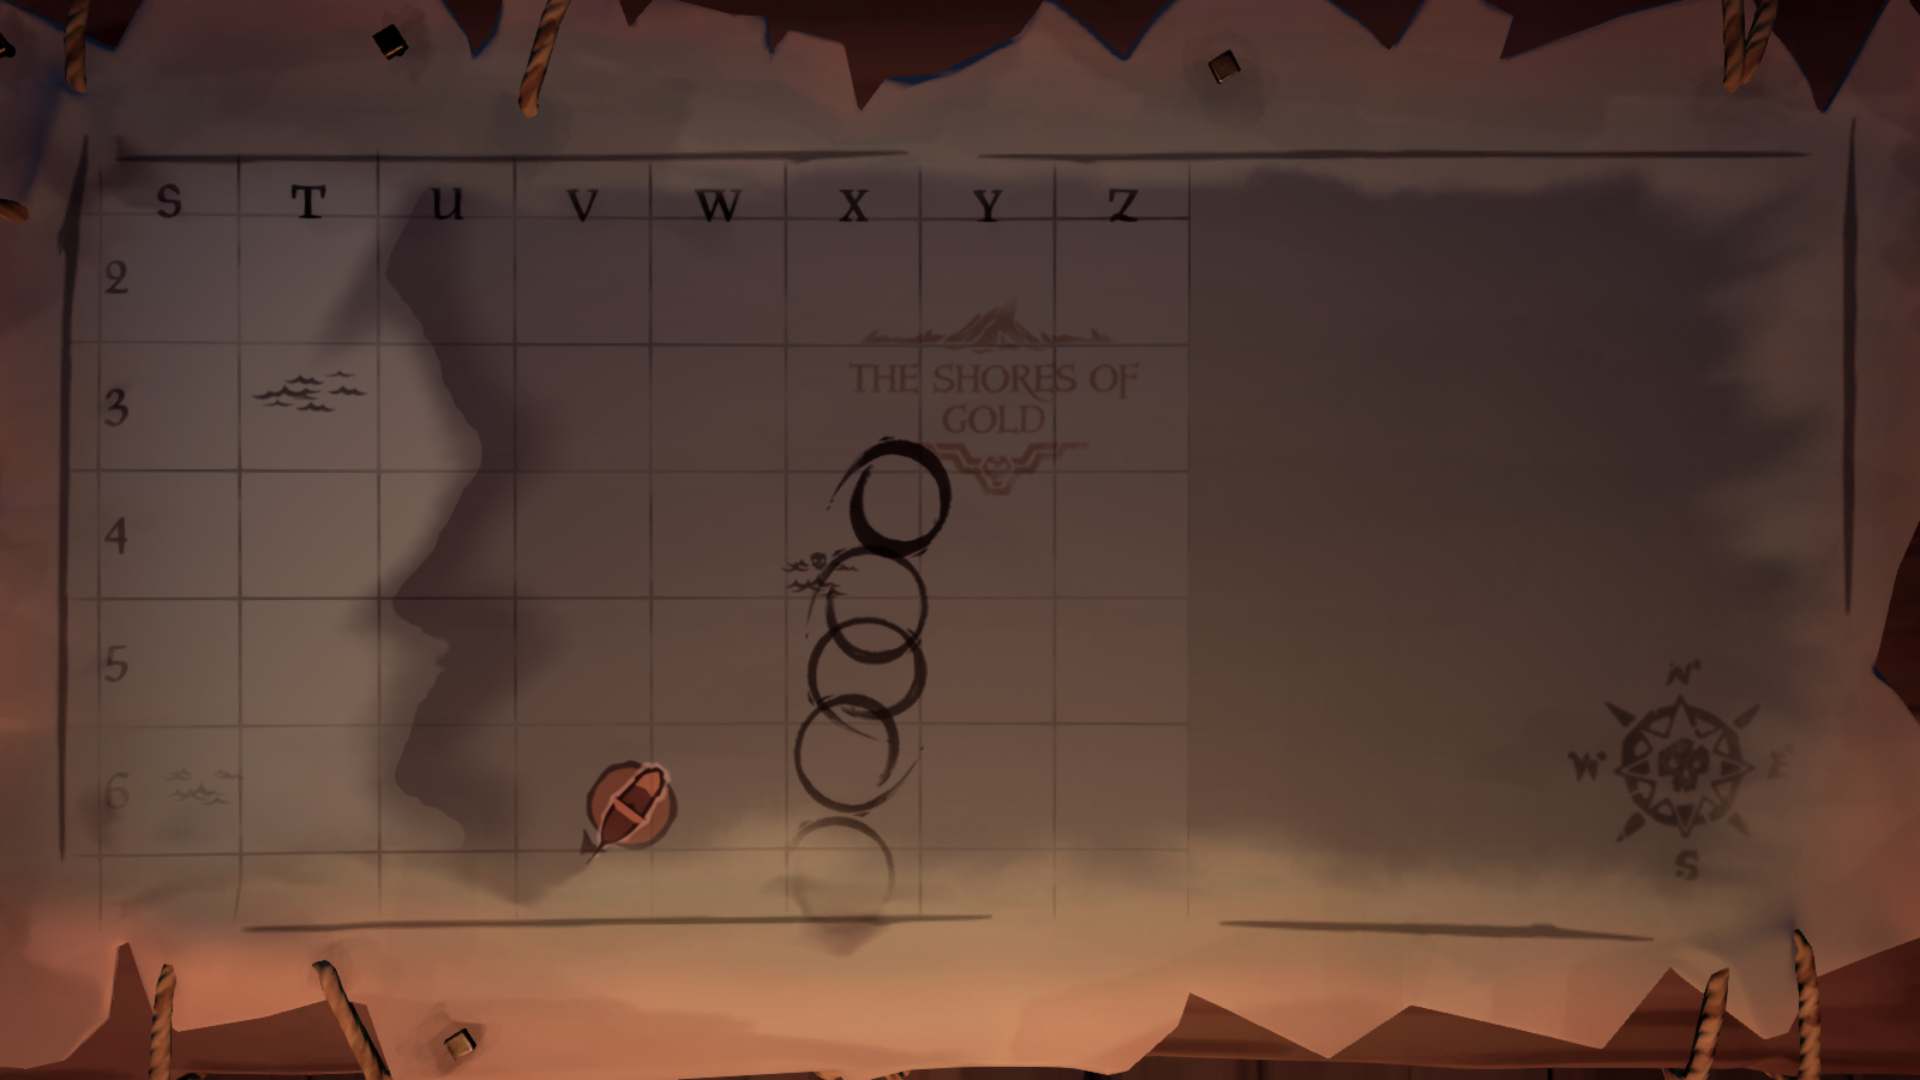
This is the big one. Get ready for the final adventure. Head over to Morrow’s Peak Outpost and vote for the tale on the platform next to the tavern.
- Head dead north from where you’re docked and into the shroud to get to the Shores of Gold.
- There are four vaults on the island you will dock at which you need to solve to progress.
- The West Vault has you finding pressure plates and panels around the island using your compass. Figure out the four symbols and apply them in the vault for the Kraken Token.
- The Southern Vault has a rotating symbol puzzle that is fairly straight forward, simply find the symbol that is not rotating for the Boat Token.
- The East Vault is pretty simple too, look at the ceiling and you’ll see a key formation you need to copy when you’re rotating the blocks to unlock another token.
- The North Vault is treacherous and full of spikes, you have to line up the symbols on the blocks to get the Warrior Token.
- Now head over the bridge to the south and get to the Compass Vault where you’ll see a map where you can place medallions.
- Open the door, nab the coin, then use your boat to shoot you onto the roof of the headless throne statue.
- Drop inside, use your coin to open the door and fight your way through the gauntlet of traps and skeletons.
- Defeat the final boss Gold Hoarder in his chamber and take his skull back to the Order of Souls. You’ve completed the Tall Tales!
Sea of Thieves tips | Sea of Thieves update | How to fish in Sea of Thieves | Sea of Thieves animal locations | Sea of Thieves pirate legend guide | Sea of Thieves gold guide | How to summon Sea of Thieves Shrouded Ghost megalodon | How to defeat a Sea of Thieves kraken | Sea of Thieves Gold Hoarders guide | Sea of Thieves Merchant Alliance guide | Sea of Thieves Order of Souls mission guide | Sea of Thieves skeleton fort guide

Jordan Oloman has hundreds of bylines across outlets like GamesRadar+, PC Gamer, USA Today, The Guardian, The Verge, The Washington Post, and more. Jordan is an experienced freelance writer who can not only dive deep into the biggest video games out there but explore the way they intersect with culture too. Jordan can also be found working behind-the-scenes here at Future Plc, contributing to the organization and execution of the Future Games Show.

 Join The Community


