The Legend of Zelda: A Link Between Worlds dungeon guide
Tower of Hera
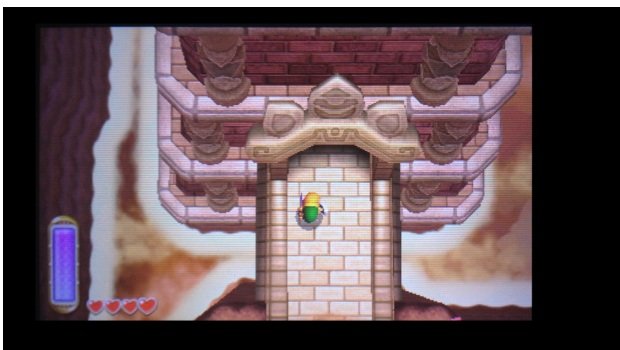
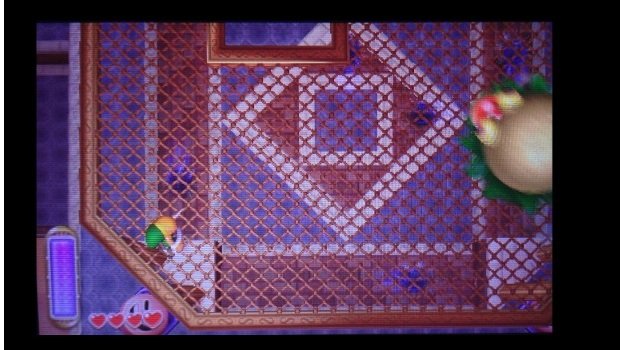
In the opening room, use the Hammer to pound the frowning faces out of the way. Swipe the blue orb to lower the blue walls, then move forward. Swipe a red orb to lower the red wall and continue forward. Use the Hammer to pound the frowning faces to the left, then step onto them. When they pop back up, you'll be bounced to the platform in the corner. Merge into the wall and slip through the bars to find a chest with a Purple Rupee outside.
Head back inside and merge back into the wall. This time, move to the left to reach the side of the room. Continue around the room in this fashion, using the frowning faces in conjunction with the Hammer to reach the last platform. Pound the giant frowning face with the Hammer, then use it to launch yourself to the second floor.
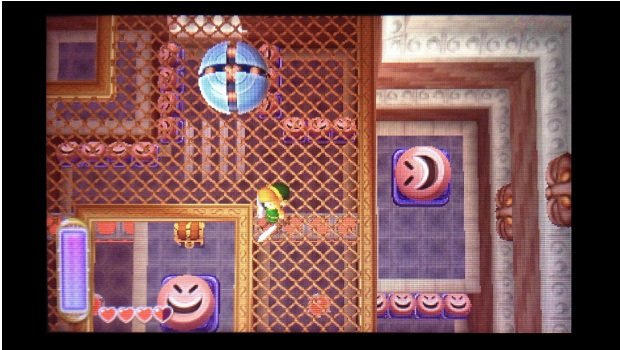
Drop into the hole in the middle of the room to reach the chest blow - it holds the Compass. Pound the giant frowning face with the Hammer and use it to return to the second floor. Do the same with the face on the left side of the second floor to reach the third.
If the blue walls are up, merge with them to reach the blue orbs on either side of the room. Strike one to lower the blue walls. Now step onto the lowered wall and fire and arrow at a red orb. This will raise the wall and you with it. Grab the Small Key from the raised platform in the middle of the room. Use it to open the locked door on the right side of the room.
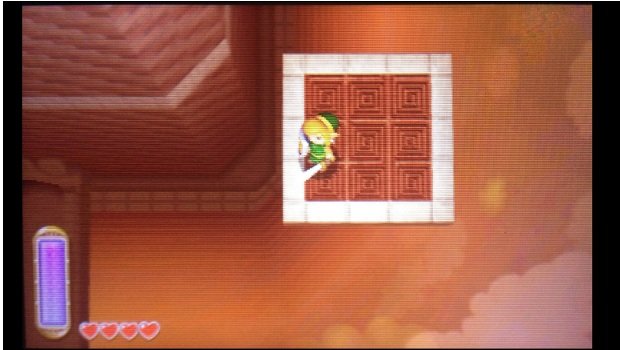
Ride the circling platforms outside, taking out any attacking crows. When you reach any brick obstacles, merge and move around the corner to stay on the platform. When you reach the left side of the tower, step off.
Merge with the wall and move onto the moving red bricks. Ride them to the fourth floor, then hop off onto the ledge. Head back inside.
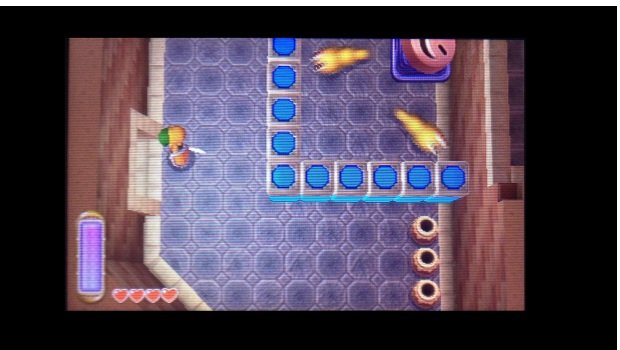
Take out the two Stalfos, then swipe the blue orb at the top of the room if you haven't already. Take out the trio of Mini-Moldorms and use the Hammer on the big frowning face to reach the upper ledge. The chest on the other side of the dip contains a Blue Rupee.
You need to stand on the lowered blue wall then fire an arrow at an orb to raise yourself. At this height, you can merge into the wall and exit through the bars on the right side of the room.
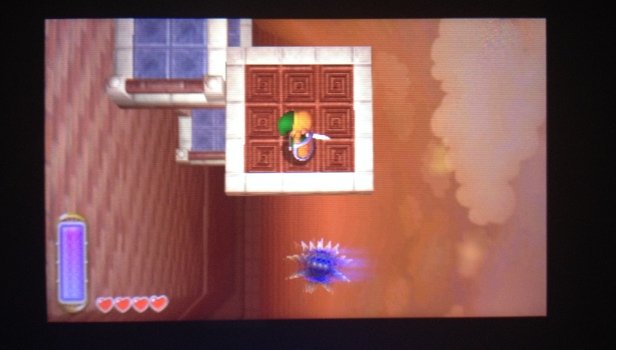
You've got more platforms to ride out here. Dodge the spinning spikes, and merge with any obstacles to stay atop the platform. When you reach the left side of the tower, you need to merge again and ride the red block to the sixth floor.
You'll have several Stalfos to battle in here, but the fight shouldn't be too tough. Take them out to create a warp portal and an elevator platform. You're half way there!
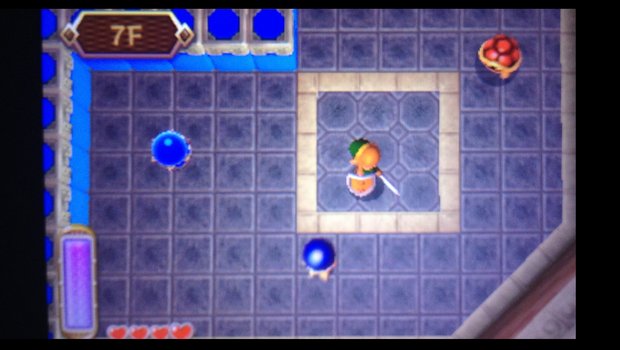
Ride the elevator to the seventh floor. There are many cracked tiles up here. Use the Hammer to bust through the ones in the northwest corner. Drop through to grab a Small Key, then use the Hammer on the frowning face to return. If you drop through the northeast tiles, you find a chest containing Monster Guts. Use your Small Key on the locked door on the left side of the seventh floor.
Outside, step onto the tile and wait for it to move. When you near the high ledge, use the Hammer on the frowning face to launch yourself up. If you merge with the wall here, you can move right and drop to a lower ledge with a chest containing a Silver Rupee. From the ledge after the first Hammer jump, ride the next frowning face platform. Use another well timed Hammer pound to launch yourself to the ninth floor.
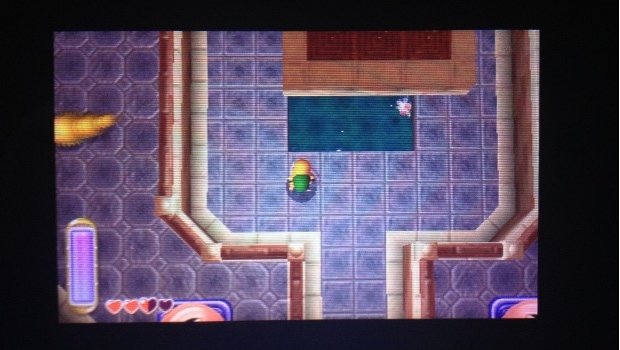
Keep your shield up as you enter: several tiles will fly at you. After their attack, the center platform will start to rise and fall. Drop under it when it's elevated to find a nice fairy spring and a chest containing a Purple Rupee. Heal if you wish, then ride the moving platform to the tenth floor.
There are four orbs that need to be struck up here. Hit them all to lower a frowning face to your level. Use a Hammer pound to launch yourself to the eleventh floor.
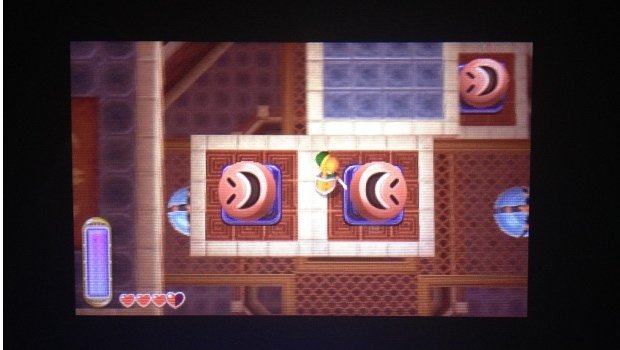
You've got a pair of moving platforms with frowning faces up here. Time your Hammer strikes to launch to the chest on the right side of the room - it contains the Big Key. Then use the same tactic to reach the left side of the room. Open the door with the Big Key.
Outside, use Hammer strikes to reach the tower's top. Use a final strike on any of the frowning faces to launch to one last upper platform and start the boss battle.
Battling Moldorm is really quite simple. Just keep on your toes and avoid his random charging. Slash the red orb on the tip of its tail to do damage, and after enough strikes, the boss will go down. Grab your Pendant of Power and say goodbye to the tower!
Weekly digests, tales from the communities you love, and more
Tony lives in Maryland, where he writes about those good old-fashioned video games for GamesRadar+. His words have also appeared on GameSpot and G4, but he currently works for Framework Video, and runs Dungeons and Dragons streams.


