The Legend of Zelda: A Link Between Worlds dungeon guide
Lorule Castle
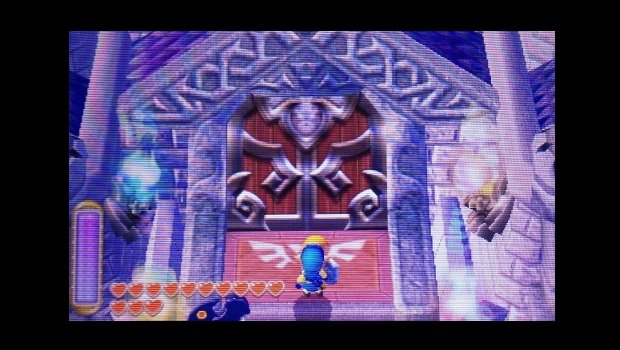
Start by following the stairs to the left. Push the rightmost gargoyle statue off the platform, then merge into the wall. Head right to reach a chest containing a Red Rupee. Merge back across the gap, head through the door.
In here is a Ball and Chain Solider, but this time, his weapon is on fire. Fight him as you would any other enemy, taking care to avoid his flaming weapon. Defeat him to open the way forward, then take the stairs up.
Head straight through the hall to central room of the second floor.
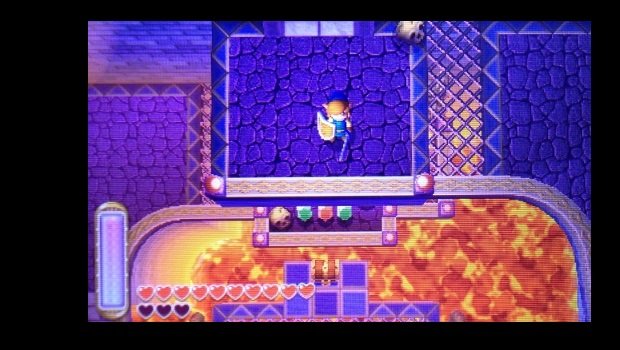
Follow the path clockwise until it ends. Merge to keep moving clockwise and reach a chest containing a Monster Horn. Now move back across and enter the eastern door.
Take out the enemy in here and open the chest for a Red Rupee. Move south to spot a pit, but there's actually an invisible walkway over it. From the center of the ledge, head south until about halfway across the pit. Move east to the wall, then south to reach a second chest containing a Silver Rupee.
Head back to the central room, then take the stairs at its southern end.
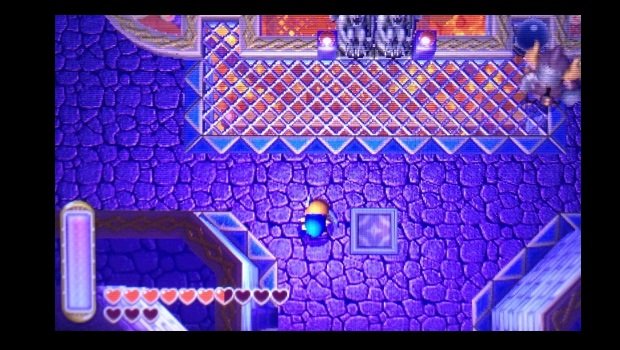
Take out the enemy, then slash the orb just ahead to create a warp portal. Push the gargoyle statues out of the way, then drop off the ledge back to the first floor. Open the chest here for a Small Key.
Head back up to the third floor; use your new warp portal to do it quickly. Step on the tile in the upper left, then head through the door it opens.
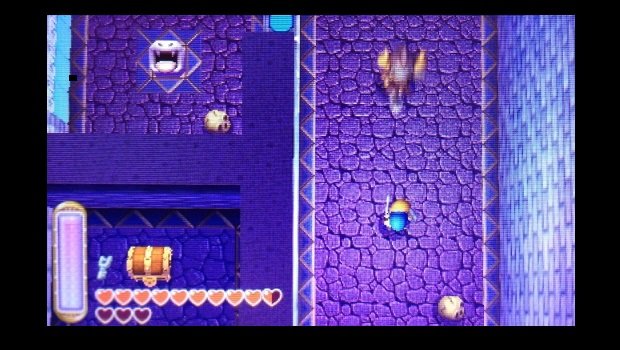
This hallway seems puzzling, but it's really not. Use Bombs (or the walking enemy bombs) to hit the red/blue orbs and change around the active platforms. Ignore the locked door and follow the path as it snakes around. Take the right red platform at the fork to find a chest with a Red Rupee.
When you reach the Bomb Flower, you'll need to take it through the rest of the corridor to the giant cracked rock to the north. (To separate from the Bomb Flower without detonating it, merge into a wall.) The chest here holds another Small Key. Now you can drop down and head through the locked staircase.
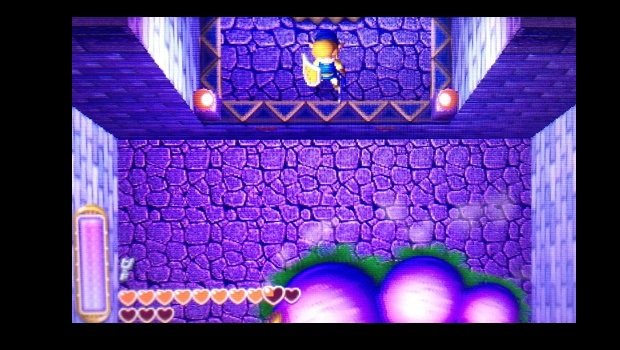
Down here is a familiar boss. Fight him just like last time, attacking the red orb on his tail. The only difference is that the size of the room will shift.
Once he's gone, hit the teleporter to return to the third floor. Now head to the upper right, step on the tile, and hear through the door.
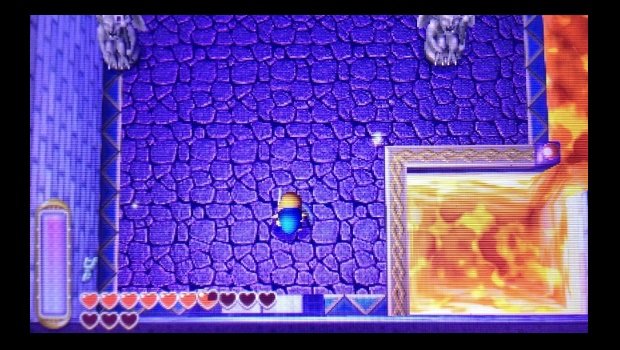
This room is much simpler than the one with the red/blue orbs. In here, platforms will emerge from the lava as you move forward; just go carefully. Follow them northwest to find a chest containing a Monster Tail, then move the northern platform with the gargoyle statue. Pull it away to let spikes freely roll down the path. Lead one across the platforms to clear out the spike blocking your way. Keep moving, then merge across the gap to enter the southern room.
In here, tile after tile will fly at you. Keep your shield up until they stop, and the upper exit will open. Head through.
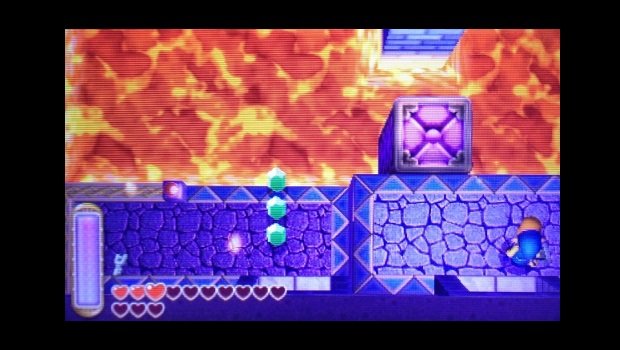
Now on the upper part of the previous room, follow the platforms north to another spot where spikes will roll. Guide one back to the southern end of the room (you'll need to merge at some points). Once it clears the still spike, follow the path the rolling spike took to reach a chest containing another Small Key.
Now head for the locked staircase in the northwest corner of the room. Take it downstairs.
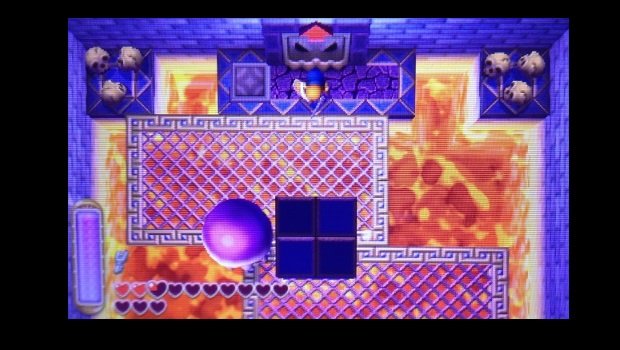
In here is another old boss buddy. Defeat him simply by slashing when the electricity is off; the same goes for when he splits into small copies. The only difference is the shifting platforms. Keep out of the lava, and the battle will end soon.
After the fight, take the teleporter back the central room on the third floor. With two boss fights down, you're probably in need of some health. You've also probably noticed the fenced-in pit in the southeast corner up here. Head up the eastern stairs a bit, then merge into the wall. Move right, then emerge from the wall to fall into that pit. This will drop you onto a high ledge on the lower floor. Merge again and move clockwise through the room to reach another high ledge; through the doorway here are some fairies. Once you're nice and healed up, head back to the third floor and use your last Small Key on the locked staircase.
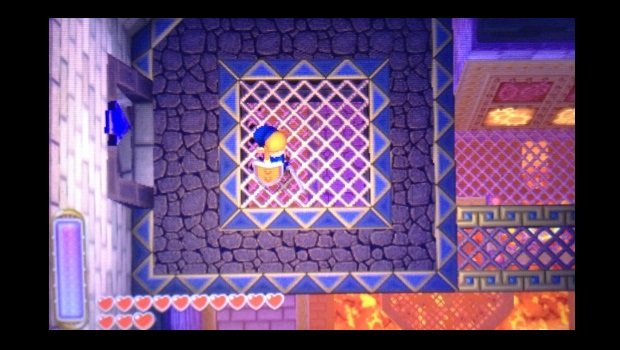
Welcome to the fourth floor. Cross the walkway to the chest; open in for the Compass. Slash to extinguish the fire on the nearby torches, and a shadow path will be revealed immediately south of you. Follow it to reach a large chest containing the Red Mail.
You have two doors you can go through now; we'll start with the left one. Step on the left tile and head through.
This next room seems tough, but it only has one trick up its sleeve. When the lights are out, you can see the invisible walkway; when the torches are lit, the walls move so that you can actually cross said walkway. The key is to extinguish the flames, memorize the walkway's path, rekindle the flame with your Torch, then move along the path. Do this to reach the chest in the middle of the room. Grab the Small Key inside, then continue the process to reach the locked door on the northern wall.
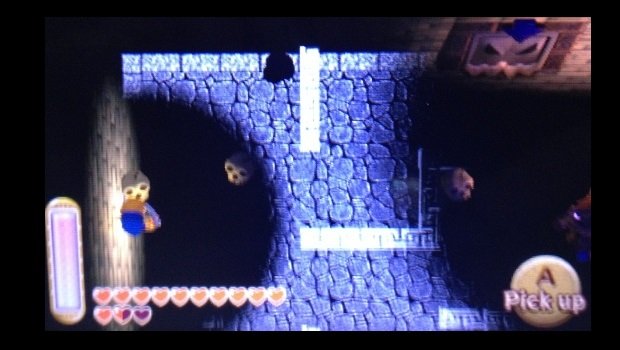
This room actually isn't the home to a recycled boss. Instead, you'll find another Ball and Chain Solider inside. Thing is, the room is dark, and the Soldier's weapon is again aflame. Battle it just as you did the earlier one, noting the invisible walls (visible when not in direct light) in the room.
Once he's down, hit the teleporter to return to floor three. Head back upstairs and move to the eastern door. Use the Hookshot to grab the handle across the gap, then head over the platform it generates into the next room.
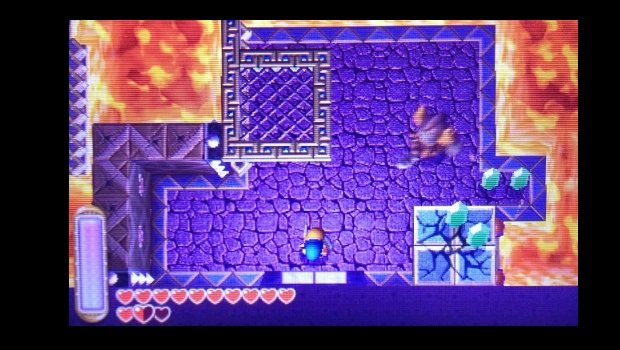
This room has some Soldiers, continually spawning Wall Masters, and lots of lava. Turn right and use Hookshot to cross the small gap by latching onto the silver wall ahead. Head to the moving platform, and ride it north. Open the chest on the landing platform for a Purple Rupee. Now use the Hookshot to pull the handle in the lava; this gets another platform moving. Ride it to find some eyeball-less statues.
You need to find eyes for these. For the first, head left, merge into the wall, and cross the gap. Wait for a Wall Master to spawn, then stand under the cracked tile where the eye sits. When the Wall Master attacks, it will break through the tile and drop the eye to you. Now the tricky part is to toss the eye to the top left corner of the platform your standing on. Merge back across the gap, then use the Hookshot to pull the eye over the lava to you. Toss this into the first statue, then head north.
Hop onto the metal raft and ready the Hookshot. You have to latch onto the walls to guide the raft through these canals. When you reach a switch overhead, wait for a Wall Master to spawn. Trick it into hitting the switch to open the gate ahead. When you reach the end platform, bust up the skulls to reveal three switches. Push the gargoyle statue onto the first, then wait for another Wall Master. Trick into slamming into another switch, then quickly step onto the last to open the way forward. Finally, wait for one last Wall Master to spawn, then use him to break the cracked tile overhead, dropping the second eye to you.
Take the second eye to the second statue, and a chest will spawn. Grab the Small Key from inside, then immediately use it on the nearby locked door.
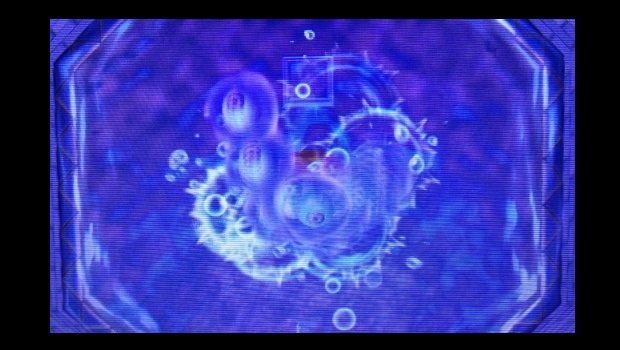
In here is the Swamp Palace boss. Just like last time, yank away the eyeballs with the Hookshot, then slash to defeat them. Once he's exposed, keep moving to avoid his slamming attacks and eye beams. Keep delivering sword blows to finish the job.
With the last boss defeated, hit the teleporter to once again move to floor three. The large door will open; head through to reach the ransacked room you first saw upon entering Lorule. Slip through the crack in here to return to Hyrule, where some fairies are flying about. Heal up, then slip back to Lorule and head through the right door.
Cross the bridge and head north to enter the throne room. After a nice cut scene, you'll be facing a most unexpected, yet probably obvious boss. Does that even make sense?
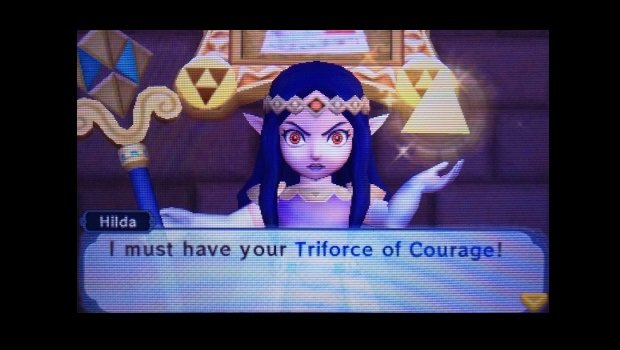
Either way, you're now facing Yuga, infused with Hilda and Ganon's power. He'll begin the fight with sweeping lance attacks. Get in a few sword slashes, then back off to avoid his attacks. Keep this up as he teleports around the arena. Take extra care to dodge when he charges up with dark energy; this attack deals heavy damage.
As you attack, he'll add new attacks. For the first, crystals will fall from above; keep moving to dodge. For another, he'll throw his lance like a boomerang. Again, keep out of its path while you dole damage to Yuga. Continue to pound him, and he'll eventually fall.
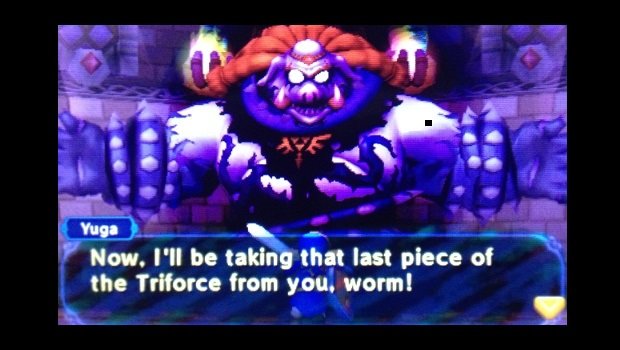
And now the final battle begins. Yuga will fire a ball of dark energy - you can probably guess the next step. Swipe it to send it flying back at him. After a few volleys, he'll be stunned. Zelda will then hand over the Bow of Light, usable only when merged into the wall.
Merge into the wall and fire the Bow of Light at Yuga. This will send him stumbling backwards. Emerge, move behind him, then merge again. Fire into his back while he's stumbling to kick him out of the wall, stunned. Emerge and deliver some sword strikes. Now he'll unleash a really annoying energy attack. Beams while fire from the walls while dark fairies hone in on you. Keep moving to avoid damage.
When the attack ends, it's back the volleying. Send him into the wall, then merge. This time, he charges at you. Wait for him to get close, then pop out. When he slides past, quickly merge and fire an arrow into his back to kick him out again. Deliver more sword damage.
For the final energy volley, he'll toss out two energy balls. Keep slashing to send him into the wall one last time. He'll be on high alert, but the last hit is quite simple to land. As he approaches you, turn around and fire and arrow away from him. It will circle around the room and hit him from behind, booting him from the wall. Pop out and deliver the finishing slash.
Weekly digests, tales from the communities you love, and more
Tony lives in Maryland, where he writes about those good old-fashioned video games for GamesRadar+. His words have also appeared on GameSpot and G4, but he currently works for Framework Video, and runs Dungeons and Dragons streams.


