The best Elder Scrolls Blades armor: the gear and enchantments you need to win
From hide to chaurus, Ebony , Daedric, Dragon Plate and more - Elder Scrolls Blades armor explained
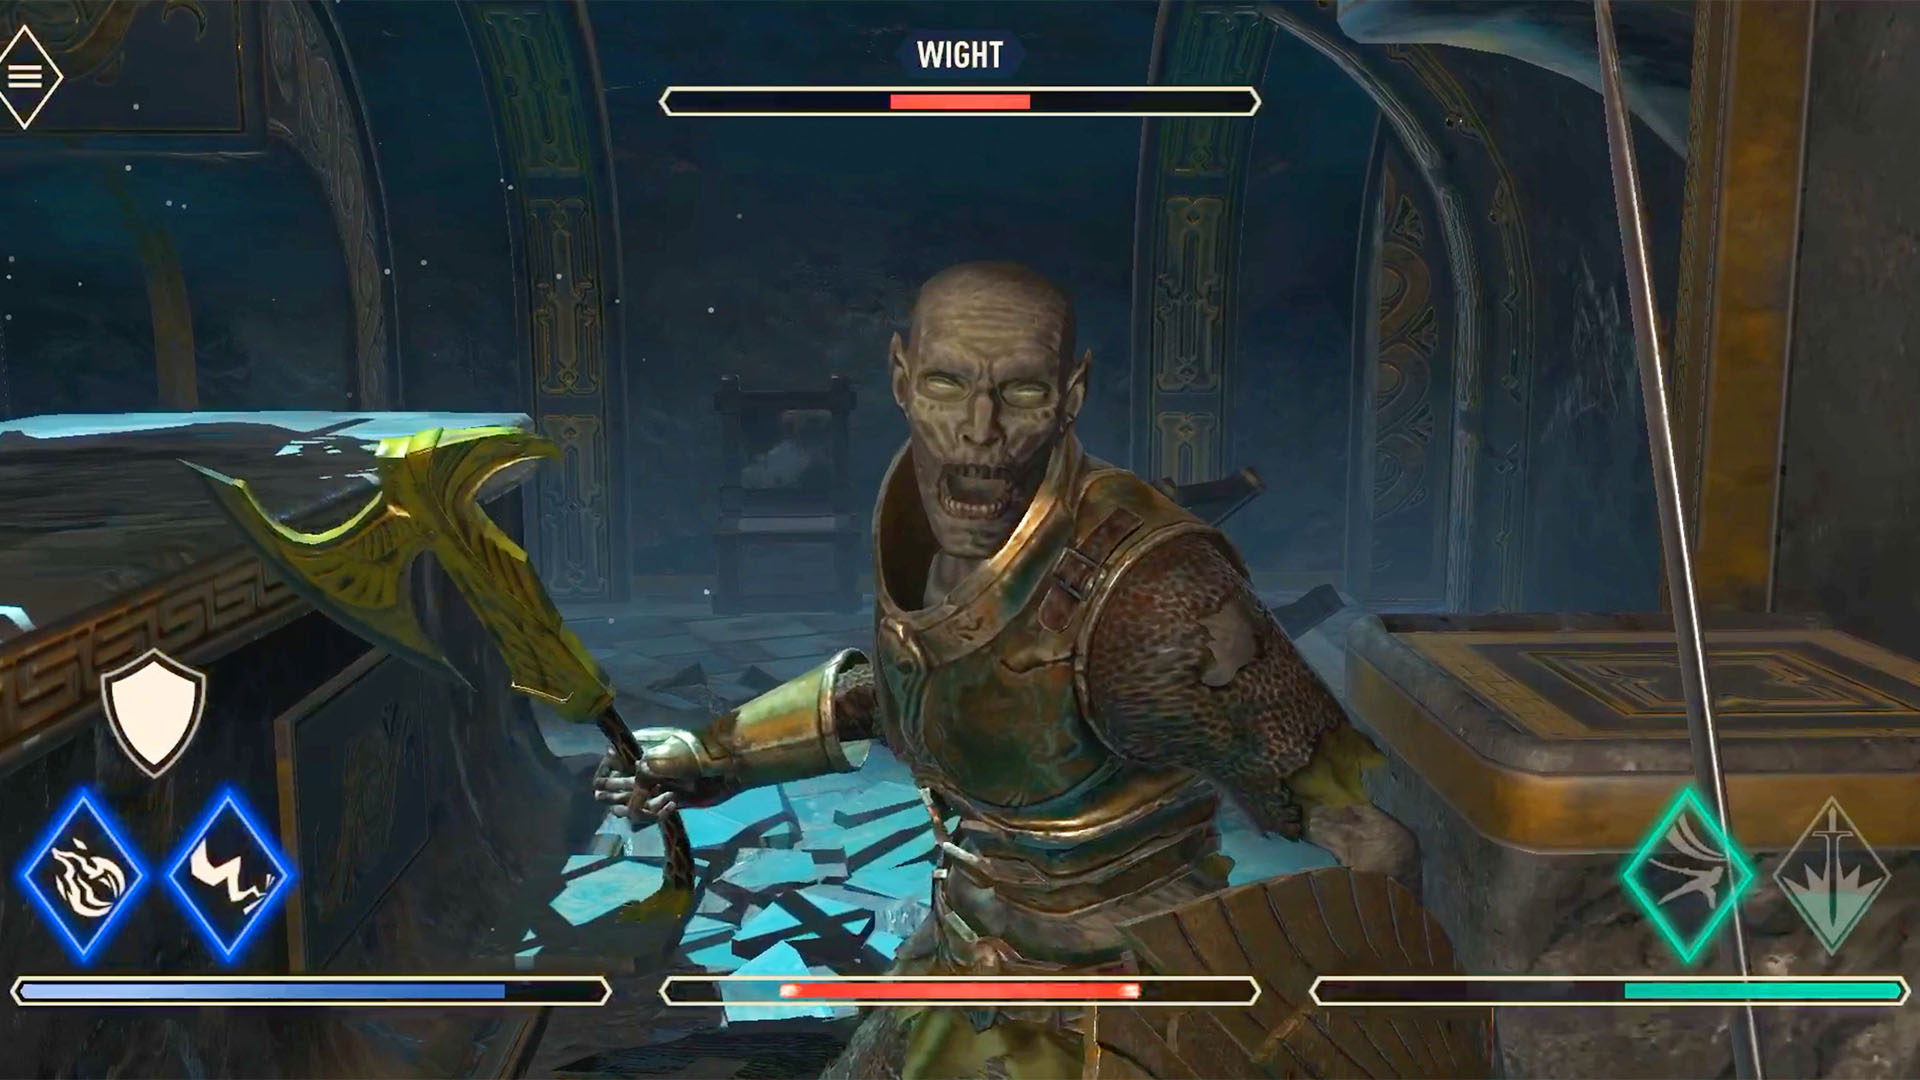
Sometimes, you’re going to take a few hits from powerful enemies, so it’s important to wear the best Elder Scrolls Blades armour you can find. At the start you’ll be wearing low-level hide helmets, boosts and chest pieces, but soon you’ll have plenty of options for finding better gear. In this guide, we’ll go through how to upgrade your armor, tell you the best gear to wear - including unique items - and provide some tips for improving them through enchantments.
Elder Scrolls Blades tips| Elder Scrolls hacks| How to earn Elder Scrolls Blades Gems
How does Elder Scrolls Blades armor work?
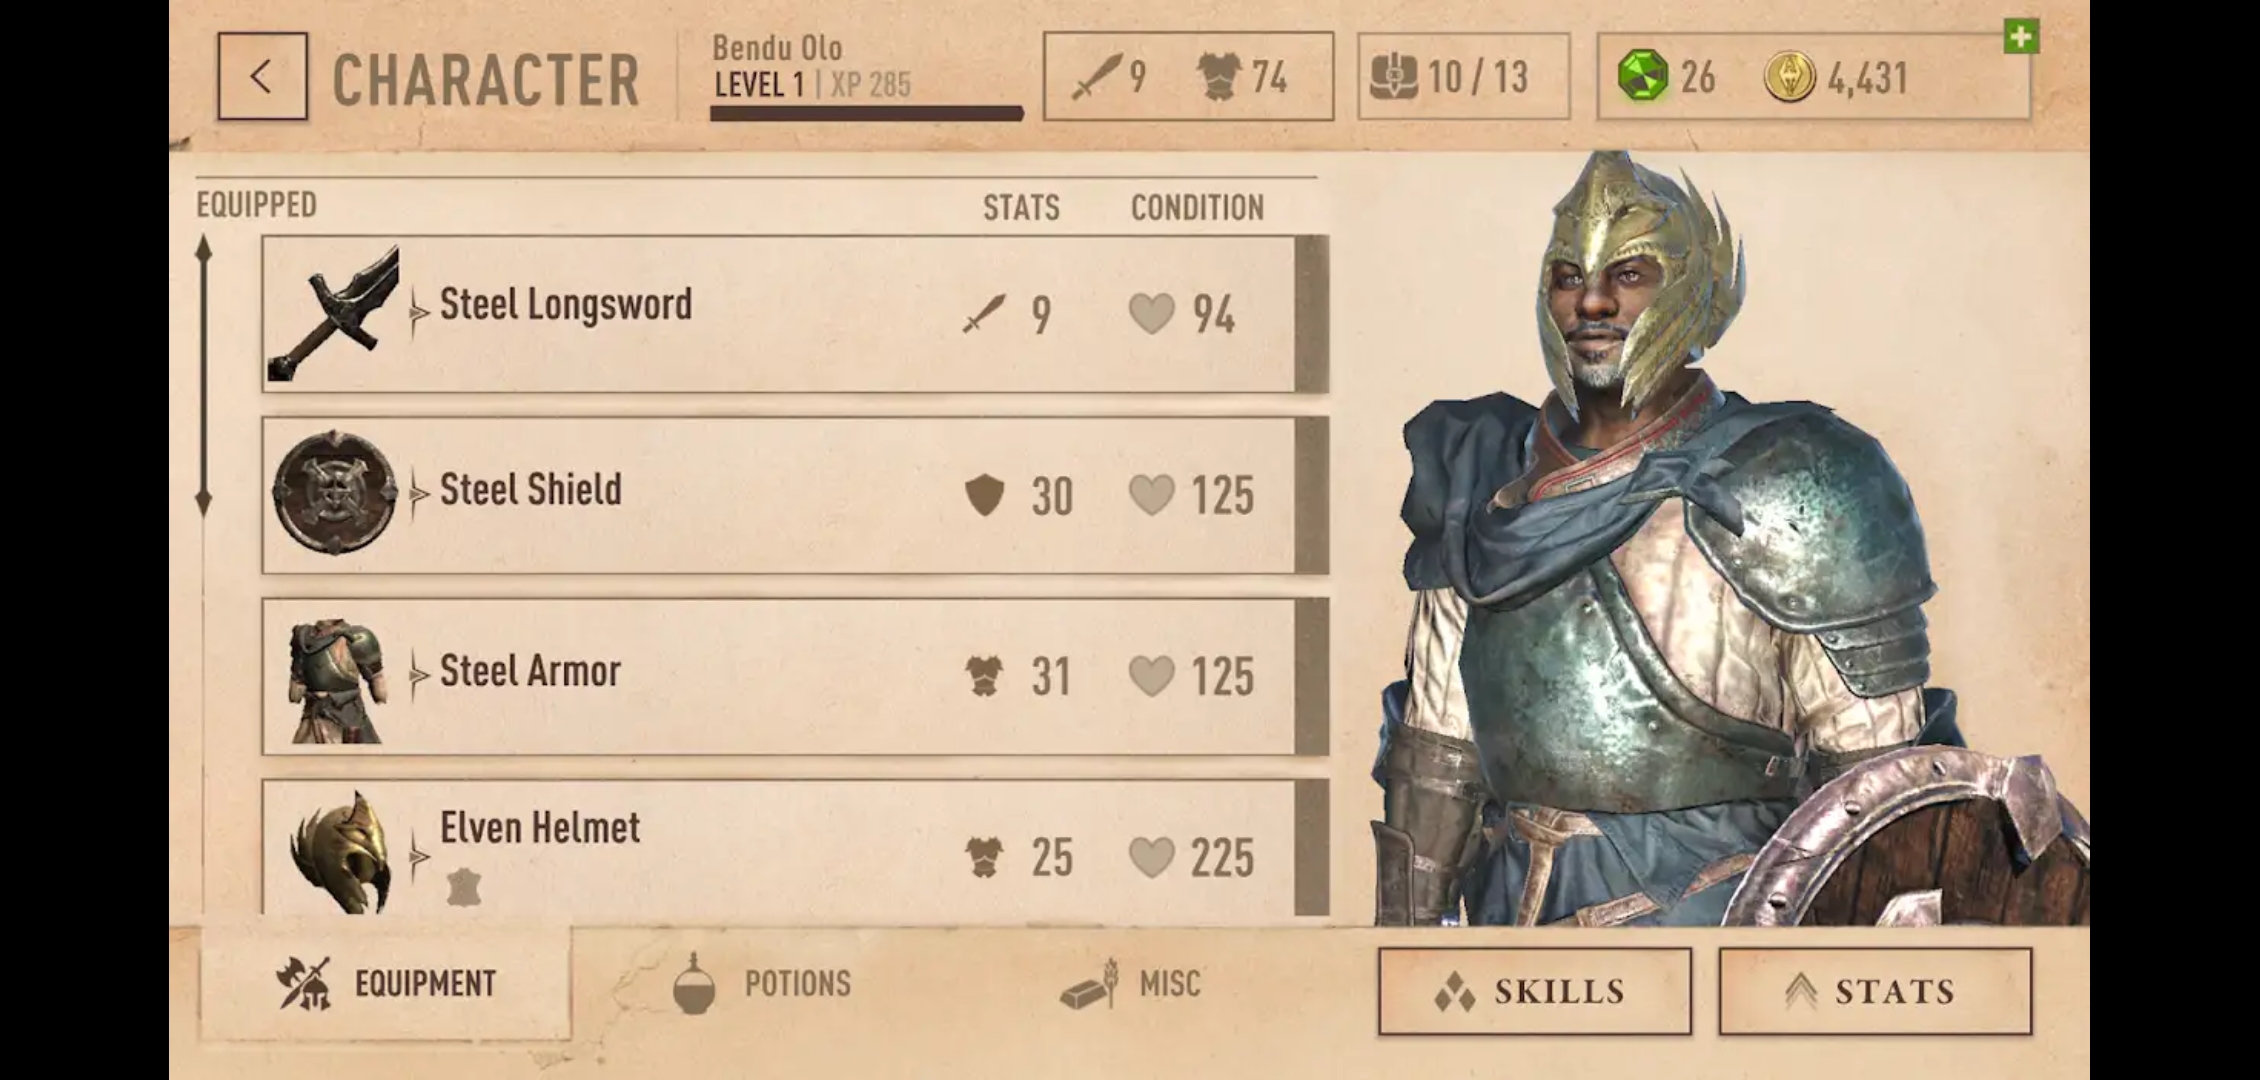
In The Elder Scrolls: Blades, your total armor is a sum of the armor value on all your individual armor pieces: helmets, boots, gauntlets and chest pieces. Chest pieces are, slightly confusingly, simply called ‘armor’ in the game, so you’ll find ‘Steel Armor’ and ‘Iron Armor’ on your travels, for example. But don’t worry: the other pieces count as armor, too.
What are the armor tiers?
Armor is arranged into tiers, starting at Hide, the lowest, all the way up to Dragonbone. These tiers correspond to the level that your Blacksmith must be in order to craft the gear, and the level you need to be in order to wear the armor. To craft Elven armor, for example, your blacksmith must be level 6, and to wear it, you must be level 23. The highest Blacksmith Level is 10.
At each tier there are two armor types, one light, one heavy. Here’s a list of all the armor types, arranged by tier:
- Blacksmith Level 1/Player Level 1: Hide (Light), Iron (Heavy)
- Blacksmith Level 2/Player Level 1: Leather (Light), Steel (Heavy)
- Blacksmith Level 3/Player Level 8: Chitin (Light), Silver (Heavy)
- Blacksmith Level 4/Player Level 13: Orcish Scaled (Light), Orcish Plate (Heavy)
- Blacksmith Level 5/Player Level 18: Dwarven Mail (Light), Dwarven Plate (Heavy)
- Blacksmith Level 6/Player Level 23: Elven (Light), Quicksilver (Heavy)
- Blacksmith Level 7/Player Level 28: Glass (Light), Chaurus (Heavy)
- Blacksmith Level 8/Player Level 33: Stalhrim (Light), Ebony (Heavy)
- Blacksmith Level 9/Player Level 39: Daedric Mail (Light), Daedric Plate (Heavy)
- Blacksmith Level 10/Player Level 45: Dragonscale (Light), Dragon Plate (Heavy)
What’s the difference between light and heavy armor?
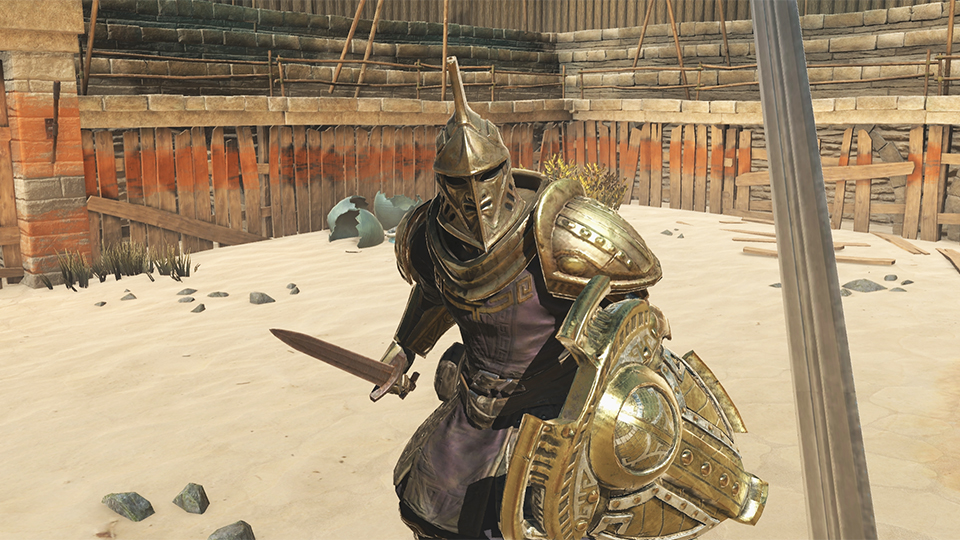
Heavy armor has a higher armor value, and will therefore better protect you against attacks. Light armor pieces offer less protection, but have bonuses that will buff certain attributes or resist against a specific type of damage. These bonuses vary by armor type: Orcish scaled armor, for example, will resist fire and reduce cleaving damage. Glass armor increases your stamina regeneration and resists shock damage.
Choosing between either heavy or light armor is a matter of preference. If you’re going for a tank-y character, you’re likely to want heavy armor to absorb as much damage as possible. A magic user might opt for light armor instead - Elven armor is particularly good in this case because it lets you regenerate Magicka faster.
Where can you find armor in the world?
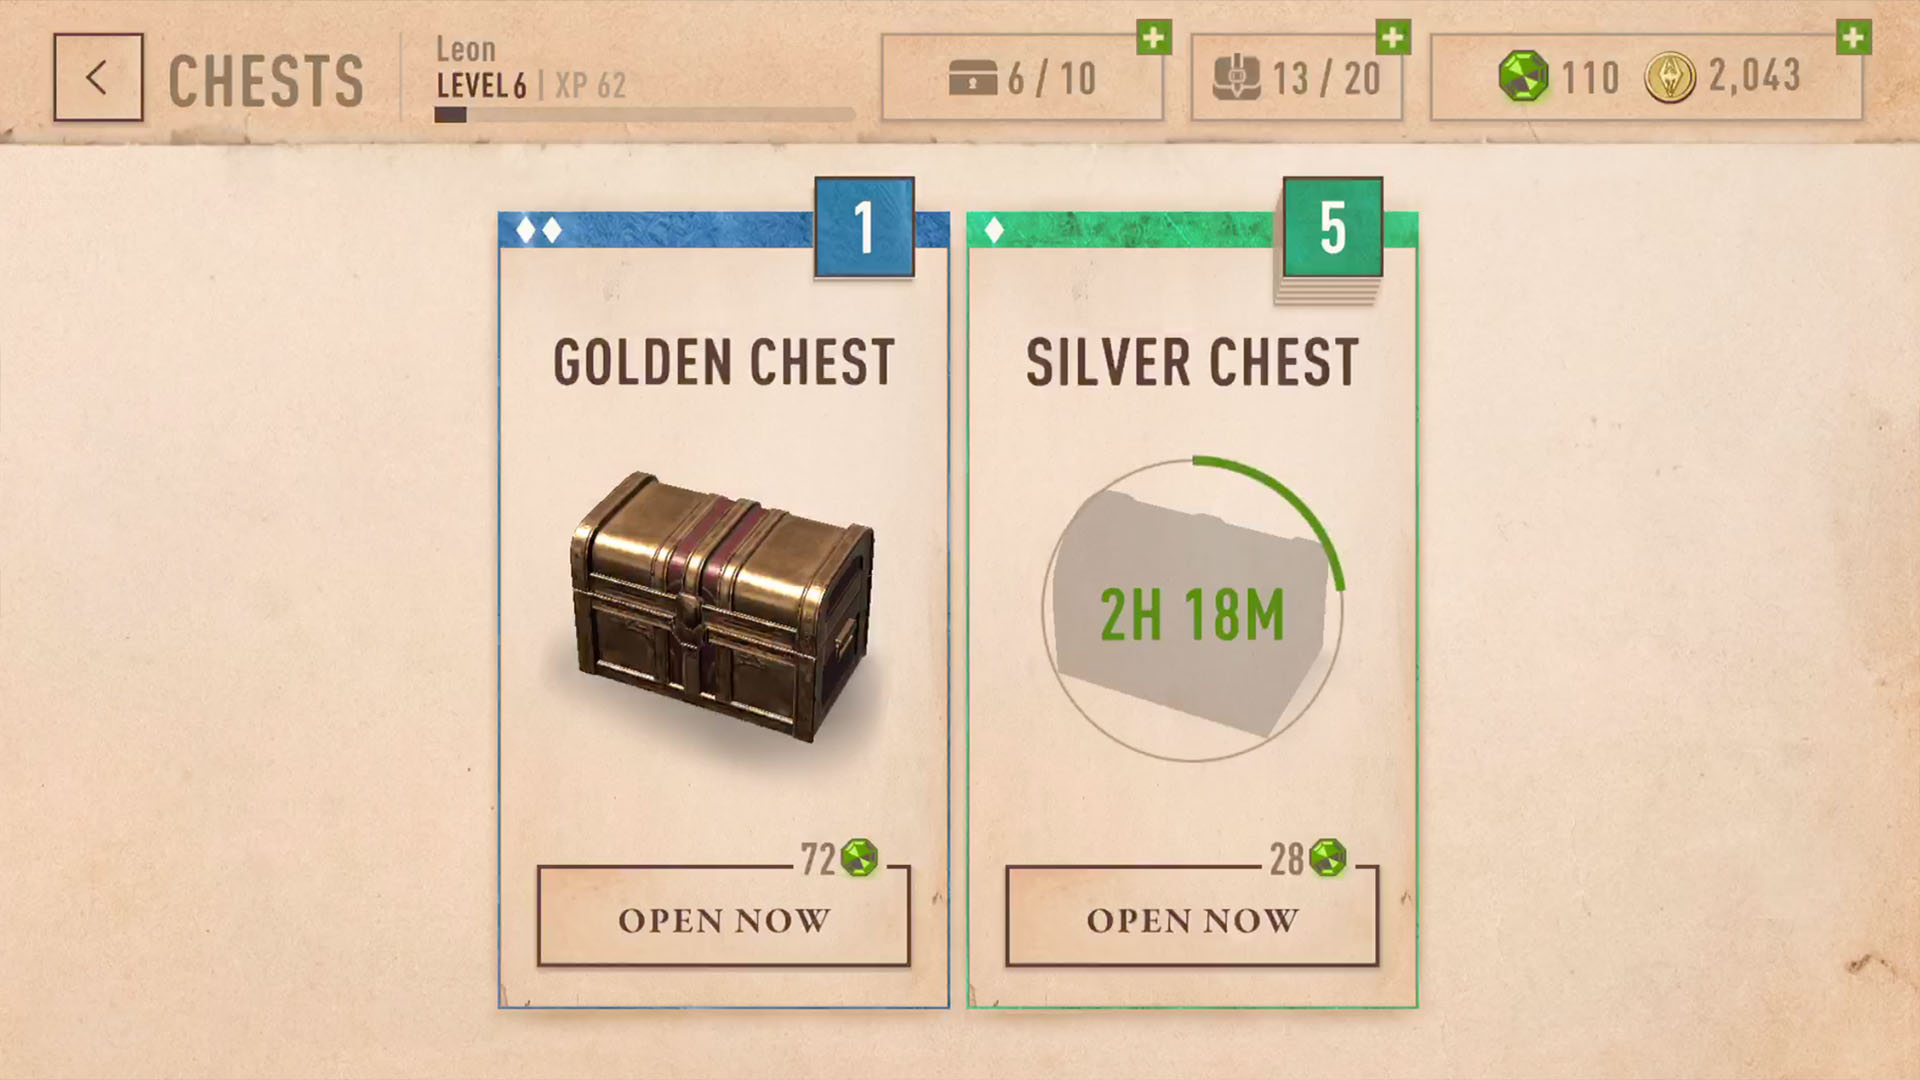
Armor, like any other item, can be found randomly in chests. The type of armor you’re likely to find in chests corresponds to your level: the higher it is, the better armor you’ll find. Also, the rarer the chest, the higher the chance of getting good armor.
Armor you find in the world may be enchanted with bonus effects, such as extra health or fire resistance. For this reason, it’s inadvisable to craft armor early in the game: just be patient with the loot you find on quests and eventually you’ll get enchanted armor, which saves you the resources needed to craft and then enchant armor yourself.
There are unique pieces of armor that can’t be crafted
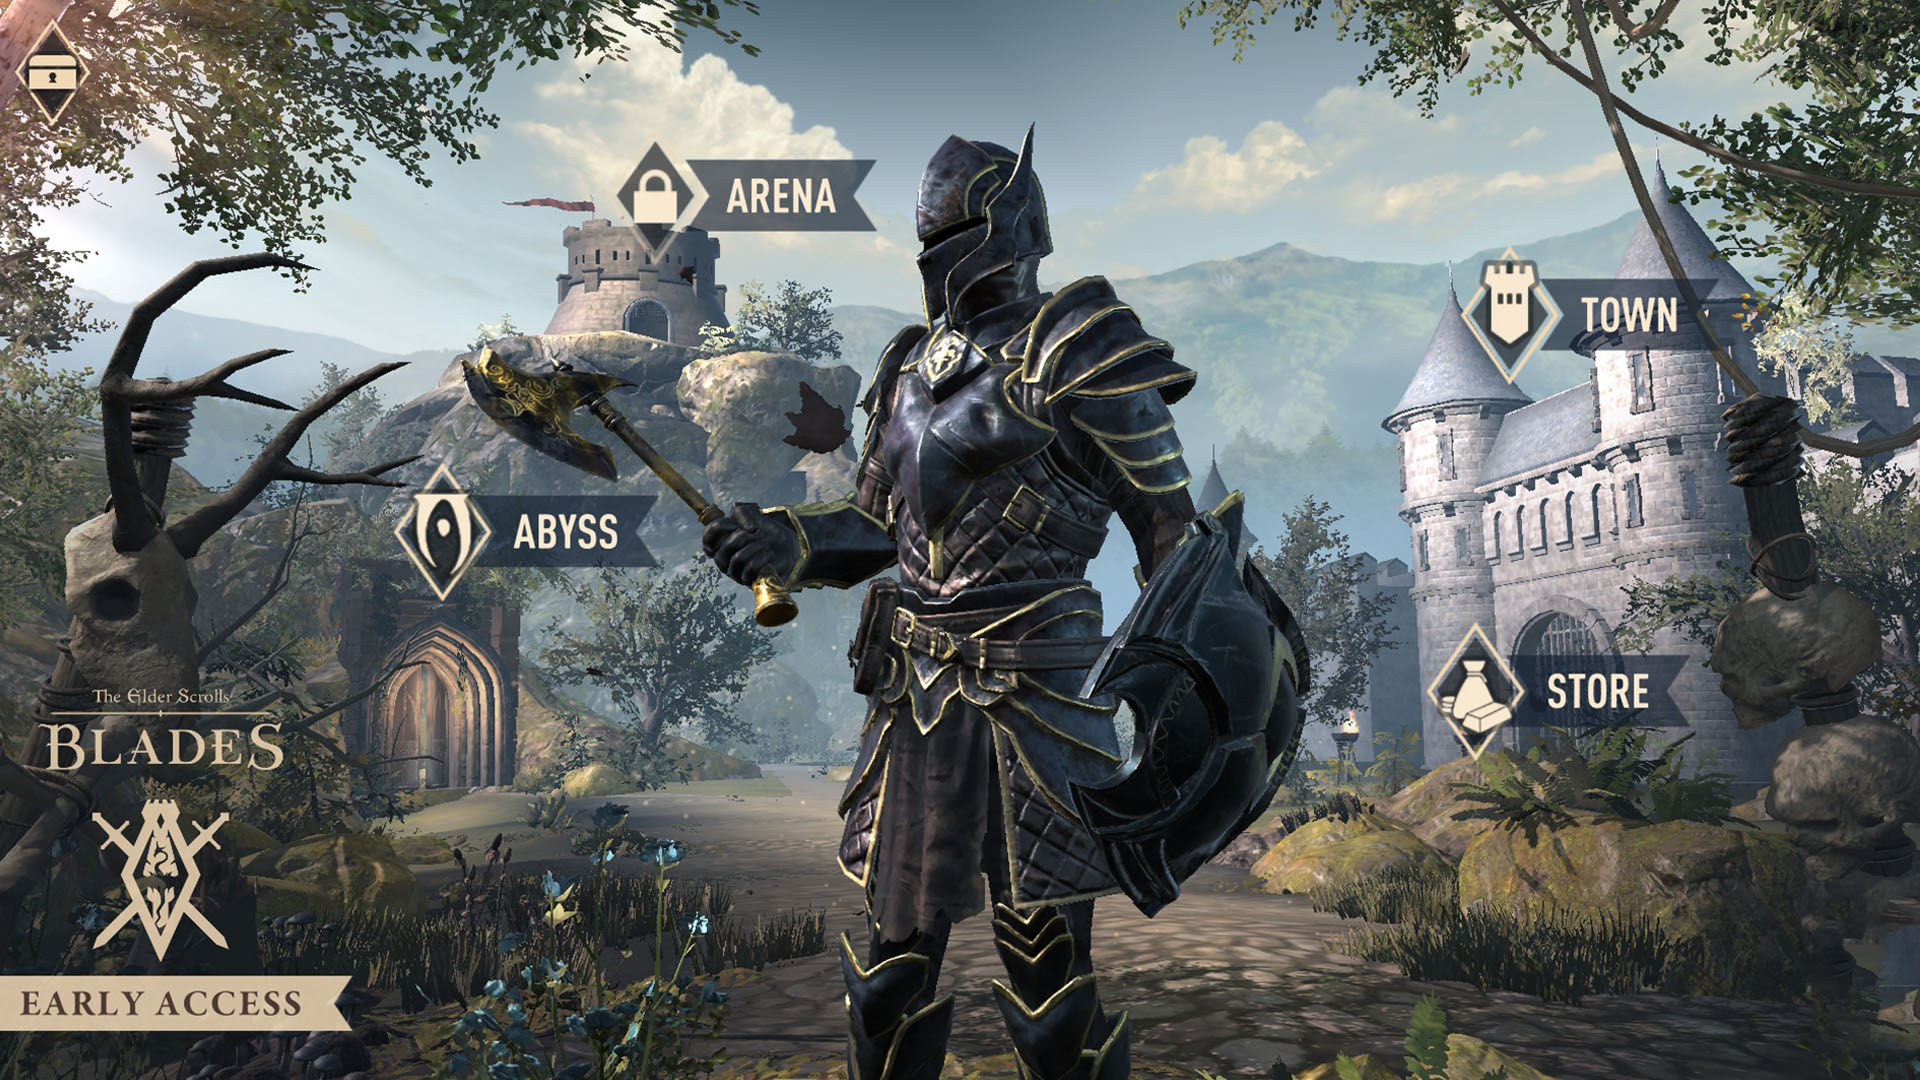
Certain pieces of Blades armor cannot be crafted, and can only be found by chance in chests. These items have multiple bonus enchantments attached, and are very rare. They include the Savior's Hide and the Ebony Mail armor, which emits smoke during combat. There is no known way to increase your chances of obtaining these items.
You can enchant your armor to improve it
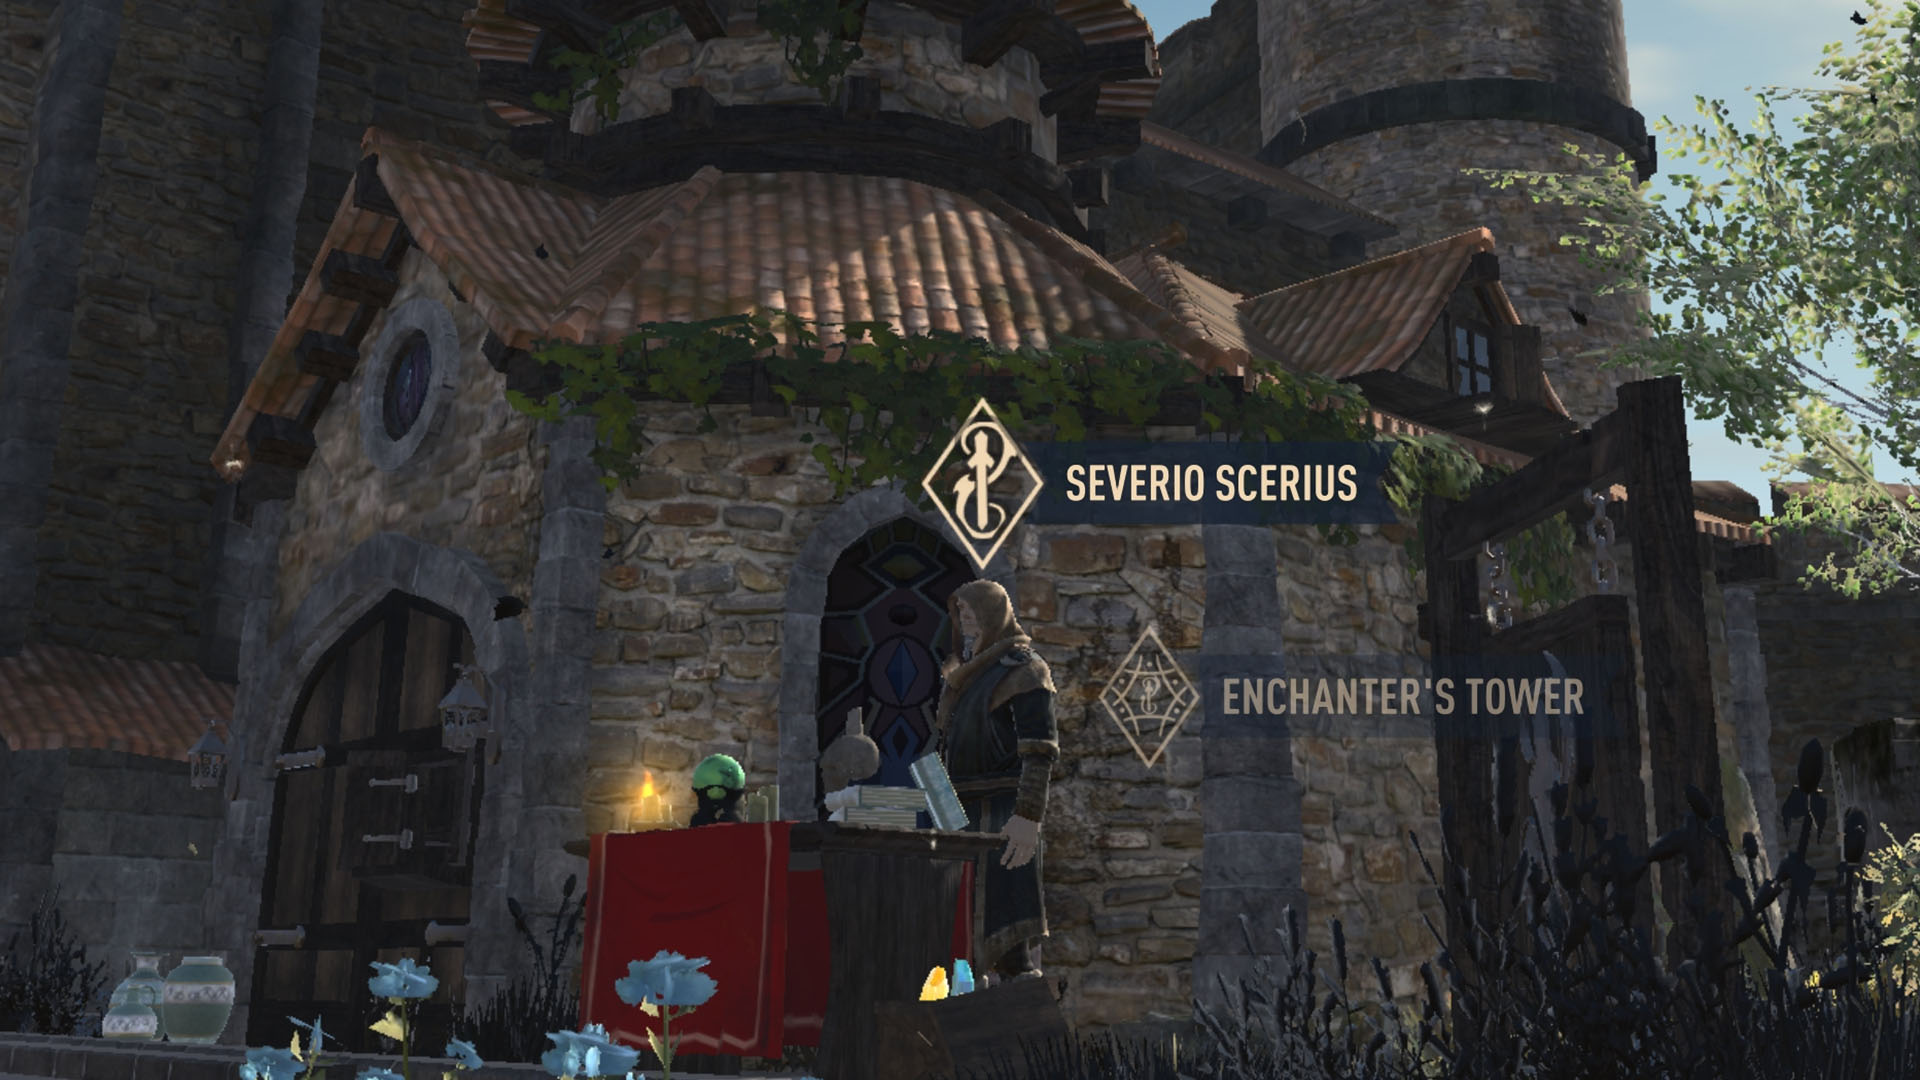
The best way to make your armor fit your playstyle is to enchant it. To enchant armor, you’ll first need to build an Enchanter’s Tower in your town. Don’t worry about getting this done straightaway: it’s more important to focus on a blacksmith at the start of your journey, and besides, you won’t find gear worth enchanting until you’ve put many hours into the game. Save your resources until you have armor you’re fond of.
Armor enchantments are all defensive: you’ll be buffing your health and stamina, and resisting certain types of damage, rather than boosting damage output. To enchant your armor you’ll need a few ingredients, namely soul gems of different qualities and another crafting item closely related to the enchantment you’re applying. Fire enchantments require fire salts, poison resist enchantment require Deathbell, and so on.
Every enchantment requires multiple soul gems. The more powerful the enchantment, the better-quality soul gems you’ll need. You find soul gems while questing out in the world, and you can see all the recipes in the Enchanter’s Tower.
Try to tie your enchantment to your playstyle. If you’re playing a powerful mage, boost your Magicka, for example. It also helps to have multiple pieces of enchanted armor ready to face different enemy types—one for high-poison areas, one for enemies that deal fire damage, etc.
Temper armor to make it even better
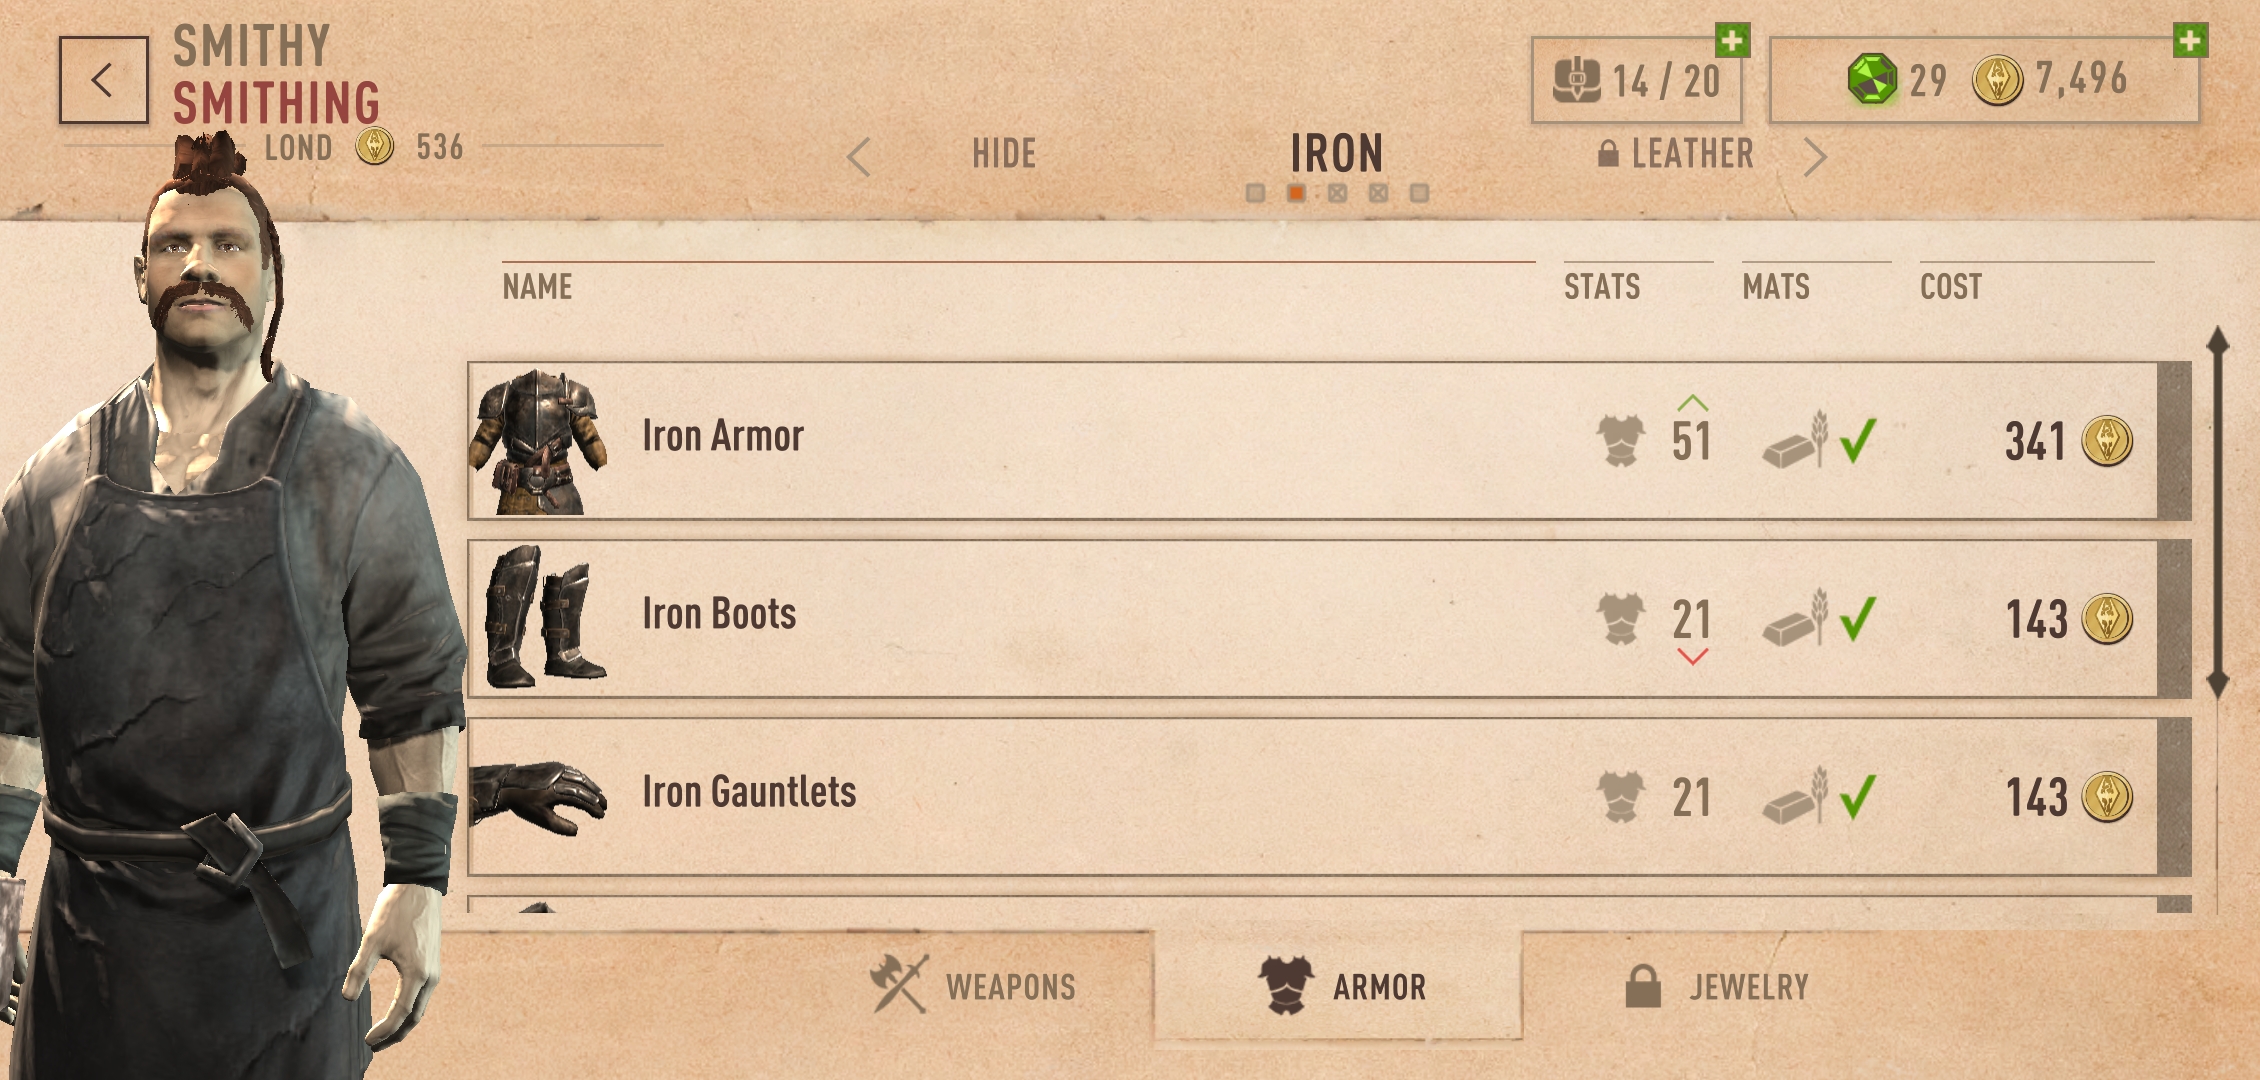
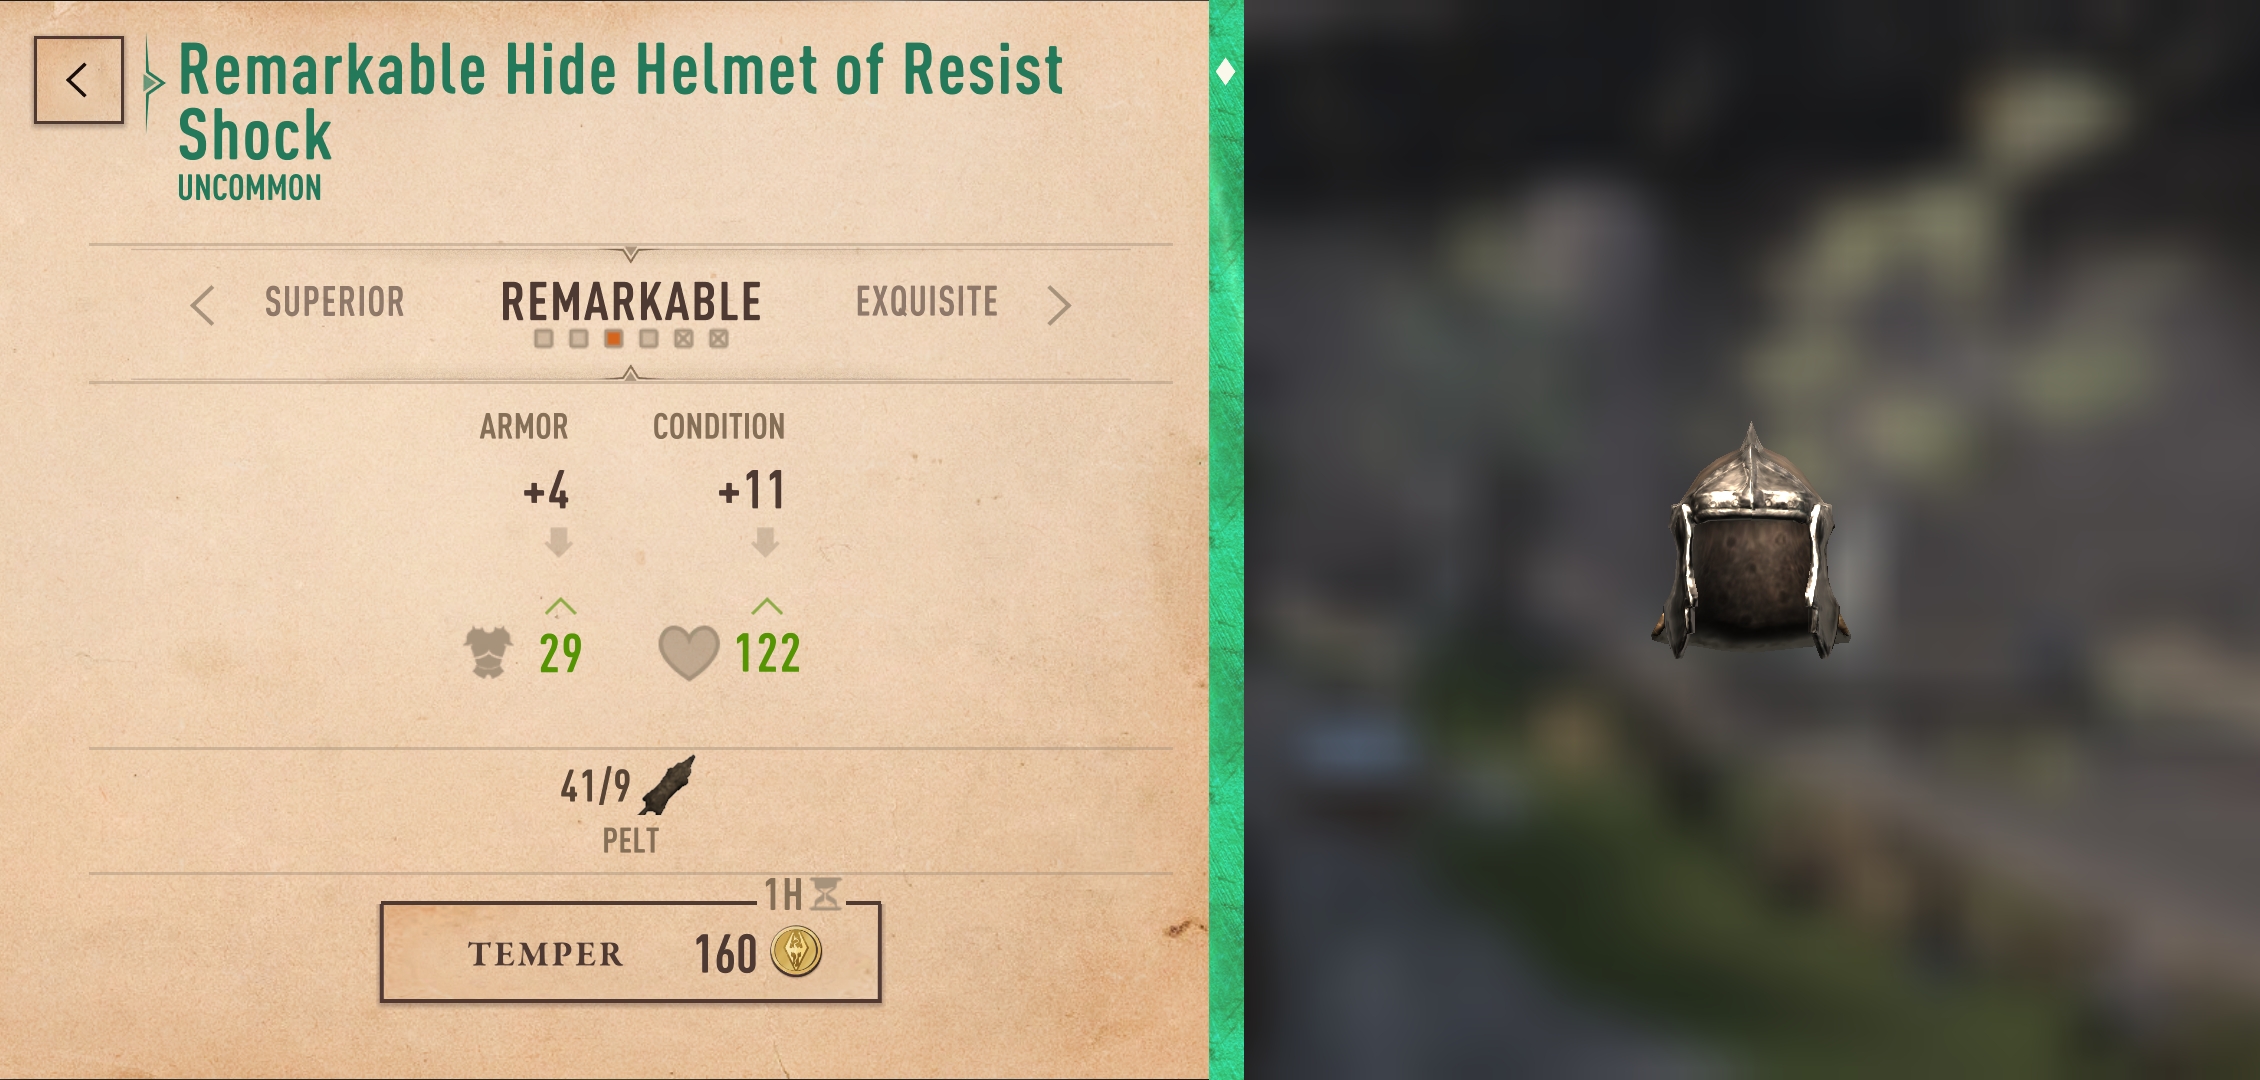
As well as enchanting your gear you can temper it, which will improve its quality, and instantly raise both its armor rating and durability. You temper items at a blacksmith, and you’ll need to gather materials first.
There are ten levels of armor quality you can temper to, starting with Fine and ending in Mystical. Each step up in quality requires you to raise your Blacksmith by one level: a Level 1 Blacksmith can only temper gear to Fine quality.
Tempering generally requires ingots of the relevant material for low-level improvements, and ingots plus rare gems for advanced tempers. You can skip levels in tempering: if you wanted to, you could take an regular piece of armor straight to Mystical quality, provided you’ve upgraded your Blacksmith enough. If you want to temper level by level, that’s fine too, and it doesn’t cost you any extra resources.
Grab the Advanced Tempering perk, available at level 10, to automatically boost your Smithy’s level by 2 up to level 6, which allows for higher-level enchantments. Just like enchanting, it’s best to wait a while until you start tempering your gear, because you’ll constantly find better armor out in the world, making your old pieces obsolete.
The Matching Set perk gives you extra bonuses
The last thing to look out for when it comes to armor is the Matching Set perk, available at level 14. This perk gives you an extra 58 points of armor if you’re wearing armor all of the same type: all steel, all silver, and so on.
Weekly digests, tales from the communities you love, and more


