Dead Space 2 schematics guide
Find every weapon and armor schematic in GamesRadar's handy Dead Space 2 schematic guide
CHAPTER 6
Seeker Rifle
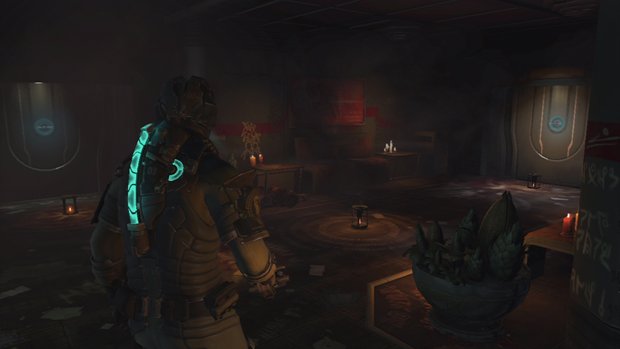
As soon as Chapter 6 begins, head for the door across from the washers/dryers. Once through it, turn right and you’ll see this schematic on the ground.
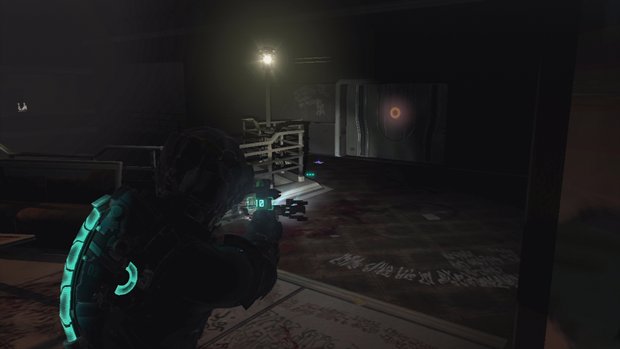
Pulse Rounds
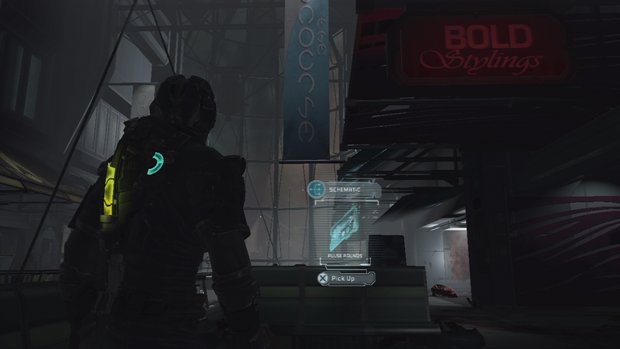
Run past the section where you first meet Ellie to the store “Bold Stylings.” You’ll see this schematic just under the sign.
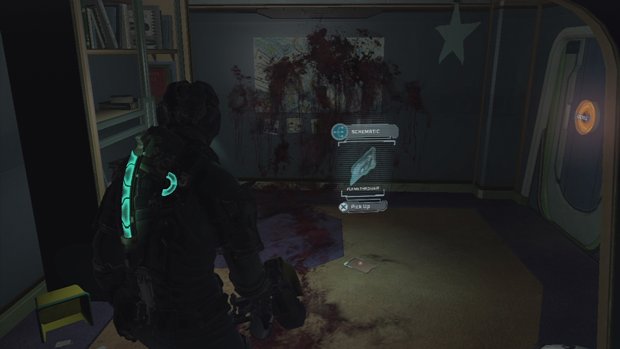
Flamethrower
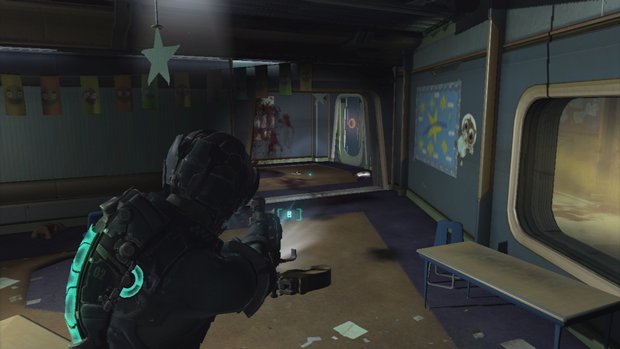
This schematic is very near the text log you find soon after you leave the gymnasium. At the back of the room you’ll spot this on the ground near the big blood splat on the wall.
CHAPTER 7
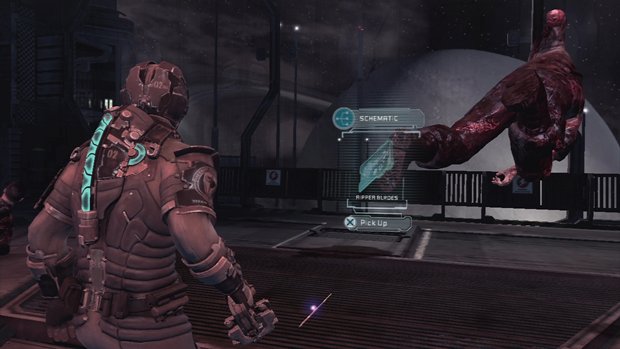
Ripper Blades
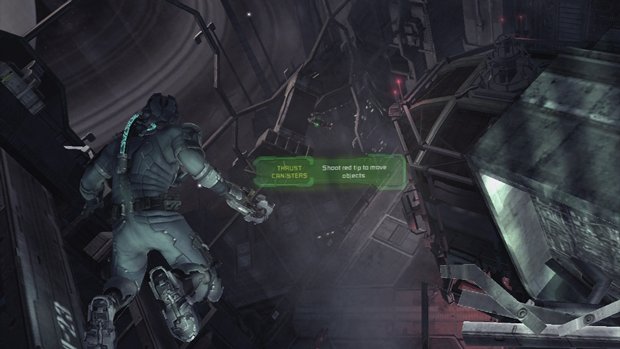
In the zero-g room where you work to repair the elevator, there’s a schematic down at ground level, near the center. Look for these floating bodies as clues.
Force Gun
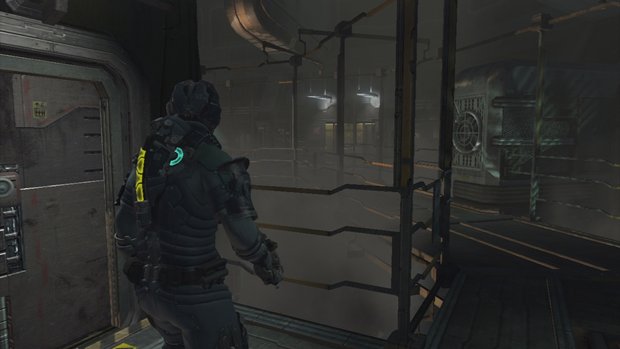
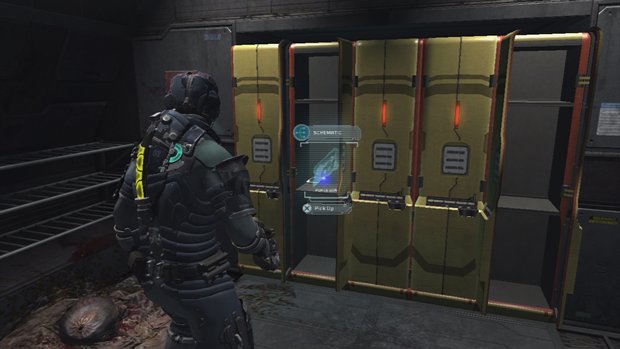
After the long and painful elevator ride/battle, exit and turn left. This schematic is in one of the yellow lockers.
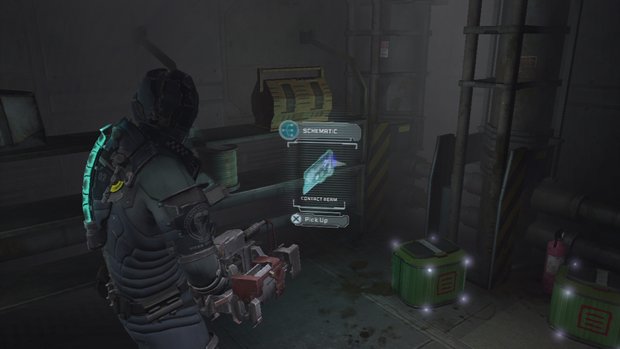
Contact Beam
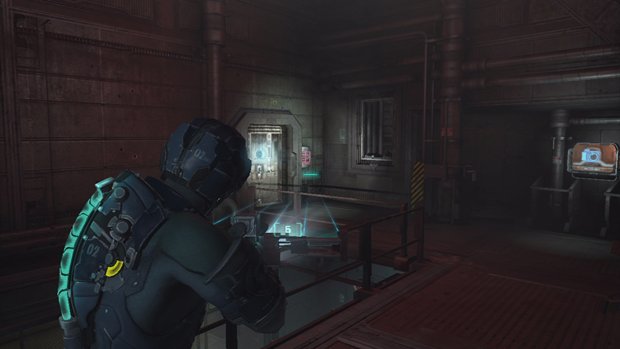
Soon after you deal with the mainframe you’ll see a save station on the far wall. To the left of that is a locked closet. Use a power node to get inside and grab this schematic.
CHAPTER 8
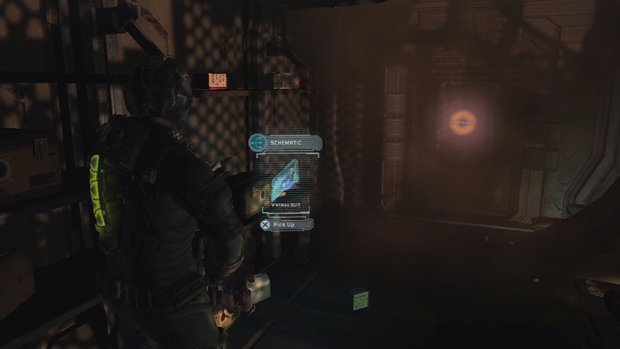
Vintage Suit
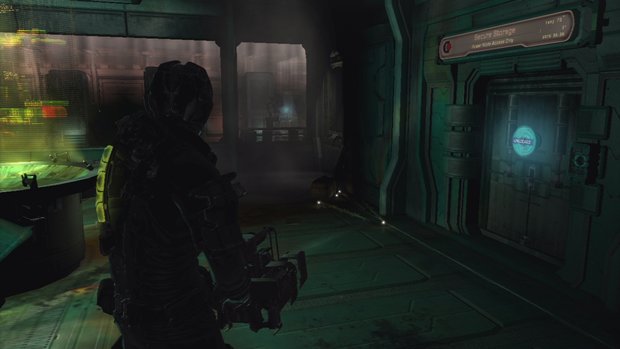
Enter the first locked storage room of the chapter (as seen above). Inside amongst other goodies is the schematic for a new suit!
Detonator Mines
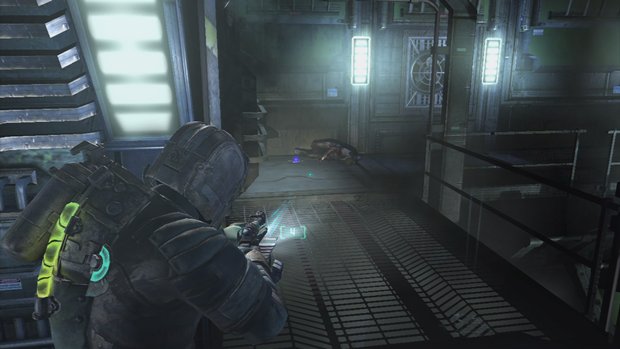
After you talk to Ellie and Stross through the glass, head into the next room and turn left. You’ll find this one next to a body.
Large Med Pack
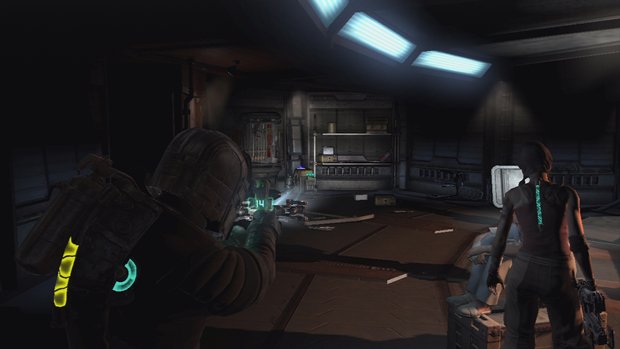
In the room where you finally meet face to face with Ellie and Stross, you can find this schematic in the corner. You may have to move a table out of the way using kinesis to reach it.

CHAPTER 9
Flame Fuel
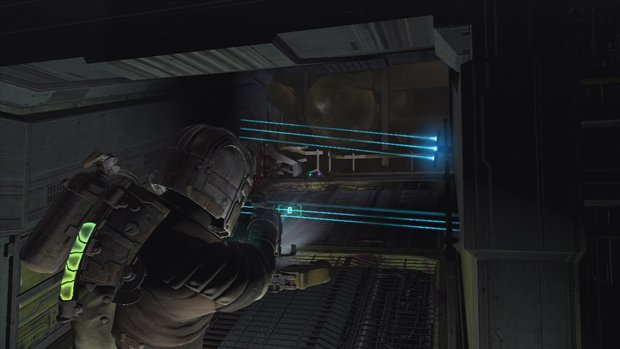
When you come across these traps on your right, use kinesis to fling an object into them and disarm them. Walk past where they were and turn right. Use kinesis to move the crates and reveal an audio log and a schematic.
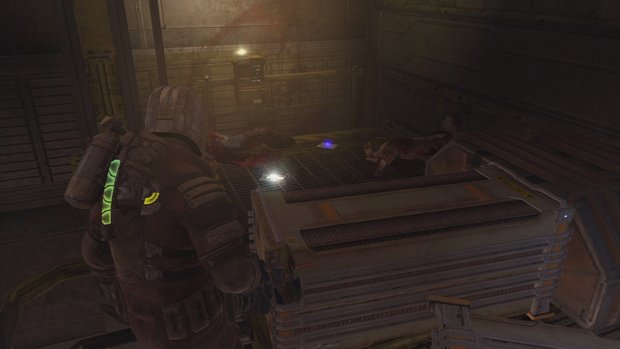
Seeker Shells
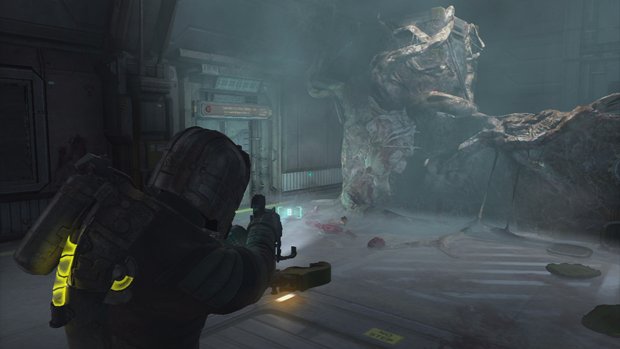
At the end of the room where you fight the Cysts and the Stalkers, you’ll come upon a Guardian mounted right near the exit door. After you defeat it, make sure to walk round the back of where it was mounted to find this schematic.
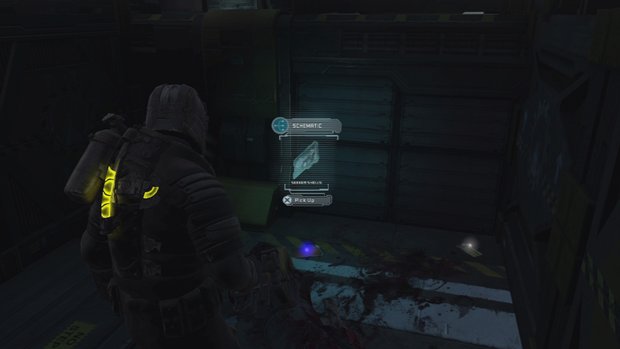
CHAPTER 10
Force Energy
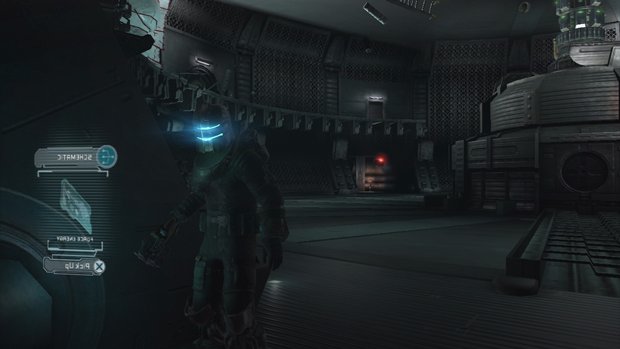
When you reach the zero-g area, hop down to the lower level and grab the schematic from the ground as pictured above.
CHAPTER 11
Contact Energy
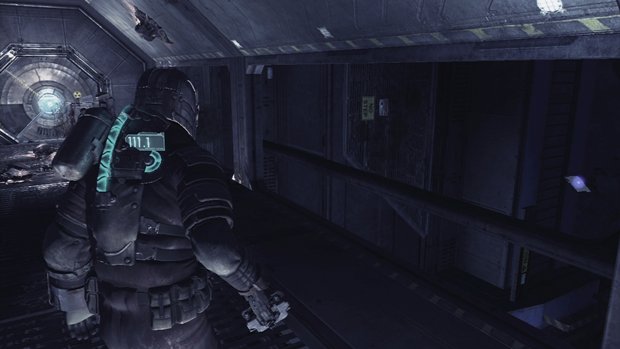
In the zero-g section where you have to move the lasers in order to gain access to a shaft leading inside, look along the outside of said shaft. You can easily spot this schematic from the inside of the shaft if you’re having trouble locating it initially.
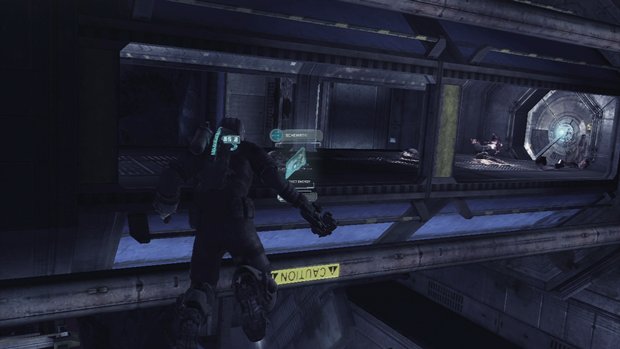
Advanced Suit
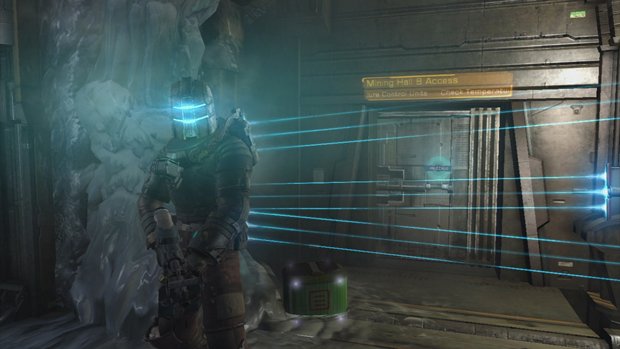
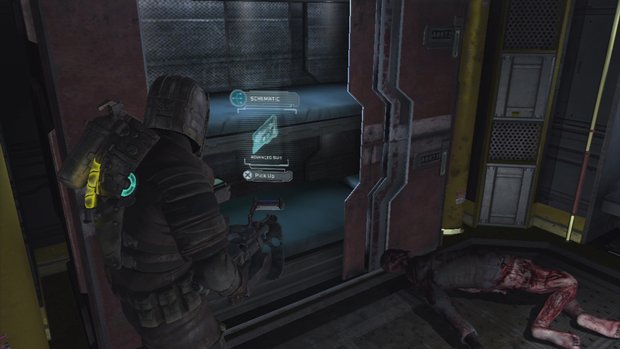
When you reach this door with the three Detonator Mines set up, enter the locked room opposite (requires one power node). Inside you’ll find this much appreciated schematic resting on the lower bunk bed.
Congratulations!
Jan 25, 2011
Weekly digests, tales from the communities you love, and more
