The Sims 3 World Adventures Al Simhara guide
Complete complex adventures, explore Egyptian tombs, and get a whole lot of treasure in this Sims 3 Al Simhara guide!
Madbouli House
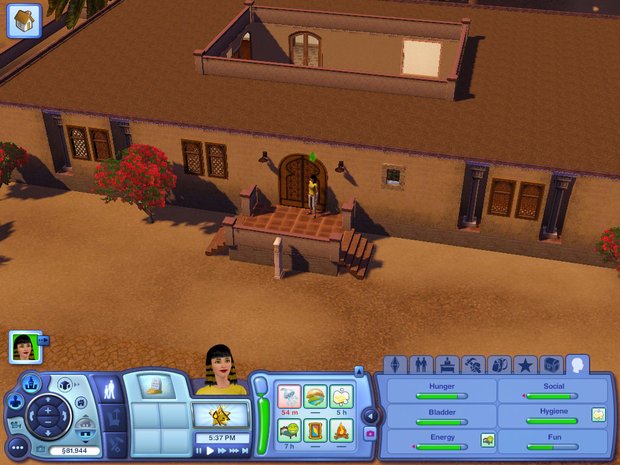
In the patio in the center, there’s a hole in the ground; inspect it to reveal a staircase. You’re technically still in the Madbouli house, so unless you’ve befriended one of the occupants and asked to sleep over, they might get offended if you pitch your tent down here. Step on the foot panel and go through the unlocked door, then do the same thing in the next room. Push the statue onto the panel and go back to the room with the stairs, now entering the other unlocked door. There are two panels here, but only one statue. First push the statue onto the right panel (parallel to the stairs in the next room), then go through the unlocked door and step on the foot panel. This unlocks a door elsewhere. Go back and push the statue onto the other panel, and go through the other unlocked door.
A staircase reveals itself when you enter the room, but first go through the other door for some treasure. Back out and go down the stairs. You’ll find your book in a chest down here, as well as a second chest. Take the book and loot, and report back to Rainia.
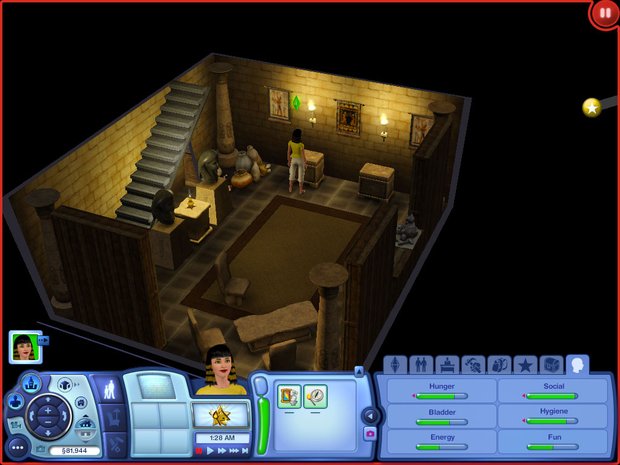
Rainia tells you to ask Sopdu Hawas about the Relic of the Sun. Chat with him and he’ll ask for five pieces of copper in exchange for the relic; find them on your map and collect them. After you give Sopdu the copper, he’ll give you the relic, which you can then deliver to Rainia. Now she wants two pieces of mummitomium, which you can find on your map. Collect them and bring them back to her. Unlike the other gems and metals you map have found, mummitomium appears more rarely; if it’s not on your map, wait a few Sim hours and check again. Alternately, you can buy it from the relic merchant in town, but it is pricey. Once you’ve got the mummitomium, return to Rainia.
Next you need to infiltrate MorcuCorp HQ and deposit the mummitomium in a chest as a bribe. It turns out that MorcuCorp HQ is in the Amin household on the edge of town; travel there and be invited inside.
MorcuCorp Headquarters
Enter the bike garage behind the house and inspect the hole in the wall to reveal a staircase. Descend it. Disarm the visible trap and walk through the hallway. Pull a statue onto the panel and another panel will appear; repeat the process. Head down the triggered staircase.
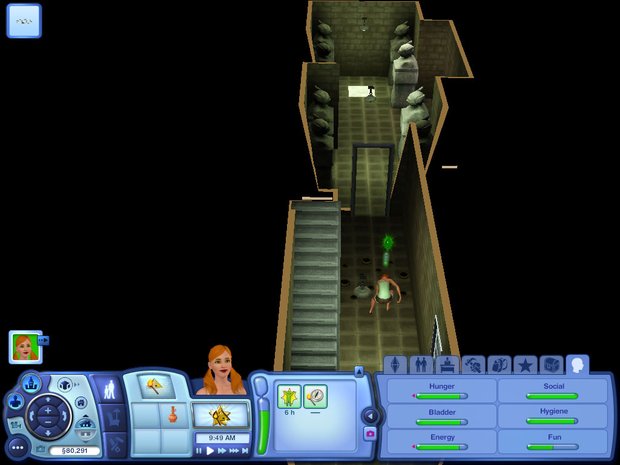
The floor down here has visible and hidden traps, but they can all be disarmed. Go through the door at the other end of the hallway. Loot the chests and use the crescent keystone you’ll find at the end of the hall; go through the wall and step on the panel. Go through the secret door that’s revealed, walk down the hall, and enter the next room. Go down the stairs and step on the panel, then go through the door and step on the next panel. You’re now in a room full of computers, with the chest to deposit the bribe in against the opposite wall. Loot all three chests and drop the bribe in the center one; you’ll immediately get a message from Rainia, telling you to hack a computer inside the HQ. The door to the commander’s room is on the opposite wall from the chests, and you can walk right in.
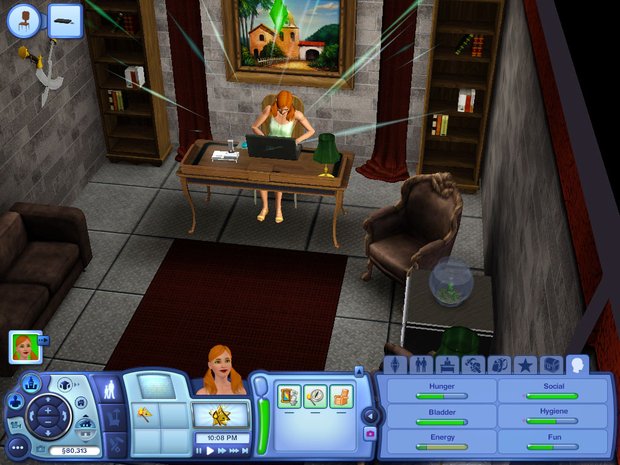
Click on the laptop and select hack. After hacking, you’ll get another message from Rainia telling you to look for the next relic in the Tomb of the Desert Ocean, also known as the Pyramid of the Sky. Find it on your map and get going.
Pyramid of the Sky
Inspect the entrance and go through the door behind it. There’s a star keystone in the left corner, which you can reach by swimming across the pool. Grab it and use it to unlock the chest on the right side, which you also have to swim to reach. Then go through the door on this side of the room. Grab the star keystone, and use it in the door at the far end of the room and go through, following the room through to the next one. Inspect and pull both statues to reveal two panels; pull the statues onto them to disable the electricity traps. Inspect the hole in the wall where the traps were to disable the floor electricity trap, then step on the panel behind it. Then head through the door at the end of the room near the table.
Make your way across, being wary of a hidden fire trap on the ground, which you can spot by the scorched earth. Disarm it and inspect the wall behind it to find a hidden door, which you can go through.
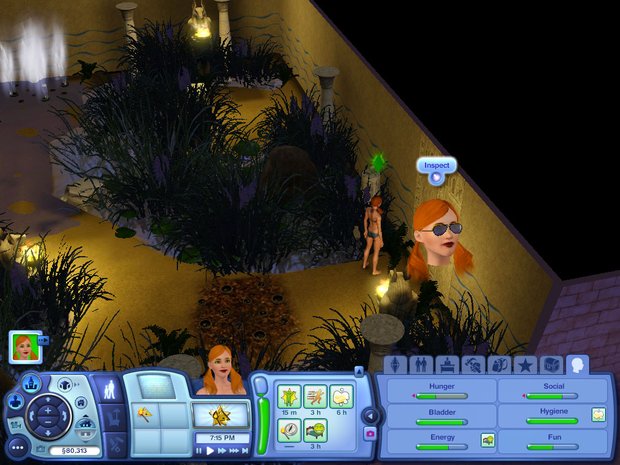
Grab the Ancient Coins and treasure and then inspect the hole in the floor, which opens a wall behind you. Loot the treasure chest and go back through the wall, then through the nearest door. You can push the statue onto the panel behind it to reveal a hole in the floor with a money bag, but make sure to pull it back onto the panel it was on originally to disable the electricity traps. Step on the foot panel to disarm the rest of the traps and explore the dive pool. Swim through and inspect the hole in the wall when you come out, which opens a shortcut back to the first room. Clear all the rubble to find a panel and push the nearest statue on it, which reveals another panel. Pull another statue onto the panel near the locked door, then go through it after it unlocks and loot the chest. Pull the nearest statue onto the other panel, and go down the staircase.
You can collect some Ancient Coins in this hallway. Go through the door halfway down the hall for more treasure. If you have Pangu’s Axe from China, smash the boulders and inspect the walls behind them to find secret room with more treasure. Step on the panel to reveal yet another hidden room with a treasure chest. Loot it, and go back out to the long hallway. Go down the stairs. Collect the Ancient Coins and clear the rubble to find yourself in another large room with electricity traps.
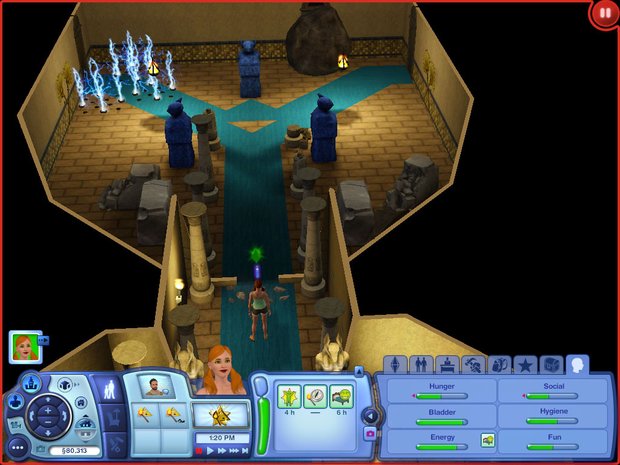
If you can, smash the boulder to find a small treasure room. Loot it and then inspect all three statues in the large room. Disable the traps by pushing statues onto them, then step on the foot panel and inspect the hole that appears behind it. Go through the door near the disabled traps, and use the wall holes to reveal and disarm the electricity traps in front of you. Walk down and through the door. Loot the chest for a keystone, which also sets off some fire traps near the door through which you entered the room. Use attempt to cross to disable the fire trap blocking the door and go back to the large room with three statues.
Instead of going through the unlocked door, inspect the wall to the right to find a secret door. If you get caught by the electrical trap, push a statue onto it and step on the foot panel. Go through the secret door and inspect the hole in the ground, which unlocks a door across the room. Back out to the big room and go through the other door on that side; head through the unlocked door and loot the treasure chest.
Backtrack to the room with the two pools. Now you can use your keystone to open the locked door on the right side, so swim over and head through. Inspect the wall to the left of the entrance for a room with a treasure chest. After looting it, swim across the pool to the other chest, and then go through the door on the right side of the large room.
The item you’re looking for is in here, as well as some other treasure and rare Life Fruit plants. Harvest the fruit and loot the chests, and then inspect the wall behind the chests. Grab the Ancient Coins behind the wall, then exit the pyramid and deliver the relic.
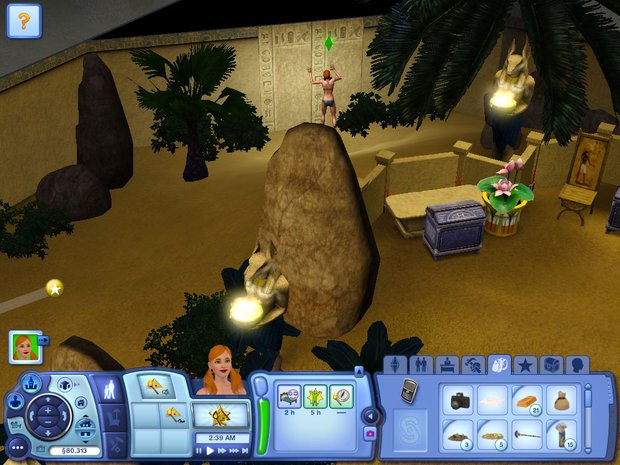
Your next step is to ask Farid Kamel about the third relic; you’ll have to get friendly with him if you aren’t already. He’ll ask for a plate of Shawarma, which you can get from the food vendor in the market. Bring it to him and he’ll tell you to go to the Great Pyramid. This is going to be a long trip, so make sure you’re stocked up on food and showers.
Weekly digests, tales from the communities you love, and more
Sarah is a freelance writer, editor, and consultant. Her work has appeared on websites including IGN, Polygon, Variety, NBC News, Nerdist, Ars Technica, GamesRadar, and more.
