Monster Hunter Tri: Complete monster and item drop guide [UPDATE]
Get familiar with Monster Hunter Tri's beasts, item drops and strategies with GamesRadar's handy guide/walkthrough.
Ceadus
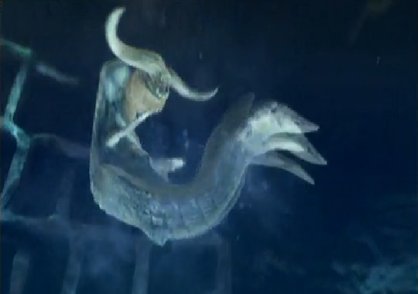
Type: Elder Dragon
Threat: 5
Weak Point: Beard
Elemental Weakness: None Discernible
Item Drop
From Body: Ceadus Scale, Ceadus Hide, Luminous Organ, Deep Dragongem
From Horns: Crooked Horn, Ceadus Hide, Ceadus Scale
Quest Reward: Elder Dragon Blood, Luminous Organ, Deep Dragongem
Special Reward: (Destroy Beard) Ceadus Fur, Ceadus Scale, Luminous Organ, (Destroy Back) Ceadus Scale, Ceadus Hide, Luminous Organ, (Destroy Tail) Ceadus Tail, Luminous Organ
Fighting Ceadus is not exactly a straightforward affair. When you first meet it, you'll simply be playing pursuit. You'll follow Ceadus underwater to its lair, attacking it when the opportunity arrives. Ceadus at this point should be a bit more docile, even if it attacks you directly it will do so rarely. Your main concern should be the movement of its tail and body as it may occasionally slap or slam into you with them.
Eventually you will reach Ceadus' lair, in which it will begin to attack you more aggressively, using a standard bevy of attacks that you may recognize from your duels with the game's many other monsters. Avoid these as best you can and work in your own attacks as the opportunity arrives. While you should obviously hit it whenever you can, the beardlike area below its neck is particularly vulnerable and should be a priority target. Ceadus' biggest attack will have it sucking in large quantities of water and then blasting a wide area with it. This can be tough to avoid on the fly, but if you see it coming you can try to take refuge in one of the several small caves scattered throughout the area. This is a tough fight, but if with time, skill, and some luck Ceadus will go down.
Deviljho
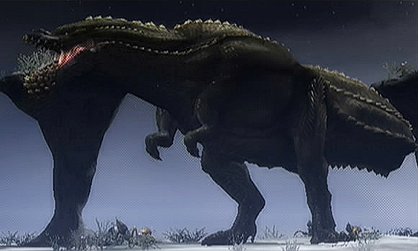
Type: Brute Wyvern
Threat: 5
Weak Point: Chest
Elemental Weakness: Thunder
Item Drop
From Body: Deviljho Gem, Deviljho Fang, Deviljho Scale, Deviljho Hide, Deviljho Talon
From Tail: Deviljho Scale, Deviljho Gem, Deviljho Tail
Quest Reward: Deviljho Talon, Deviljho Gem, Deviljho Scalp, Deviljho Hide
Special Reward: (Destroy Face) Deviljho Scalp, Deviljho Fang
Glitter Drop: Deviljho Gem, Wyvern Tear, Deviljho Talon
Deviljho is another monster that's none too flashy when it comes to special moves and such, but is nonetheless a force to be reckoned with. What makes Deviljho particularly lethal is that many of its attacks decrease your defenses, leaving you more vulnerable to attack in general. As such, the best option would generally be to avoid its attacks altogether. It will most often hit you with its mouth and tail, so you'll want to stay away from those. Attacking its chest and stomach region is usually the most effective way to go any ways. As Deviljho is an online only monster, if you can, bring friends along to fight it with you. Strength in numbers as they say!
Jhen Mohran
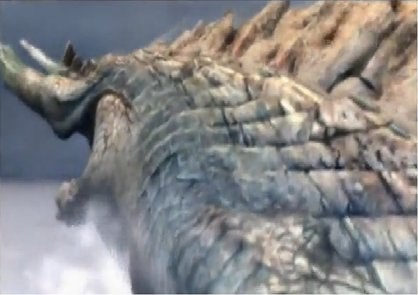
Type: Elder Dragon
Threat: 5
Weak Point: None Discernible
Elemental Weakness: Ice
Item Drop
From Body: Mohran Shell, Mohran Scale, Earth Dragongem, Sturdy Fang, (High Rank Only) Mohran Scale+, Mohran Shell+, Sturdy Fang+
From Mouth: Mohran Scale, Monster Guts, Big Fin, Earth Dragongem, (High Rank Only) Quality Fin, Mohran Scale+
Quest Reward: Elder Dragon Blood, Earth Dragongem, Mohran Shell, Mohran Scale, Pelagicite Ore, (High Rank Only) Bathycite Ore
Special Reward: (From Tusks) Mohran Scale, Sturdy Fang, (High Rank Only) Sturdy Fang+, (From Spine) Mohran Scale, Mohran Shell, Pelagicite Ore, (High Rank Only) Mohran Shell+, Bathycite Ore, (Destroy Arms) Mohran Scale, Mohran Brace, (High Rank Only) Mohran Brace+
Jhen Mohran is big. Not, “would you look at that” big. No, Jhen Mohran is “holy hell he's going to swallow me whole” big. Another online only monster, Jhen Mohran is a two part battle. In the first part, he attacks you on the move while chasing your sand ship. This portion is relatively simple. He will attack either from a distance, or up close. When far away he'll occasionally shoot rocks at you from his back. They will land basically at random, but if you keep on the move when you see him fire them it will better your chances of avoiding them. Up close he will try to ram the ship. If your ship takes too much damage, you lose.
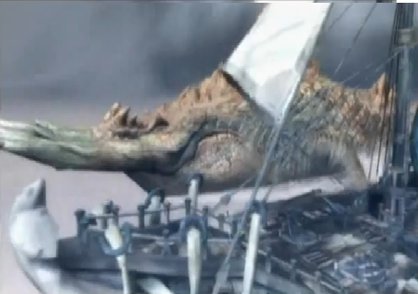
You can counterattack him during this stage in a number of ways. The ship you're on comes equipped with both cannons and ballistas. You can gather as much ammo as you need for both. When he's shooting rocks from a distance the ballista is probably your best bet. When he moves in close, use the cannons. There is also a gong on the deck. If he looks like he's about to ram the ship, use the gong to stop him. It is also possible, when he's close to the ship, the jump on his back. The jump point will be indicated by a red arrow. Do so and then head to the side of his body facing away from your ship. If you're on the side facing the ship, it's likely you'll fall off if he rams the ship. When on his back there are two differently colored weak points you can attack.
After this goes on for awhile you'll enter the second phase of the battle, wherein Jhen Mohran will start walking toward you on its feet rather than swimming through the sand. He will advance toward you slowly, giving you plenty of time to lay into him with the ballista and as he gets closer, the cannon. When he gets close enough to attack, you can back him up with several methods. Causing enough damage will get him to back off, but you can also use the gong if he's in mid-attack, or if its ready, the Dragonator, another weapon on the sand ship. Alternatively, you can attack his legs with your own weapons, which works but isn't quite as effective. Keep this up and eventually Jhen Mohran will go down.
Alatreon
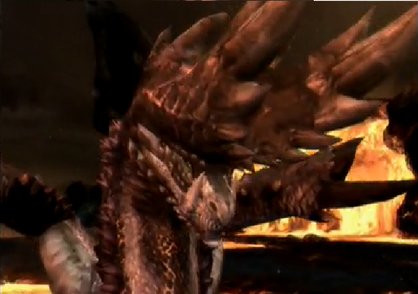
Type: Elder Dragon
Threat: 5
Weak Point: Head
Elemental Weakness: Ice
Item Drop
From Body: Alatreon Talon, Alatreon Scute, Alatreon Plate, Broken Skypiercer, Elder Dragon Blood, Azure Dragongem
From Tail: Alatreon Tail, Alatreon Plate, Azure Dragongem
Quest Reward: Alatreon Talon, Alatreon Scute, Alatreon Tail, Alatreon Plate, Elder Dragon Blood, Azure Dragongem
Special Reward: (Destroy Horns) Alatreon Plate, Broken Skypiercer, Skypiercer, (Destroy Claws) Alatreon Plate, Alatreon Talon (Destroy Wings) Alatreon Scute, Alatreon Webbing, Alatreon Plate
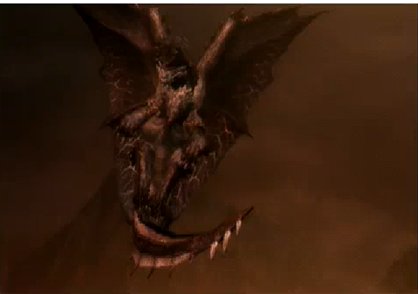
On one level, Alatreon is your typical big dragon. He's big and scary, but he also has a lot of attacks with predictable visual cues and easy to learn patterns. That said, he also comes packed with a ton of high powered and varied attacks to watch out for. He can set you on fire. Freeze you in snow. Shock you. Curse you! And that's only describing a few of his abilities. Really this is another stick and move fight. You need to stay evasive, avoiding his attacks as best you can while still dealing in your own blows. As this is an online fight, it's best pursued with some friends along to lighten the load. Beyond that, there isn’t much to say. He's powerful and hard, but with a bit of practice you will be able to take him down.
Weekly digests, tales from the communities you love, and more
Stewart has been a freelance journalist writing for titles like GamesRadar, GamePro, IGN, UGO Entertainment, and more for over 13 years. He covers features, walkthroughs, reviews, and more in the video game space.


