Your ultimate Wii launch guide
Everything you need to know about Nintendo's revolution
Setting up your console
So here goes. Once everything is out of the box you can choose to either lay the Wii flat like a DVD player or have it on the side like the picture on the box, using the stand provided.
Next up is choosing where to put the sensor bar, either on top or below your TV screen. It doesn't make that much difference to gameplay, just stick it wherever is most convenient. To help secure it where you want it there's a sticky strip on the bottom. Make sure the front of the sensor is facing out from the telly and that there's nothing blocking it, then plug in the cable coming from the sensor into the orange socket round the back of the console.
While you're round there, why not shove in the end of the composite cable and plug it into your telly using the composite inputs, or with the SCART adaptor for the SCART socket. Lastly, put in the power supply and switch it on. Toggle through the 'sources' on the TV remote control to find the signal coming from your Wii.

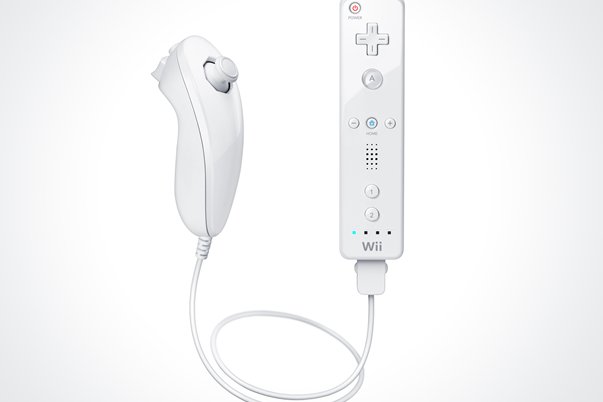
Above: As the Nunchuk is never used on its own - only with the Wii-mote - it takes its power from the Wii-mote's AA batteries
Now it's time to turn your attentions to the Wii Remote, or Wii-mote as we like to call it. Switch it on using the power switch on the top left and point it towards the TV. When your Wii first loads up you will be asked to set the time and date as well as indicating whether you have put the Wii sensor bar on the top or bottom of the television. From then you will be faced with a grid-like screen displaying all the Wii channels, which we'll explain on later on.
The Wii Sports game can be loaded by gently placing the disc into the slot on the front of the machine. You only need the Wii-mote to play most of the Wii Sports games but, just so you know, the Nunchuk attaches to the Wii-mote via its cable which is plugged into the slot found at the bottom of the remote. It doesn't need batteries as it is powered by the Wii-mote.
Weekly digests, tales from the communities you love, and more


