World of Warcraft: Battle for Azeroth - how to get Baa'l, the secret battle pet
Pebble 3: Atal'dazar, Zuldazar (TomTom coordinates: 44 39)
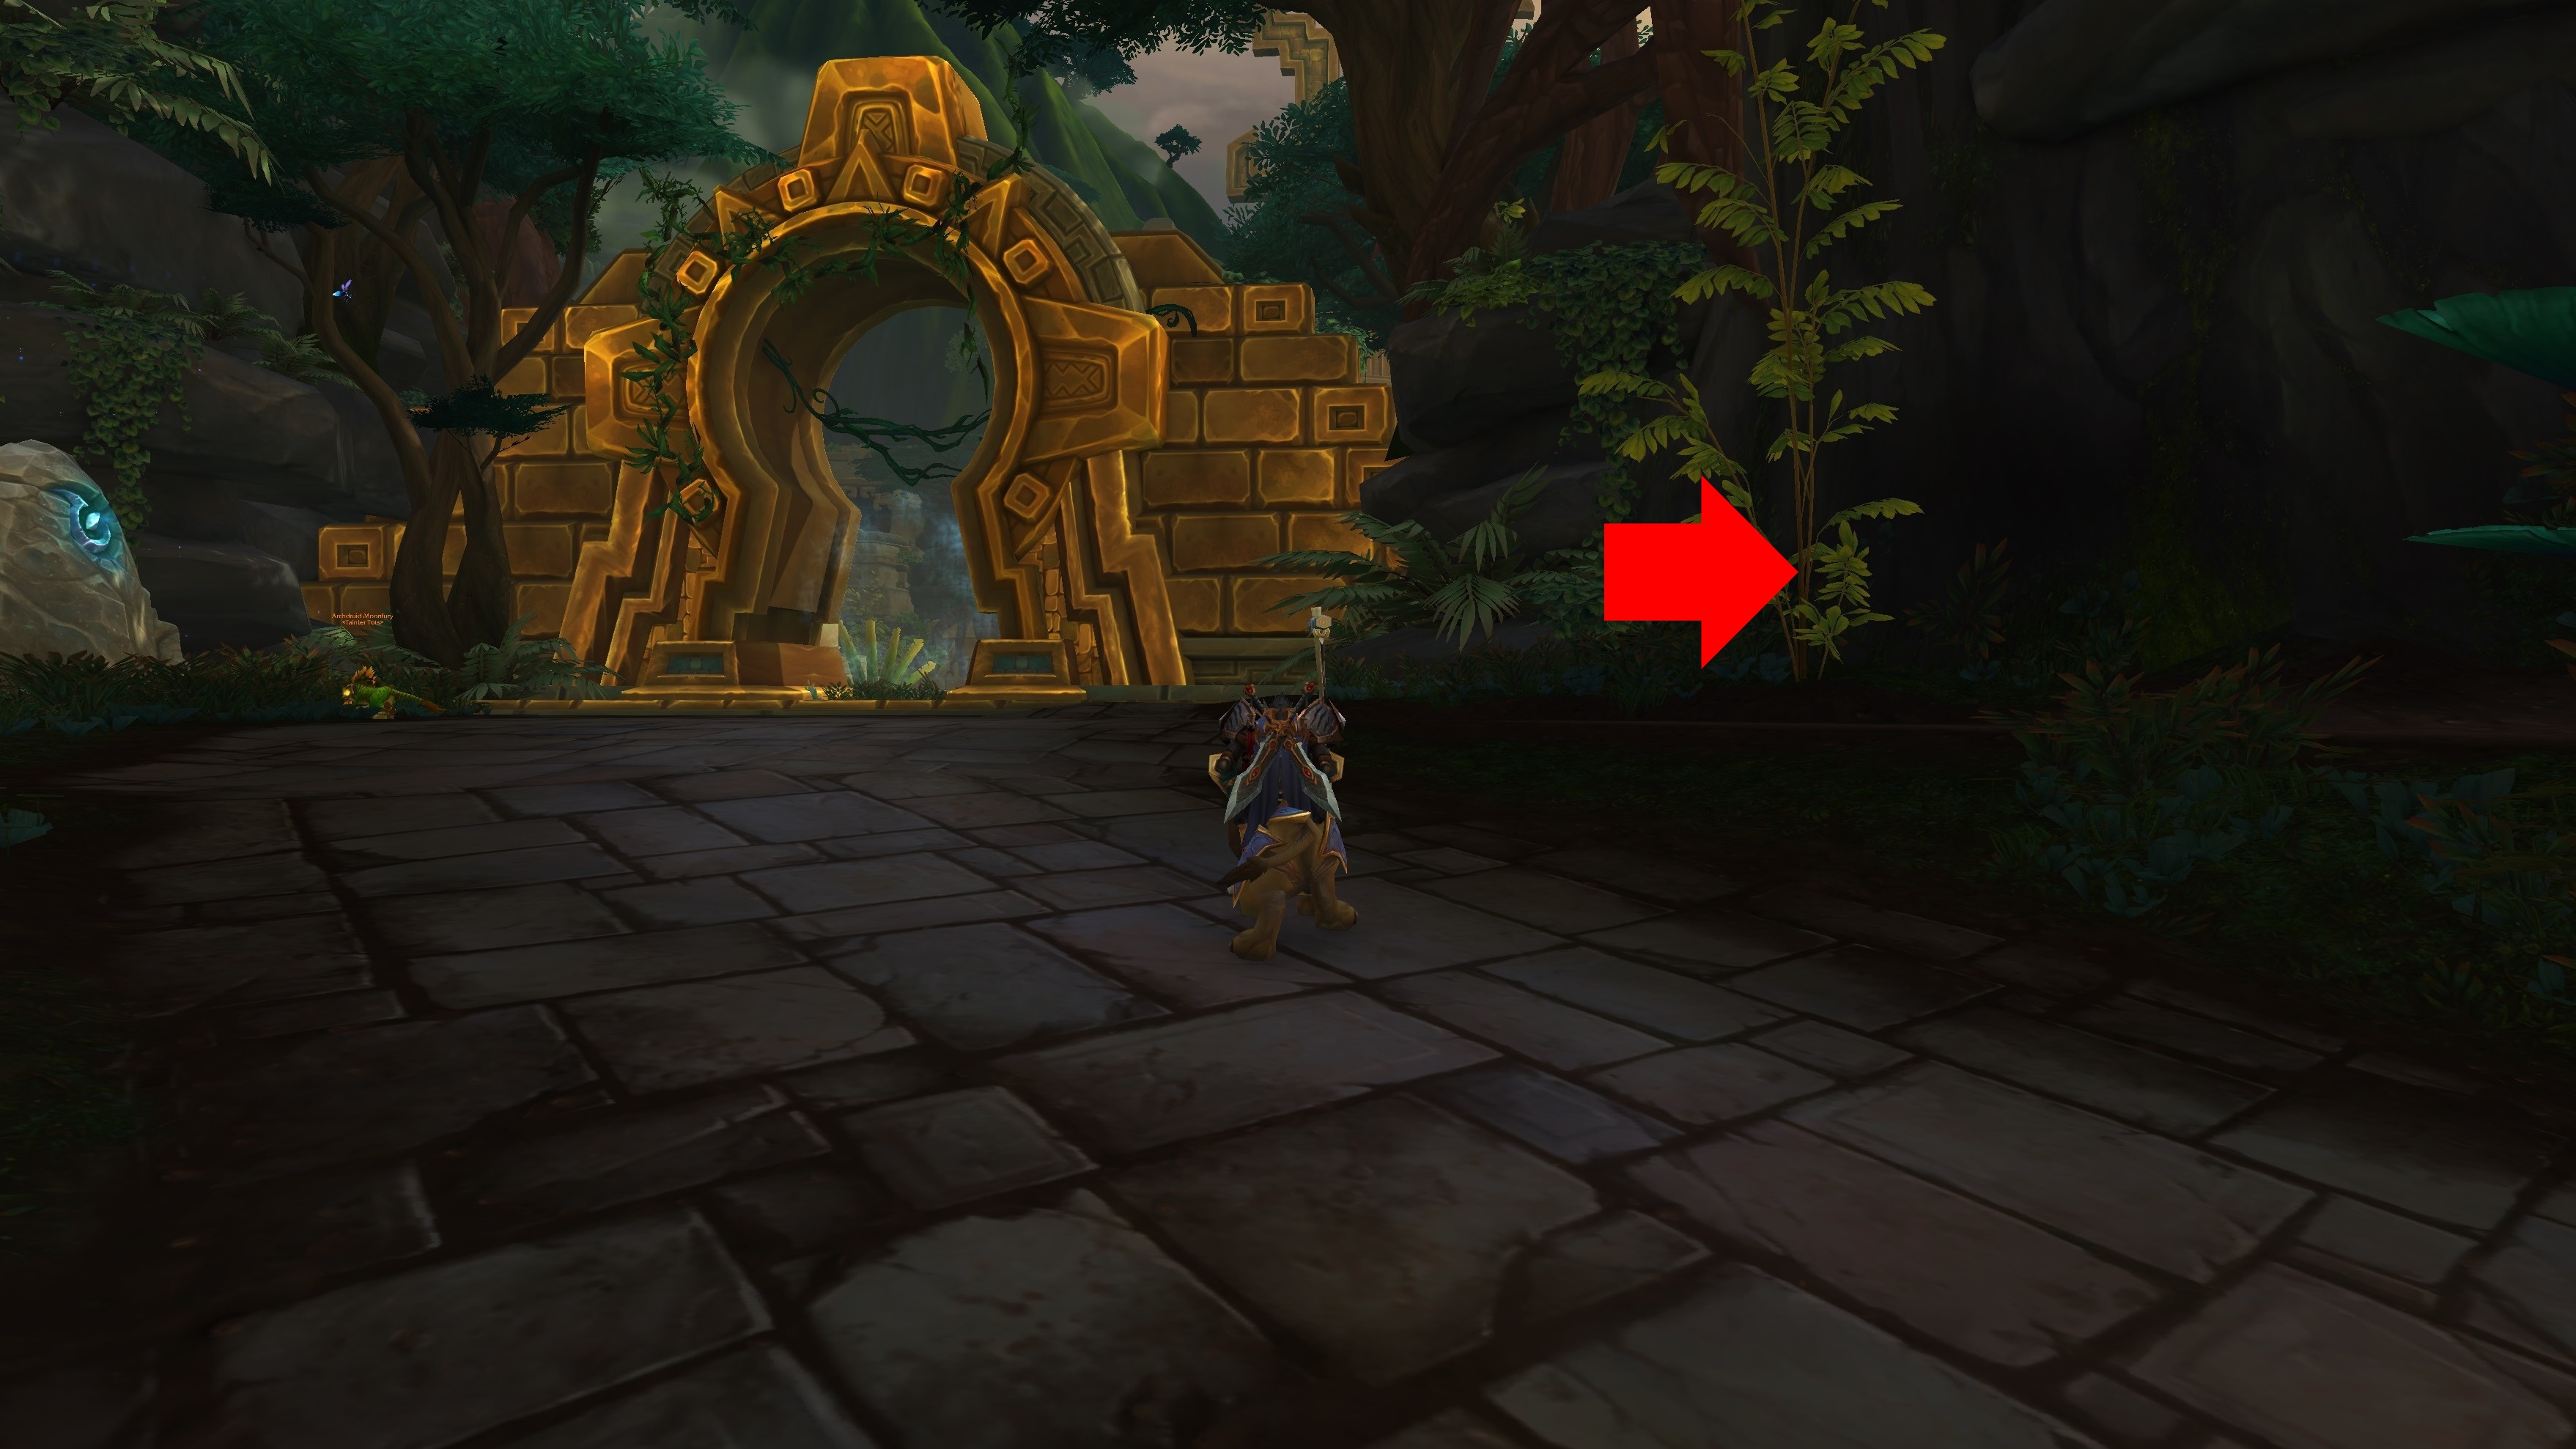
This is where things start to get harder. First, head to the Atal'dazar dungeon entrance. But instead of going in, take the path to the right, up and around to a higher cliff face.
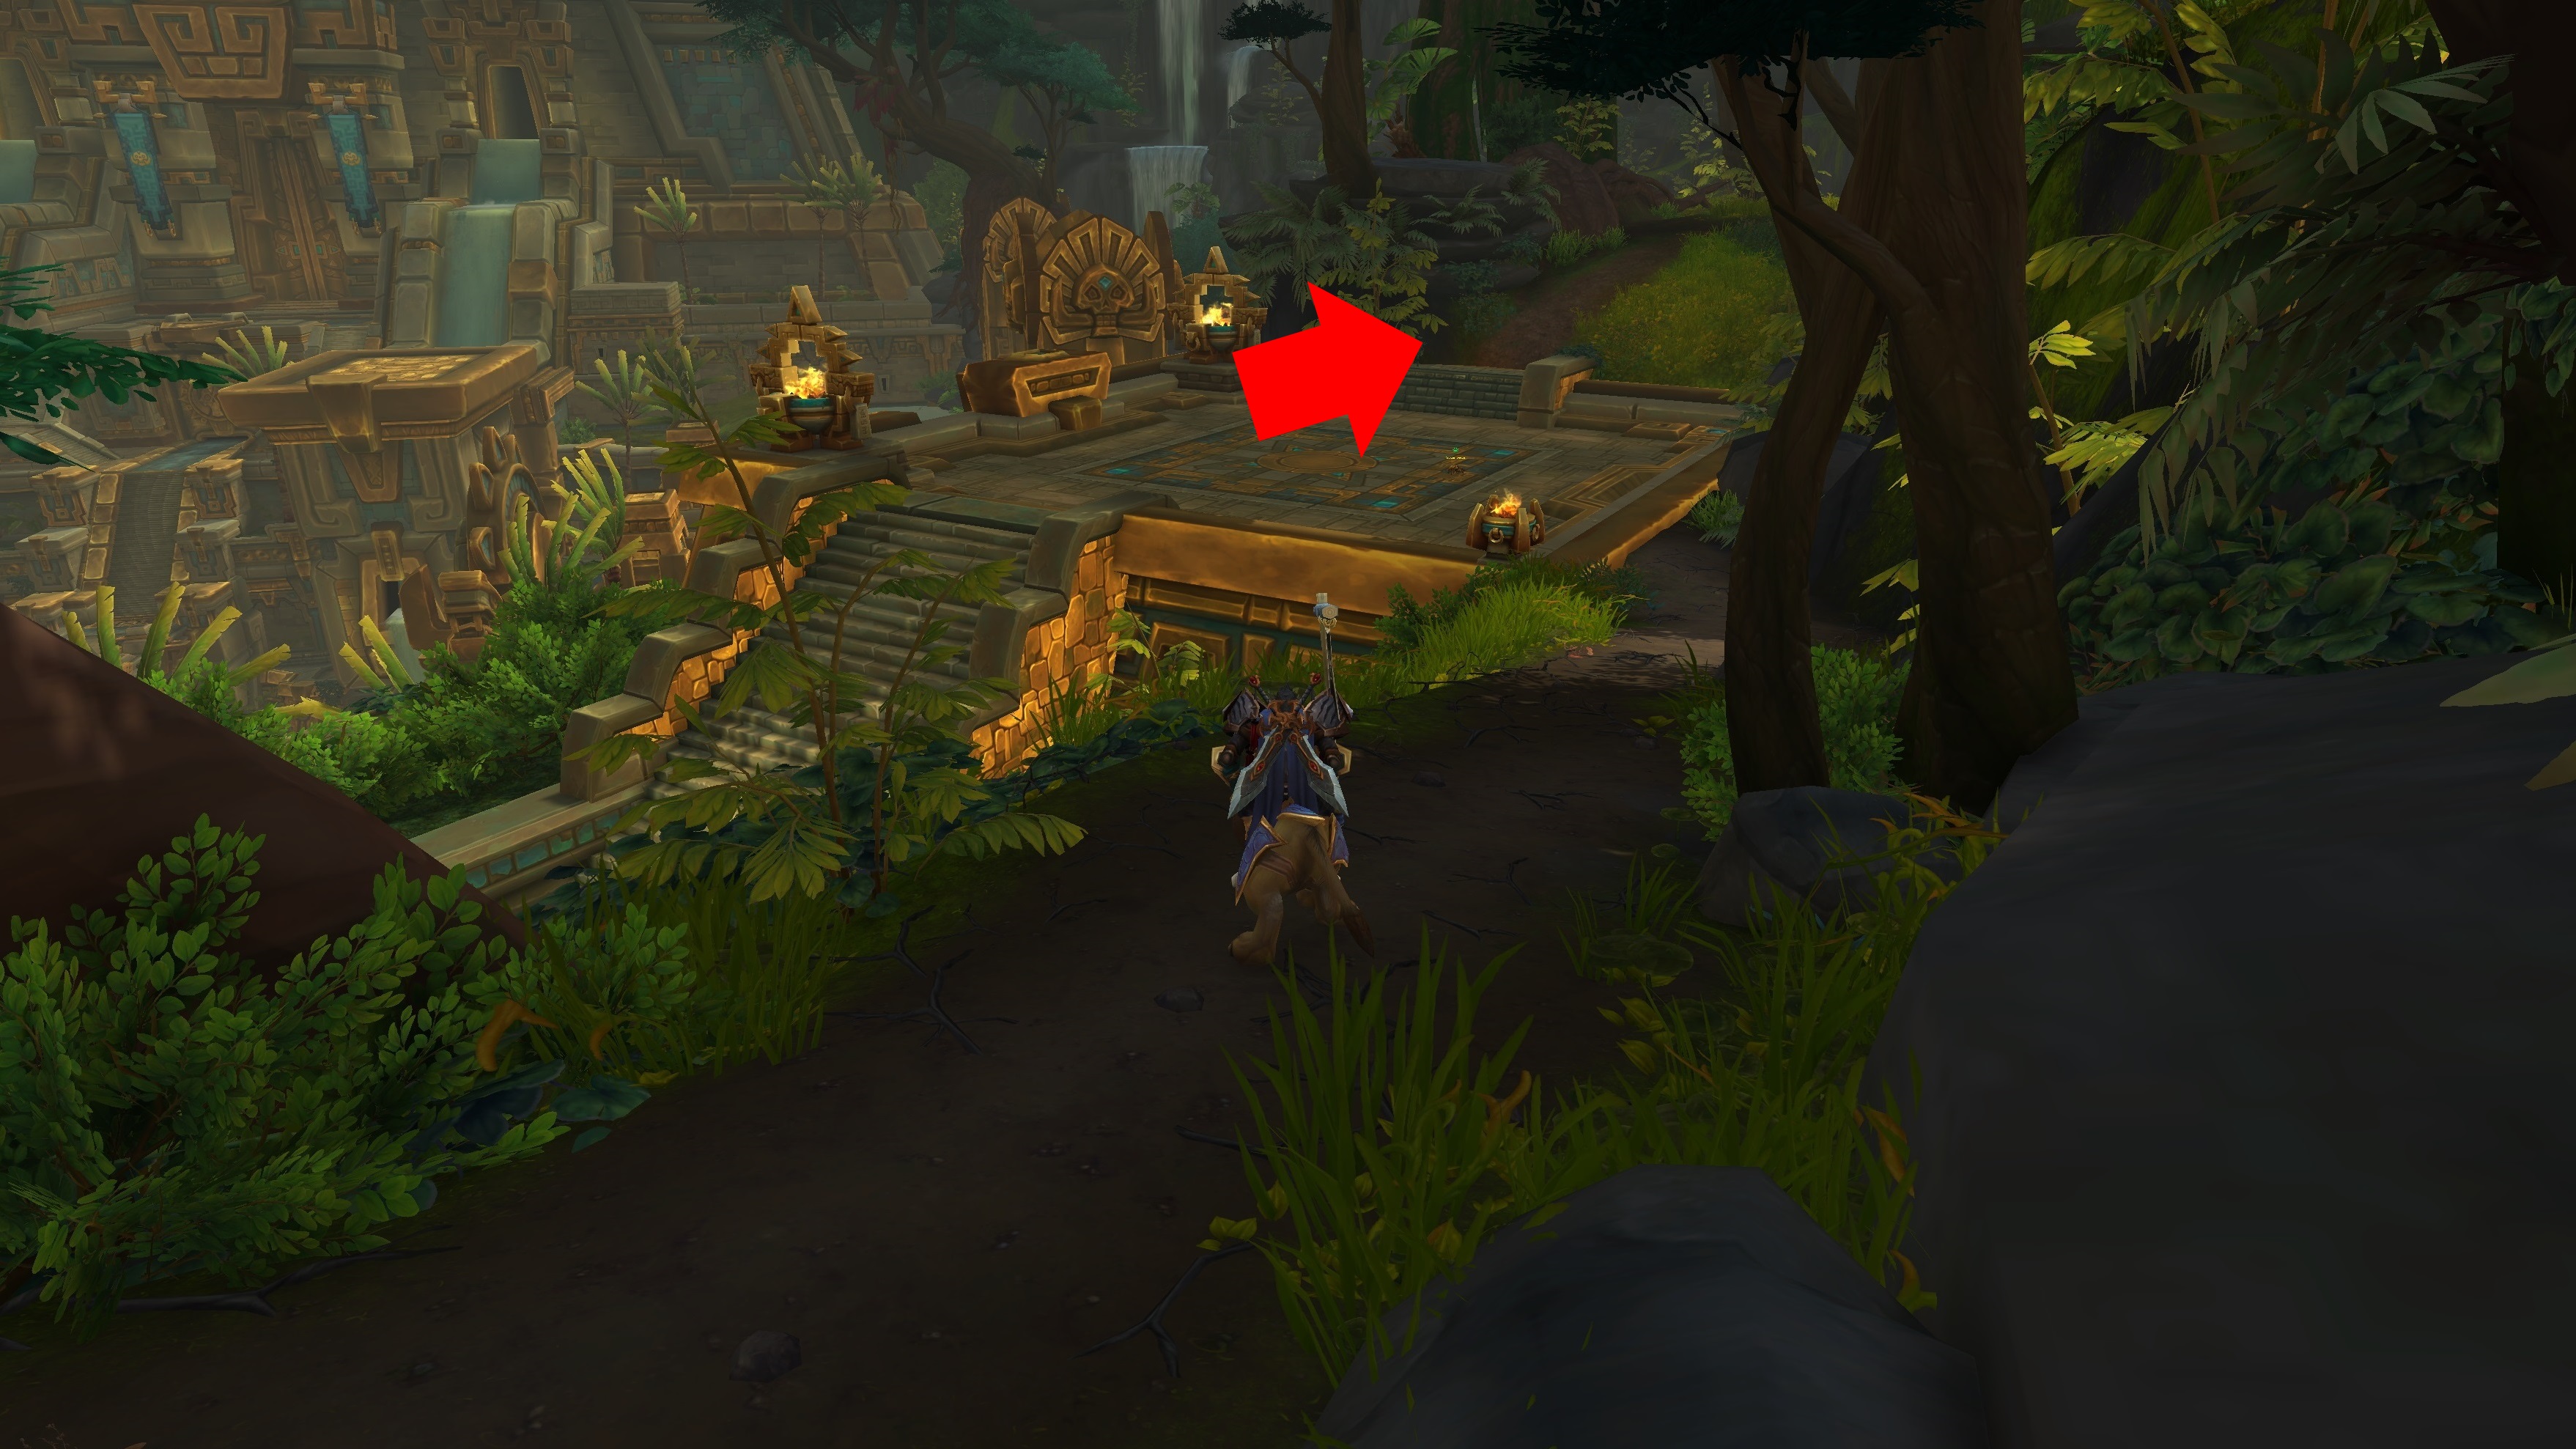
Keep following this path, staying on the edge of the temple.
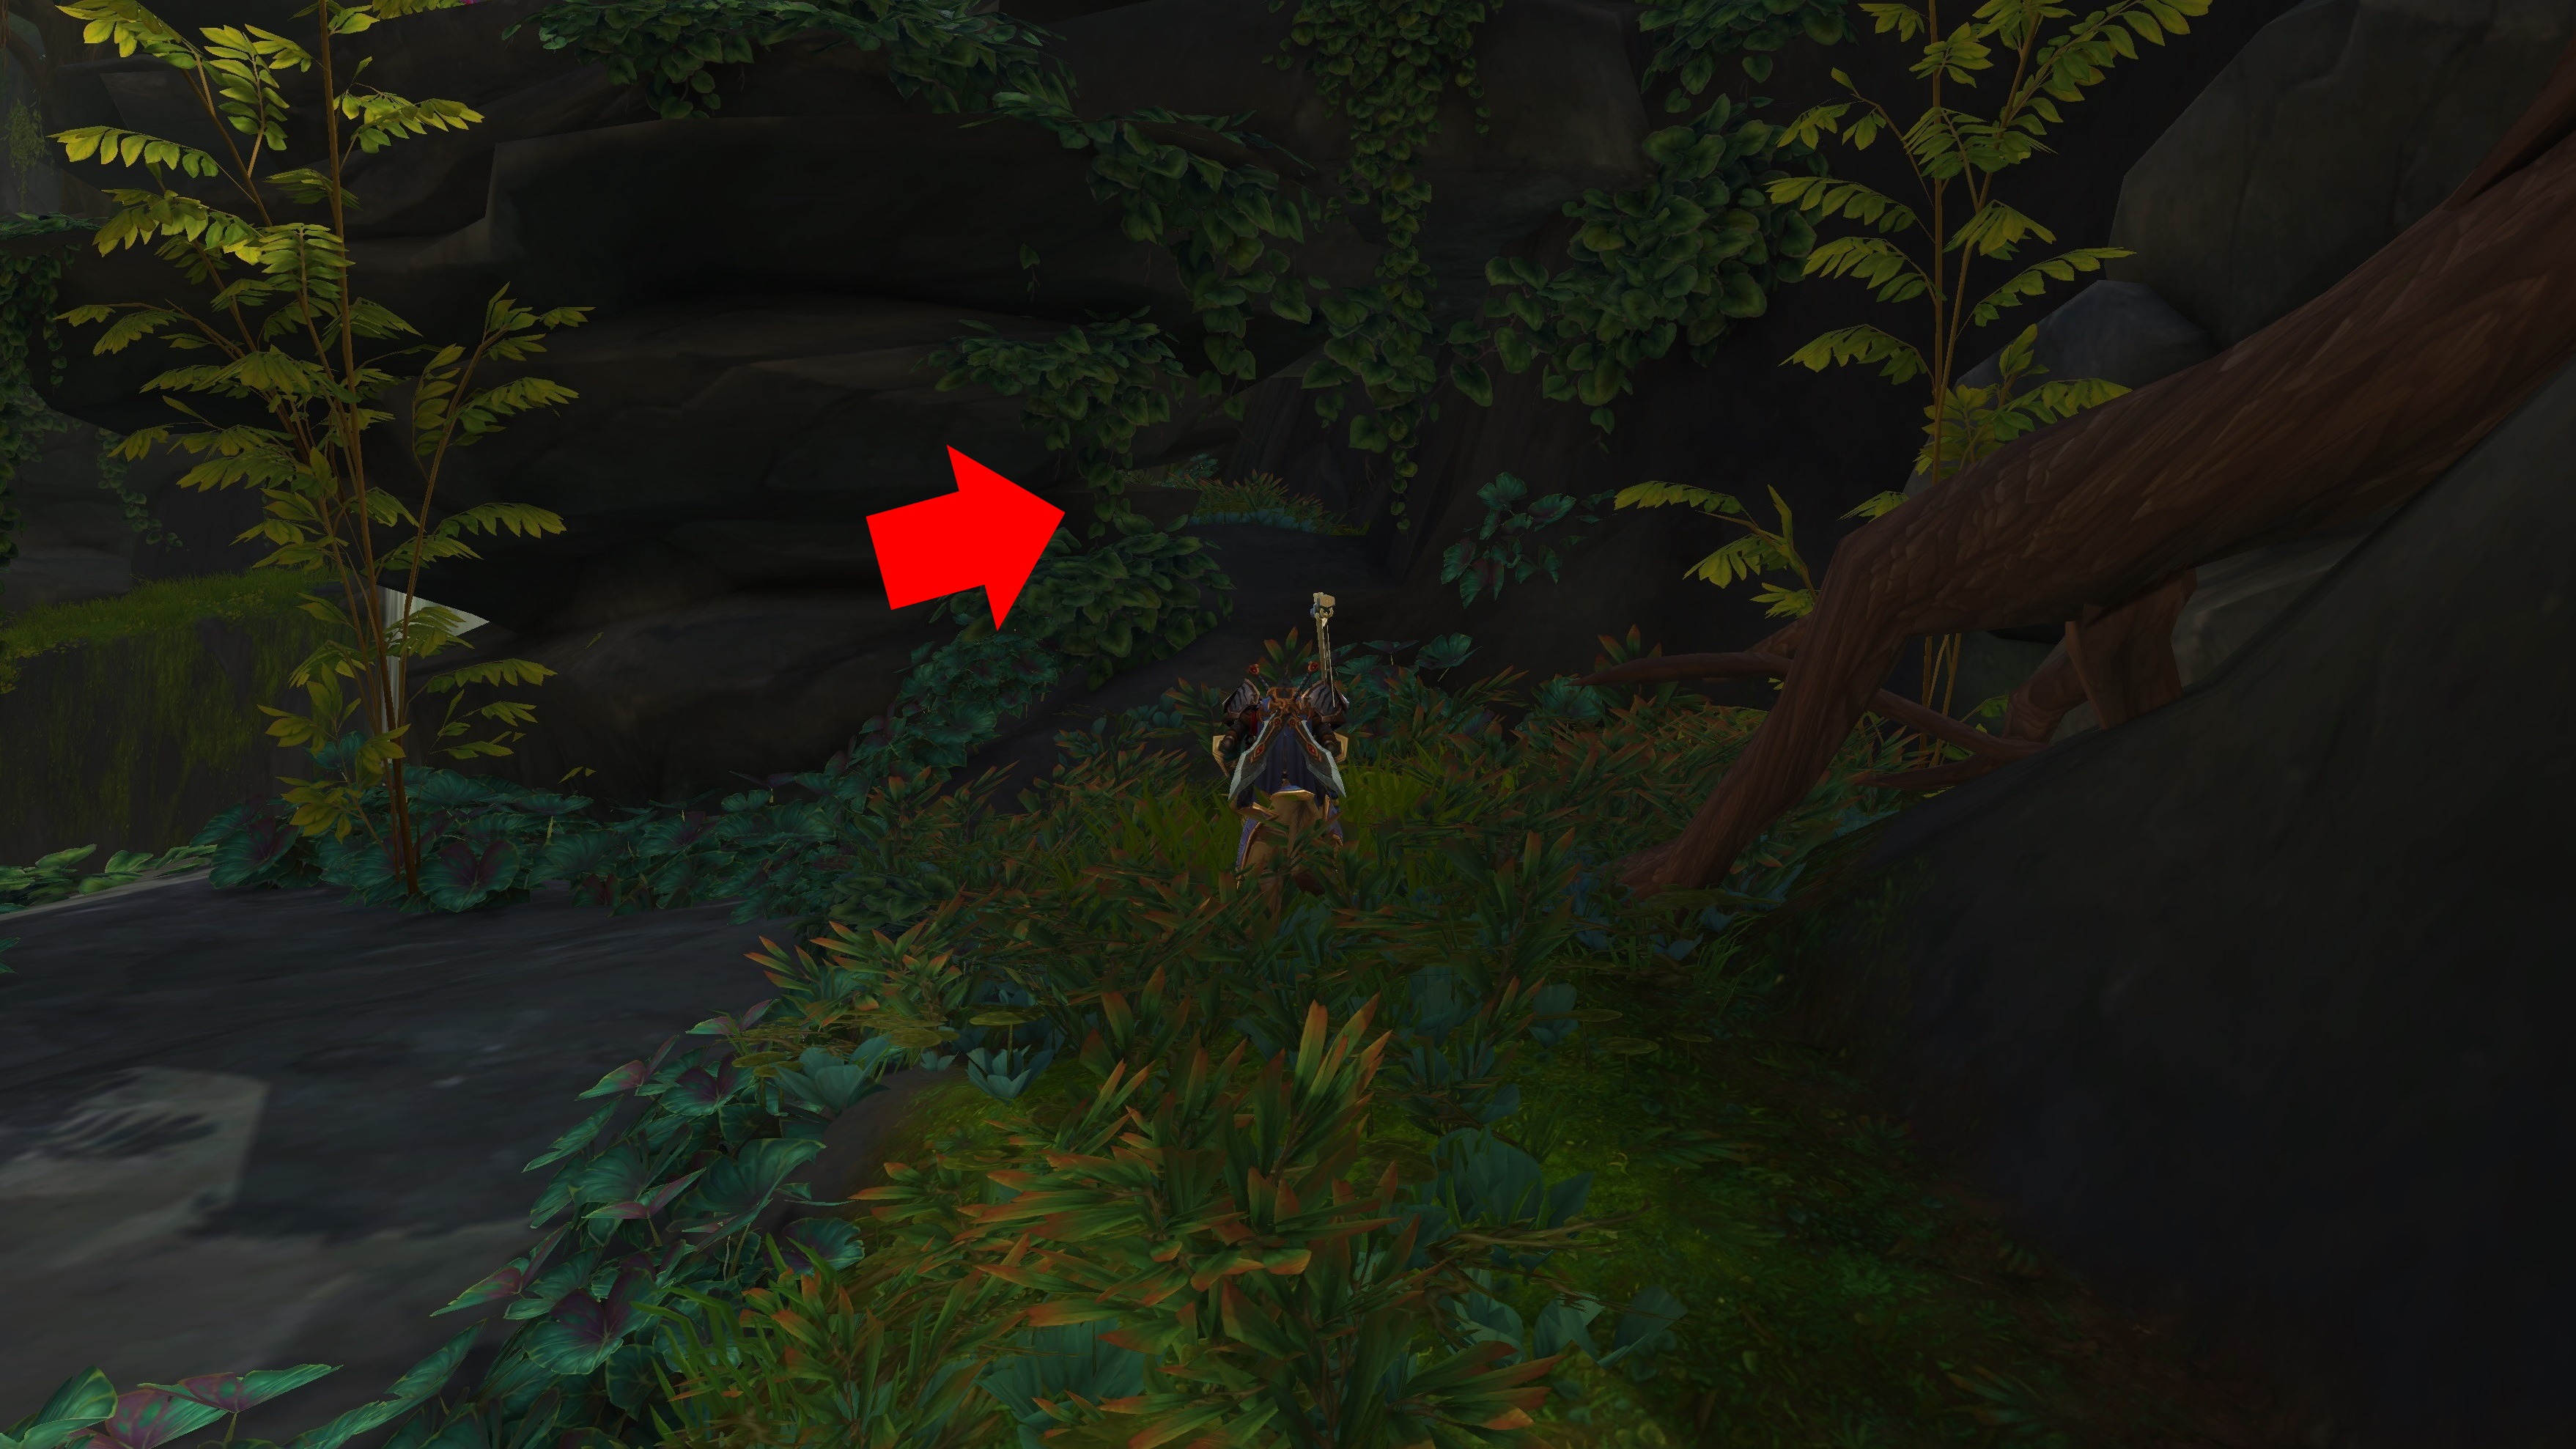
At one point you'll come to a waterfall, and it may look like your path ends. Find a small hole in the rocks and keep going.
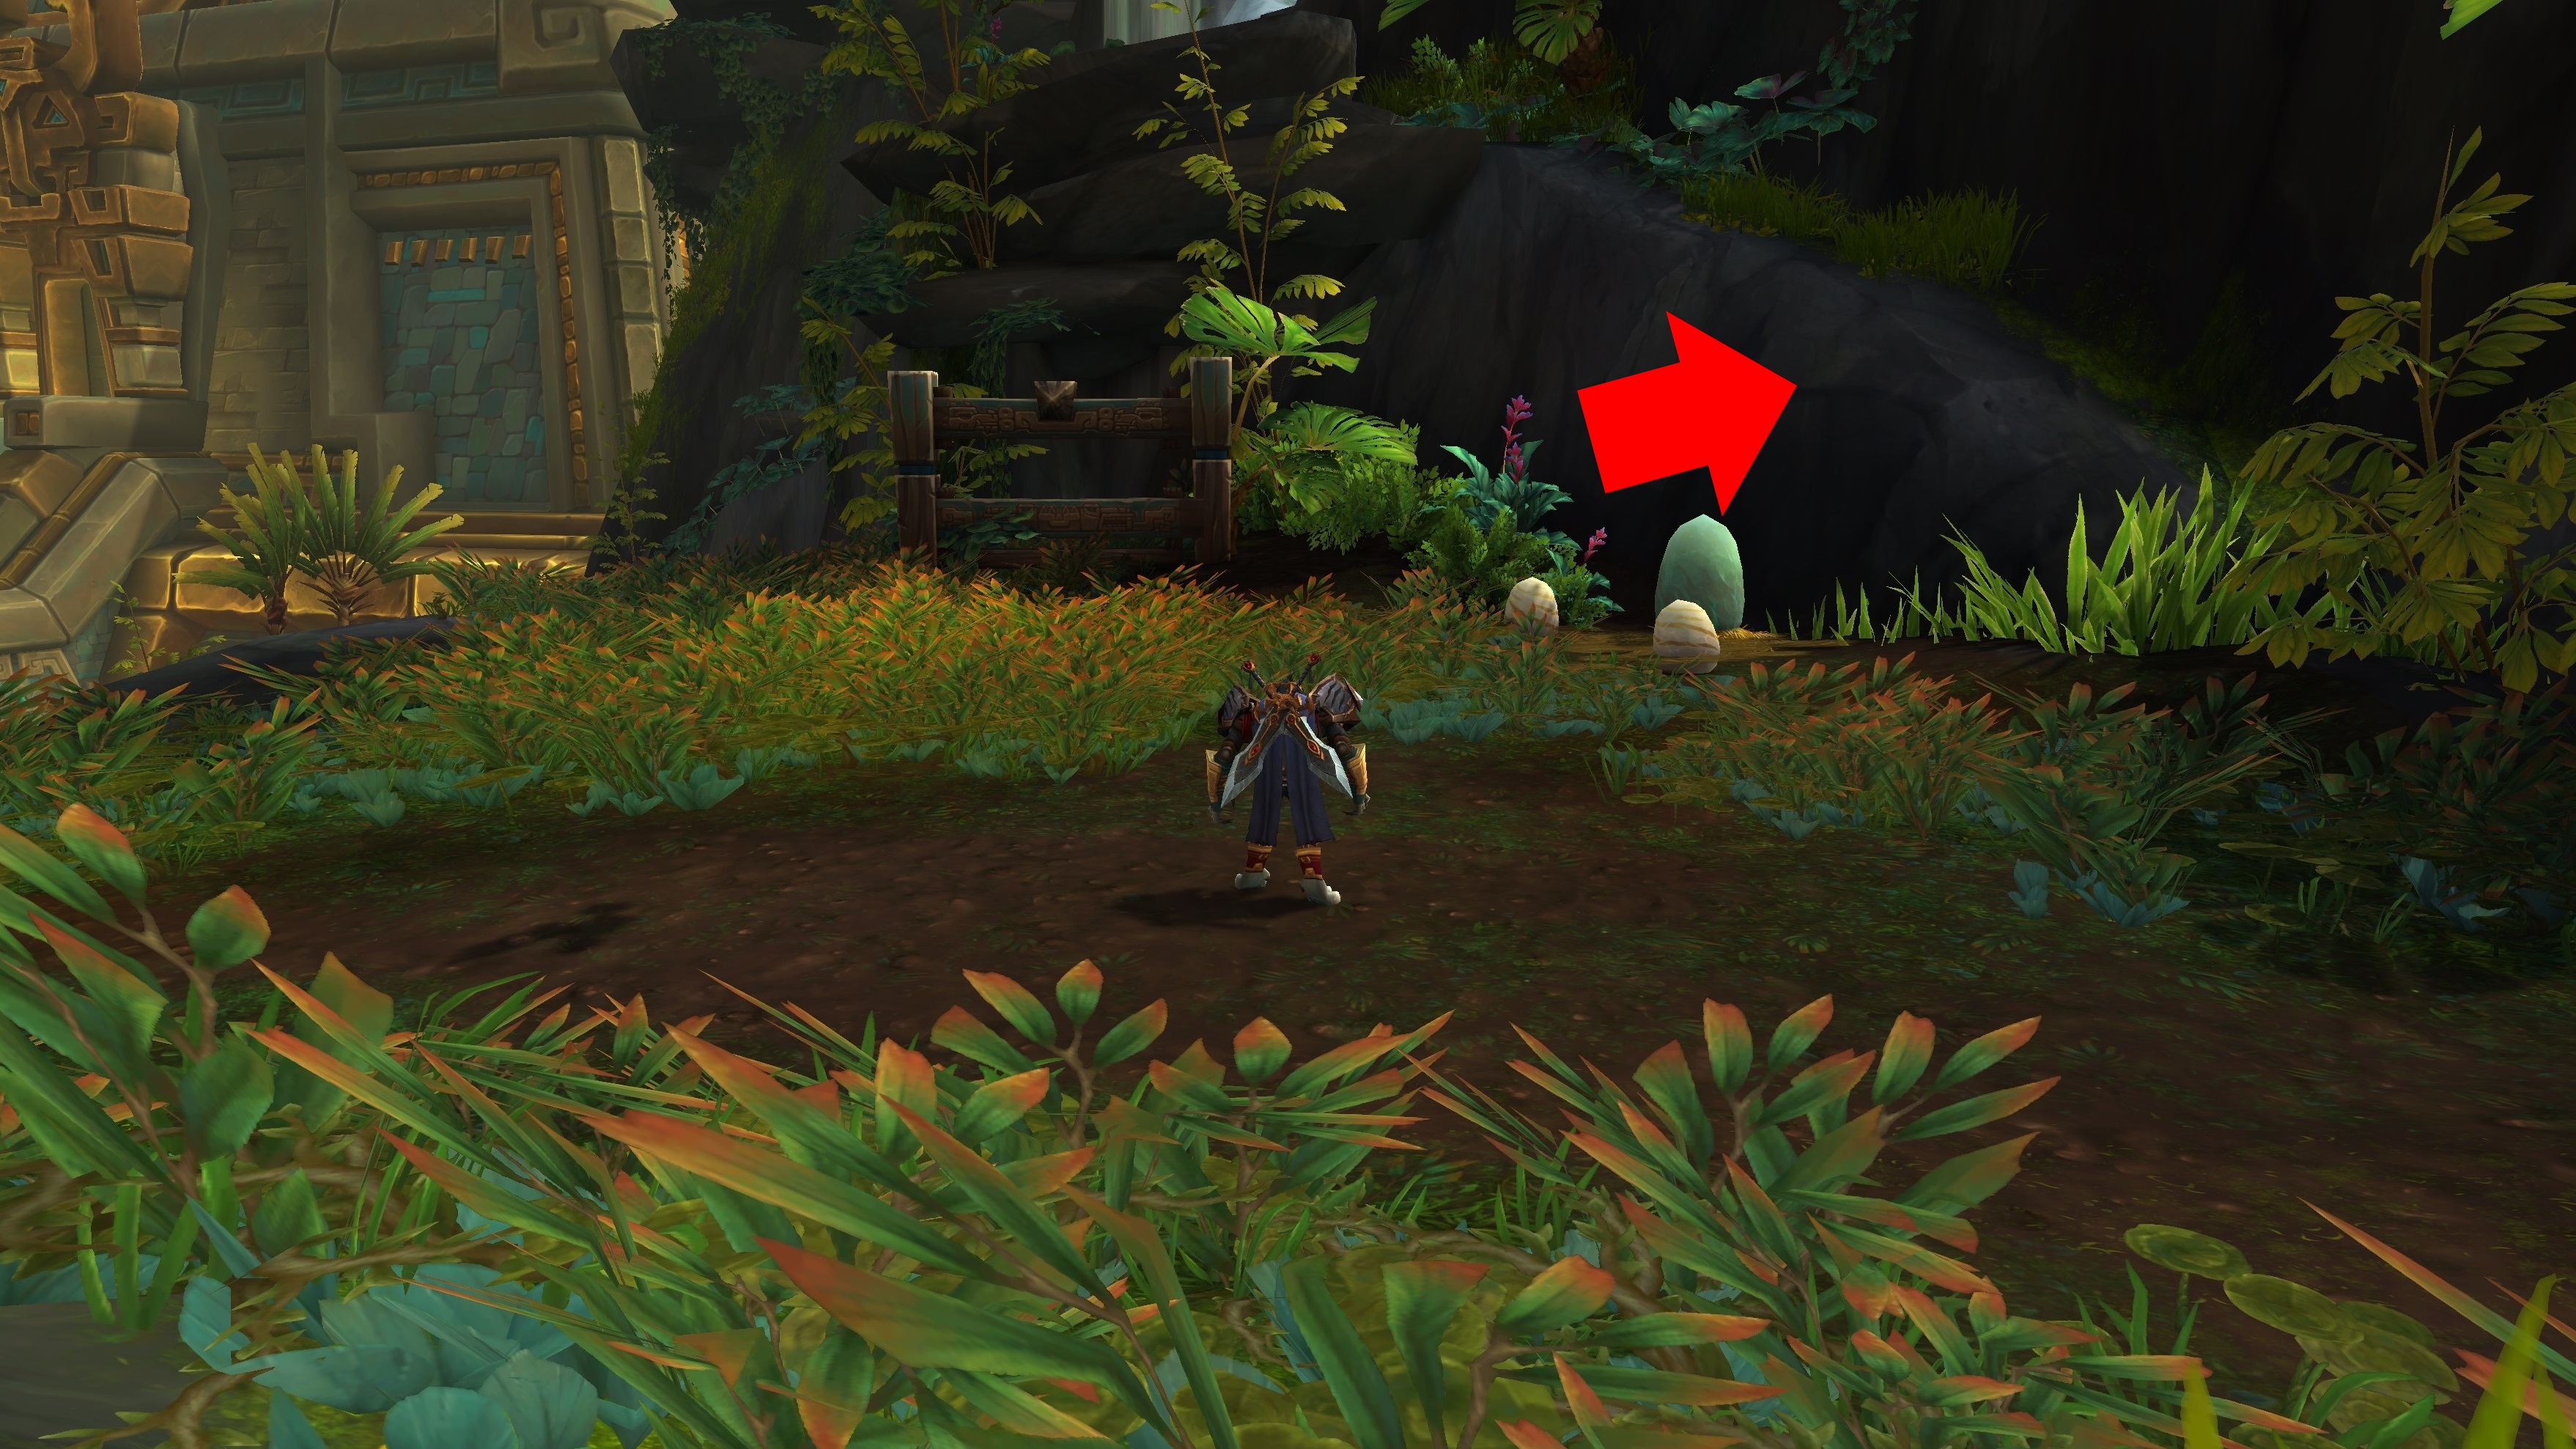
When you arrive at the small landing with three giant eggs, look to the right to find the next part of the path.
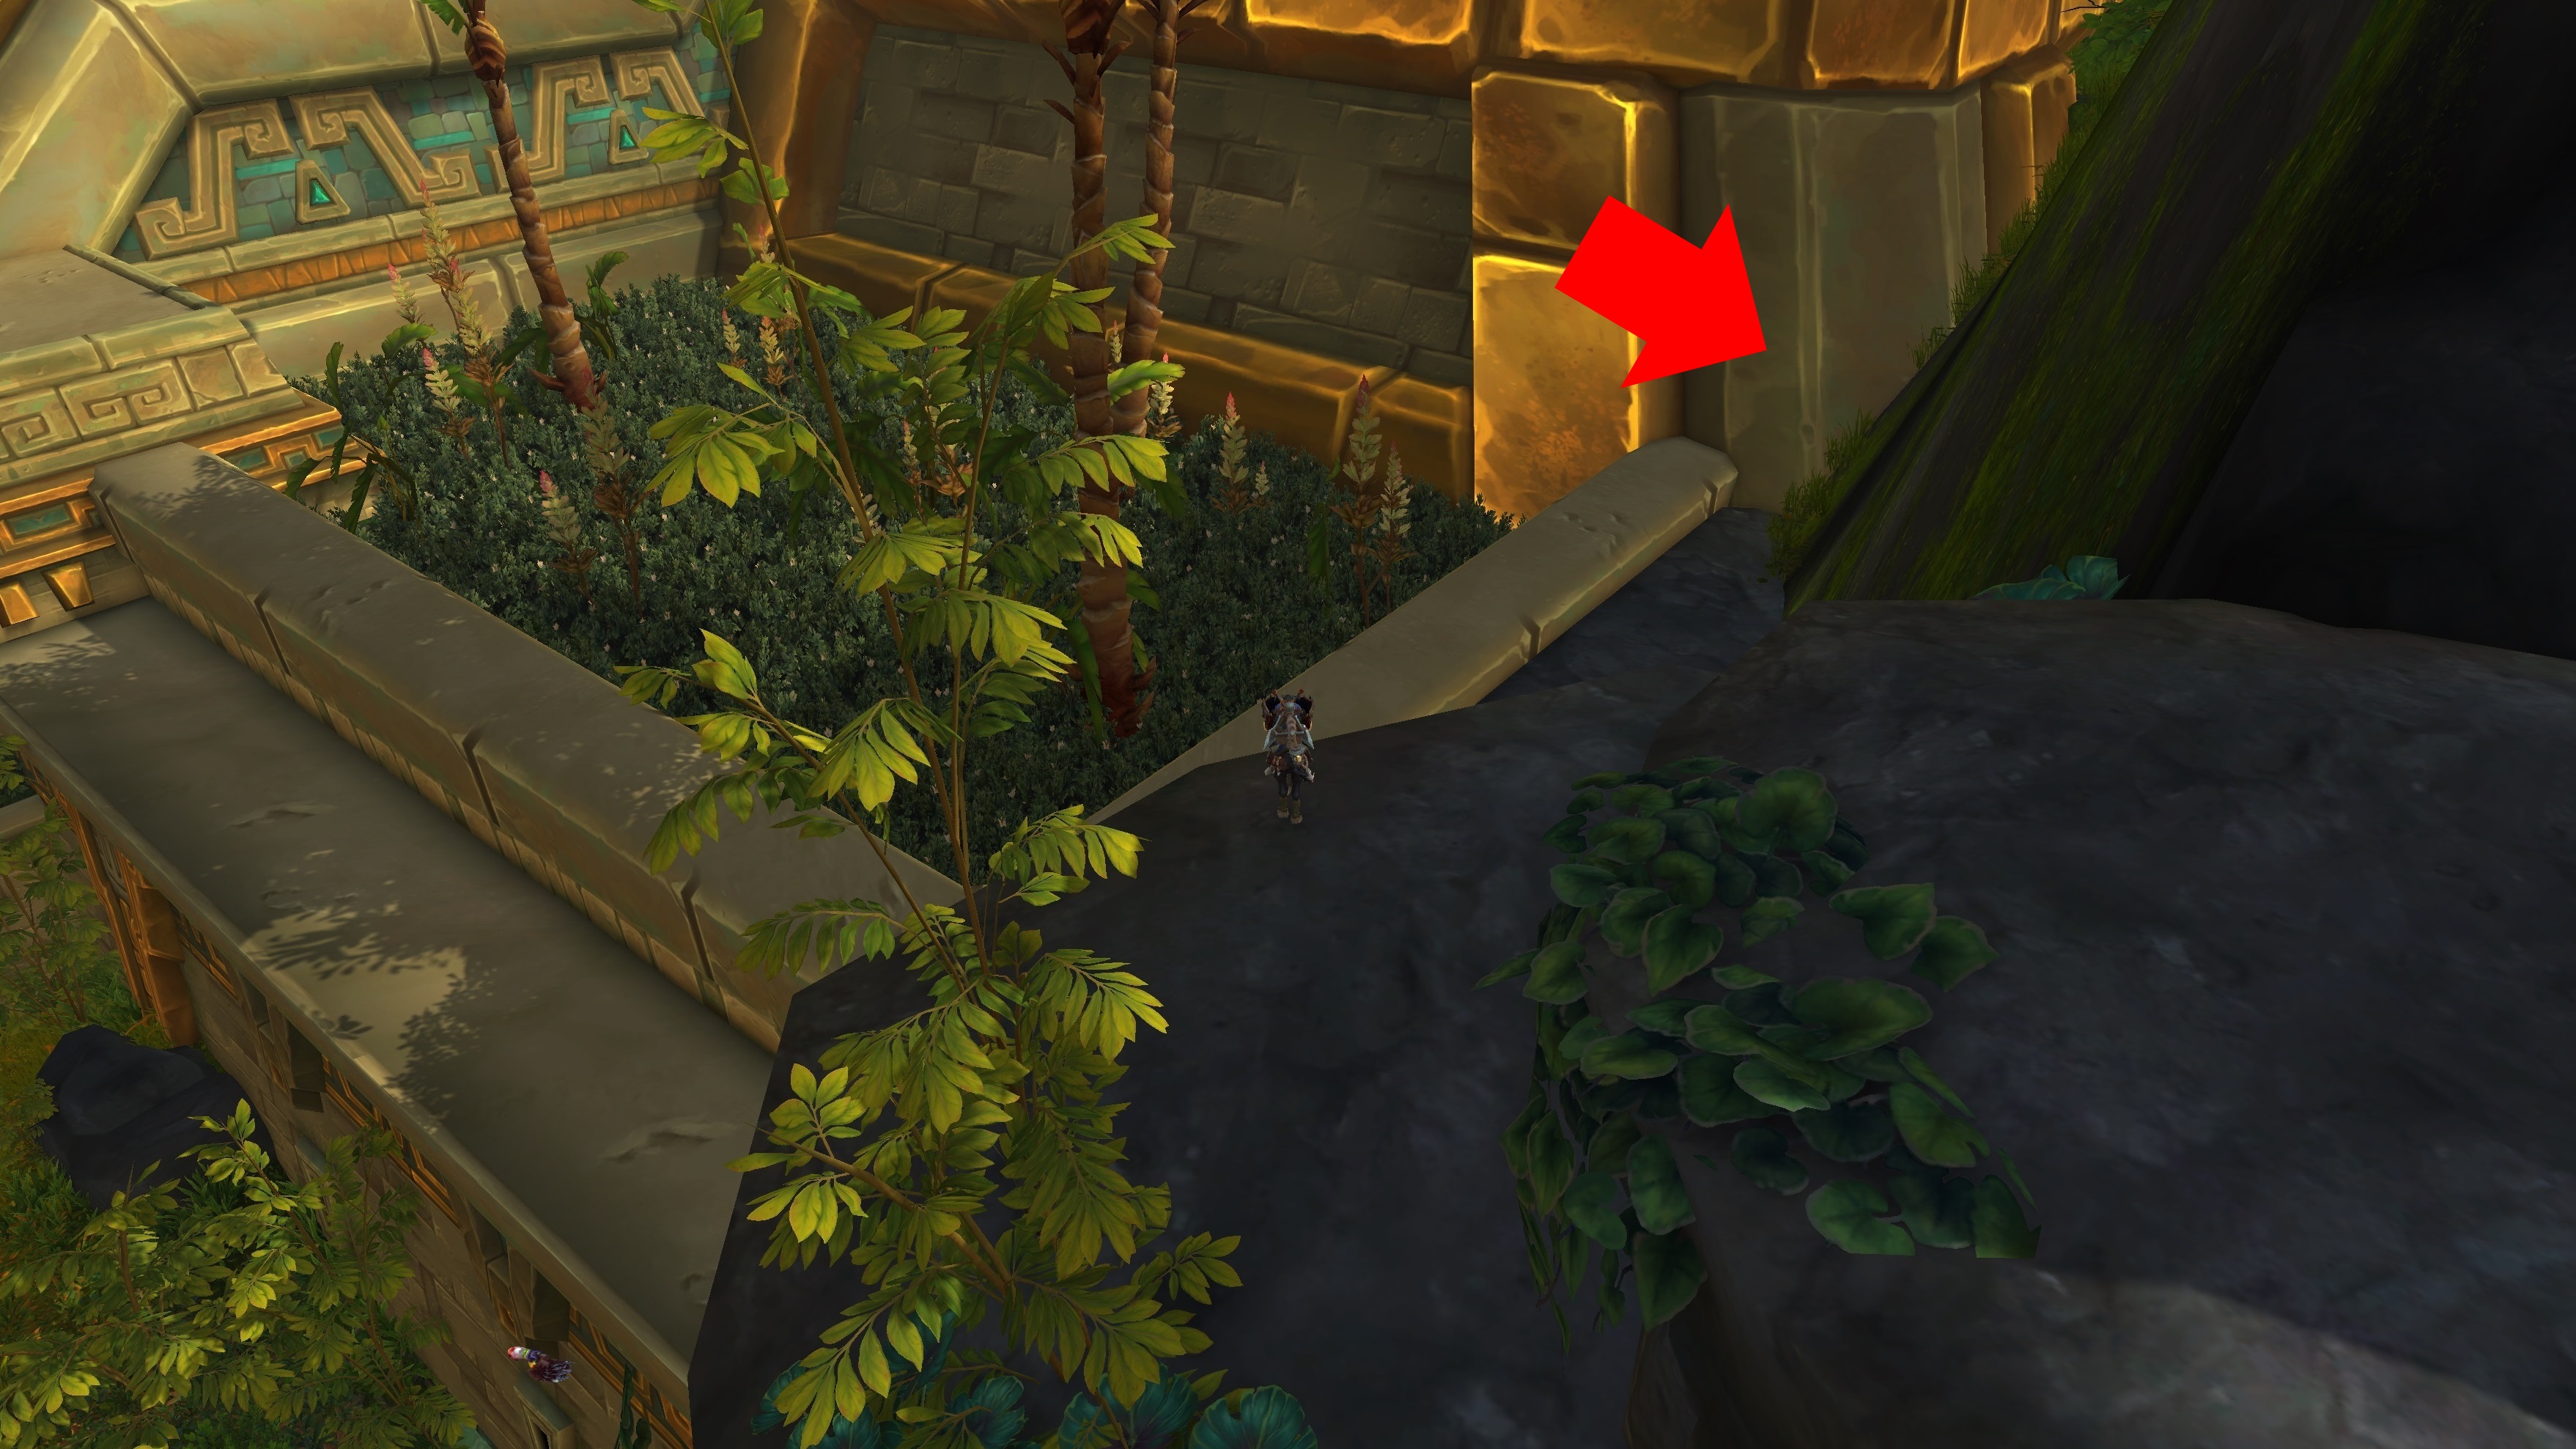
At the end of the path, use the wedge created by the temple and the hills to jump up. It'll look like it should be too steep, but just keep jumping and you should inch your way up.
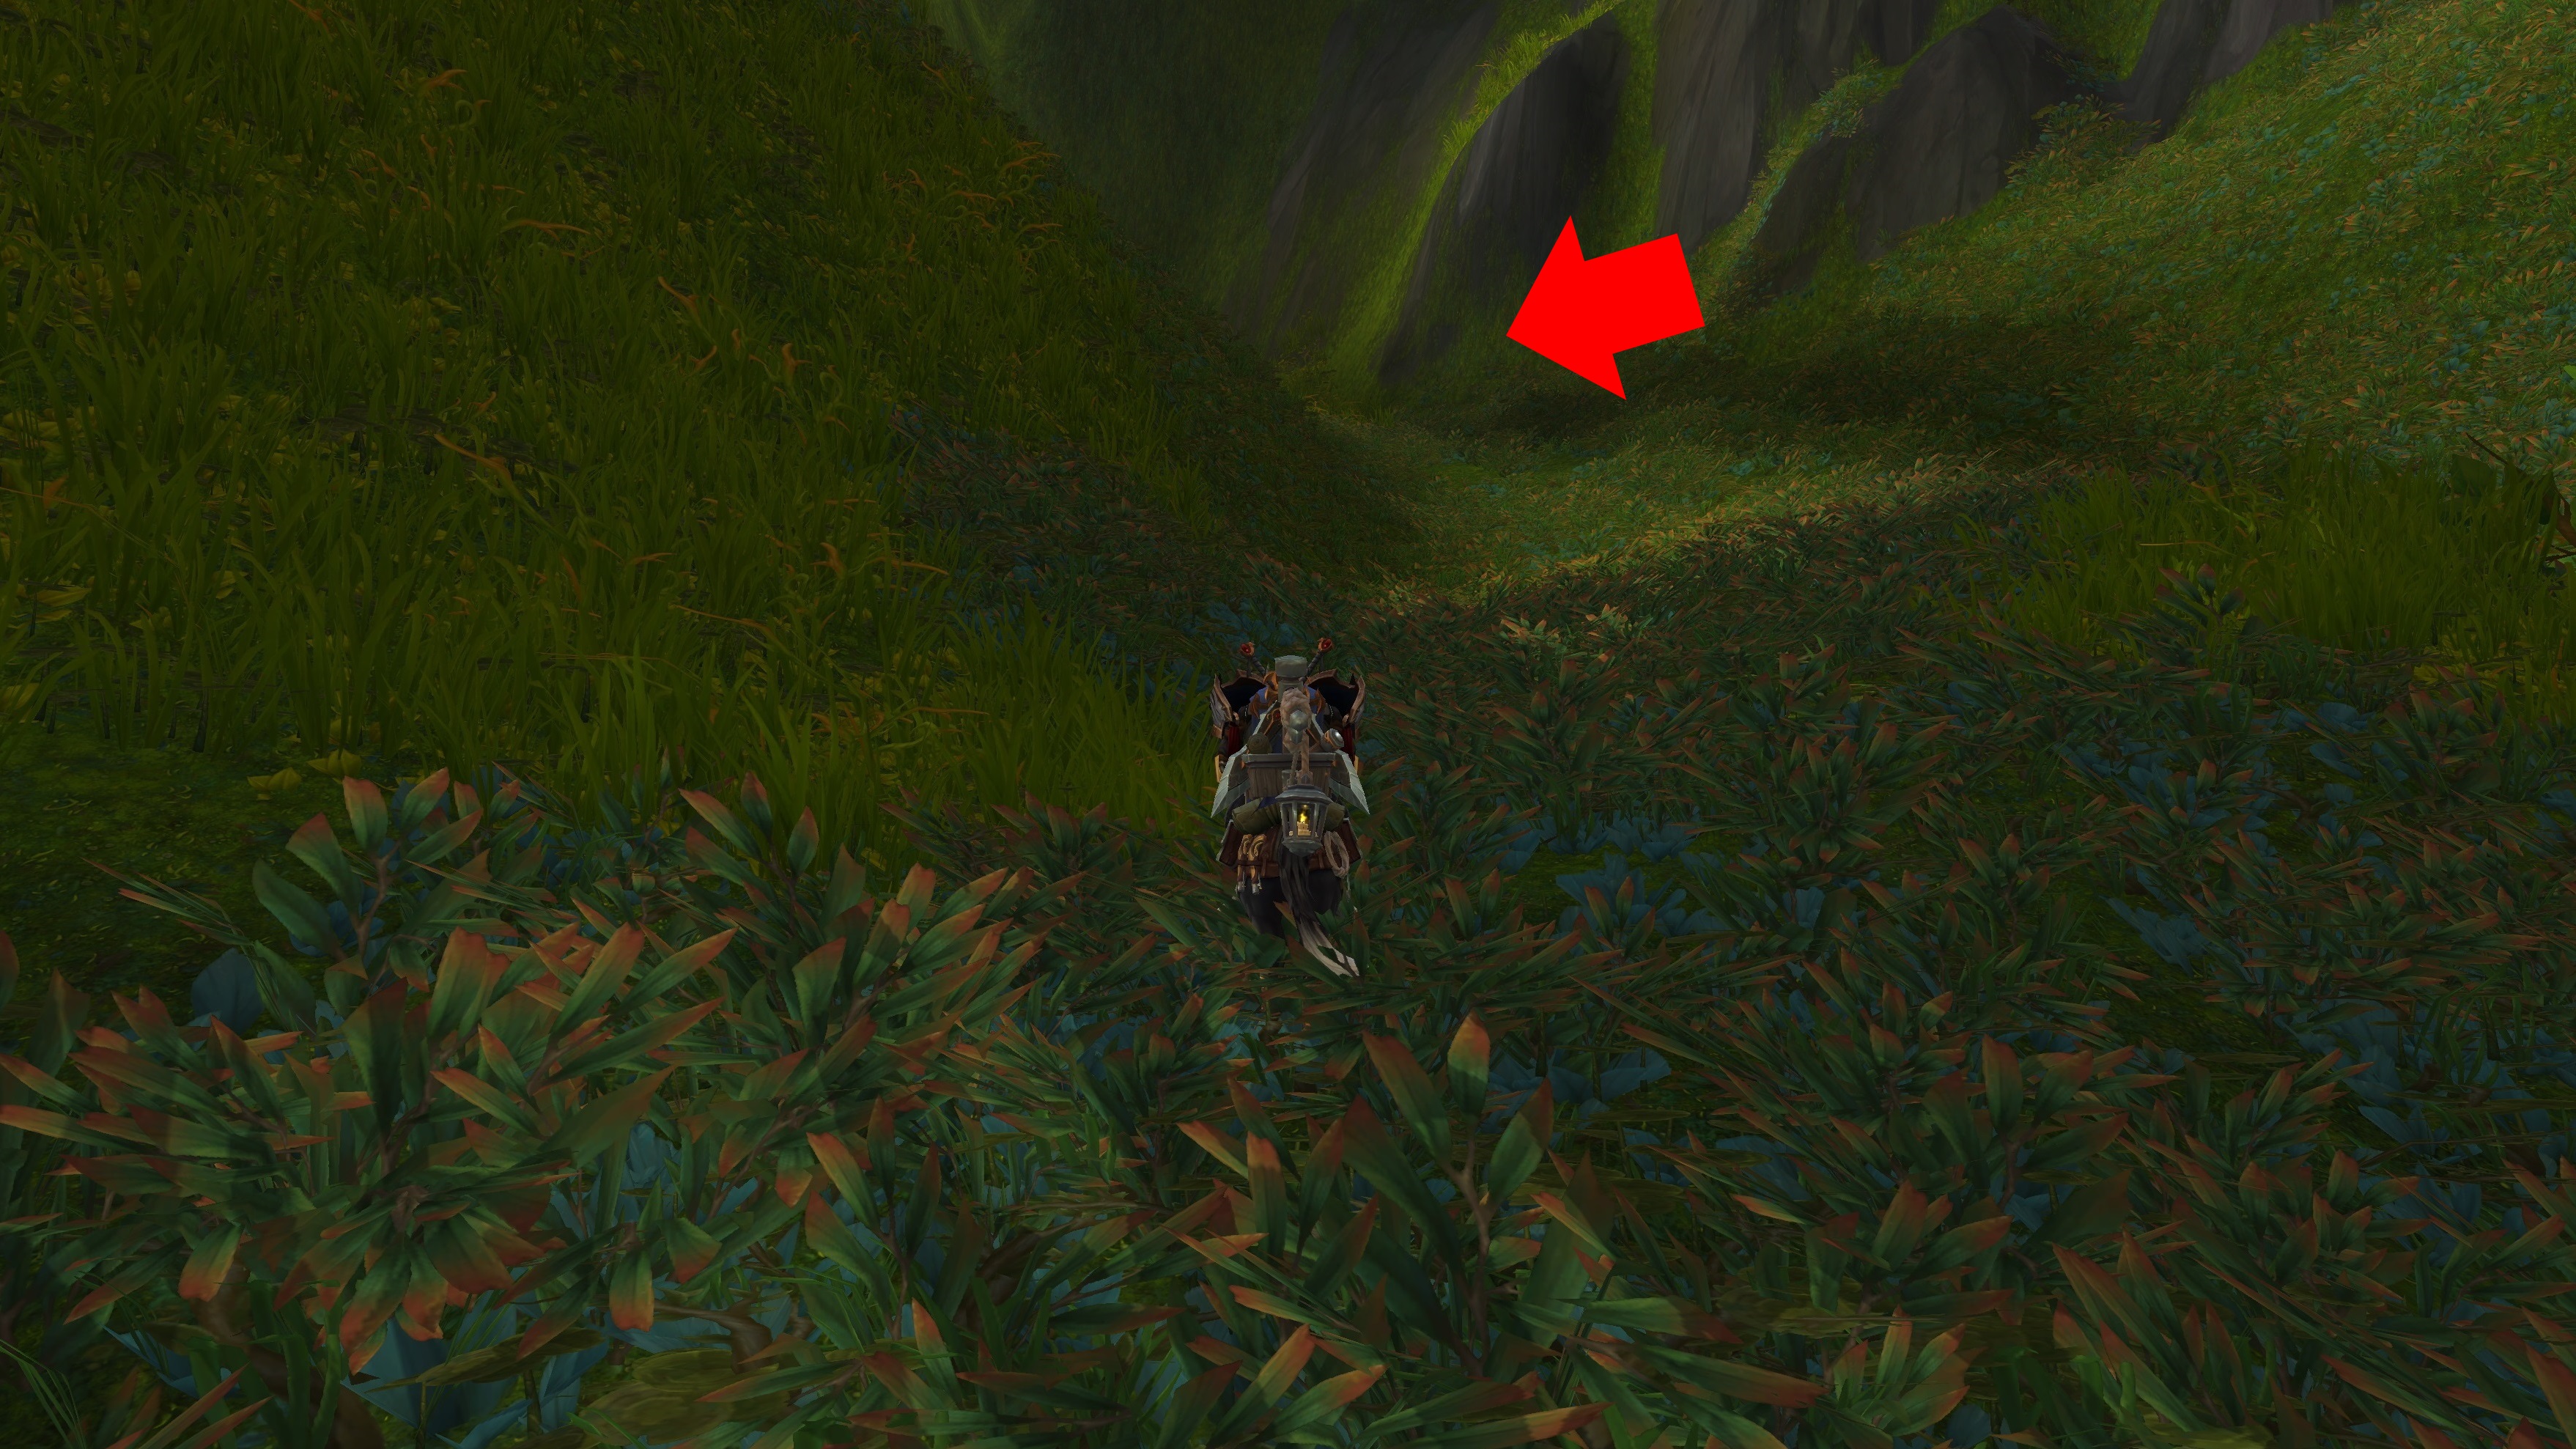
Hug the temple wall until you're halfway to the end (simply look at your mini-map to check your progress), then turn north. You should notice a more gentle slope among the hills. Follow it.
Weekly digests, tales from the communities you love, and more
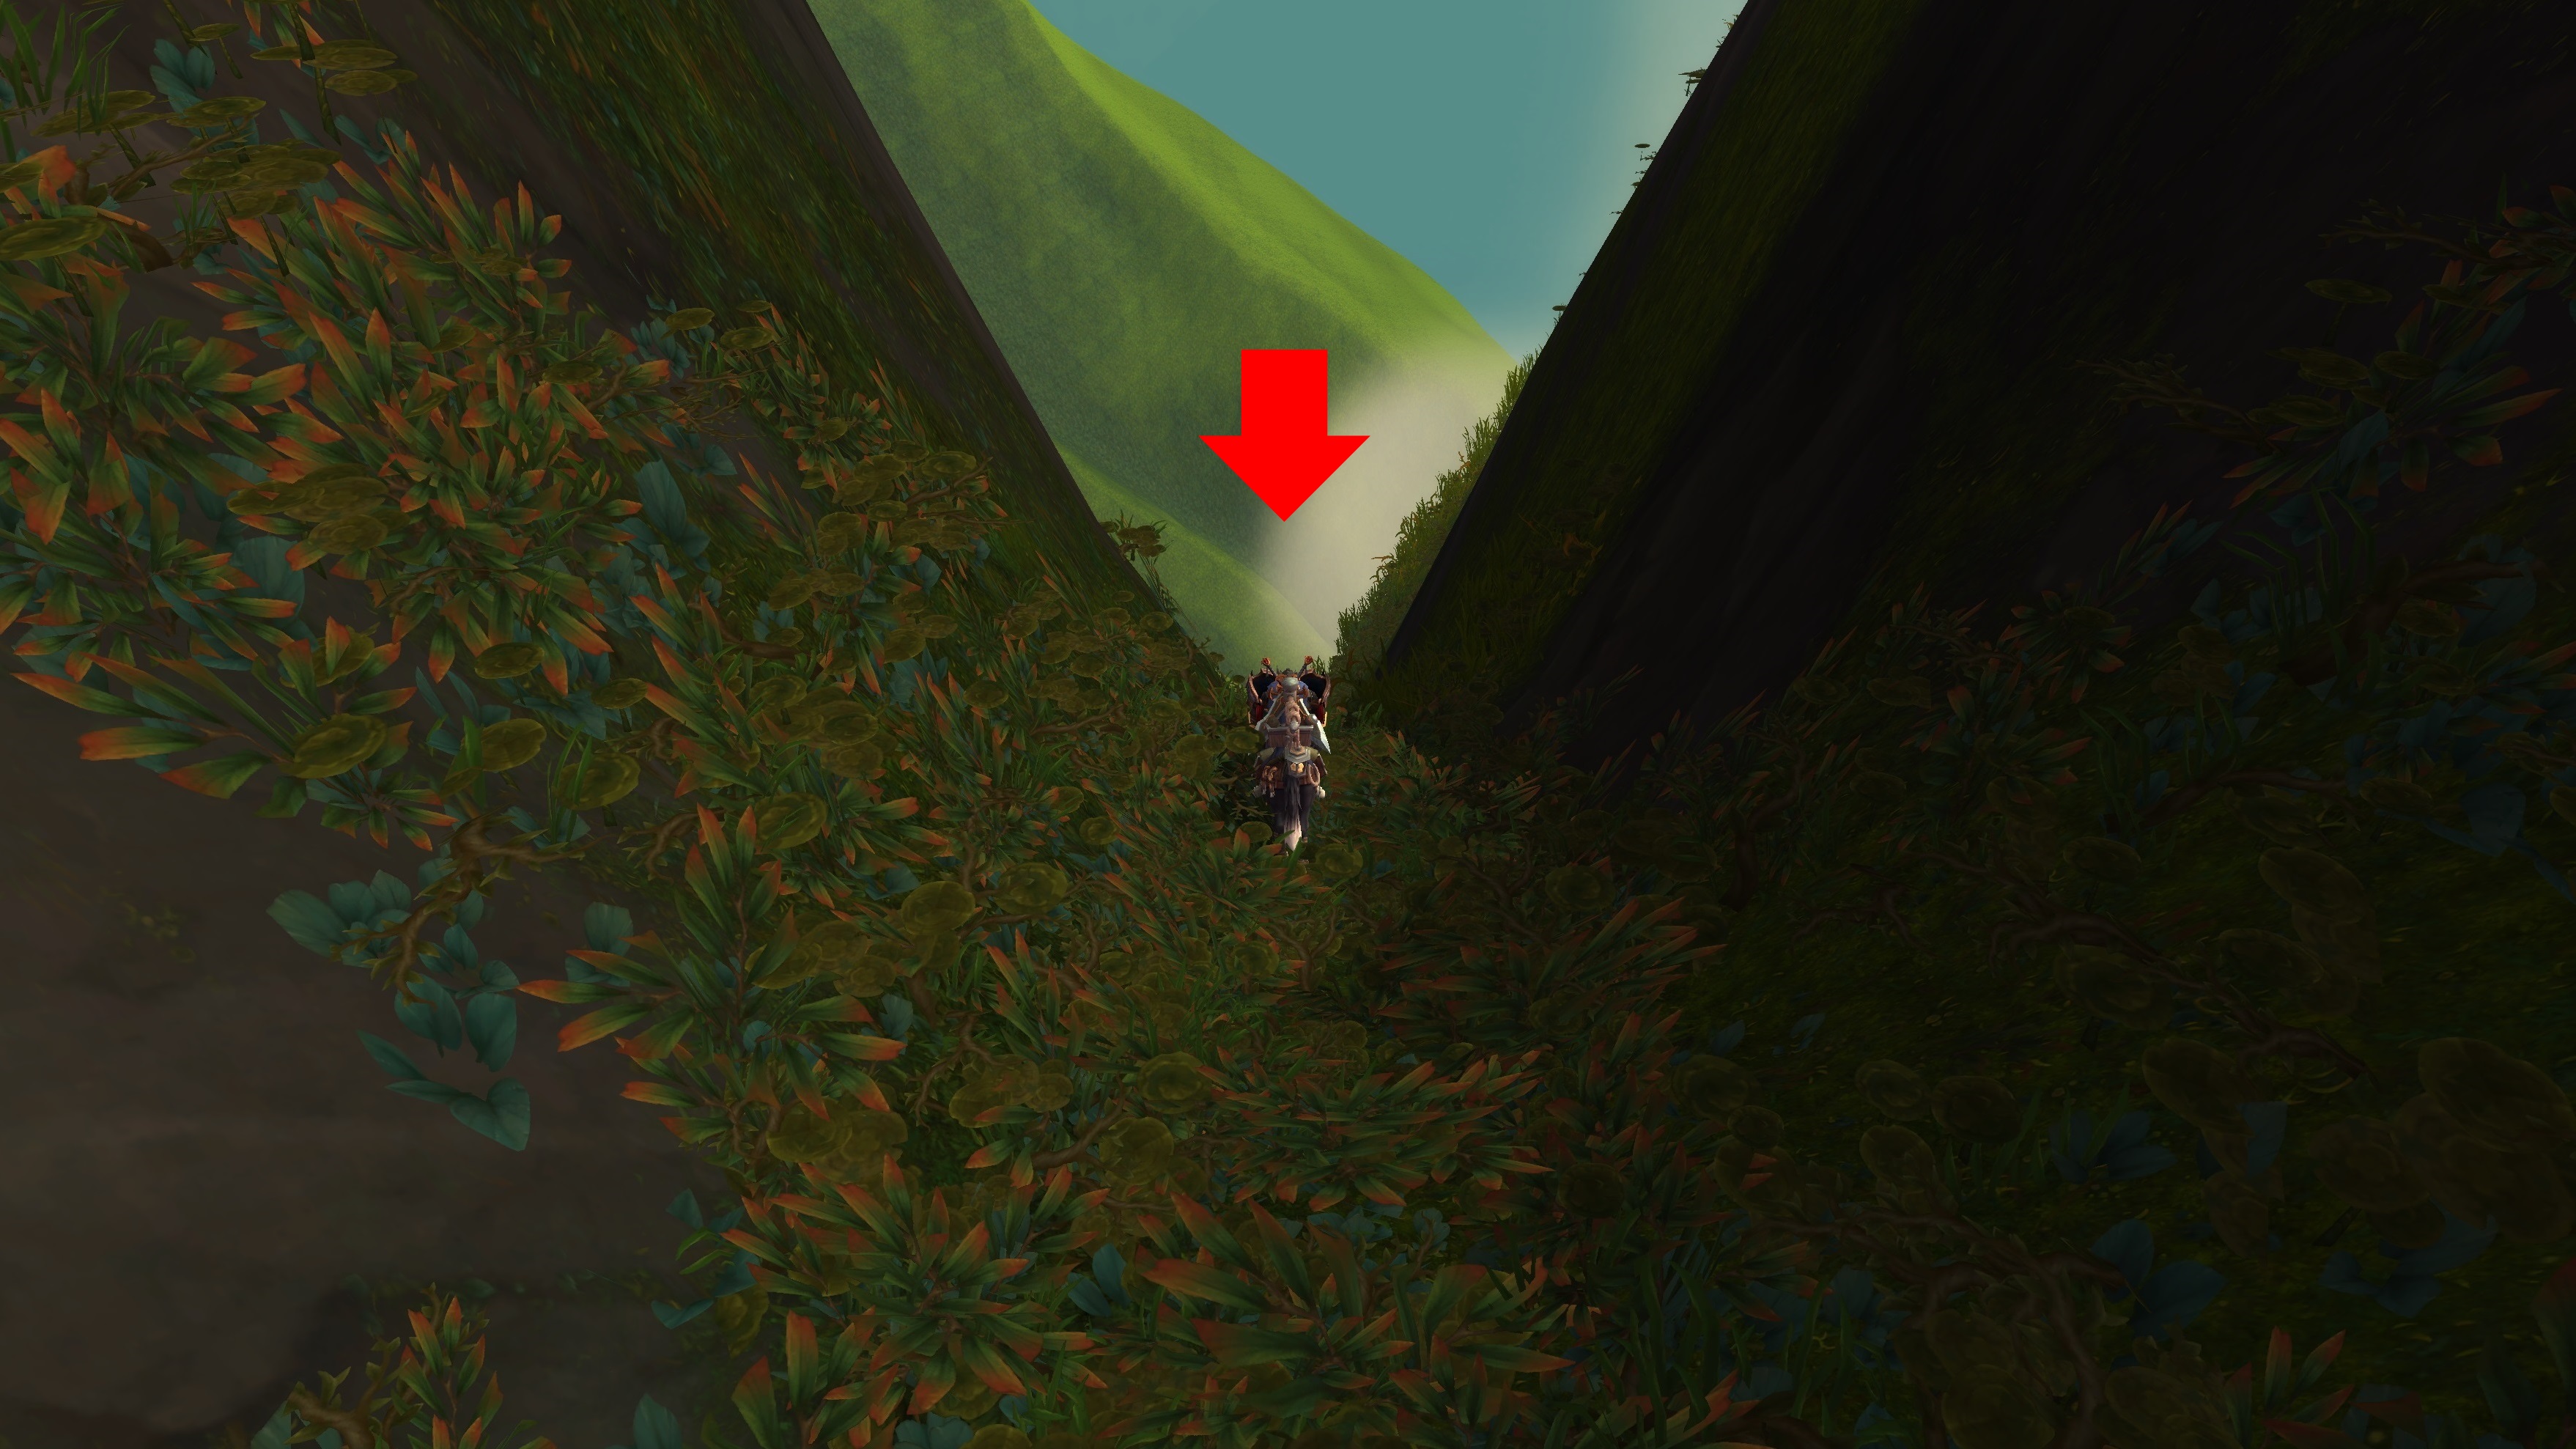
At this point you'll come to a sharp drop off. If you've got the Goblin Glider Kit or another way to slow your fall, now's the time to use it. You can survive the drop if you go slow, but it's risky to try and you'll need to stop and recover your health if you do.
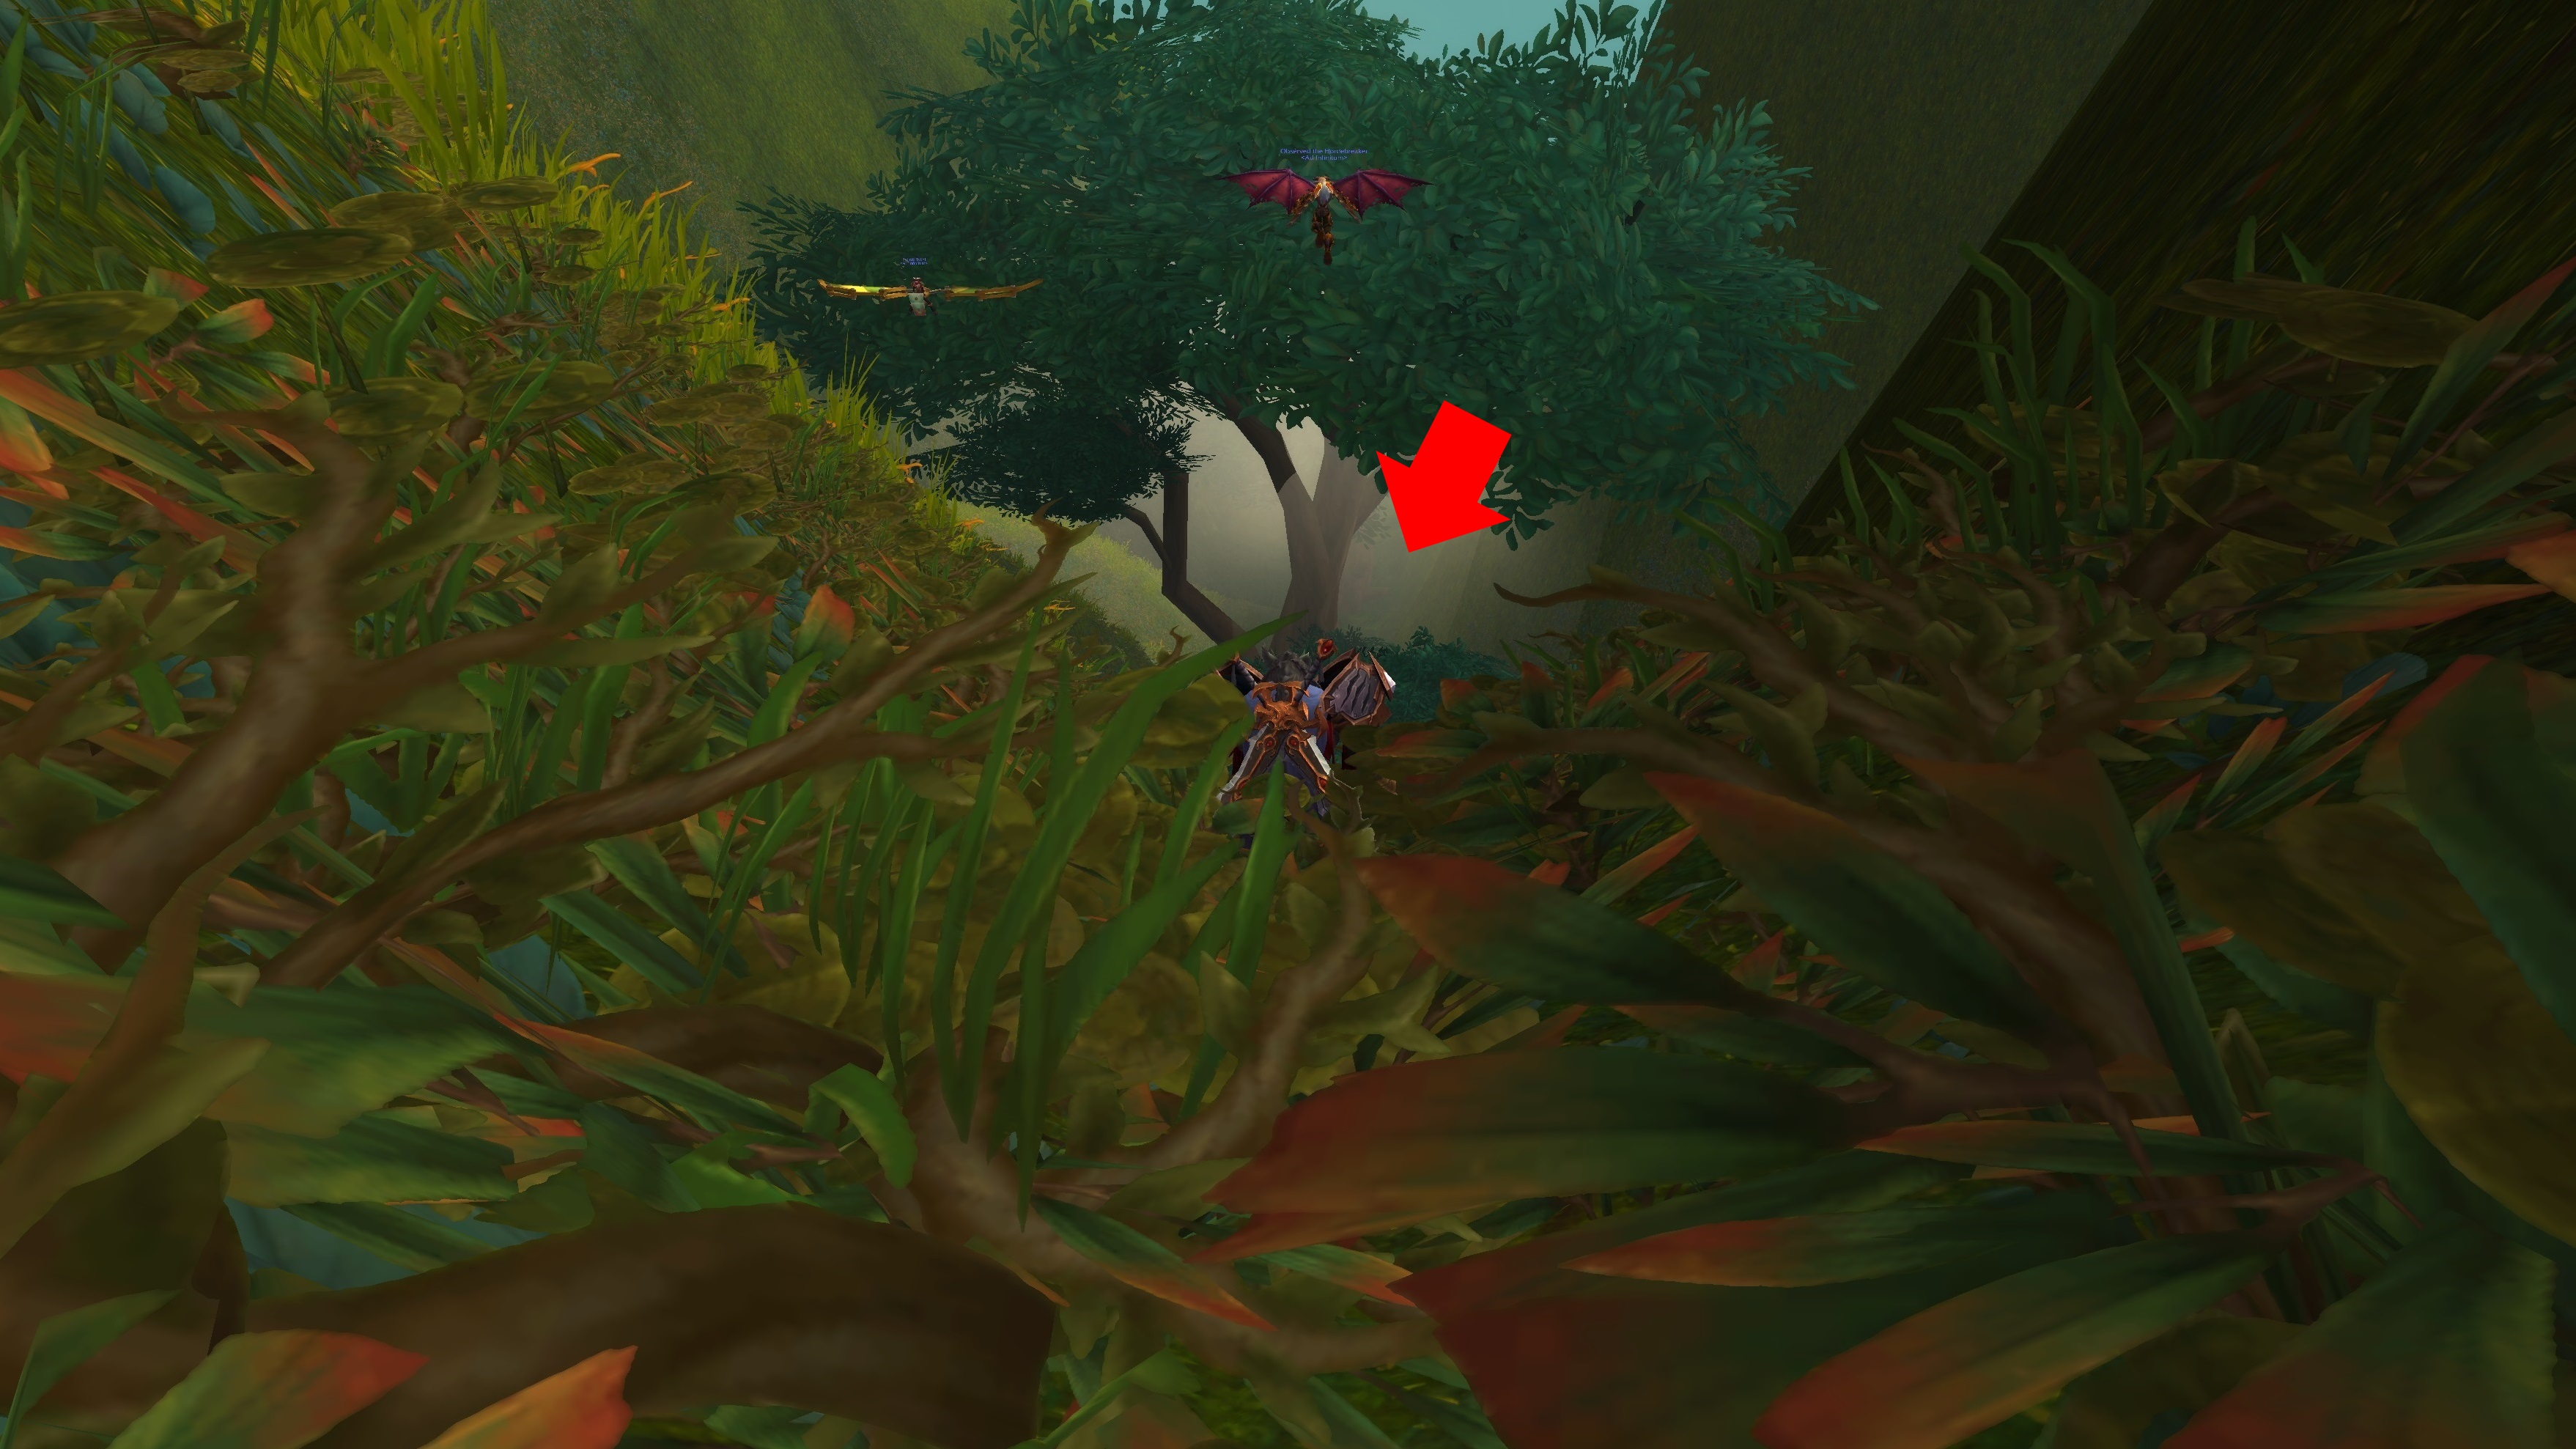
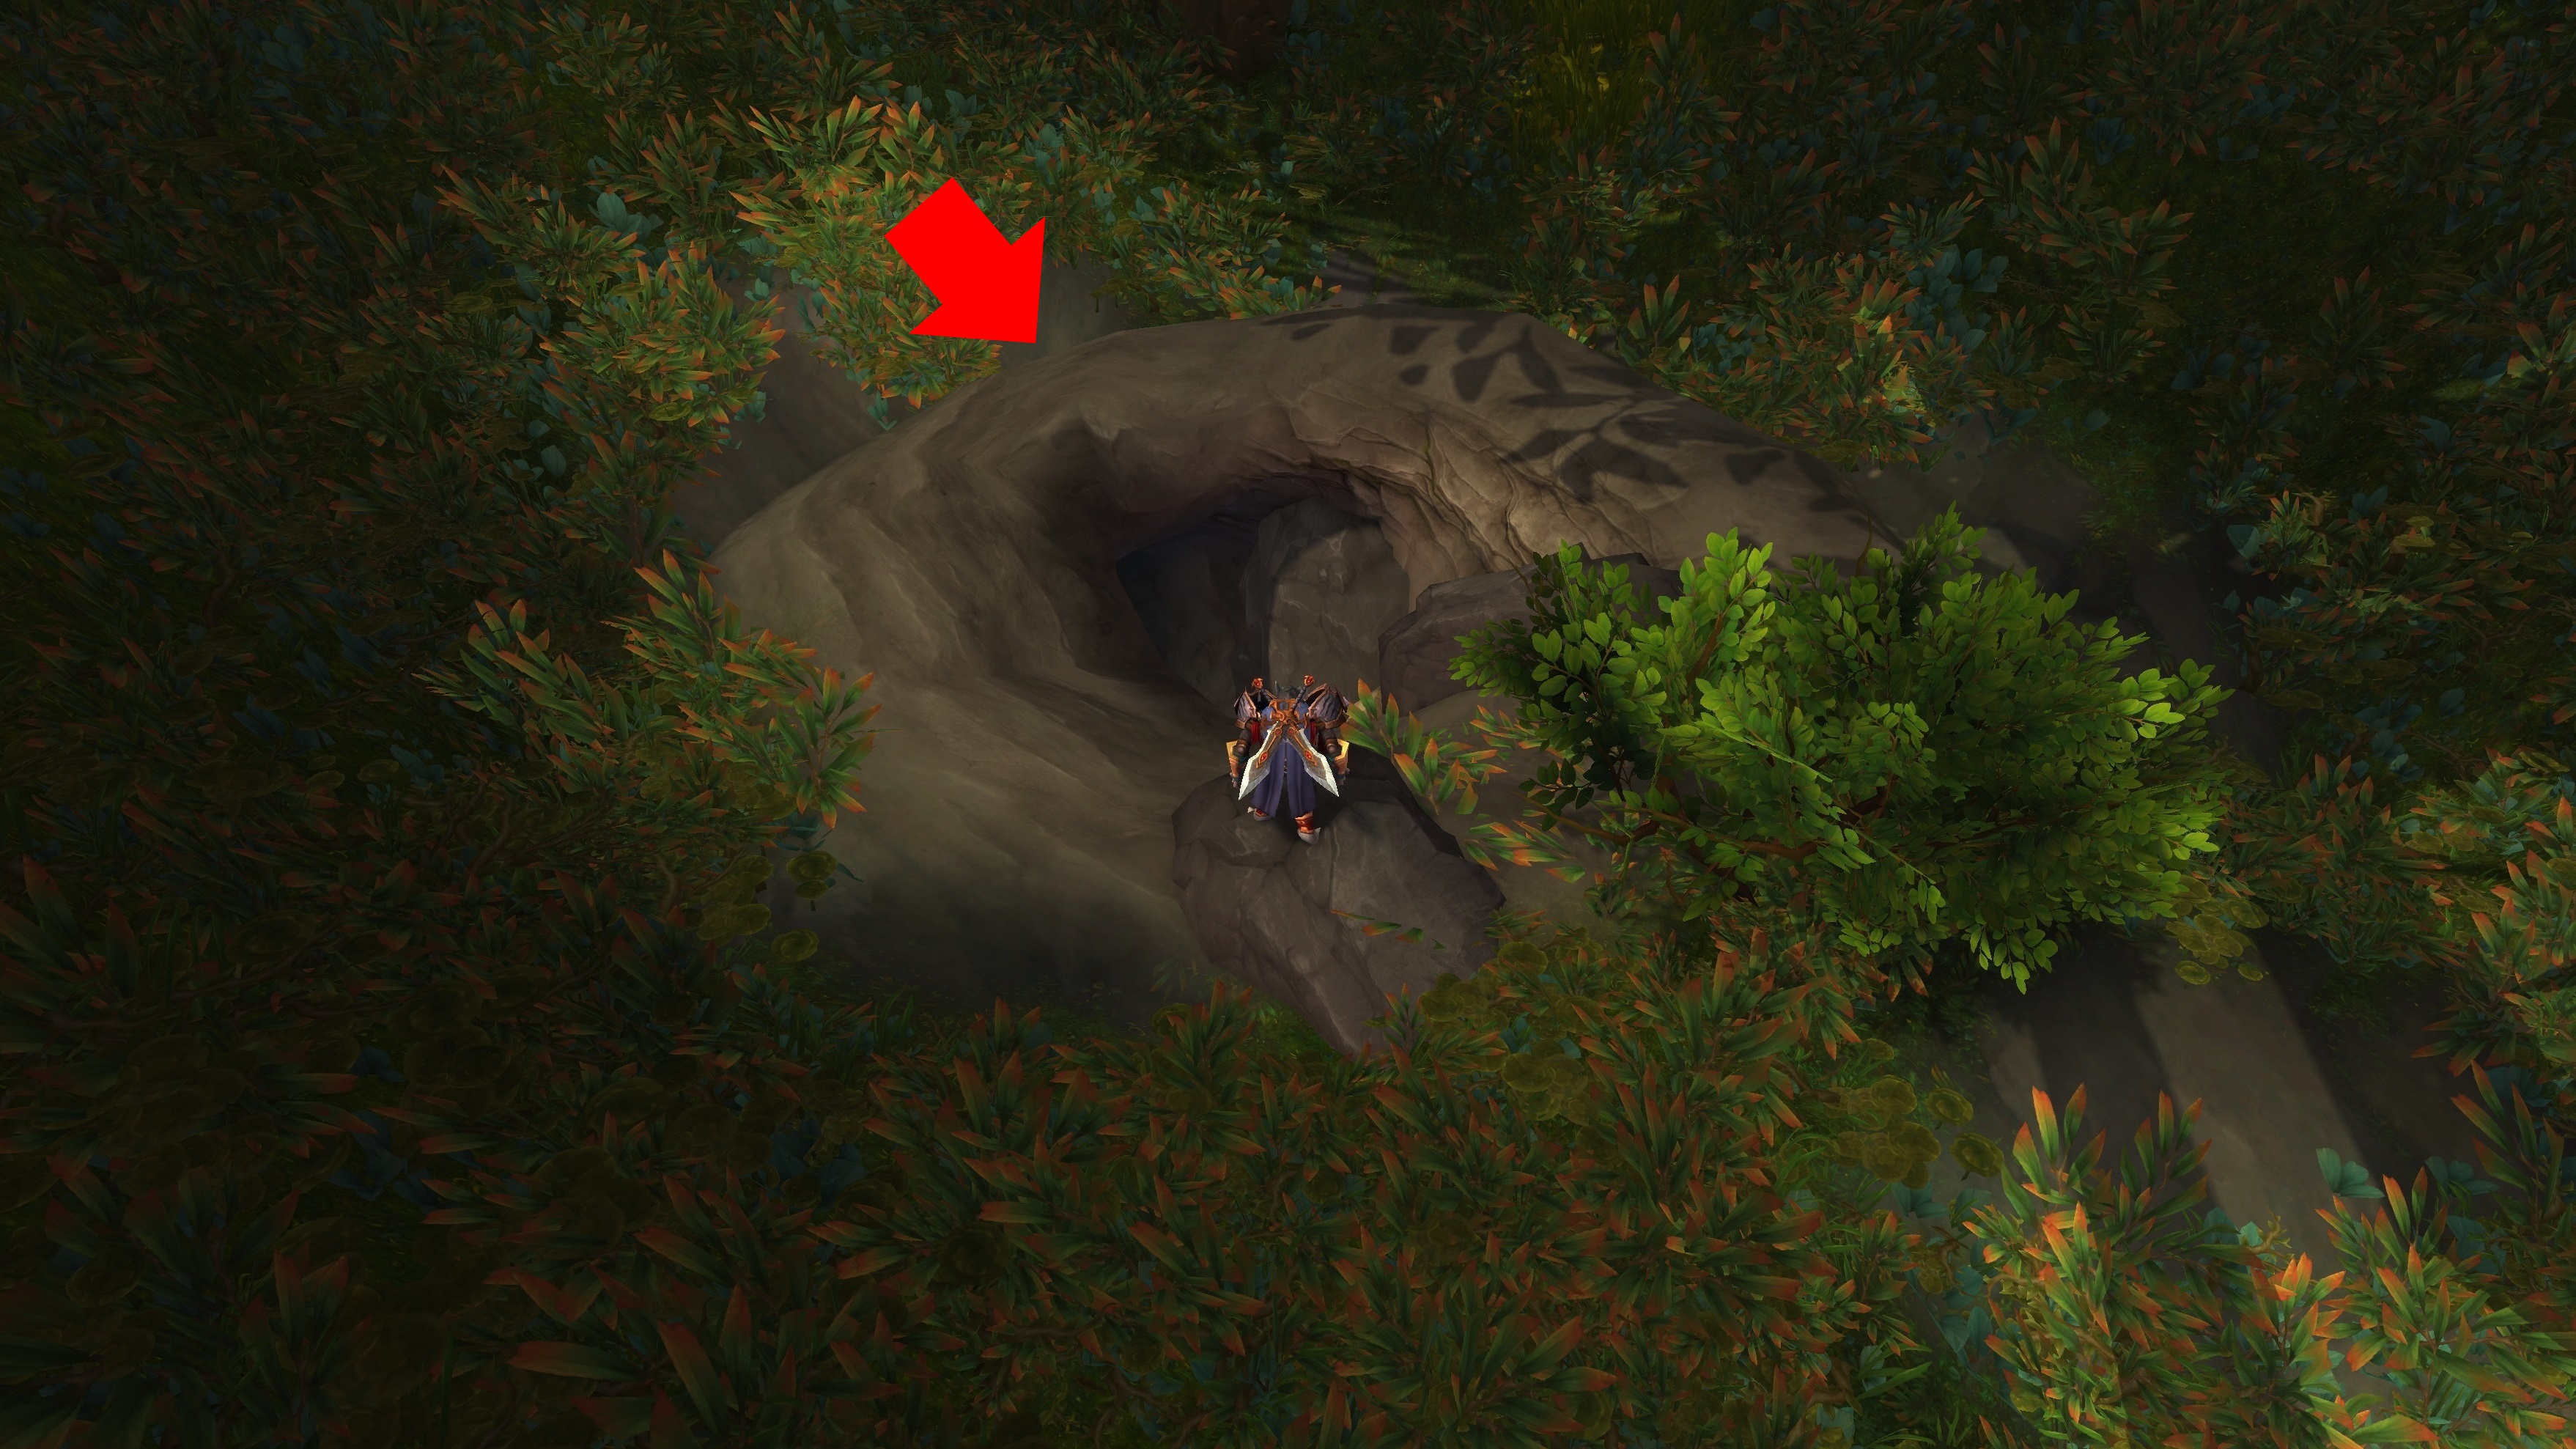
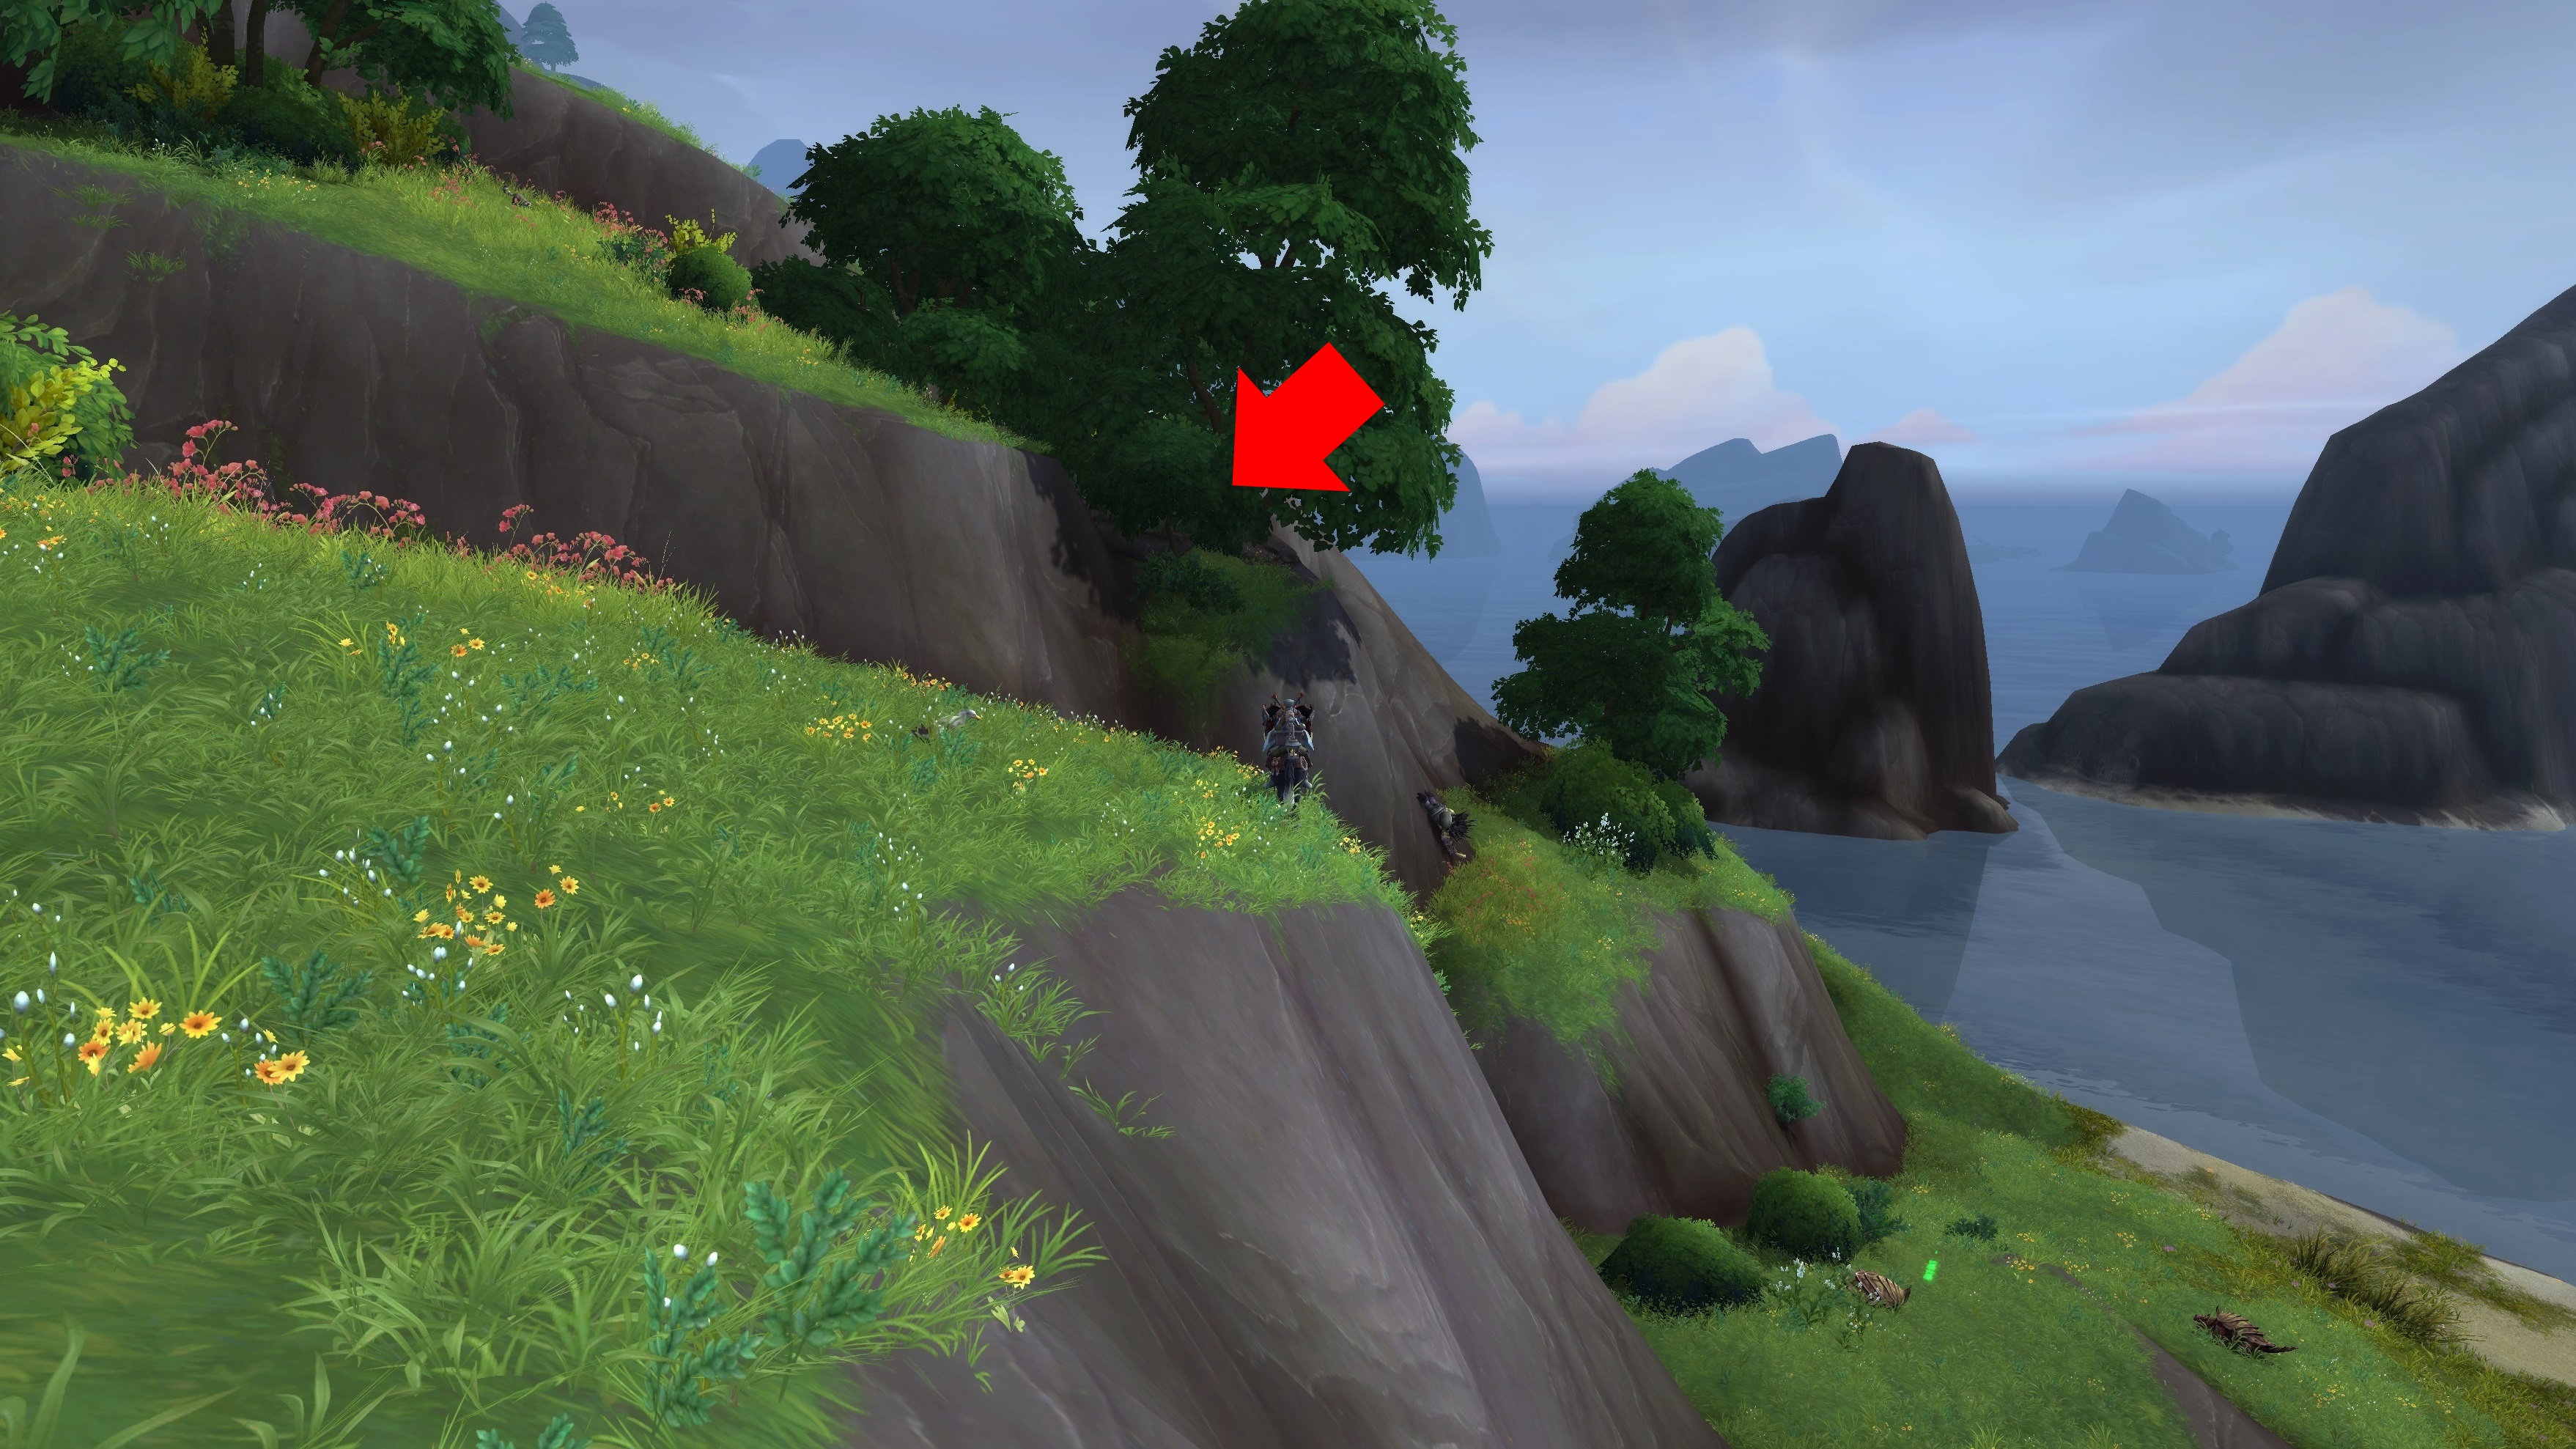
Keep sliding / descending until you see a tree and small shrub. Notice the two players who were smarter than me in this picture.
At the base of that tree, you'll find a cave entrance. Head on in.
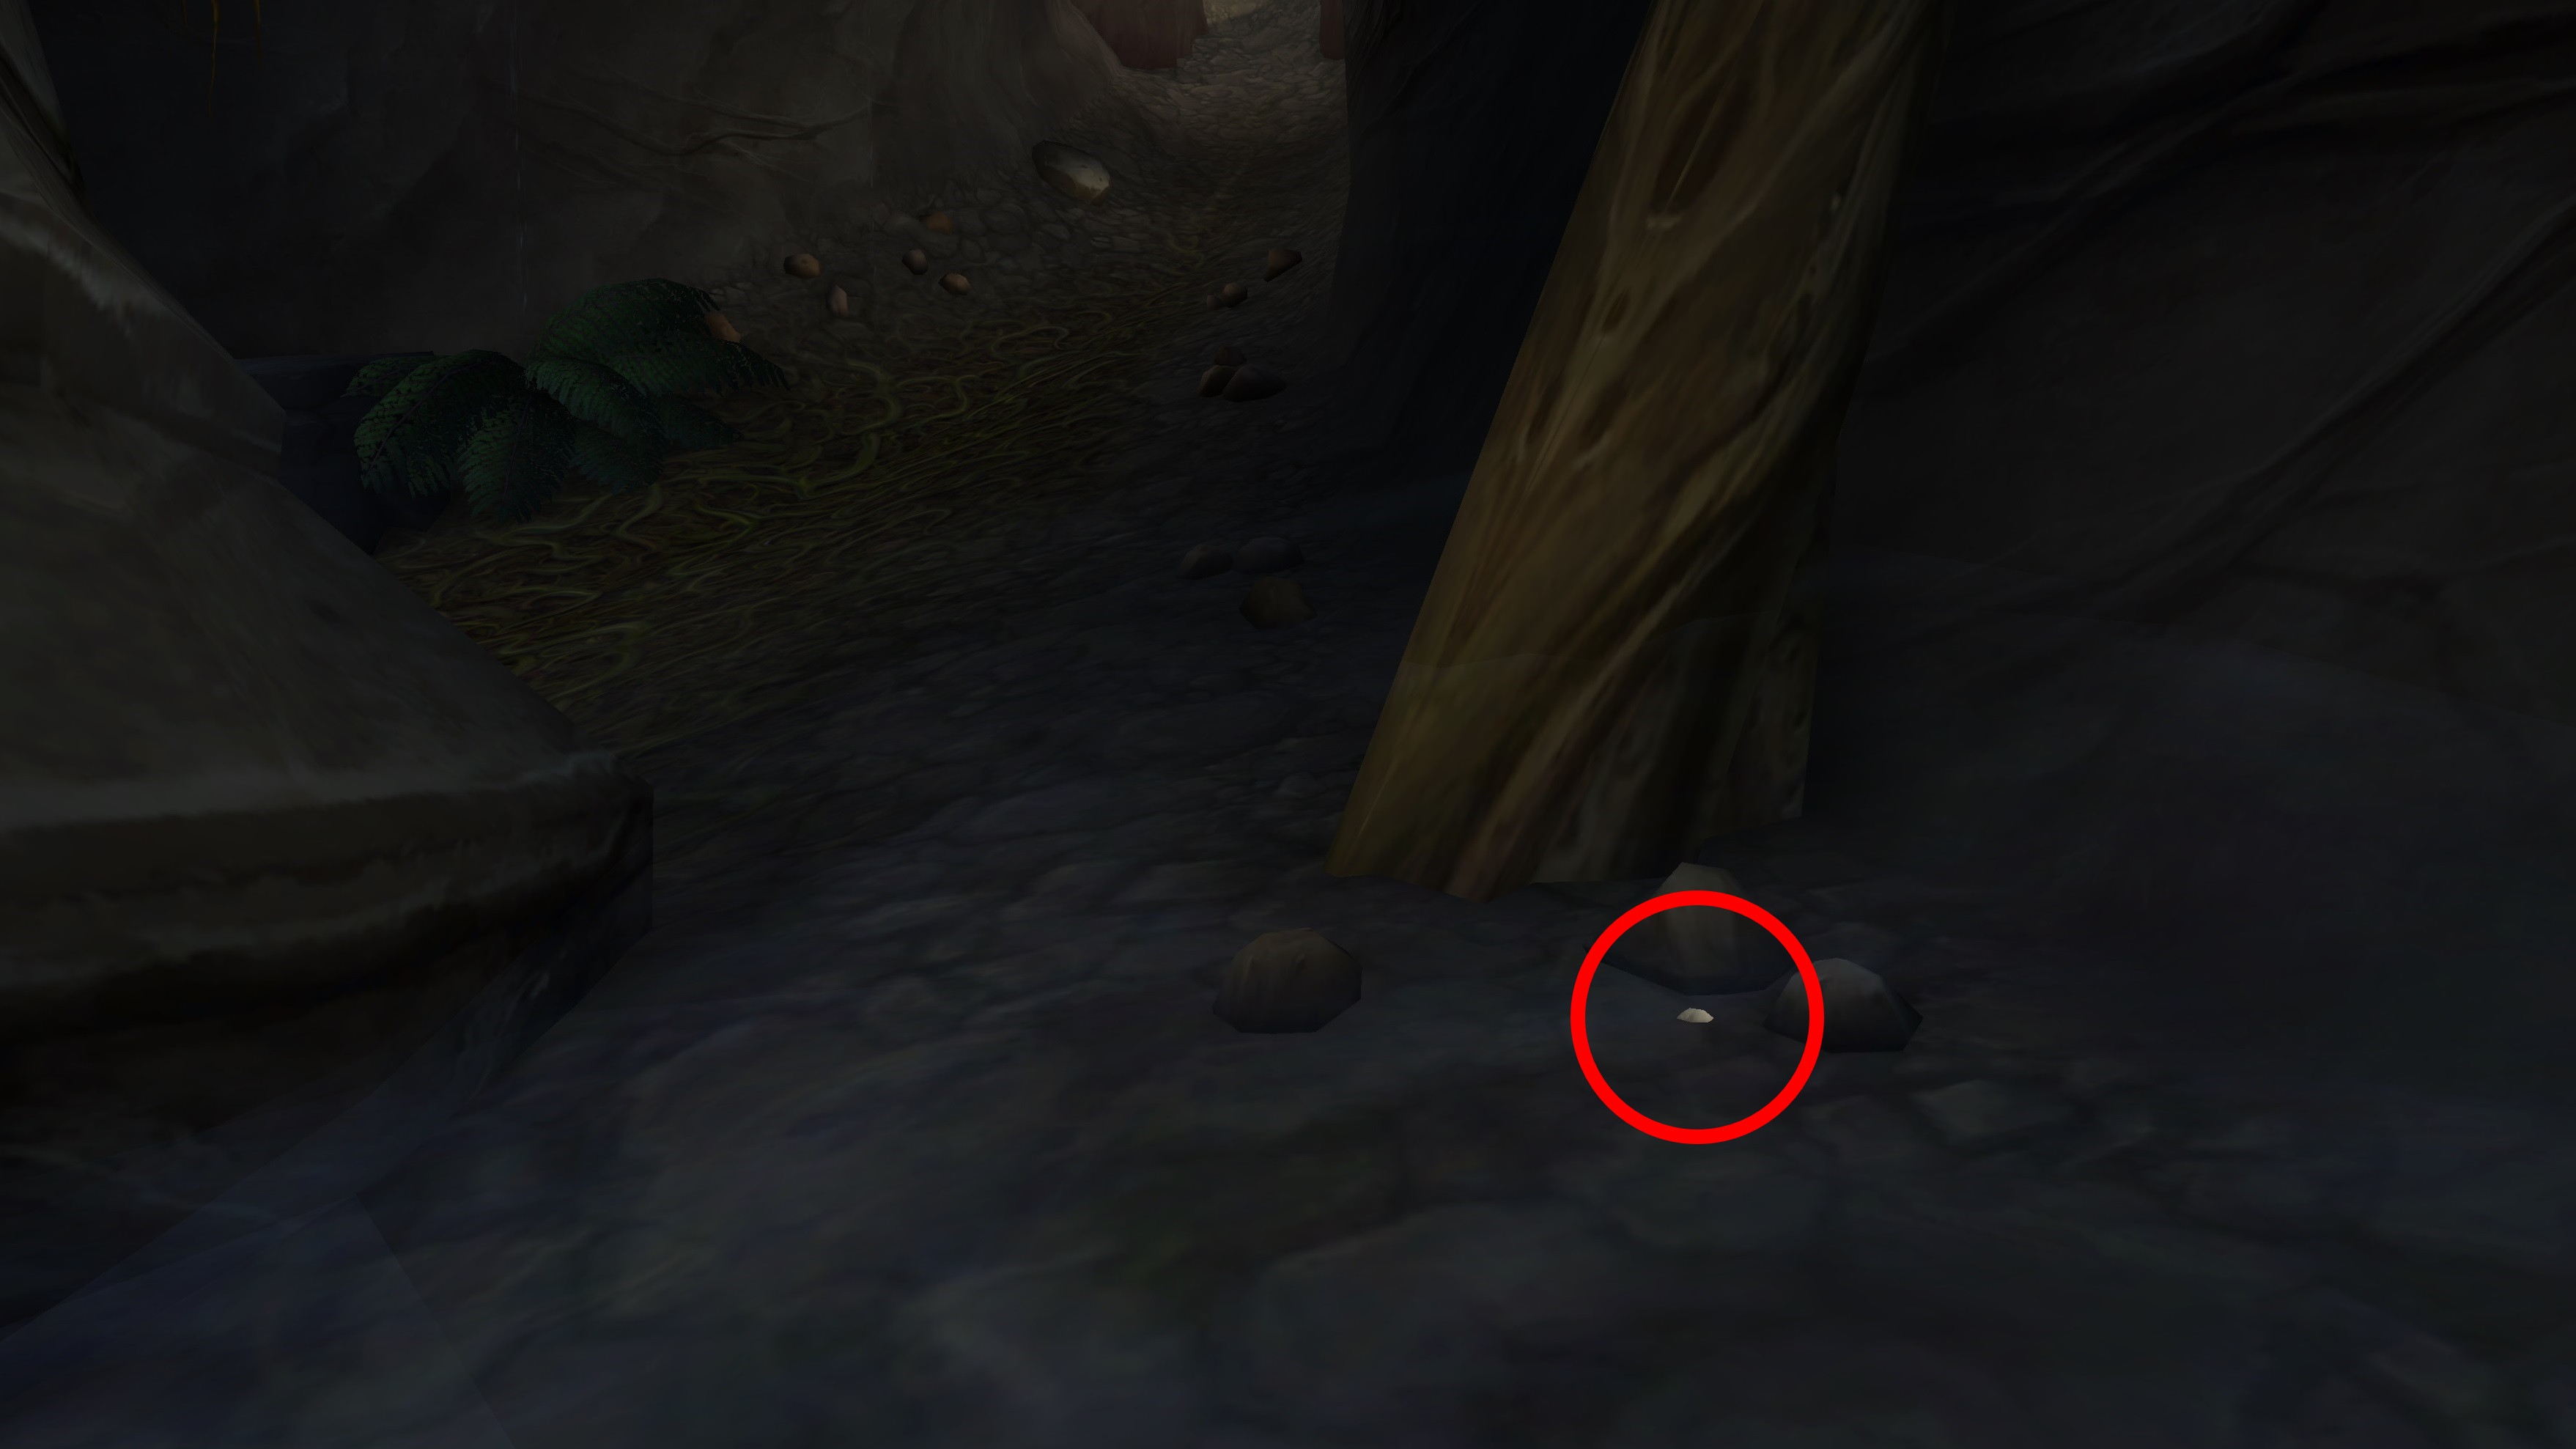
The pebble itself is not far into the cave, near the base of a tree to your left as you enter.
Pebble 4: Gol Osigir, Drustvar (TomTom coordinates: 36, 53)
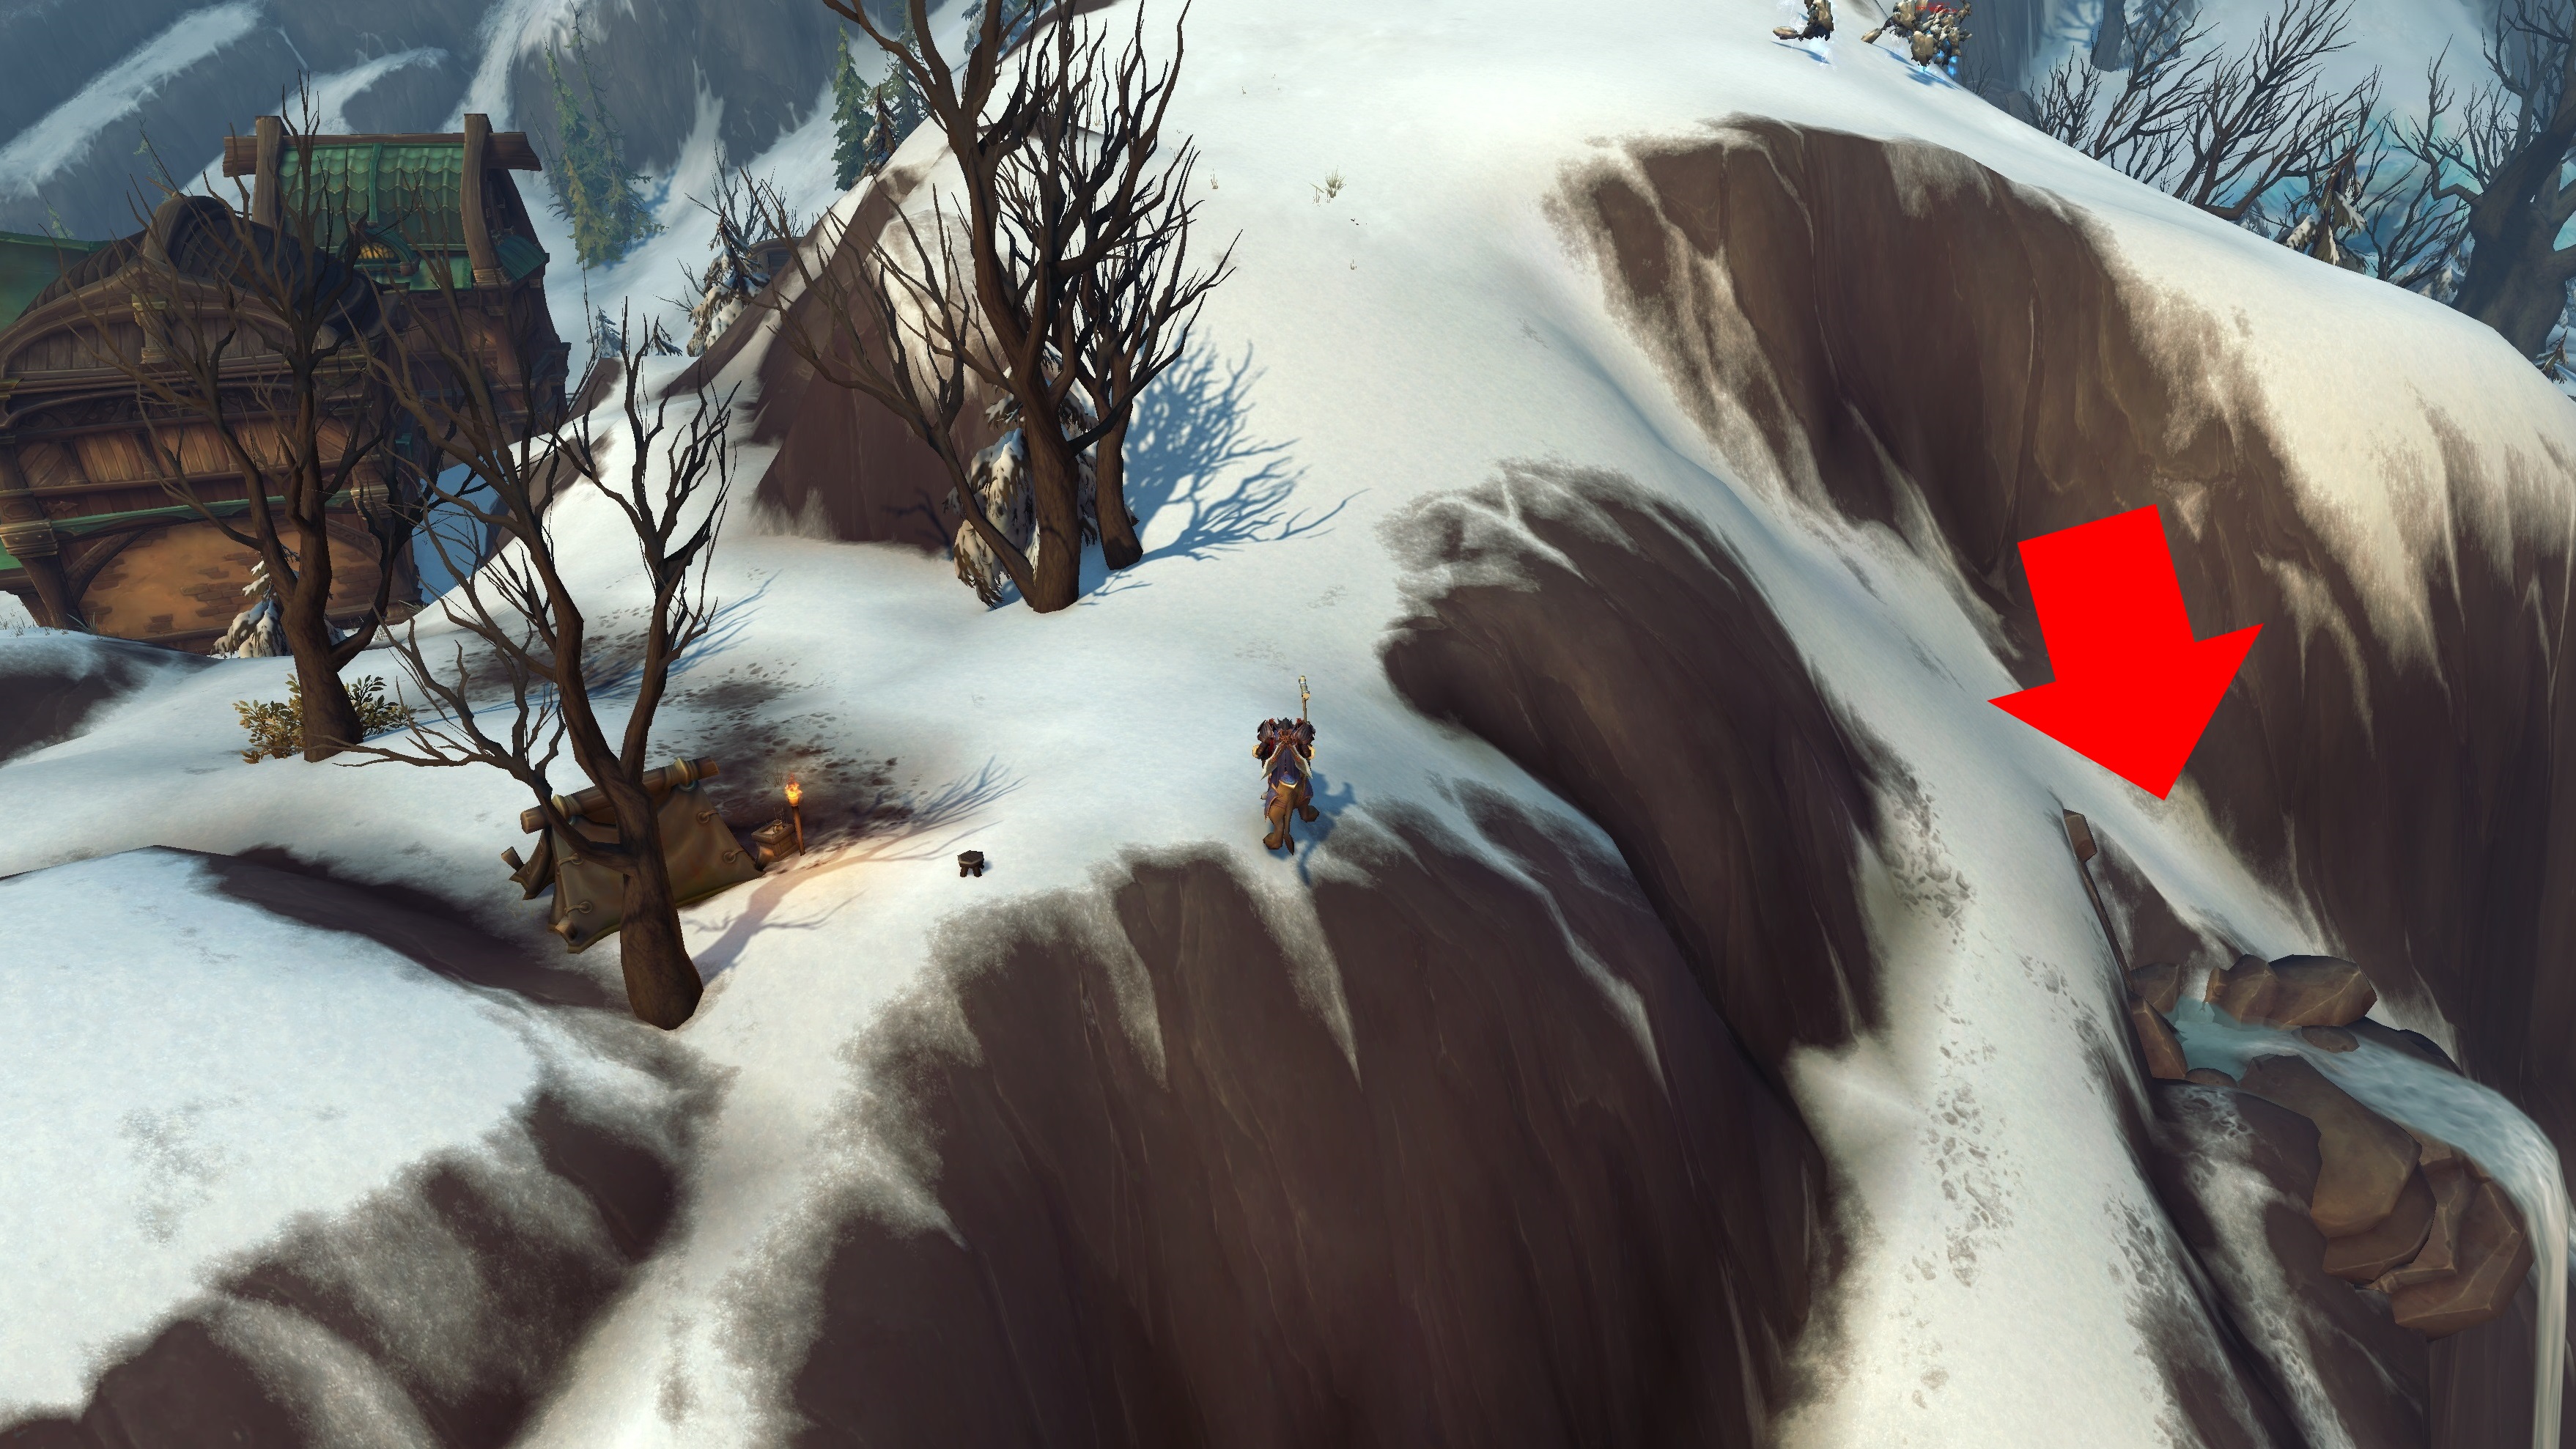
From Arom's Strand, head west, around the town buildings, and up a small mountain slope. Just a hop further south, you'll see the top of a waterfall.
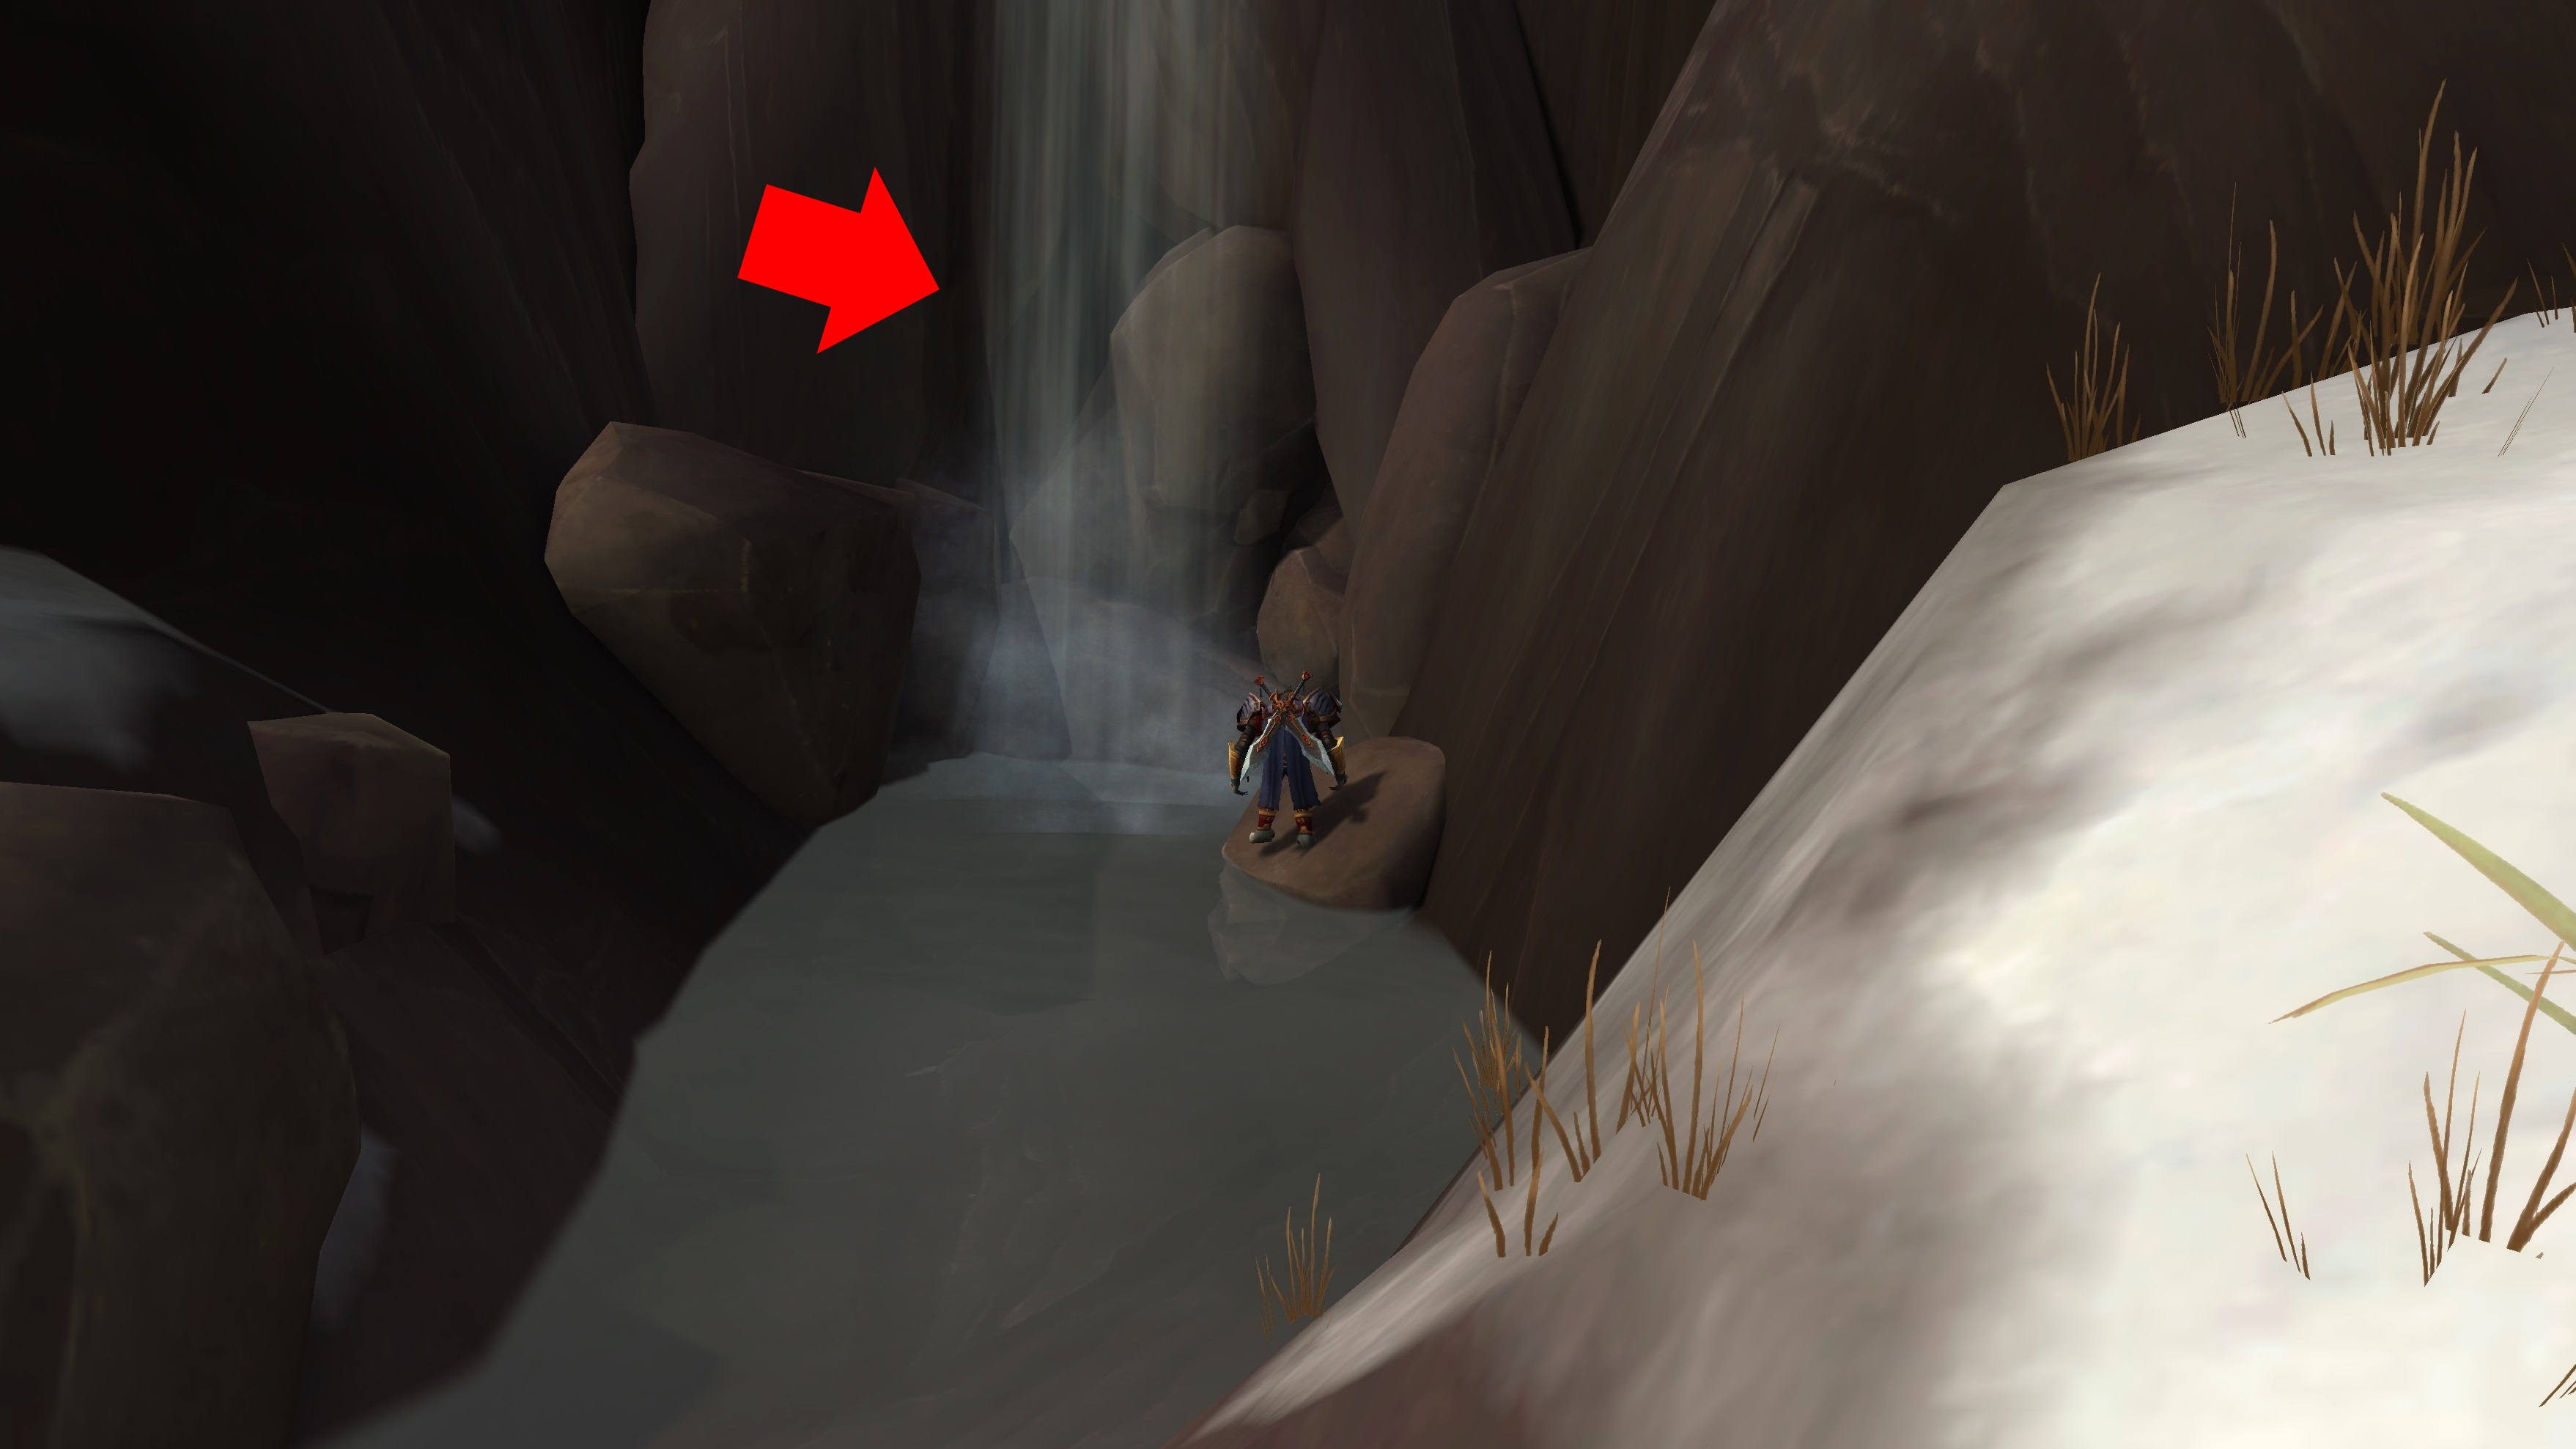
Jump down to the second part of the waterfall and turn back to face it. You should see another cave, this one mostly barricaded with boulders. It may look like you can't get in, but just squeeze your way through the left side.
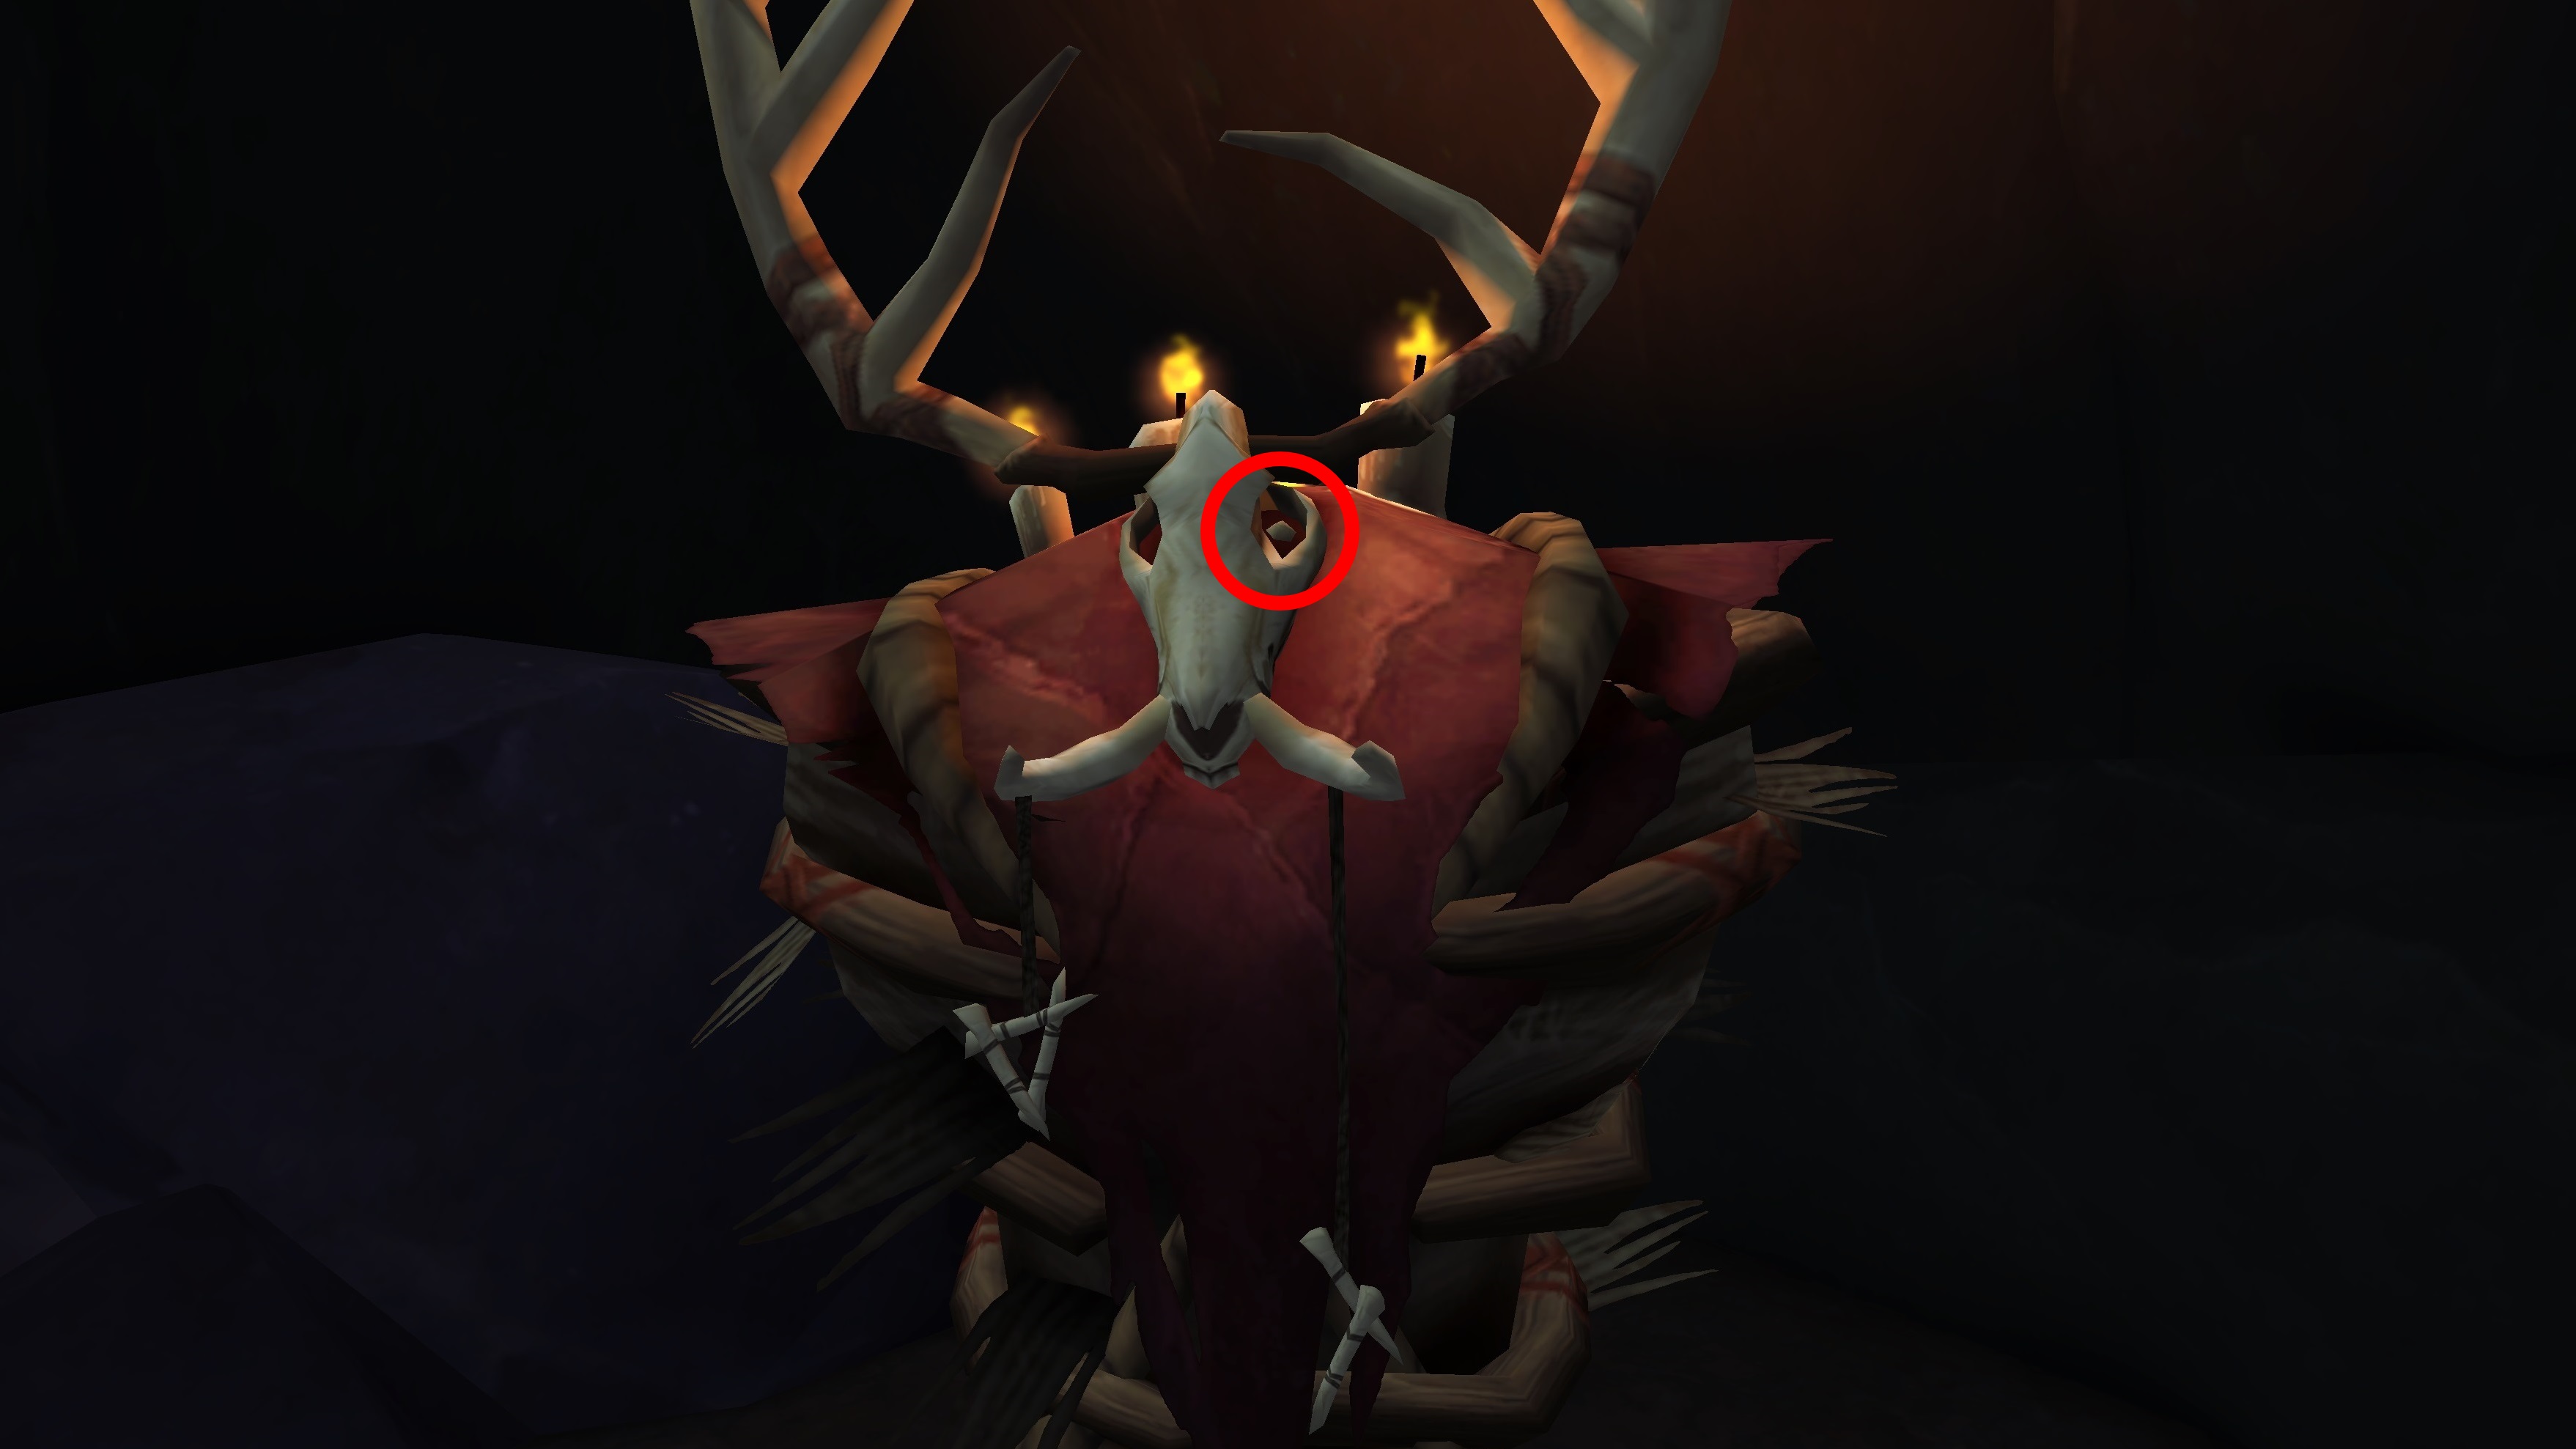
The pebble you're looking for is in the left eye socket of this witch's effigy.
Pebble 5: Tortaka Refuge, Vol'dun (TomTom coordinates: 63 21)
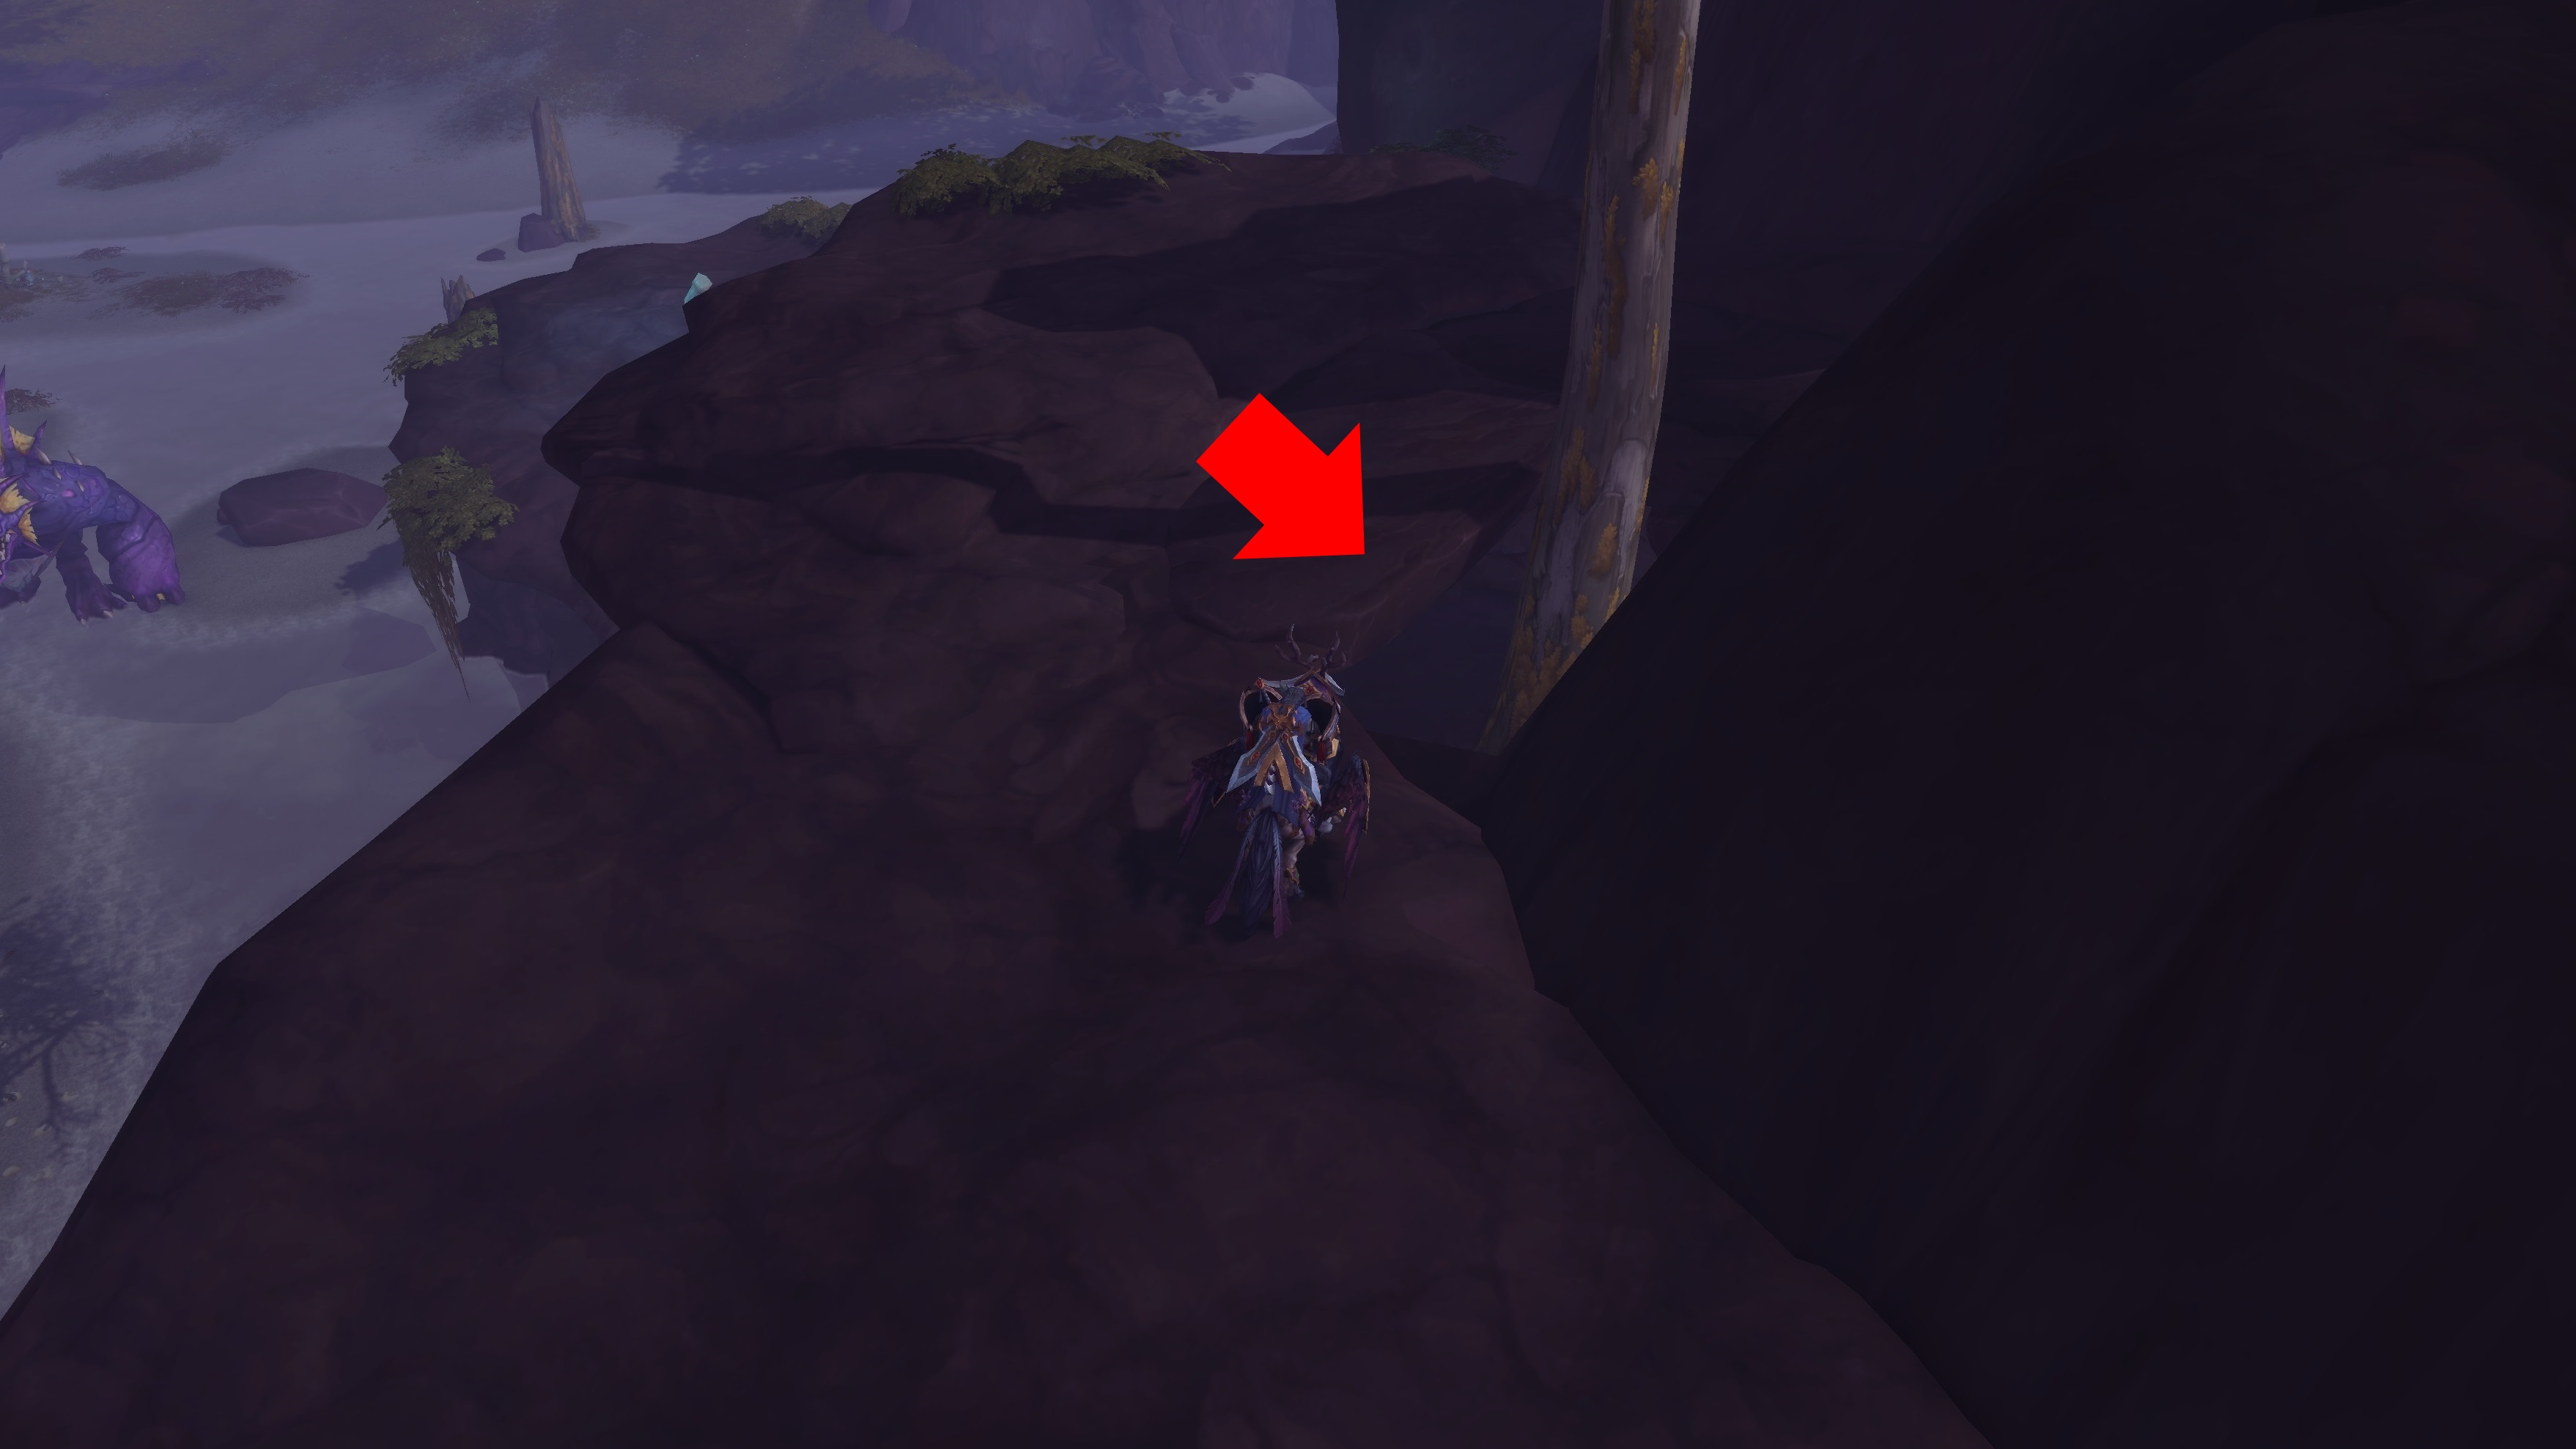
Take the flight path to Tortaka Refuge, then head just a tad to the east and jump down to the rocks below. You'll see a single tree cropping up here - just head to the base to find the cave entrance.
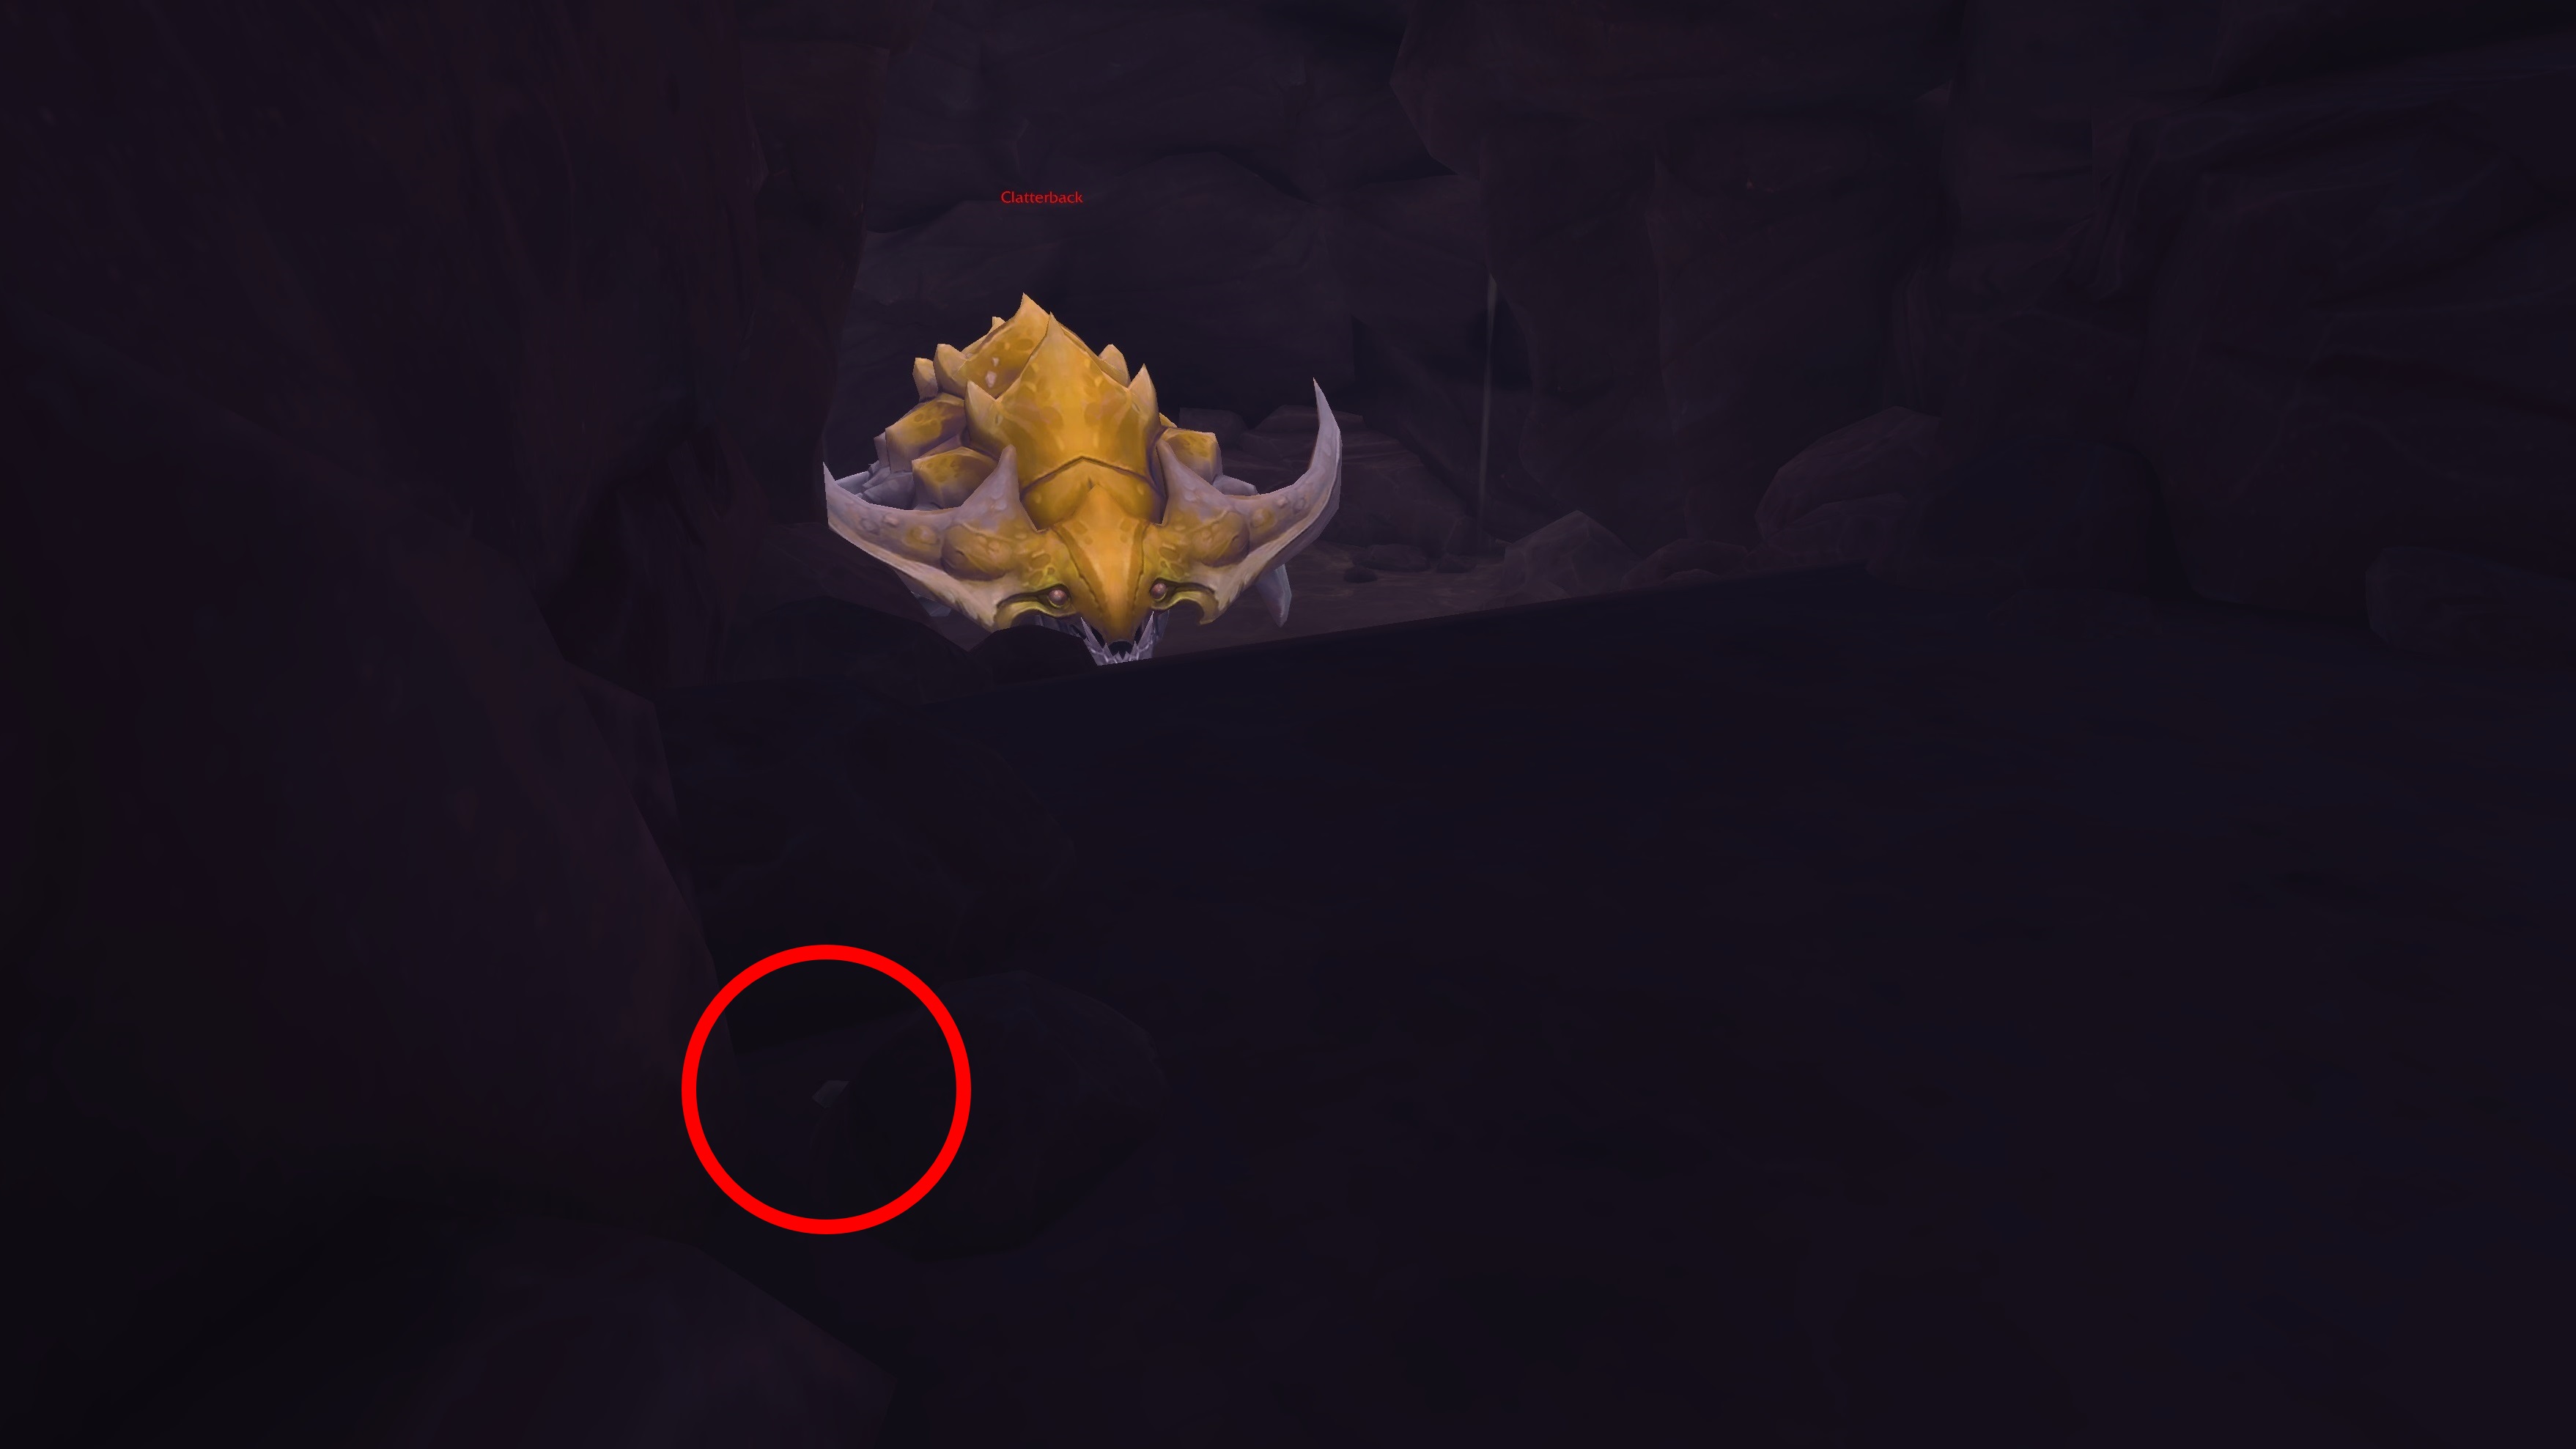
This pebble is protected by a Clatterback, an Elite enemy that will kill you in one hit if you get too close. Inch your way forward only as much as you have to in order to interact with the pebble.
Pebble 6: Great Sea, Stormsong Valley (TomTom coordinates: 65 11)
On the north edge of a small island in Stormsong Valley, you'll find several trees and bushes. If you're lucky, you might even see an enemy quillboar to give you a hint as to where the cave entrance is. Jump on over and head down.
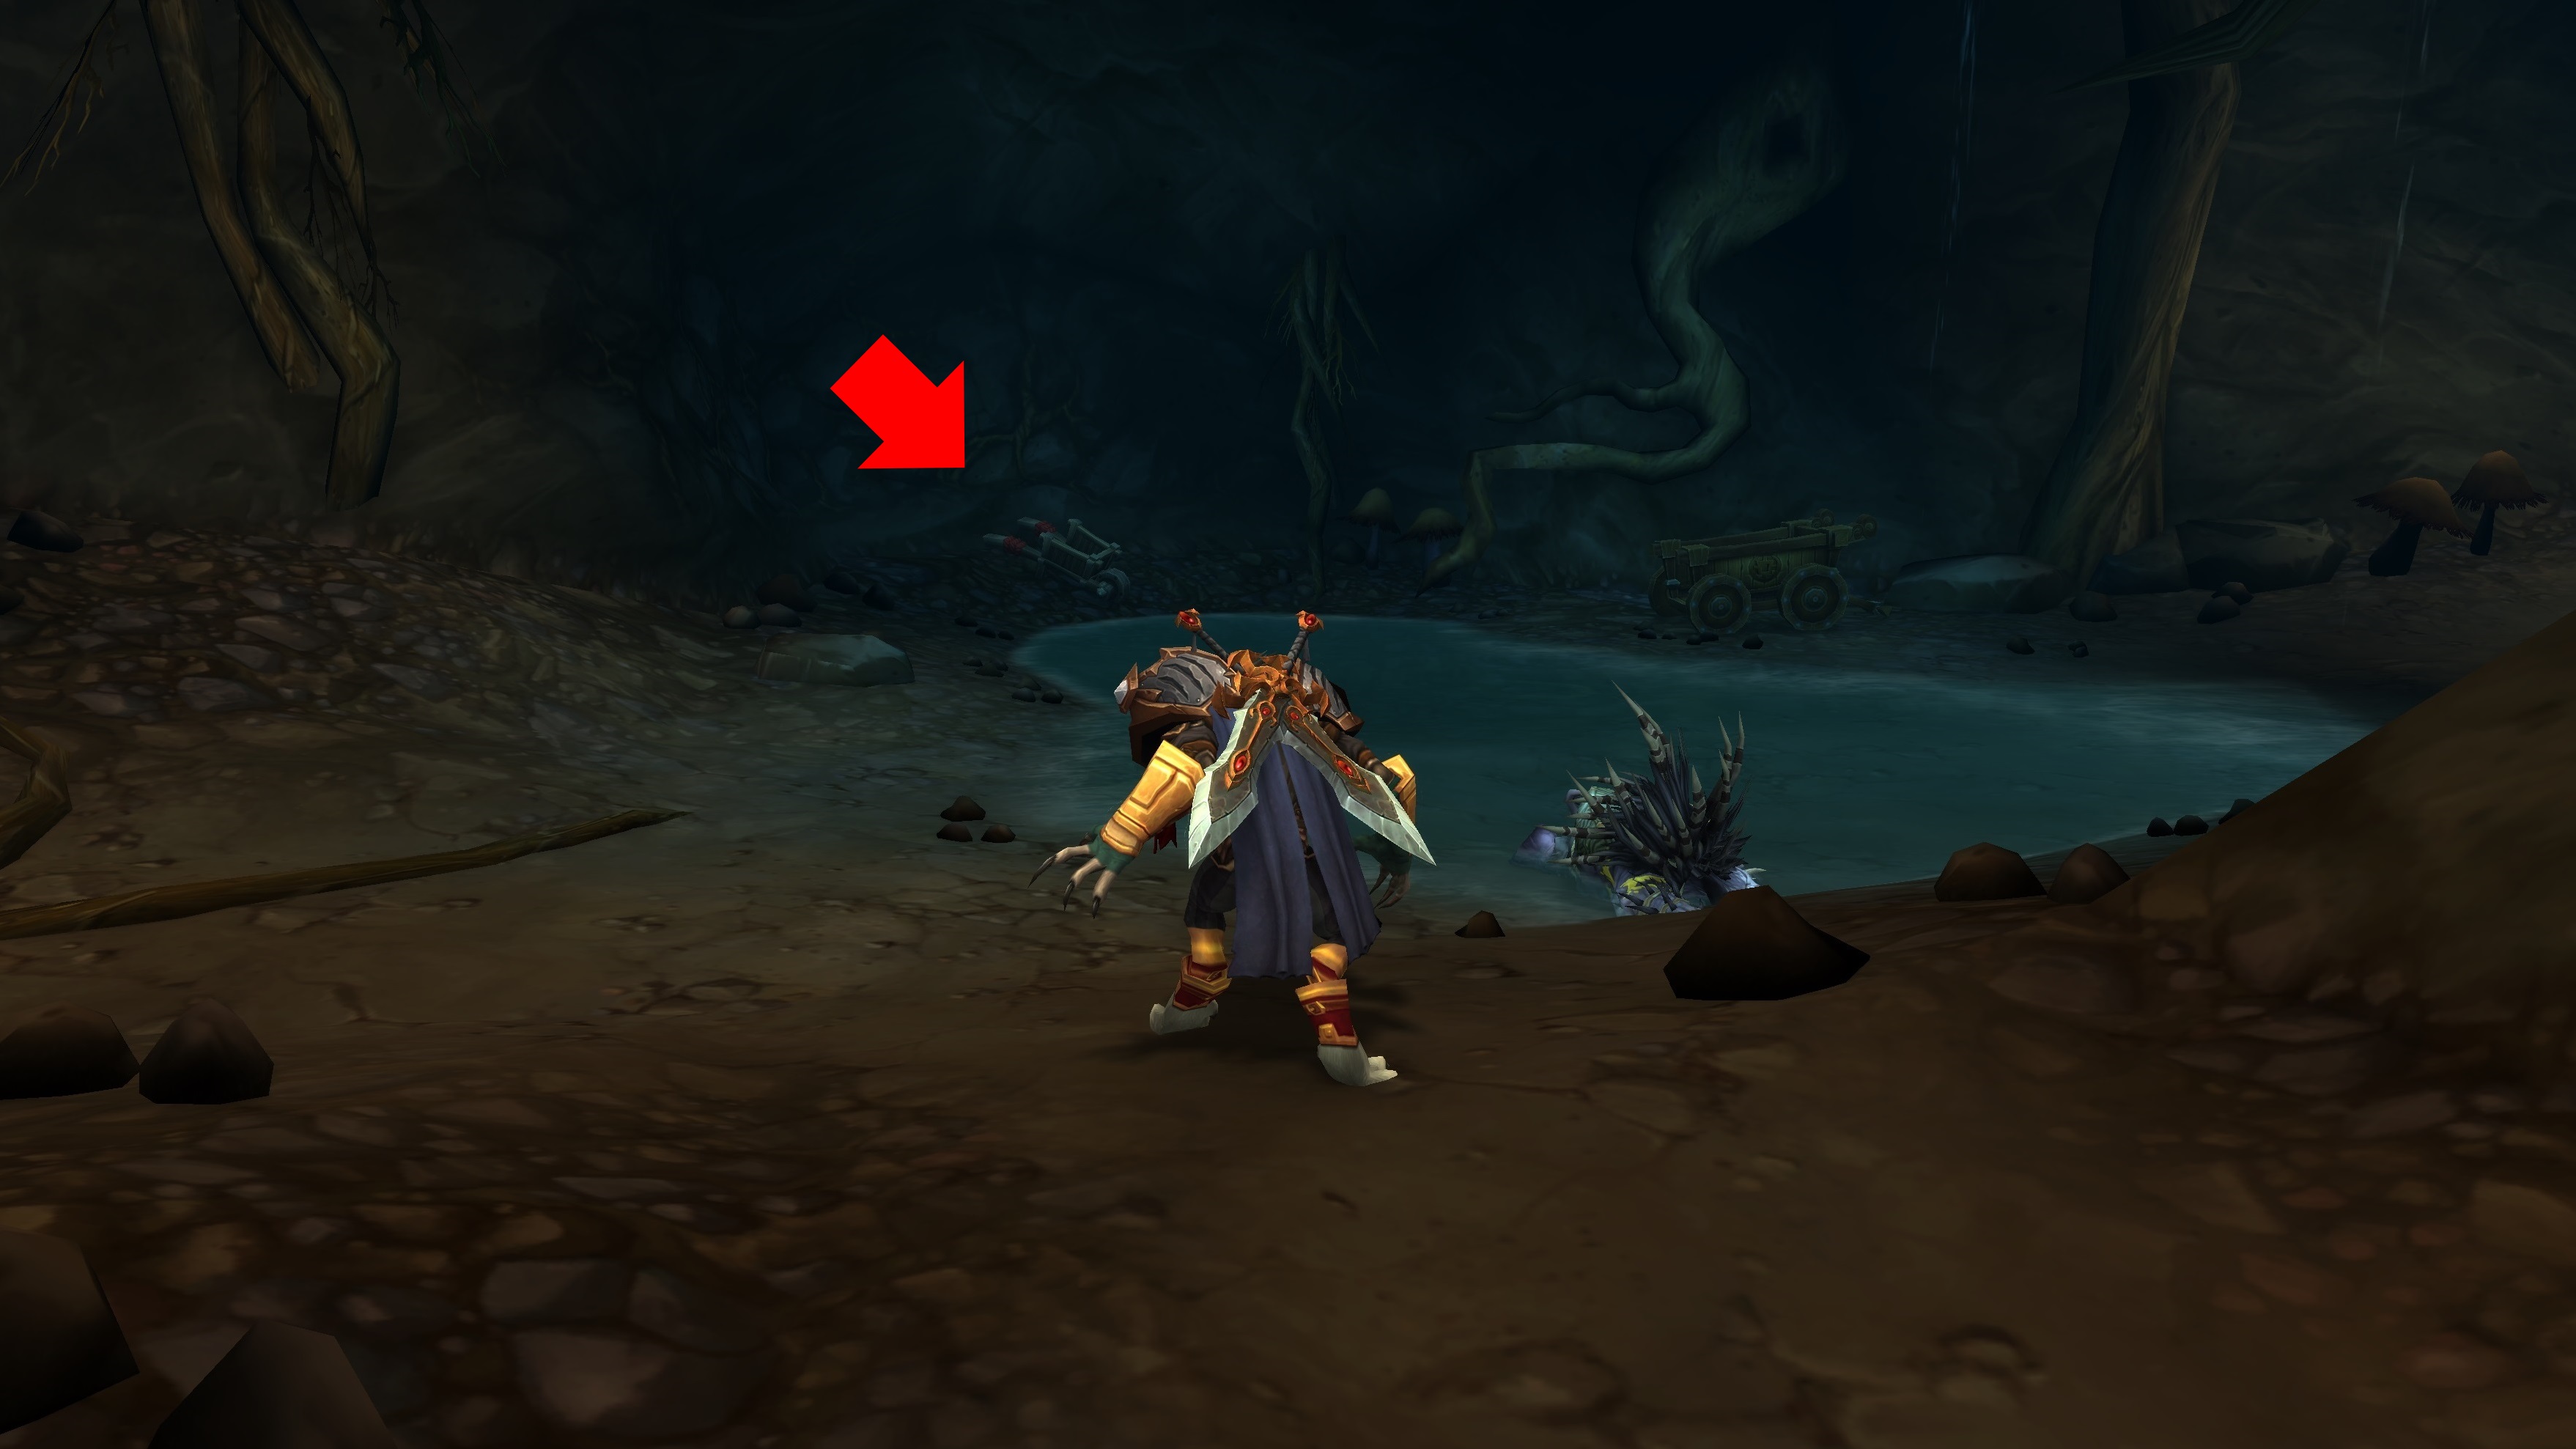
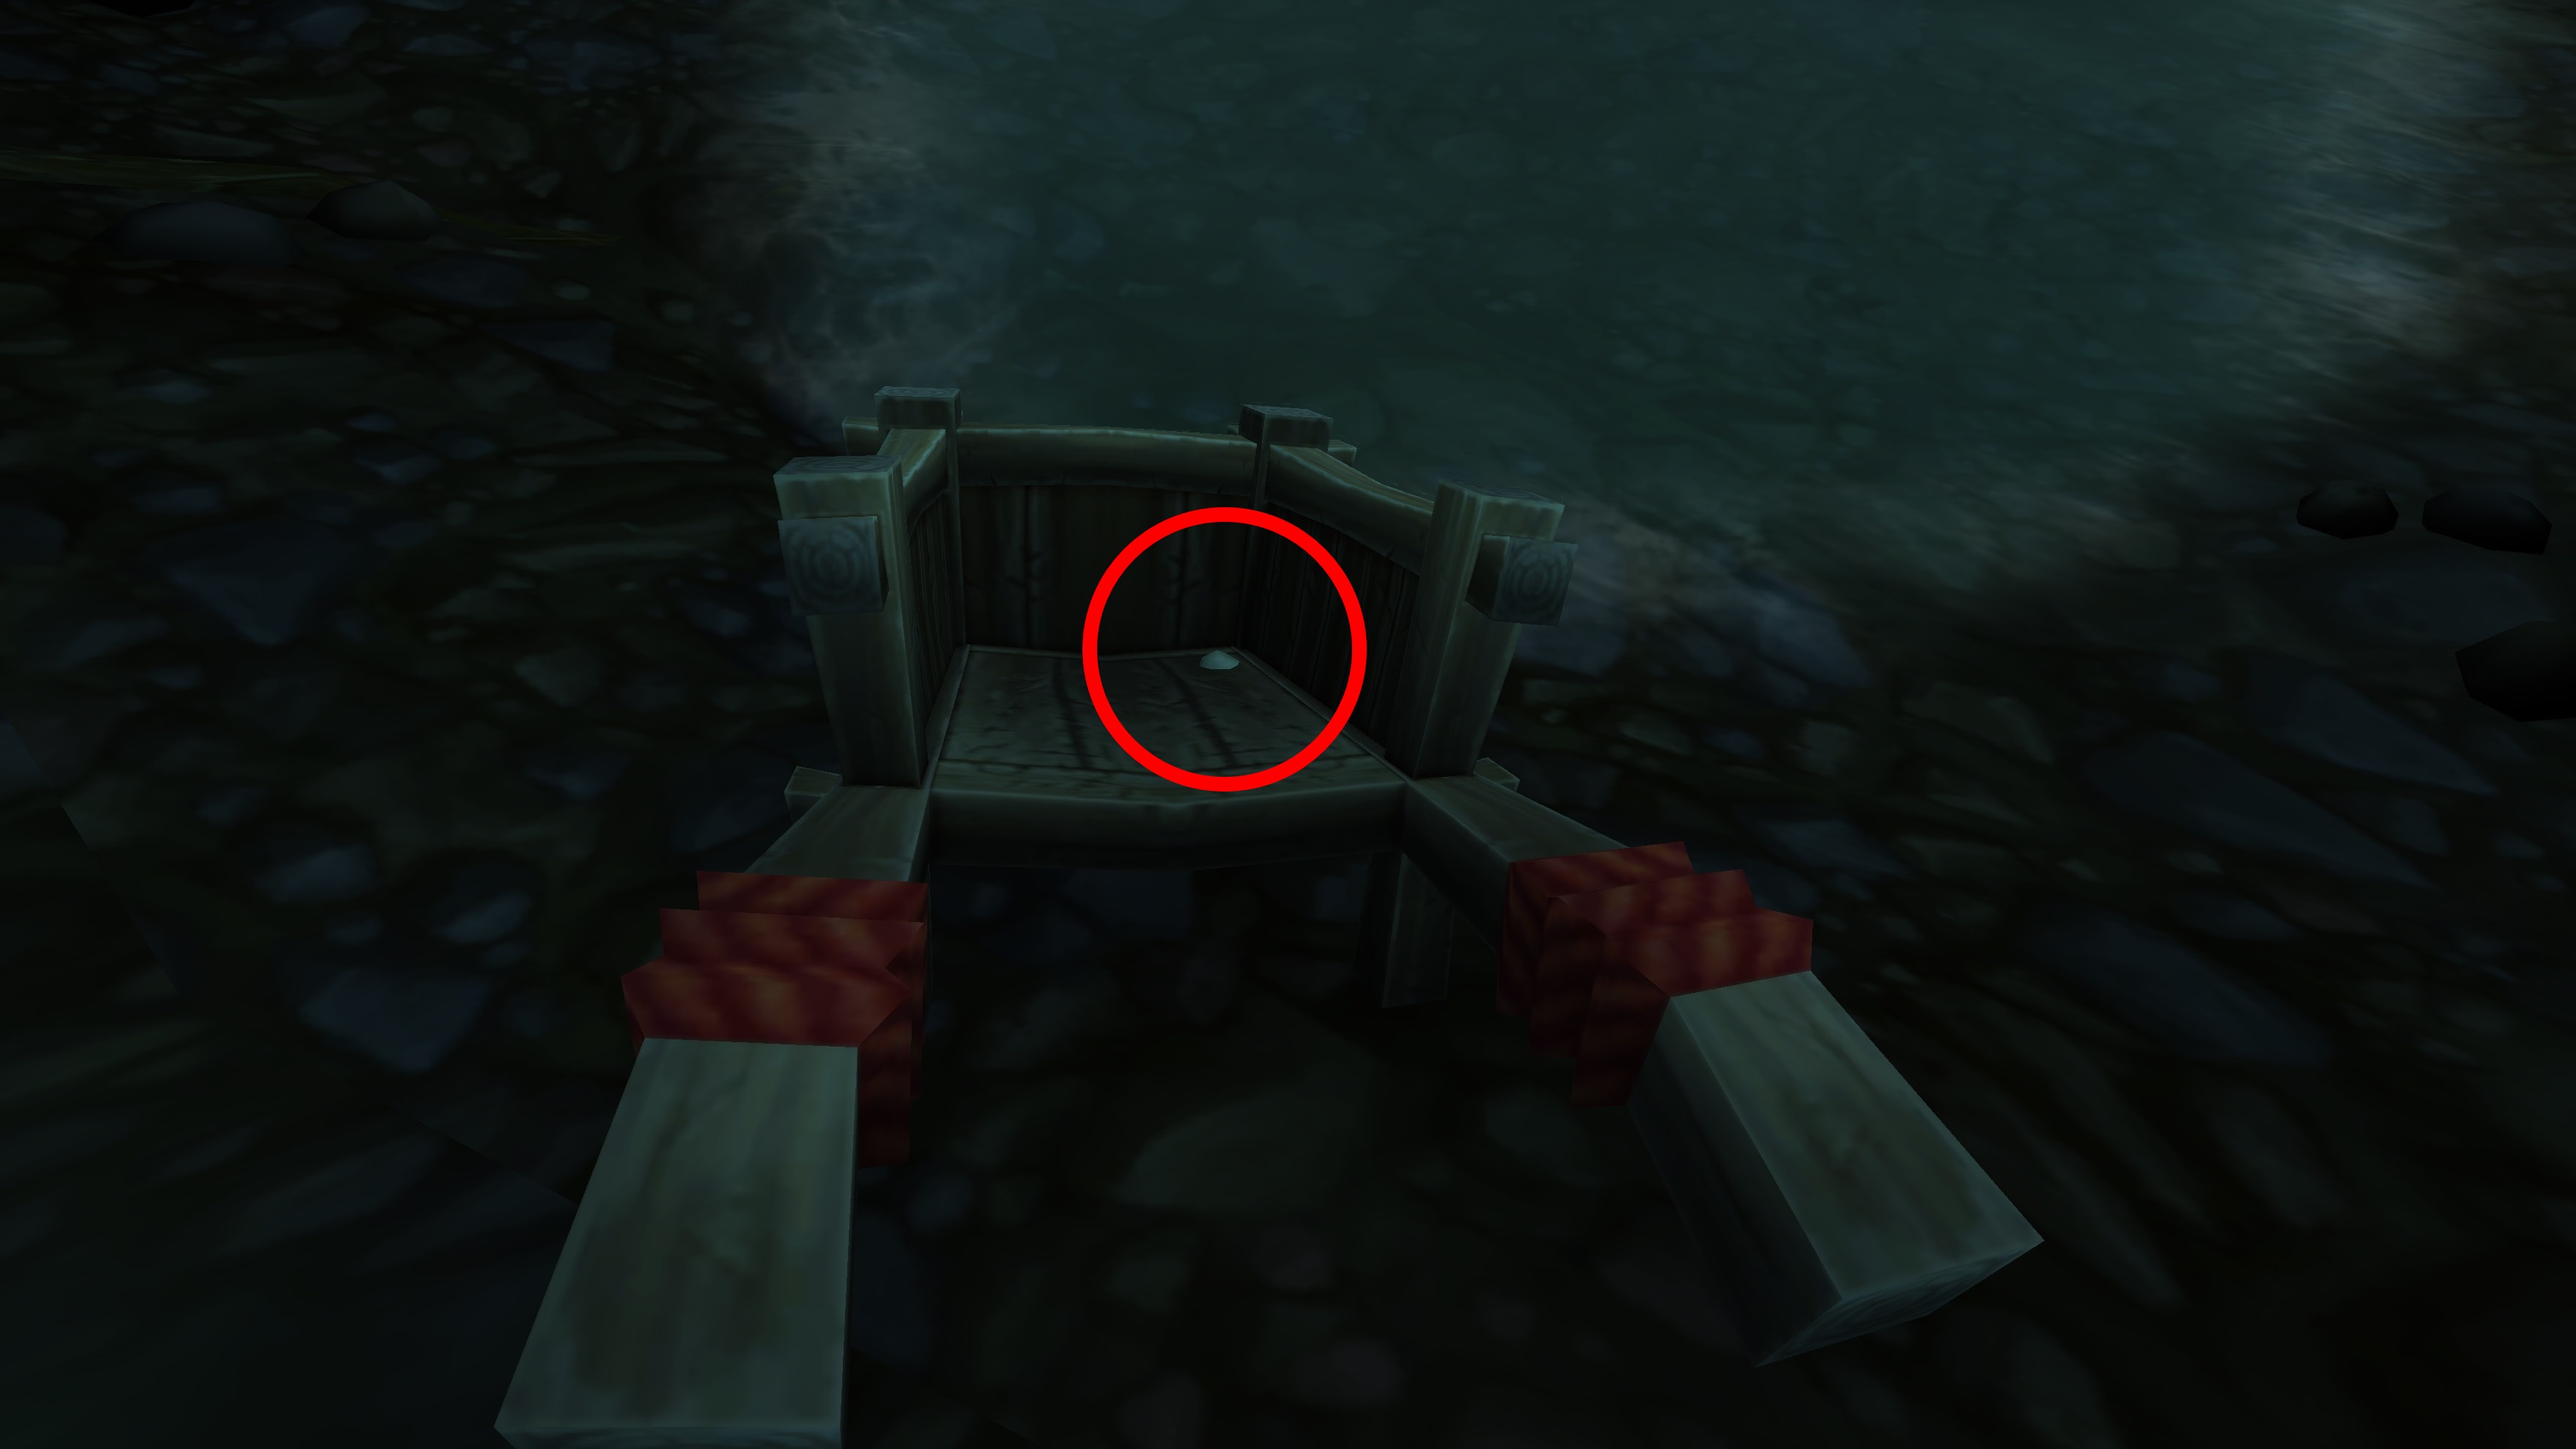
Continue through the cave until you find a small chamber with two wheelbarrows.
The pebble is in the smaller one with red handles. You're halfway done!
Pebble 7: South Seas, Nazmir (TomTom coordinates: 54 7)
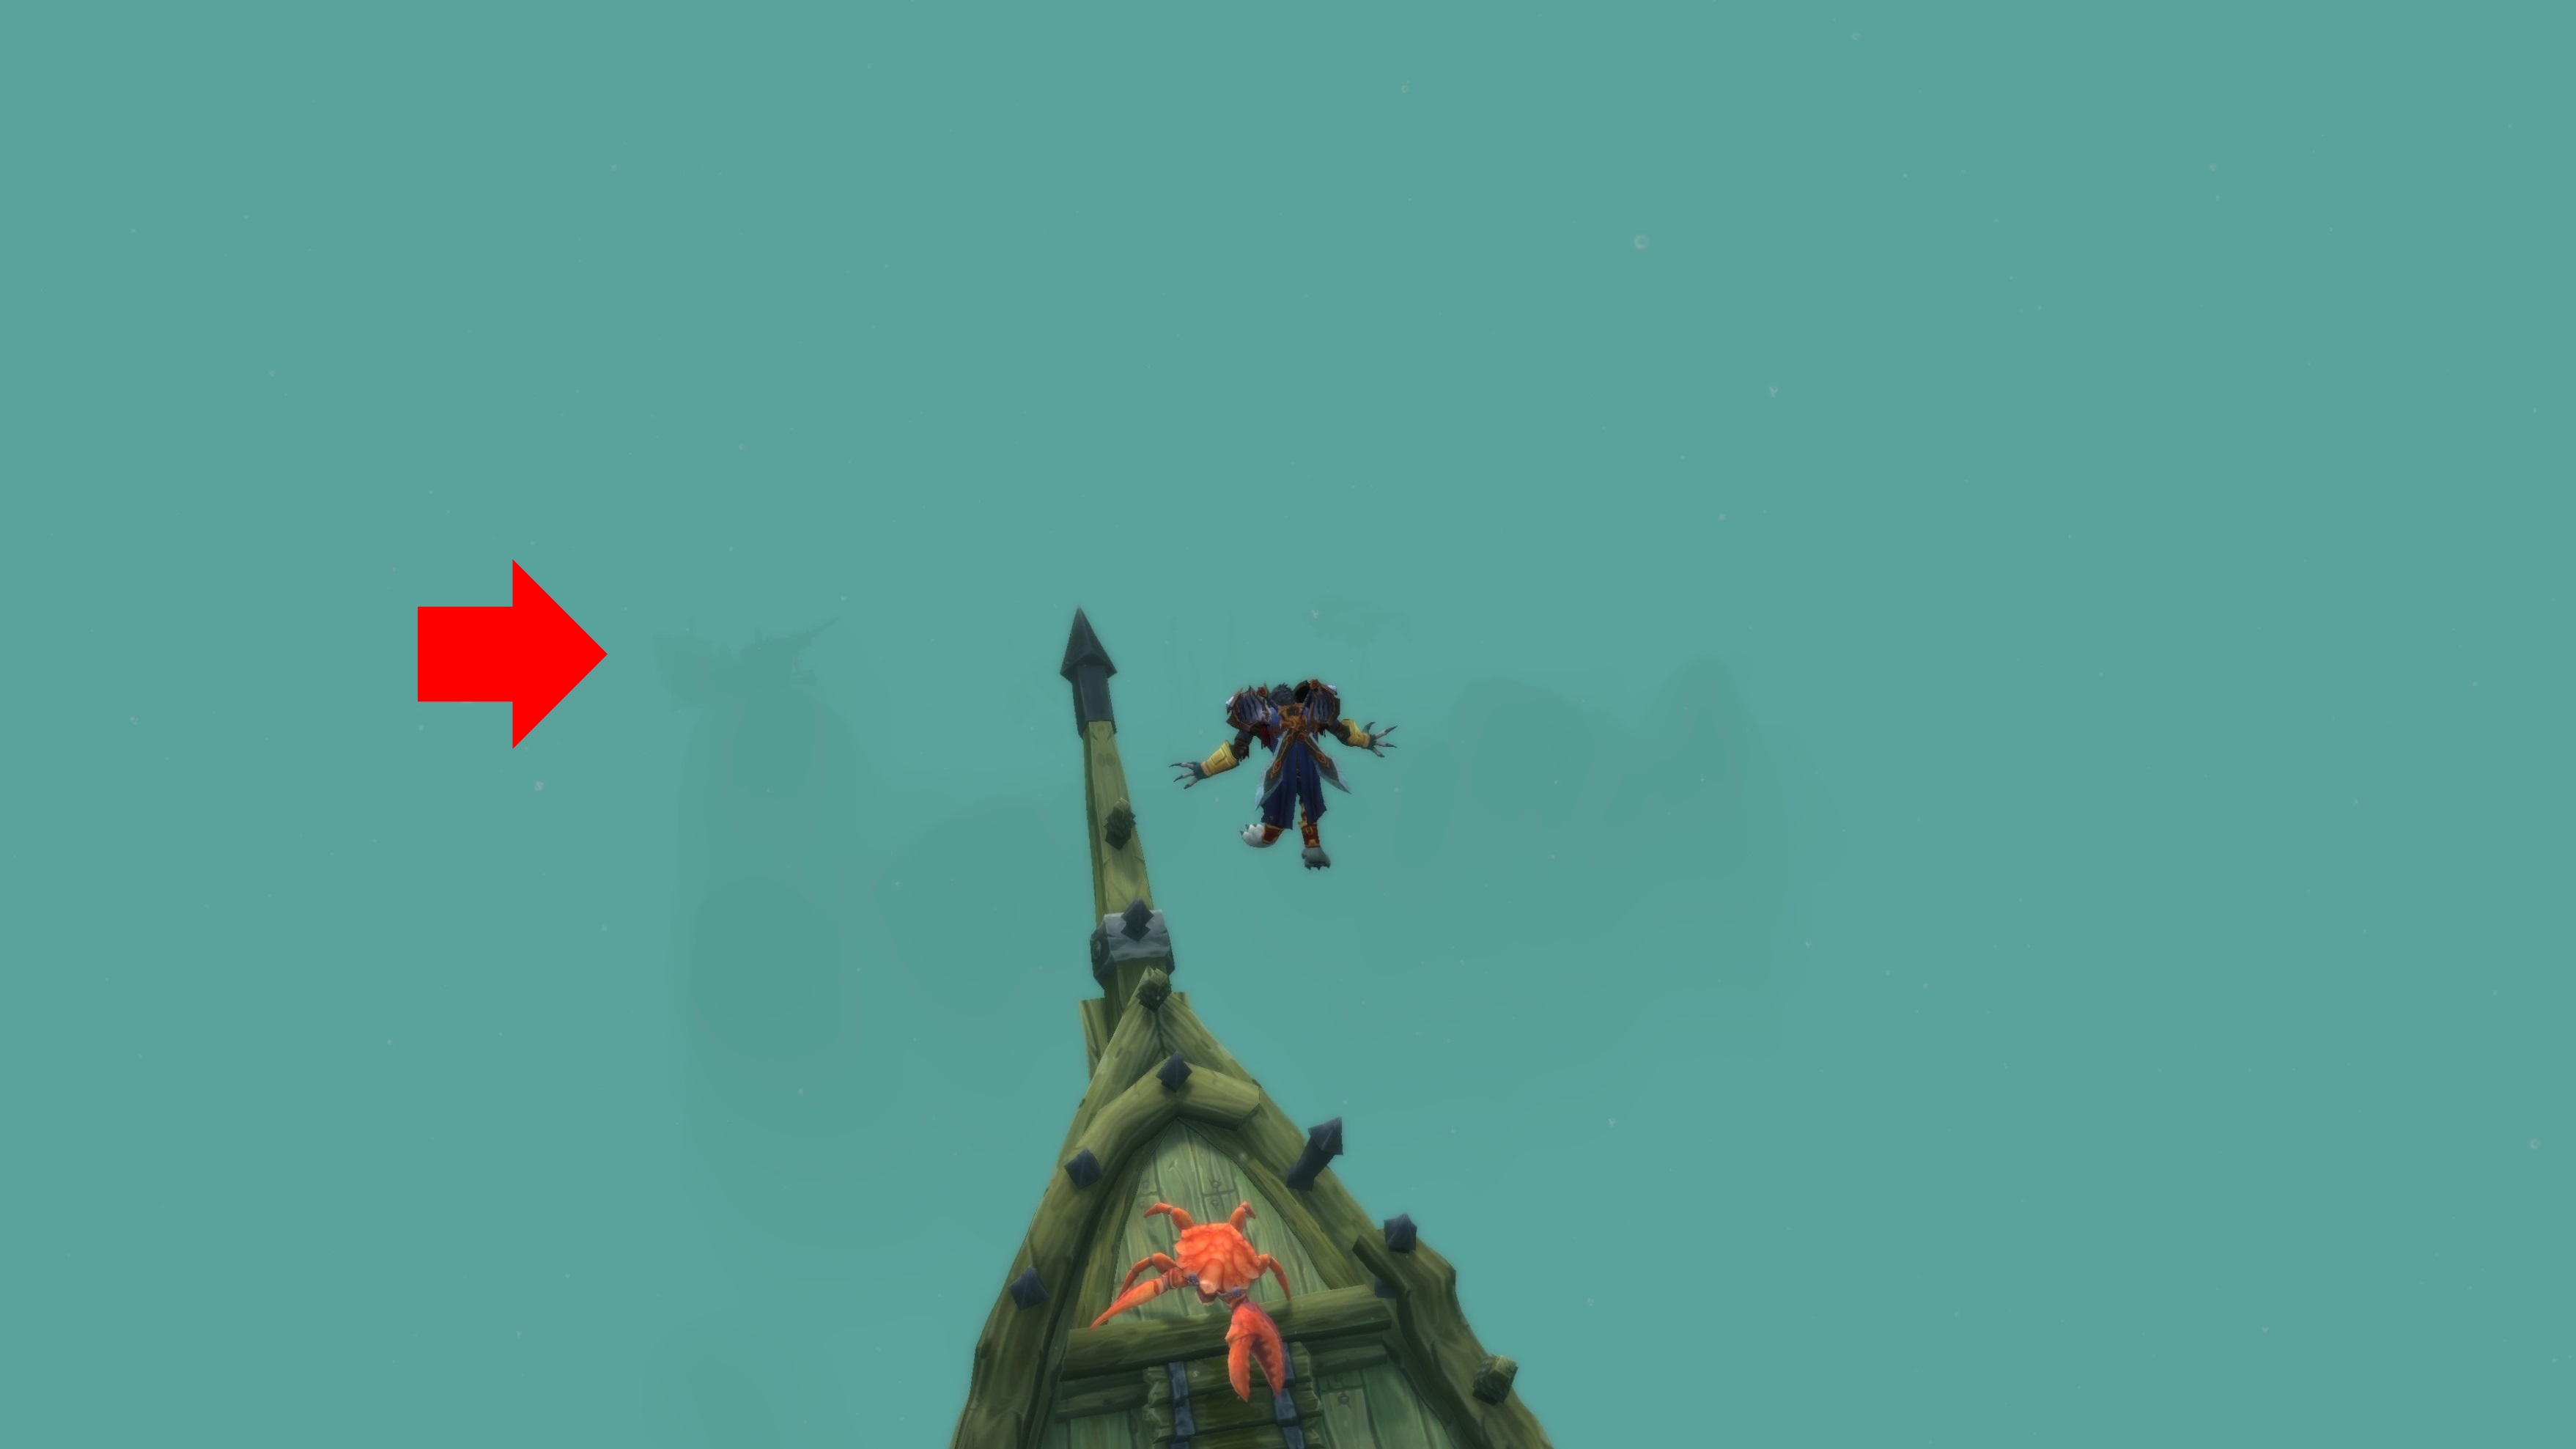
I hope you've got that swim speed increase item / mount I told you about, because this one is gonna hurt if you don't. Actually, it'll hurt even if you do. Start by heading way, way north in Nazmir. You should be just to the northwest of Torga's Rest. Search under the waves for this boat.
That shipwreck is pretty much directly pointing at your objective. Unfortunately, it's in a fatigue zone, meaning if you swim out there and the fatigue meter reaches zero, you're going to start dying. You won't be able to make it to the boat by swimming in your default form, and you can't just die, resurrect, inch closer, repeat, because even ghosts get tired in the fatigue zone. So use whatever method you like (again, I recommend Feast of Fishes) and swim as fast as you can to the back side of the boat.
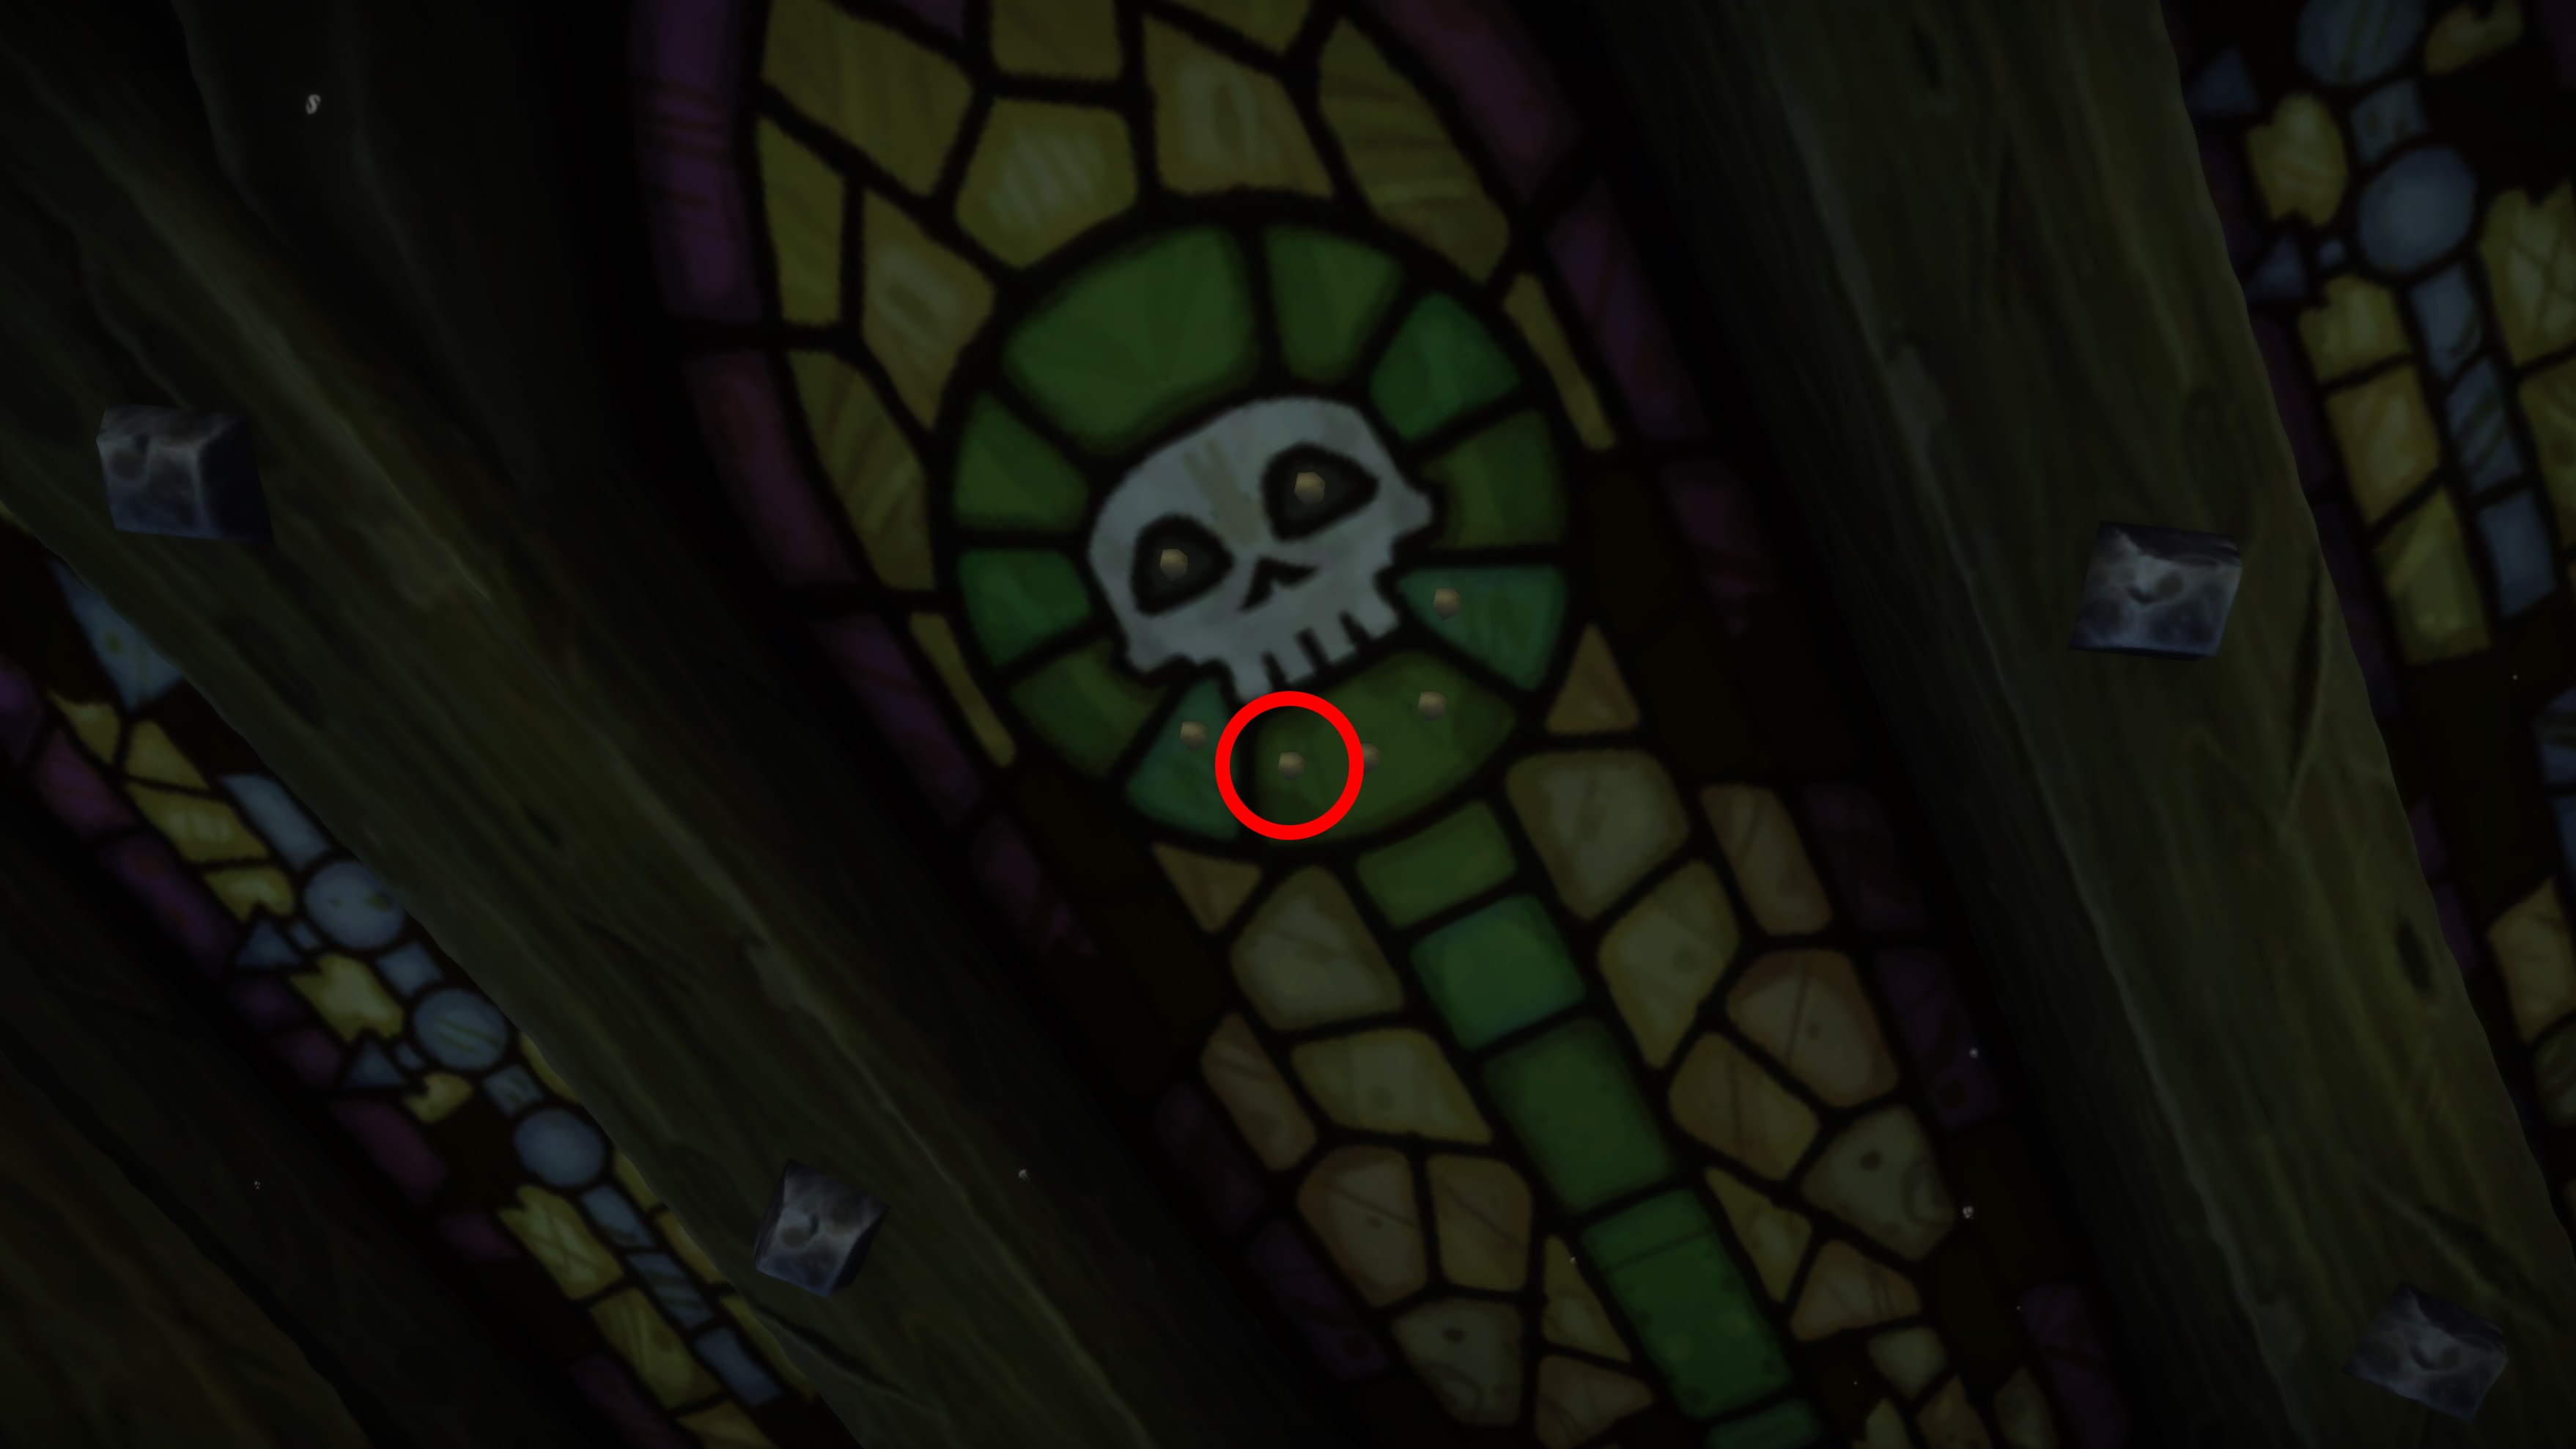
The rear of this ship has a stained glass window with a skull design on it. Pebbles form a sort of smile shape underneath - click the pebble second from the left in the 'smile'. Take a moment to reflect on your life before you drown (it's highly improbable you'll be able to make it back) and accept that you're going to need to revive at the graveyard, thus incurring the dreaded resurrection sickness debuff. Sorry.
Pebble 8: Proudmoore Keep, Boralus (TomTom coordinates: 37 80)
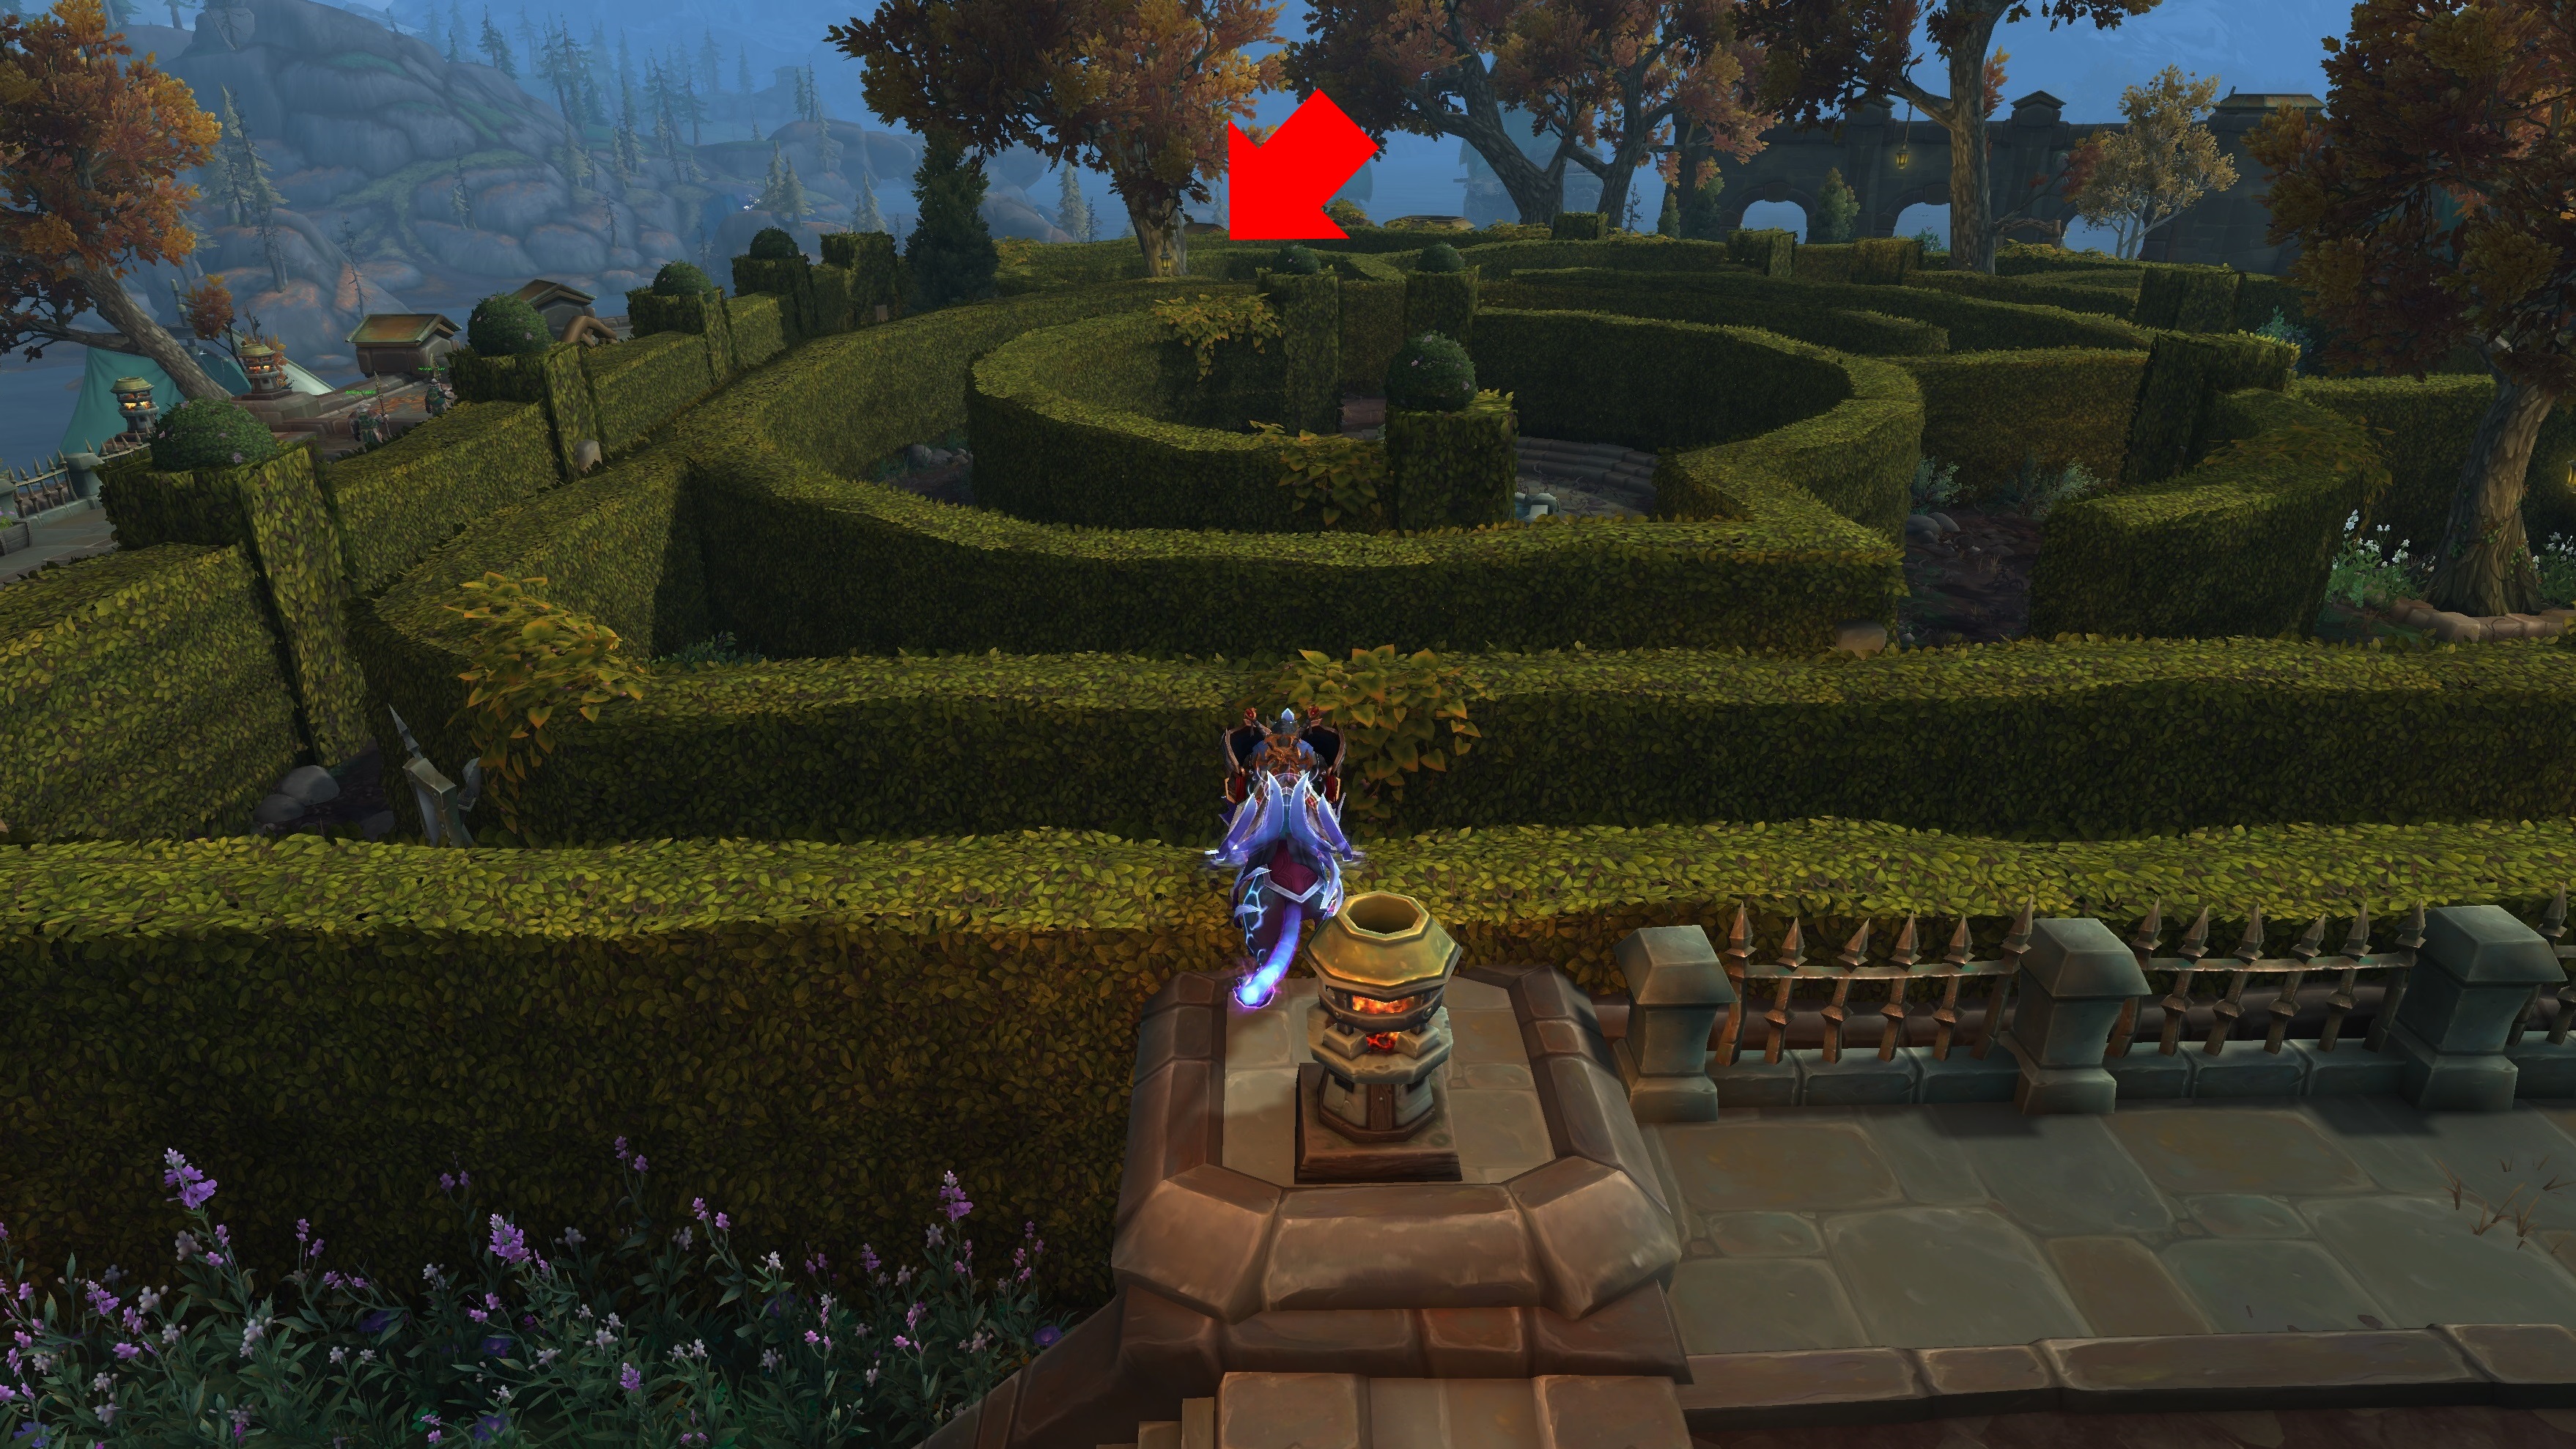
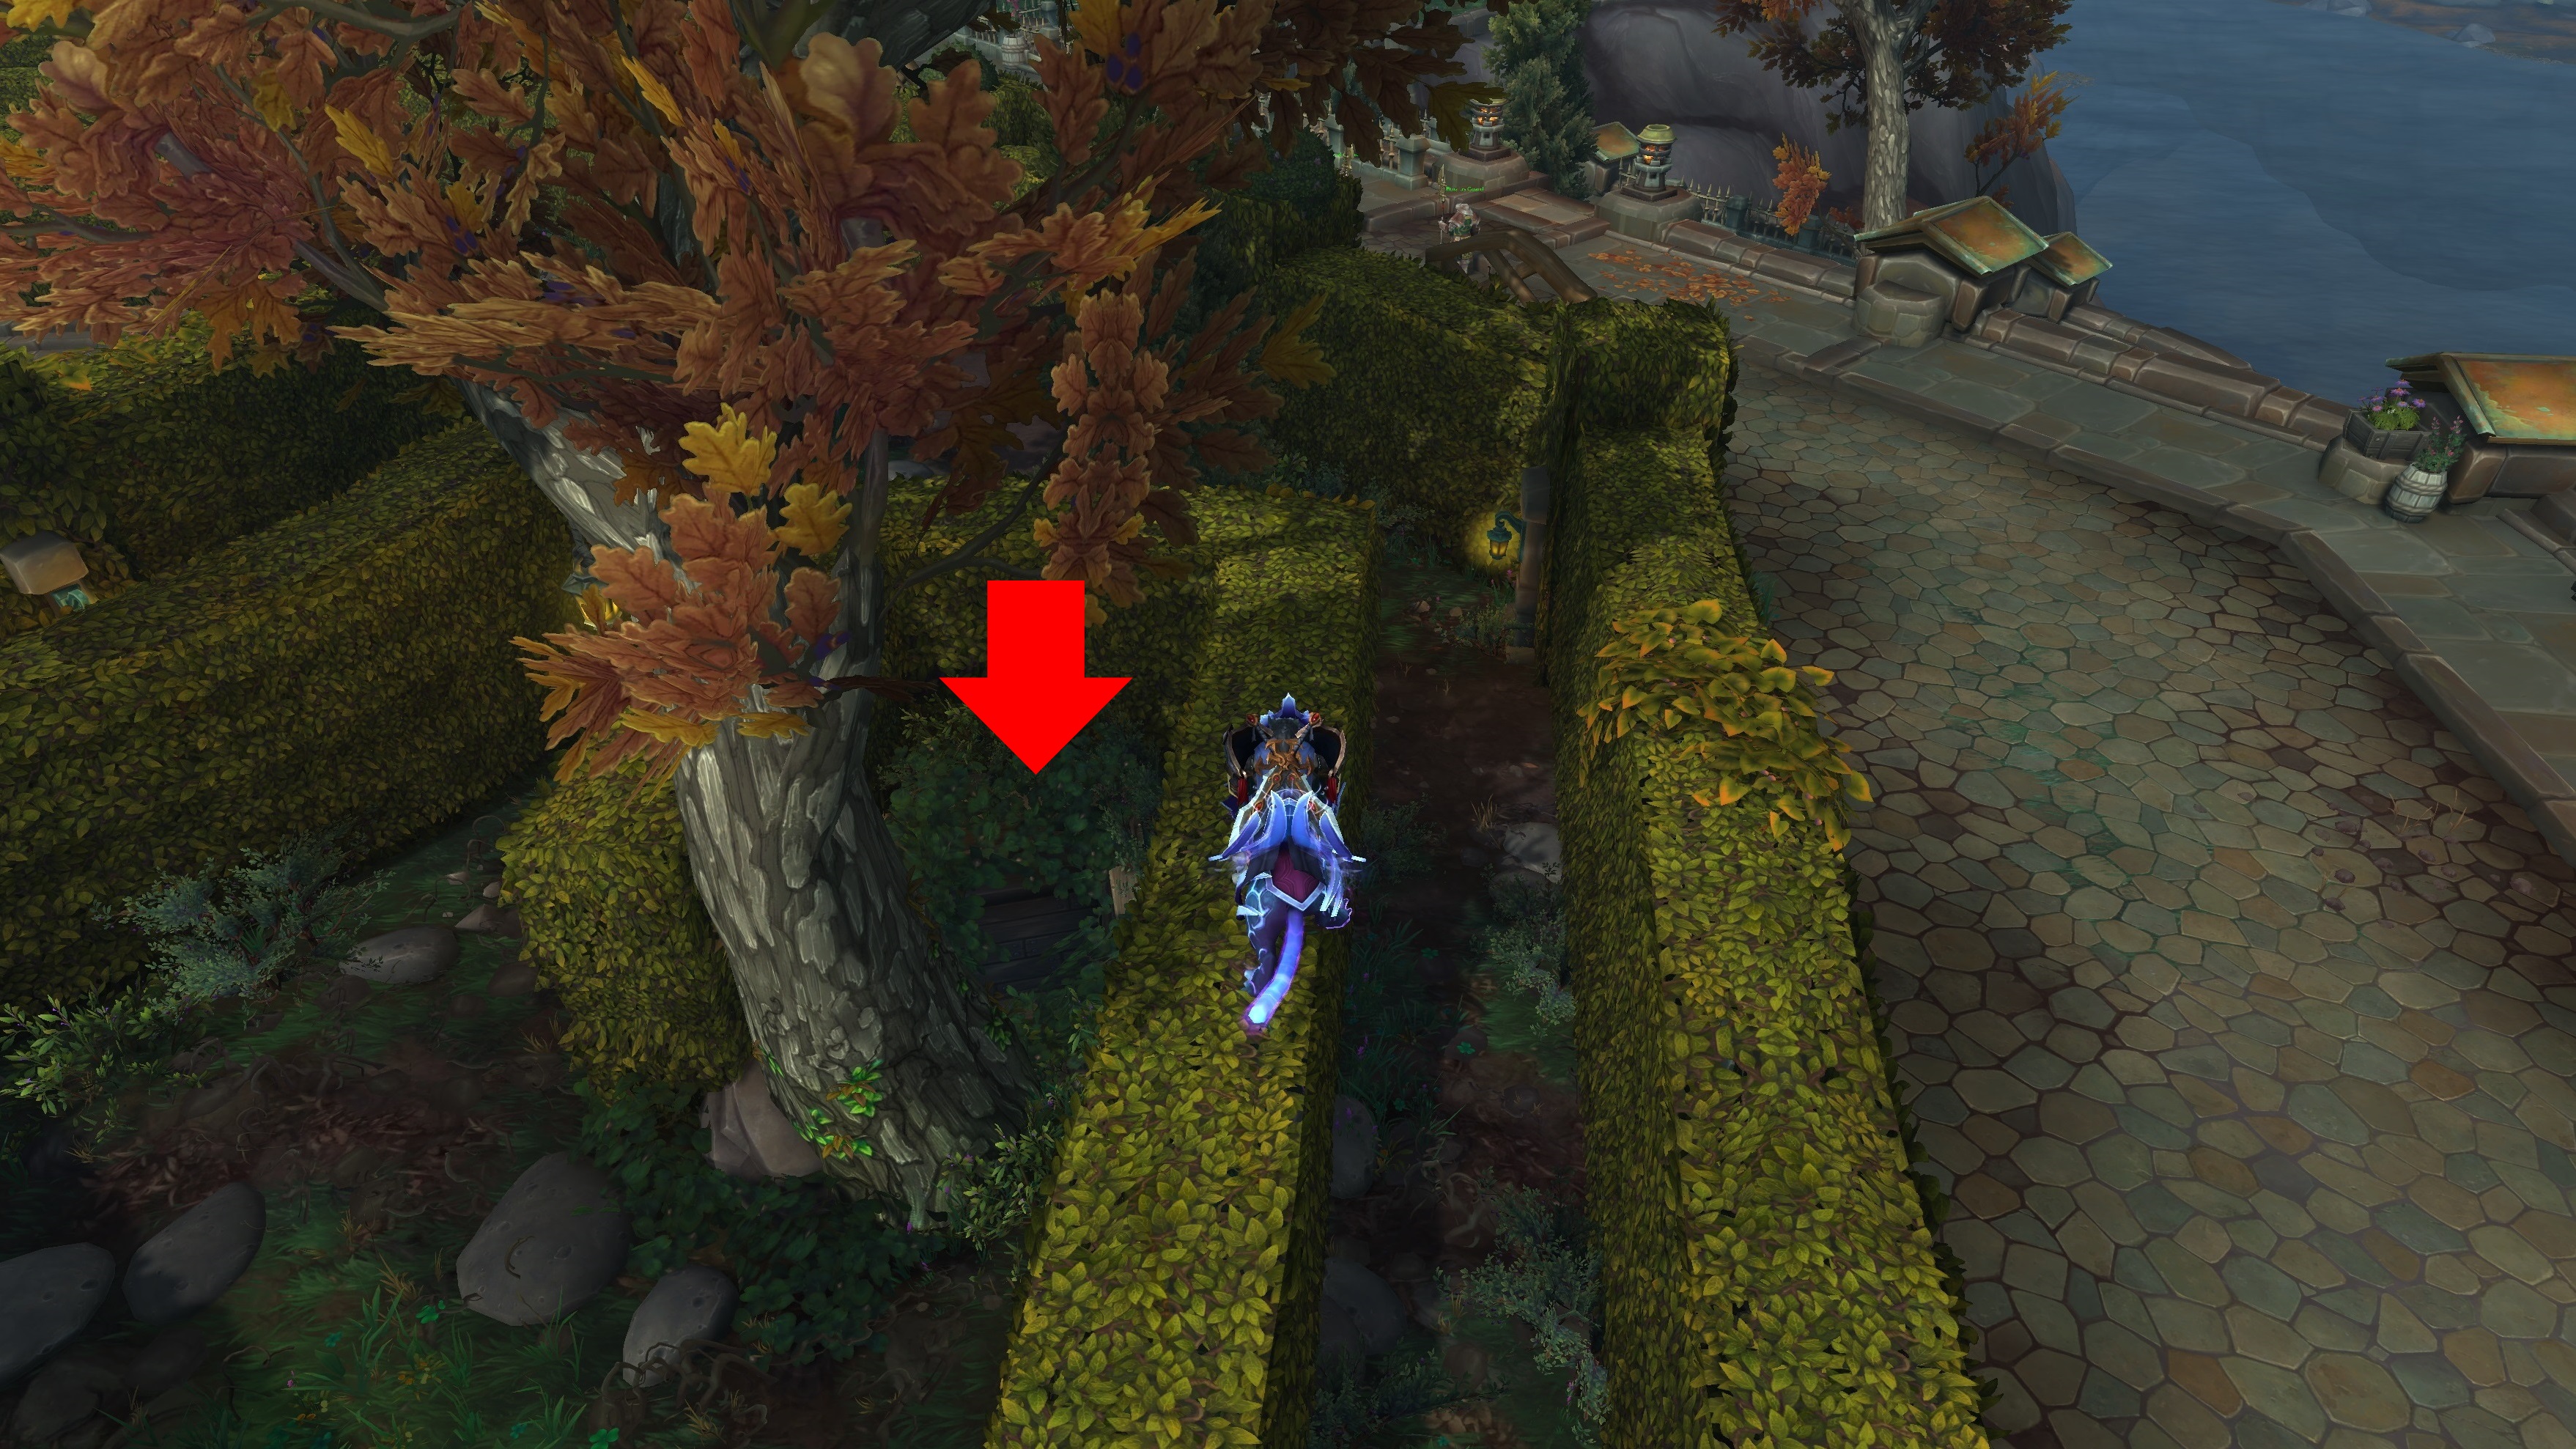
If that last step put you in a bad mood, hopefully this will cheer you up. On the western side of Proudmoore Keep is a hedge maze. In the northwest corner is a tree. Make your way (either legitimately or by jumping on top of the hedges) to it.
At the base of the tree is a hidden cave. Note: you want the entrance directly at the base of the tree, not the cellar nearby.
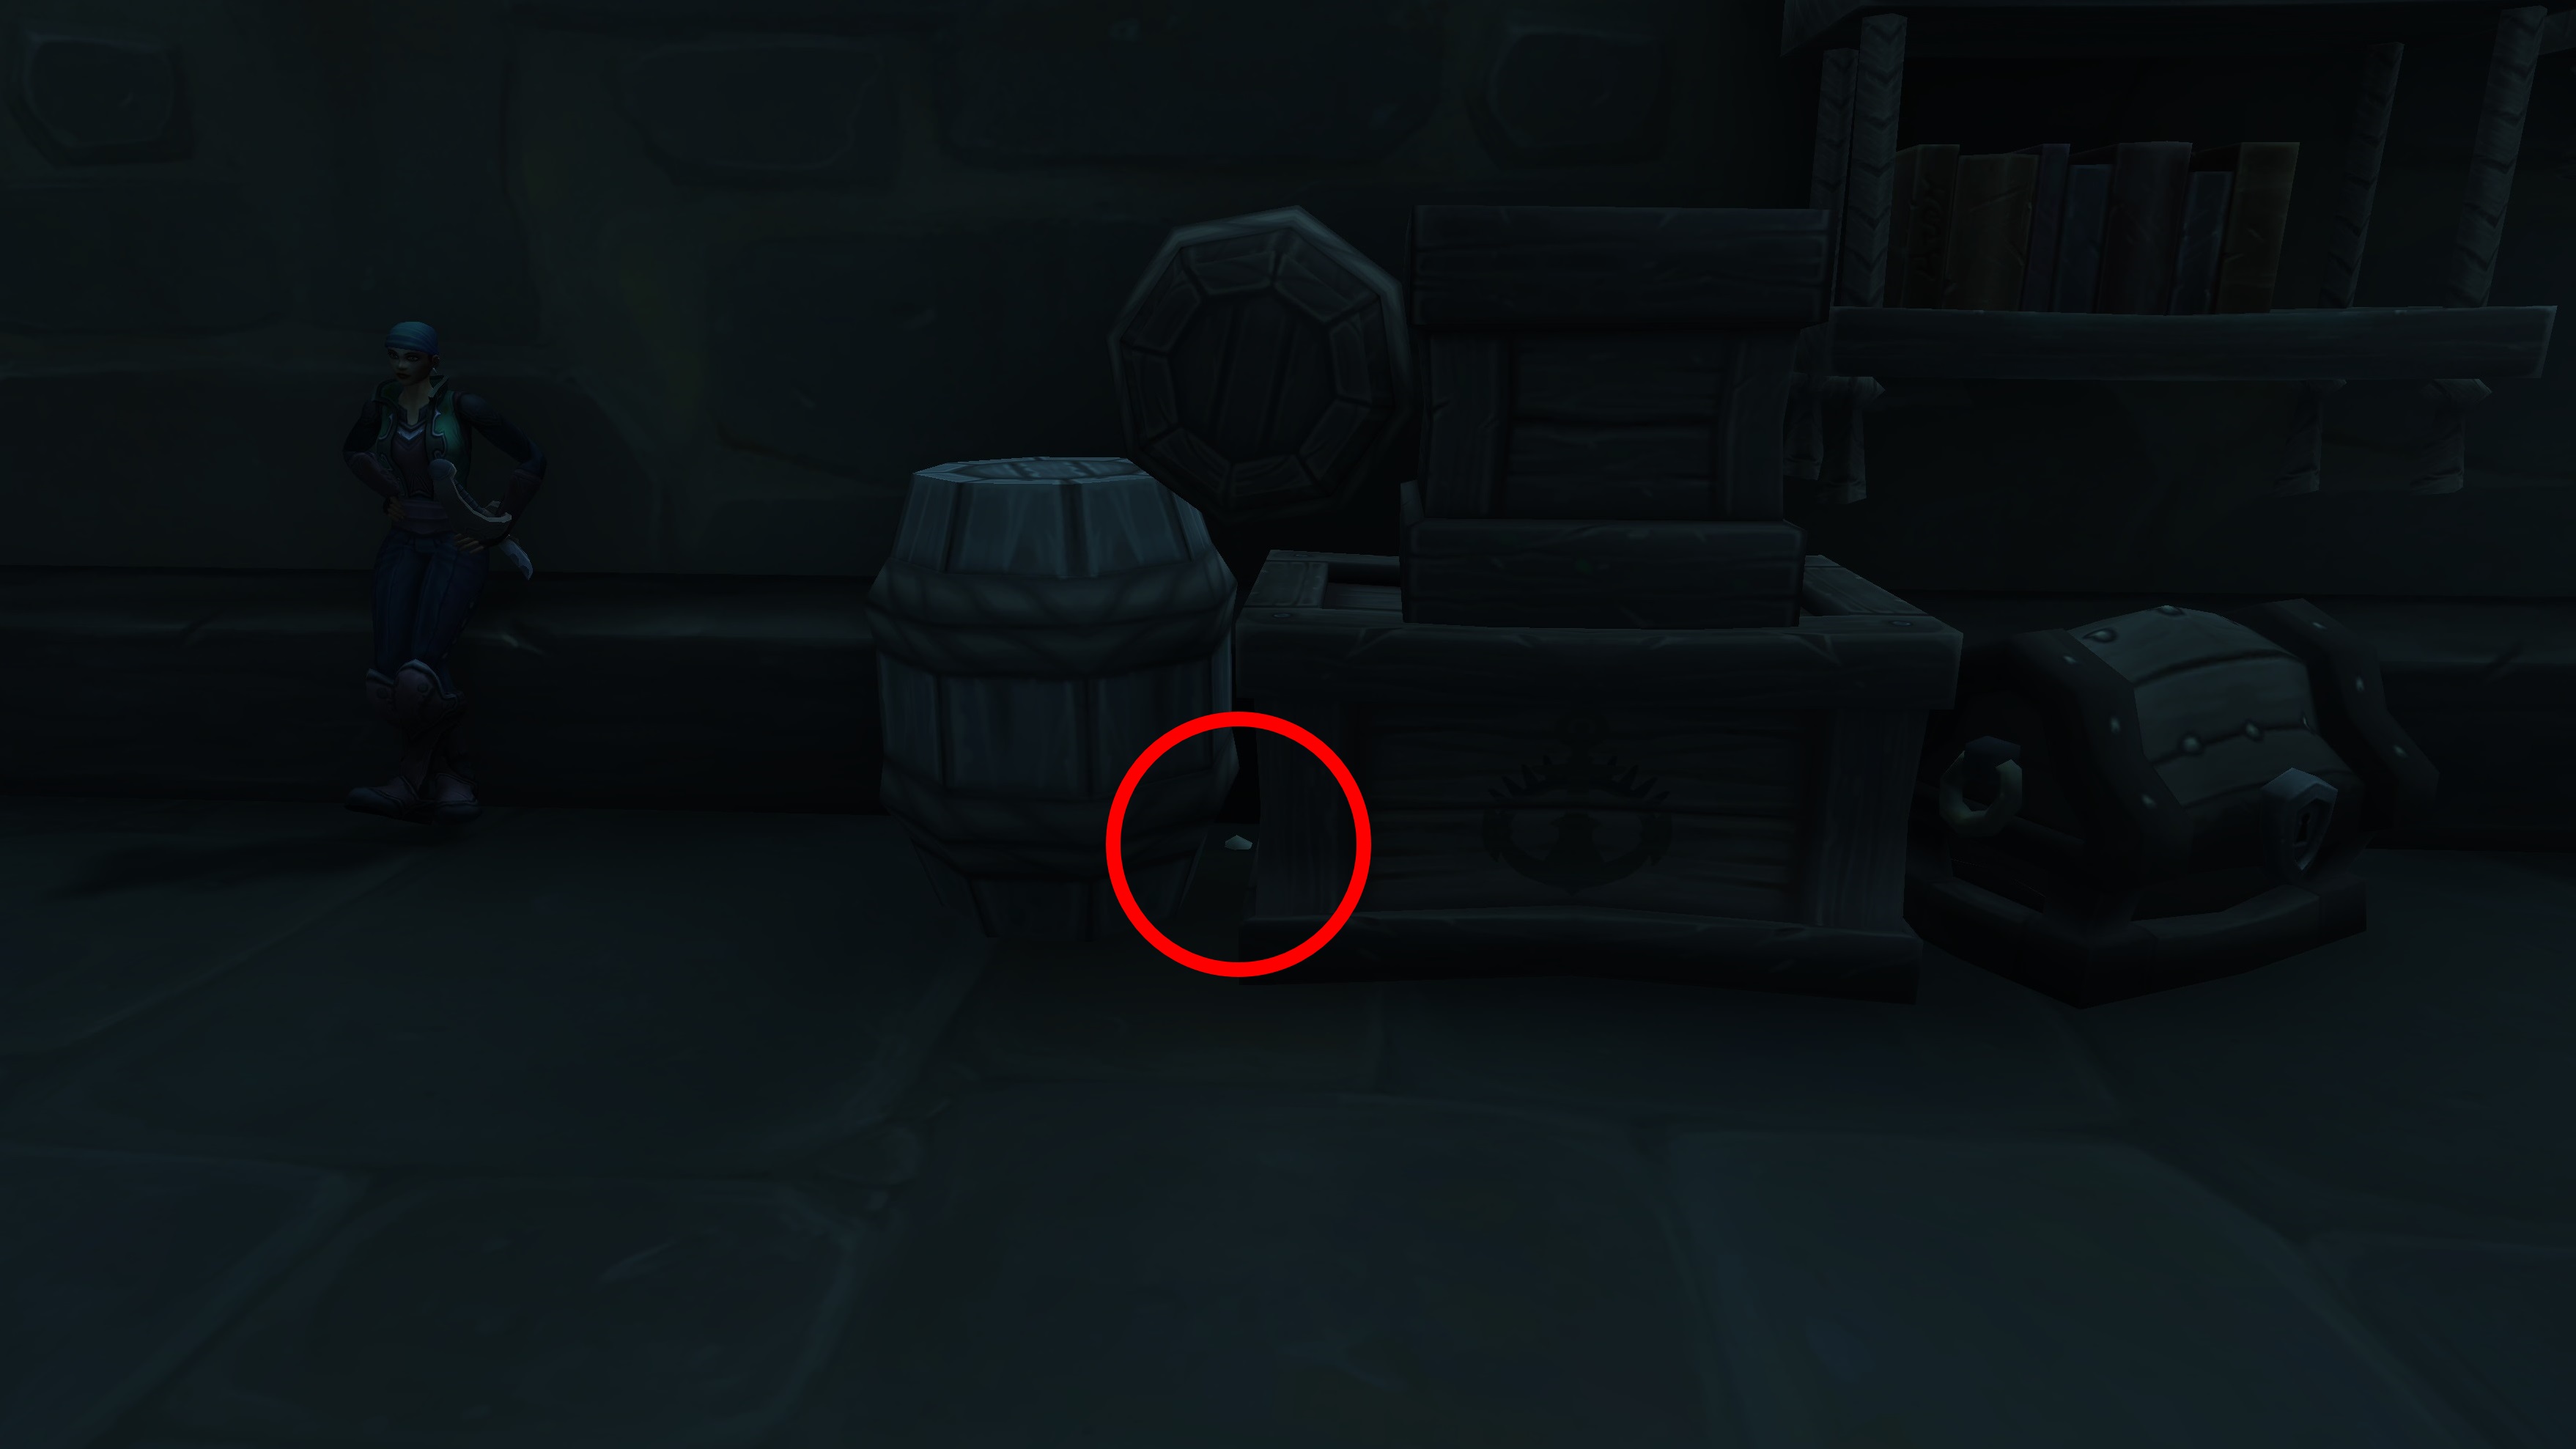
In this hidden room, some guards have decided to keep themselves occupied by playing whatever WoW's equivalent of Dungeons & Dragons is. Aww. Check the wall behind some crates for the pebble.
Pebble 9: Western Watch, Drustvar (TomTom coordinates: 17 6)
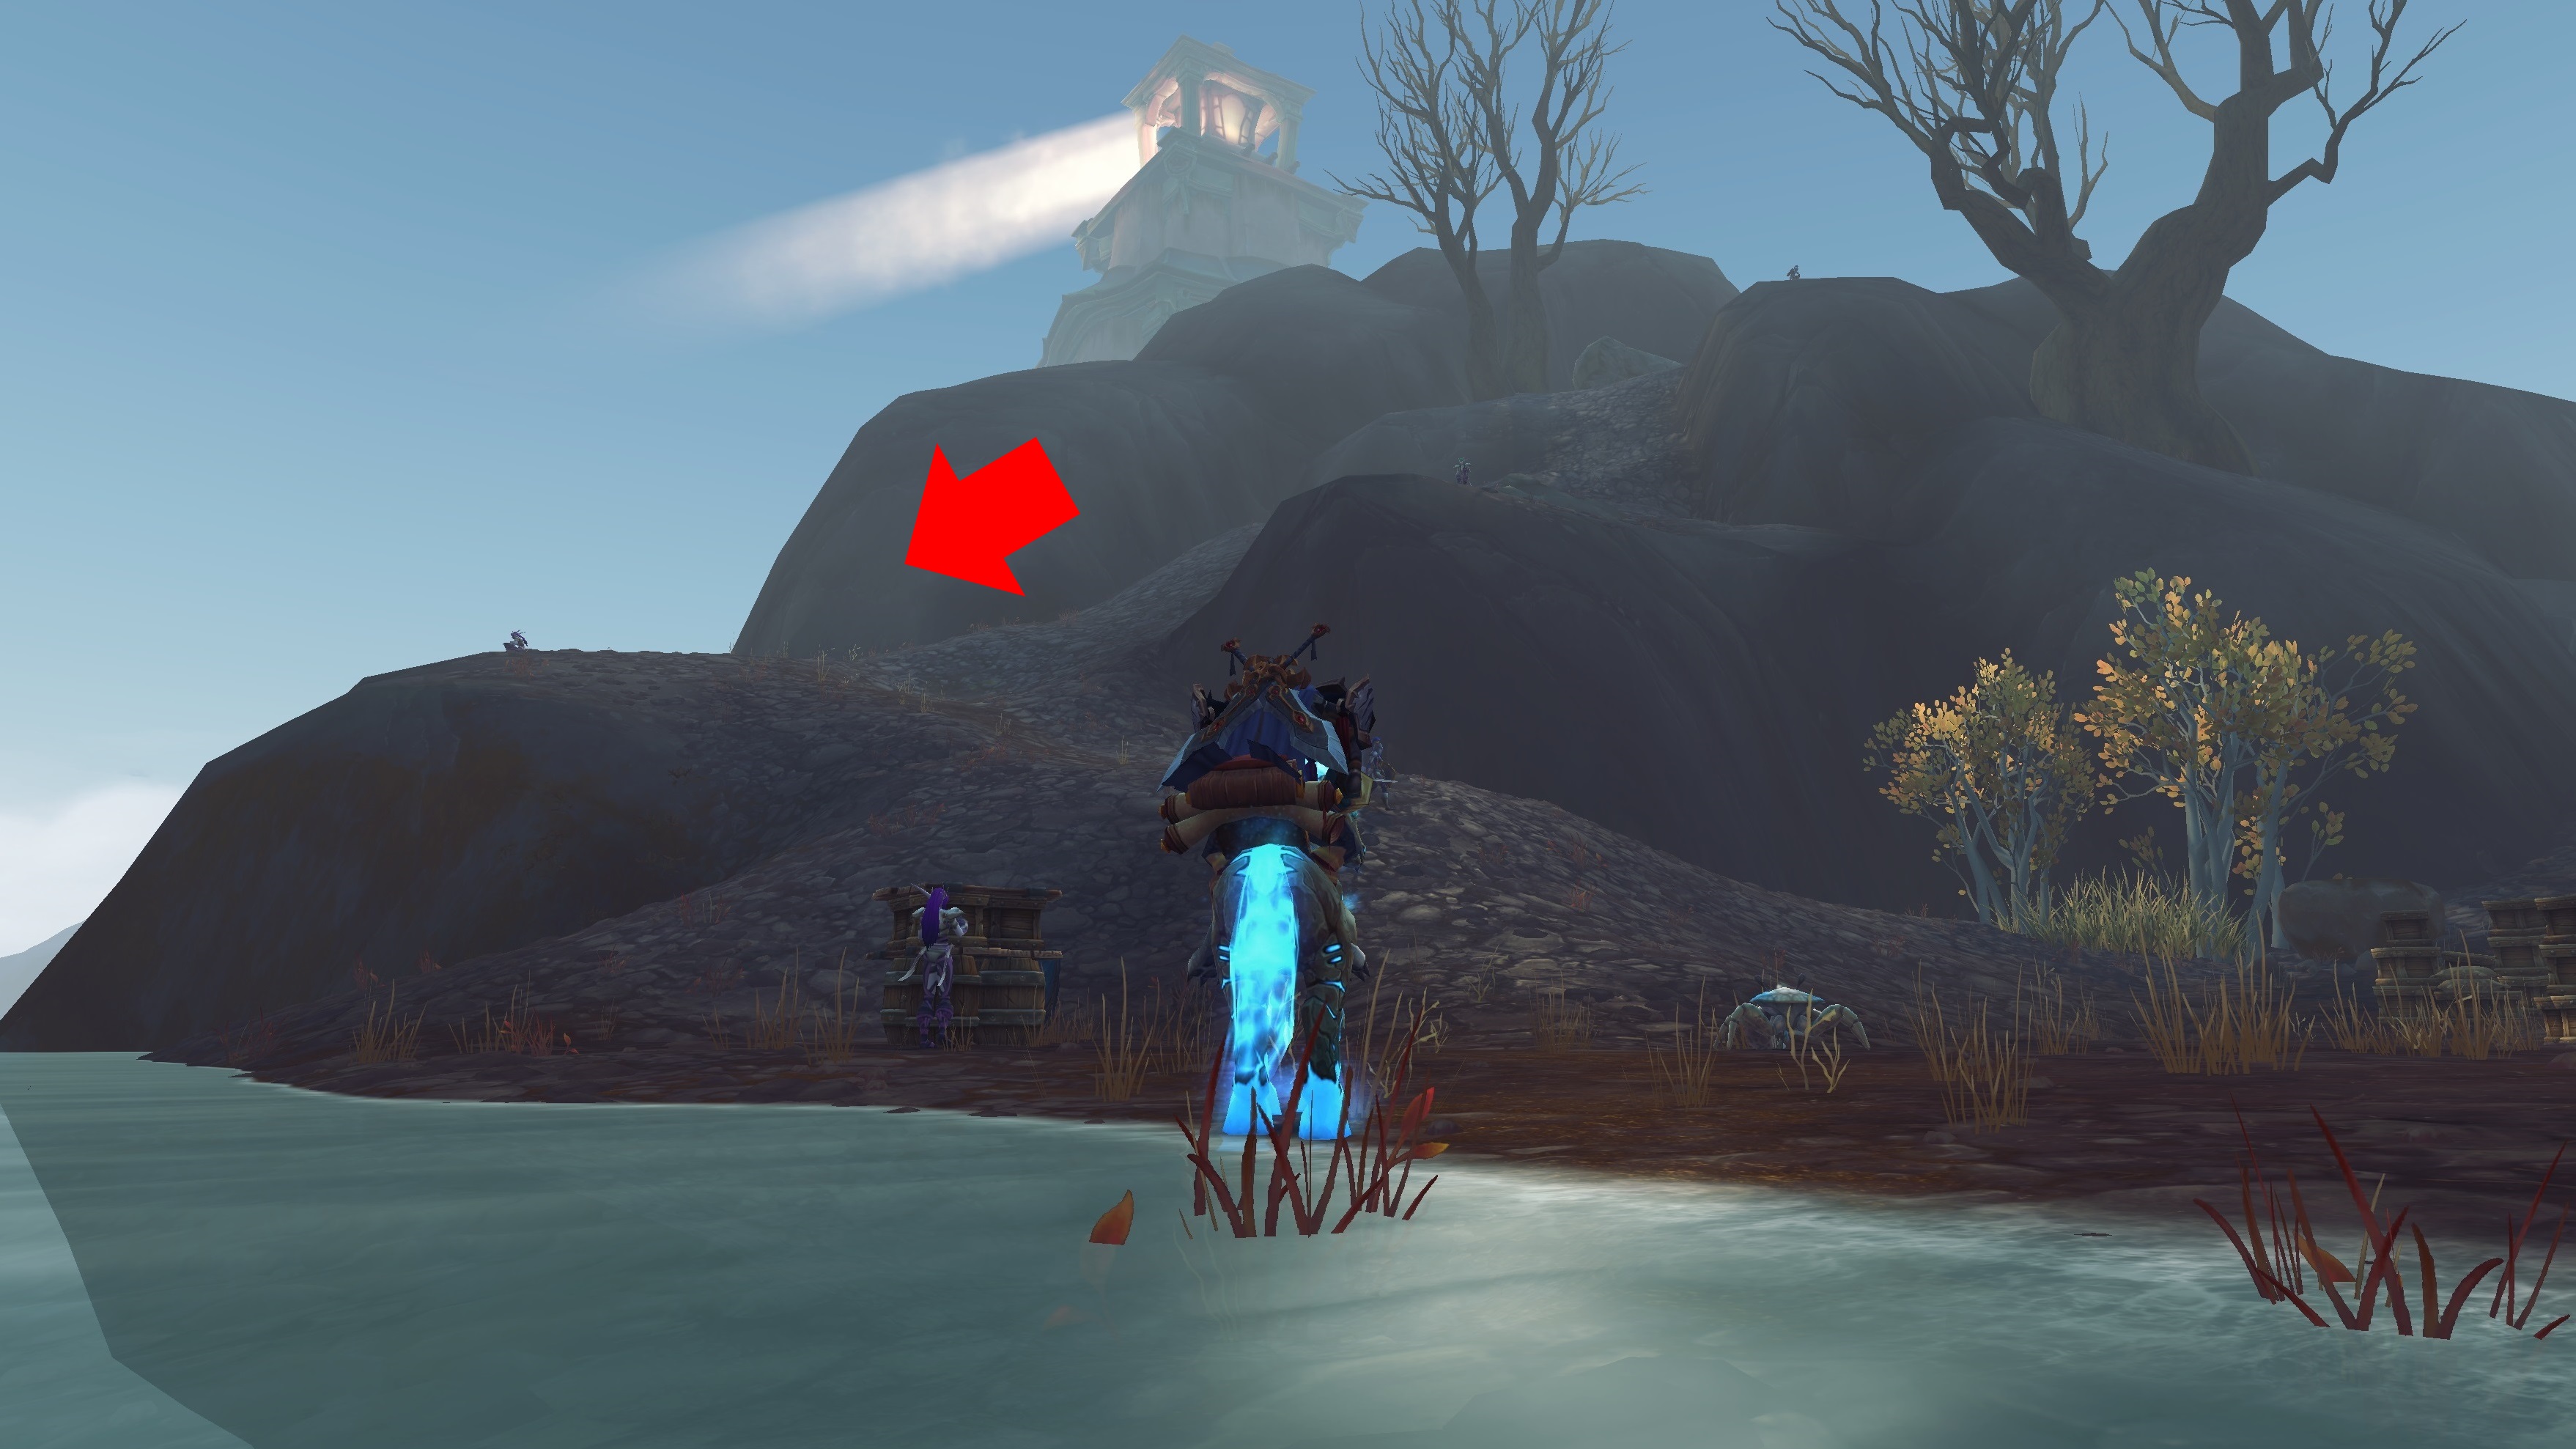
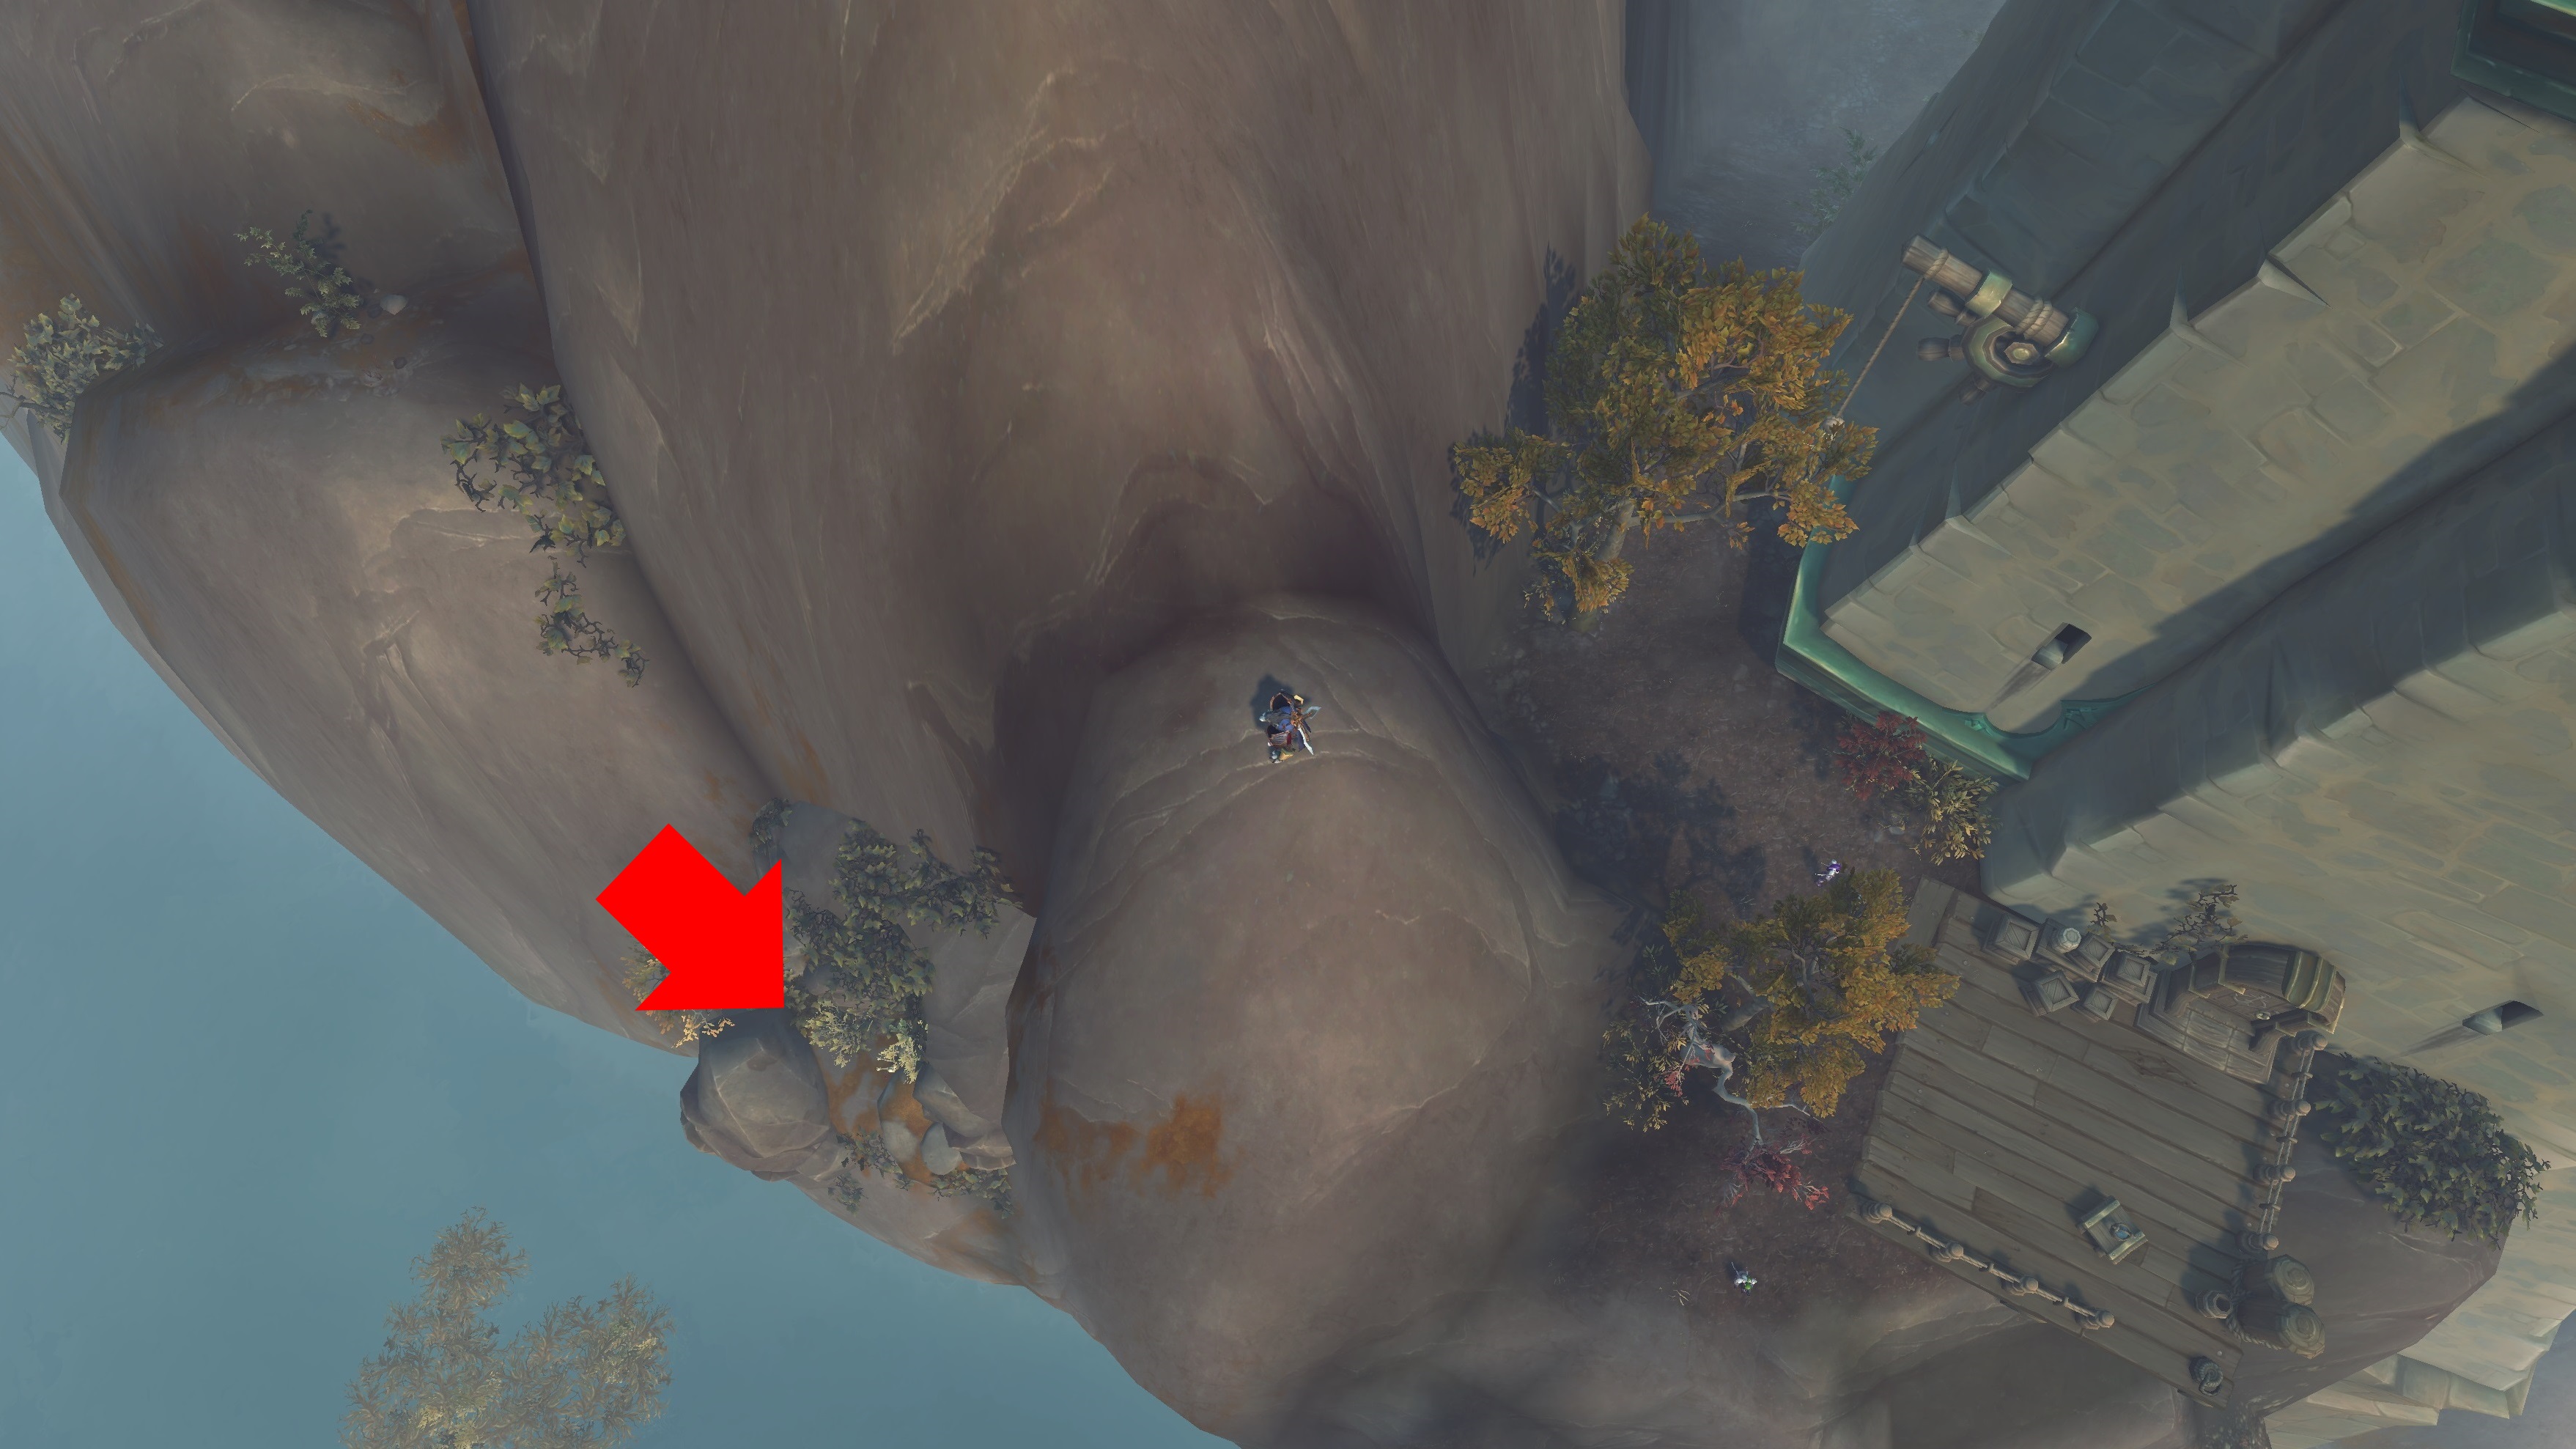
Head to the northwest corner of the Drustvar map, where you'll find a small island with a lighthouse on it. On your approach you should see the path split, with the right going up and the left going down and around. Take the left path.
At the end of the path, turn back toward the cliff and you should see a small cave entrance. Use the Goblin Glider Kit, your Demon Hunter's wings, or whatever method you like to reach it.
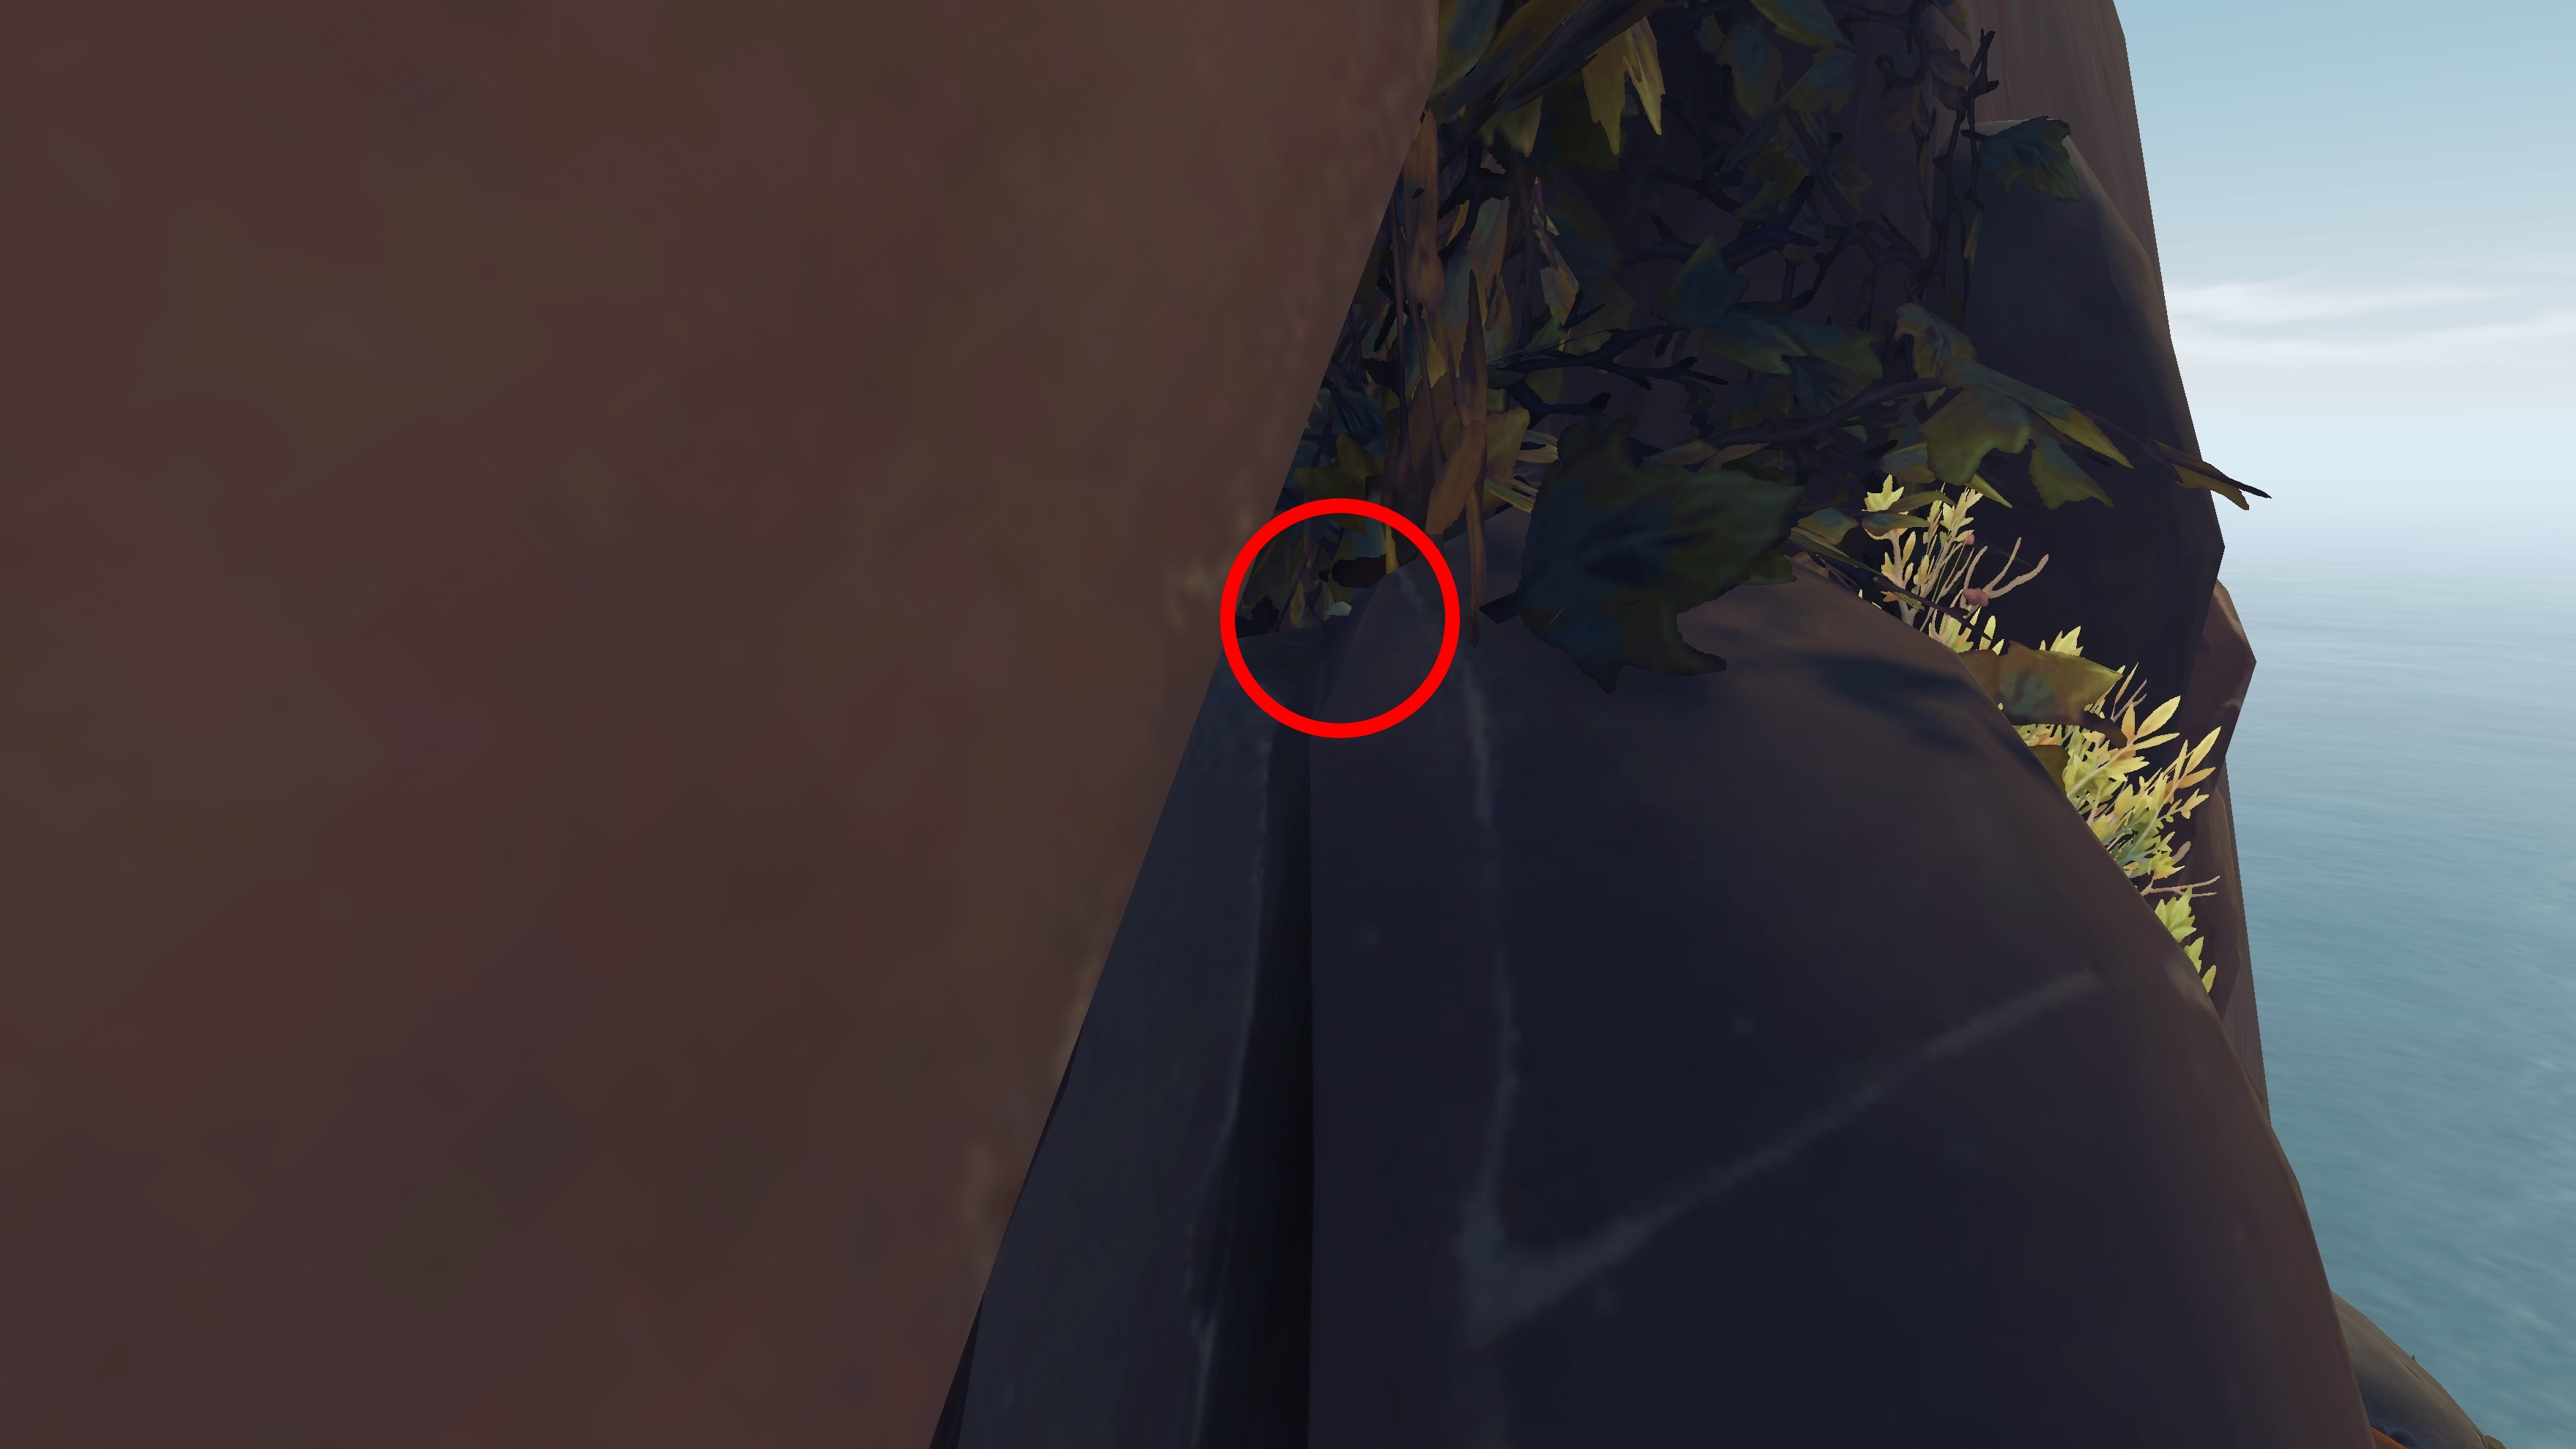
This pebble is not actually in the cave, but rather on top of it. Check the large rock on the left-hand side (as you're facing the cave) to find it.
Guide continues on Page 3.

Sam is a former News Editor here at GamesRadar+. His expert words have appeared on many of the web's well-known gaming sites, including Joystiq, Penny Arcade, Destructoid, and G4 Media, among others. Sam has a serious soft spot for MOBAs, MMOs, and emo music. Forever a farm boy, forever a '90s kid.

 Join The Community


