War Front strategy guide - German campaign
Conquer the world with our complete German mission walkthrough
Back in the center of the map, use Wurfrahmen and your Core Units to wipe out all defensive fortifications, then send in the Wehrmacht Infantry to capture every building you can. Consider the V1 Launch Site, the Research Lab, and the Command Center the most important prizes you can seize here. You will be harassed by Me 262 Interceptors, but the Wirbelwinds we told you to produce should hold them off long enough to capture these buildings. With the Command Center under your control, you can now produce Engineers here to turn this into a great secondary base, complete with AT 88 and AA Bunkers, a Tank Factory, and more.
Down south at the crossroads, you should easily stop the escaping German scientists. As soon as that objective is complete, move in a northeasterly direction toward the base of the plateau where your secondary base is now located. The Nazis will send Wurfrahmen to bombard your Supply Depot, but your force of Maus and Panthers should keep the area clear until the situation is stabilized. Don’t worry about trying to capture the mine in the southeast corner of the map: it will be empty by the time you get there.
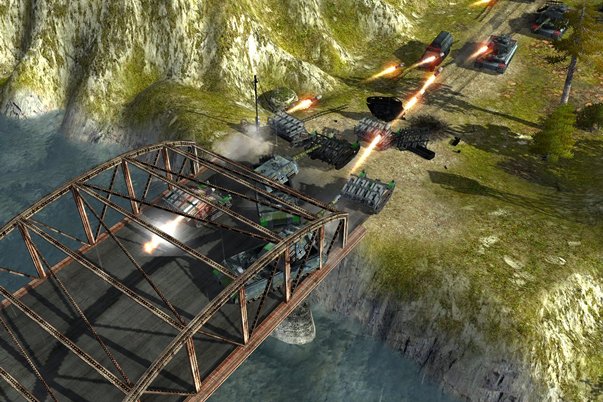
Now the entire northern side of your main base will come under attack. The Flame Bunkers we told you to build earlier should handle the Jetpack Infantry that appear regularly on the western side, but to guard against the stream of Wurfrahmen and tanks pouring down the road in the east you need to produce your own Wurfrahmen backed by Tigers, Wirbelwinds (to guard against air assaults) and a couple of Repair Trucks. You also should produce a mix of Stukas and Me 262s (about a 2-1 mix, respectively) to patrol the skies over the position of these units. Don’t worry if you don’t make headway: the only goal right now is to hold your ground.
Although the mine in the middle base is most likely depleted, you should still hold on to this important piece of real estate. Assuming you’ve built enough AA Bunkers, the only way the Nazis can attack this base on the ground is by approaching through two easily defended passes or by using Wurfrahmen to lob rockets into the base. Both are easily stopped, and you should be able to construct four or even five V1 Launch Sites here.

Weekly digests, tales from the communities you love, and more


